DIY Serving Tray Makeover

DIY Serving Tray Makeover:

chevron Shape Tape tray

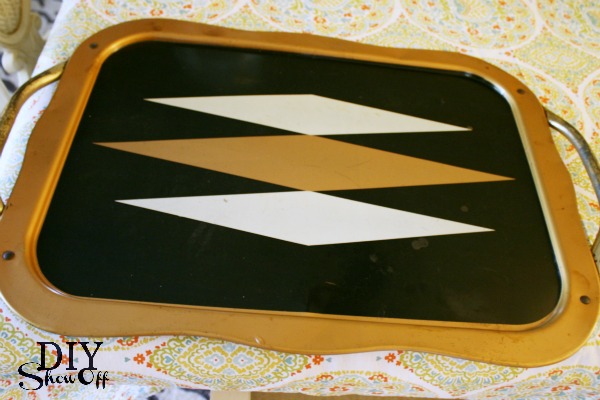
I found this old serving tray hanging on a nail in our basement stairwell. We’ve been in this house quite a while and I’ve never noticed it. lol! In my defense, I’m talking about the dark creepy stairwell to the 80+ year old scary basement (I prefer to use the newer stairwell).

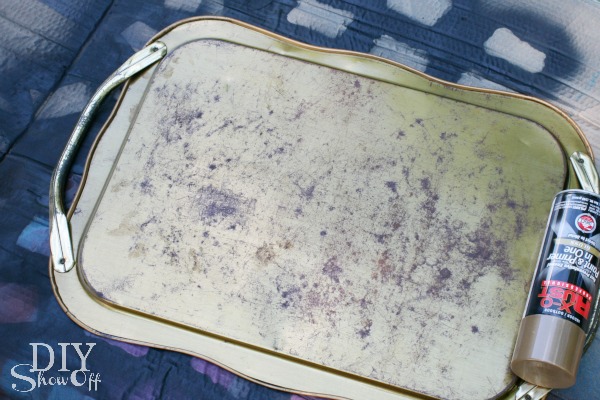
before: scratched up

serving tray before makeover

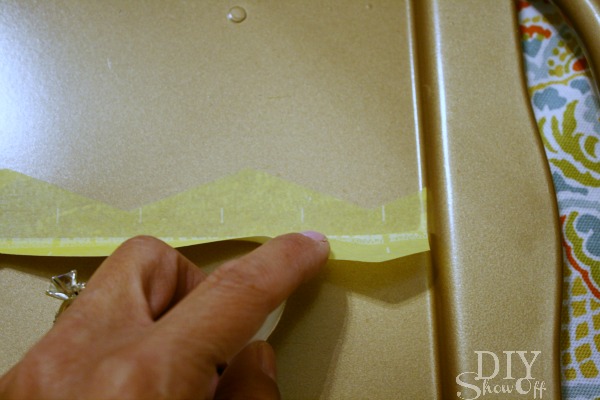
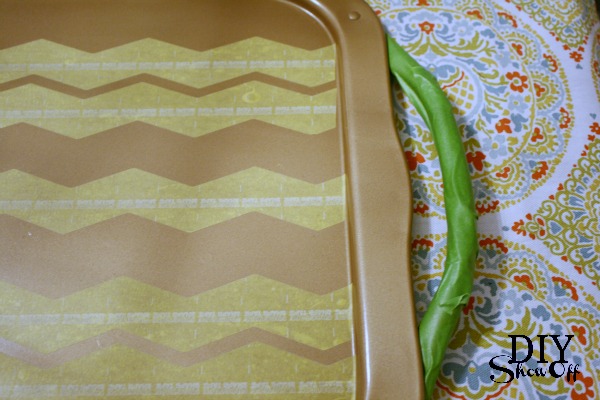
It was the perfect project to try out the new chevron pattern Shape Tape from FrogTape which also comes in a wave and scallop pattern. FrogTape sharp paint lines and fun patterns…gotta love that!

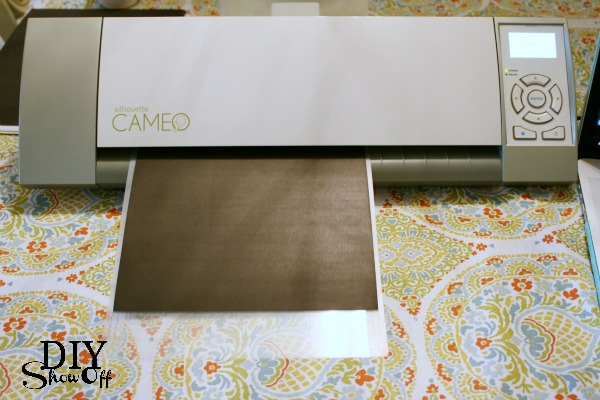
Both sides of the try got a good spray of paint + primer in gold. I let it cure/dry for a few days.

spray paint tray

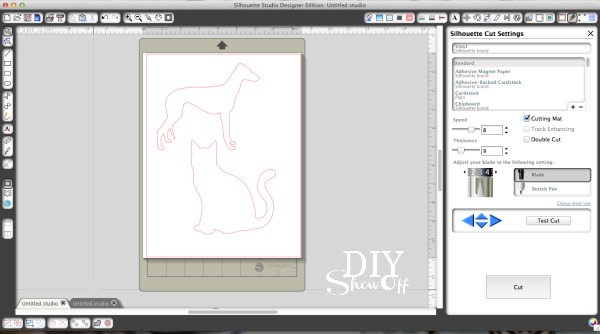
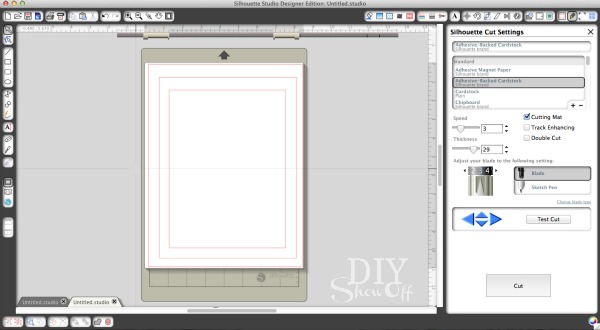
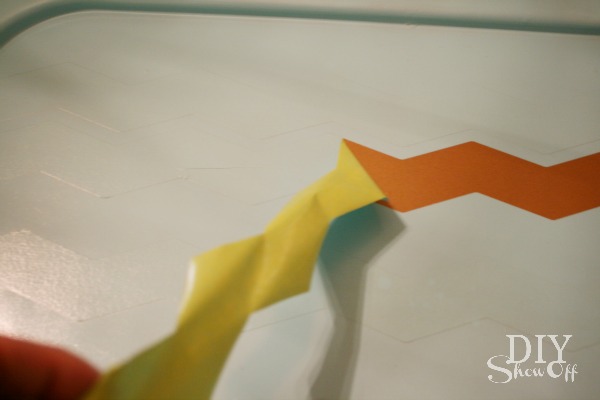
To get a perfect chevron zig zag, you’ll need to cut identical pieces (not just cut off continuous pieces from the roll of Shape Tape). 

FrogTape chevron Shape Tape

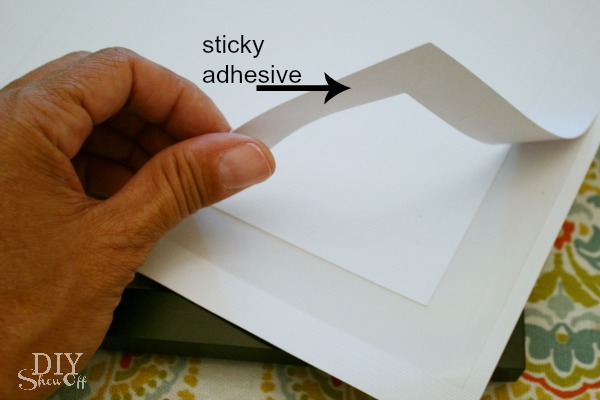
Then peel away one side of the backing…

chevron shape tape

smooth into place…

FrogTape chevron Shape Tape

and remove the other side of the backing and smoothing the adhesive into place. 

Shape Tape

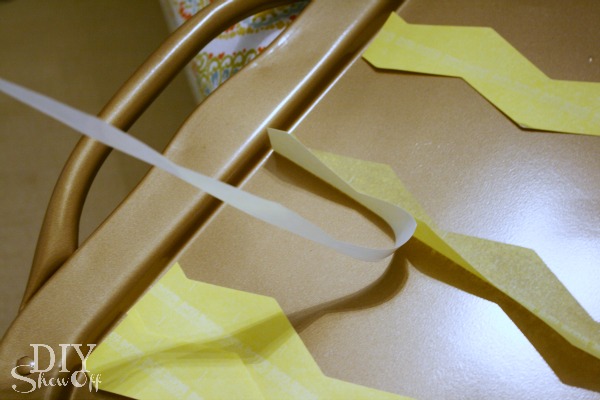
Be sure that all tape edges are secure…

chevron FrogTape Shape Tape

I taped up the handles so they’d remain protected/gold too…

FrogTape

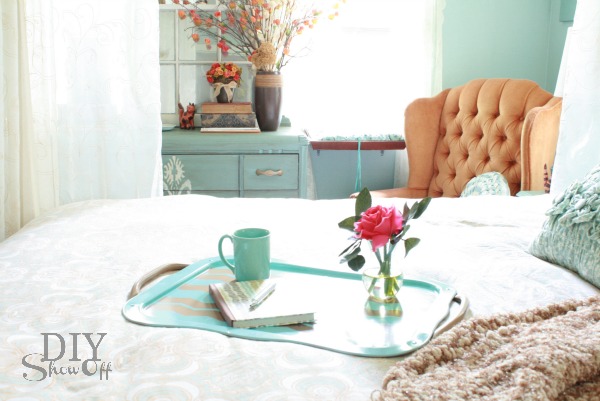
then sprayed a top coat of “ocean breeze” by Krylon and removed the tape once the spray paint dried for a couple of hours. Nice crisp paint lines! 

removing Shape Tape

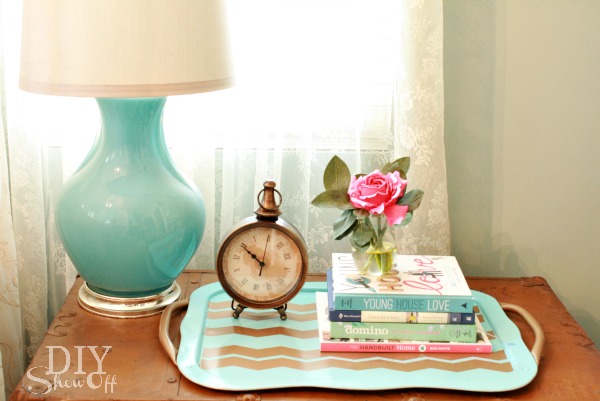
Ta-da! Love it. Although Bri thinks it’s a pretty tray with “bacon” decals. Hey, I love bacon so all is well! 😉 

chevron serving tray makeover

Now it’s a serving tray that coordinates with our guest room

guest room

Serving trays are so fun to makeover.  I still use the one I did a few months ago all.the.time. Trays make great photo props.

DIY herringbone serving tray

Frogtape serving tray

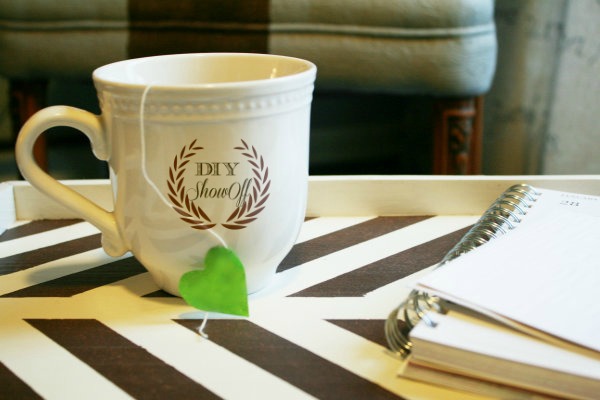
Great for not only serving, but more often – displaying vignettes on a coffee table or side table. 

bedside tray vignette

*This sponsored by FrogTape. FrogTape provided by Shurtech. The opinions are completely my own based on my own experience.

 FrogTape Blog Squad


Ps. Fun FrogTape Pin to Win Sweepstakes now through August 5th!

pintowinFrogFB

Framed Pet Silhouettes

I love silhouette shapes, don’t you? In need of some sort of framed art in our hallway, I decided to whip up some silhouettes of my pets to frame.

Framed Pet Silhouettes on Burlap

We have two pets in our home…Lalka, our ragdoll cat:

lalka.ps2

CocoRosie, our Italian greyhound:

rosie italian greyhound

Actual pictures of them are something I haven’t framed but black silhouettes on burlap are just about as sweet!

how to make a framed pet silhouette

Materials I used:

  • Two 8×10 picture frames
  • Burlap
  • Silhouette textured adhesive cardstock from Happy Crafters

What I did:

1. I cut out two 8×10 pieces of burlap (and ironed them using my irons highest setting and spritzing the burlap with water (not steam) on both sides).

burlap craft

2. Using my Silhouette designer studio software, I purchased a cat and greyhound silhouette from the Silhouette store and created two designs for cutting, one of an 8 x 10 matte for my white adhesive card stock and a dog and cat measured to fit inside of the matte on black adhesive card stock. I also saved my designs to cut out more adhesive cat and dog shapes for making handmade cards (using the adhesive card stock is like making your own custom stickers and adhesive labels).

pet silhouettes

matte

3. Then adjusted the settings according to the “adhesive card stock” option and sent to the Silhouette for cutting. 

cutting pet silhouettes

4.  Then simply peeled away my designs and placed them on the burlap. Easy peasy! I like that the adhesive keeps my designs in place on the burlap. 

adhesive cardstock

Italian greyhound silhouette

5. Then framed and hung them up on the wall. 

framed burlap adhesive cardstock pet silhouette tutorial

So cute!

Do you have pet art in your home? I love whimsical pet silhouettes. Remember my Italian Greyhound t-shirt?

DIY chevron greyhound applique

Who knows what I’ll embellish next! I don’t have a pet accented throw pillow yet. It might be next on the list. 🙂 

HClogopngsmall

This post was sponsored. Happy Crafters provided the adhesive card stock. As always, opinion, experience and tutorial are my own. 🙂 

THAT DIY PARTY Highlights

That DIY Party Highlights:

That DIY Party highlights

Every week I’m so inspired by your DIY projects. Here are some highlights from the previous week’s THAT DIY PARTY:

FUN DIY:

Amanda shares her awesome DIY collapsable teepee at Mommy is CooCoo! So fun, I’d like one and I don’t even have little ones running around. Seriously. It’s even “no sew”. I need one. 

DIY teepee - Mommy is CooCoo

DIY Accents

Nicki revealed her brown paper bag floors at Sweet Parrish Place and wow, are they gorgeous!

brown paper floor reveal - Sweet Parrish Place

Outdoor DIY

Taryn built this super cool DIY garden slat wall at Design Dining & Diapers. Brilliant for decorating, privacy or covering something less desirable. Love it!

DIY-Garden-Slat-Wall-by-@Design Dining and Diapers

 Susan’s DIY garden spiral at Oh My! Creative is such an inspiring garden idea for small spaces or a pretty accent. Wouldn’t it be pretty with flowers too? 

How-to-create-a-small-vegetable-garden-with-a-garden-spiral-OhMy-Creative 

Beautiful Rooms

Francine has a new subway tile backsplash at Ethereal + What I Love but really, I love her entire kitchen!

backsplash - ethereal plus what I love

Have you seen Marty’s bathroom makeover at Marty’s Musings? I’m not sure which element is my favorite, the entire reveal shows so many fun accents!

Small-Bathroom-Remodel-from-Martys-Musings

and along the same aqua and orange color scheme (aren’t those colors beautiful together?!), Jennifer revealed her sweet aqua, orange and grey nursery at Delightfully Noted…so much precious nursery eye candy too!

aqua orange nursery - Delightfully Noted


There’s one gorgeous sunroom makeover at This Girl’s Canon packed full of awesome DIY projects…

sun room makeover - This Girls Canon

Cool TIPS

See more great ideas linked up and pinned to That DIY Party pinterest board

thatdiyparty.pinboard

Do YOU have something DIY related to “show off”? Head over to this week’s THAT DIY PARTY and link up! Party runs Sunday through Friday evening!

That DIY Party