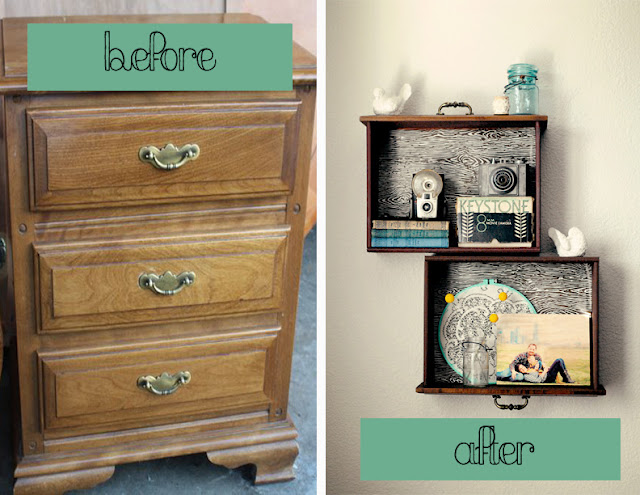
Creative budget friendly ideas like these side table drawers turned wall shelves are such an inspiration. Beautiful, practical and so fun! DIY friends, I’d like to introduce you to Katie, lifestyle blogger at
and I’m honored to ‘show off’ her latest creative do-it-yourself project:
Katie was working with a limited budget of less than $20. She wanted shelving and wanted it to be something you don’t see everyday. This is her creative solution…
Adorable! Seriously. It might not be completely original (as Katie discovered on Pinterest) but to most of us, it IS original and definitely inspiration for dressing up an empty walls space.
For this DIY Project Katie used:
1. Drawers. Preferably made of real wood. Check local thrift store, the free section of Craigslist or Freecycle.
2. Paint- Katie used 3 small bottles of acrylic craft paint in dark brown. (optional)
3. Sand paper
4. Wrapping paper- Katie used this roll from the Container Store left over from a a nursery project. (other options: wallpaper, contact paper, scrapbook paper, fabric)
5. A glue stick, double sided tape or decoupage
6. Nails, hammer and laser level
Time: 1-2 hours
Cost: $12 for the drawers and the paint, everything else Katie had on hand (you probably do too!)
The Process:
First, sand down the sides and back of the drawers. Katie liked the wood grain and hardware so left the front of hers untouched.
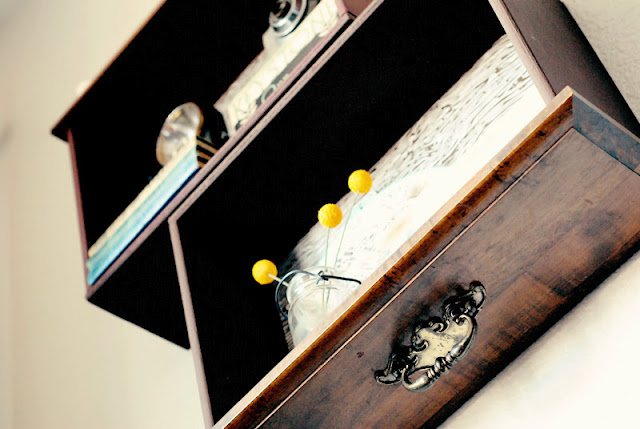
If needed, give them a good 2-3 coats of paint.
Once dry, cut wrapping paper to fit into the bottom and secure with glue, double sided tape or decoupage medium.
Katie simply secured hers to the wall using two nails in each draw but since all drawers are different, she recommends looking at the bottom of the drawers to decide how they will hang flat on the wall.
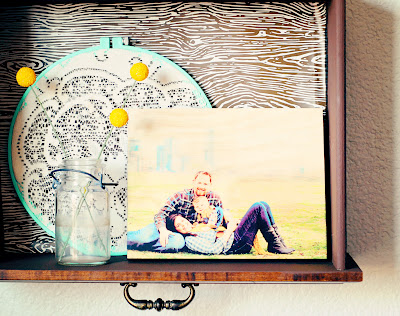
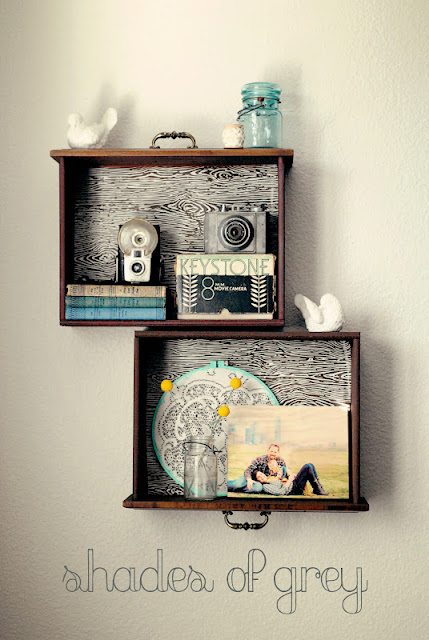
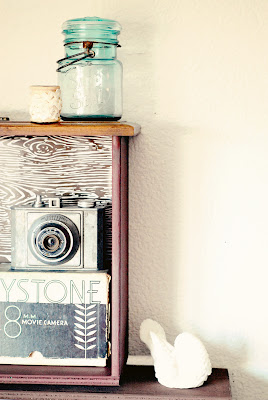
Katie did a lovely job styling her shelves…
Previous life and up-cycled:
I.love.it! How about you?
Pop over to pin from original source and to see “faith*family*photography*crafting” from Katie at Shades of Grey. She has 44 projects in her DIY category worth browsing! Tell her I said “hi”!




Gorgeous, but there’s no way I could take apart that beautiful piece of furniture to do this!! It would have to be half falling apart first!!!
xox
These are so cute and I love the price, At first I thought you painted the backs to look like wood grain. The wrapping paper is awesome.
WOA the things people come up with! I seriously love this. Very creative
LOVE these! And I have 2 drawers in my attic waiting to be re-purposed. And 2 empty walls waiting for inspiration. YEAH! This weekend’s project -t hanks so much for sharing! Will try to come back and share a pic after they’re finished 🙂
Great idea! Thanks for sharing 🙂
I always love to see repurposed drawers. These turned out just lovely. Thanks for sharing!
i so love it!
love the detail of the drawers, so perfect
x kat
This is UH-MAZING! I love this idea…I really want to do it in my house! 🙂 Thanks for inspiring me!
Love it!!! So creative and resourceful not to mention a great recycling protect too. xo P.S. Thank you for being one of my first linky followers at my Keepsakes By Katherine blog 🙂
I’ve always wondered how to style something this small – I love the camera and books. Great job!!
What a cool idea and it looks good! I happen to have a couple random shelves hanging around. I might have to try this 🙂
Another great idea! Thanks for sharing! 😀
Those drawers as wall shelves have me clunking my hand on my head saying “why didn’t I think of that” …
I’m heading over to Katie’s blog so that I can pin these beauties!
🙂
Linda
This is an awesome idea! Thanks so much for sharing and introducing another great blogger! 🙂 I’m following Katie now on Google Reader.
Ohhhh, never thought of this 😀 Absolutely gonna use this idea.
This is way too cute. I love it!