


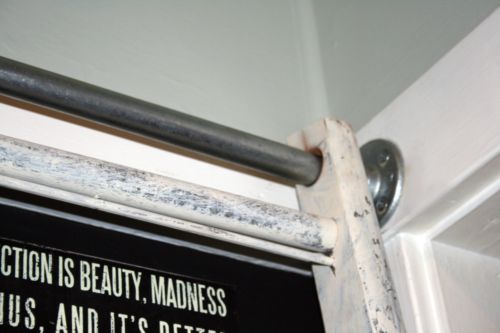
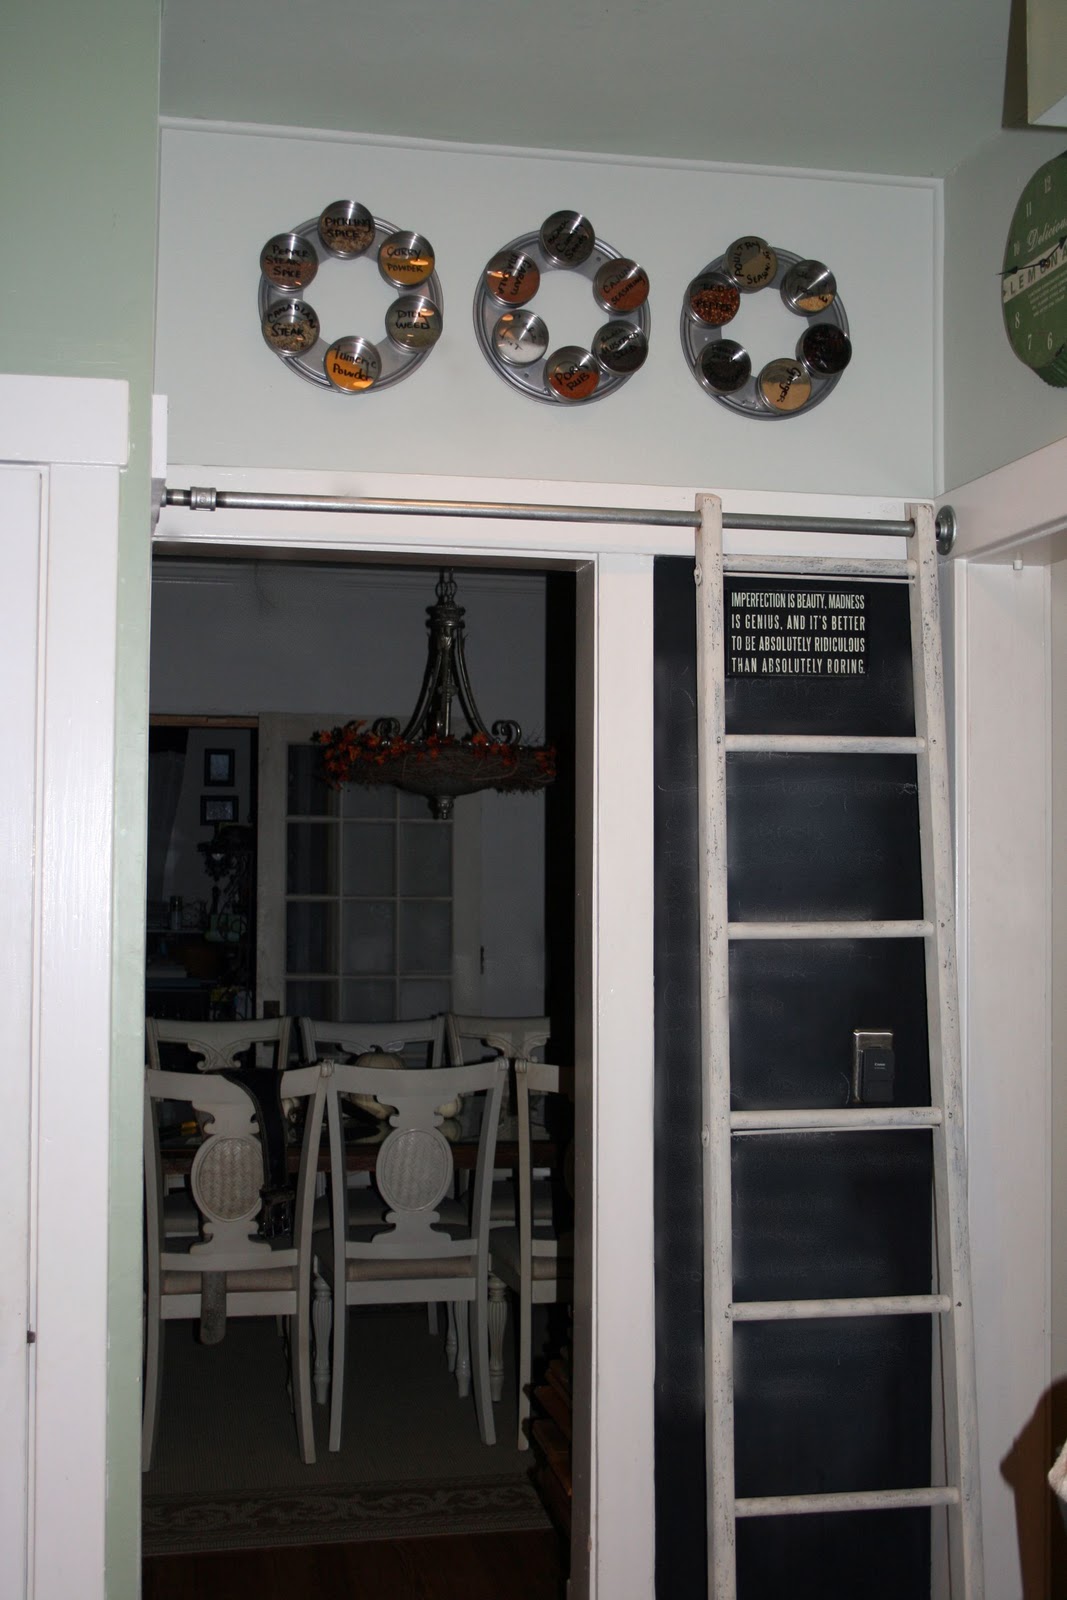
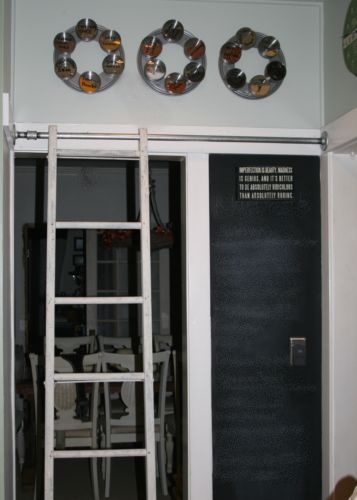
We were free to catch up on some little DIY projects this weekend. One was putting our vintage ladder on a sliding track to reach the spice loft.
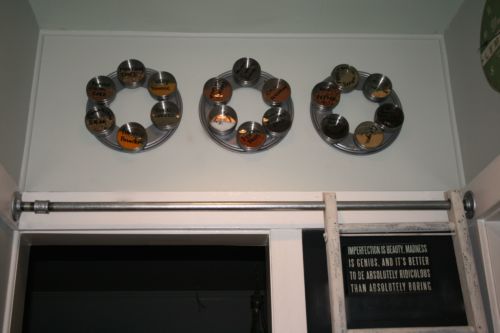
When we created these spice wheels, we had no idea it would be so convenient or that we’d love and use it so much.
Here was our chaotic spice cubboard before:
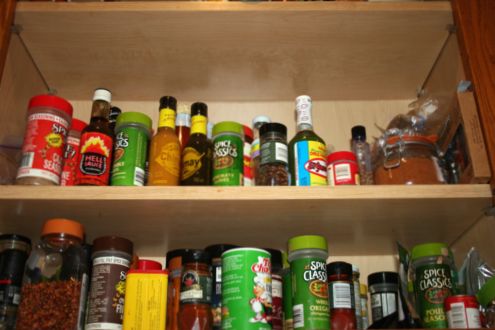
Now, it’s simple to grab from here because they’re all visible and Mr. DIY likes that he can scoop them out with a spoon rather than sprinkle. He even wants to add another lazy susan spice wheel. At 6’2″, he can reach and spin the lazy susan but I need the ladder. I love the convenience and the look.
Materials for ladder track (available at True Value):
3/4 inch galvanized pipe
2 flanges
*If you have a space for this, we’d recommend adding more support to the walls. We happen to have picture rail type trim in this cubby/wall space to help with support.
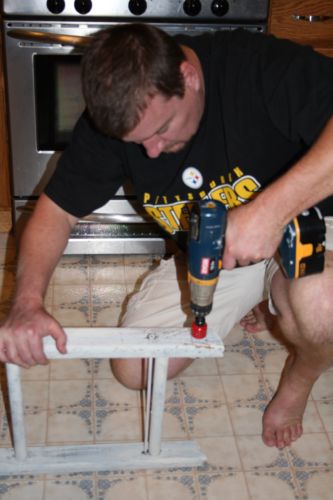
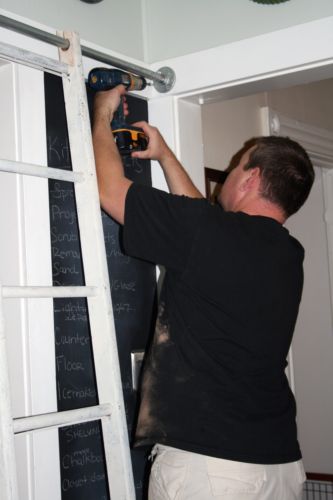
We added the threaded nipple and coupling to add length to the 4′ pipe because it was a bit too short (insert juvenile giggle). Holding the flanges and pipe in place, mark where drilled holes for screws need to be placed. Drill screw holes for flanges. Also, place the ladder where the pipe will run through it. Mark where the holes need to be placed for the ladder.
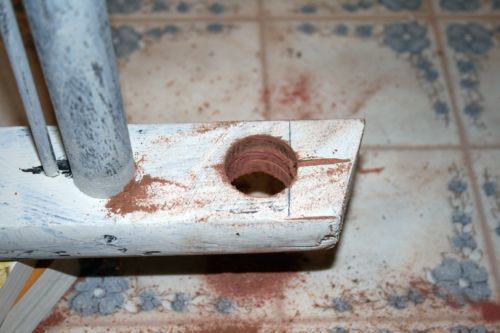
Using a hole saw drill bit, drill holes slightly bigger than 3/4 inch pipe into the top long boards of the ladder.
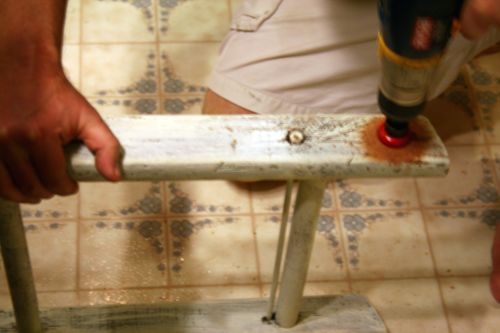
Depending on thickness, you may need to drill from both sides. If this is the case, drill one side with the hole saw drill bit. Then change to a regular drill bit and drill through the center hole the entire way.
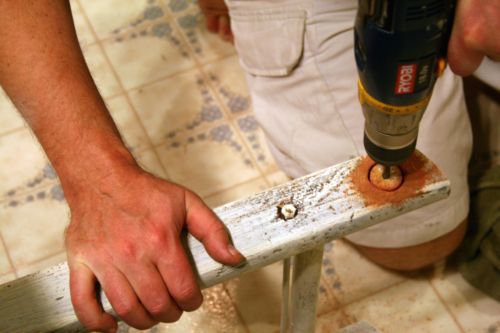
Change back to the hole saw bit, flip the ladder. Line up the center hole and continue drilling until the wood in the center of the hole saw bit goes all of the way through. Repeat for the other side of the ladder.
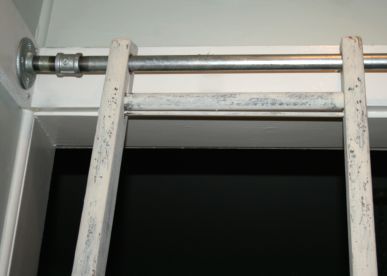
Slide ladder onto pipe. Add flanges to ends of pipe. Push flanges/pipe into place. Line up holes in flanges with holes in previously drilled into the wall. Check level. Insert screws to secure flanges to wall.


All done. We plan to add felt furniture movers to the bottom of the ladder once our floors are done to protect the new floor and make sliding easi
er.
er.
What do you think? I hope this is a little helpful. That was hard to explain! But if you’re planning to do something similar and have any questions, please ask. 🙂

You got to see things in these pictures that we’ll be changing soon including the honey oak cabinets and that awful linoleum floor. I can’t wait to see the reveal myself. We’re so sick of our 1980’s kitchen! I’ll update as we complete things. Hopefully next year at this time I can hardly remember living with the outdated look.
Let’s see what you’ve been up to!

If you’d like to link YOUR DIY project post to The DIY Show Off Project Parade:
1.You must use the button above and link to this post to share the linky love.
2.Include your name or blog name and project title. Add your permalink (not your blog url, but your DIY project post url). Feel free to link a Past Post, just invite your readers in a current post with a quick note.
3.Or email your link to thediyshowoff@gmail.com and I will add it for you.
4.If you notice your link has disappeared -please add the link back to The DIY Show Off to your post today, a button or a quick note to your readers about the party and try again! I love when everyone participates and readers check out everyone’s links, but I think the return favor of linking back is the nice thing to do so everyone plays fair and enjoys all of the projects and links. Also – this blog party is for DIY projects only. Links not related to DIY will be deleted.
*~*~*~*~*~*~*~*~*~*~*~*~*~*~*~*~*~*~*
I was one of the bloggers selected by True Value to work on the DIY Squad. I have been compensated for my time commitment to the program as well as my writing about my experience. I have also been compensated for the materials needed for my DIY project. However, my opinions are entirely my own and I have not been paid to publish positive comments.
I’m linking to:

I love the sliding ladder. Would so lobe to have one in a library! Can't wait to see your finished kitchen! Thanks for hosting!
that ladder is awesome! i love it and wish i had a place in my home for such a cool thing. thanks so much for hosting- happy halloween!
Thanks for hosting. Love your ladder — awesome!
What a great idea and the ladder is fabulous. Love it. I've always wanted one of those with a long wall of bookcases. Super idea. Hugs, Marty
I love your spice loft but that ladder is even cooler. I need to find a place to put one. Thanks for sharing the how-to. Thanks for hosting again. Have a great week.
This is an incrediable project. I have never seen spice wheels. What a great idea.
This is an incrediable project. I have never seen spice wheels. What a great idea.
LOVE this! Such a great idea, thanks for sharing! And thanks for hosting….first time linking up here, looking forward to see what your readers have been up to:)
I love the ladder and the spice wheel are awesome! So unique and creative, thanks for hosting today!
What an AWESOME idea! I love it! i reallly wish I had room for something like this! I need to add it to my list of inspiration for my dream future home.
I love those library ladders. Being a shorty myself I could use some of them around here. I have been thinking of adding one to my kitchen so I could reach the upper cabinets, but there is no space, halas.
Love the way yours looks, all vintagey.
A sliding ladder, you've done it again! I was wondering how you were going to get those spices and now I know. Thanks for another great party!
this is such an awesome idea! Thanks for showing us how ya did it!
also, thanks for hosting.
gail
I love this idea. Now I just need to come up with a place to put one!!
Chris
http://www.livyloudesigns.com
I absolutely LOVE your sliding ladder! I could see my kiddos playing on it all day long! 🙂
Vanessa
totally NEED to put this in my kids room that have an 8 ft built in bookshelf…but I was wondering if yours had wheels on the bottom, or if it just hangs….
LOVE that ladder! I wish I had a place to put something like that in my house…and the talent to make it!
Love that library ladder!
This is the most unusual, unique and exciting thing I've seen for spices. Wow. However, I can only imagine my boys on the ladder for every reason BUT cooking…:) Thanks for hosting today. I finally finished a project I can blog about!
I love what you're doing with that whole area. I seriously need to get back to work!
Love the ladder (and the spice wheel idea!). thanks for hosting the party…
Oh my goodness!! I love the ladder, what a great idea putting it on a reg'lar pipe like that – genius!
Oh gosh!! You are a true DIY queen.. I love love sliding laddars.. My mini DIY projects (and paint work) seem nothing compared to yours.. not even worth linking.. *smiles*
Thank you so so much for joining the Weekend Wrap up.. You totally made my day!
Hiya.. I’ve linked in two old posts.. and will do a new post linking back to yours sometime this week.. Thank you for hosting this!! Its lovely to see so much of talent out there!!
I adore your ladder. I have always wanted one myself; but never had the need. It looks great!
This is a fabulous idea! Love it 🙂
I’m sharing this tutorial today for my weekly “Things I Love Thursdays” series with link-back & credit. Hopefully some more people will be as inspired as I am, thanks for sharing!
Ok, who do you hear more from today than me? Of course you made your own ladder!! And posted a tutorial! You guys rock! Thanks for sharing.
Catherine
Pingback: Farmhouse Kitchen Updates - DIY Show Off DIY Show Off ™