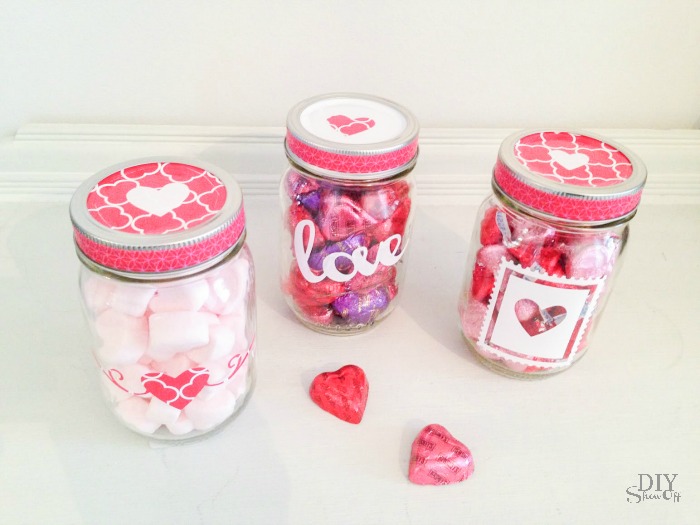
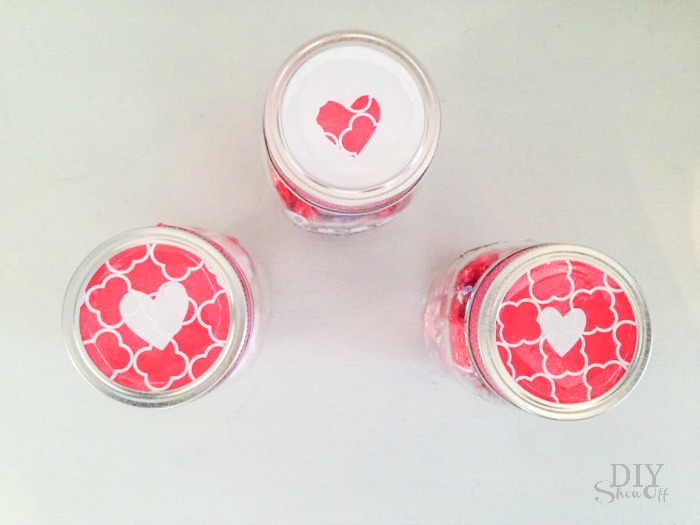
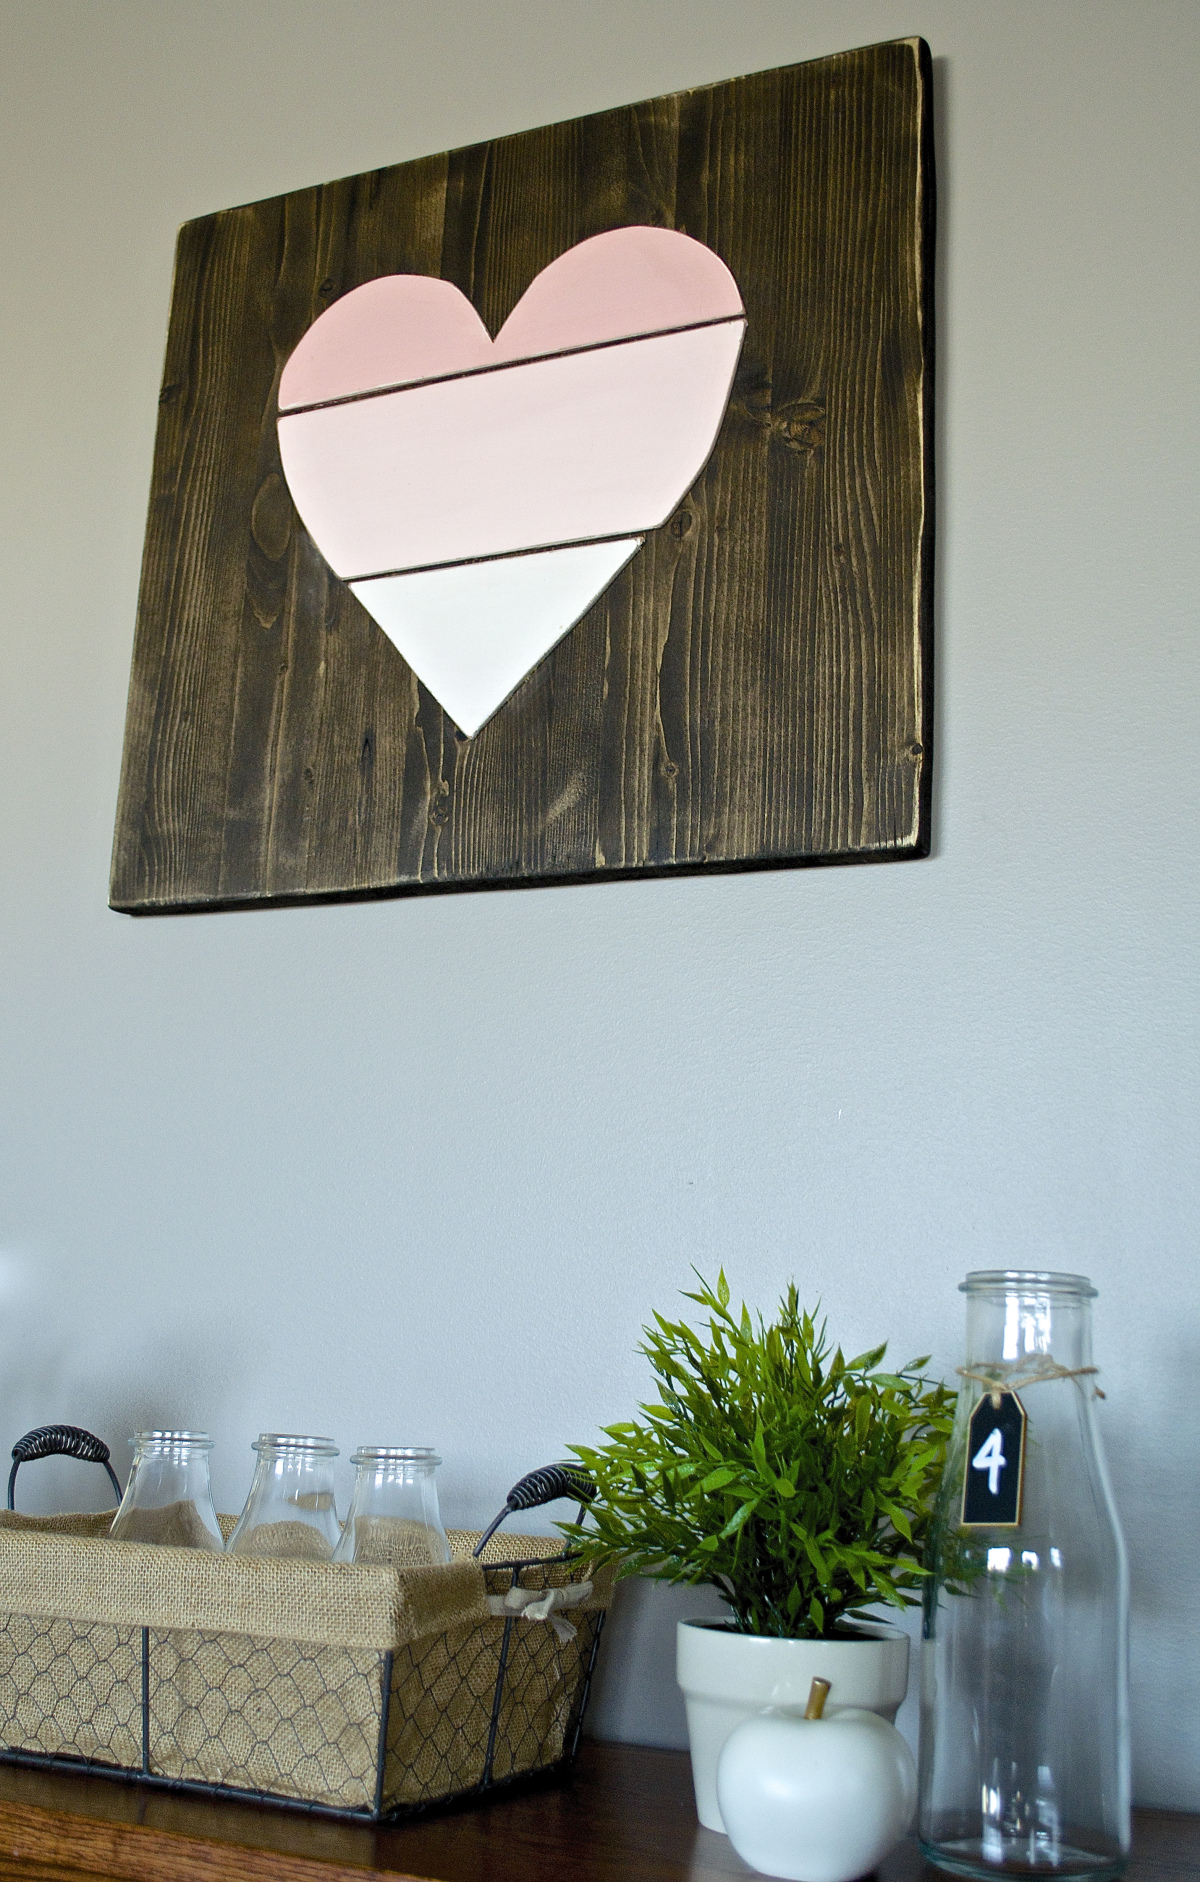
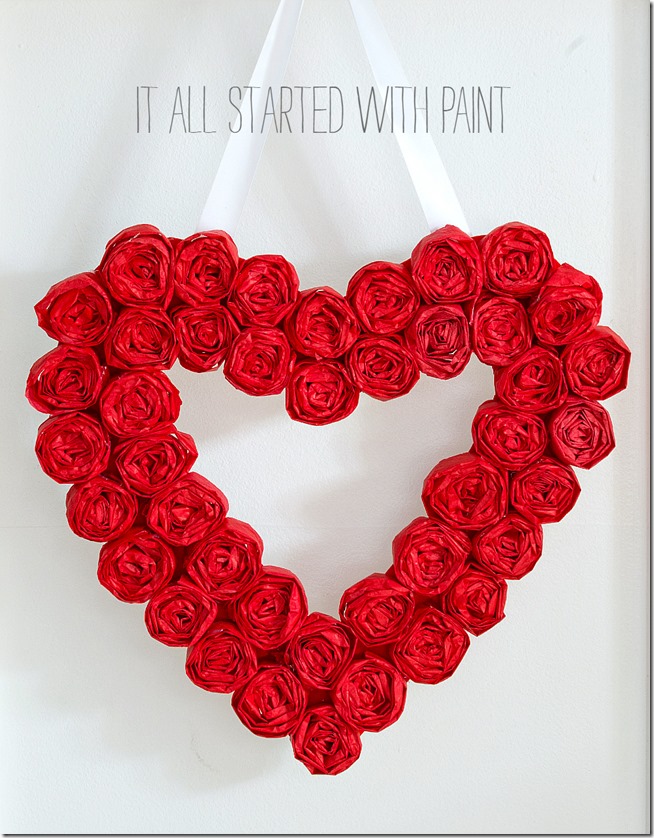
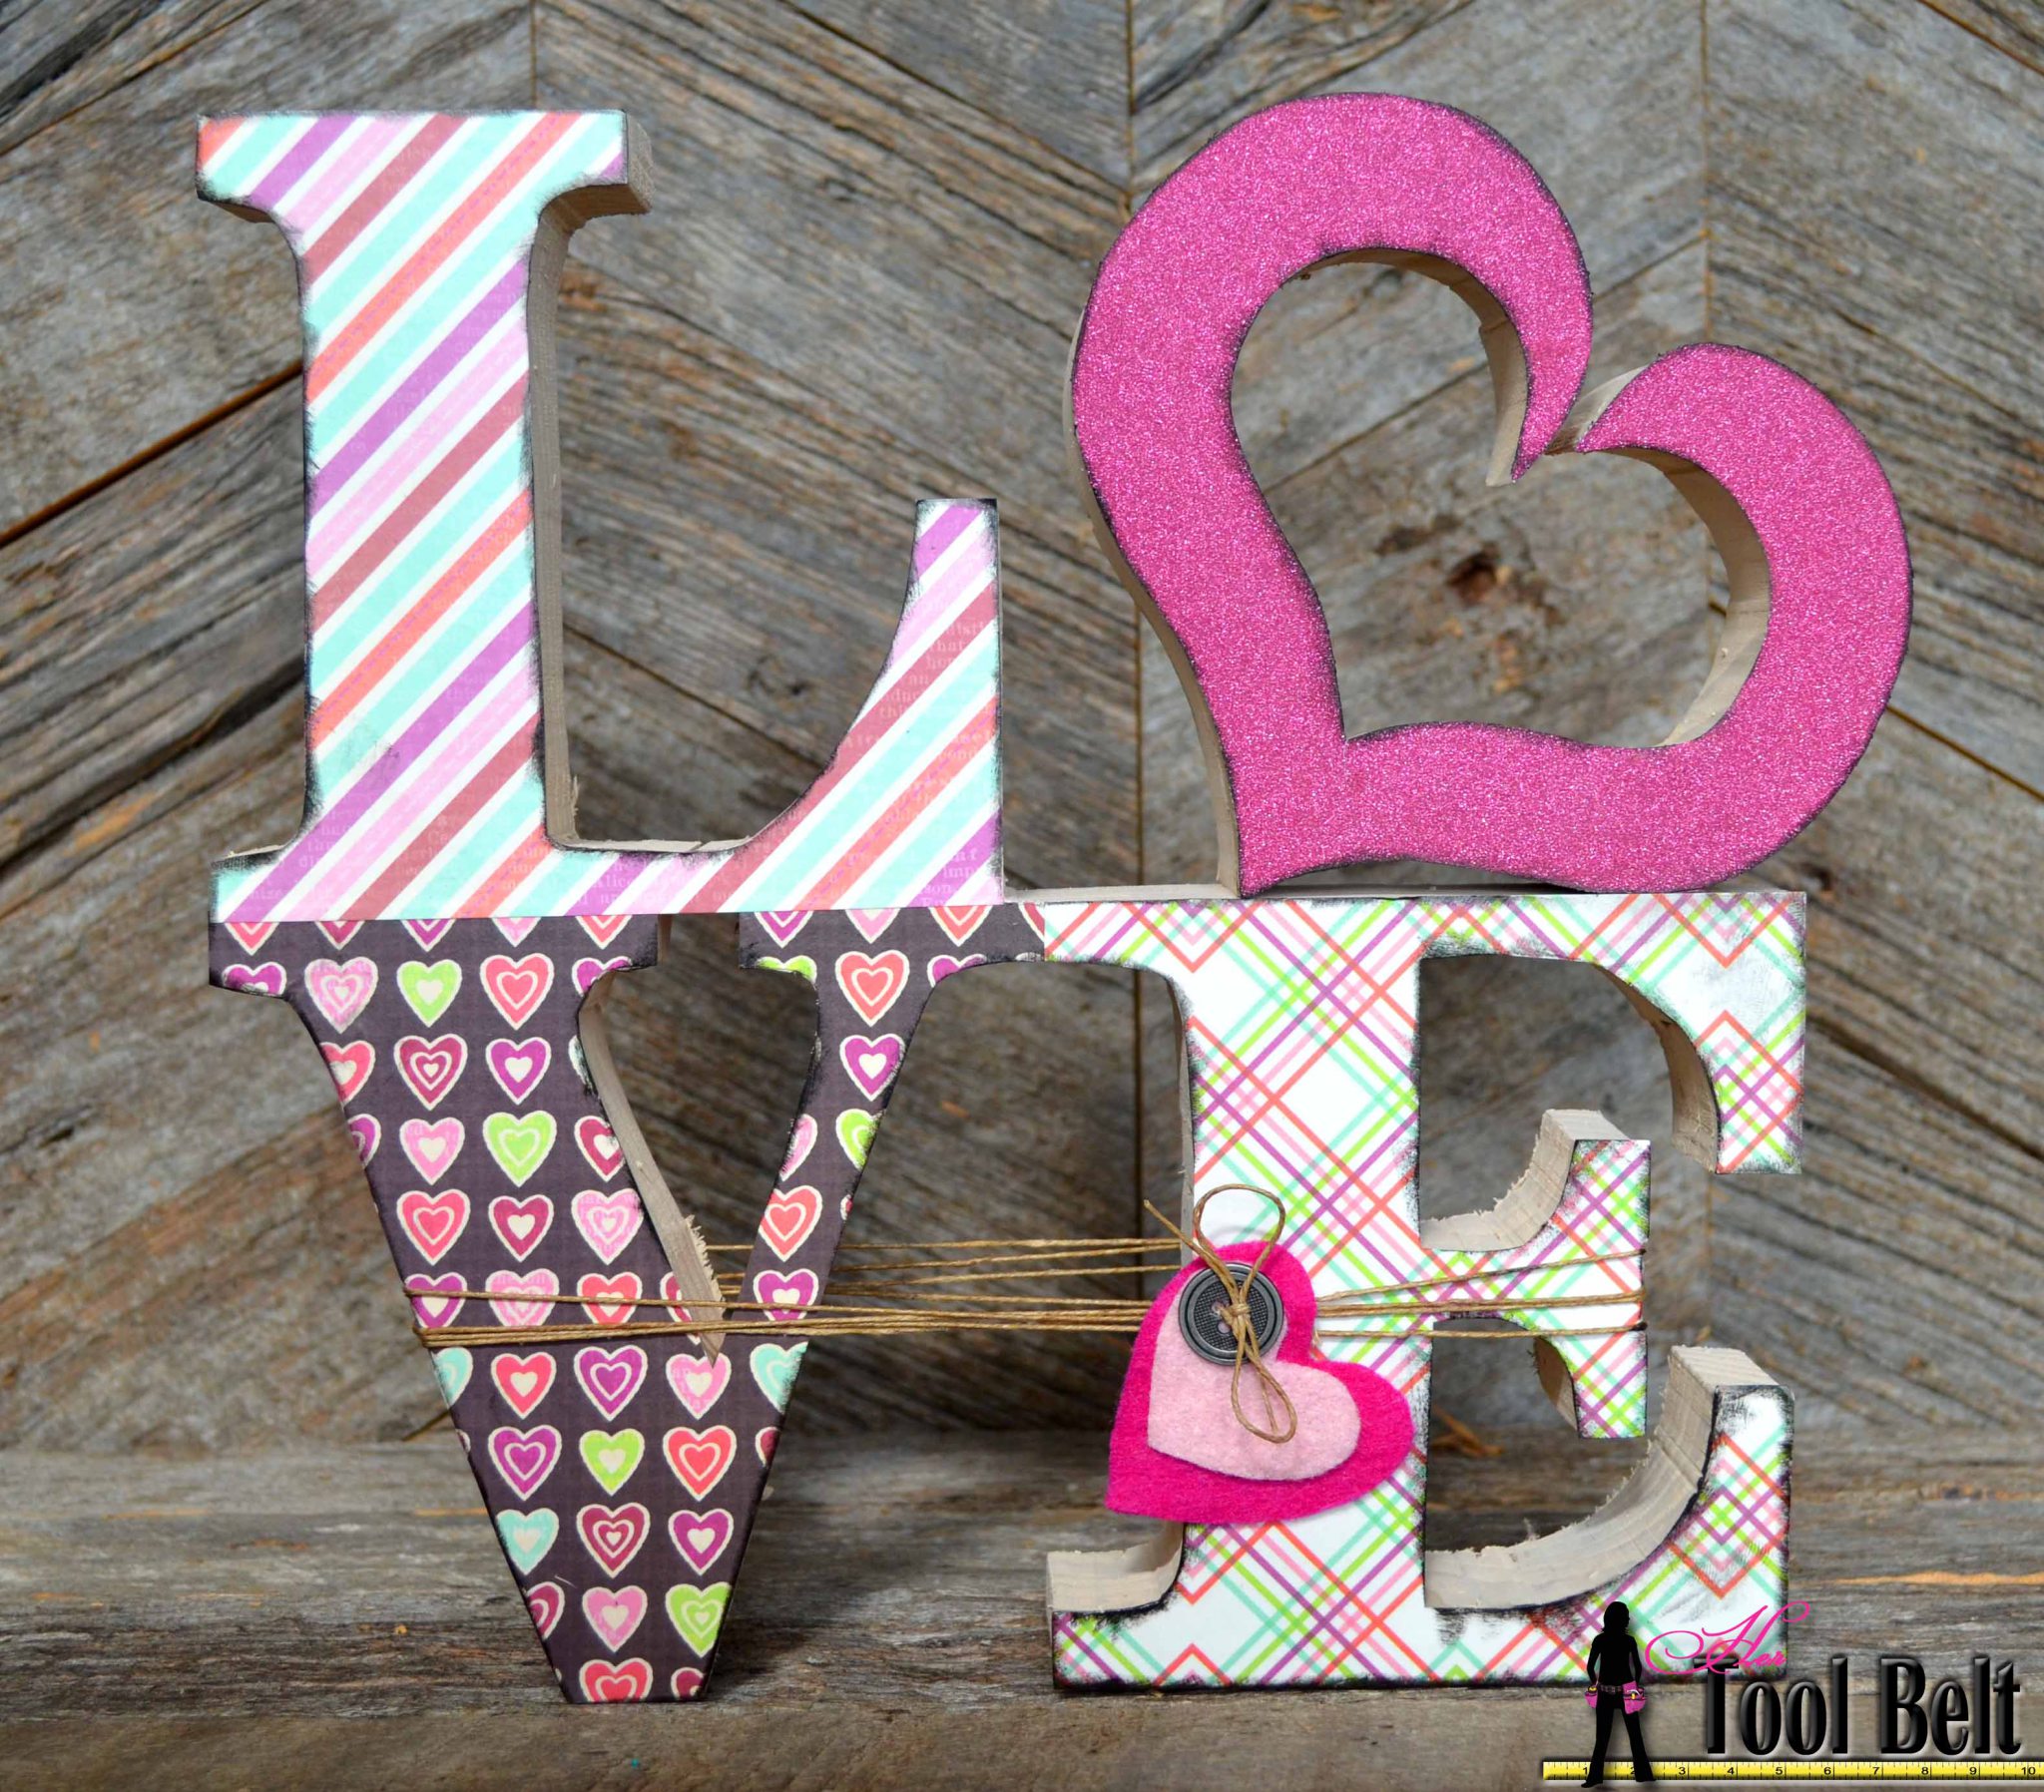
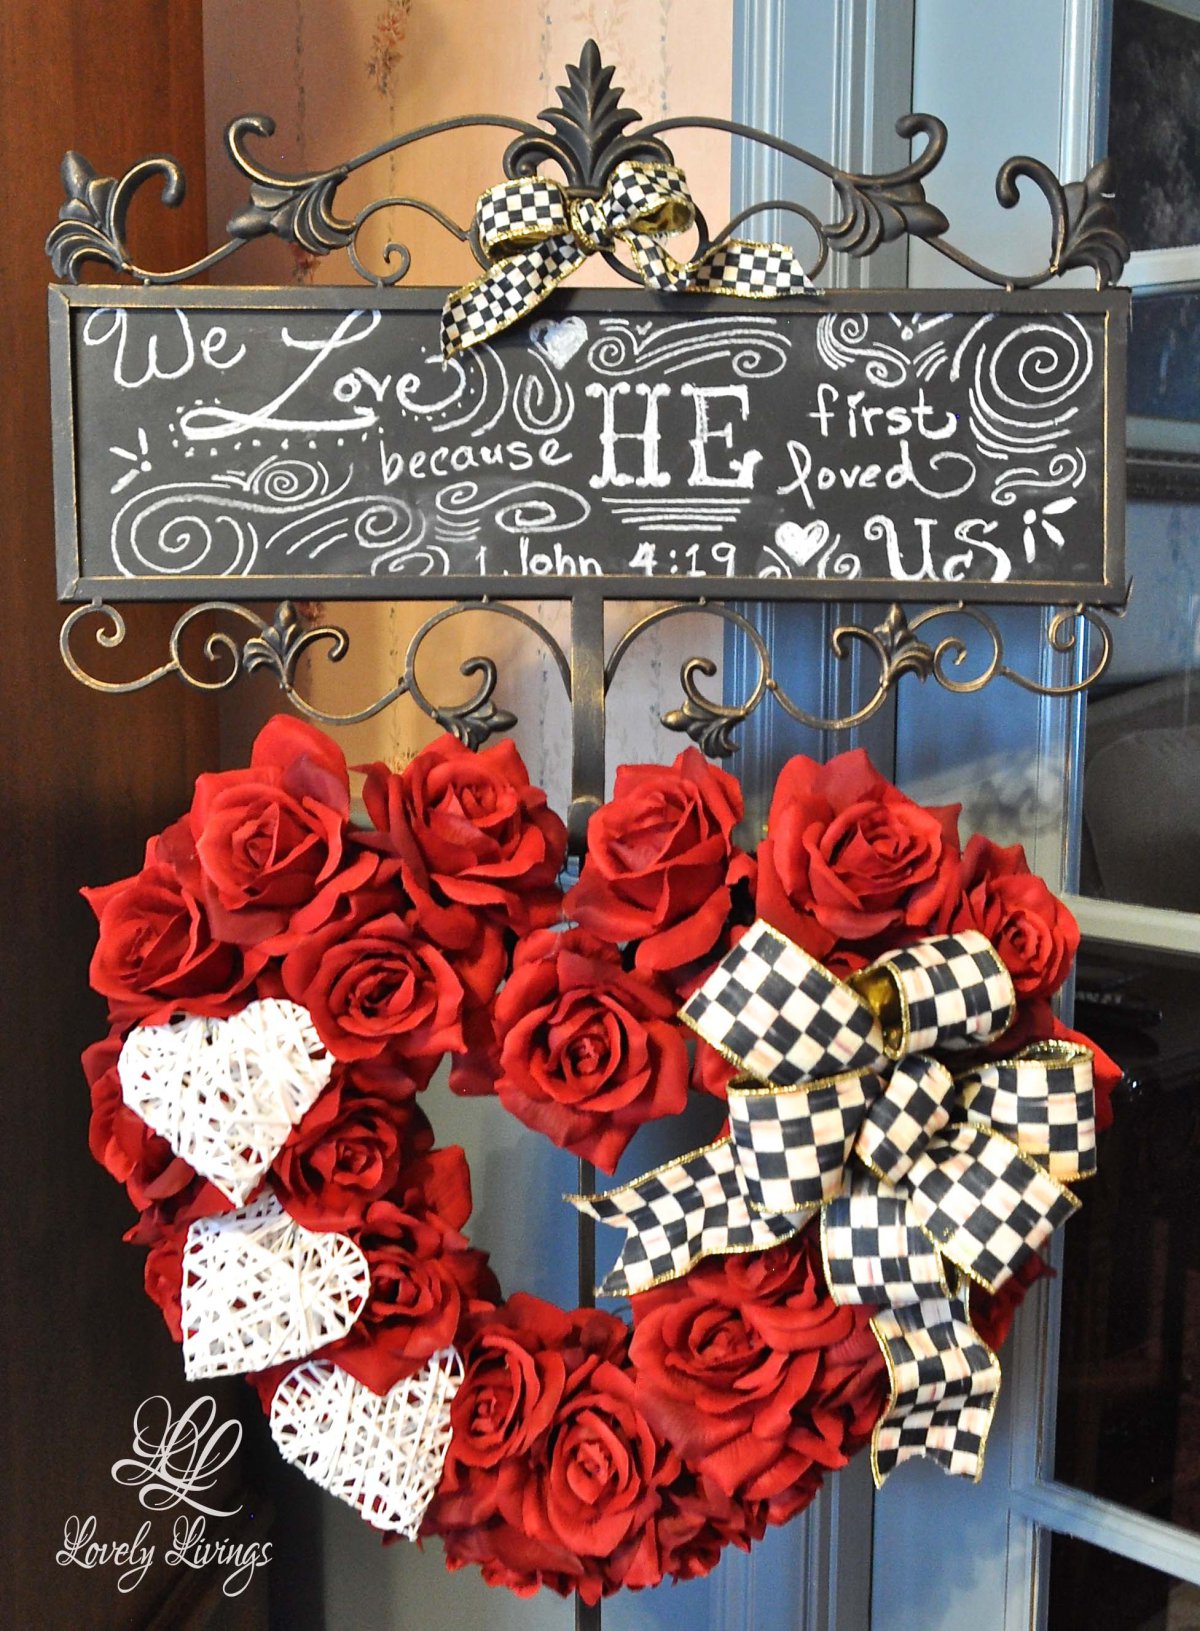
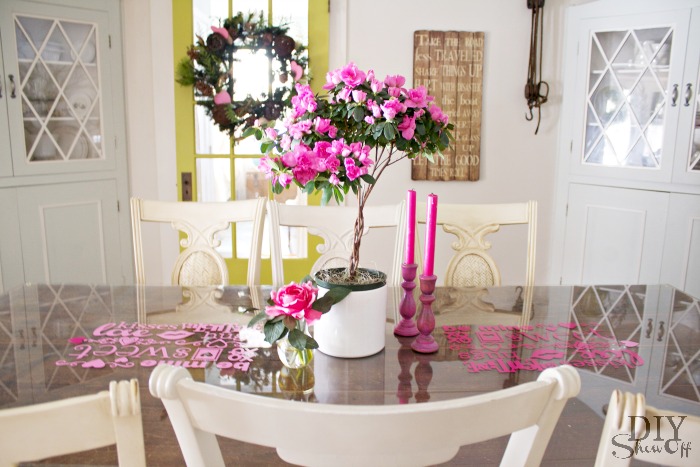
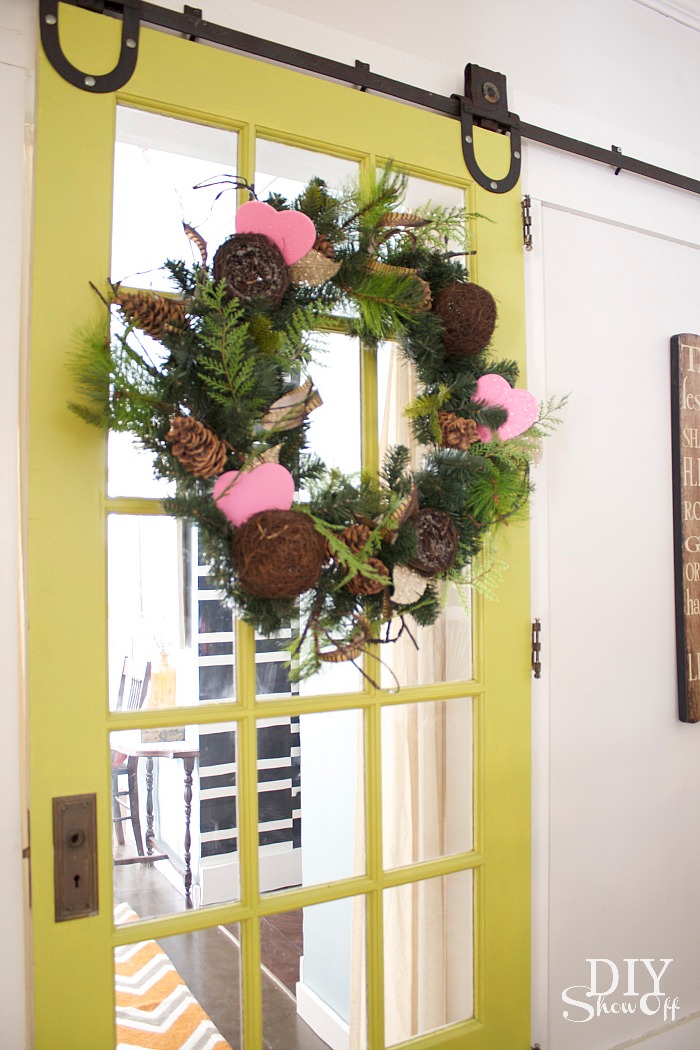
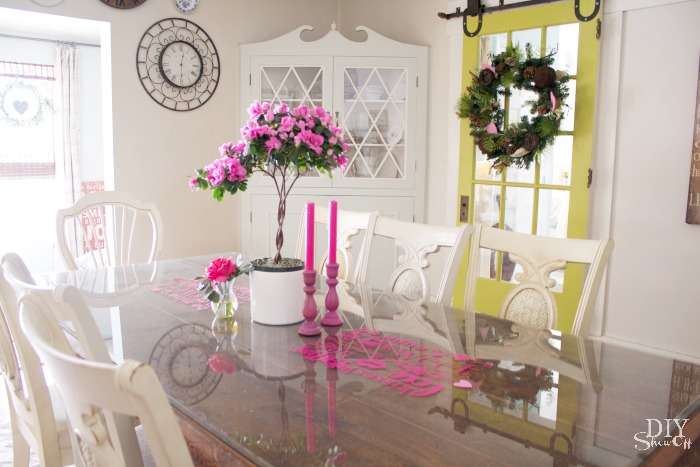
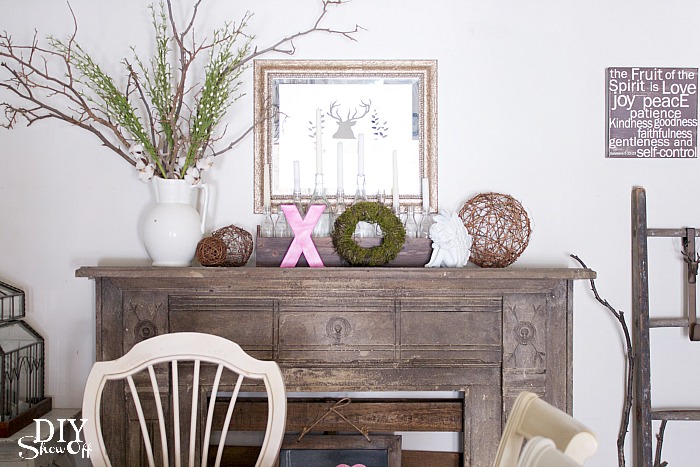
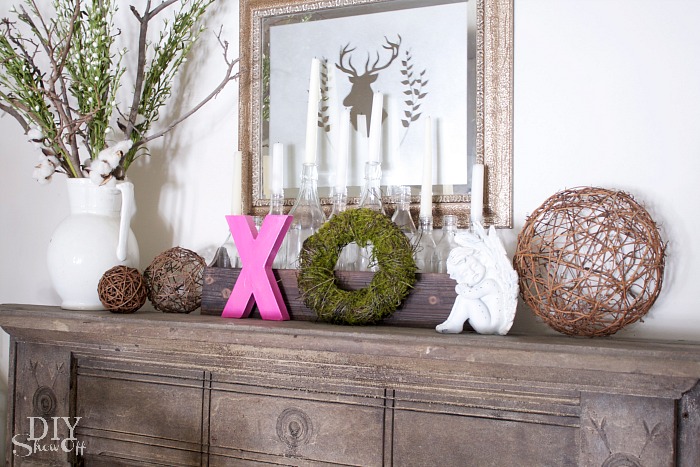
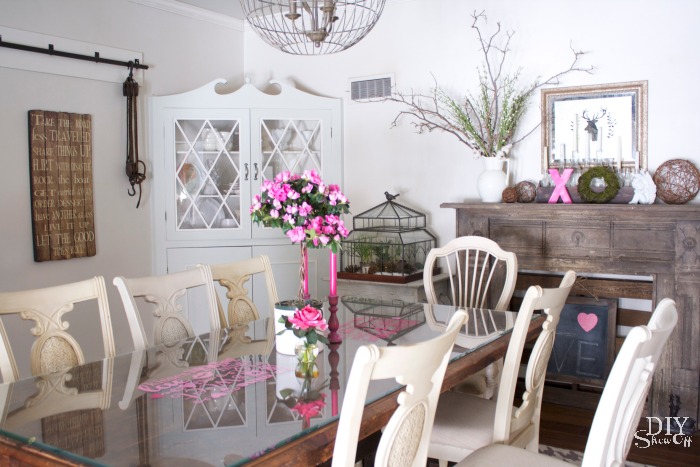
I’m not quite late in terms of sharing my Valentine decorating, am I? I don’t do much…just a little here and there, mostly in the dining room.
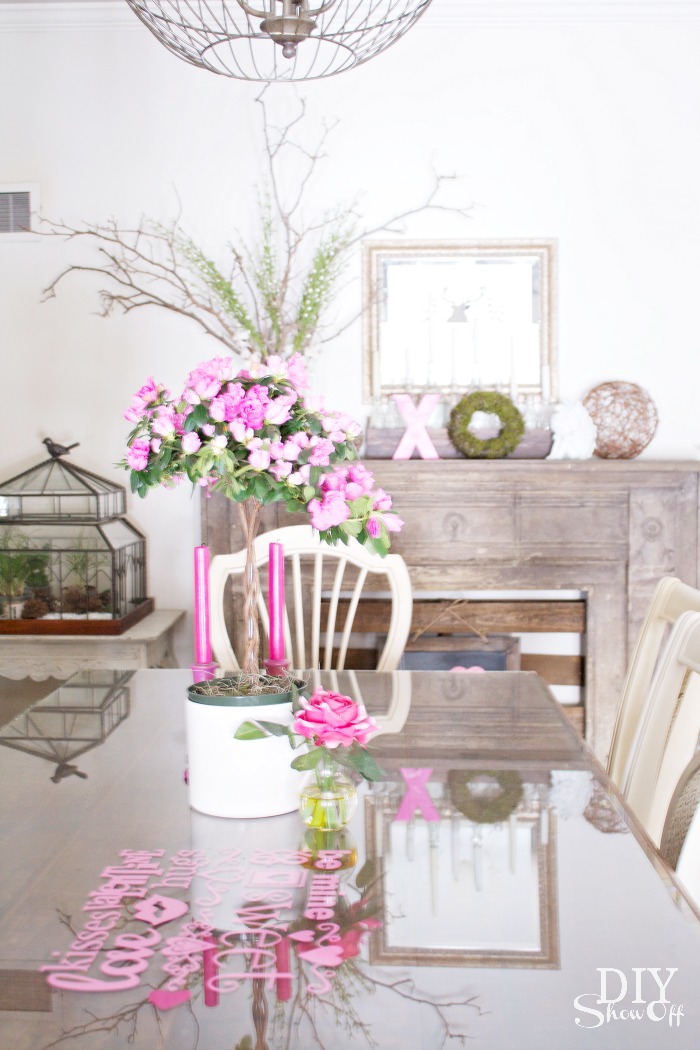
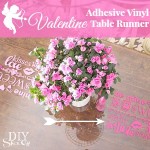
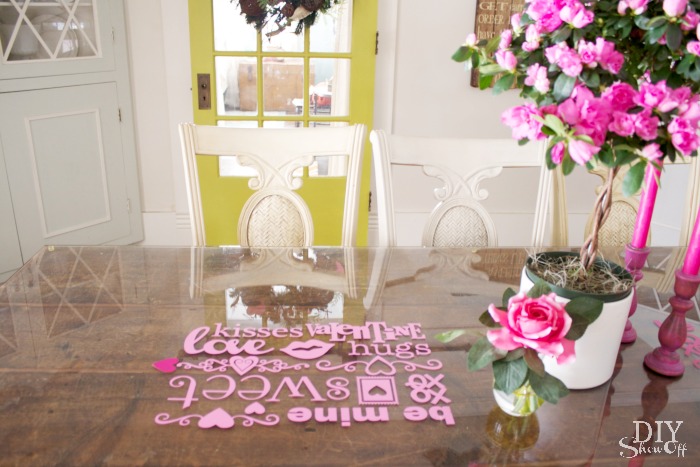
More pictures after a little vinyl tutorial: Having a vinyl cutting machine is GREAT for last minute decorating! Our reclaimed barn wood dining table is protected by a beveled glass top. And a glass top table is the perfect spot for an adhesive vinyl table runner just in time for Valentine’s day!

You’ll need:
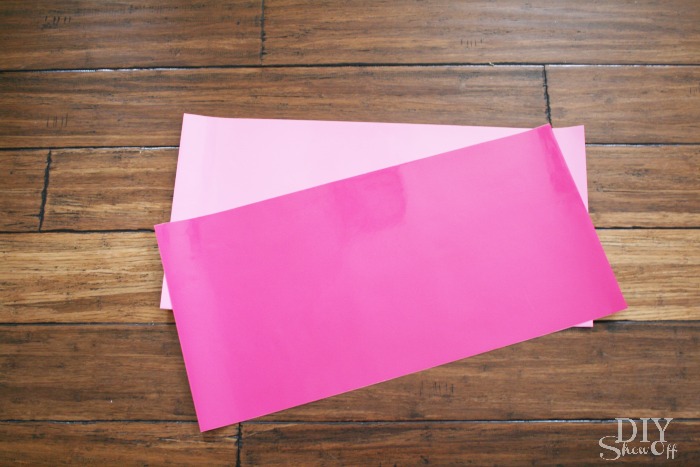
- Adhesive vinyl from Happy Crafters in pink and soft pink
- Transfer paper
Tools I used:
- Silhouette Cameo
- Silhouette Design Studio software
- scissors
- credit card/gift card
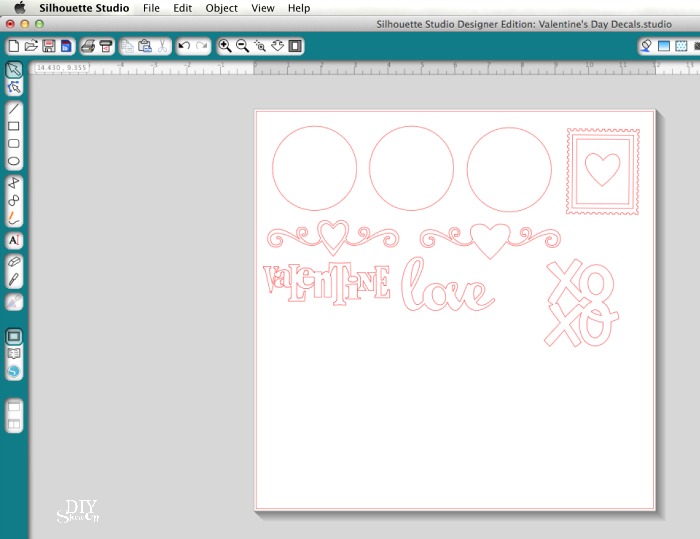
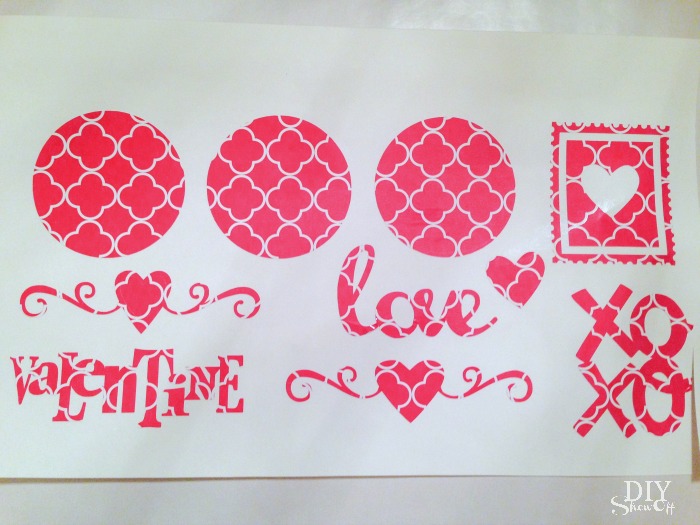
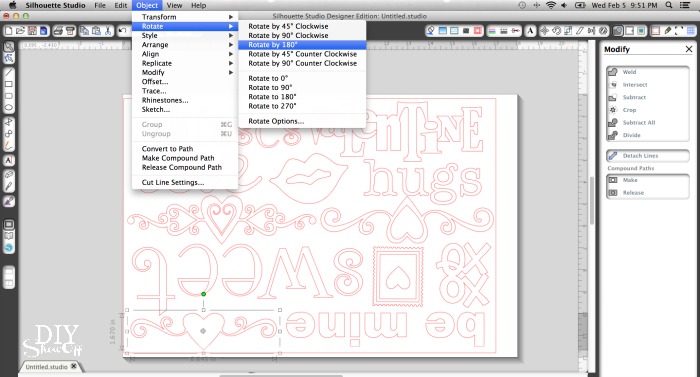
Using the Silhouette Design Studio software, I used different fonts to create Valentine text along with a few shapes from the online store. Because I wanted to have the text reading different directions, I used the rotate tool to flip some of the text and shapes.
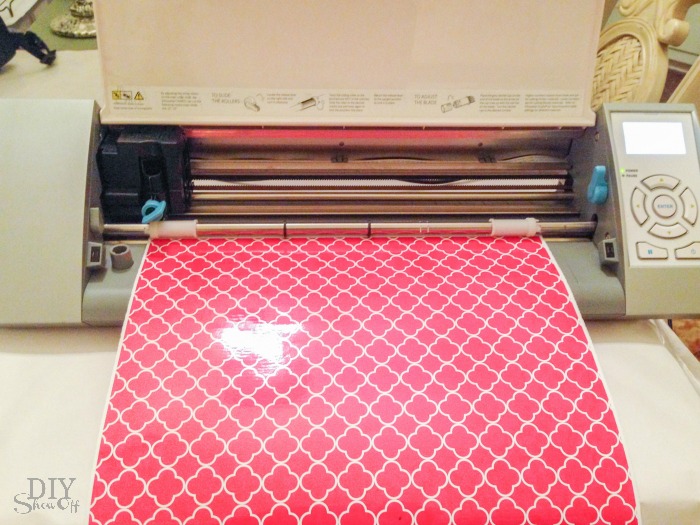
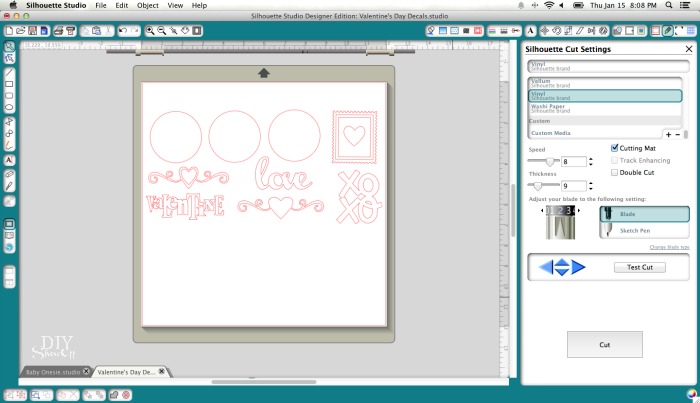
Before sending the design to cut, I uploaded the vinyl into my machine color side up then changed my setting to cut adhesive vinyl.
When cutting was complete, I removed and trimmed my vinyl design. Then inserted another sheet of vinyl and cut the design again. I used two sets of vinyl decals to create my table runner. 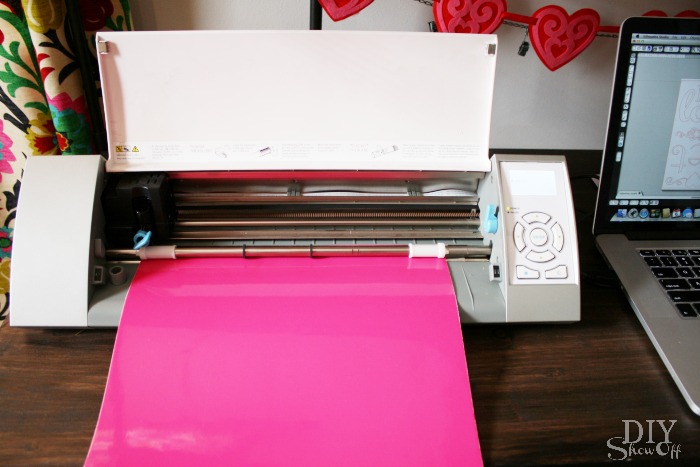
Next up is removing all of the negative part of the vinyl design. Simply remove all vinyl that’s not a letter or shape.
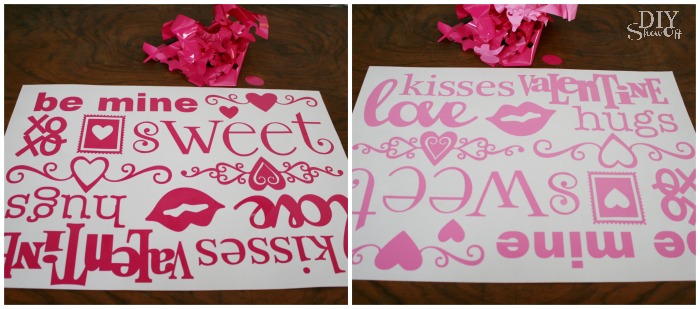
Now it’s like a sheet of vinyl stickers. Not something you want to place letter by letter so apply a piece of transfer paper over top of the vinyl decals.
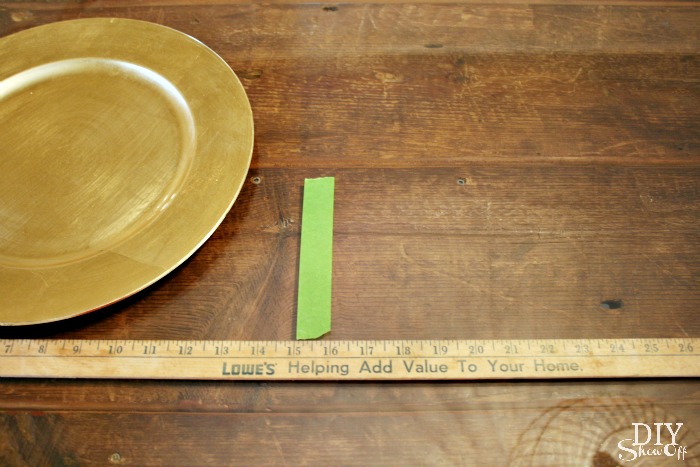
Measure placement and alignment of where the vinyl decal table runner will go onto your glass top table.
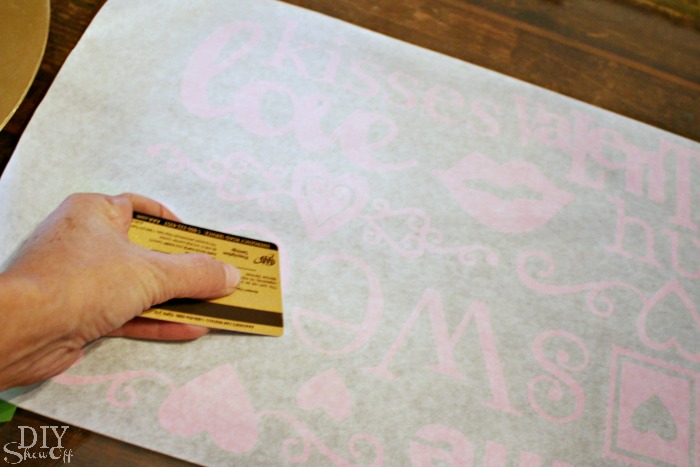
Rub the vinyl decals with a gift card so that the adhesive vinyl transfer from the wax paper backing to the transfer paper.
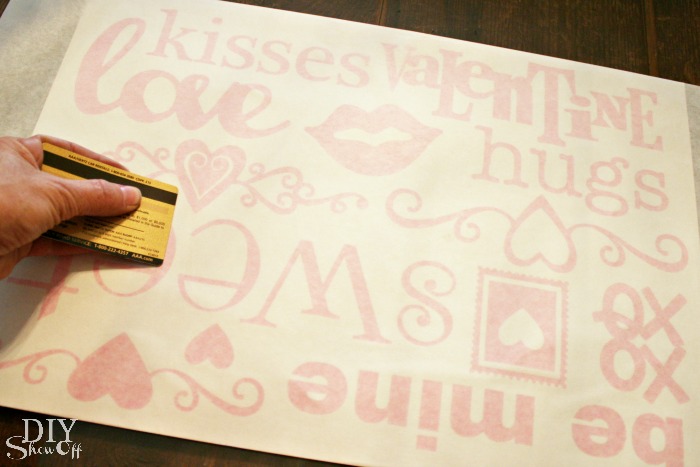
Remove wax paper backing. Sometimes I have to use my fingernail or thumbnail to help along the transfer.
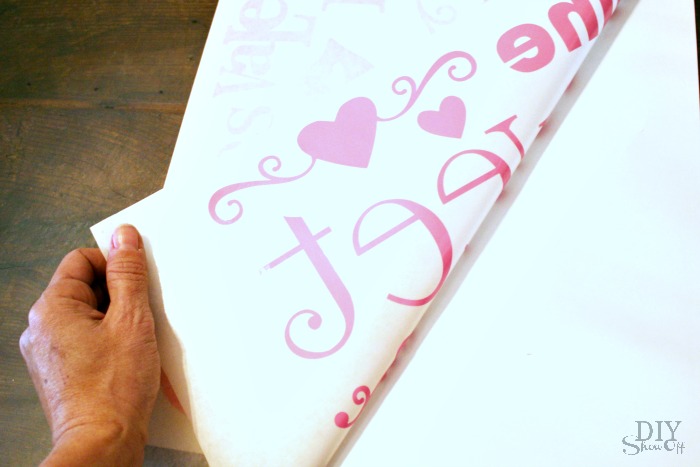
Carefully align and place the vinyl decal with transfer paper onto the glass.
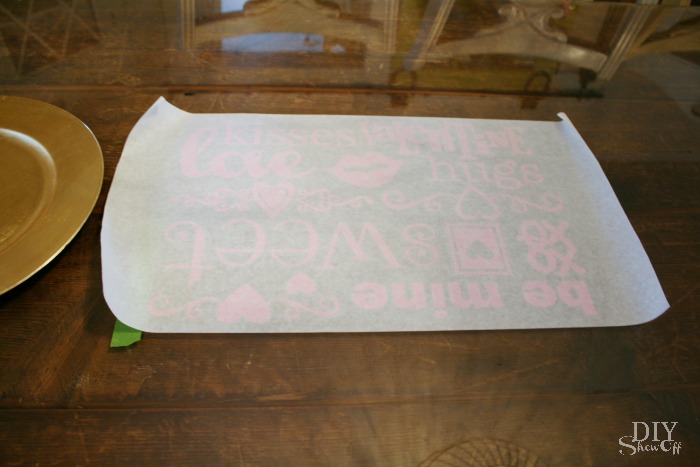
Rub with a gift card so that the vinyl transfers from the paper to the glass.
Remove transfer paper.
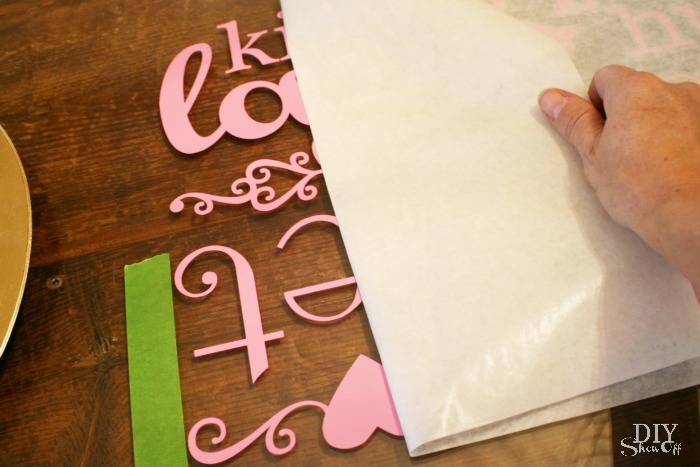
That’s it! Now the glass table top sports a sweet Valentine’s message!
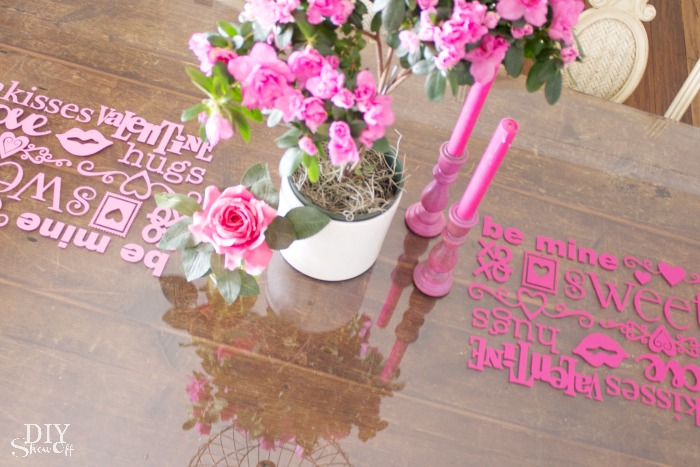
Simply peel away the vinyl for easy removal.
More decorating around the DIYShowOff house:

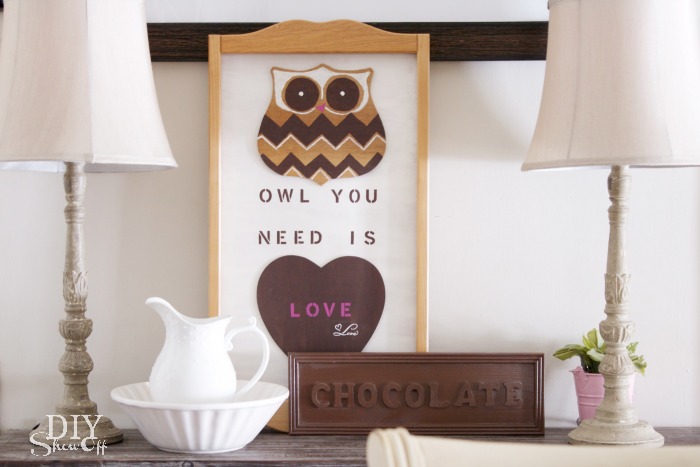
See more Valentine’s crafts in the DIYShowOff project gallery.
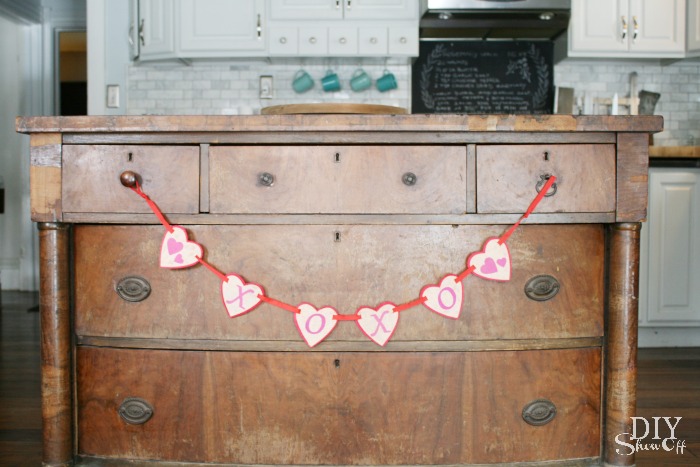
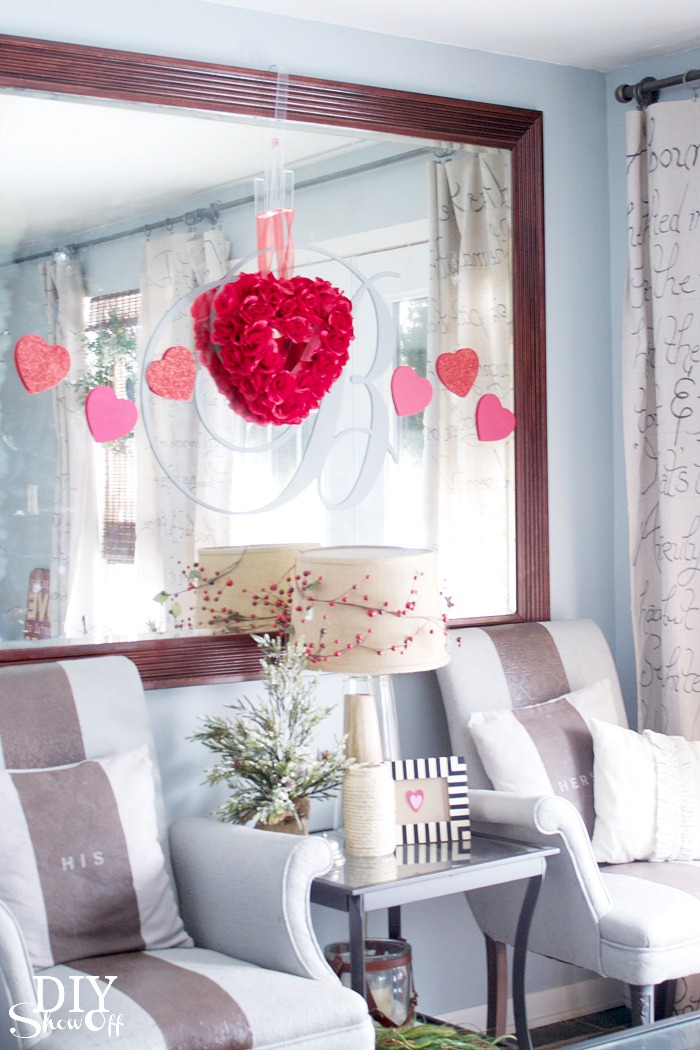
*This post is sponsored by Happy Crafters. Tutorial, experience and opinion is my own. I really love working with this vinyl. Check out all the supplies at Happy Crafters for inspiration for your next project.


