DIY Starfish Chandelier

When I first ‘e-met’ Debi from

Debi's Design Diary

and first saw her gorgeous starfish tutorial and adorable video,

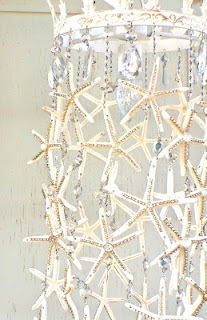
starfish chandelier

I was hooked. I couldn’t resist checking out all of her cute videos and creative DIY ideas.

Today Debi shares a few tips for making this pretty blingy starfish chandelier. Here she is:

I wanted to create a light fixture that had all of the wow factor of a chandelier dripping with crystals but without the big price tag.
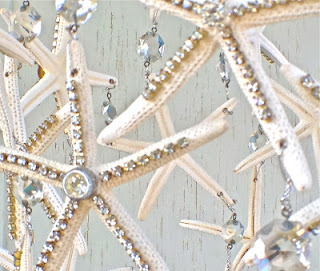
DIY starfish chandelier
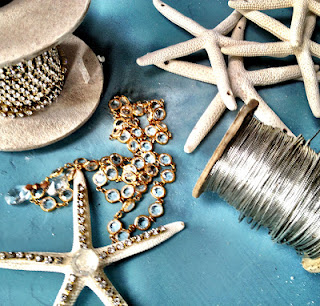
I used 36 white starfish and about 10 yards.
supplies for starfish chandelier
I have to say that every project I dream up has it’s challenges and this was no exception. 
Here are some important tips I discovered along the way:
Use a small dremel if you have one, it is much easier on the delicate sea stars and you will have more control when you get to the part where you need to drill the extra holes as the starfish are hanging on the chandelier.
Lay your starfish out in a mock set up to determine how many to use and how they will hang, I used a total of 36 starfish,( 12 strands of three). six of the stands had 3inch links of chain a at the top to attach to the metal ring and the other six 1.5 inch links. I did this to stagger the starfish so they would not bang into each other or overlap too much.
Keep in mind that the bottom starfish on the strand only needs one hole but the rest of them will need two or more.
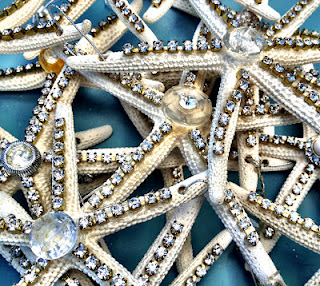
E600 is the glue I used, although it  is messy and needs to be used in a well ventilated area it works well. You can find this glue at Walmart or Michaels.
of crystal chain and about 10 yards of rhinestone chain.
Ps. Materials (and this chandelier – just 1!) can be found in Debi’s Etsy Shop: Debi’s Design Diary.
rhinestones and starfish

Thanks, Debi! If you’re attempting this project {or even if you’re not}, check out her video tutorial for tips and to get a glimpse of the girl behind the blog. I love it!

See more inspiring ideas at Debi’s Design Diary.
DIY Show Off - FacebookDIY Show Off - TwitterDIY Show Off - PinterestDIY Show Off - Feed


DIY Burlap & Starfish Wreath

Easy DIY Burlap & Starfish Wreath

Materials:
1 – 8 inch straw wreath (plastic wrap intact)
Approx. 1/2 yard of burlap
1 Starfish
1 Piece of Ribbon (approx. 36″)
Gorilla Glue
Gorilla Super Glue

Tools:
Scissors
Phillips Head Screwdriver

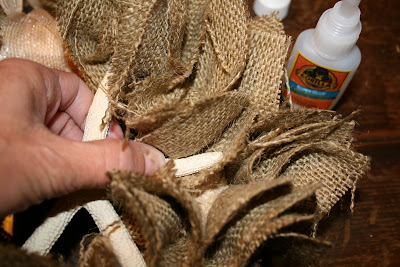
Step 1:  Cut burlap into 4″ squares.  Perfection not required!

Step 2:  Using the screwdriver, make a pilot hole into the plastic-wrap covered straw wreath.

Step 3:  Add a dab of Gorilla Glue into the hole.  This will expand and keep the burlap in place.

Step 4:  Fold a burlap square into 4s (in half and in half again)

Step 5:  Place burlap corner (without an open end) on top of the pilot hole and using the screwdriver, push into the hole and twist. Repeat until the wreath is covered on the front and outer edge, leaving an open area for ribbon/to hang the wreath.

Step 6:  Determine where starfish will go and apply Gorilla Super Glue to the backside of the starfish that will touch the wreath.  Apply pressure and hold for a minute until secure.

Step 7:  Tie the ribbon around the non-burlap part of the wreath.

Step 8:   All done.  Fluff.  Tie into a bow and hang.

Other Options:  Personalize a wreath for any occasion the same technique with different fabrics and embellishments.

See more awesome burlap projects at