It’s been a mega DIY couple of weeks here folks! Where I challenge myself to see just how much DIY I can squeeze into a tight deadline (6 wks.) in the apartment renovation. Sounds like work to most people I know but for me, I say “let the fun begin!”. This rental is my life sized mini-doll house! Here’s an update:
{graphic courtesy of Fox Hollow Cottage}
Apartment Progress!
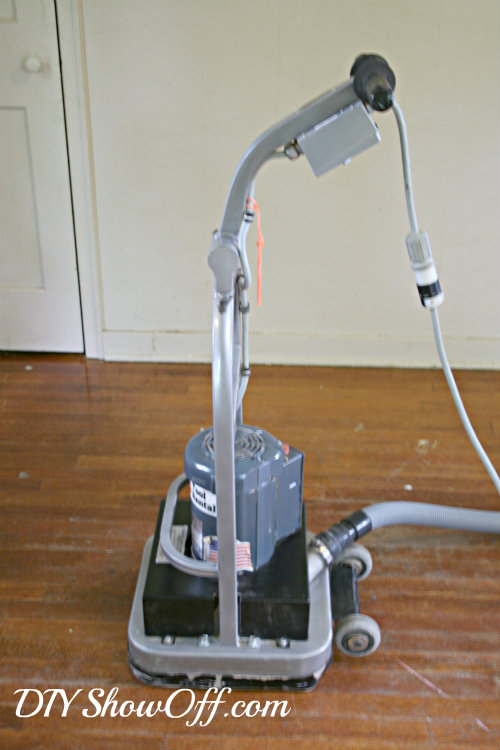
I rented an orbital sander and I enlisted the help from my 19 year old nephew, Kaleb. {muscles, people – I don’t have them!}
HOW TO SAND HARDWOOD FLOORS
{How we did it.}
- Floors were cleaned.
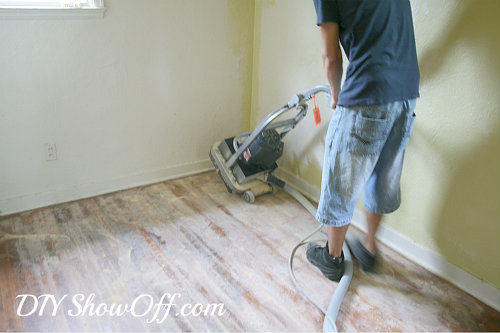
- Floors were sanded (24 grit) with the orbital sander. Thank goodness my nephew helped because I seriously doubt I could have carried that thing up the stairs and from the looks of it, once the power was turned on, that thing had a mind of it’s own and took off! I know my limitations. And orbital sander wrangling ain’t one of them. Paying a nephew was a wise choice. Much better for Kaleb to restrain the monster sander than me being spun around in circles and crashing through walls, gouging the floor as I go. (It really wasn’t that bad…I’m just little and wimpy but most people would control the orbital sander without difficulty.)
- I swept up the dust.
- Then he sanded again (60 grit).
- Then swept.
- Then sanded again (120 grit).
- Then swept again!
- I used my Dremel Multi-Max and a palm sander where needed in corners, under radiators and around the edges where floor met baseboards. My little muscles could handle those guys. I did the edging with the 3 levels of sandpaper.
{Please don’t mistake these legs for mine…they’re Kaleb’s!}
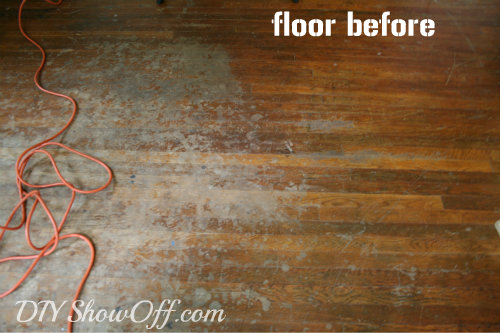
I really don’t know anything about the previous renter/owner. Perhaps their situation wasn’t so easy, but they definitely were not clean and did some damage.
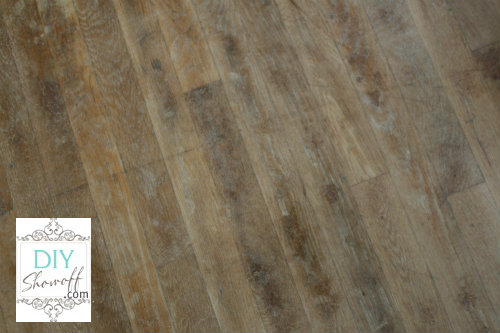
So, floors are now sanded!
There’s a method to my out-of-order renovating madness. I sanded the floors first before painting the walls because I didn’t want to have to scrub the walls twice (1 – the grime before and 2 – after sanding due to the fine layer of saw dust after sanding floors). Next up is covering the floors and painting the ceiling, walls then trim because I don’t want to lose the weekend waiting for the floor stain to dry.
As you’re reading this, I’m probably at the rental DIY’ing! More to come!
—
Oh! Hoping for better pictures in the near future. I always have trouble making what I’ve learned ‘stick’ and resort to shooting in auto but I sat in on the Photography session at the Haven Conference and Josh and Kevin really had a way with making it more interesting. I’m all signed up for Photography 101 to learn how to use my DSLR and to finally learn the skills to take better pictures…
I’m also giving their affiliate program a try and invite you to join me in learning! 


