That DIY Party Highlights – Organizing Round Up

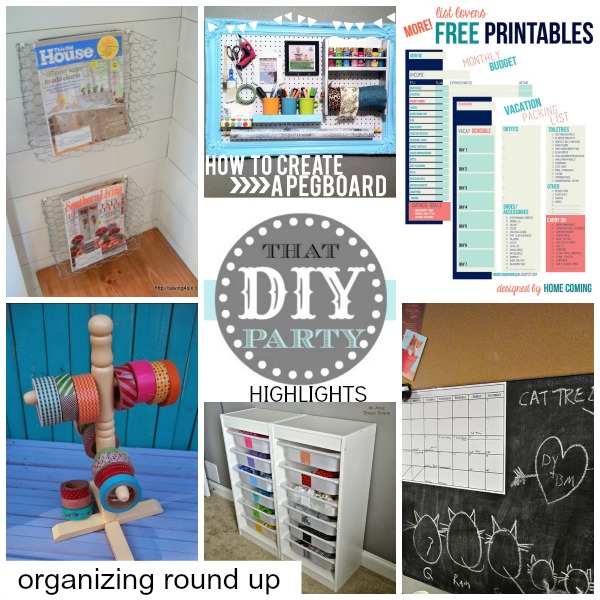
Today’s collection of highlights from That DIY Party is all about outstanding organizational do-it-yourself ideas:

DIY organization round up

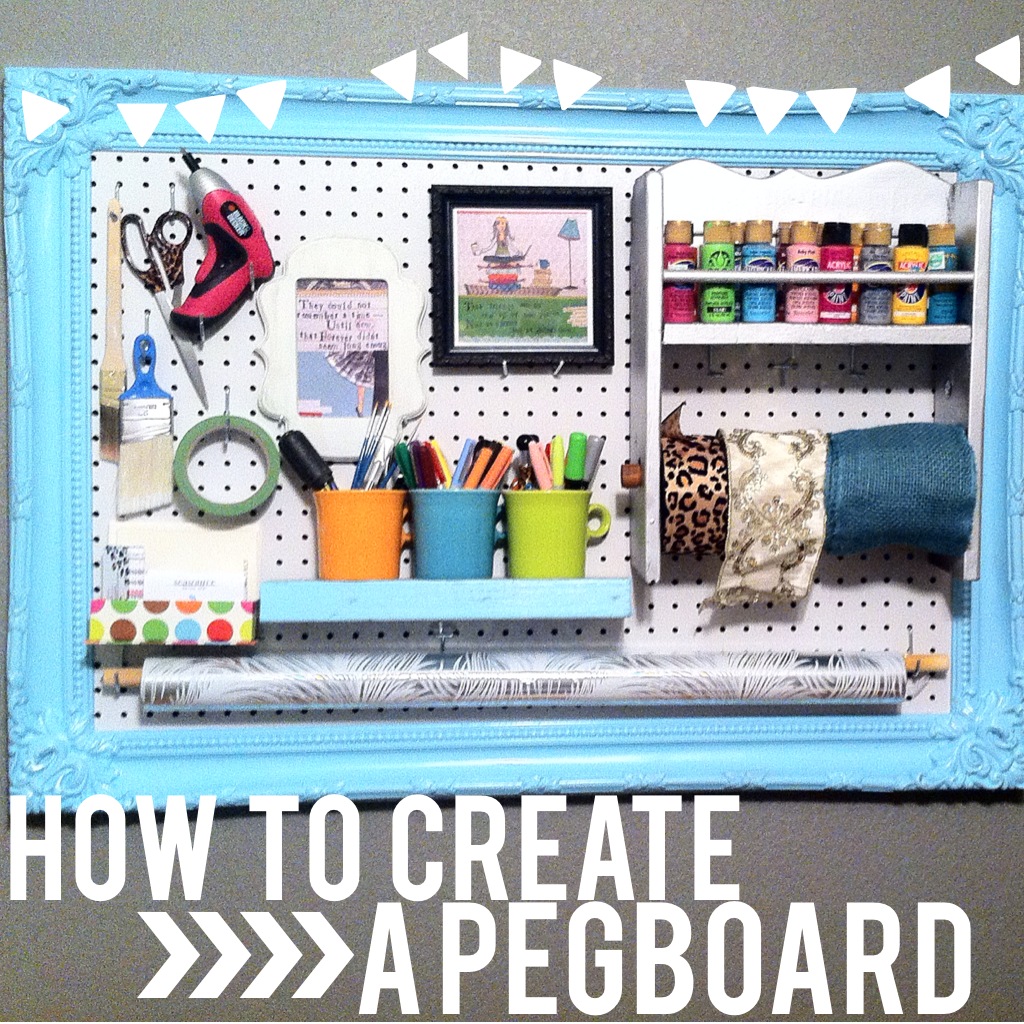
How to Pegboard Vlog Tutorial at Decorate My Life

How to Peg board - Decorate My Life

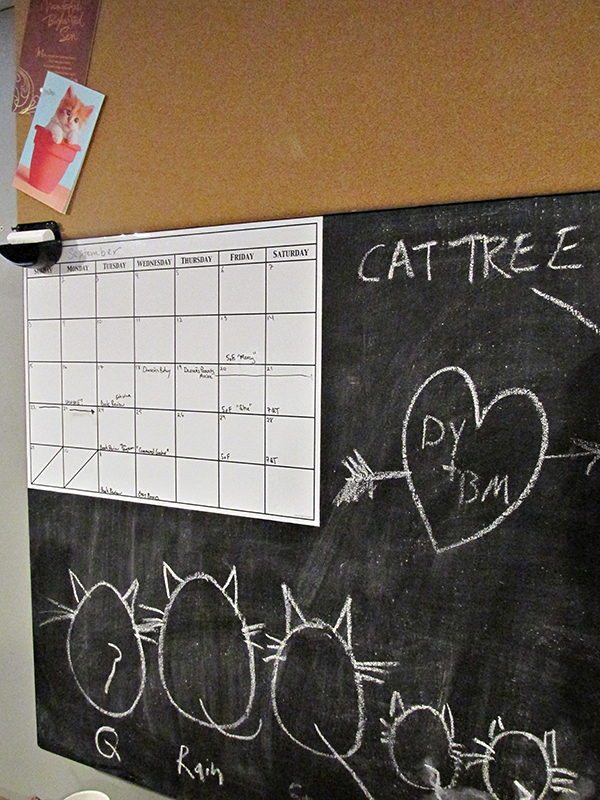
Command Center + Fuse Box Cover tutorial at Screwed on Straight

http://screwedonstraight.net/diy-fuse-box-cover-command-center/

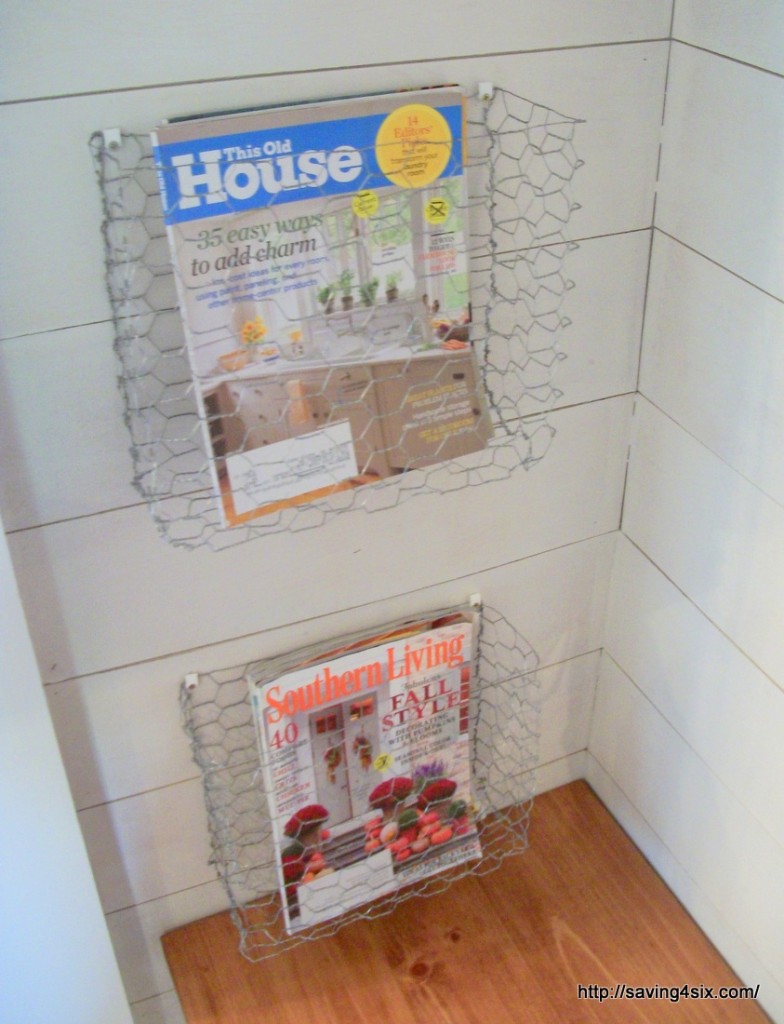
DIY chicken wire magazine baskets at Saving 4 Six

DIY chicken wire magazine basket at Saving 4 Six

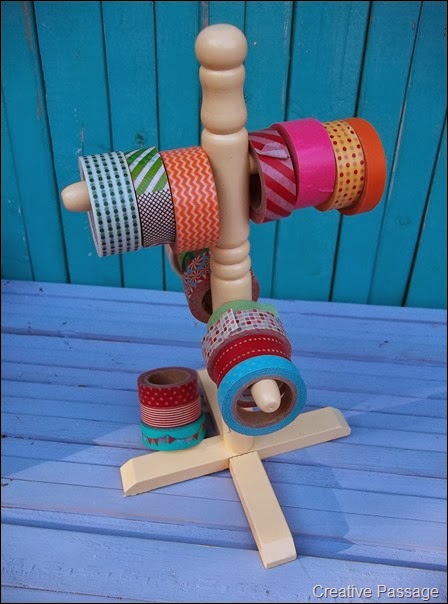
Organizing Washi tape at Creative Passage

washi tape organization at Creative Passage

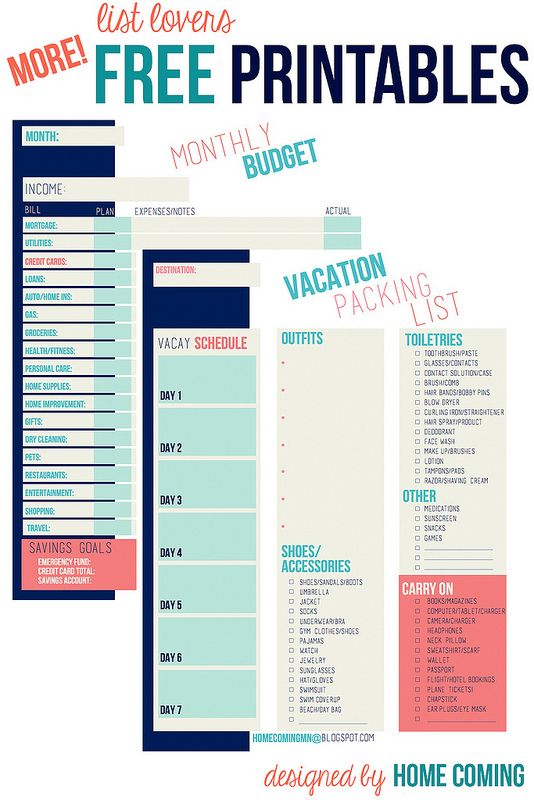
Printable Lists (vacation packing and more) at HomeComing

printable lists at HomeComing

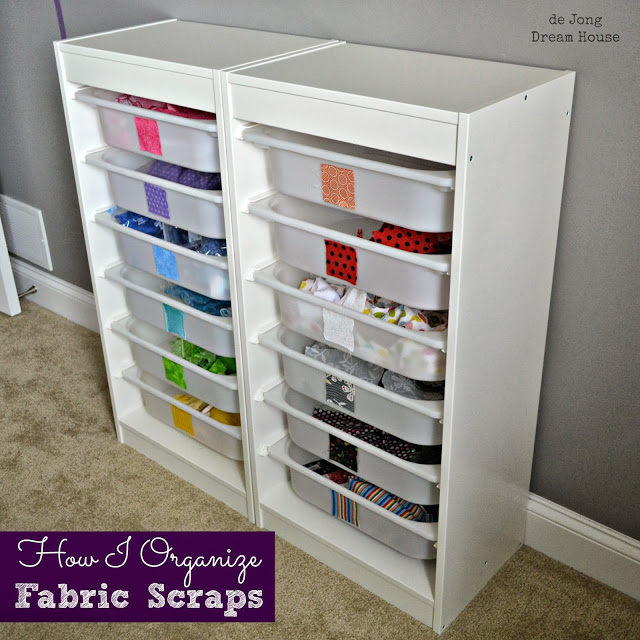
Fabric scrap organization at de Jong Dream House

fabric scrap storage at de Jong Dream House

See more DIY:

thatdiyparty.pinboard

Thanks to these talented ladies for linking up their inspiring creativity and hard work! 

Renia’s beautiful tree for the Christmas Tree Contest.

Renia's Christmas Tree

DIY Alphabet Burlap Cork Board Message Center

Hello DIY friends! One of my favorite stores is Michaels – although it’s one of those stores that I can’t run in for just one thing because I end up with a cart full of the cutest decorative accents and more materials for my craft stash. You too, right? Well, Michaels just announced the addition of pre-cut craft fabric to the thousands of creative products available in its stores, providing us with one-stop shopping for DIY projects. This is BIG HUGE news when you live in a smaller city with only one local fabric store! While I was there, I also discovered that Michaels sells a complete line of sewing supplies as well…this cuts my shopping time in half. One store instead of two. Bonus!
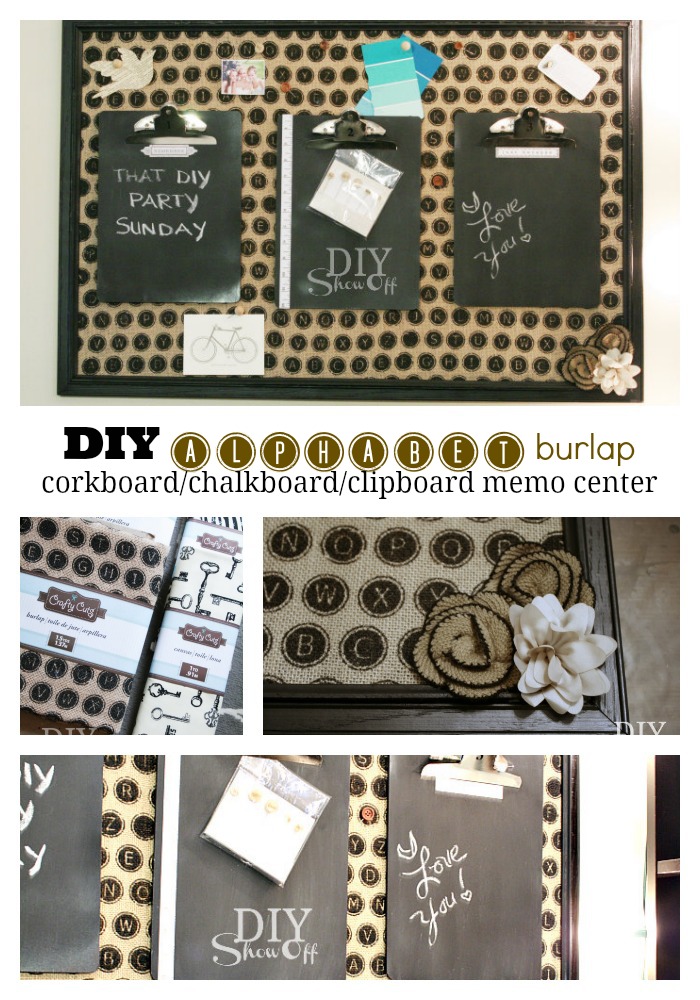
DIY burlap message center

Michaels supplied me with this awesome stash of fabric as a part of a promotion for their new line of home decor fabric. Isn’t it darling? 
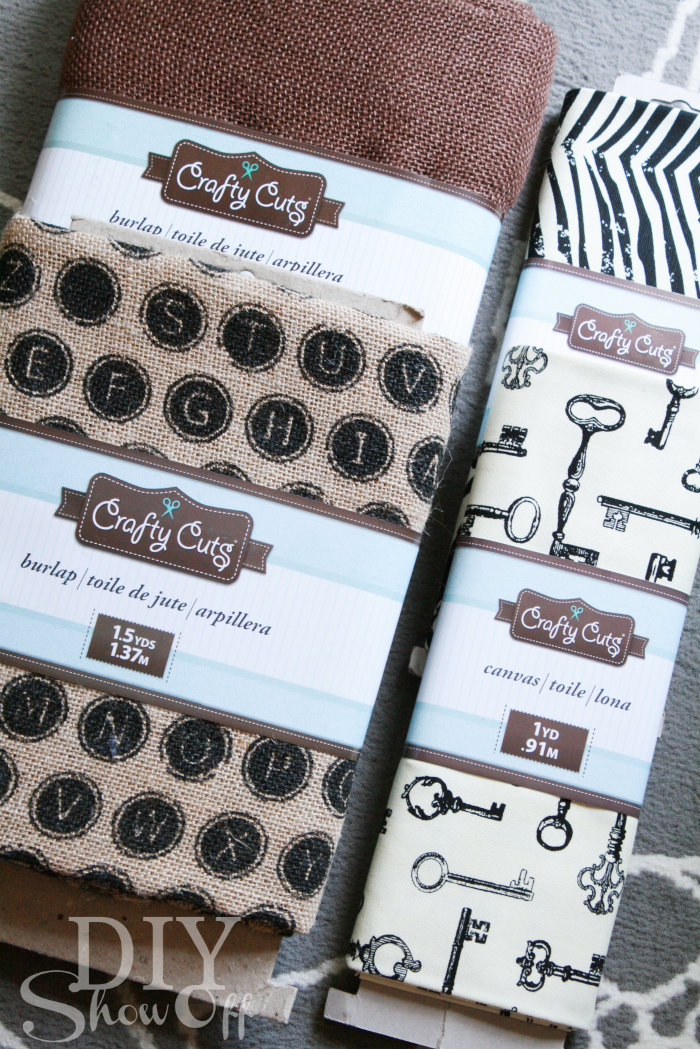
Michaels fabric line

The alphabet burlap is ADORABLE! and a perfect match for my craft room so I decided I would make myself a burlap covered corkboard message center to help keep me organized. Cork board, Chalk board, Clip board AND burlap? That’s what I’m talking about! A fun combo!

Materials:

  • 36″ x 24″ framed corkboard
  • Crafty Cuts alphabet burlap
  • 4 pieces of thin wood trim (Michael’s also sells a small miter box & saw)
  • Black spray paint (or you could probably get away with one can of chalkboard spray paint)
  • Spray adhesive
  • 3 clipboards
  • Chalkboard spray paint
  • Hot glue (and hot glue gun)
  • Embellishments
  • Push pins

Corkboard/Chalkboad/Clipboard Message Center Tutorial:
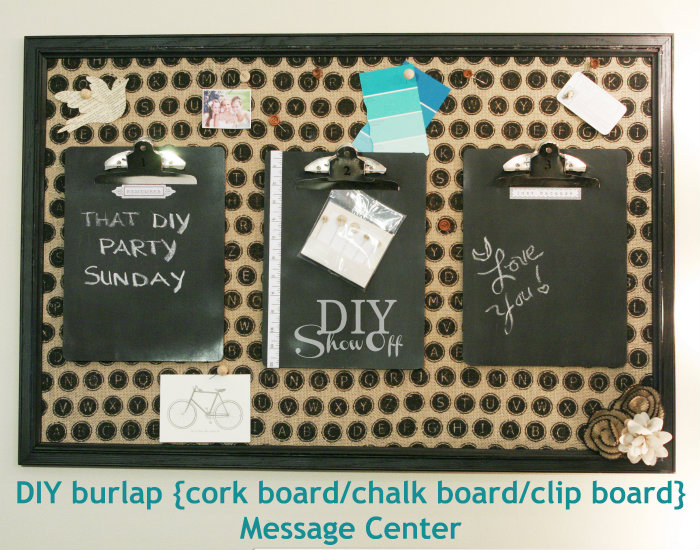
DIY message center

1. Measure and (miter) cut small trim pieces to fit inside of the corkboard’s frame. 
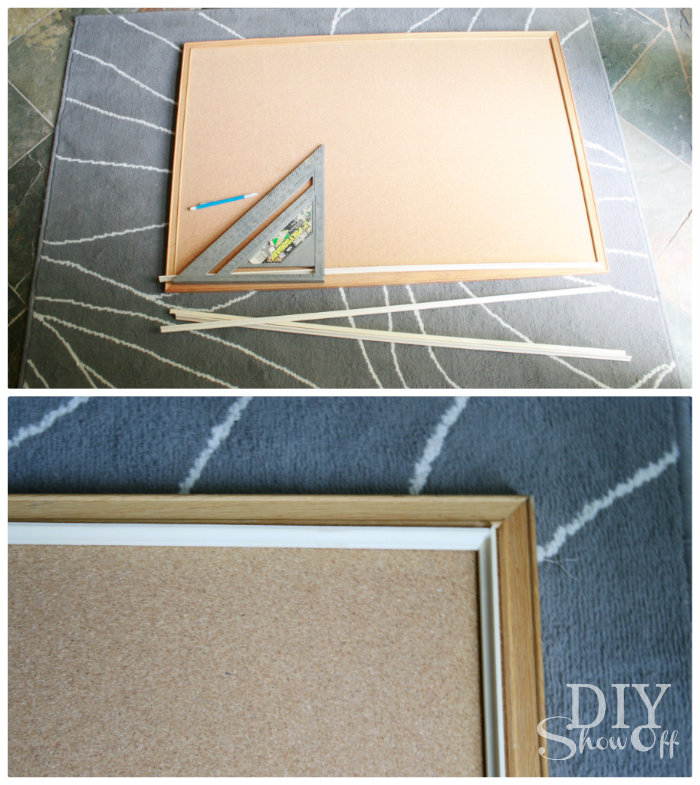
DIY burlap covered cork board

2. Iron burlap. I used my iron’s highest setting and sprayed water (not steamed) to get out wrinkles. Iron both sides. 
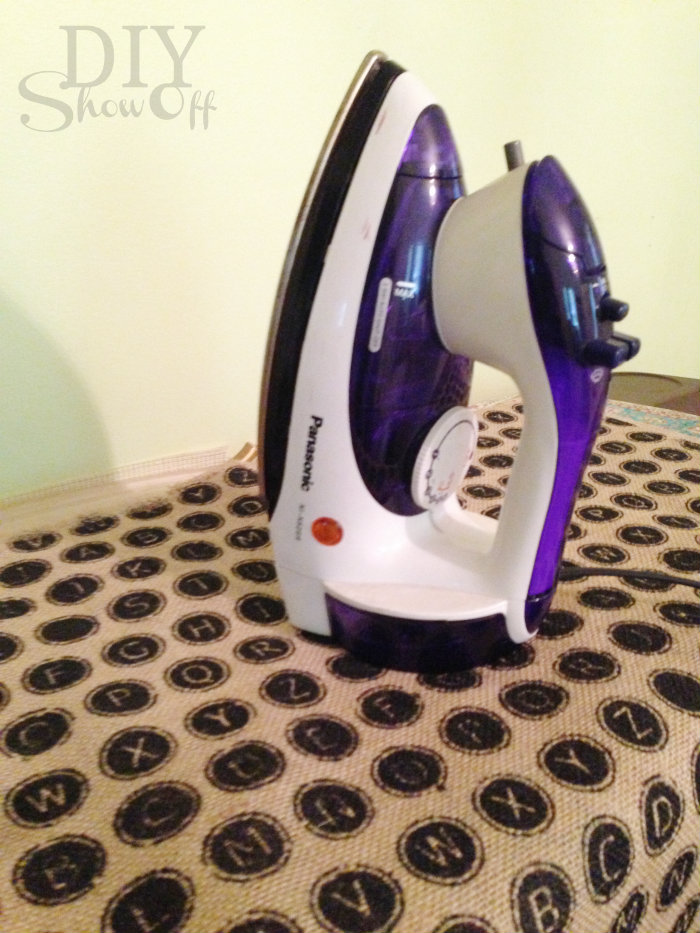
ironing burlap

3. Measure inside of corkboard frame and cut a piece of the burlap to those measurements (mine was 34.5″ x 22.5″). If you subtract 1/4″, it will save you from having to trim the fit later. If it’s a smidge small, it’s okay (and actually better) and will be hidden by the added wood trim later. Set fabric piece aside. 
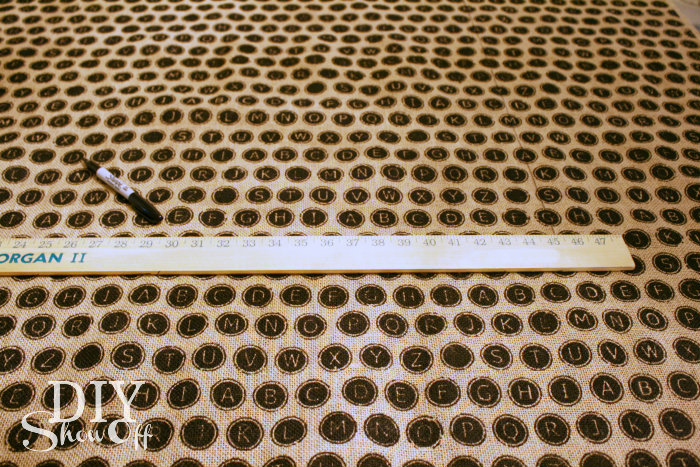
alphabet burlap

4. Spray paint the corkboard frame and trim pieces black. I was okay with imperfect coverage for a distressed look. (You could also sand edges when dry.) No need to tape the corkboard since it’ll be covered later. Let paint dry. 
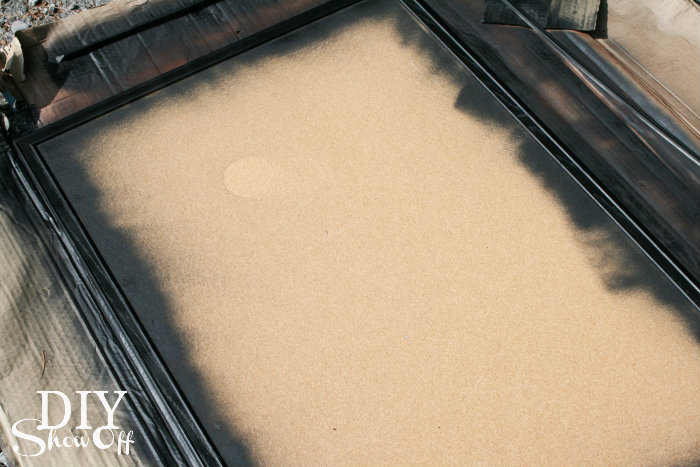
DIY burlap corkboard message center

5. Give the cut burlap piece a coat of spray adhesive on the back side.  (I do this outside because of the overspray but be mindful of the wind direction blowing the adhesive spray mist as well as when picking up the sticky burlap, not to touch/fold which mine did but easily quickly pulled apart.) Immediately move to step 6.
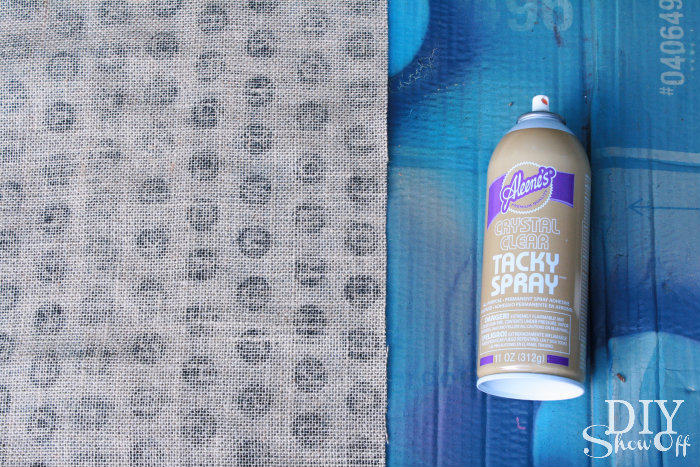
DIY burlap covered cork board message center

6. Working from the middle out, smooth the burlap over the corkboard (inside the frame). It’ll be reposition-able right away if needed. 
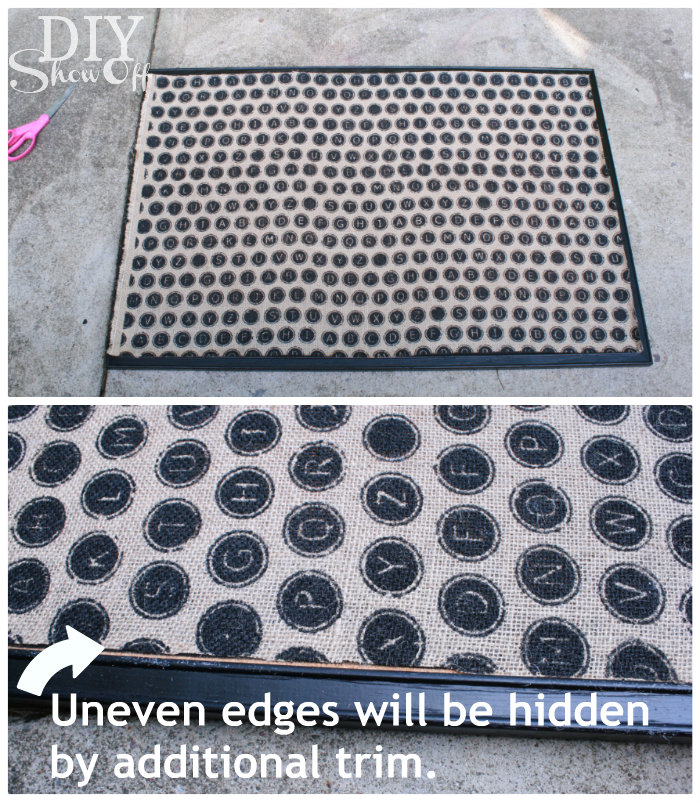
DIY burlap covered cork board

7. Next I used hot glue to attach my small mitered trim pieces over the burlap edges, right next to the inside of the corkboard frame. This covers the edge of the burlap.
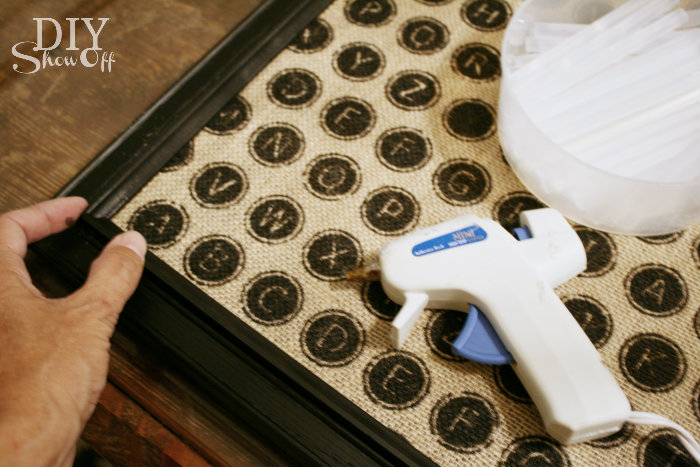
DIY burlap covered cork board

If you need to re-cut a mitered piece or accidentally scratch the black paint finish, simply fix it with a black Sharpie.
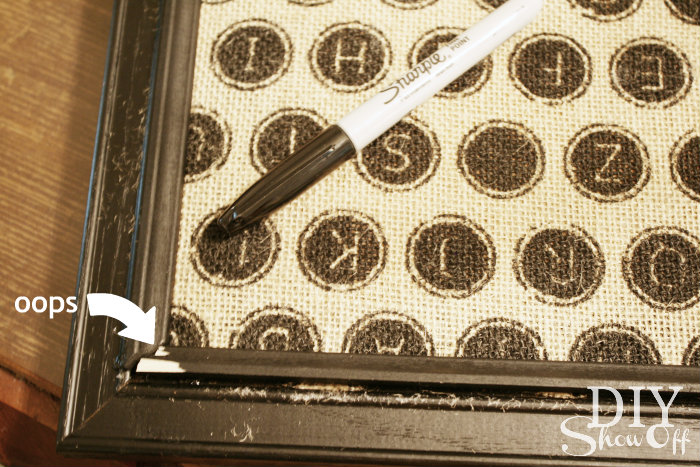
DIY burlap covered cork message center

8. Embellish as desired. My mitered edges surprisingly were a great fit after the mitered cut fix above, but these adorable flower embellishments attached with hot glue would work for covering a not so professional {tricky cuts!} mitered fit too. 
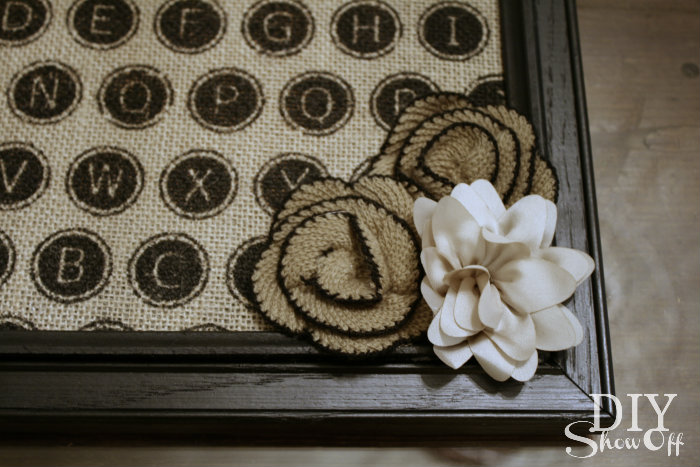
flower embellishments

9. Clipboards: Remove metal clip hardware, coat with chalkboard paint, let dry and repeat a second coat and let dry. 
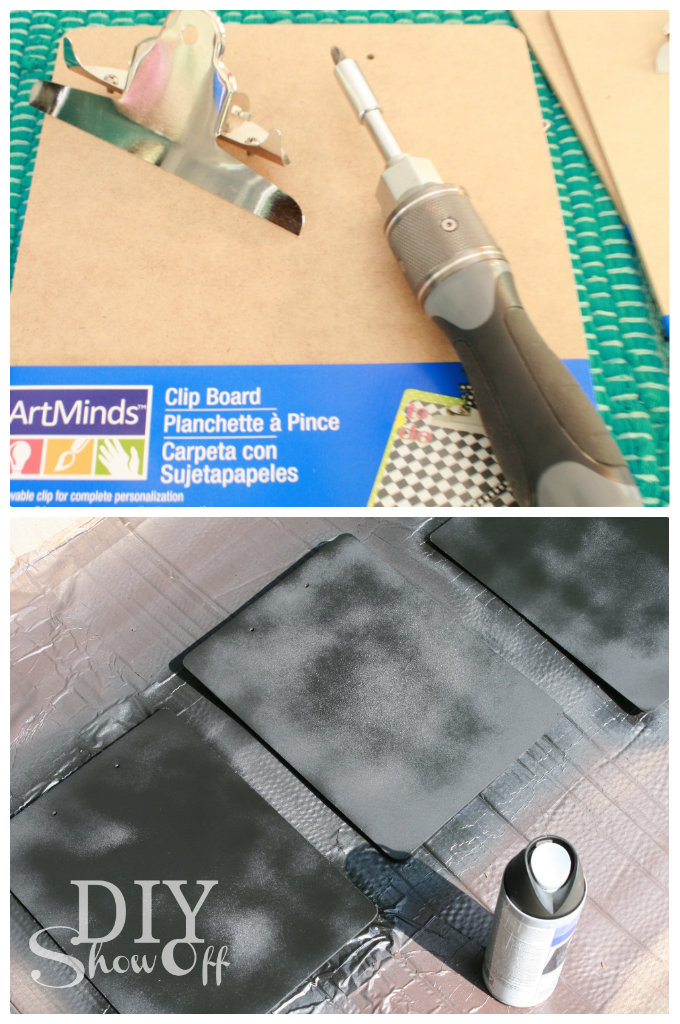
chalkboard clipboard

10. Season chalkboard by rubbing the length of a piece of chalk over the complete surface then erasing. 
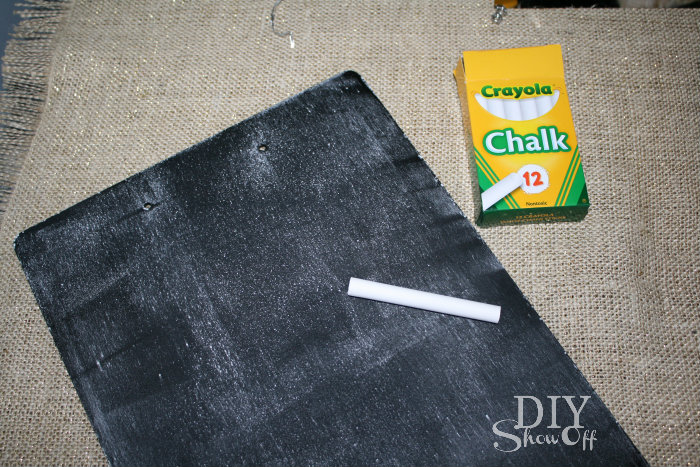
seasoning chalkboard

11. Re-attach clips. I found that using a twist tie to hold the clip open then lining up screws made reattaching the clip to the board a lot easier (because of the spring in the clip). Once screws are in place and tightened, remove twist tie. 
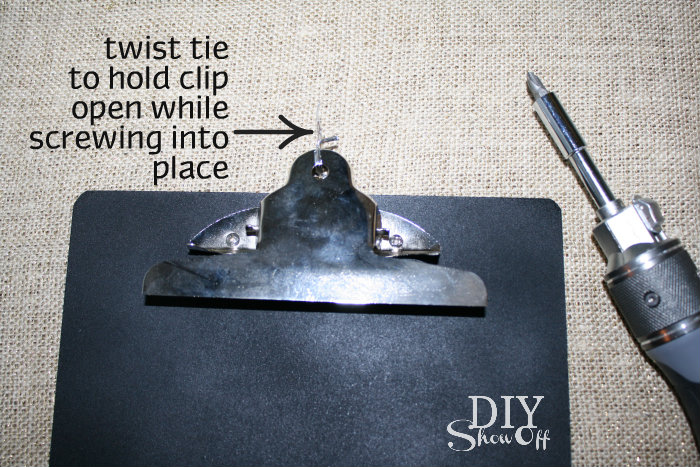
reattaching clipboard hardware

12. Embellish chalkboard clipboards if desired. I numbered mine and added some cute stickers. 
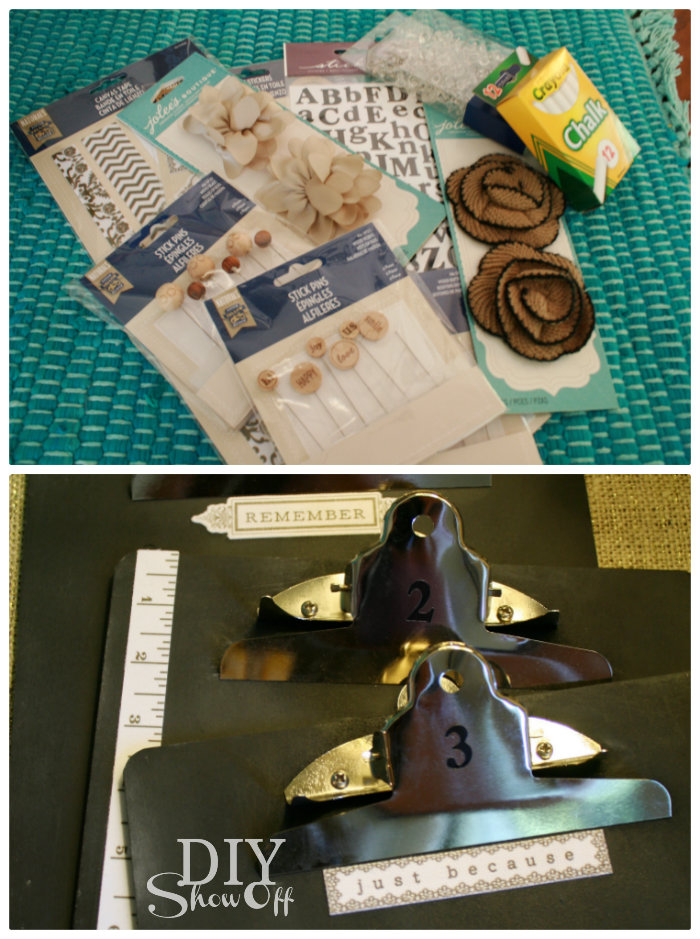
decorating chalkboard clipboard

13. Hang! Corkboard should come with hanging hardware but large Command strips will work too. 
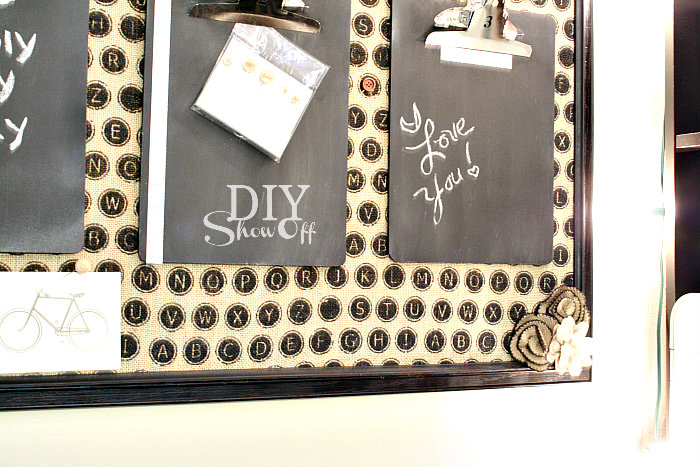
alphabet burlap message center

It’s perfect for my black, natural, vintage inspired craft room. Lovin’ it!
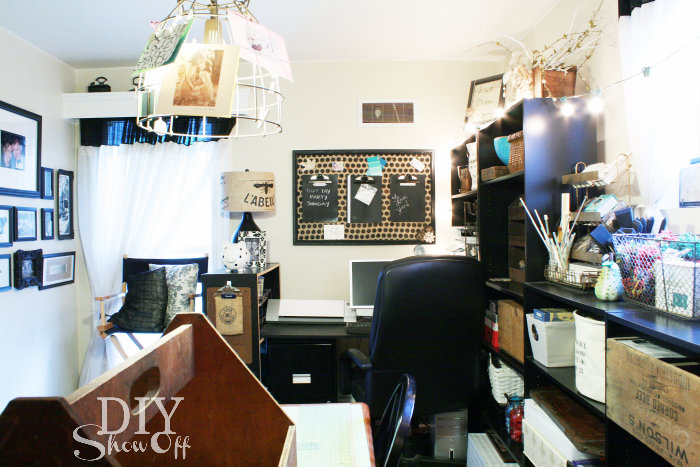
craft room

There’s a lot of “stuff” in this room but it is clean and organized!
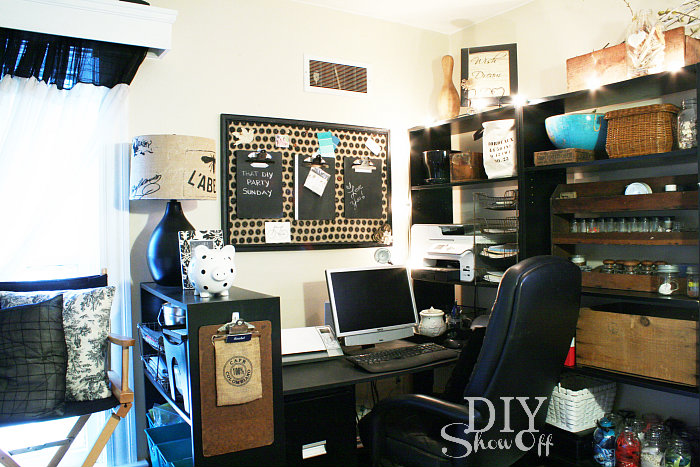
craft room / home office

I was provided with fabric and a Michaels gift card to complete the challenge. Michaels.com and Michaels Pinterest Boards feature project ideas that use fabric, including throw pillowslamp shadeschair seat covers, and bracelets. Laminated burlap, a Michaels limited exclusive, can be fed through most home printers to add personalized messages and images to fabric projects…I want to try that next!

Get organized with Homezada

I recently learned about Homezada.com, a source for us (homeowners) to keep all of the data about our home organized and safe online. I’ve found that the site offers some really helpful tools. Here are a few reasons I think you’ll find it helpful too:

homezada

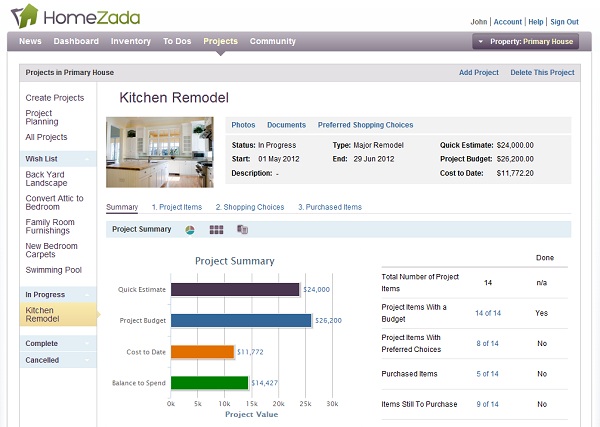
1. With DIY being one of our priorities, my favorite tool at Homezada is the project manager where I can track my budget and spending. It also allows me to save, compare and track online (and offline) purchases. Love the little button I can drag to my tool bar to make saving products I’m researching right to my list. It’s great for updating home inventory too…something I really need to do.

homezada home improvement

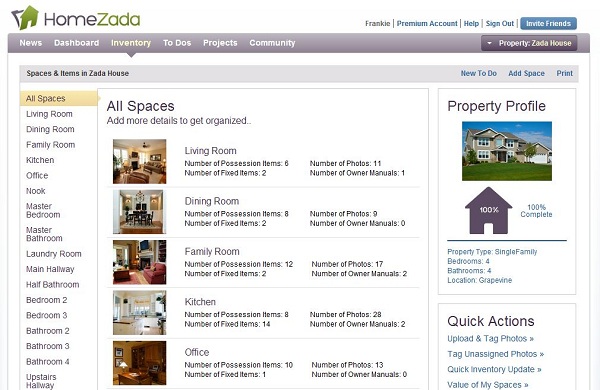
2. I can document all of my possessions by uploading photos (even via mobile!) and scanning receipts. I’m so bad with that but the option to use my iphone to upload and tag photos to my account makes it much more convenient. I can also save warranties, document values for insurance purposes and scan and save important documents…and having all of this information backed up on an online storage cloud means no hunting through piles of papers, file cabinets or losing passwords. It can also be accessed from anywhere, not just my home office.

homezada home inventory

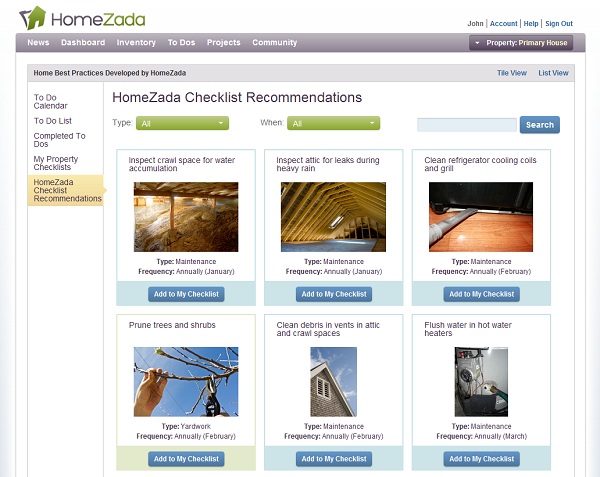
3. Another task we’re really bad with is remembering to change furnace filters or check smoke detector batteries. Homezada has an option for help with maintaining our home by personalizing a property calendar. And in case you’re like me and draw a blank on what I should be checking, we can browse over 150 recommendations and synchronize with my online calendar with automated reminders so I don’t forget. Now when Mr. DIY says, “remind me to…fill in the blank”, I’ll sound like I have it together when I actually do remind him to clean the chimney!

homezada home maintenance

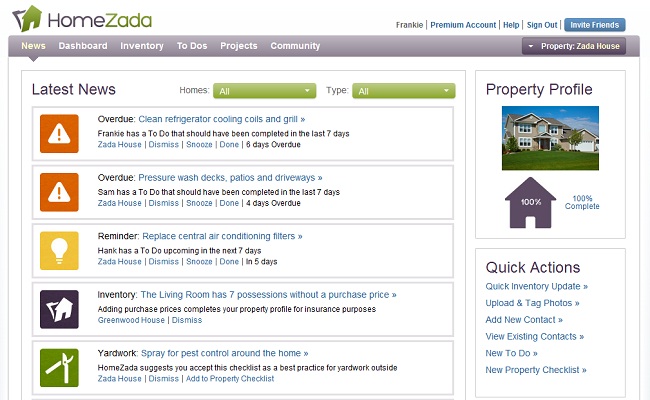
4. Sound overwhelming? Don’t worry – everything is organized and upon logging into your account, the “latest news” section will help keep you stay on track. Easy and helpful. I just take one look at my overstuffed file cabinet, a pile of receipts and forms in a “to file” pile and THAT is definitely overwhelming!

homezada

Homezada’s mission is to provide homeowners with a site where they can get more organized managing their home, save some money maintaining and improving their home, and be better prepared in case a disaster, home fire, or burglary where to occur.  I’m a new member and being able to start to store all of my home maintenance, home inventory and home project needs all in one place online makes me feel organized and safe.

Sign up for free! Homezada offers a package for basic essentials (free) and a 30 day trial of a premium account with all tools! If you’re interested in keeping the premium features, they’re offered at $9.95/mo. Small price to pay for maintaining your home.

GIVEAWAY!

Homezada is offering one lucky DIY Show Off reader a chance to win the Premium Package services for one free year {$99 value}! Wahoo! HomeZada offers a free membership option too! Sign up now and start using the system while the giveaway is still open.

How to win?

To enter, leave a comment about what part of HomeZada is the most valuable to you, choosing from the Home Inventory, Home Maintenance, Home Improvement Projects or all three combined and a quick reason why. Giveaway starts today and ends, Saturday, October 12th at midnight EST. Winner will be announced shortly after. Good luck!

I was compensated by Homezada to share their awesome site and online tools but the experience and opinion is my own.