


Woo hooo! Work on the #helloredreno series continues and is back with motivation to get the renovations completed by {hopefully} July 1st, 2019! That might be a tad ambitious but that’s the plan! This past week I installed a beautiful – stunning! – floral wallpaper mural! And you guys, I love the look of wallpaper. There are so many fun patterns/colors/designs – I could (and have) looked for days! But after lots of not-so-fun wallpaper removal in my past, I swore I’d never ever install wallpaper again. Well, the lasted all of a decade or two. I just couldn’t resist this. It’s just a small space, right?
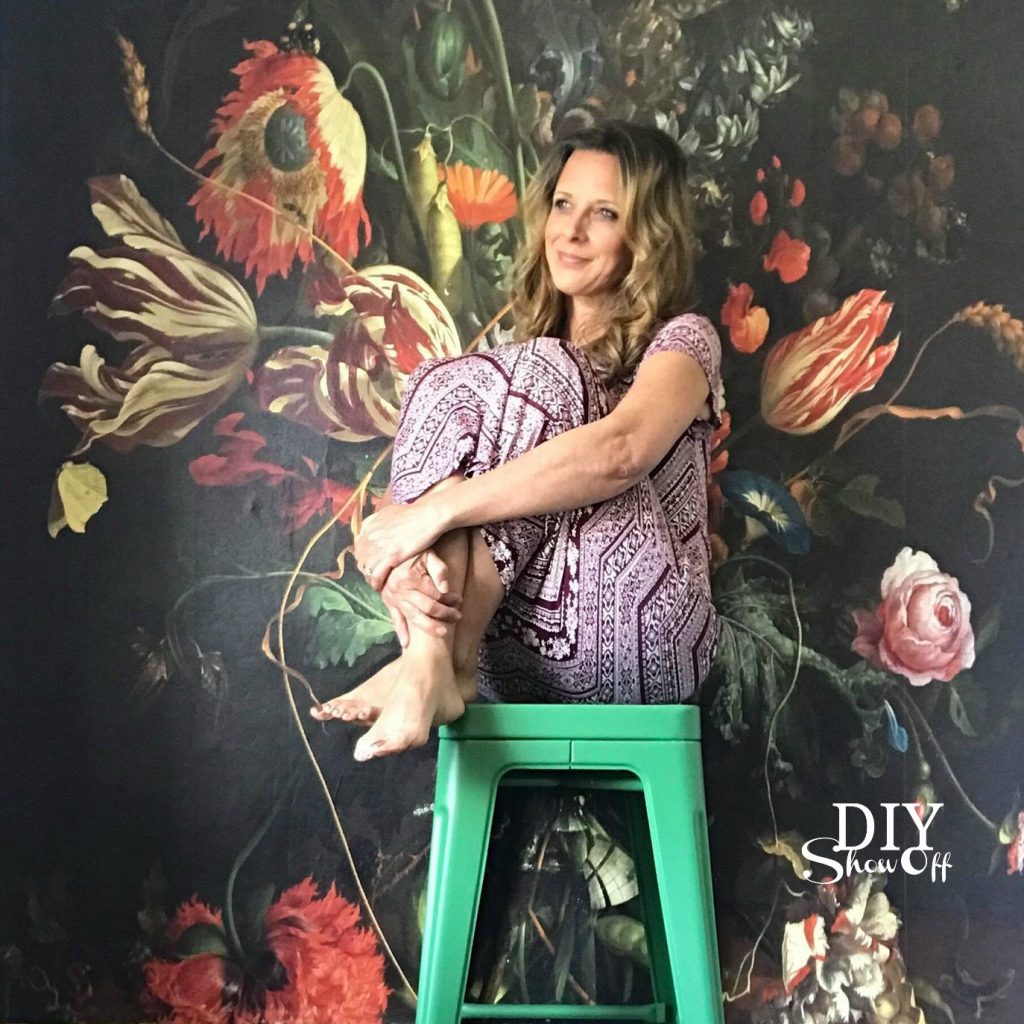
I LOVE that I have creative freedom in this little slice of apartment oasis space to be bold and dramatic! Be still my heart. So many beautiful details and an inspired vision. The plan is for an airbnb rental but oh man, I want to live here. Think guests would mind? lol
Let’s take a little trip down memory lane, shall we?
• how it looked when I took ownership…
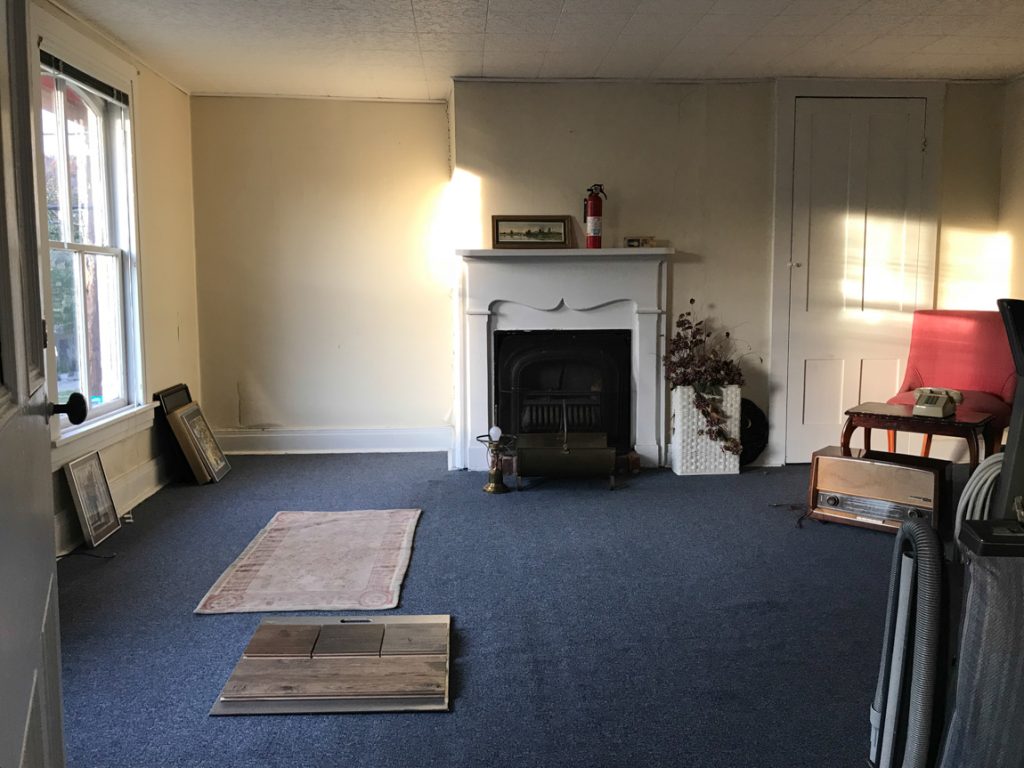
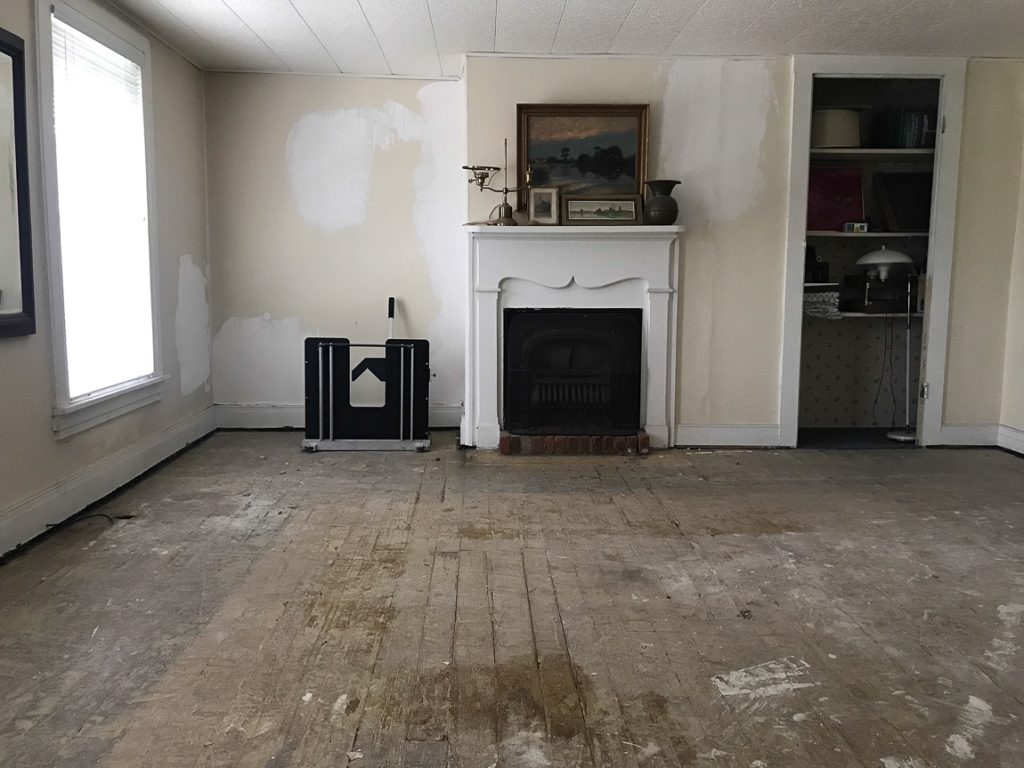
• good-bye blue carpet…
• hello gorgeous hardwood floors…
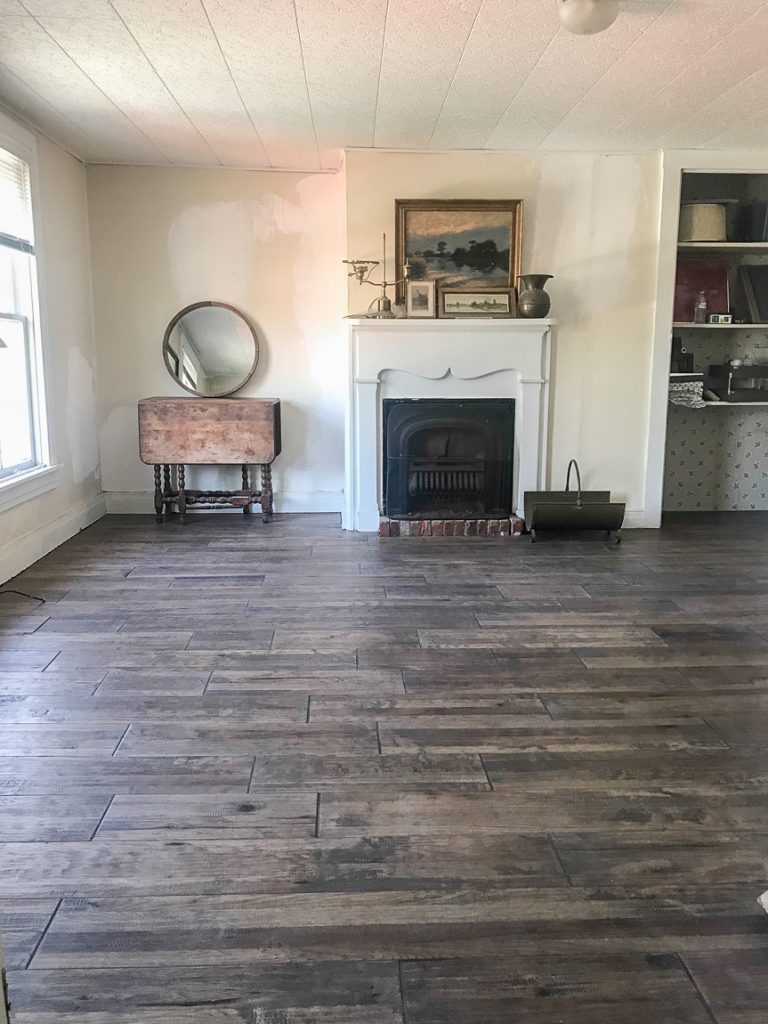
• before (and still a work in progress)…
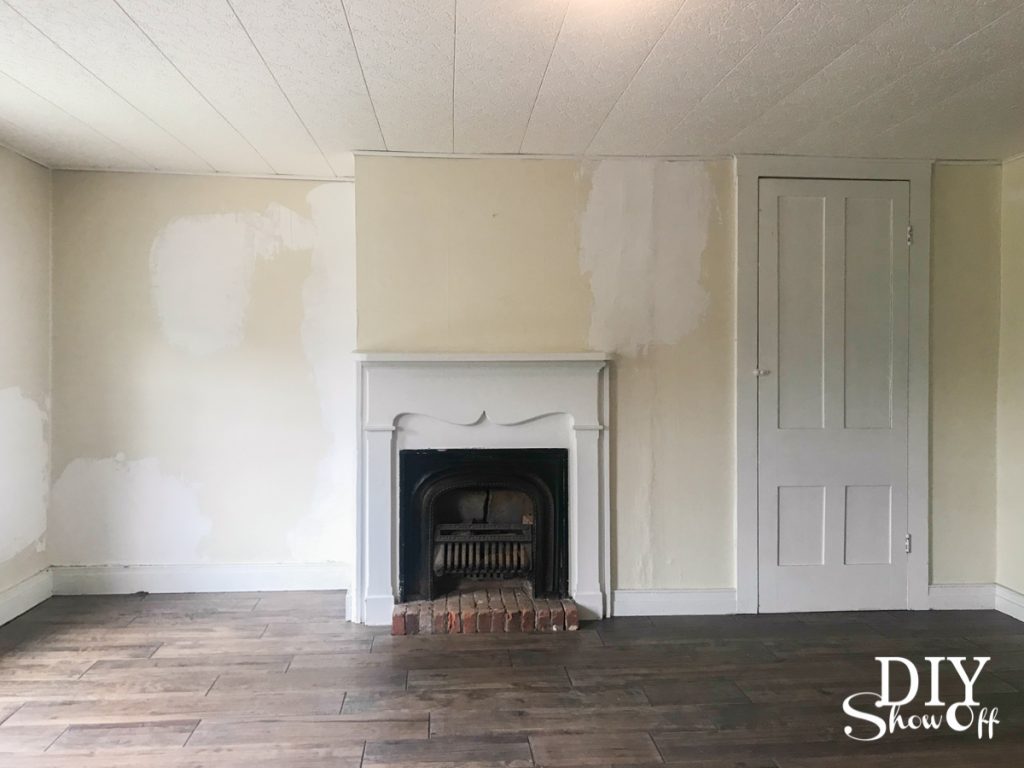
• current photo…
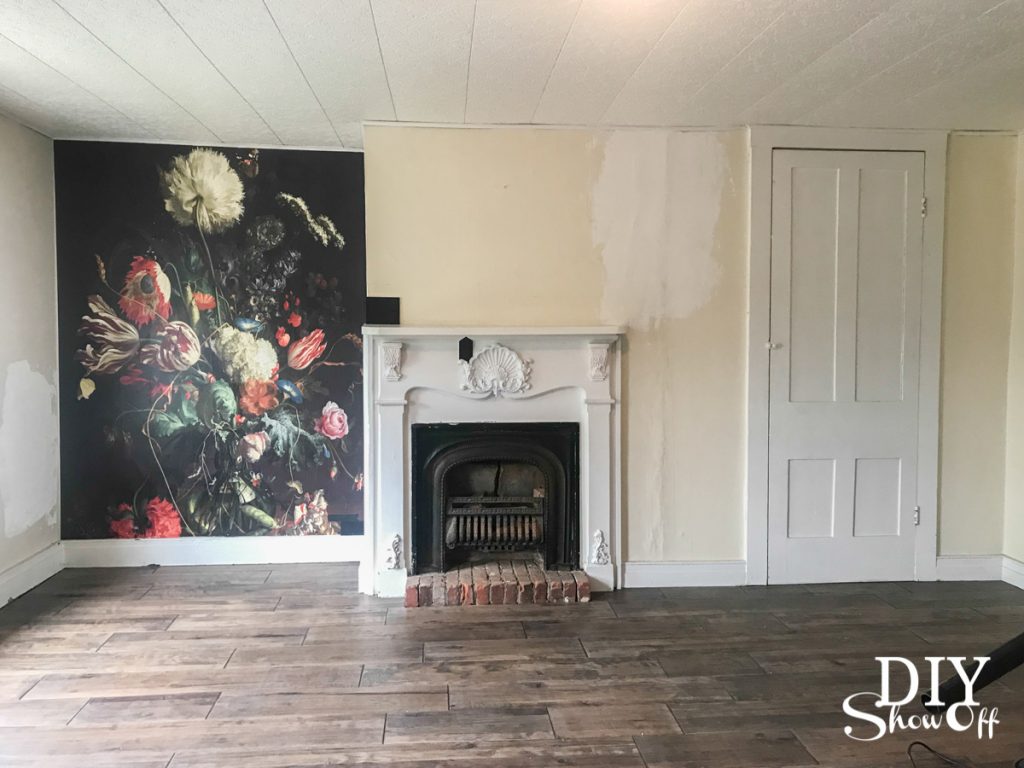
(notice any other decorative changes?)
What’s new?
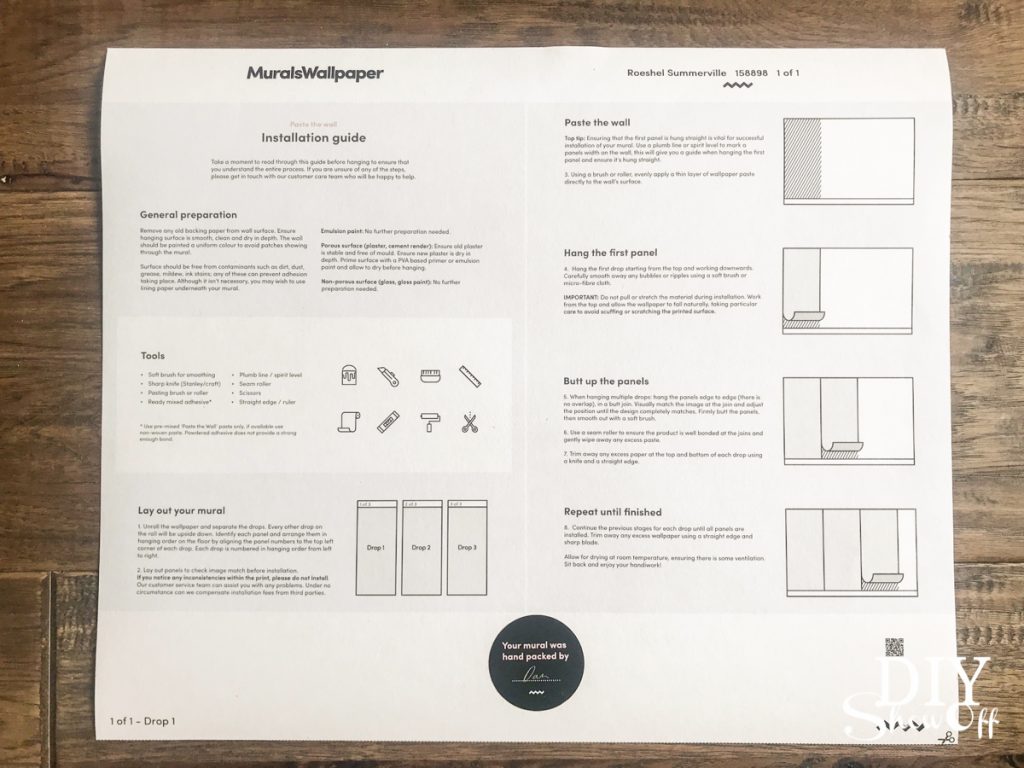
So, this isn’t a sponsored post. Just a review of what I purchased and a little overview on my installation experience. I ordered the wallpaper mural from MuralsWallpaper and the entire experience from start to finish was so easy that it’s something anyone can DIY! (Do you use “DIY” as a verb too?)
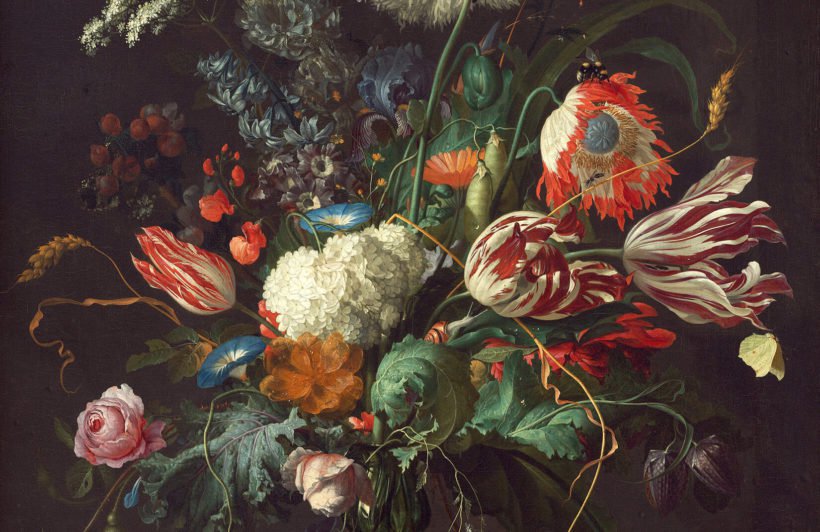
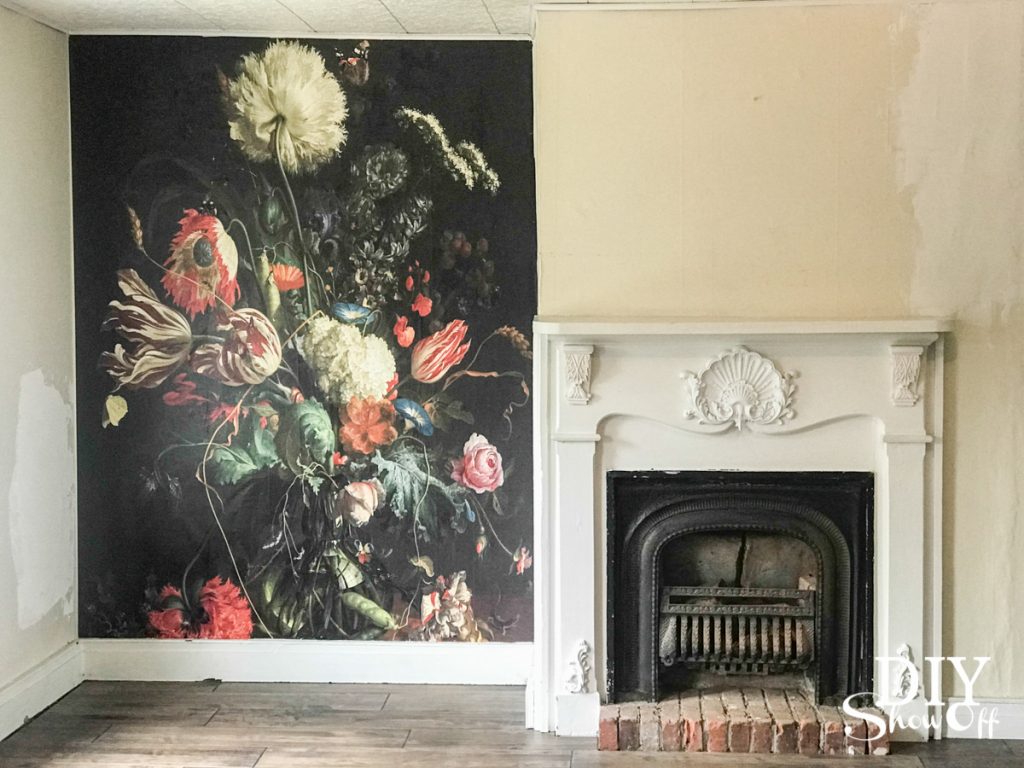
This specific design is called Vase of Flowers by de Heem. This Vase of Flowers by de Heem Wallpaper Mural from 1645 is a beautiful design that will completely reinvent your interior with minimal effort, a wonderfully striking piece of classic art that will be sure to impress. This wallpaper will be particularly eye catching as dining room wallpaper, but the stylish floral design will work well in most rooms. It was love at first sight for me.
The best part? It’s a custom! This mural was made to be the exact size of the wall space where I wanted to place it (with a little extra thank goodness, because old house = not square!). They send a mock up with quote for my approval BEFORE I paid for it. And because I wanted more of the colors on the left hand side, I responded with a request to ‘mirror image’ the design. No problem! The entire process was friendly, quick and easy.
Ordering in three steps:
1) Select your image. Choose from the extensive collection of mural designs and photo wallpapers.
2) Specify your dimensions. Measure up your wall full height and width.
3) Produced and shipped within 3-5 days. For a custom order, it arrived quickly! Yay!
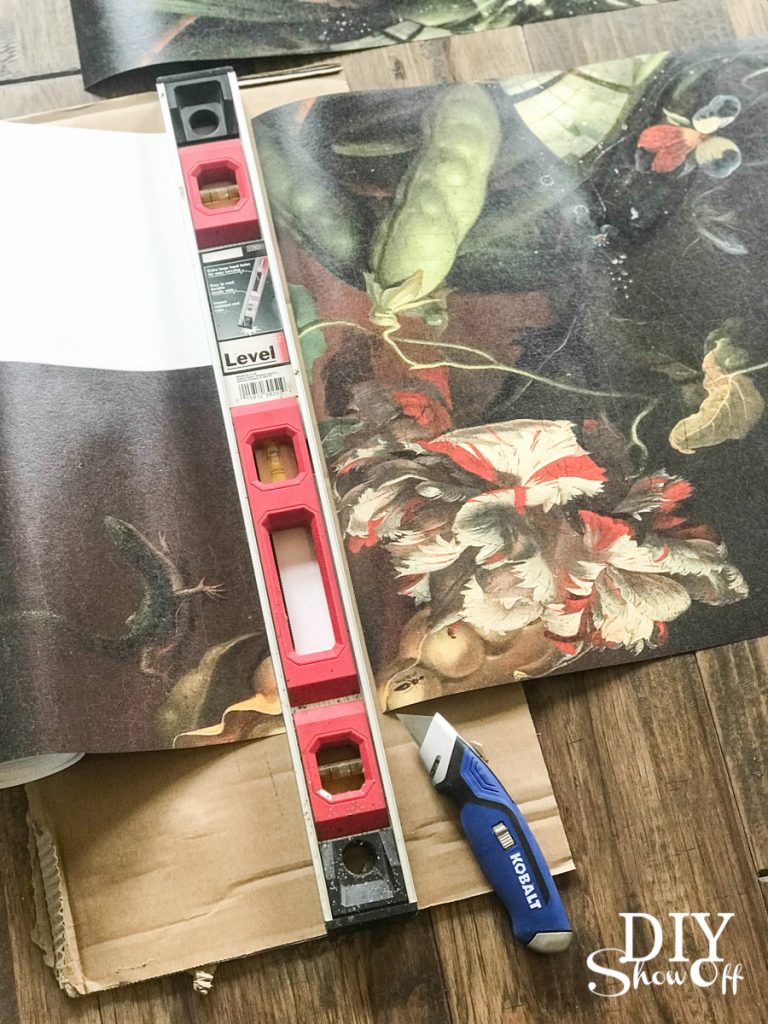
It comes in one continuous roll (with awesome packaging to ensure no damage) with printed instructions to use a straight edge and box-cutter/X-acto knife to split it up into pieces. My design size was divided up into 4 vertical pieces.
I originally was looking for a removable peel and stick type wallpaper and shopped EVERYWHERE so when I finally decided on this, I completely forgot and overlooked that I was looking for a self-sticking adhesive backing. But, this actually was a lot easier than I thought!
What I did:
I picked up a wallpaper paste and brush from the hardware store along with some other recommended tools: a seam roller and wallpaper smoother tool. Other tools: level and utility knife.
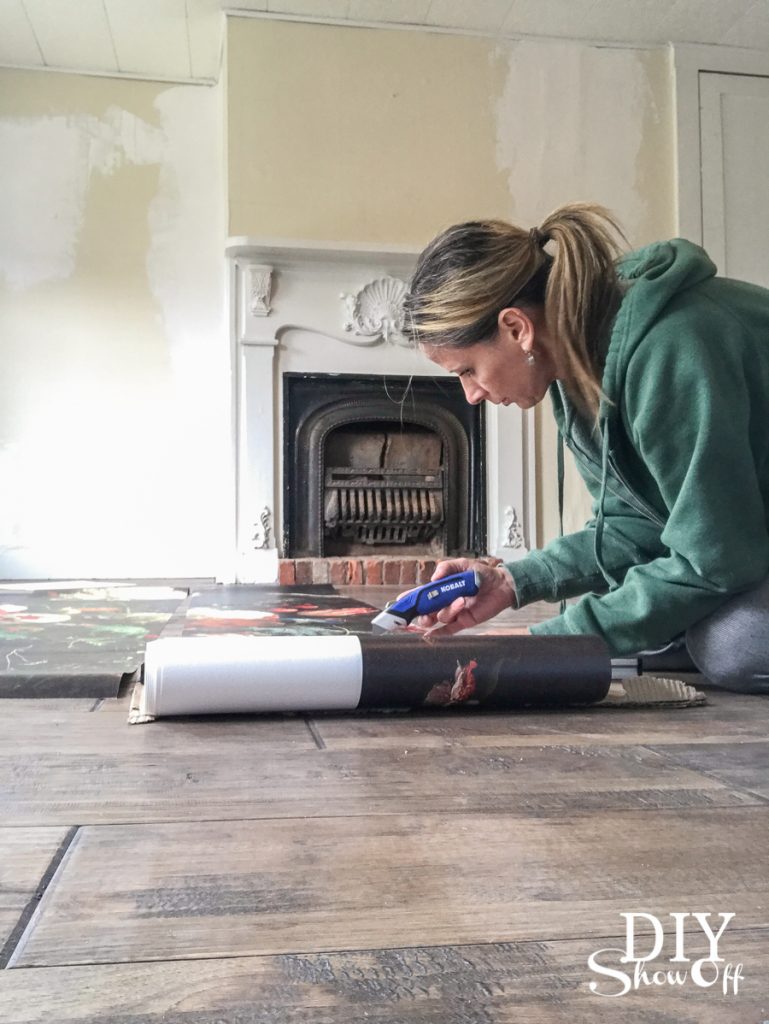
The installation probably took around 1- 1.5 hours. I unrolled the wallpaper on the floor, used a piece of cardboard underneath to protect the floor and using a straight edge, I cut along each dotted line to divide the roll up into 4 pieces. It has a nice durable thickness and the pieces were labeled.
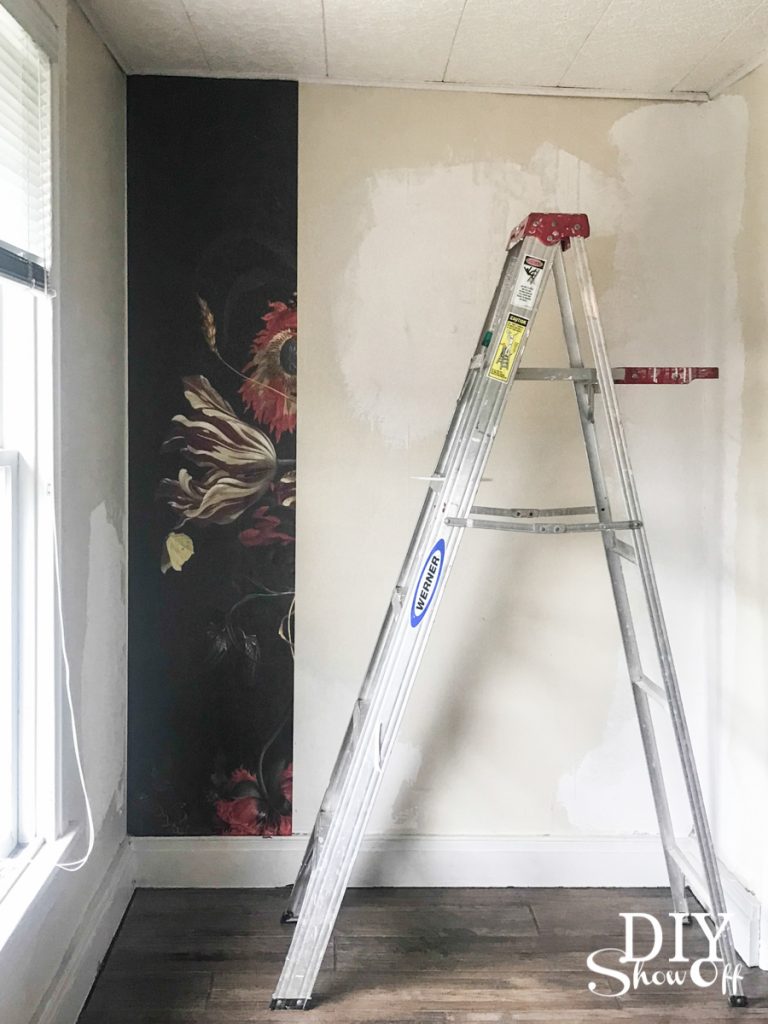
Next, I brushed the wallpaper paste onto the wall, picked up my piece and starting from the top left, smoothed the wallpaper down the wall over the wet paste. I used the smoother to remove air bubbles and to smooth the wallpaper into place. I had a wet rag on hand for cleaning up excess glue. So much easier than I anticipated. Hurray! The key is making sure that first piece is nice and level!
There is no overlapping. Each piece butts up against the other, lining up the design. There is a little extra wallpaper to trim away on the top and bottom. I used the seam roller on seams, wiped away any excess wallpaper paste. Top and bottom of the wallpaper was trimmed using a straight edge and X-acto knife where wallpaper meets trim.
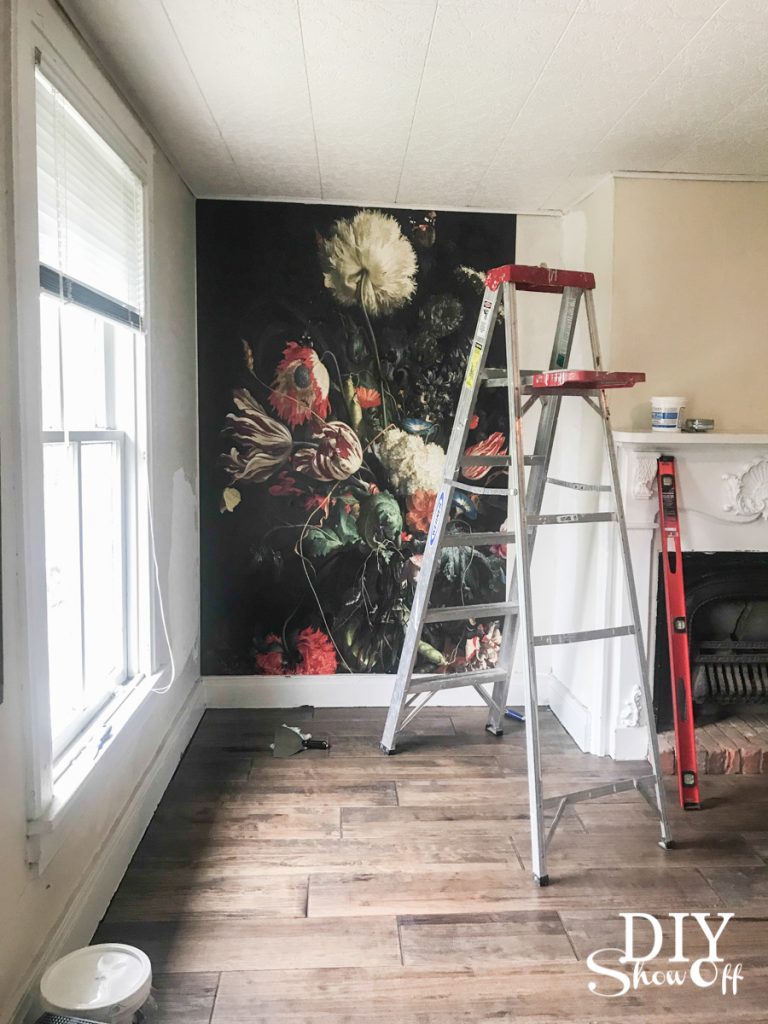
The last piece was a little trickier because it was wider and a lot of the right hand side had to be cut off. Again, I just used a straight edge and trimmed away the excess.
Ta-da! The result:
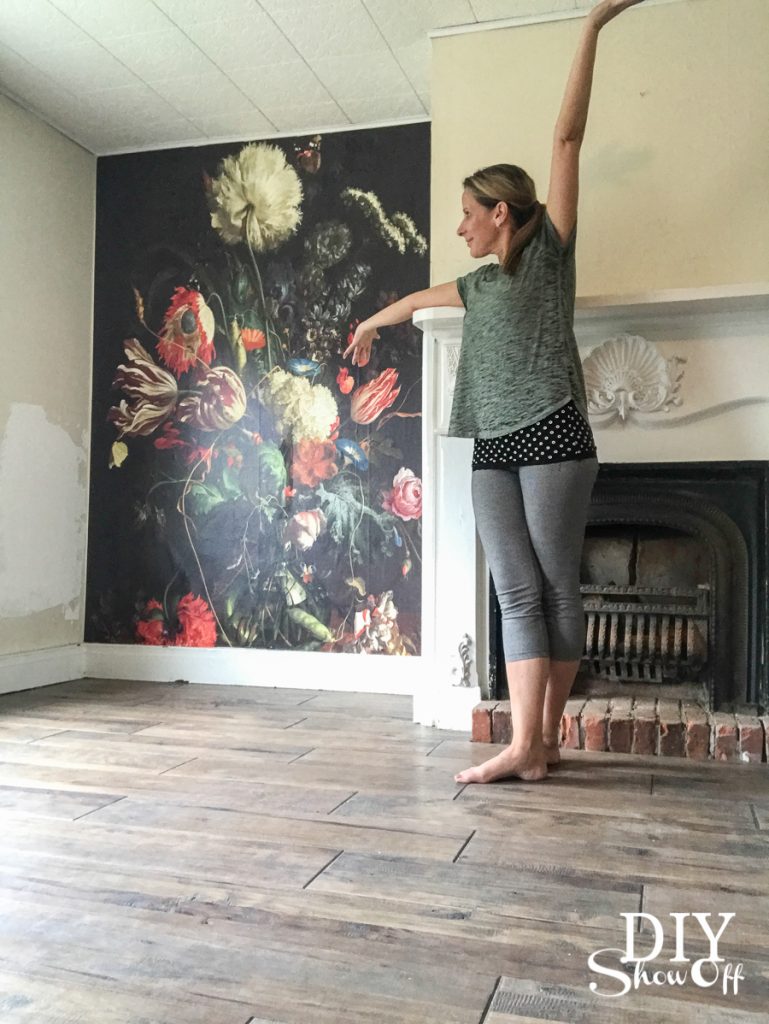
STUNNING! I am SO in love! It’s exactly what I wanted. Maybe even better!
Photoshoot:
And makes for a beautiful photography backdrop, doesn’t it? lol I told you it was love at first sight! Seeing it ON my wall makes me so happy! The vision for this space is happening!
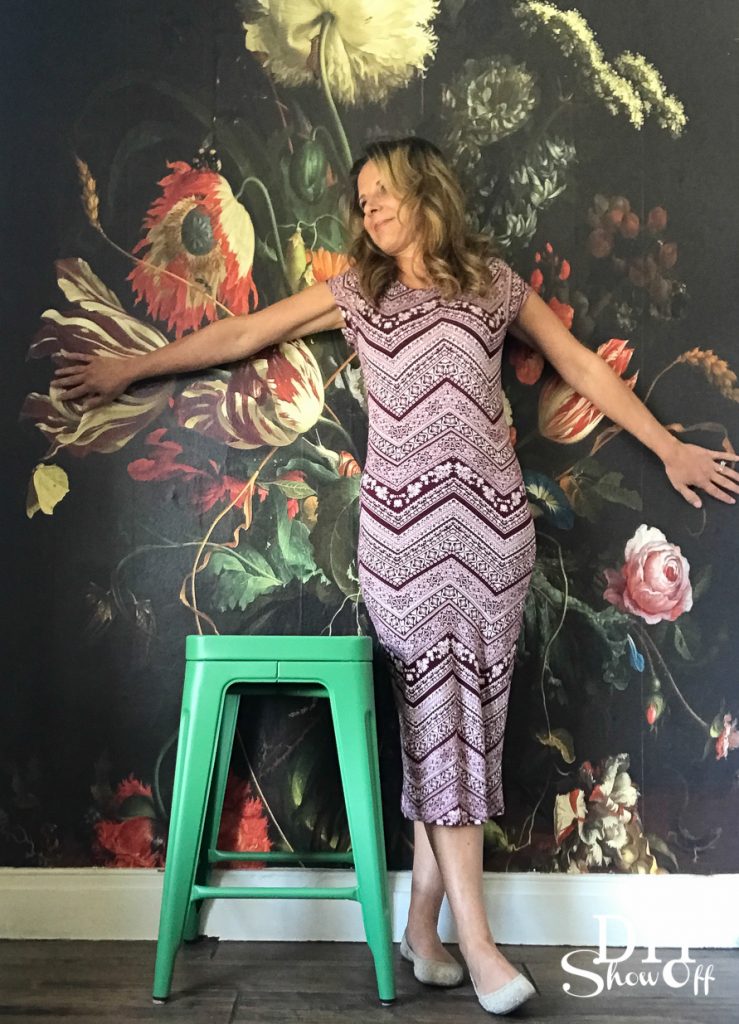
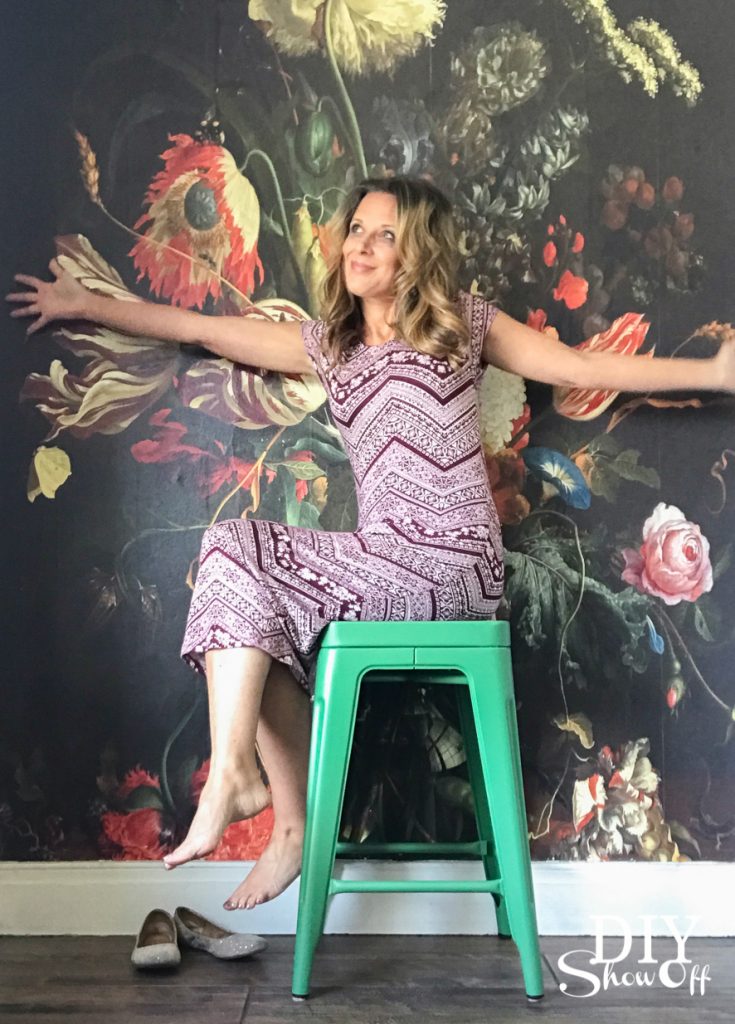
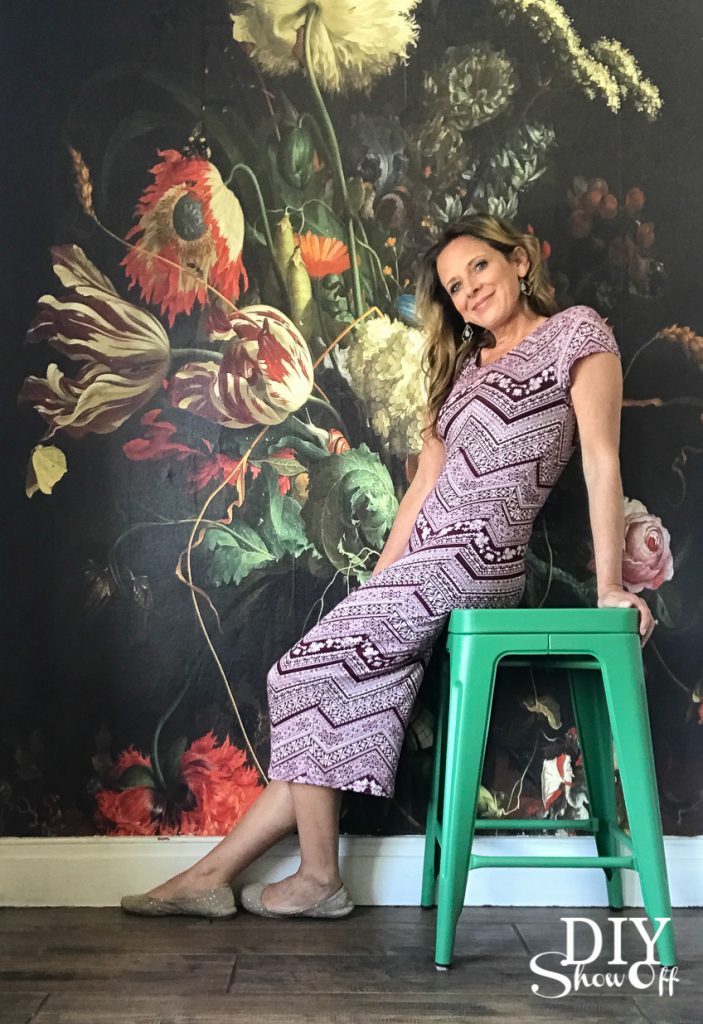
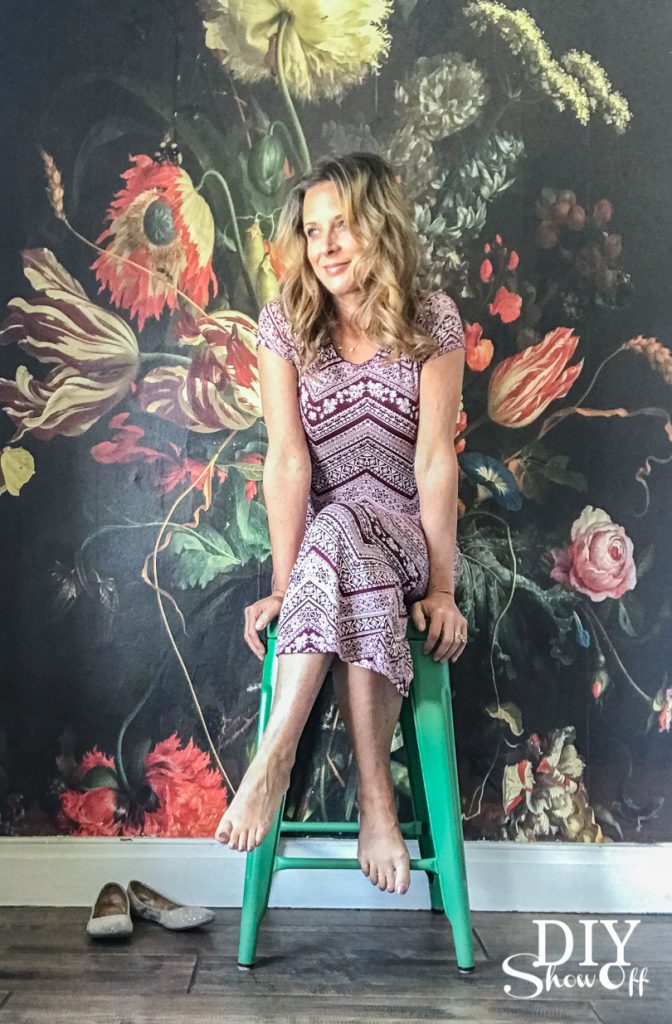
This specific print is so interesting too. Each time you have a relaxing seat and gaze at it’s loveliness, there’s something new to discover. An ant or butterfly, a spider. The photos don’t do it justice.
I can’t wait for the entire room reveal! Stay tuned!
Share your thoughts!
What do you think? Wallpaper fan? Not your thing? Not your style? Know what I mean when I say I sure loathe the removal? Willing to change your mind and take a risk when you fall in love with a print/pattern and it’s just want you and in mind for making a dramatic statement? I felt like this print was less trendy, the design is traditional. I absolutely love that it’s an art print mirror image. I can’t wait to design the rest of the room!
Next up:
More details on the fireplace and finishing the feature wall!
More about #helloredreno
The building has so much historical charm. It’s about one block from our town’s Main Street. The bus stop is literally steps away. There’s a gorgeous Butler, PA Bed & Breakfast across the street called Suite Retreat (how cute is that?!) and an antique shop nearby. There are breweries, the YMCA, shops, restaurants, salons, florists, candy/coffee shop, holiday parades and festivals within walking distance. So fun! If renovation from blah to ahhhhh is your thing, stay tuned!
So subscribe and be reminded of updates as the renovations progress! I’ll share before and after photos, projects underway and updates, plans and design boards, sources and links as they relate as well as fun events going on in and around the downtown area. I’ll be using a specific hashtag on social media to keep things all neat and tidy and organized.
I welcome your thoughts and ideas! And as always, thanks for your encouragement and support and for sharing in my joy and vision! Watch for #helloredreno!
The #helloredreno project diary:
Project Diary Entry #1 – Hello Red Reno!
Project Diary Entry #2 – Efficiency Apartment
Project Diary Entry #3 Color Passive Paint
Project Diary Entry #4 – Full Bathroom Demo Day
Project Diary Entry #5 – Sealing A Wood Plank / Shiplap Wall
Project Diary Entry #6: Bathroom Flooring
Project Diary Entry #7: Sealing Brick
Project Diary #8: Hardwood Floors
Project Diary #9: Carpeted Stairs
Project Diary #10 Vinyl Floor Tiles
Project Diary #11 – Living Room Before & After
Project Diary #12 – Christmas at the Studio
Project Diary #13 – Wallpaper Mural