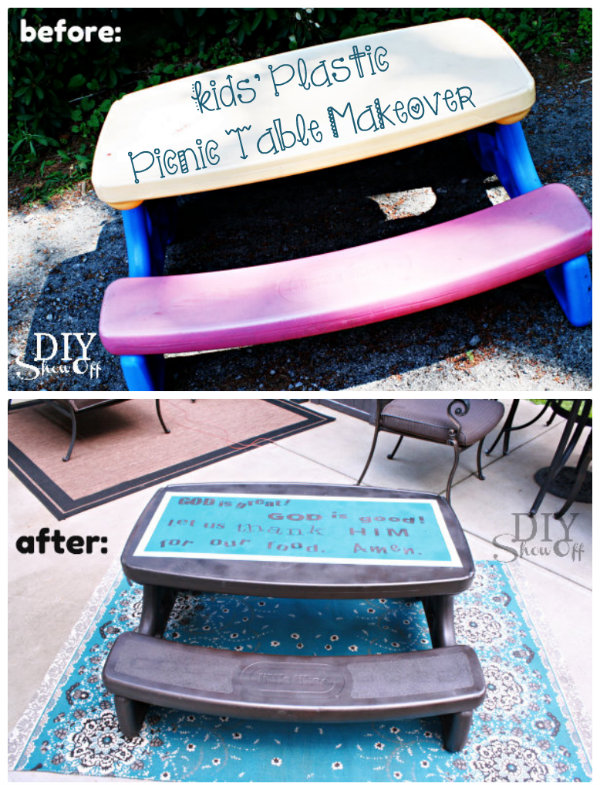
Kids’ Plastic Picnic Table Makeover

As you know, we entertain a lot in the summer, hosting quite a few family picnics. Guests include my 3-year-old nephew and 2 and 4-year-old nieces. It was decided that I needed a kid’s table and mom scored a Little Tykes picnic table at a yard sale for me for $15. Hurray for yard sale season (and moms)!

How to paint a child's plastic picnic table 

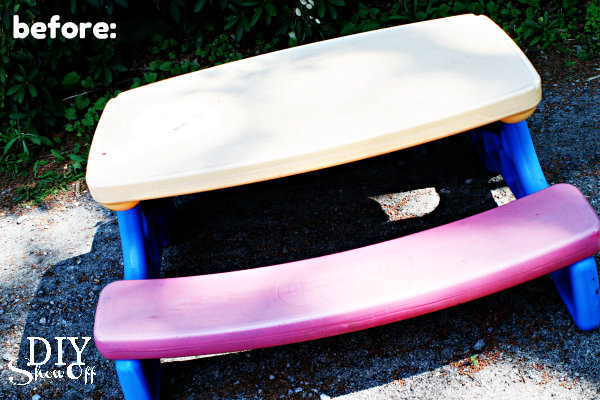
But when you don’t have a yard full of fun brightly colored kids’ toys; the red, blue and yellow looks out of place, not to mention it was faded and a little worse-for-wear. 

kids picnic table before

I decided a little makeover was in order. 

Materials:

  • Spray primer (2 cans)
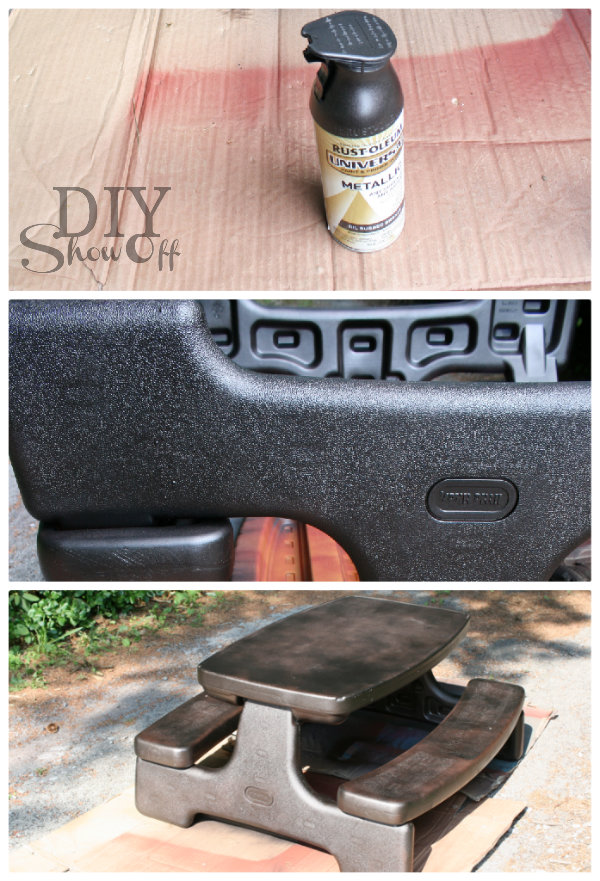
  • Spray paint (2 cans for all over) I used Rustoleum Oil Rubbed Bronze.
  • Another can for decorative purposes (optional)
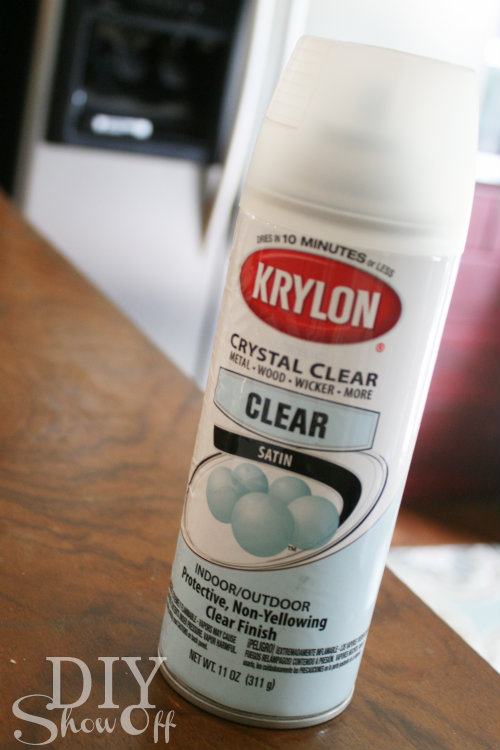
  • Spray clear coat
  • FrogTape
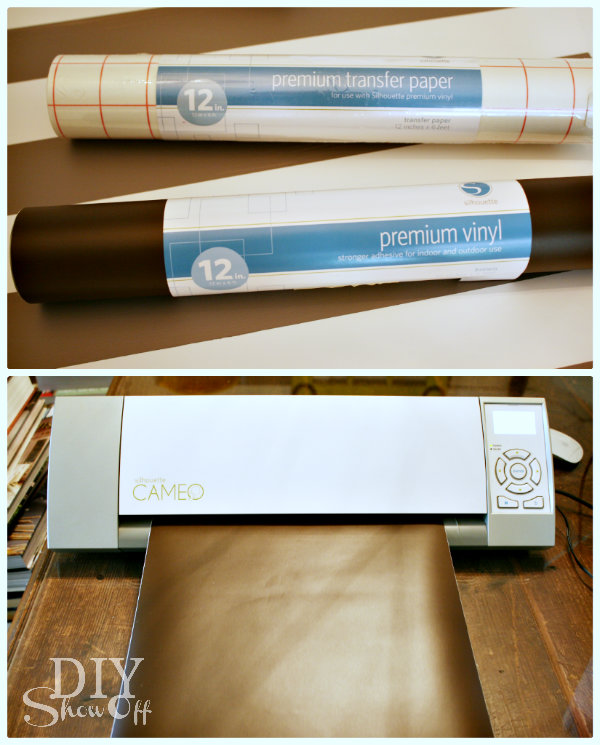
  • Vinyl decals (I made my own using supplies from Happy Crafters)

Tutorial:

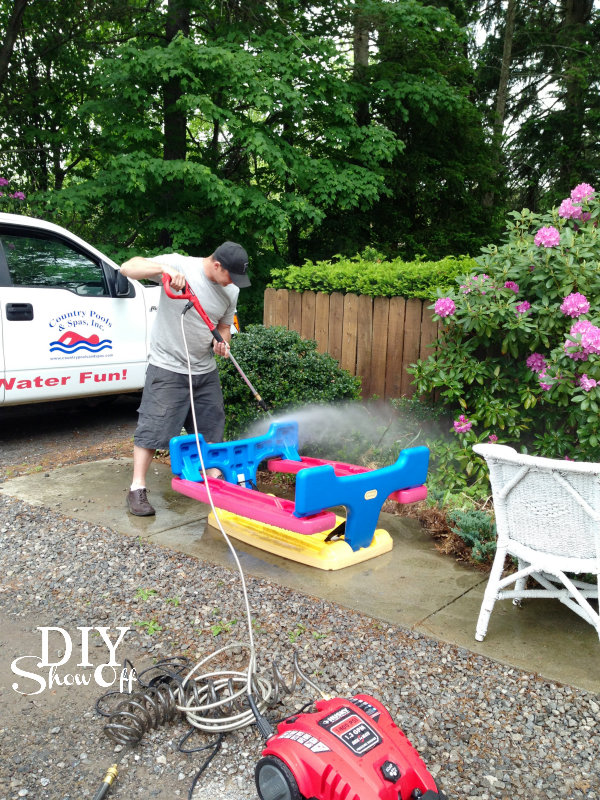
First, I lightly sanded the picnic table with a fine grit sandpaper and gave it a good spraying with the pressure washer. (Thanks, Steve!)

washing picnic table

This also comes apart some how, but I couldn’t figure it out so I didn’t bother. Apply a coat of primer: 

DIY plastic picnic table transformation

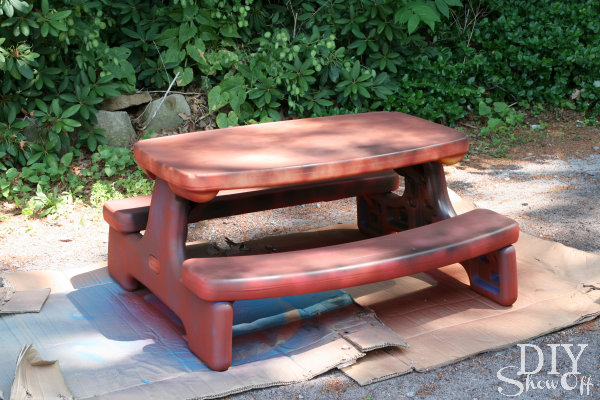
Then spray paint:

painting plastic picnic table tutorial

I let it dry and ‘cure’ for a few days. 

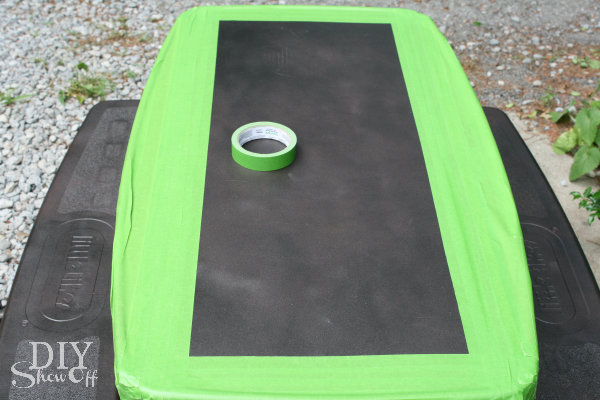
Using my FrogTape, I created a rectangle (table runner) outline on the table part of the picnic table and taped off the rest of the table top. 

child's picnic table makeover

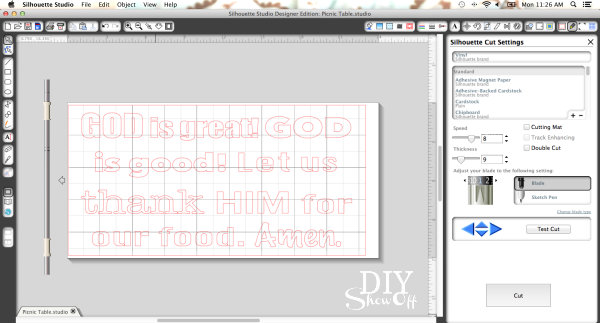
Using my Silhouette Cameo and Silhouette Design Studio software, I created and cut out the letters for a dinner time prayer.

Silhouette Studio designer software

Happy Crafters

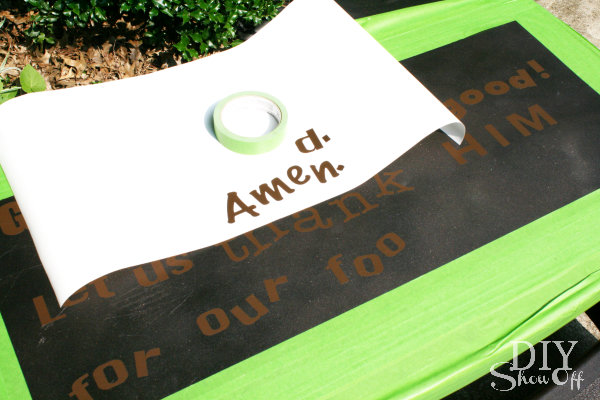
I applied the sticker type vinyl letters to the center of my rectangle and made sure FrogTape and vinyl letters were pressed down securely.

kids picnic table makeover

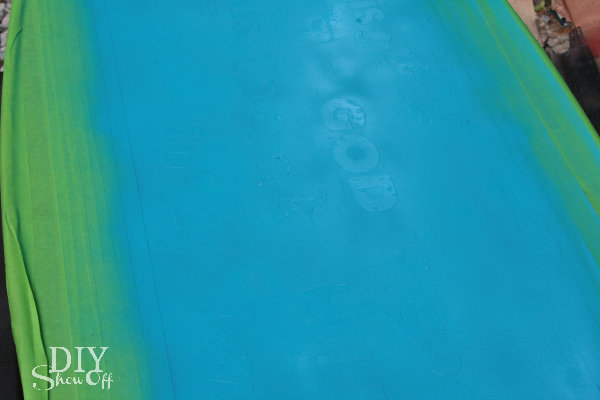
Then gave it a coat of spray paint in Rustoleum’s Lagoon. (I used a large piece of cardboard to shield the benches.)

painting plastic picnic table

I peeled away the FrogTape and decals while the paint was still wet. I still have blue fingernails to prove it. 

picnic table makeover

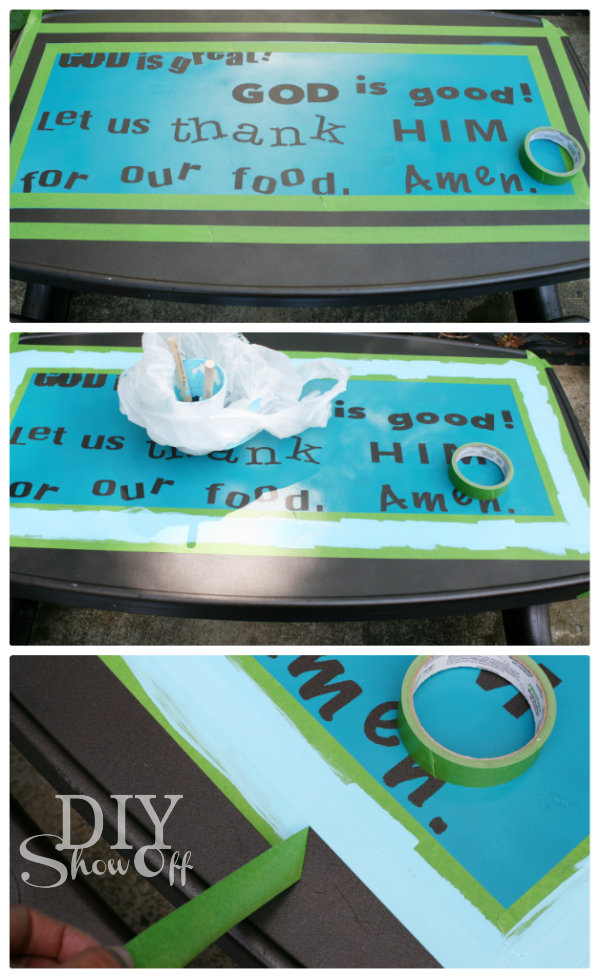
I let that dry for a few days (in my vehicle mostly since it’s been raining off and on so much)…which is why I had no choice but to be patient as well! Then I used my FrogTape again to create a border around my “place mat” and filled it in with DecoArt’s Patio Paint. Then peeled away my FrogTape and again…let it dry for a few days.

painting kids plastic picnic table

I had to touch up the paint here and there. Then sealed it with a spray clear coat (satin finish) and let that dry.

clear coat

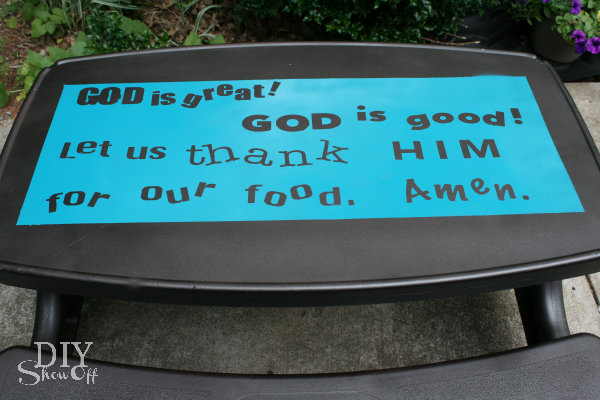
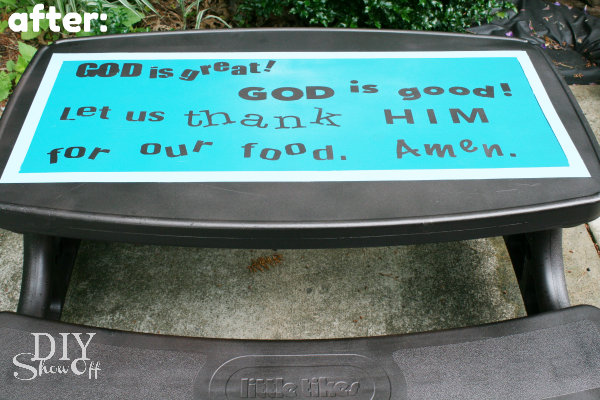
Much better! And a sweet little reminder for the little ones to pray before digging in. 

childs picnic table makeover after


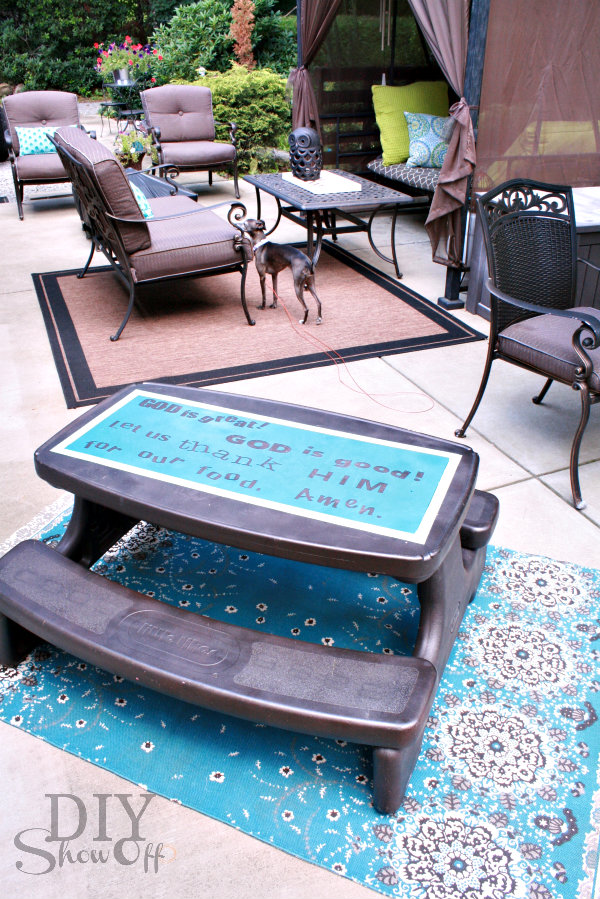
We tested it out over the fourth of July. Now it fits in with our patio…

plastic picnic table makeover

*This sponsored by FrogTape. FrogTape provided by Shurtech. The opinions are completely my own based on my own experience.

 FrogTape Blog Squad

 *Vinyl provided by Happy Crafters.

HClogopngsmall

(thin) DIY wall art

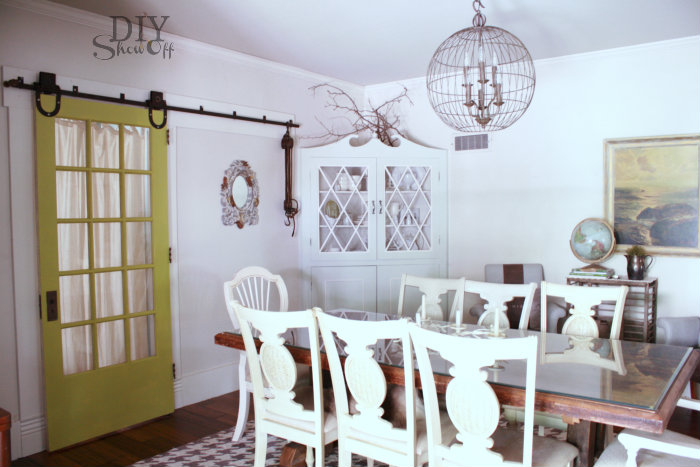
We have a sliding door in our dining room…

eclectic dining room

It slides to the right to open. Which means, I can’t hang most things like framed art or a clock or mirror in that space if I want to slide the door open. Shown above…I can’t push that door any further than the mirror, otherwise, the door will knock it right off of the wall.

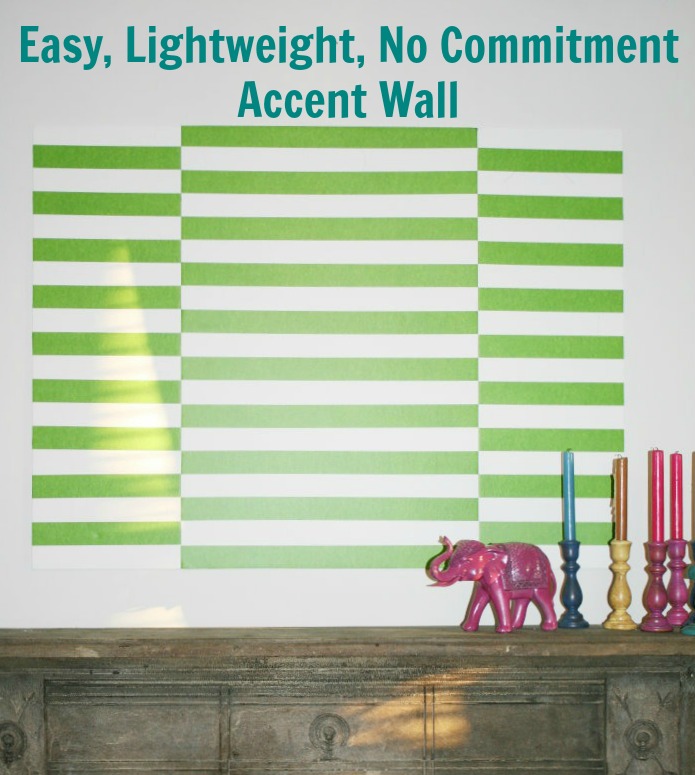
Earlier this week I shared a DIY foamboard project that I used as a fun gallery wall template/background…

foamboard wall art tutorial

Which made me think…foam board is lightweight AND thin and would work great in our dining room. Perfect wall art material fitting behind a sliding door.

This is how I also know that painting foam board isn’t such a great idea. It warps and bows but I’m still loving my project.

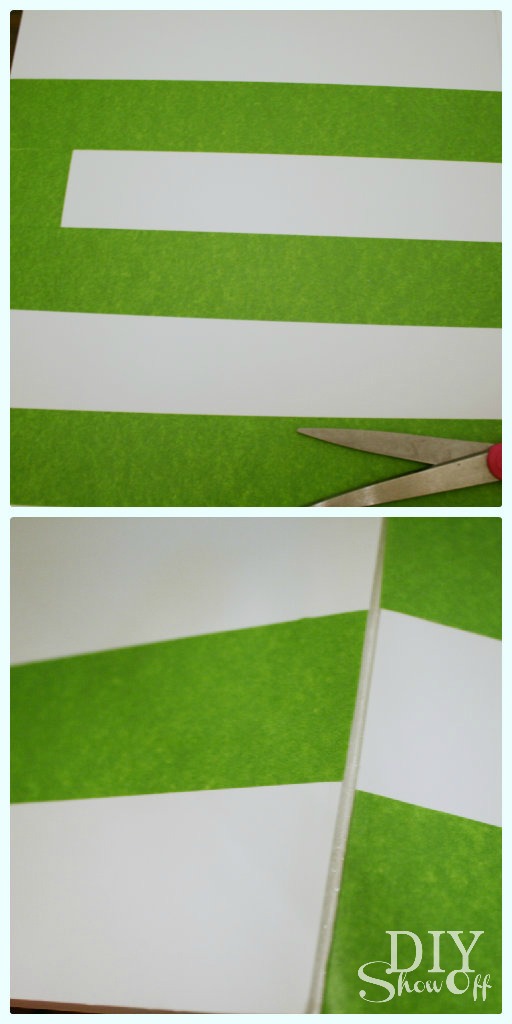
Using FrogTape, I taped off alternating stripes, making sure to press down the edges securely to activate the PaintBlock Technology (to keep the paint from seeping under the tape). 

FrogTape Wall Art

Then painted my stripes. (I think using a Sharpie or decorative tape would be a better option.)

DIY foam board art

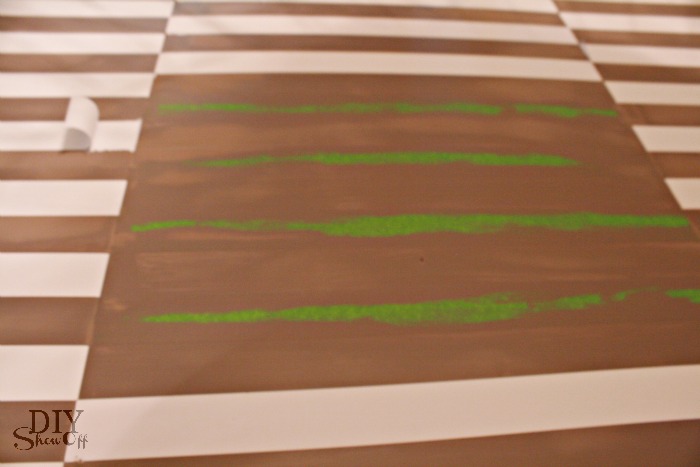
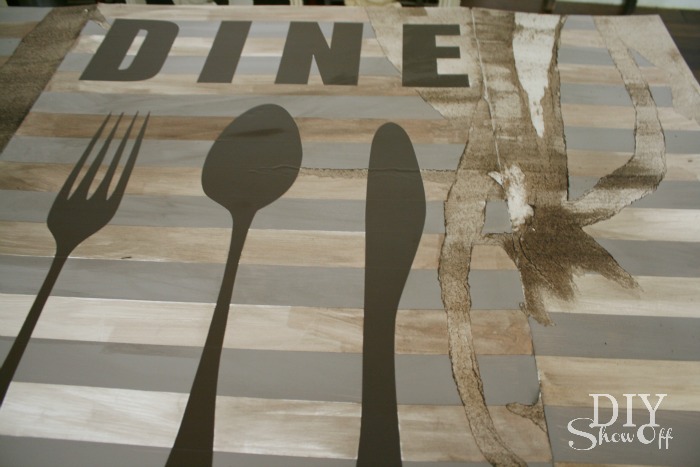
I then removed my FrogTape. It did remove the paper backing in places which is what gives my finished project an aged, distressed look. Even though it didn’t go according to plan, I didn’t give up. 

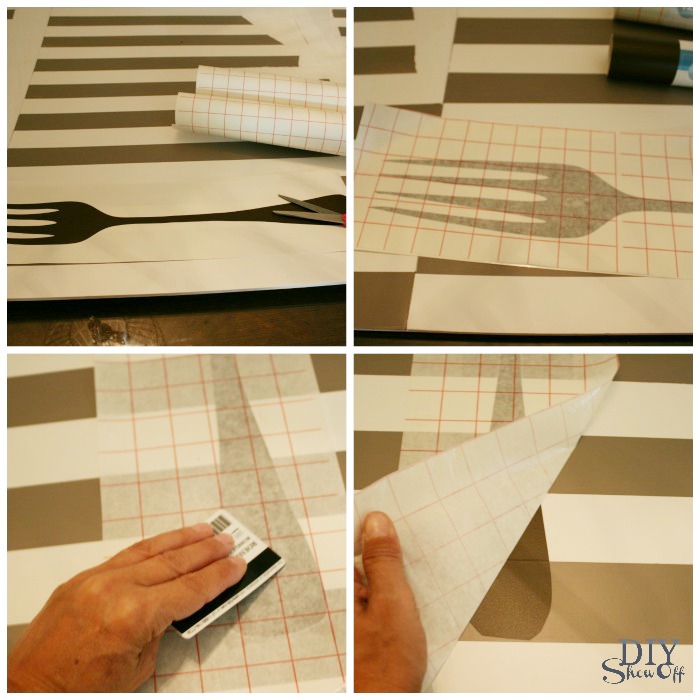
Using my Silhouette Cameo, I created vinyl decals (flatware silhouettes and the letters “D I N E”). Vinyl and transfer paper provided by Happy Crafters

applying vinyl decals

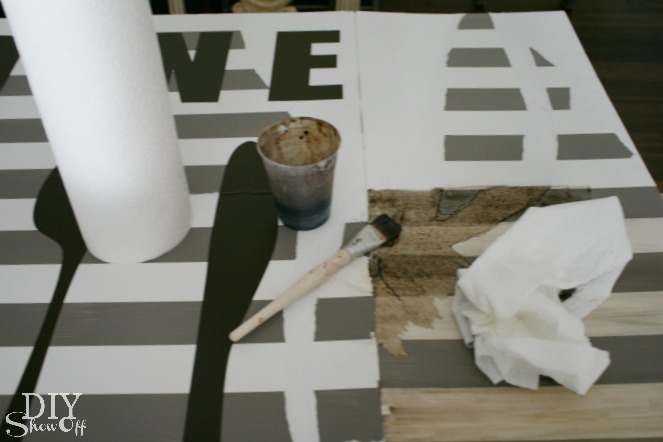
Then I used a glaze to ‘stain’ the bright white stripes and the areas where the paper pulled off with the FrogTape. 

diy foam board art

So where the paper pulled away gives it a distressed look:

distressed dine sign

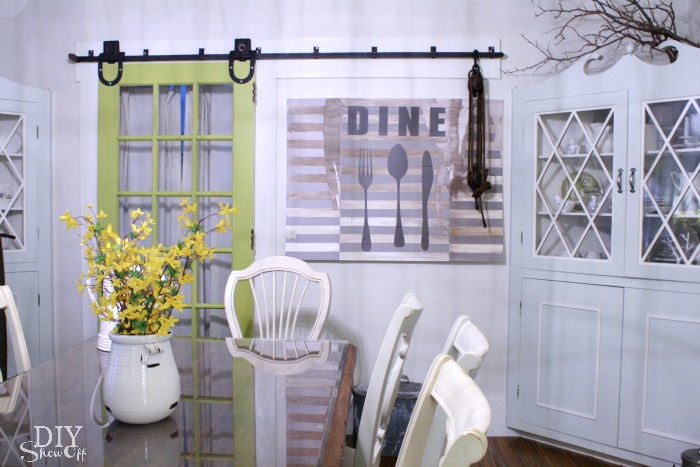
My foamboard is bowed so I did try adding weight for a while with books. Fail. It didn’t help. But I hung it up anyway using command strips. Even with the warping, it’s still a great fit behind the sliding door…

easy DIY dining room art 

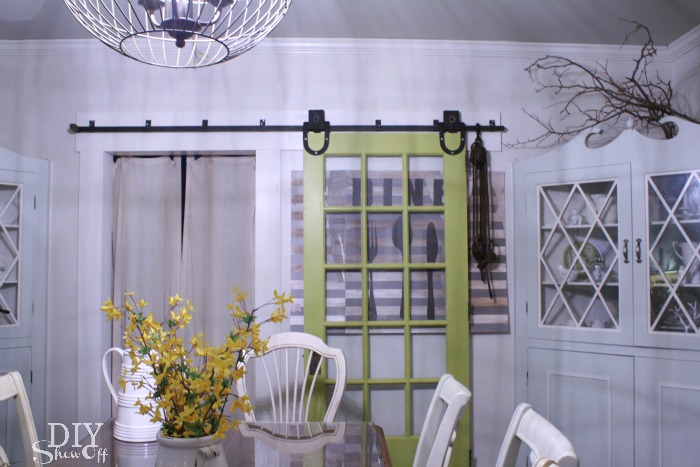
With the sliding door open…

dining room sliding door wall art

Not bad, right? Lesson learned: don’t paint foam board but I do love that it’s lightweight and thin so I’ll definitely be creating another DIY foam board project for this space. Perfect behind my sliding door. 

*This post is brought to you by FrogTape. FrogTape provided by Shurtech. The opinions are completely my own based on my own experience. For more FrogTape projects ideas, check out the FrogTape Blog Squad.

 FrogTape Blog Squad

*This is a sponsored post. Vinyl and transfer paper provided by Happy Crafters.

HClogopngsmall