Share the Love: Free Printable Valentine Gift Tags

One month until Valentine’s day! Time to start thinking about cute Valentine’s craft ideas! Today I’m sharing some cute Valentine gift tag printables as a part of the Share the Love Blog Hop hosted by Jamie at C.R.A.F.T. (Creating Really Awesome Free Things). Visiting from sweet Lucy at Craftberry Bush? Welcome friends! I’m so glad you’re here! 

Share the Love Hop

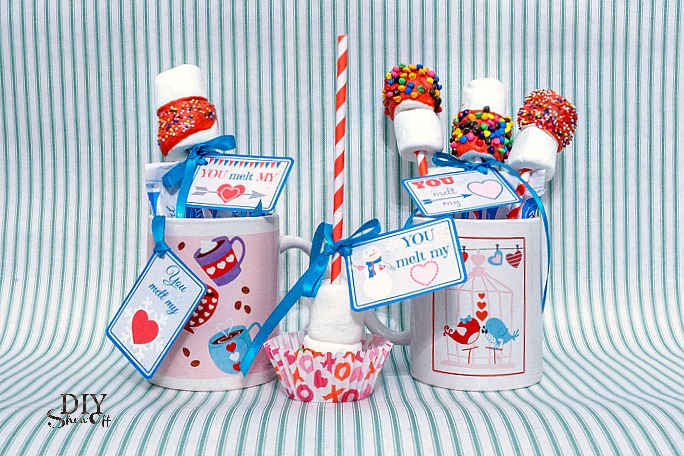
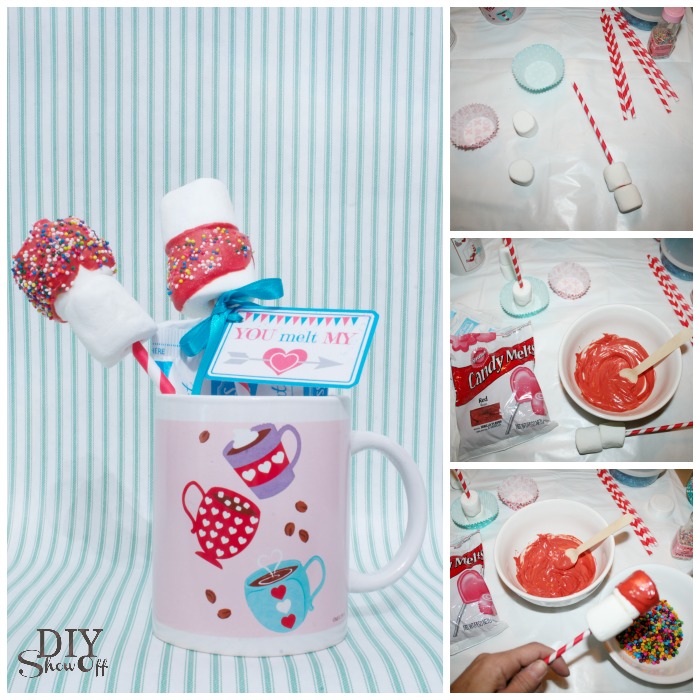
Baby, it’s cold outside in my geographical location in February so how about adding a package of hot cocoa to a dollar store mug, toss in some DIY decorated marshmallow stirs and attaching a cute “You melt my Heart” tag. 

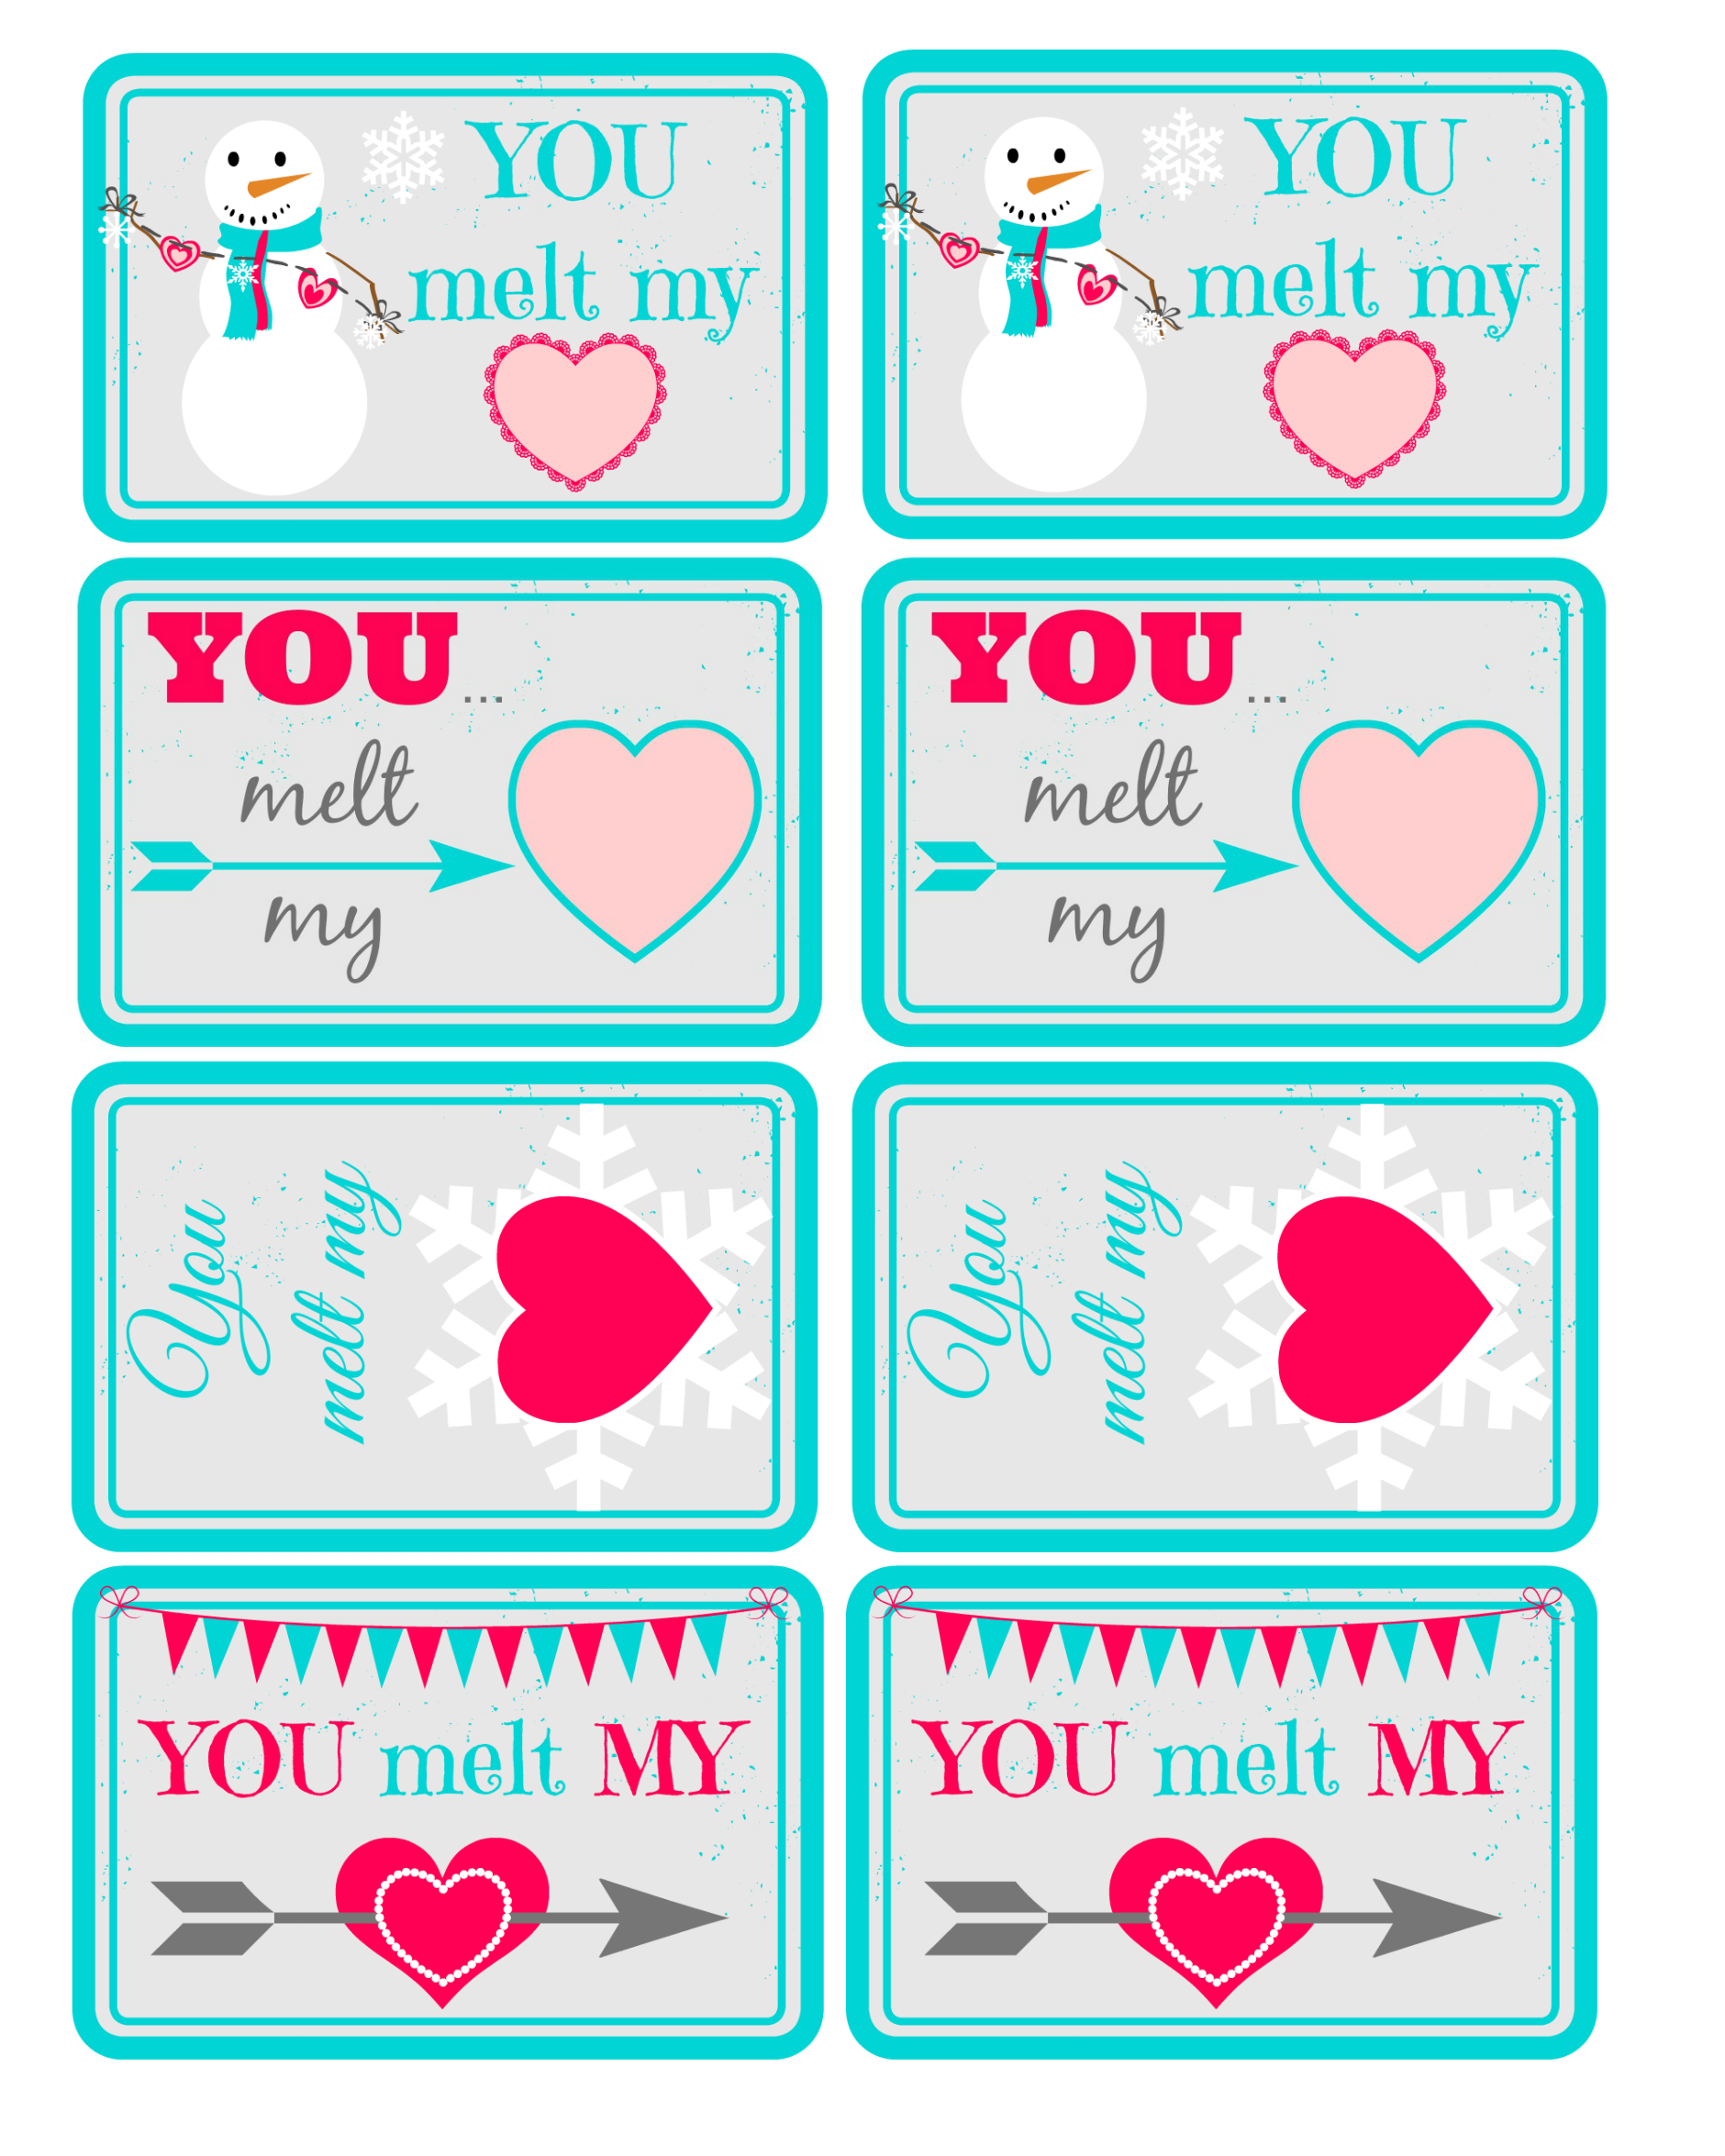
free valentine printable

Awe. Heart warming! Heart melting! They’re printable. They’re free! And they’re cute! 

You Melt My Heart Valentine Prinatable

Click here to open and print. 

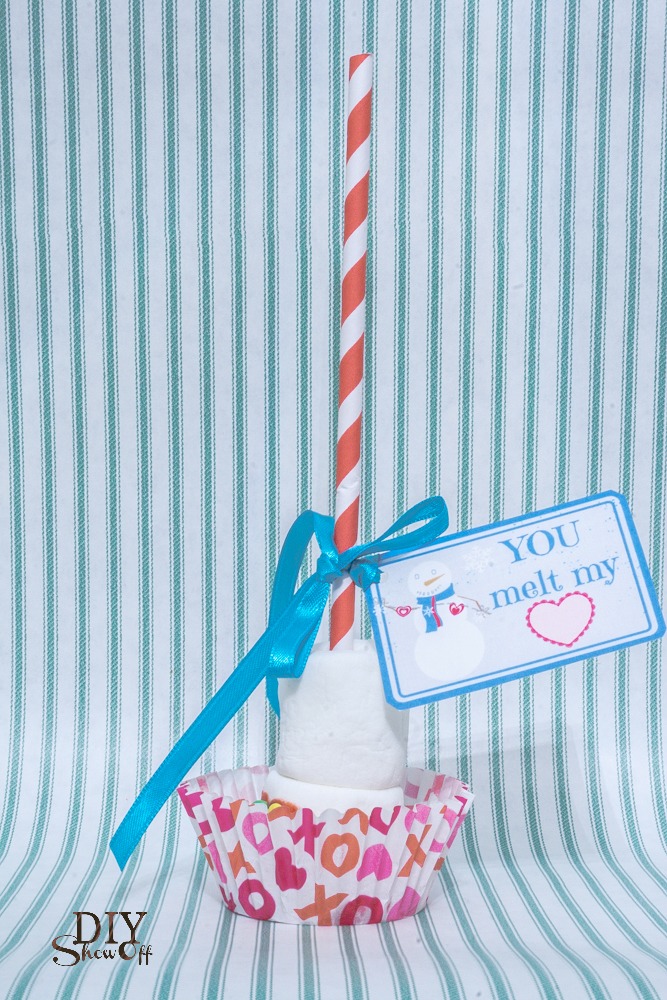
Marshmallow Stick Treats

Great for accessorizing these gifts too:

  • chocolate
  • bath melts
  • candles
  • melted snowman cookies
  • snowman ornament

free valentine printable gift tag

Next up on the Share the Love Blog Hop is Vanessa at Tried and True with a super cute project & printable!

Share the Love Hop

Visit all 16 blog friends for even MORE free Valentine Printables! 

1. Jamie: “You mean the world to me!”

2. Lucy: “I love everything you dew!”

3. Roeshel: “You melt my heart!”

4. Vanessa: ” Thumb-body Loves You!”

5. Lindsay:  “You blow me away!”

6. Jamie: “You’re o-fish-ally an awesome friend!”

7. Kelly: “No matter how you slice it, we make a great combination!”

8. Lindi: “You rock!”

9. Andrea: “You’re the write one for me!”

10. Abbey: Valentines Day scavenger hunt

11. Jenna: “We’re 2 of a kind!”

12. Emily: “I like you a latte!”

13. Bethany: “You’re just my type!”

14. Caitlin: “You’re sweet!”

15. Colleen: “You’re a deer to me!”

16. Julia: “You are the bomb!”

DIY Glitter Iron-On Vinyl Tutorial

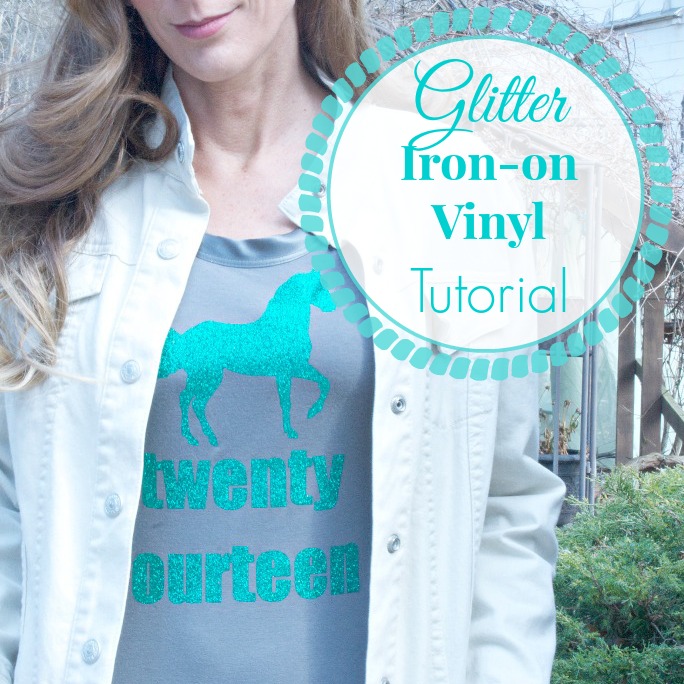
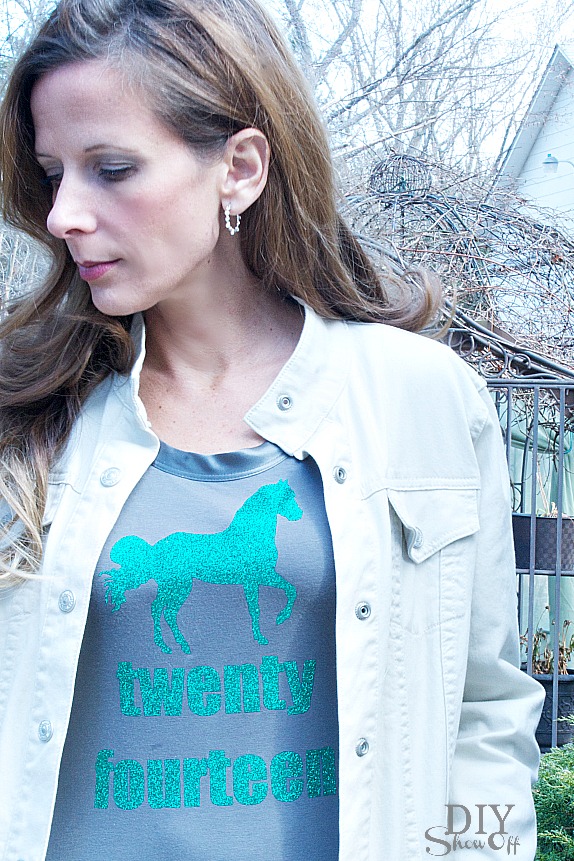
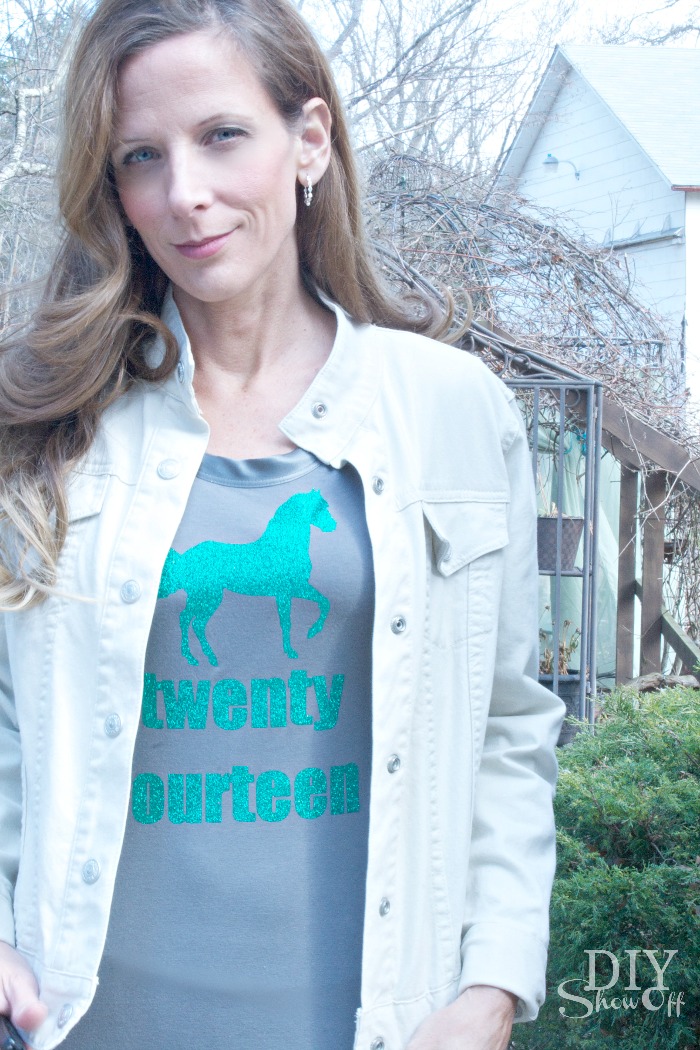
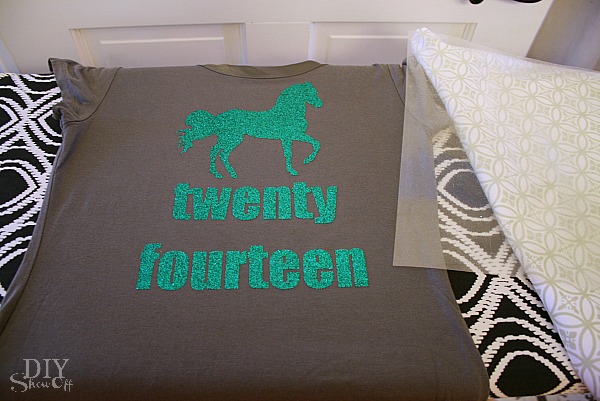
The Chinese zodiac/new year follows the lunar calendar and begins January 31st. 2014 is the year of the horse. It’s a year for making efforts to improve yourself. Why not wear a reminder to do just that. It’s also the symbol for my word of the year for 2014 but more on that later this week. iron on vinyl glitter decal tshirt tutorial

Did Santa bring you a Silhouette Cameo? Unpack that baby! There are so many cool things to create just waiting for your imagination! One of the things I love is the ability to create custom vinyl decals easily and that includes not just stencils or signs but dressing up my t-shirts too. Here’s how:

Materials:

  • t-shirt or sweatshirt. Give an old one a little pizzazz! Or purchase new if creating a gift.
  • Iron-on vinyl. I’m using Happy Face Glitter Iron On Vinyl in Pine Bling from Happy Crafters for this project. Big selection of fun printed, solid and glitter iron-on vinyl for DIY projects. 

Tutorial:

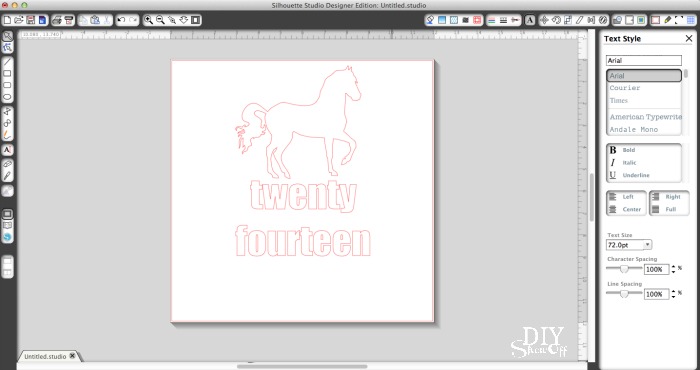
1. Create a design using the Silhouette Studio. I purchased a horse shape from the Silhouette online store and added text. 

iron on vinyl decal tutorial

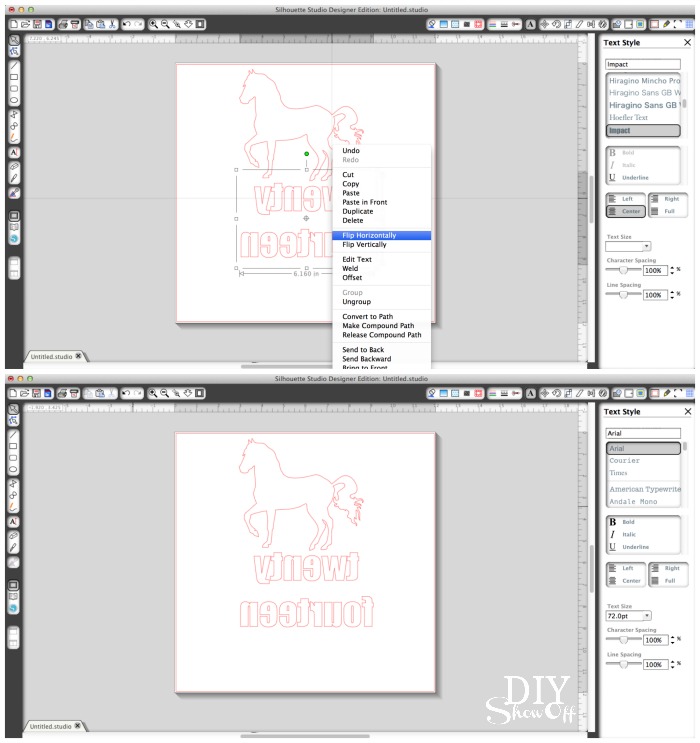
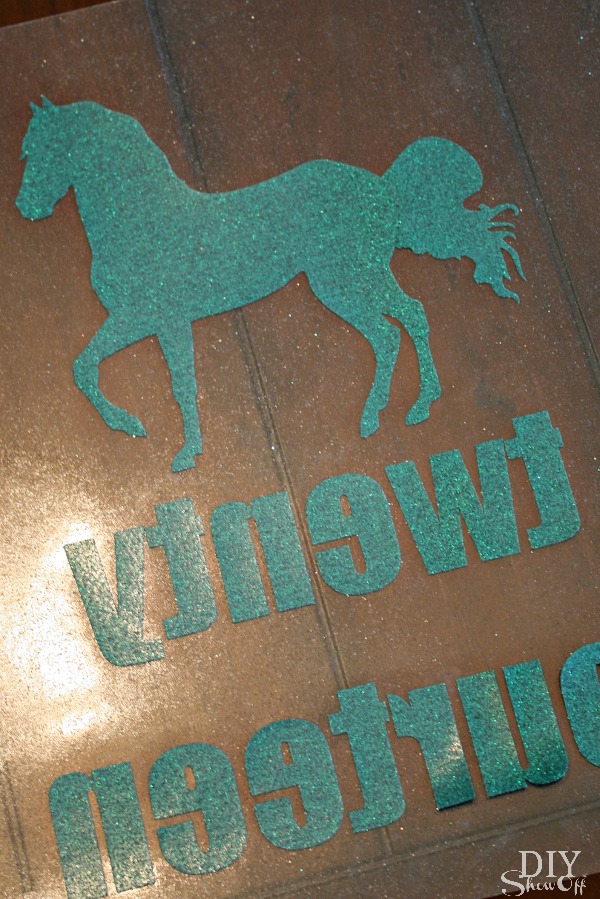
2. For iron-on vinyl, you’ll need to “mirror” the design. I just ‘right click’ my design and flip horizontally. 
iron on vinyl tutorial

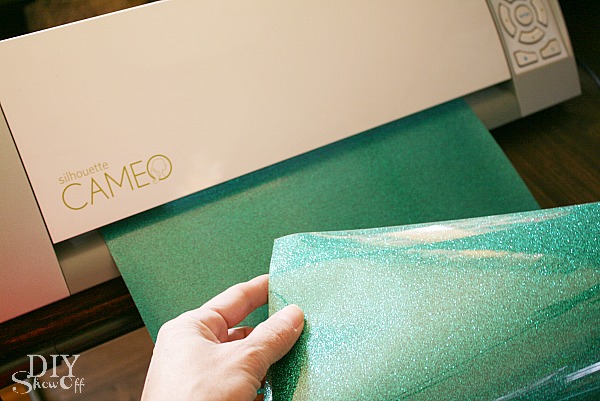
3. Load the vinyl into the machine glossy/sparkly/glitter side down {transparency side down}. Adjust settings. Recommended settings for cutting iron-on vinyl are blade 2, speed 8, thickness 5. Send to cut. 

iron on vinyl tutorial

4. My blade is dull from so much use and the glitter iron-on vinyl is thick so before removing from machine, I could tell it wasn’t a good all-the-way-through cut. I had to re-adjust my blade setting to 6 and send to cut again. Tip: Test yours before removing vinyl from the machine so that the not-so-good cut lines will match up with the newer cut lines if needed. You’ll want the vinyl to be cut but not the transparency. When cutting is complete, remove vinyl from the machine. Cut vinyl to a smaller more manageable size from the roll/sheet. iron on vinyl tutorial

5. Weed away all negative vinyl (vinyl that is not a part of the design) from the adhesive transparency.

iron on vinyl tutorial

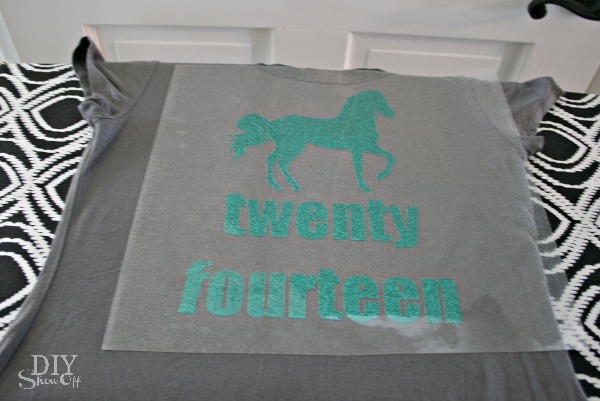
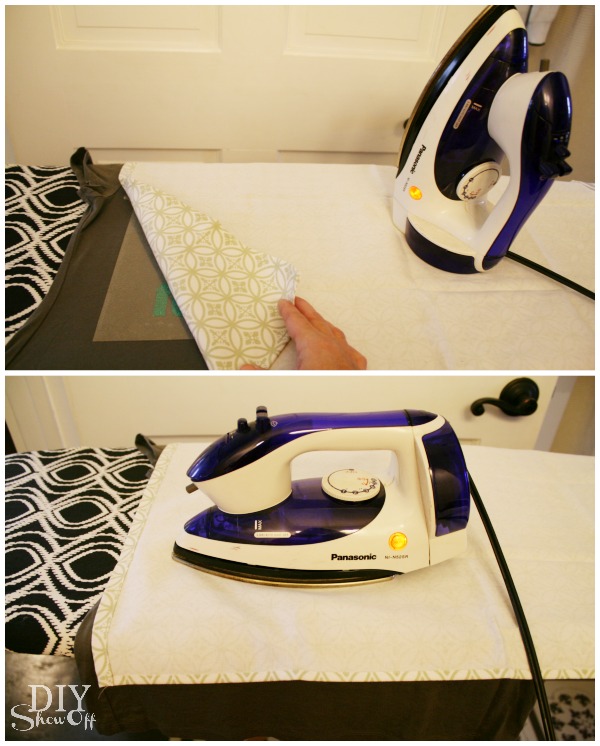
6. Position decal onto shirt. Cover with a cotton tea towel, napkin or fabric. Iron on high, pressing down 25-30 seconds on each part of the design (no steam).iron on vinyl tutorialiron on vinyl tutorial

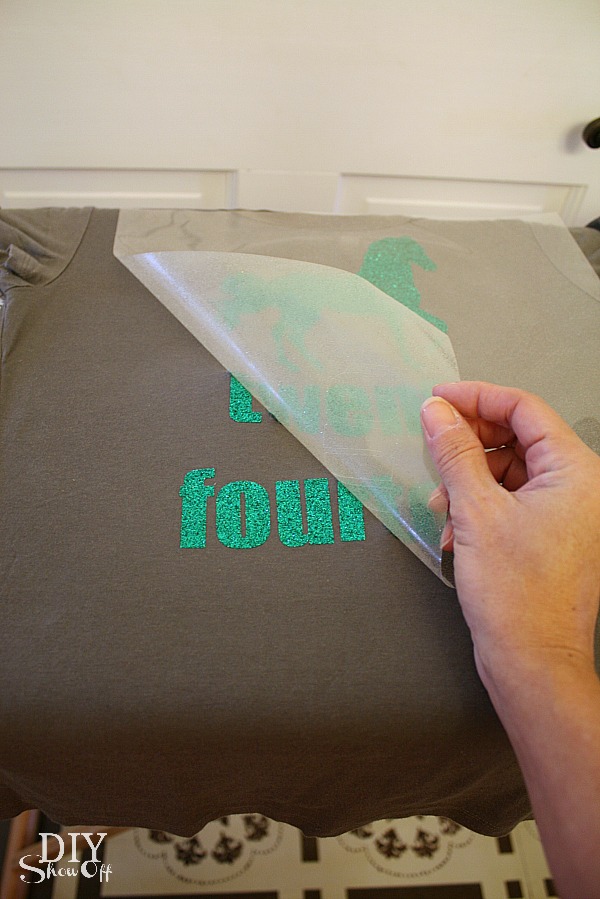
7. Peel away the transparent shiny plastic. If part of the design starts to lift, replace transparent plastic, re-cover and iron again. iron on vinyl tutorialiron on vinyl tutorial

8. All done! An old t-shirt, a new look and a fun reminder of your ‘word of the year’ to make 2014 awesome! 

iron on vinyl decal how-to

It’s certainly difficult to photograph the sparkle, not to mention take photos of myself wearing it. But you get the idea, right? It’s super glittery!

iron on vinyl decal tshirt tutorial

Isn’t that green glitter iron-on vinyl pretty? I’ll be using scraps for a glittery shamrock for St. Patrick’s Day too! Here’s another iron-on vinyl tutorial for a monogrammed t-shirt for more direction and inspiration.

*This post is sponsored by Happy Crafters. Tutorial, experience and opinion is my own.  I really love working with this vinyl. Check out all the supplies at Happy Crafters for inspiration for your next project. 

HClogopngsmall

Custom DIY Decals – vinyl holiday labels

I don’t know about you but the change from fall to winter contributes to dry skin and having a bottle of lotion constantly on display isn’t exactly decorative so why not whip out a vinyl decal/label using a fun shape and text? I used my Silhouette Cameo and vinyl but you could substitute craft paper, glue, contact paper, decorative tape and/or stickers. It’s a cute DIY gift idea too. Here is what I did:

DIY gift set idea

Materials:

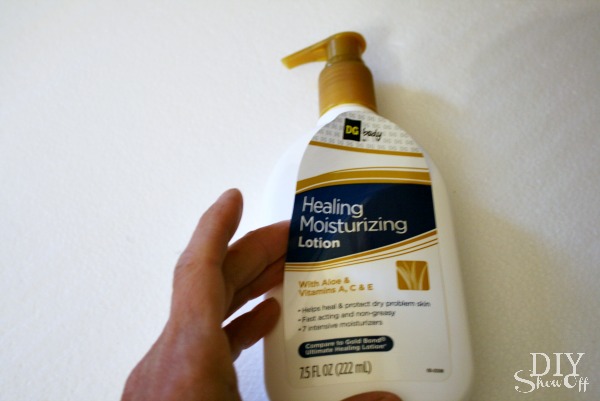
  • Bottle of Moisturizing Lotion (Dollar General) – you could also make your own and use a glass bottle or jar
  • Gold Vinyl from Happy Crafters
  • Transfer paper

Tools:

  • Silhouette Cameo

What I did:

Remove front label. I left the back label adhered so there was no mistaking the contents and ingredients. The front label pulled away clean for me but some may take a little elbow grease.

lotion bottle decal tutorial

Using my Silhouette Studio software along with a previously purchased deer shape and helvetica font, I created a design measuring small enough to fit on the front of the lotion bottle (roughly 3 x 3 inches).

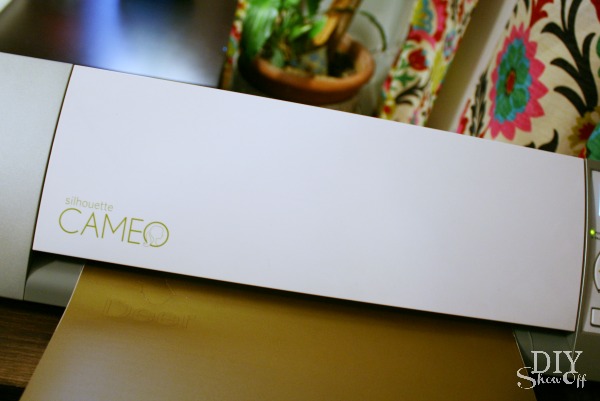
Load vinyl color side up. I changed my blade settings for cutting vinyl and sent to ‘cut’. 

cutting vinyl decals

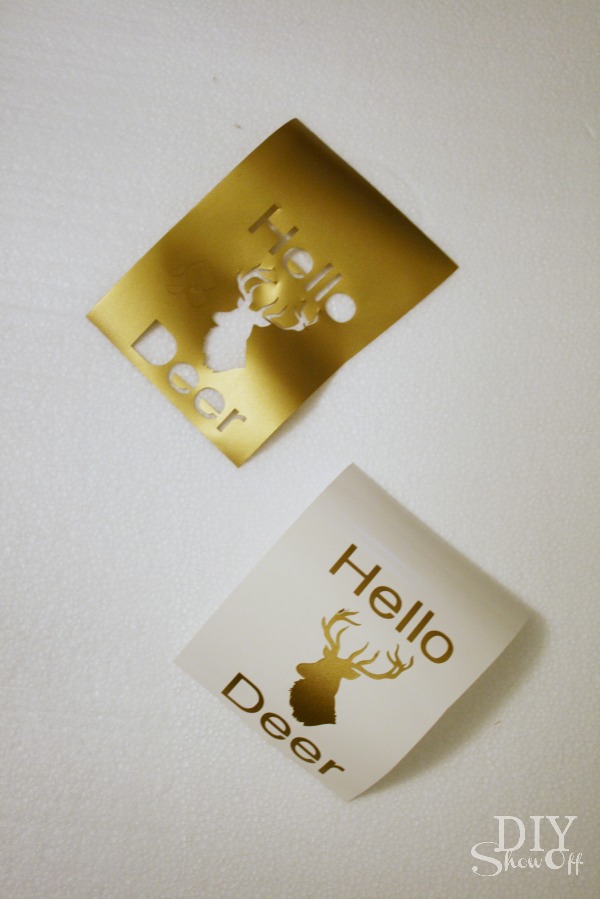
Weed away all ‘negative’ vinyl that isn’t a part of the design. 

deer decal

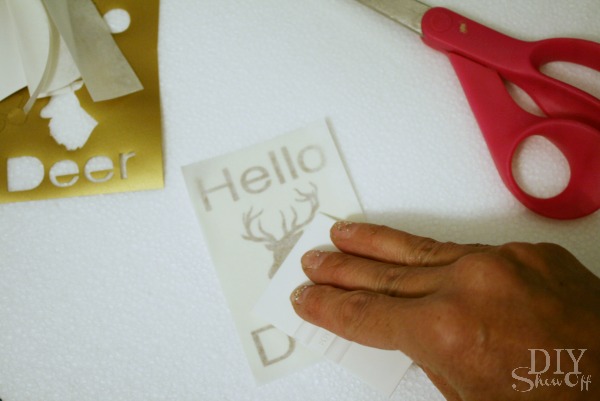
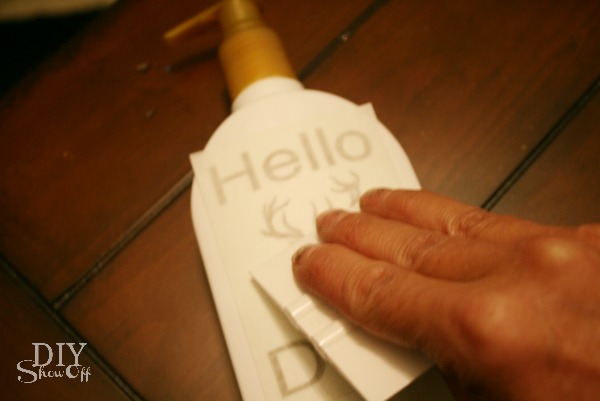
Add a piece of transfer paper to the front side of the vinyl decal and rub with a gift card or credit card.

vinyl decal label tutorial

Pull away the wax paper backing.

vinyl decal label tutorial

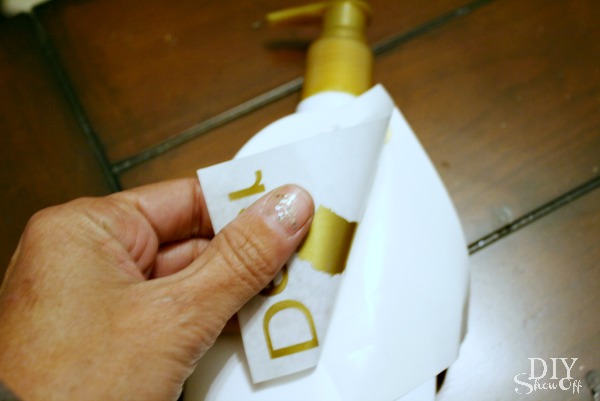
Place the vinyl decal/transfer paper onto the front of the lotion bottle and rub the design with a a gift card.

lotion label decal

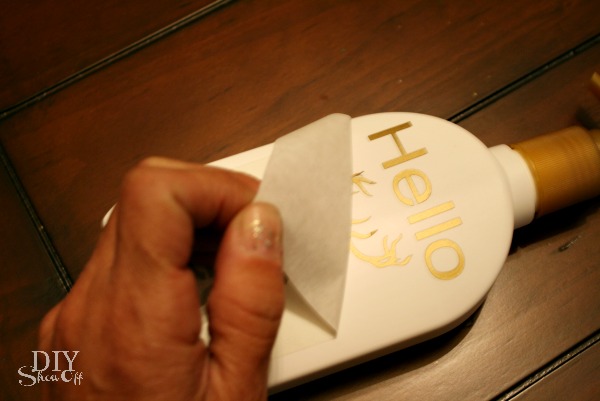
Peel away the transfer paper. 

Vinyl lotion label decal DIY

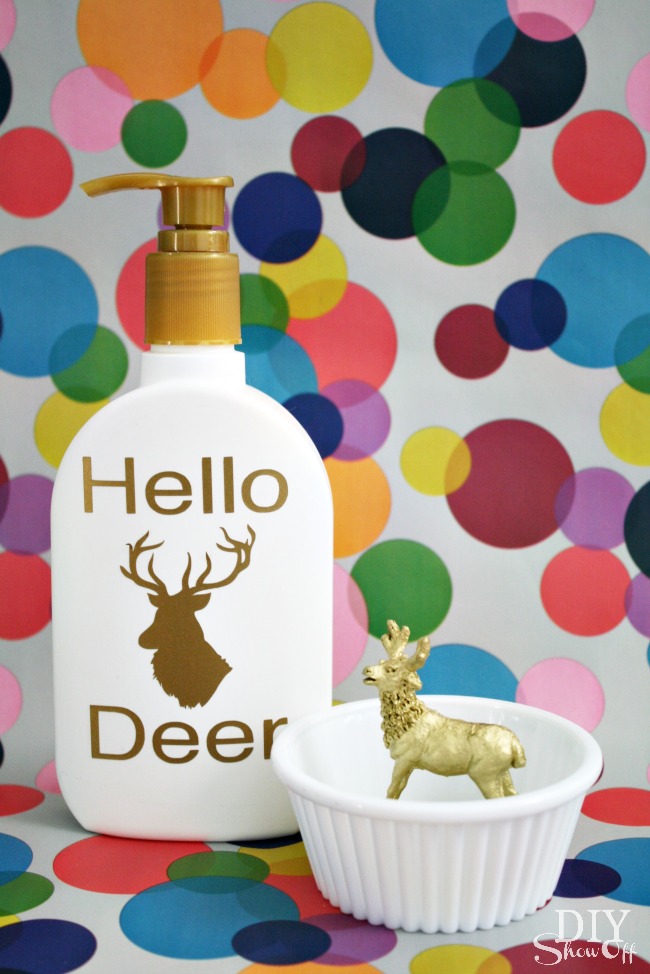
Add a coordinating bow if desired. Now you have cute guest room accessory.

Deer lotion bottle DIY vinyl decal

Or create a holiday gift set by adding a super easy DIY ring/jewelry holder.

DIY gifts

I’m sharing the ring holder tutorial today over at Très Frugal – 30 days of DIY Gift Ideas hosted by Brittany at Pretty Handy Girl today. Hop over to check it out and to follow the entire series for some great gift ideas. 

diy gifts

*This post is sponsored by Happy Crafters. Tutorial, experience and opinion are my own. See more projects at Happy Crafters blog.

HClogopngsmall


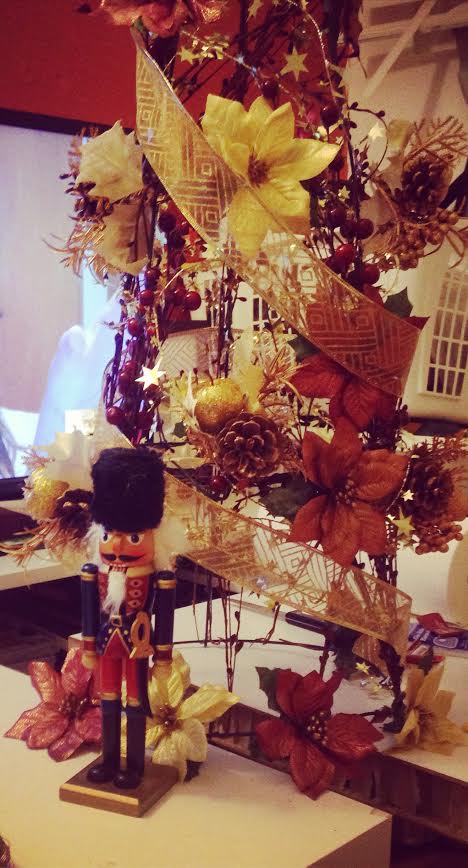
Karyna’s handmade tree for the Christmas Tree Party & Contest

Karyna's Christmas Tree