Laundry Room Herringbone Pattern Tile Floor Details

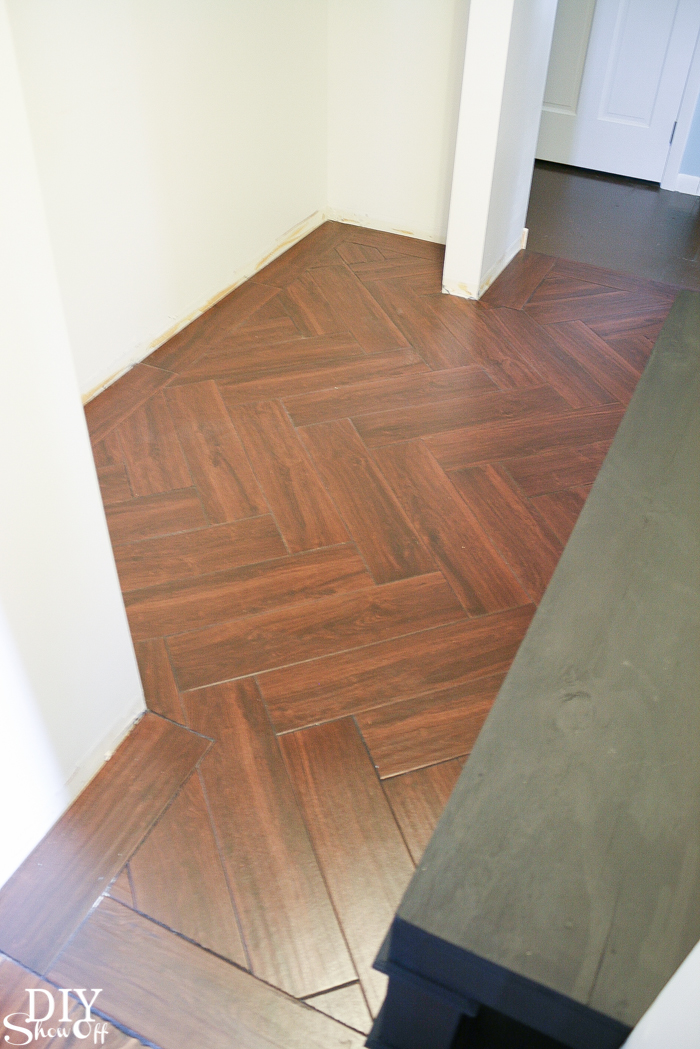
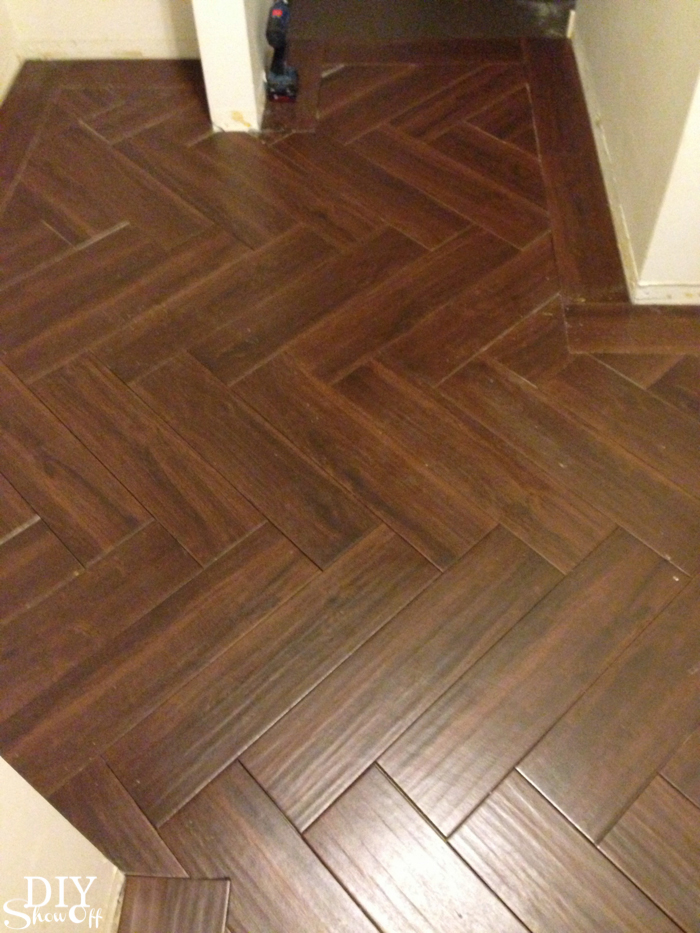
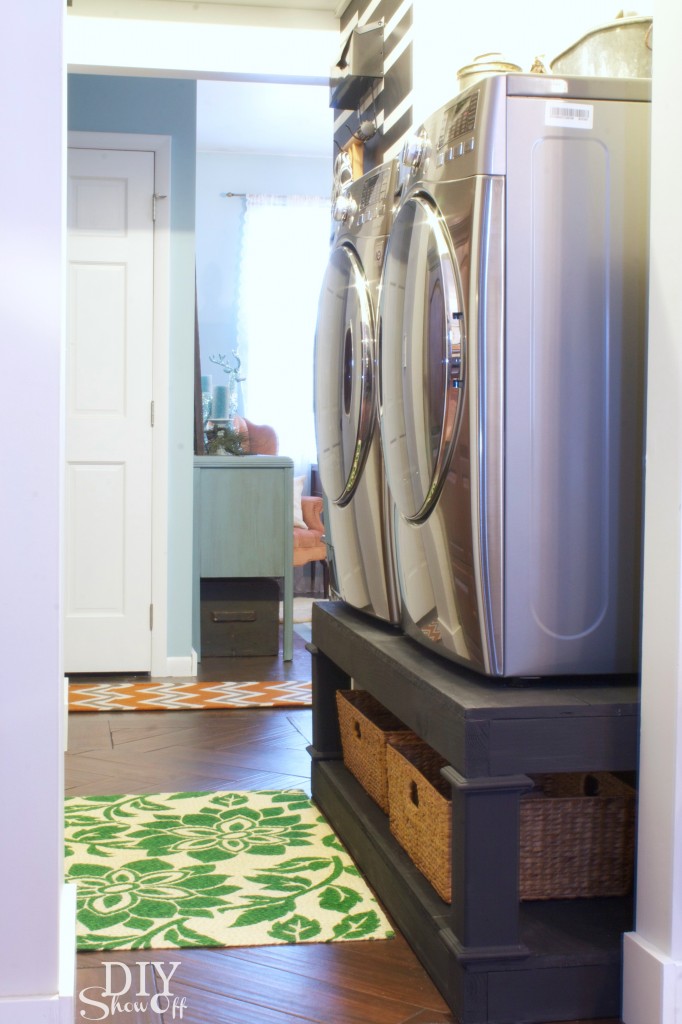
We’ve been working in the laundry room (see more in the home tour). We chose black walnut porcelain tile that looks like wood and oh my, it’s gorgeous!

Herringbone Tile Floor - DIYShowOff (38 of 83)

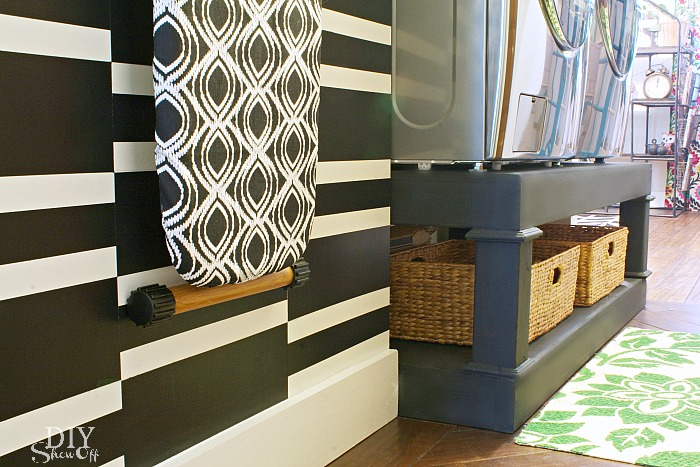
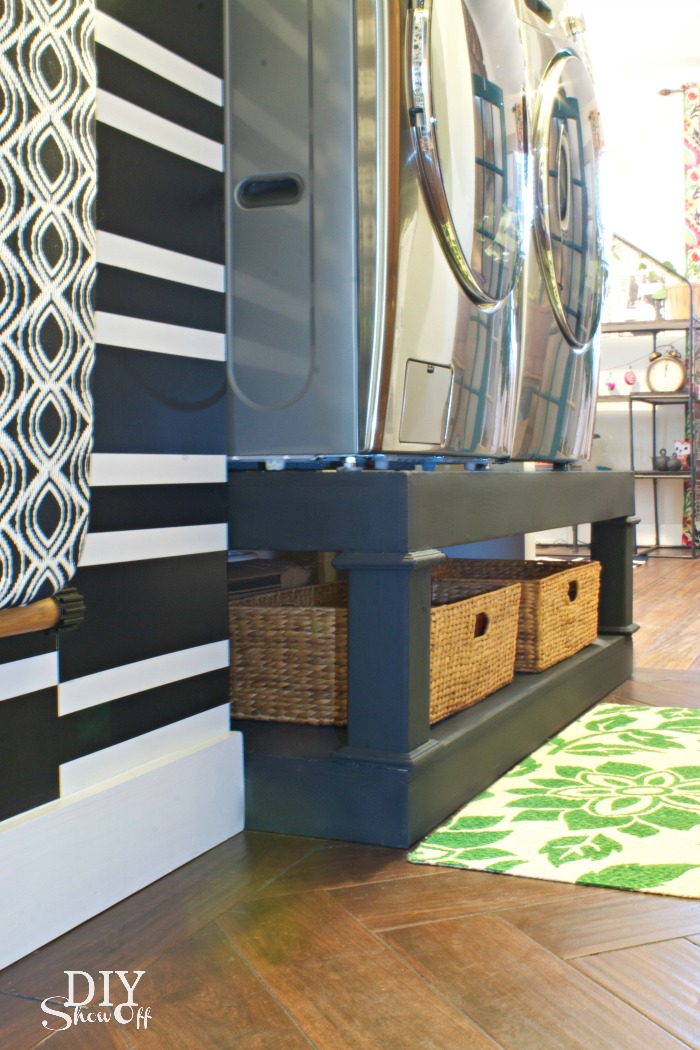
do-it-yourself laundry pedestals

When we got it home from Lowe’s, my sweet husband suggested doing a herringbone pattern (because the herringbone patterned brick walkway and patio wasn’t enough torture, I guess) and I think he realized after his offer, that he may have stuck his foot in his mouth. But he did a beautiful job despite the tricky cuts, despite the fact that most of it is covered by a washer and dryer, a throw rug and someday soon, cabinetry and shelving. 

DIY laundry pedestal

This isn’t a full detailed tutorial per se because I’m not the one who did the work but I did take some pictures of the process for your DIY tiling enjoyment. Be sure to do plenty of research on tiling tips before beginning. Ready?

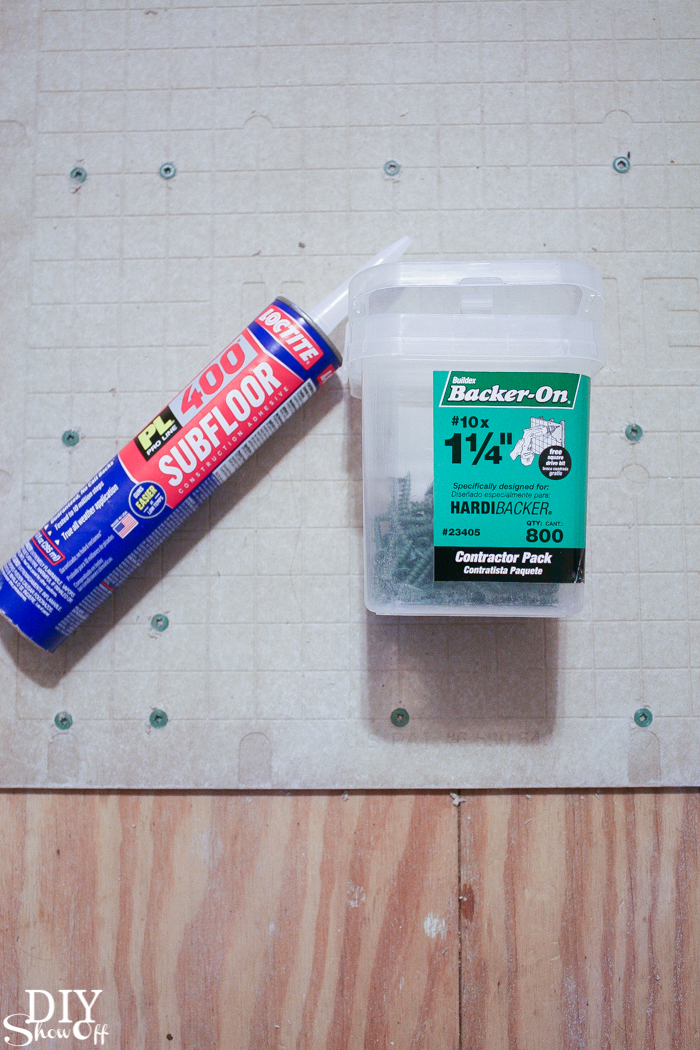
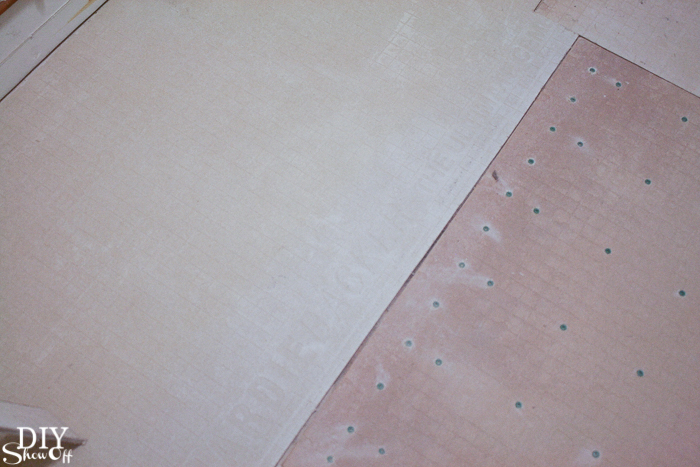
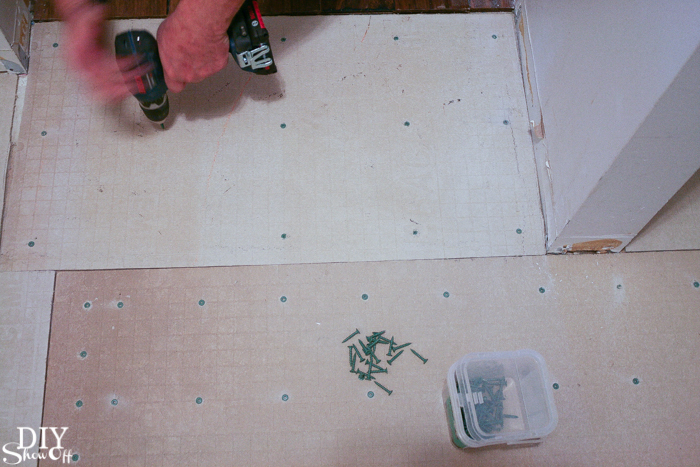
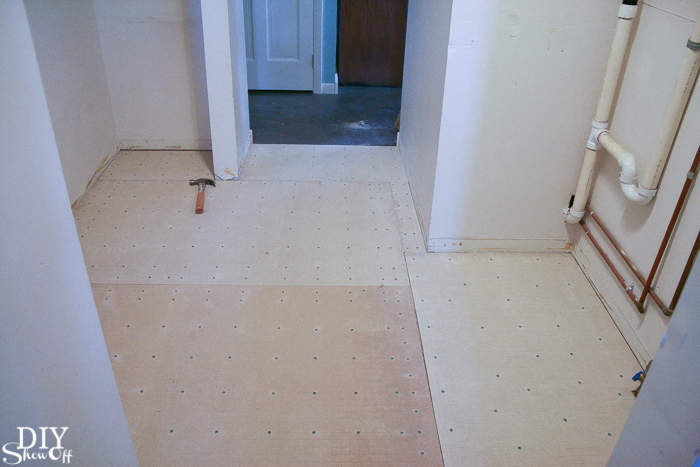
Level subfloor. Check. Hubby glued and screwed down Hardibacker. 

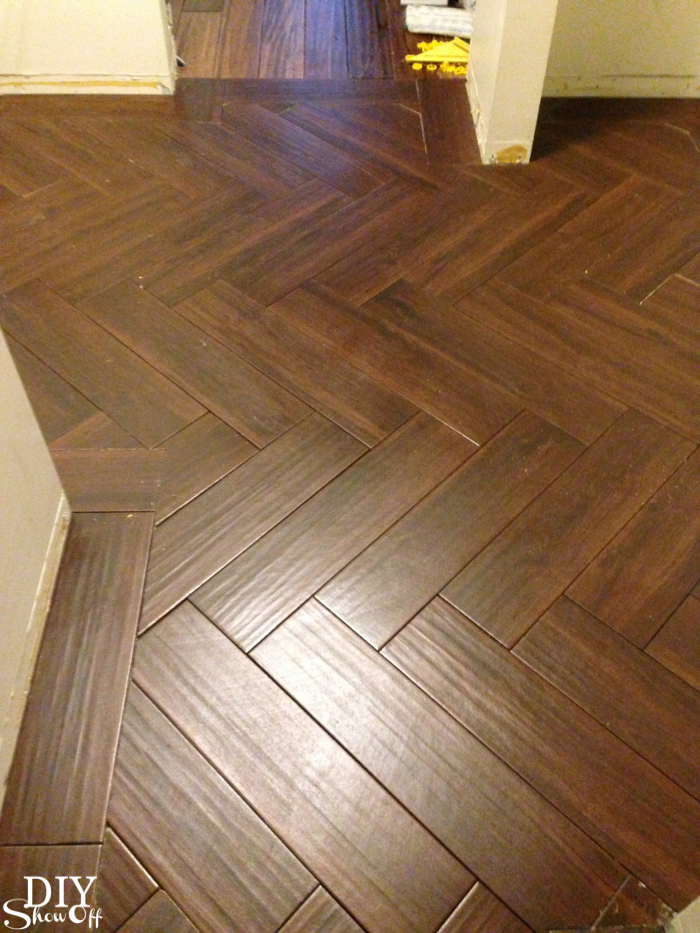
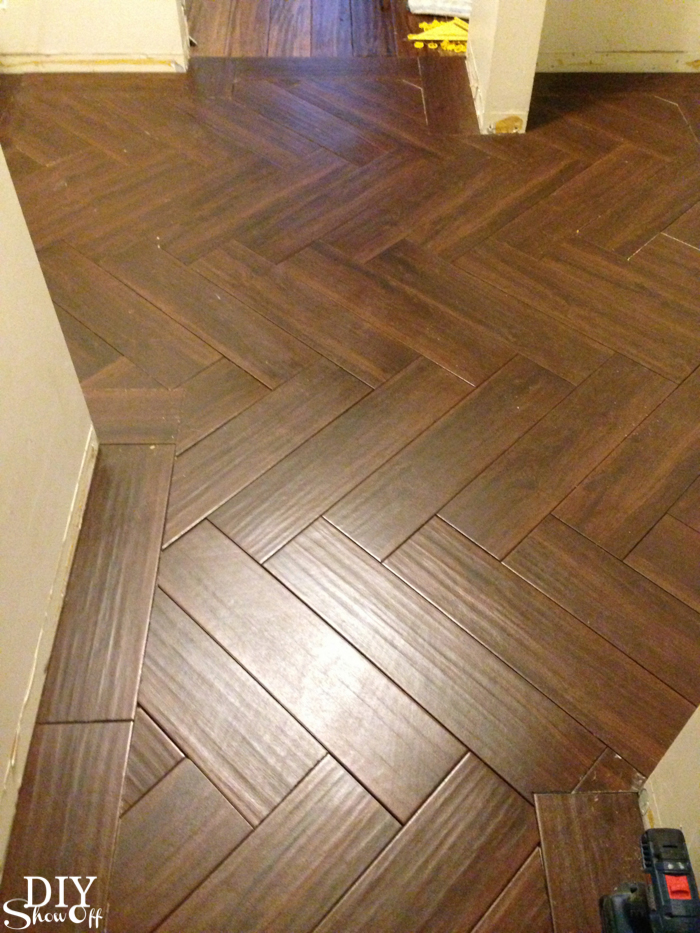
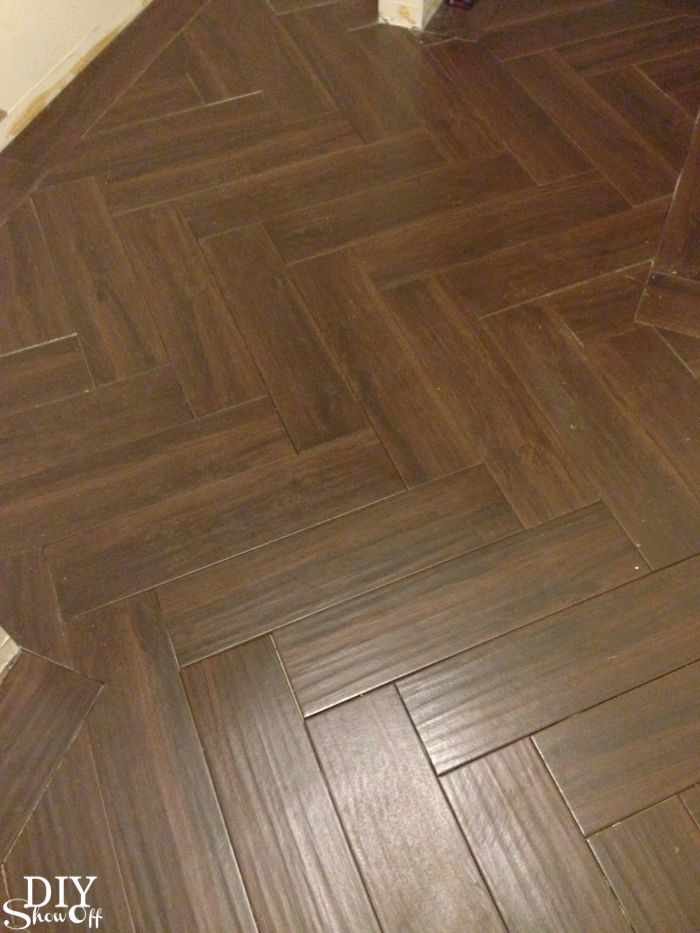
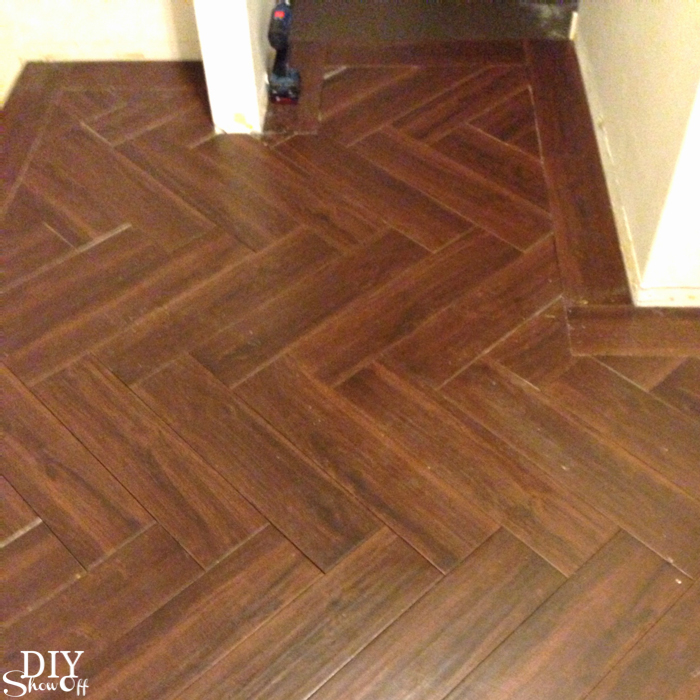
Herringbone Tile Floor - DIYShowOffHerringbone Tile Floor - DIYShowOffHerringbone Tile Floor - DIYShowOffHerringbone Tile Floor - DIYShowOff

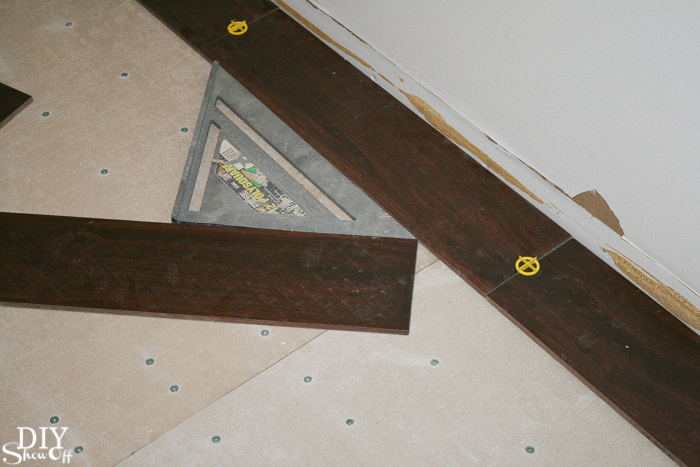
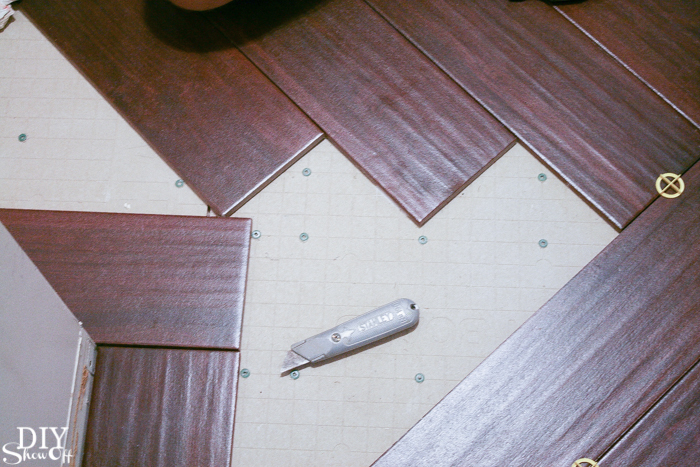
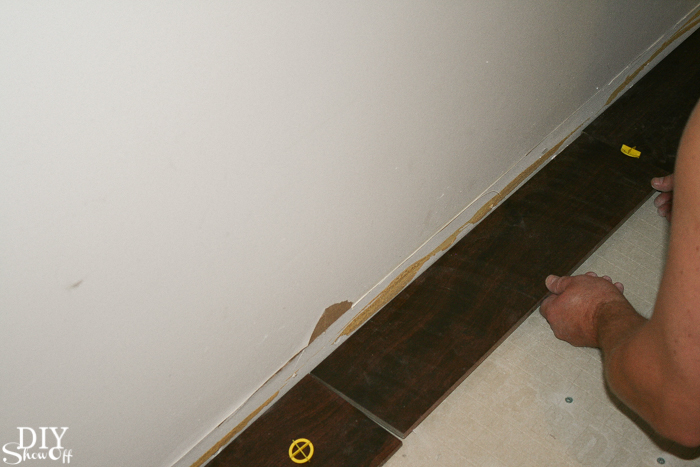
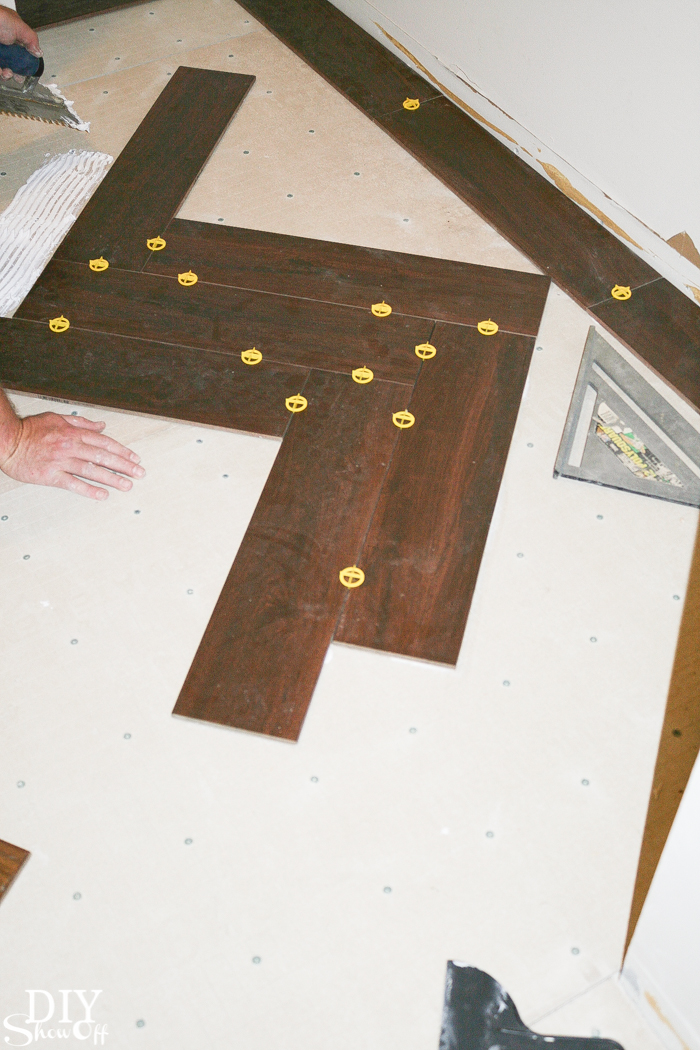
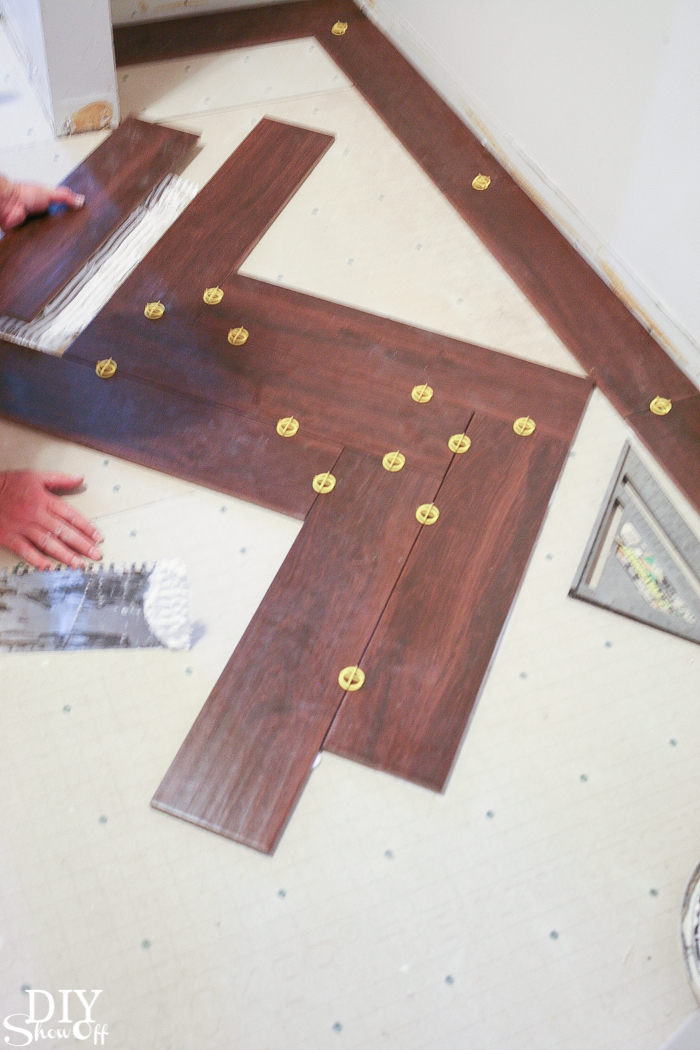
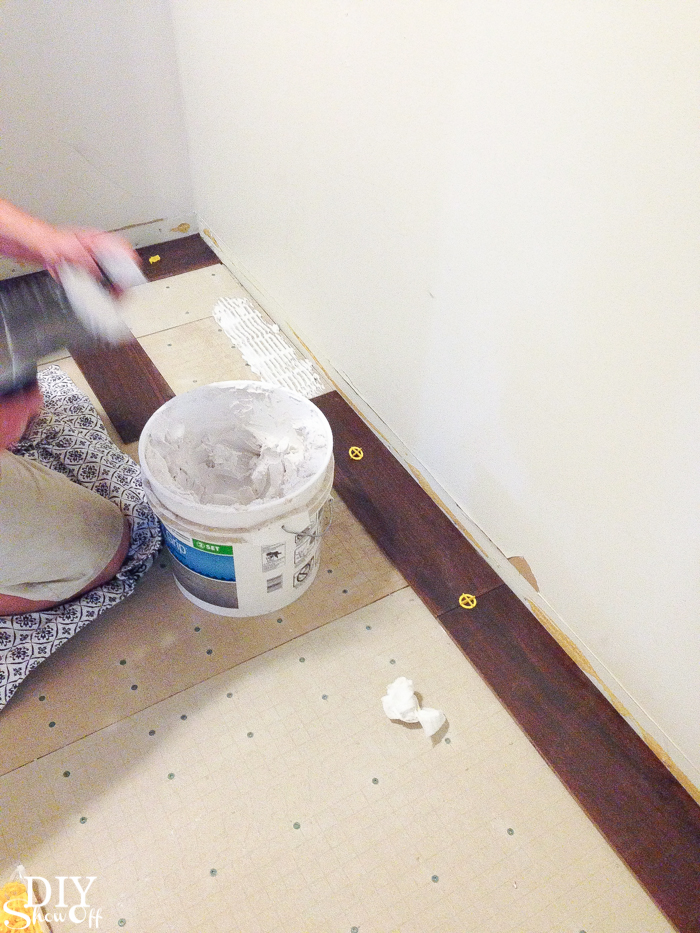
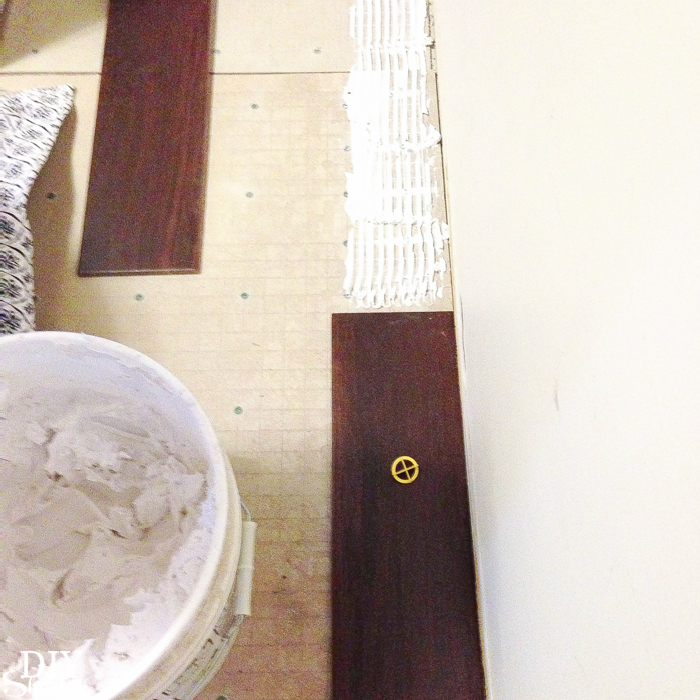
He started the tile pattern by creating a border around the space and cutting/laying out/fitting those tiles first.

Herringbone Tile Floor - DIYShowOff

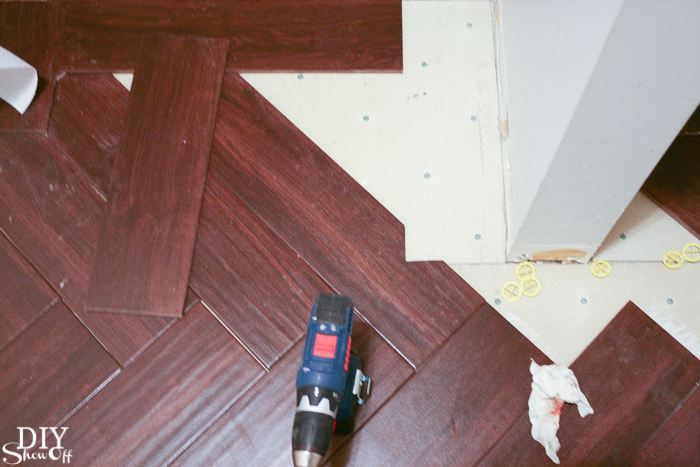
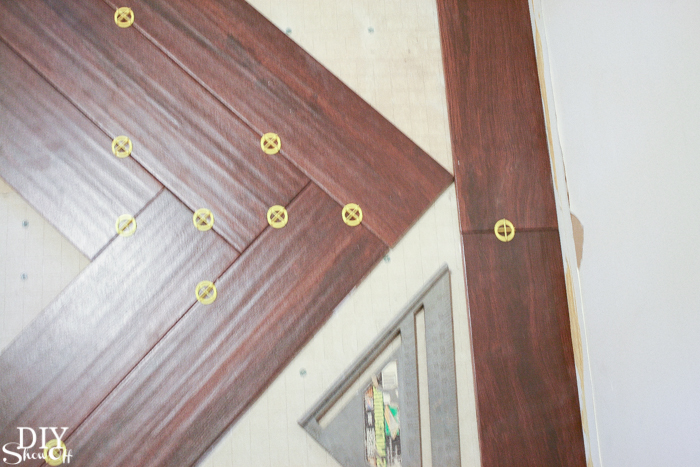
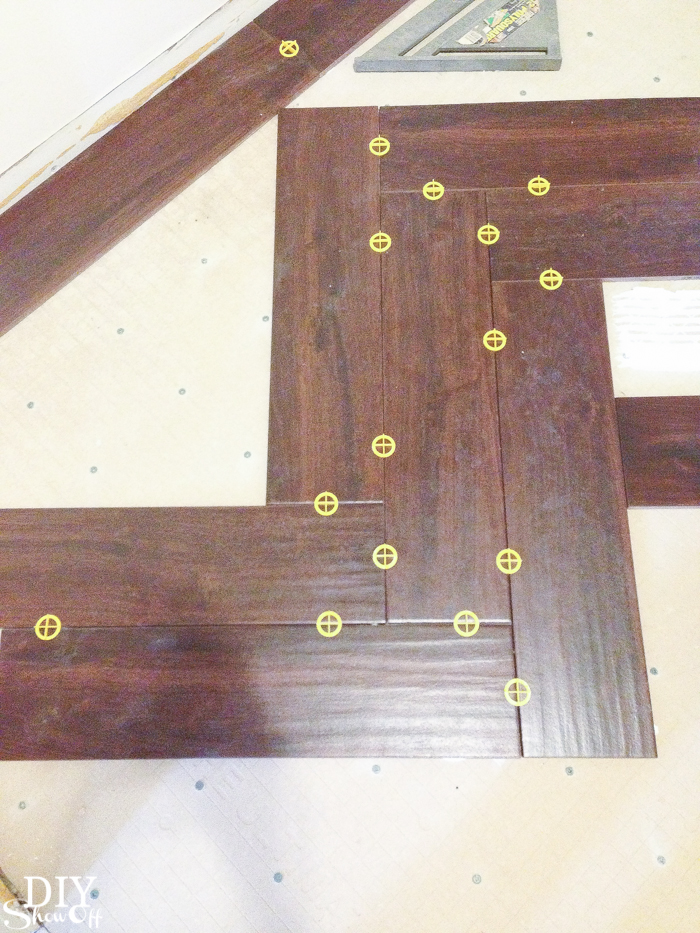
Then laid out the placement of the herringbone with solid un-cut tiles in the design. 

Herringbone Tile Floor - DIYShowOff

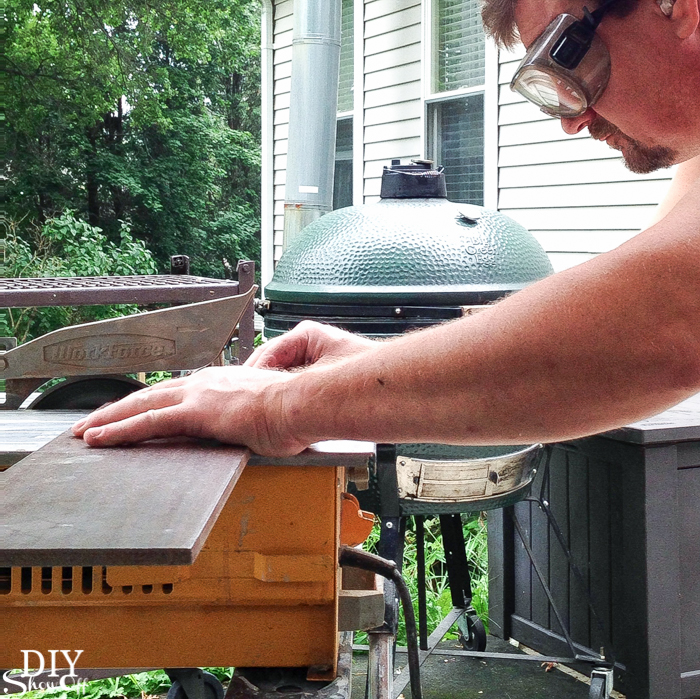
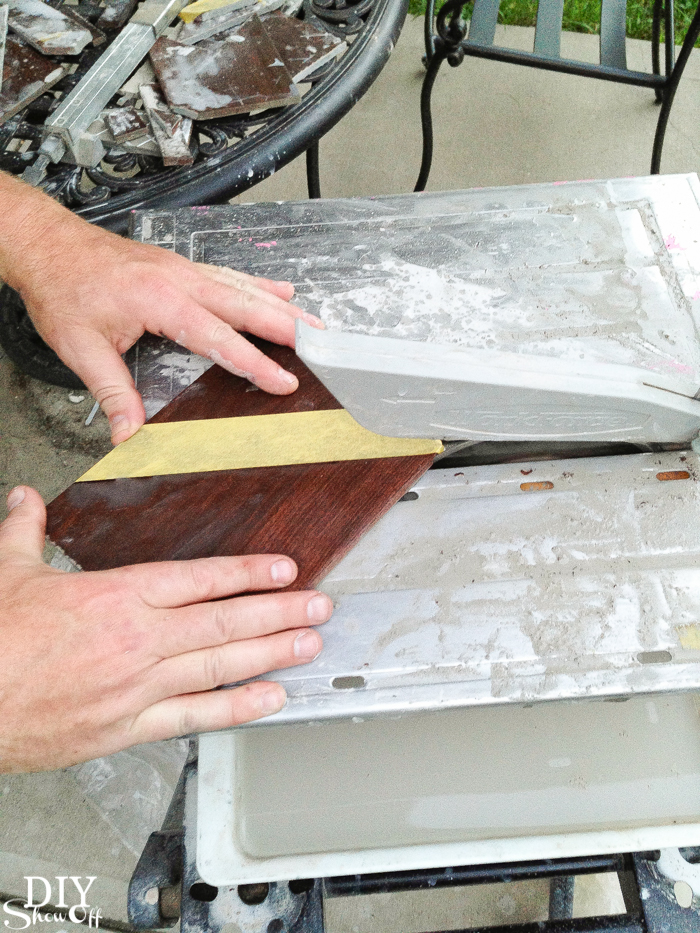
Next up is cutting the tiles needed to create a herringbone pattern in the space between the tile border. 

Herringbone Tile Floor - DIYShowOffHerringbone Tile Floor - DIYShowOff

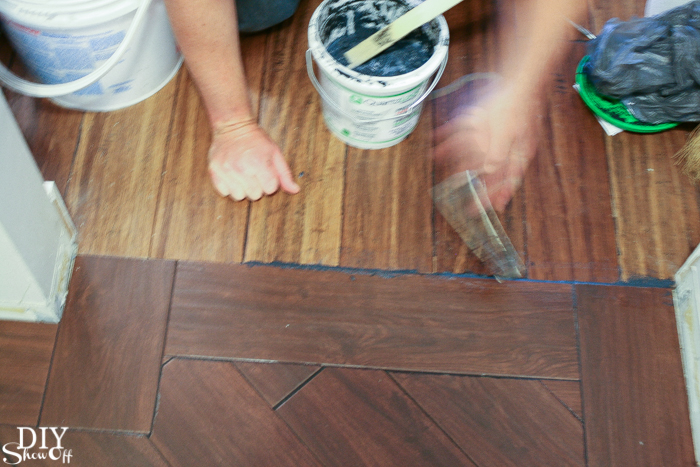
We find (he finds) that using FrogTape on the tile cut lines for tricky cuts with angles or small pieces helps prevent breakage. 

Herringbone Tile Floor - DIYShowOff

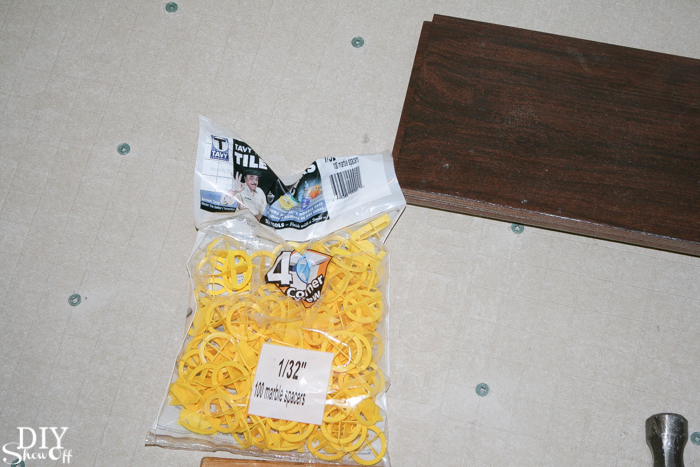
We used 1/32″ spacers. We didn’t want huge gaps between the tiles since they resemble wood. 

Herringbone Tile Floor - DIYShowOff

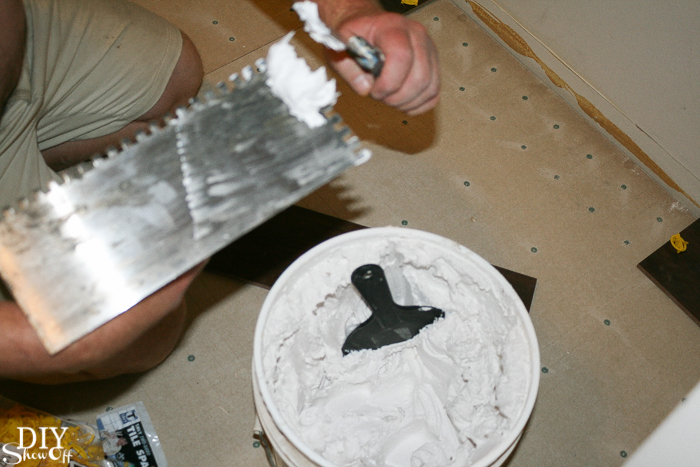
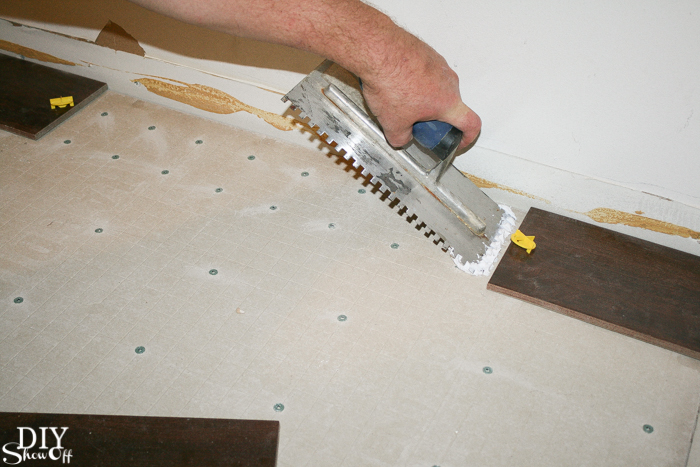
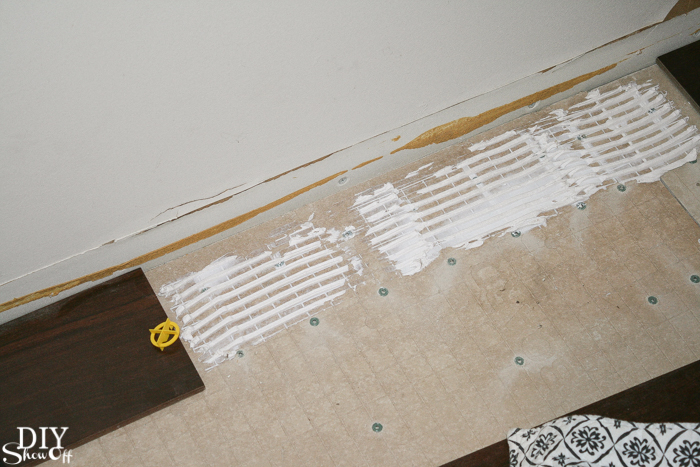
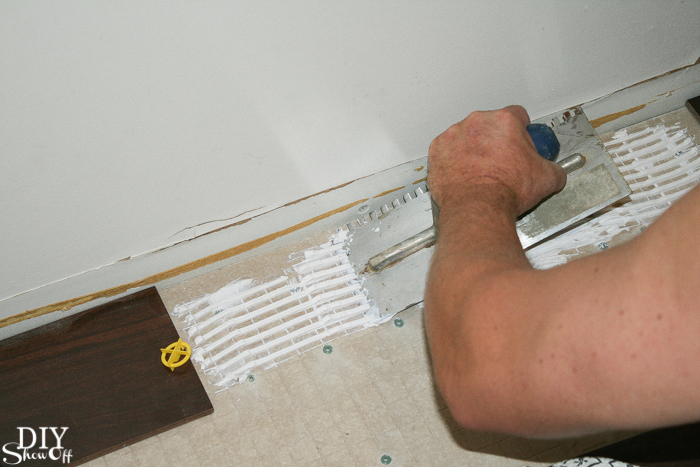
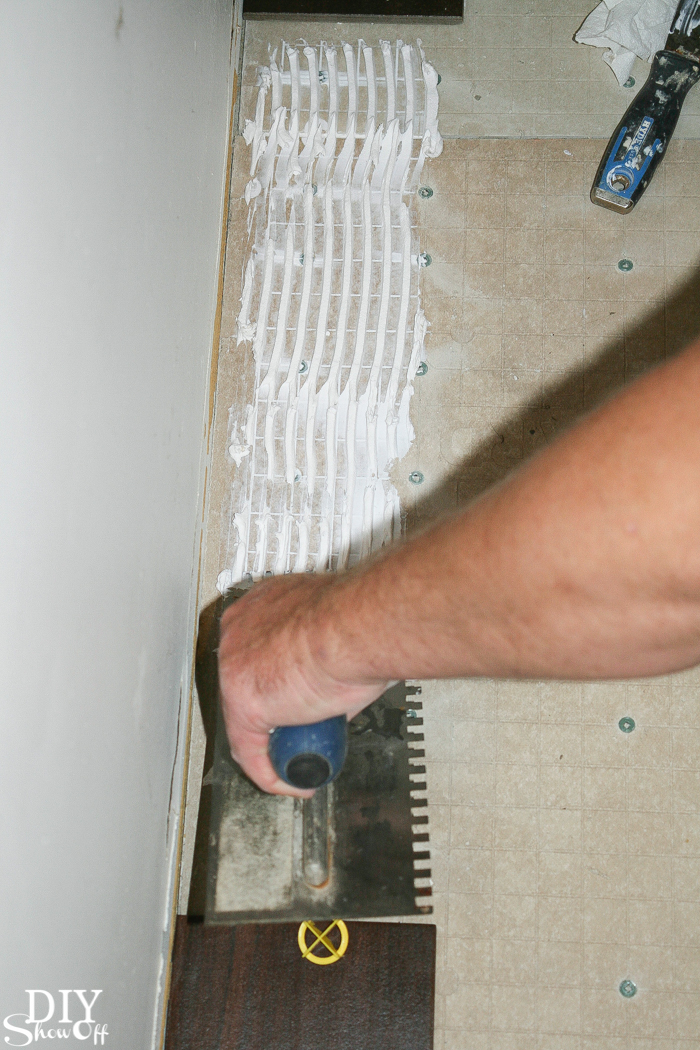
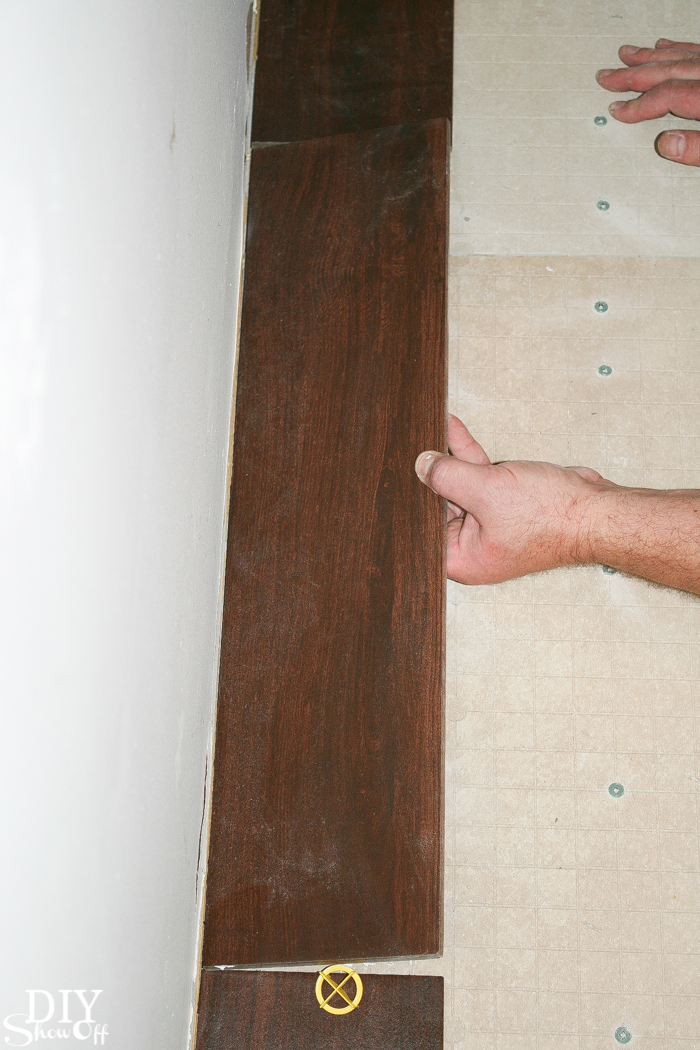
Next up, he set the tiles with mortar (OmniGrip) applied with a trowel. 

Herringbone Tile Floor - DIYShowOff Herringbone Tile Floor - DIYShowOff Herringbone Tile Floor - DIYShowOff Herringbone Tile Floor - DIYShowOff Herringbone Tile Floor - DIYShowOff Herringbone Tile Floor - DIYShowOffHerringbone Tile Floor - DIYShowOff Herringbone Tile Floor - DIYShowOff Herringbone Tile Floor - DIYShowOff Herringbone Tile Floor - DIYShowOff Herringbone Tile Floor - DIYShowOff Herringbone Tile Floor - DIYShowOff Herringbone Tile Floor - DIYShowOff Herringbone Tile Floor - DIYShowOff 

Then removed the spacers and started the grouting process. We let it ‘cure’ for a week before  applying the grout. 

Grouting: We chose a black grout because it gave a similar look to the edges of our distressed antique java bamboo floors in the adjoining room. He used a sanded black epoxy grout (Quartz Lock Urethane Grout – jet black), smushing it into the spaces between the tile with a float then wiping away the excess with a sponge.

Herringbone Tile Floor - DIYShowOff

Let dry a good 24 hours before walking on it and because we were awaiting appliances, it was a couple weeks before every-day traffic. 

Herringbone Tile Floor - DIYShowOff Herringbone Tile Floor - DIYShowOff Herringbone Tile Floor - DIYShowOff Herringbone Tile Floor - DIYShowOff Herringbone Tile Floor - DIYShowOff

Isn’t it beautiful? I was half tempted to put the washer and dryer somewhere else so I don’t have to cover it up! More laundry room makeover details coming up. Stay tuned!

DIYShowOff Laundry Room Pedestals 

Choosing tile for the apartment bathroom

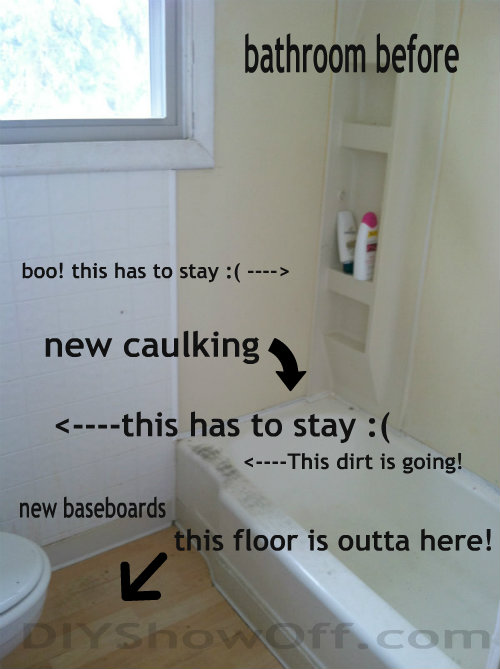
We were recently asked if we’d like to participate in the Daltile Atmospheres Tile Collection campaign by The Home Depot. With an apartment renovation in progress, timing was perfect. We quickly replied with our acceptance and couldn’t wait to get started. Literally. We do have a tiling project in our plans at this very moment. The super tiny bathroom in the super tiny apartment we’re renovating is in desperate need of a new floor.

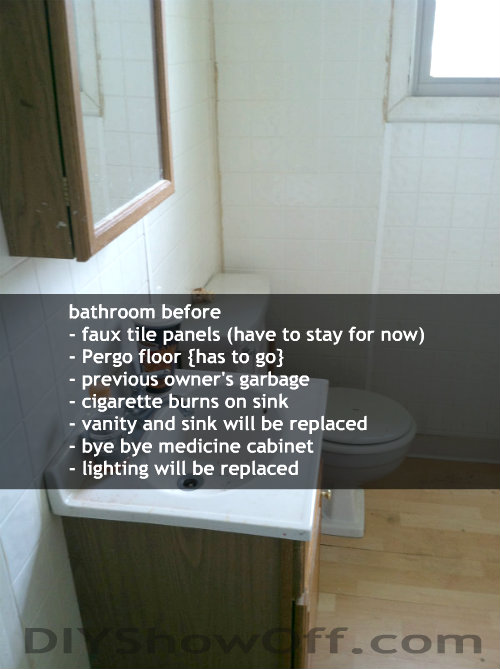
apartment bathroom before

Actually it’s in desperate need of a lot more! There’s a need to gut the entire bathroom and start from scratch but due to a very small budget and time constraints, we’ve narrowed the projects down to
  • tiling the floor and installing baseboard trim
  • painting
  • re-caulking
  • new lighting
  • new medicine cabinet or mirror
  • new vanity, sink and faucets
  • and of course, budget friendly decorating

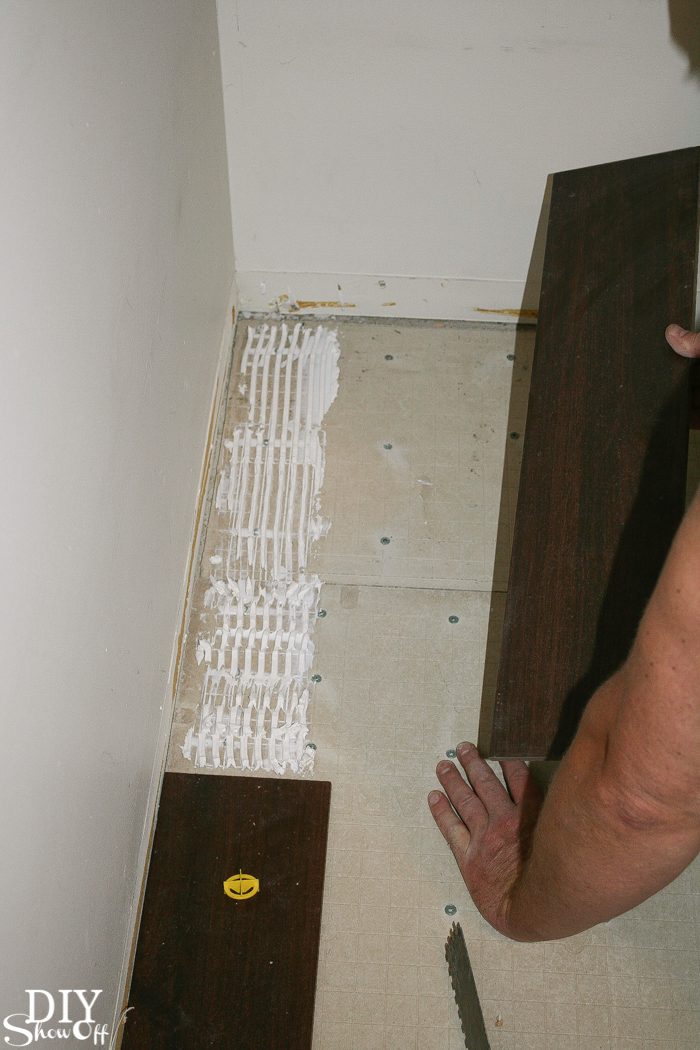
The current flooring is a Pergo-type flooring which is not ideal for a bathroom. {duh} There are a few warped planks. Time to remove it and install something much more bathroom-friendly.

bathroom makeover before

{previous owner forgot their shampoo!}

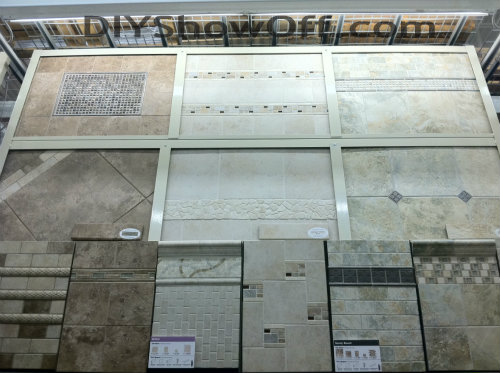
We headed to The Home Depot: a one stop shop for all tiling needs, whether you’re an experienced DIYer (like Mr. DIY) or first time tiler (like me) to see what would work for this space. Here are a few options that we looked at…

Daltile Atmospheres Tile Collection

Daltile Atmospheres Tile Collection

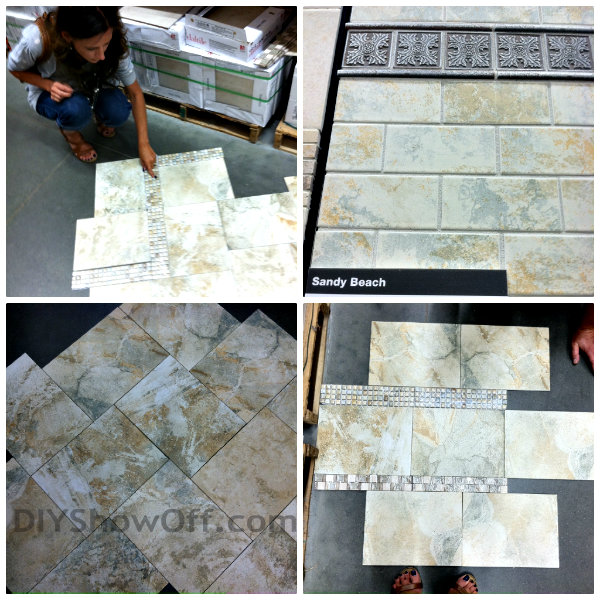
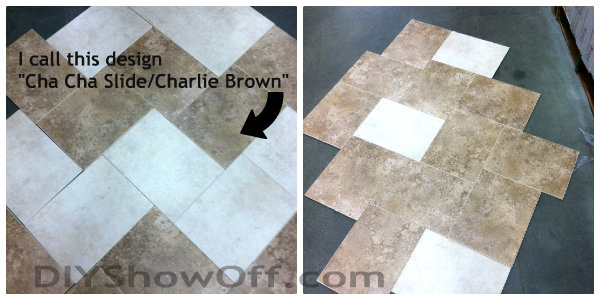
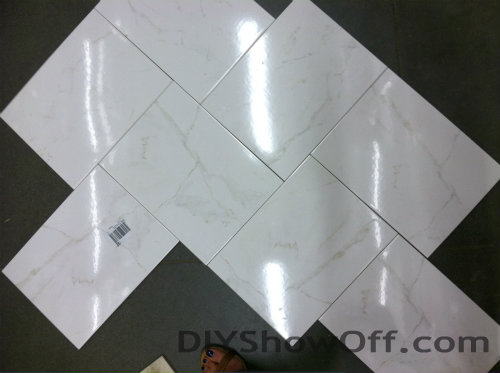
We headed to aisle 13 and “ooh’d and ahhh’d like kids in a toy store” at the awesome displays. We jumped right in and laid out designs right out on the floor. I promise we personally didn’t open any boxes – other people must need to touch and see tile in real life too. The Atmospheres Tile Collection by Daltile offers a variety of styles, colors and sizes to create unique designs…perfect! Endless possibilities!

Sandy Beach – porcelain tile that has a slate look

Daltile Sandy Beach porcelain tile

Pacific Sand and Briton Bone – glazed ceramic tiles with a natural stone look. I really enjoyed using both of these to create designs. I love the pattern on the left!

Daltile Briton Bone and Pacific Sand

Daltile Designer White – a  glazed ceramic tile inspired by the look of marble

Daltile Designer White

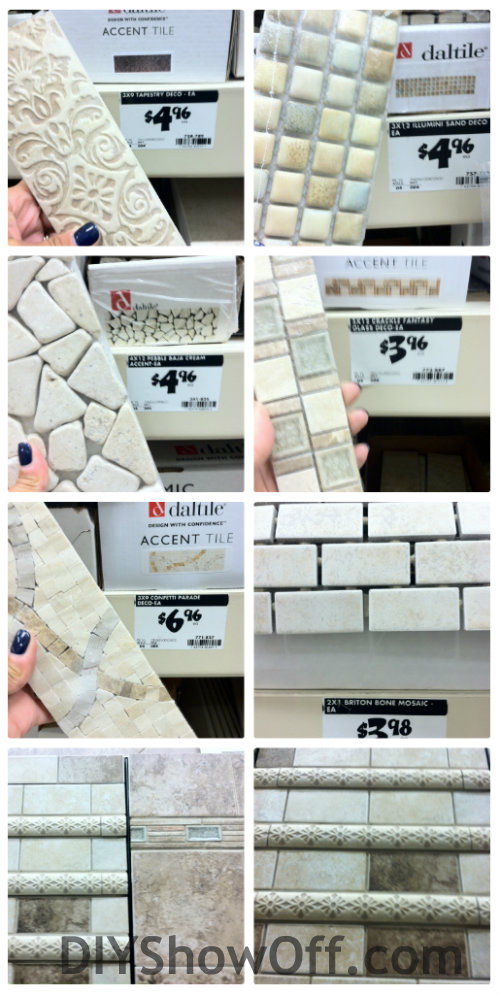
A large pretty collection of accent tiles…

Daltile Atmospheres Tile Accents Collection

Stay tuned to see which tile in the Daltile Atmospheres Collection we choose, my meeting with a Home Depot tile specialist, how to tile a floor tutorial and {keeping my fingers crossed} an awesome bathroom transformation. Which one was your favorite? {I’ve chosen 2. One for the apartment bathroom and possibly one for my future laundry room makeover!} Affordable, stylish and easy to install, Daltile is my kind of product!

The Home Depot


Tips for Tiling: https://diyshowoff.com/2012/08/21/tips-for-tiling-a-floor/

How to Tile: https://diyshowoff.com/2012/09/17/how-to-tile-a-bathroom-floor/

The Home Depot partnered with bloggers {like me!} to participate in its Daltile program. As part of the program, I received compensation from The Home Depot in the form of a gift card to participate in this campaign promoting the new Atmospheres Tile Collection by Daltile. They did not twist my arm to participate nor did they tell me what to say about the products used for the Daltile Program. The Home Depot believes that consumers and bloggers are free to form their own opinions and share them in their own words. The Home Depot’s policies align with WOMMA Ethics Code, FTC guidelines and social media engagement recommendations.