Eclectic Vintage Modern Farmhouse Kitchen

It’s time for the “What’s Your Style” series: Kitchen edition. Last month when discussing my style and our family room in the Living Spaces edition, I explained that my style can’t really be described in one word {unless the word “mutt” counts} so I’d describe our kitchen as a mix of classic, vintage, modern and eclectic and still a work in progress. 

DIYShowOff kitchen

Future plans include removing the bulkhead and replacing the upper cabinets and installing a real range hood. We’re saving for a new gas range and refrigerators. Yes, two refrigerators. My husband loves to cook and grill. And we have yet to come up with our kitchen island. Sometimes I use desks…

farmhouse kitchen

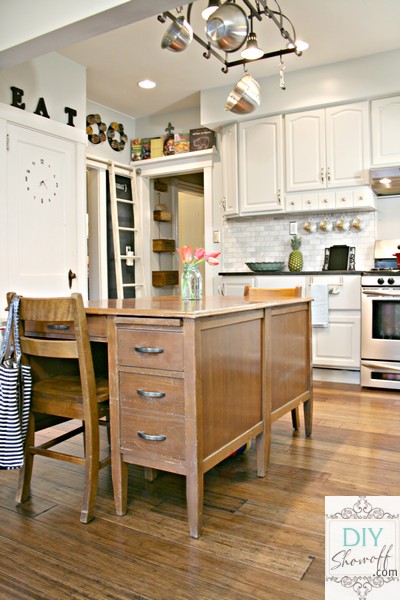
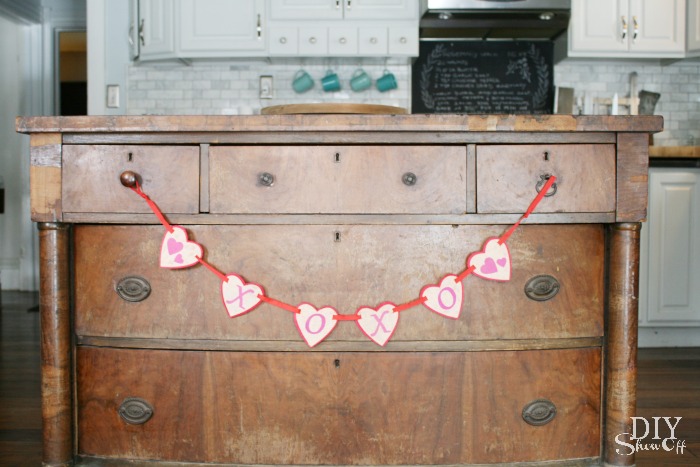
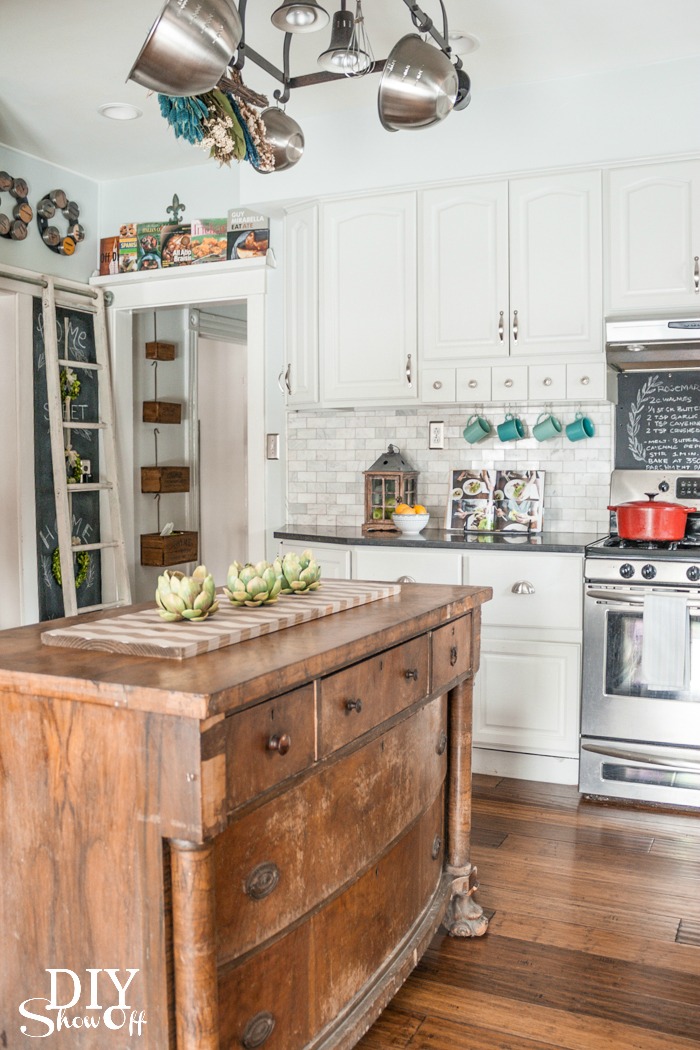
and because I like to change things up and rearrange, we’re currently using an old vintage dresser which provides storage for serving trays, paper plates and napkins, etc.

DIYShowOff kitchen

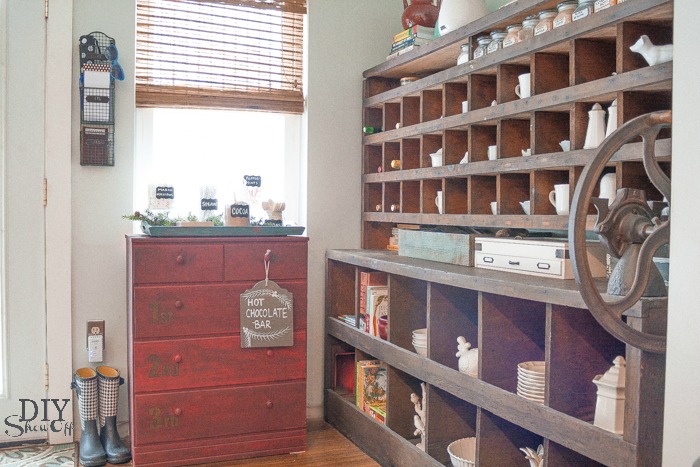
More vintage and eclectic: an old mail sorter is now somewhat of a butler’s pantry…

DIYShowOff kitchen

DIYShowOff kitchen

A small painted dresser next to the French doors leading to the patio stores grilling and Big Green Egg supplies as well as a ‘drop zone’ drawer right inside the door for hiding keys, mail, the contents of my husband’s pockets. 

DIYShowOff kitchen

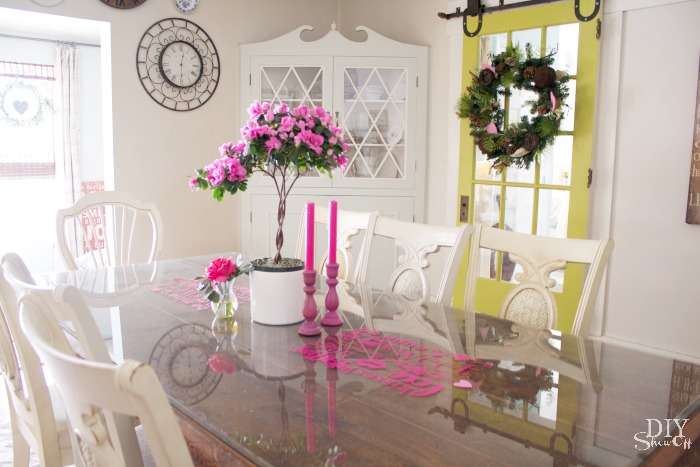
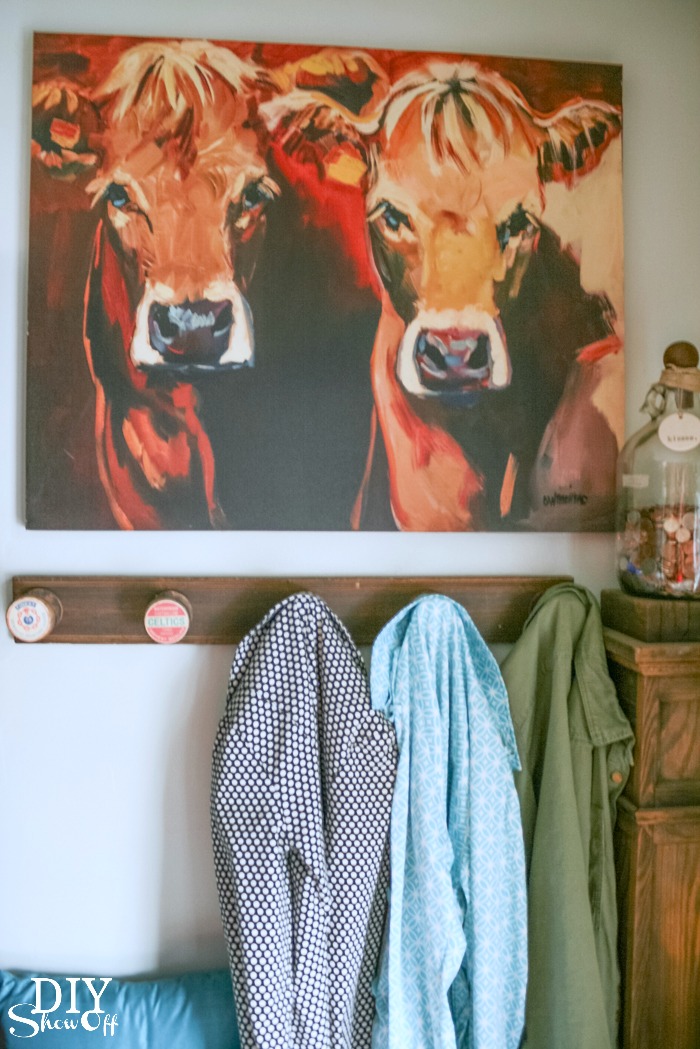
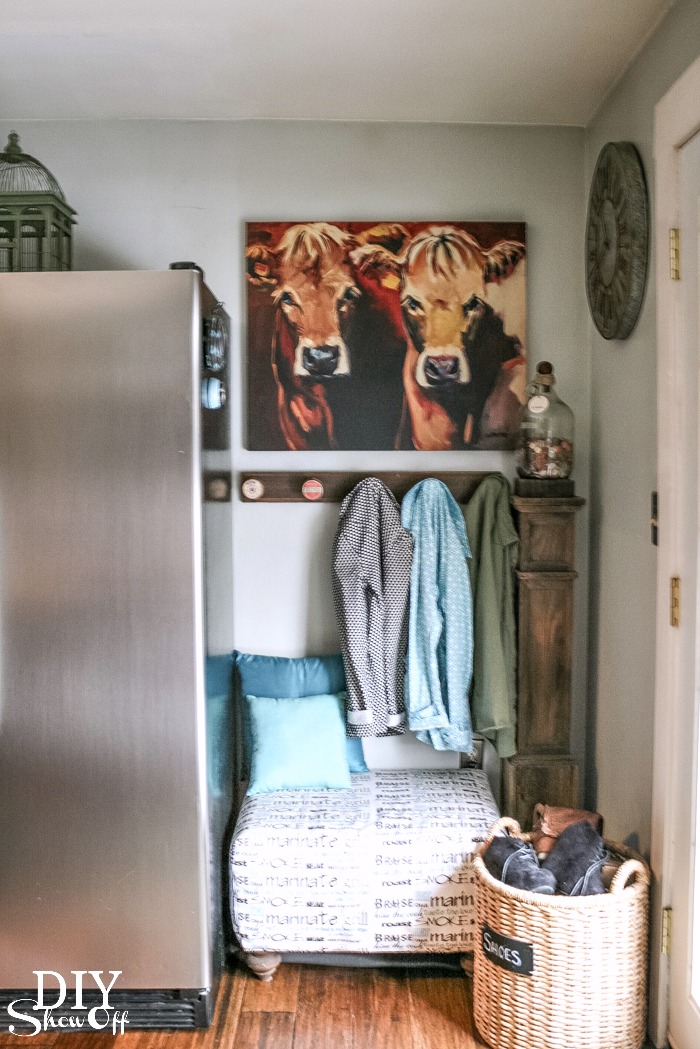
We enter our home through the French doors in the kitchen…

DIYShowOff kitchen

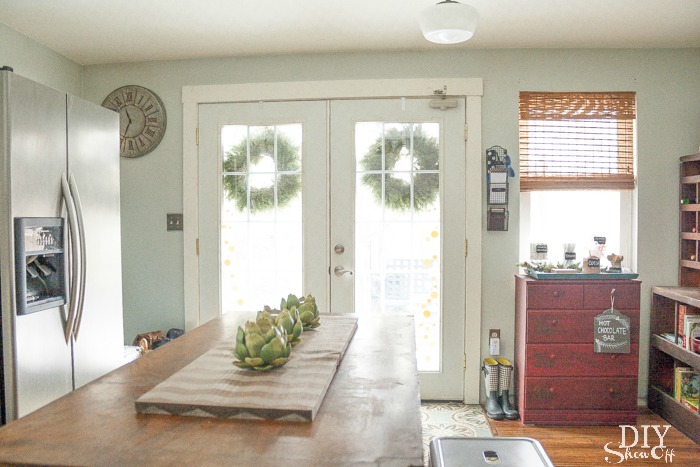
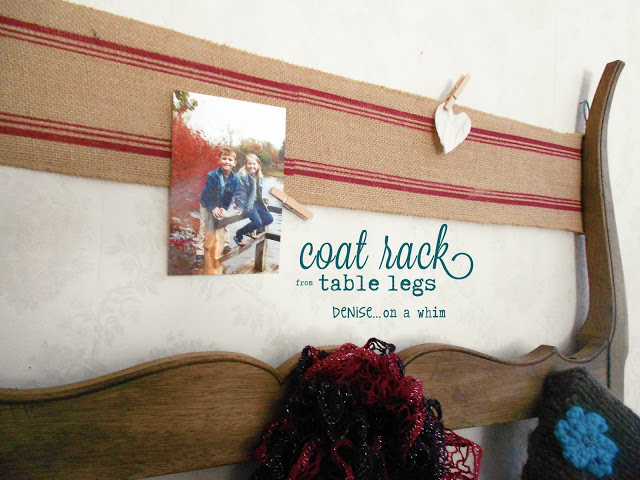
so having a small coat rack and seat for putting on shoes is helpful (future location of 2nd fridge). 

DIYShowOff entry

DIYShowOff entry way

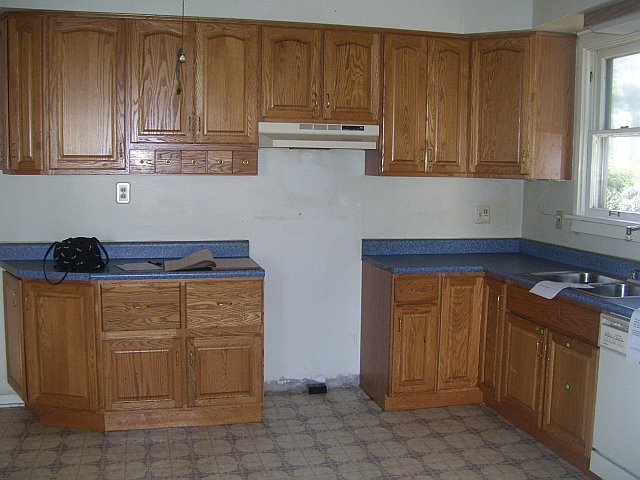
Here’s a look at our kitchen when we bought this old house…

kitchen-before-and-after

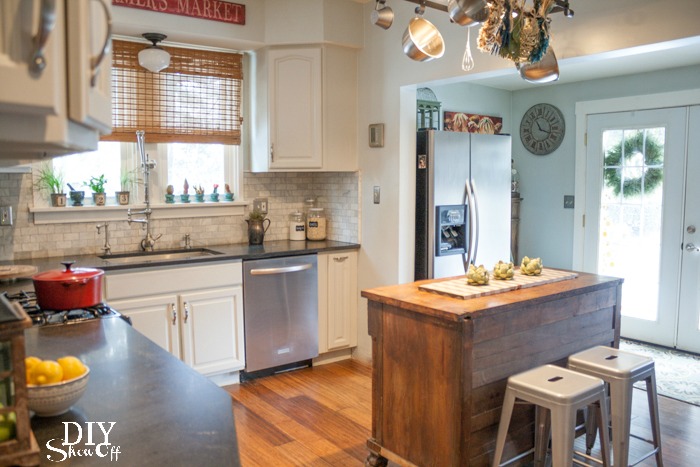
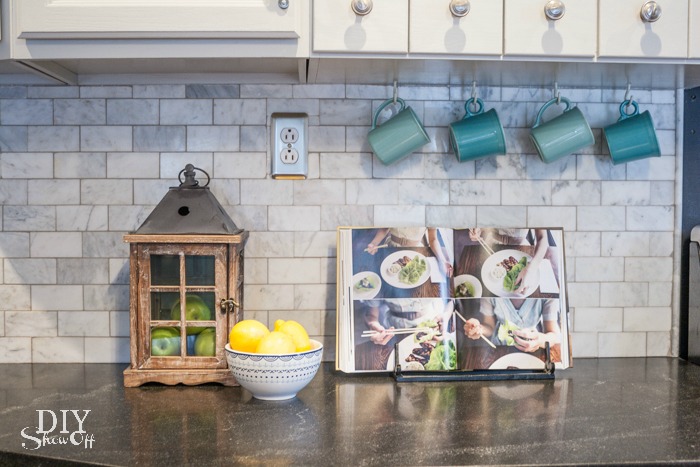
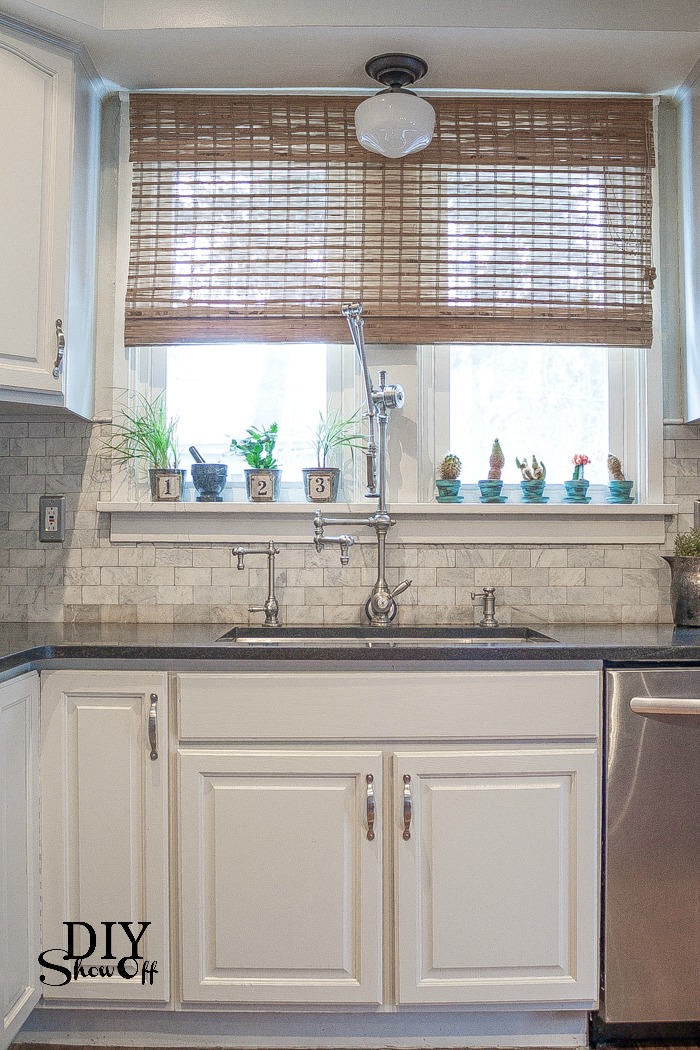
and after some DIY (painting cabinets, installing marble subway tile, wide plank antique distressed bamboo floors (which are darker than the pictures show), Virginia jet mist granite counters, paint, etc.)…

DIYShowOff kitchen 

DIYShowOff kitchen

DIYShowOff kitchen

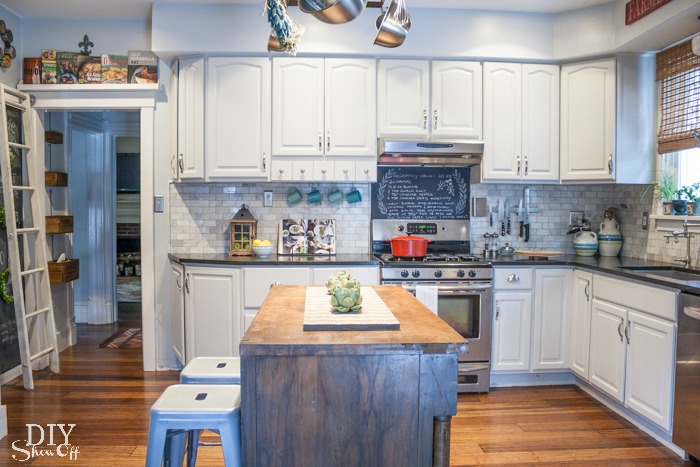
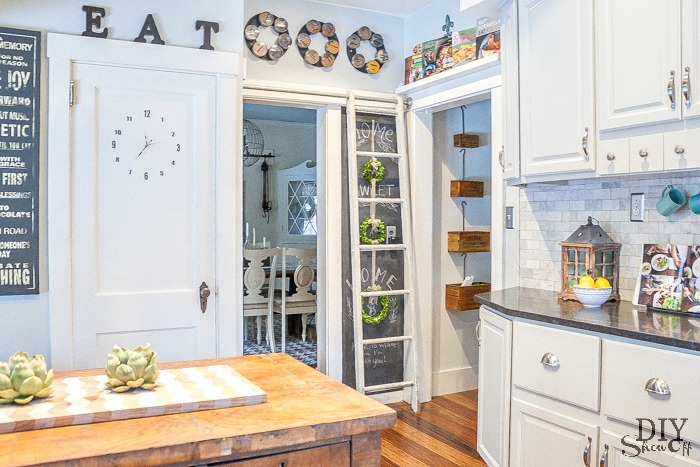
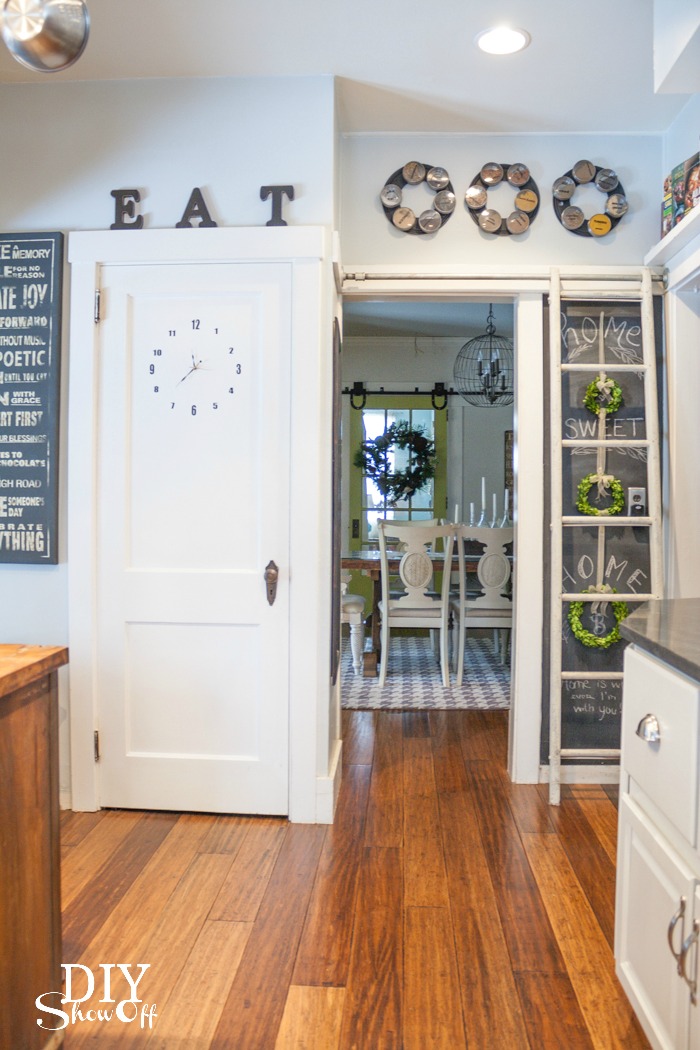
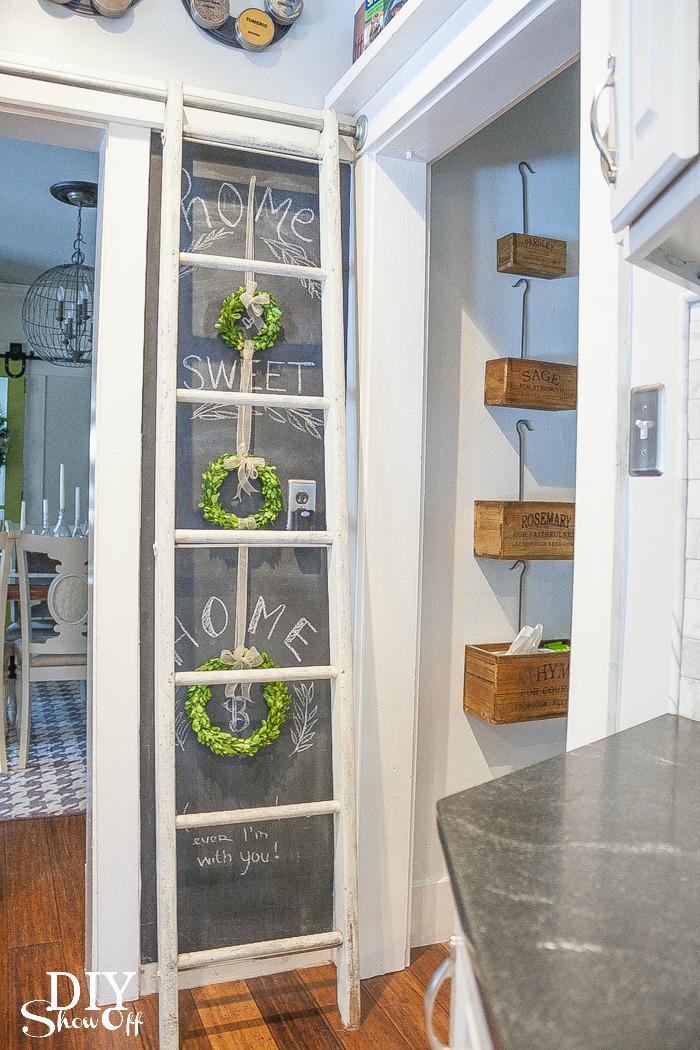
There’s a small pantry cupboard that we use for pots and pans with a clock embedded into the door, a sliding ladder for reaching the spices displayed on wall-mounted lazy Susans and an over-the-doorway the cook book library (repurposed old chicken feeder).

DIYShowOff kitchen

DIYShowOff kitchen

DIYShowOff kitchen sliding ladder

Modern: We have a super deep under mount stainless steel zero radius sink and a modern/vintage-industrial inspired faucet. 

DIYShowOff kitchen faucet

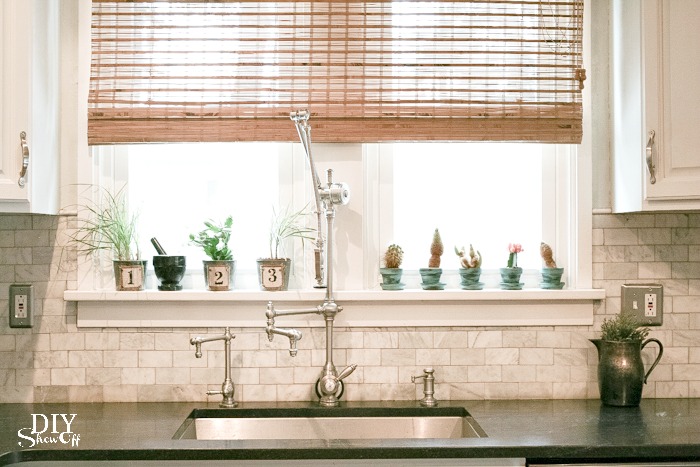
We replaced the old windows a few months ago. 

DIYShowOff kitchen

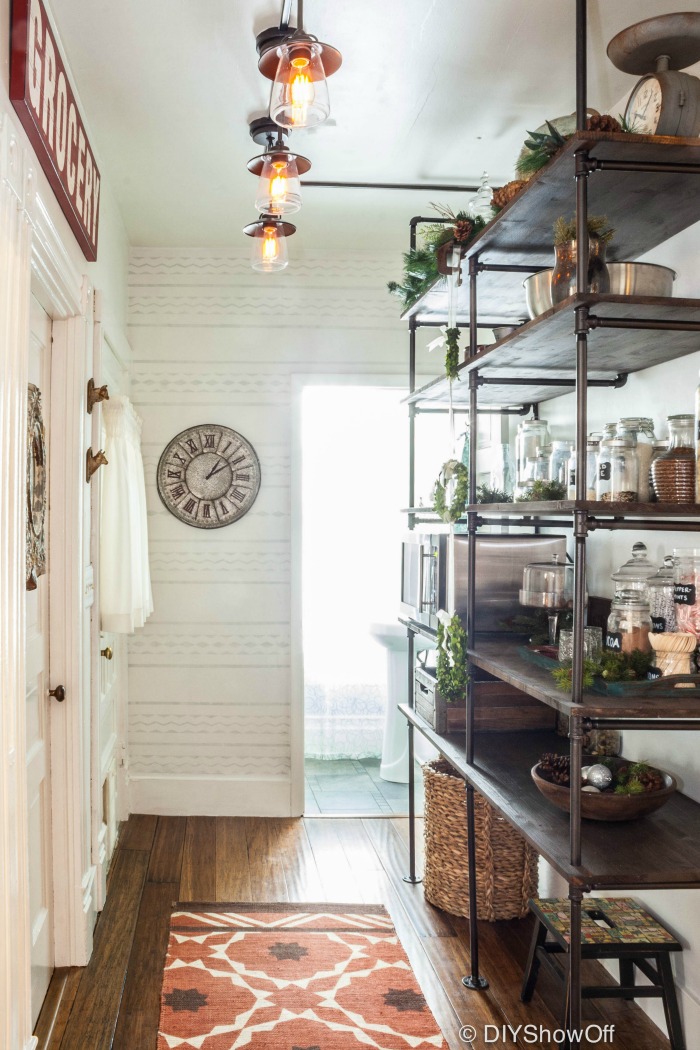
And hey, were’s the microwave? We recently expanded some kitchen storage into what we call the open pantry right behind the kitchen. More rustic, industrial and a little eclectic farmhouse style…

open pantry at diyshowoff.com

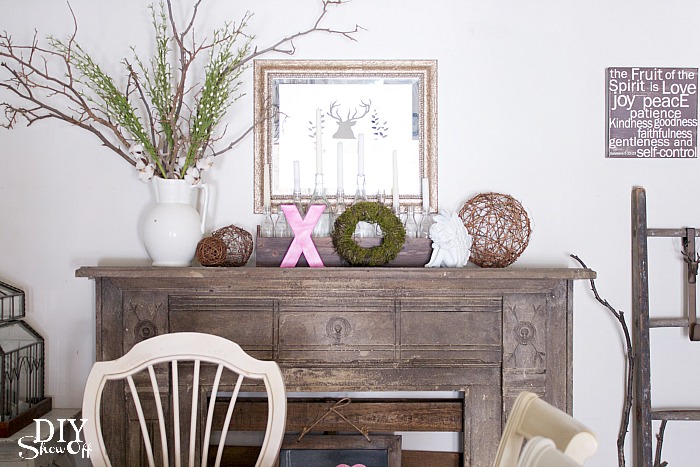
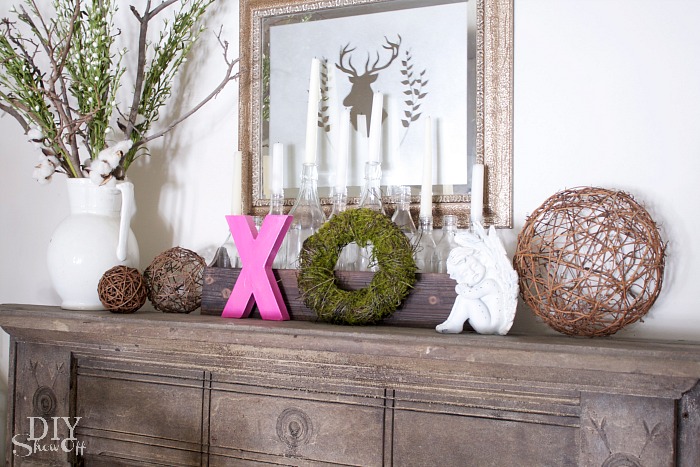
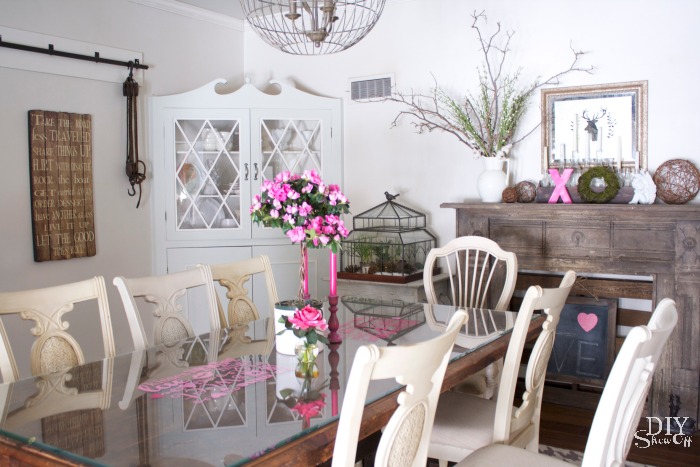
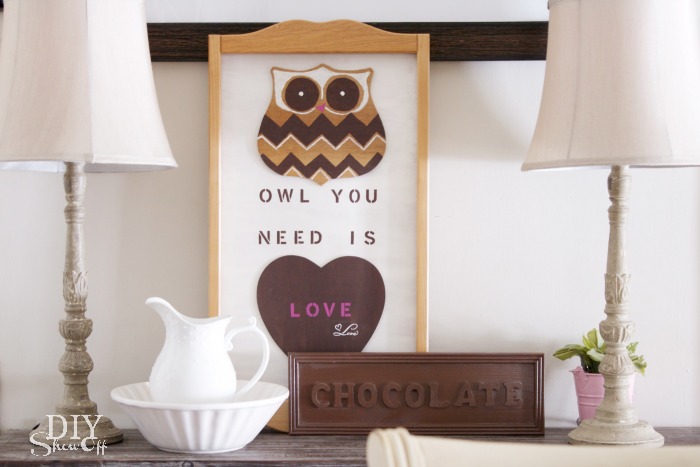
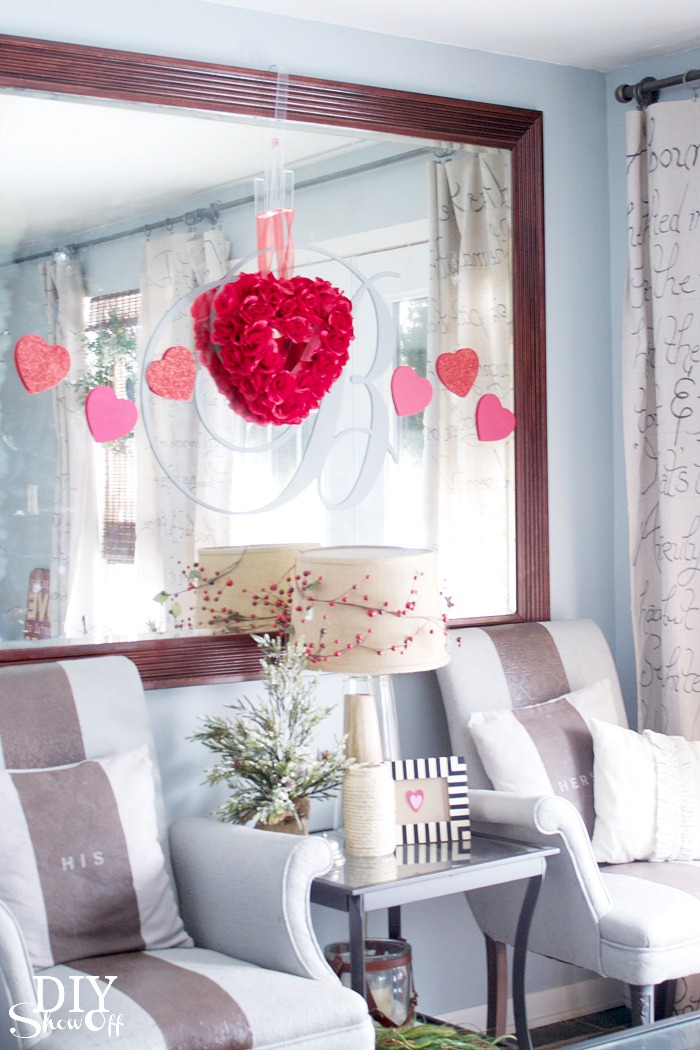
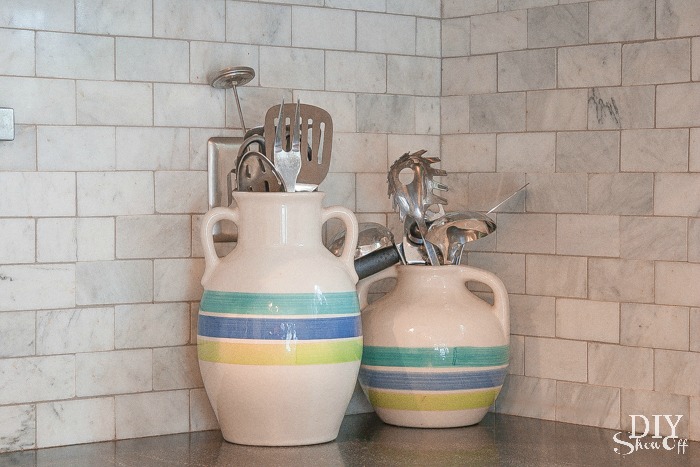
(You may have noticed a little switcheroo with the decorative accessories in the photos above. I do love to re-decorate and re-arrange every time I clean. It’s sort of a reward and motivation…whatever gets it done, right?) You can see more of my home here

DIY & Show Off: That DIY Party Decorating & Home Accents Highlights

Looking for some DIY decorating and home accent inspiration? I’ve gathered some favorites from January’s That DIY Party: 

That DIY Party highlights - January 2014

Cute curvy coat rack {repurposed table legs} from Denise on a Whim repurposed table legs coat rack - Denise on a Whim

Brrr! Baby it’s cold outside! Embracing it with a winter mantel at the Happy Housie…love the pine cone pom pom garland!

winter mantel @theHappyHousie

Loving gold? Me too! The gold leaf tray at Homey Oh My is a great way to display jewelry. 

gold leaf jewelry tray @HomeyOhMy

Kim’s beachy neutral Valentine’s mantel at Sand & Sisal is sweet for all year long. 

neutral beachy Valentine mantel @SandandSisal

When your bedroom makeover is on a tight budget, check out Corey’s great tutorial for making your own duvet cover at Tiny Side Kick

how to make a duvet cover @TinySideKick


Who wants these? Yep, me too! See the great DIY rustic floating shelves tutorial at Tiny Side Kick. 

floating shelves tutorial @TinySideKick

Lisa’s DIY Ikea wall light hack at Shine Your Light – not only just as beautiful as her inspiration but way more budget friendly too!

Ikea wall light hack @ShineYourLightBlog

Looking for some easy sweet DIY wall art? The DIY sweetheart hoop at Sugar Beans fits the bill. So cute!

Sweetheart Hoop Art @SugarBeans

for the little ones…

Oh.My.Goodness! Isn’t this the most darling thing ever? It’s a DIY retro play kitchen at Imperfectly Imaginable

DIY play kitchen @ImperfectlyImaginable

Need a place to hide away until spring arrives? I’d love to hole up in this DIY play tent at the DIY Mommy. Operation hibernation commence. 

DIY play tent tutorial @theDIYMommy

Remember to pin from the original source. See more DIY highlights on That DIY Party Pinterest Board for easy re-pinning…

thatdiyparty.pinboard

Have a DIY project to share? Well head on over to “show off” your DIY…

That DIY Party

Valentine’s Day Decorating {Vinyl Decal Glass Top Table Runner}

I’m not quite late in terms of sharing my Valentine decorating, am I? I don’t do much…just a little here and there, mostly in the dining room. 

Valentine dining room decor

More pictures after a little vinyl tutorial: Having a vinyl cutting machine is GREAT for last minute decorating! Our reclaimed barn wood dining table is protected by a beveled glass top. And a glass top table is the perfect spot for an adhesive vinyl table runner just in time for Valentine’s day!

Valentine glass top table vinyl decals

You’ll need:

  • Adhesive vinyl from Happy Crafters in pink and soft pink
  • Transfer paper

Tools I used:

  • Silhouette Cameo
  • Silhouette Design Studio software
  • scissors
  • credit card/gift card

Happy Crafters Adhesive Vinyl

Using the Silhouette Design Studio software, I used different fonts to create Valentine text along with a few shapes from the online store.  Because I wanted to have the text reading different directions, I used the rotate tool to flip some of the text and shapes. 

Silhouette Design Studio software

Before sending the design to cut, I uploaded the vinyl into my machine color side up then changed my setting to cut adhesive vinyl. 

When cutting was complete, I removed and trimmed my vinyl design. Then inserted another sheet of vinyl and cut the design again. I used two sets of vinyl decals to create my table runner. cutting adhesive vinyl

Next up is removing all of the negative part of the vinyl design. Simply remove all vinyl that’s not a letter or shape. 

weeding vinyl decals

Now it’s like a sheet of vinyl stickers. Not something you want to place letter by letter so apply a piece of transfer paper over top of the vinyl decals. 

Measure placement and alignment of where the vinyl decal table runner will go onto your glass top table. 

vinyl decal placement

Rub the vinyl decals with a gift card so that the adhesive vinyl transfer from the wax paper backing to the transfer paper. 

transfer paper

Remove wax paper backing. Sometimes I have to use my fingernail or thumbnail to help along the transfer. 

adhesive vinyl decal tutorial

Carefully align and place the vinyl decal with transfer paper onto the glass. 

glass top table vinyl decal

Rub with a gift card so that the vinyl transfers from the paper to the glass. 

transferring vinyl decal

Remove transfer paper. 

transfer paper vinyl decal

That’s it! Now the glass table top sports a sweet Valentine’s message!

adhesive vinyl Valentine centerpiece

Simply peel away the vinyl for easy removal.

Valentine table decor

More decorating around the DIYShowOff house: 

Valentine centerpiece


Valentine wreath

Valentine's day dining room decorating

Valentine Mantel


DIYShowOff Valentine Mantel


Valentine dining room decor


Valentine dining room decor


Valentine decor


See more Valentine’s crafts in the DIYShowOff project gallery


Valentine kitchen


Valentine decorating

*This post is sponsored by Happy Crafters. Tutorial, experience and opinion is my own.  I really love working with this vinyl. Check out all the supplies at Happy Crafters for inspiration for your next project. 

HClogopngsmall