DIY Customizable Monogrammed Mirror Tutorial

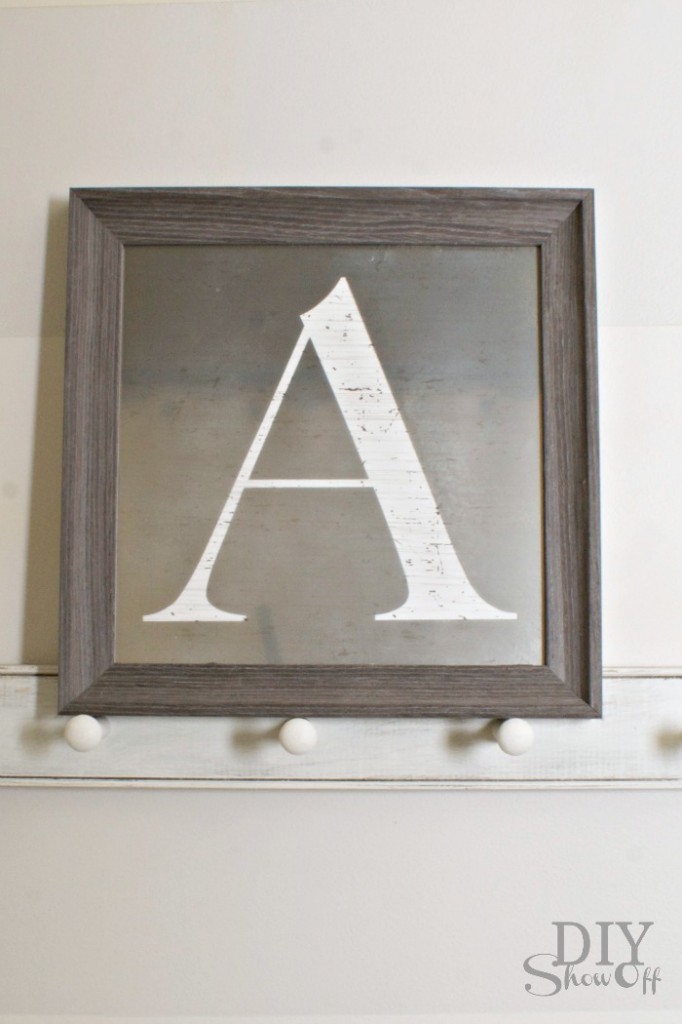
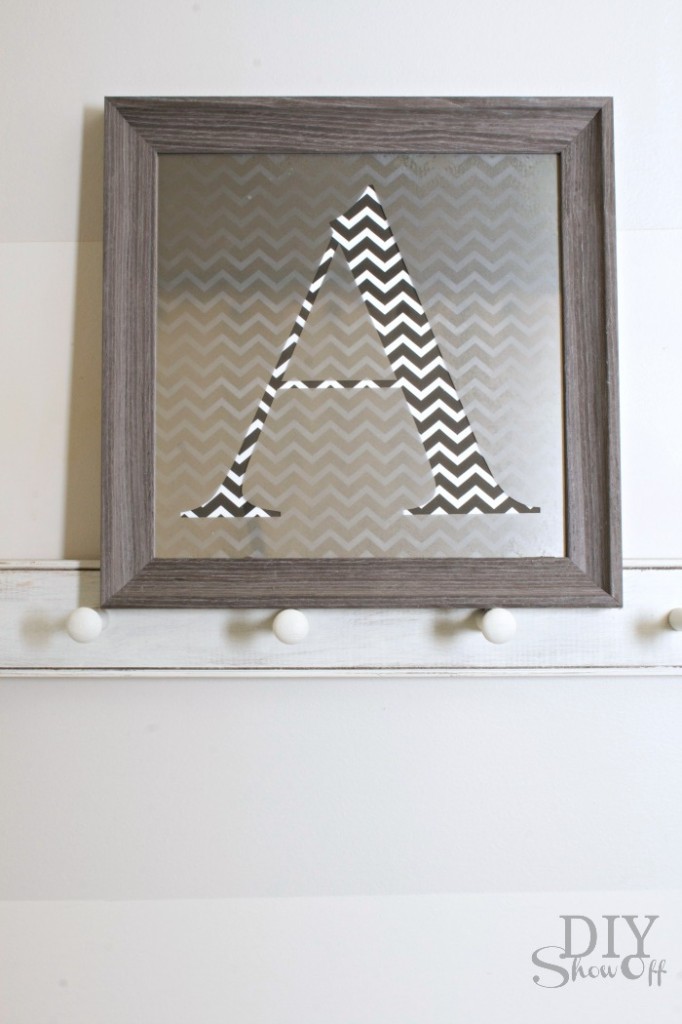
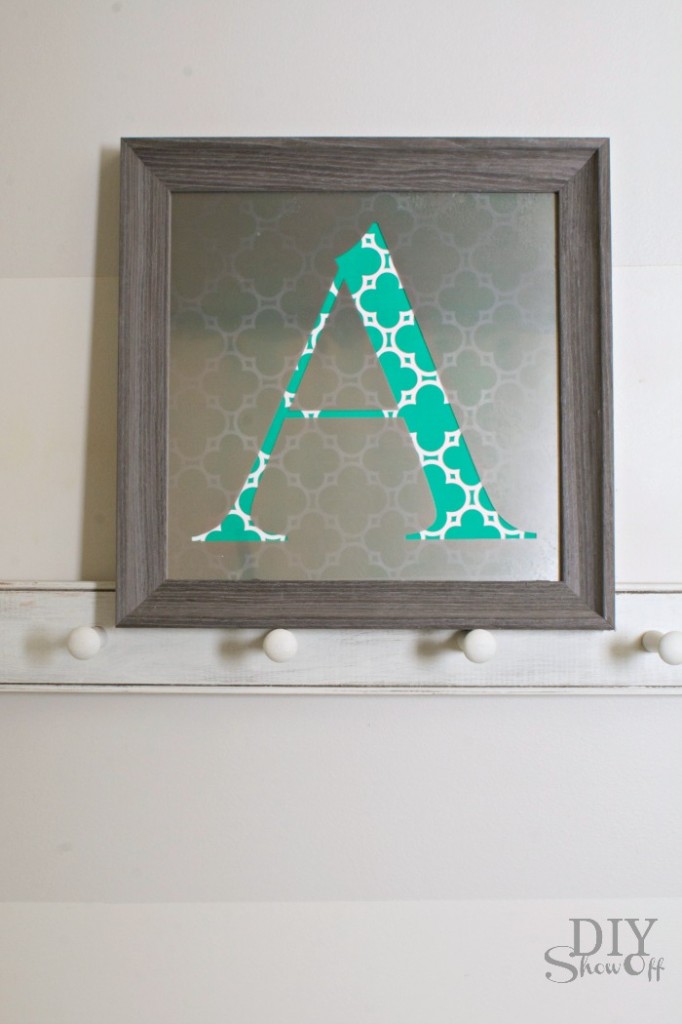
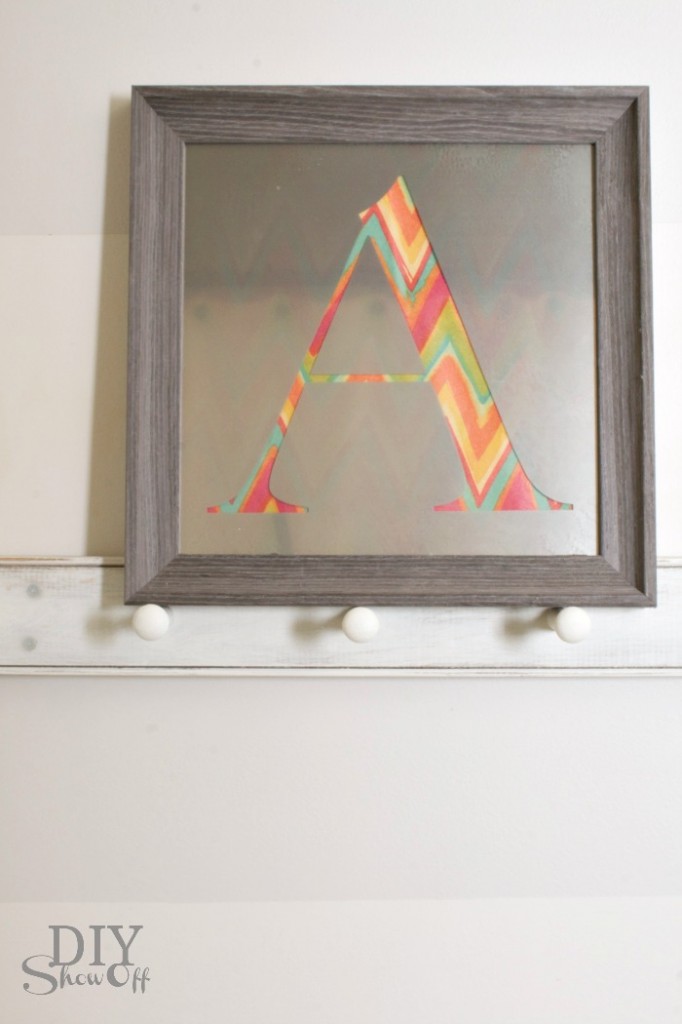
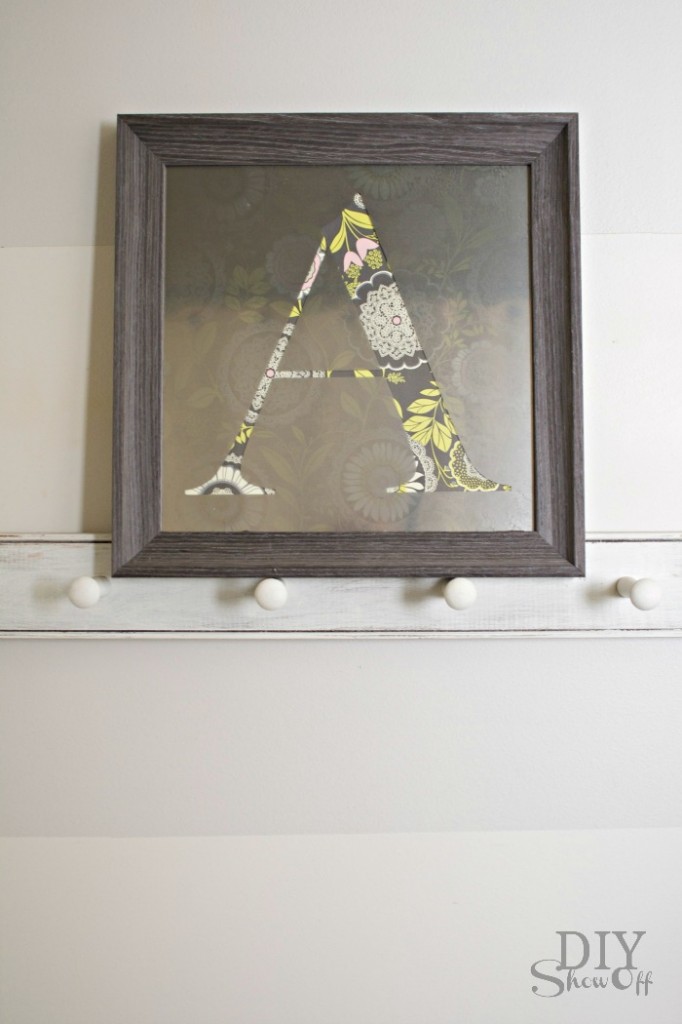
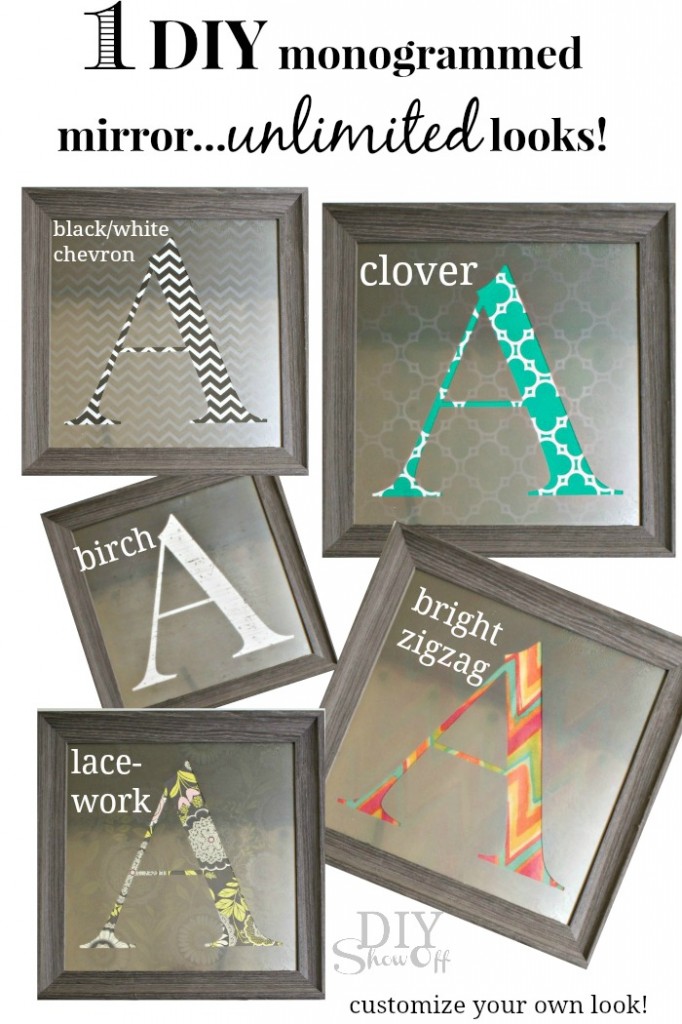
Looking for a great gift DIY gift idea? Or some easy DIY wall art? Look no further! This framed monogrammed mirror is easy to do and easily customizable for swapping out colors and patterns. It’s perfect for those who love to decorate and easily changes to match any decor. One decorative accent, UNLIMITED looks! So fun!

One decorative accent - UNLIMITED LOOKS: DIY Interchangeable/Custom Monogrammed Mirror Tutorial

Materials:

  • Picture frame with glass – I purchased mine at TJMaxx but shop the house or thrift stores for an even better deal!
  • Krylon Looking Glass – Mirror Like Spray Paint
  • Vinyl letter decal, shape or silhouette – don’t have a Silhouette Cameo to do your cutting? Use a stencil and contact paper to create your own. Remember to ‘mirror’/’flip’ the design so that it doesn’t show backwards.
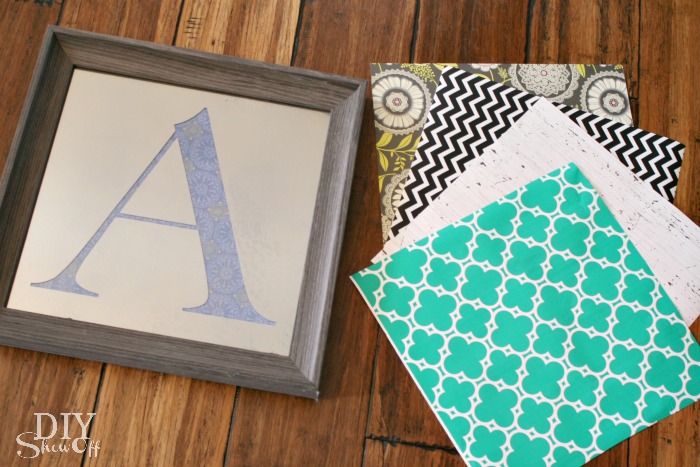
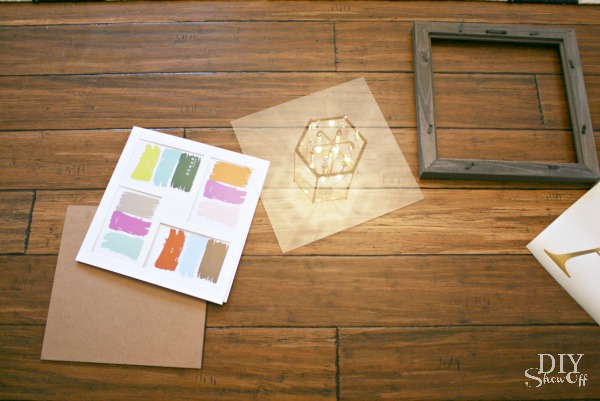
  • Scrapbook paper, wrapping paper {holiday/wedding/birthday paper for celebrating/gift giving would be cute too!}, book pages, maps, fabric…get creative! Cut to size to fit within the frame. 

Tutorial:

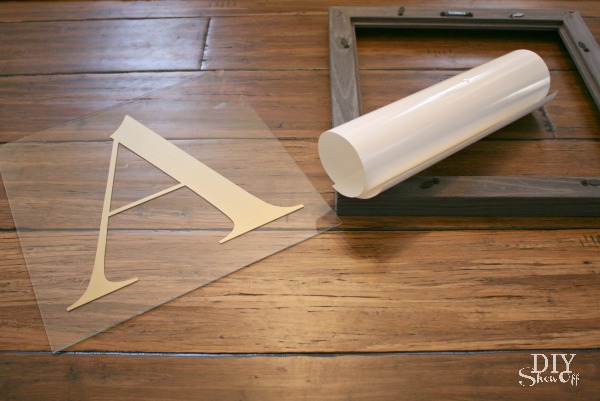
1. Create vinyl decal to fit inside of the dimensions of the picture frame/onto the glass. Remember to mirror/flip the design so that it doesn’t show backwards (vinyl will be applied to the backside of the glass). I used my Cameo to cut out a design on vinyl.Letter A for monogrammed mirror DIY
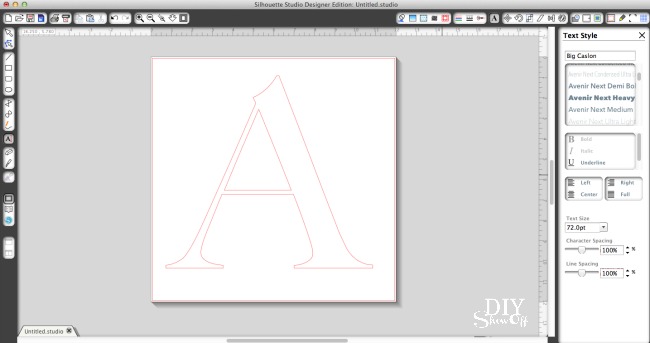
2. Disassemble glass from frame and clean the glass. DIY monogrammed mirror tutorial
3. Apply vinyl decal to glass. I centered a letter “A”. You’ll be applying it to the backside of the mirror so you’ll want to “mirror” or flip the letter if needed so it doesn’t show up backwards. A shape or silhouette would be cute too! Example: monogram, dog, person, state, stag, word, etc.Monogrammed Mirror DIY tutorial
4. Follow instructions on Krylon Looking Glass can. Wear a respirator in poorly ventilated areas. Apply a light coat of the Krylon Looking Glass spray paint in a sweeping motion (starting off of the glass). Do this on the side of the glass with the vinyl decal. One decorative accent - UNLIMITED LOOKS: DIY Interchangeable/Custom Monogrammed Mirror Tutorial
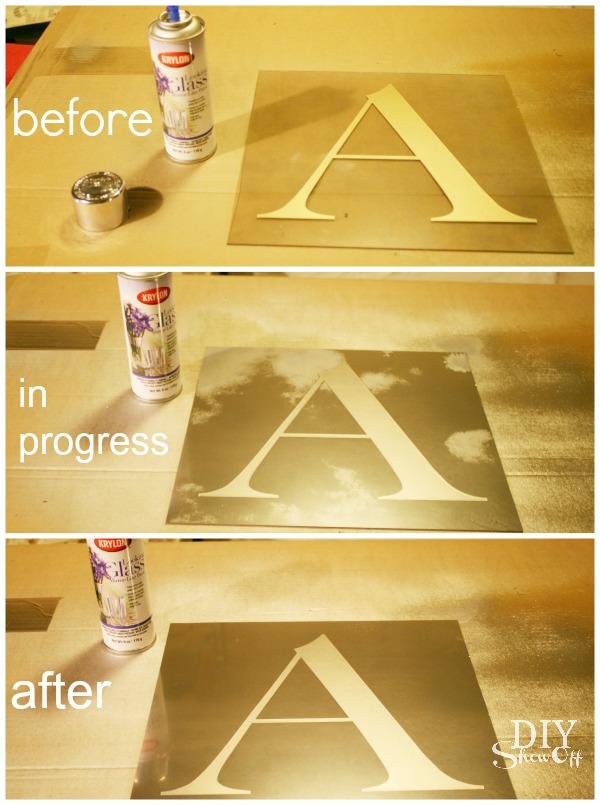
{zero degrees outside, spray painting in the basement – pardon the poor lighting!}

5. According to the instructions, repeat the above step four more times (only waiting a minute between coats – this stuff dries fast!). Then let dry one hour before handling. I did five coats and my glass still has a semi-transparent look which I like. Try more coats for a more solid look. 

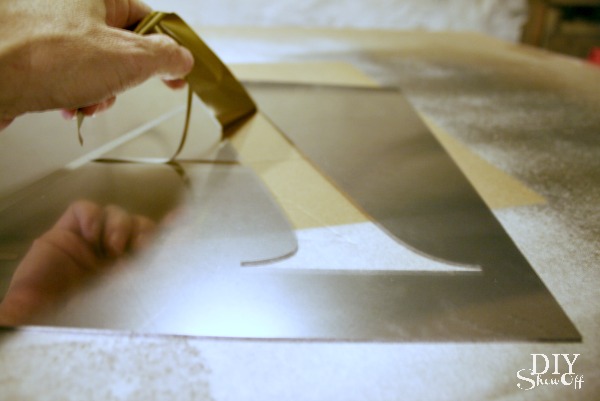
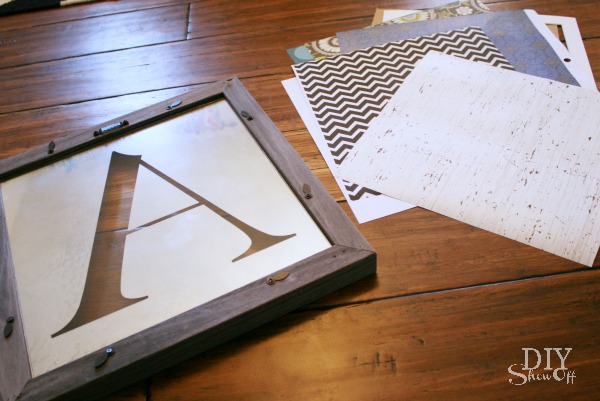
6. Once dry, carefully remove the vinyl decal by lifting an edge using your fingernail or thumbnail or a vinyl weeding tool if you have one. Be careful not to scratch the mirror-painted finish (although scratches add to an antiqued/aged look). One decorative accent - UNLIMITED LOOKS: DIY Interchangeable/Custom Monogrammed Mirror Tutorial
7. Cut scrapbook paper, book pages, fabric or wrapping paper to the same dimensions as the glass. Re-assemble glass and frame and insert scrapbook or wrapping paper in the same manner as framing a picture. One decorative accent - UNLIMITED LOOKS: DIY Interchangeable/Custom Monogrammed Mirror Tutorial
All done! Include several shades and patterns of paper with your gift and let the recipient choose their favorite look to coordinate with their home.

One decorative accent - UNLIMITED LOOKS: DIY Interchangeable/Custom Monogrammed Mirror Tutorial

Cool, right? They’re going to love it and you’re going to want one for yourself!

Monogrammed Mirror Tutorial DIY mirror DIY mirror DIY mirror DIY mirror

You can’t tell from my pictures but the mirrored surface is very reflective. I just took my photos at an angle where you weren’t seeing me and my camera’s reflection in the glass. The mirror finish also has a bit of a worn/antiqued look that I love. One decorative accent - UNLIMITED LOOKS: DIY Interchangeable/Custom Monogrammed Mirror Tutorial
Next up in the series is an awesome project from Amy at Positively Splendid!

For even more fun Krylon Looking Glass ideas, visit the entire series:

Friday –
http://www.infarrantlycreative.net
http://findinghomeonline.com
http://www.theshabbycreekcottage.com
http://sarahmdorseydesigns.blogspot.com
http://www.the36thavenue.com
http://www.eastcoastcreativeblog.com
http://lilluna.com
https://diyshowoff.com
http://www.positivelysplendid.com

Saturday –

http://tatertotsandjello.com
http://www.ourfifthhouse.com

Disclaimer: This is a post sponsored by Krylon. As always, all ideas, opinions and experience is my own. I first tried Krylon Looking Glass paint back in 2010 on an old window

Like what you see? Get reminders and updates delivered right to your inbox:

Enter your email address:
Delivered by FeedBurner

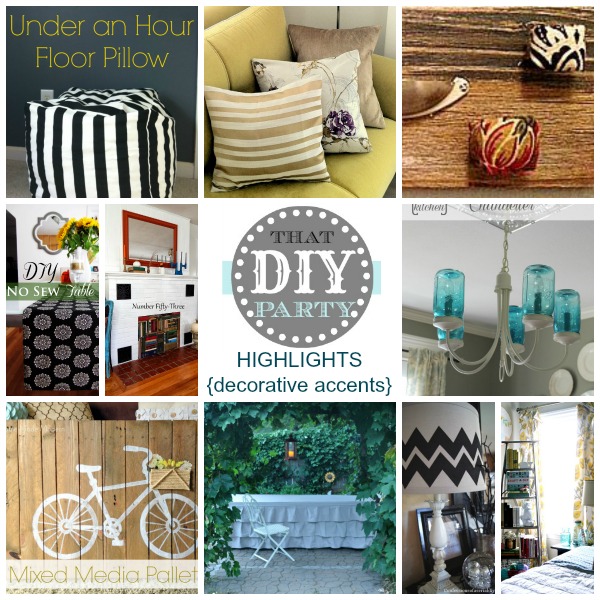
That DIY Party Highlights – Decorative Accents

Looking to give some DIY love to the decorative accents at home before the holidays? Here are some pretty DIY decorative accent tutorial highlights from That DIY party by some lovely blog friends. 

DIY decorative accents

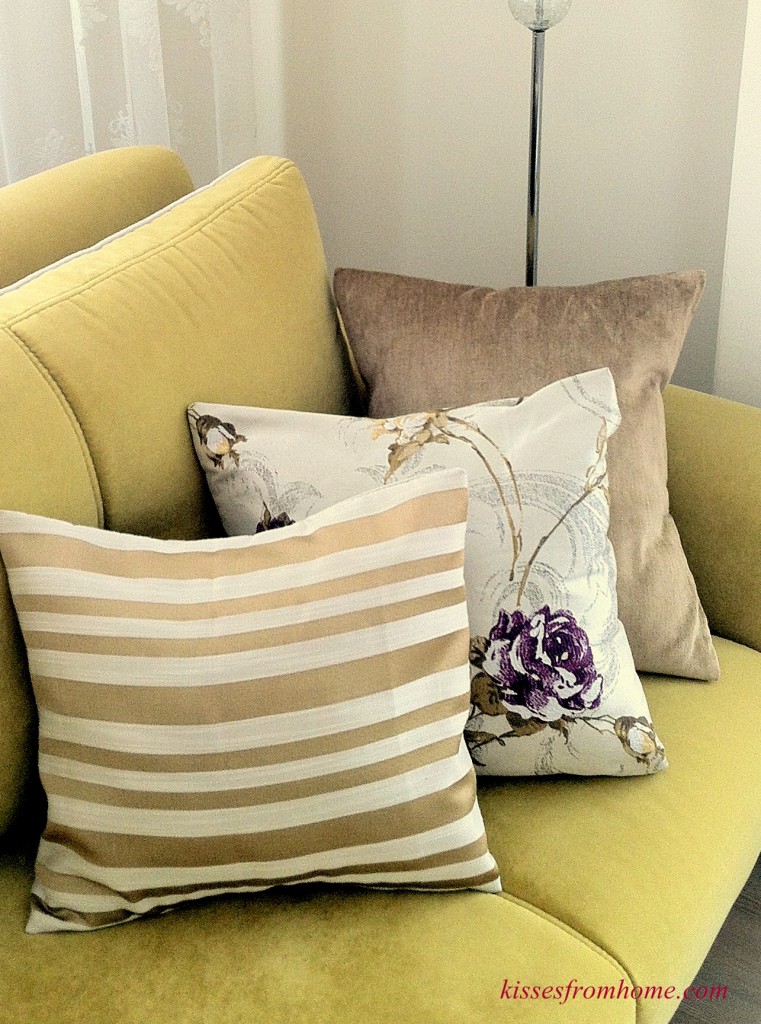
Pillow Insert Tutorial – Kisses from Home

pillow insert tutorial - Kisses from Home

Hobby Lobby Inspired Coat Rack tutorial at Inspiring HomeStyle

creative-coat-rack at Inspiring HomeStyle

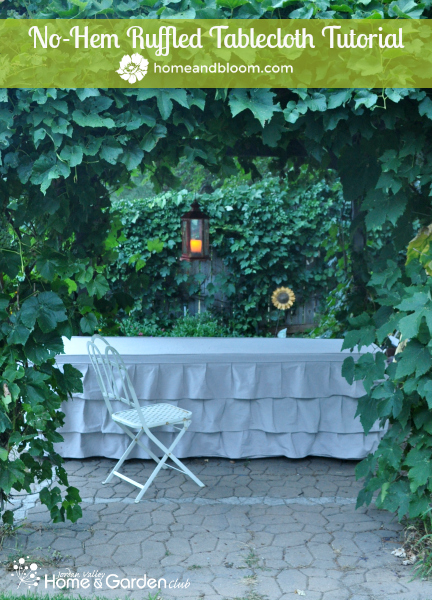
Ruffled table cloth tutorial at Home and Bloom

 Ruffled-Tablecloth at Home and Bloom

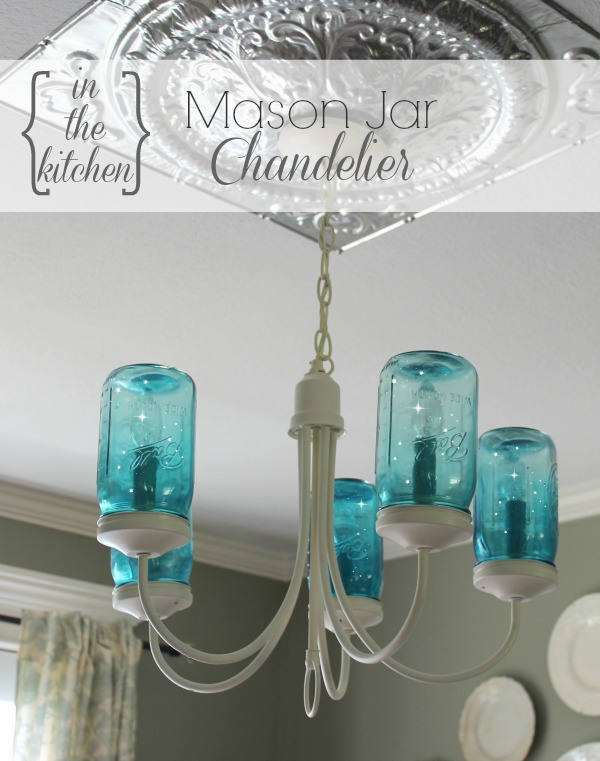
Mason Jar Chandelier at One Krieger Chick

Mason Jar Chandelier at One Krieger Chick

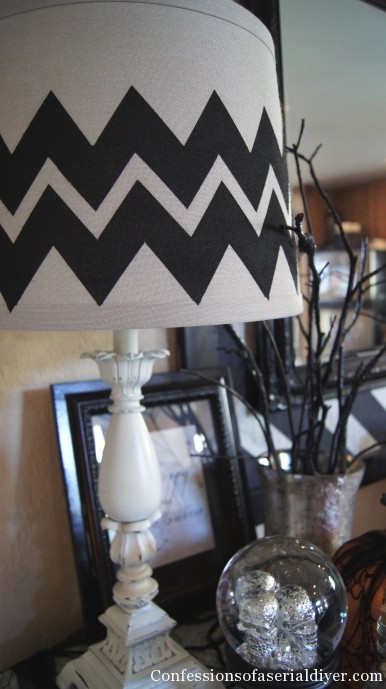
Chevron Lampshade at Confessions of a Serial DIYer

chevron lamp shade at Confessions of a Serial DIYer

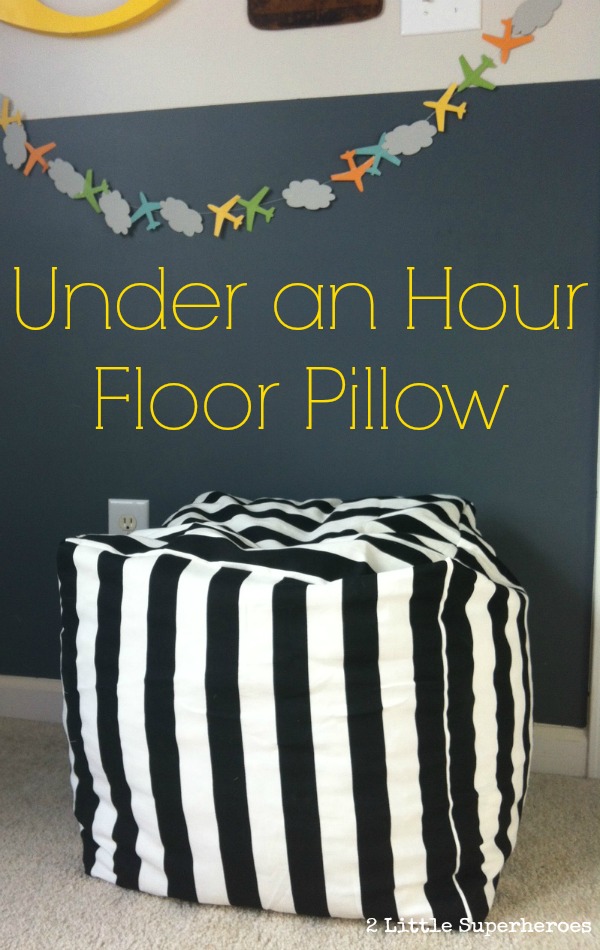
DIY floor pillow tutorial at 2 Little Superheroes (love the chalkboard wall too!)

floor pillow tutorial at 2 Little Superheroes

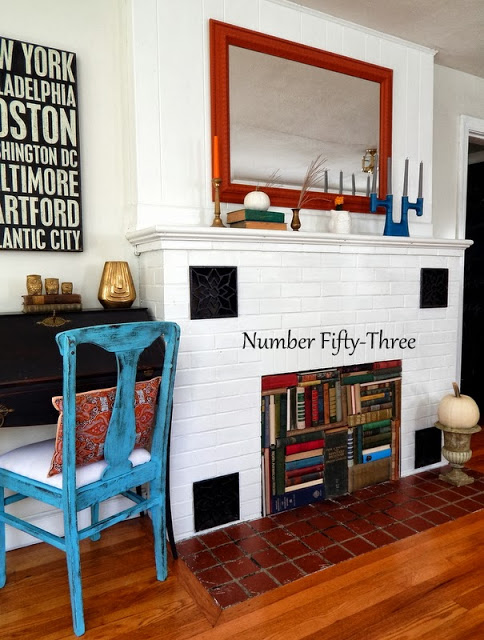
Vintage book fireplace at Number Fifty Three

vintage book firepace at Number Fifty Three

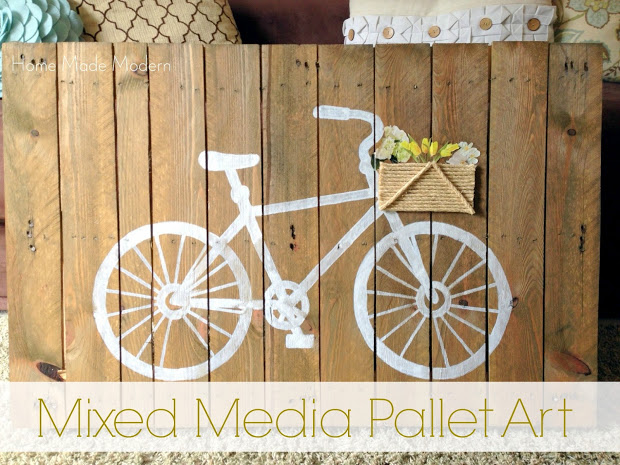
Mixed media pallet art at HomeMadeModern

mixed media pallet art at HomeMadeModern 

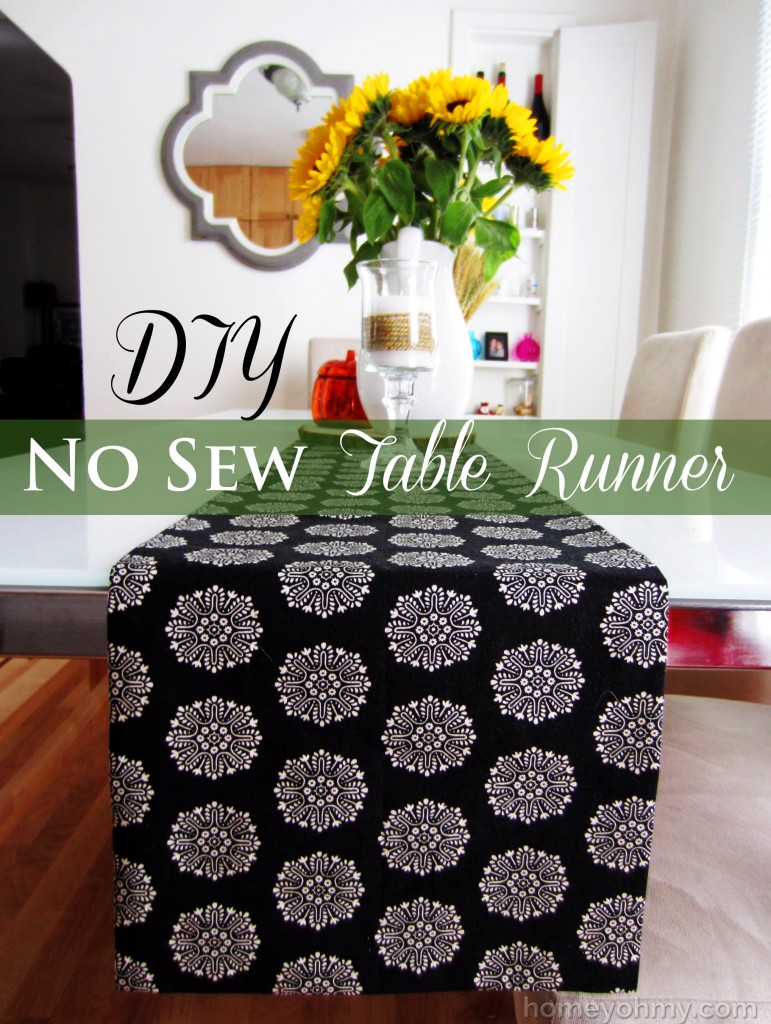
No sew table runner at Homey Oh My!

DIY-No-Sew-Table-Runner at Homey Oh My

No sew tablecloth to curtains at DaisyMaeBelle

no sew tablecloth curtains at DaisyMaeBelle 

See more DIY:

thatdiyparty.pinboard

Thanks to these talented ladies for linking up their inspiring creativity and hard work! 

Family Room Makeover in Progress

I have been working on my family room for years. It keeps getting pushed to the back burner. Ever have one of those rooms?

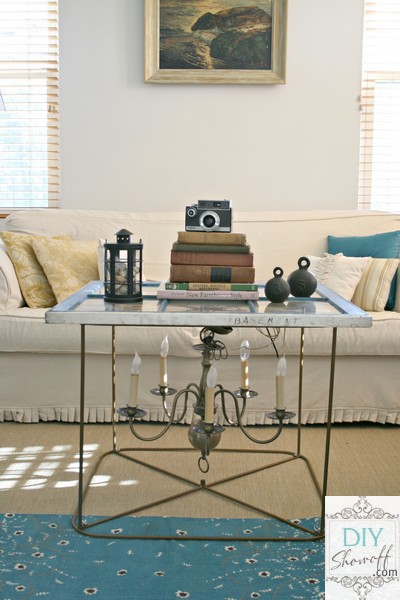
repurposed coffee table

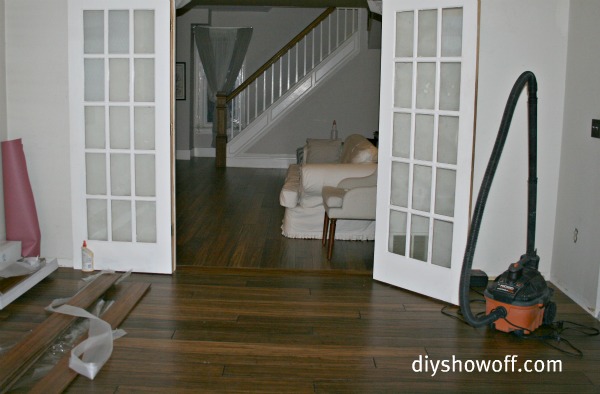
When we first moved in, we removed carpet. Then lived with plywood subfloors for a few years before finally installing bamboo flooring.

calibamboo

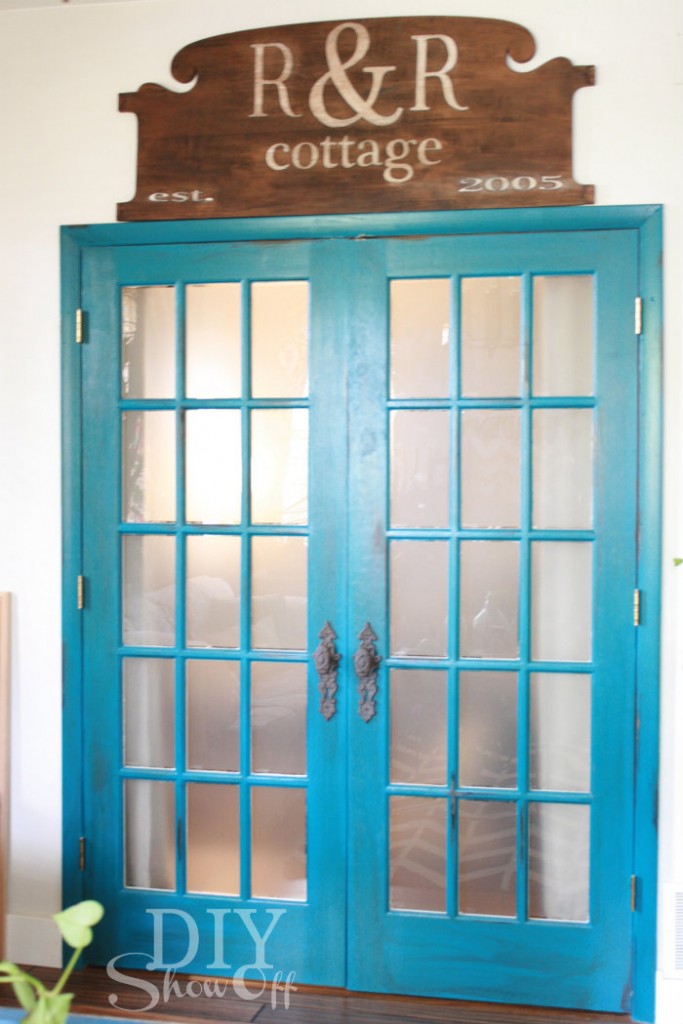
I painted the French doors a beautiful Benjamin Moore Pacific Ocean blue with glazing when I created a door pediment from an old headboard…

turquoise french doors.jpg

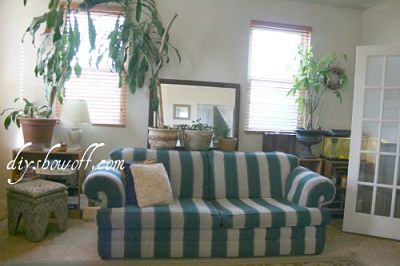
And the old hunter green striped LaZBoy sofa was great quality but I was thrilled when it got slipcovered…

before

hunter green striped sofa

after

Comfort Works slipcover, living room, beach theme

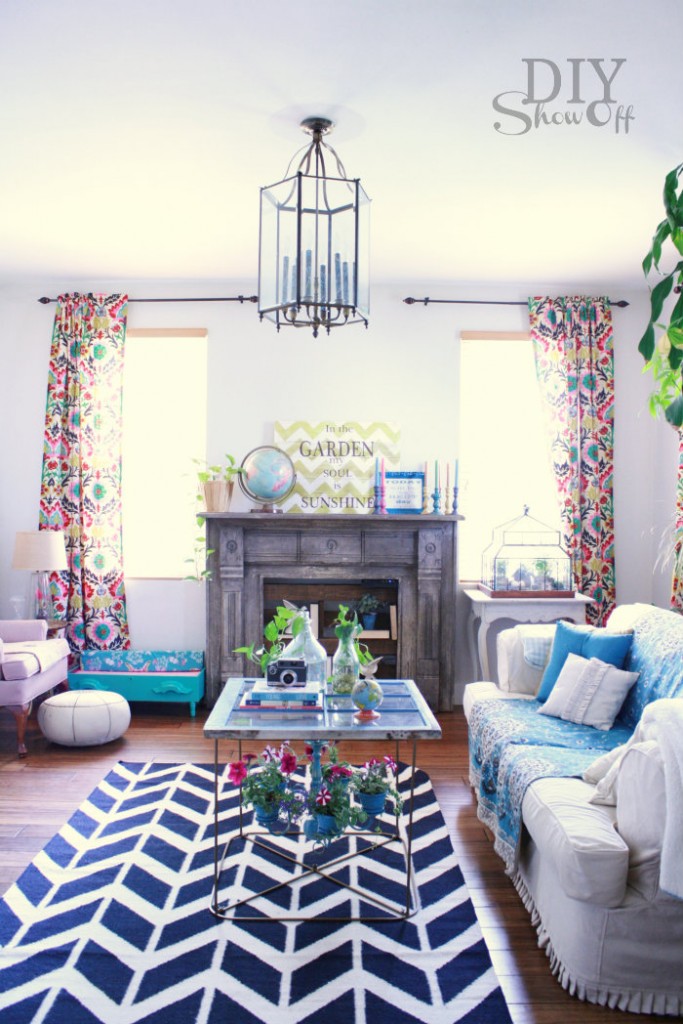
And then I saved my money to order the Waverly Santa Maria Desert Flower fabric I had to have to make curtains. That fabric sat untouched for a year. I finally got the curtains sewn but not hemmed although you couldn’t tell in photos.

DIYShowOff family room tour.jpg

It’s a room that I tend to decorate here and there, one we rarely use so it gets cluttered up, but it’s never really been finished.

Until now. With the help of Overstock.com, this room is getting “polished”… i.e. “completed”. I also want it to function more as a studio/work space too since it has great lighting. It’s finally happening!

If you’ve ever shopped at Overstock, you know there’s a great selection of all things home related at great prices. And I love shopping the WorldStock section for beautiful handmade home decor and furniture. 60-70% of the purchase price goes back to the artisan and suppliers! 

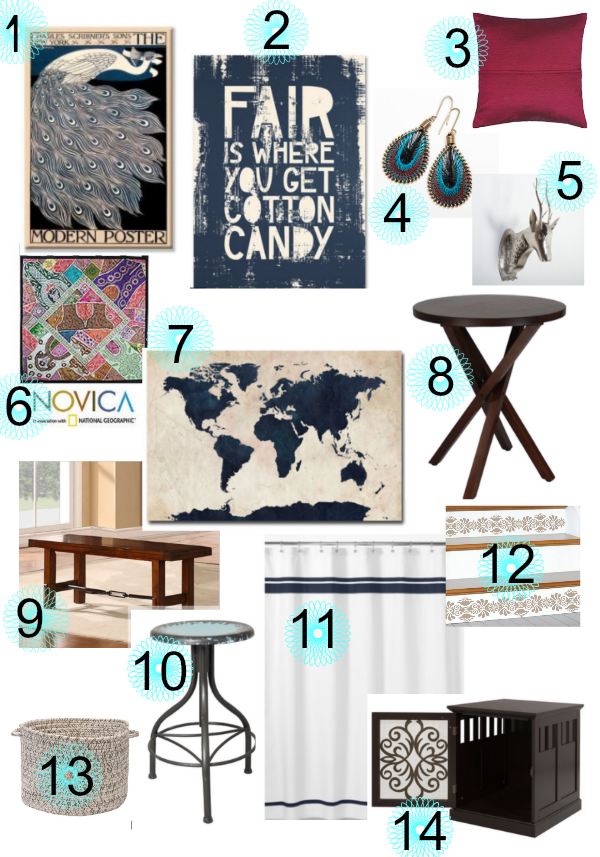
Here’s a sneak peek at my Overstock order. Definitely eclectic…just the way I like it! Some things will have a bit of a DIY spin.

overstock makeover


  1. Will H. Bradley ‘Modern Poster’ Canvas Art
  2. Megan Romo ‘Fair V’ Canvas Art
  3. Fuchsia Mulberry Thai Silk Cushion Cover
  4. Goldtone Blue, Black and Brown Thread Earrings (India)
  5. Iron Wall Mounted Deer Head Figurine (India)
  6. ‘Spring Romance’ Cotton Wall Hanging
  7. Michael Tompsett ‘World Map – Navy’ canvas art
  8. Walnut Espresso Criss Cross Table
  9. TRIBECCA HOME Swindon Rustic Oak Turnbuckle Dining Bench
  10. Casa Cortes Vintage Adjustable Metal Bar Stool
  11. ‘Canyon’ 18-inch Tweed Braided Basket
  12. WallPops Kolkata Stripe Stairs Decal Pack
  13. White and Navy Hotel Shower Curtain
  14. Small Tesy Residence

SEE THE FULL REVEAL HERE

THIS GIVEAWAY IS NOW CLOSED. Update: Winners are MINDY Y. who tweeted about the giveaway and BRANDY with this comment: Something I would add to my wish list is paint for every room in my house, including all the little things like tape, items to remove wallpaper, etc… Wallpaper…..the reason I have not painted before now!

CONGRATULATIONS, LADIES! Please respond to the email I’ve sent to claim your prize within 24 hours (updated due to previous winner not responding/new winner chosen). 

$100 OverStock Gift Card Giveaway

But wait! There’s more! Overstock is generously donating a $100 gift card to TWO DIYShowOff readers! Two ways to enter to win:

FIRST:  Visit OverStock.com. Come back here and leave a comment below sharing what you’d add to your wish list. One comment per visitor. One winner will be chosen at random from the comments on 11/14/13.

THEN:  For more chances to win, stay up-to-date with DIYShowOff and share the giveaway via the entries on the Rafflecopter form:

a Rafflecopter giveaway

Good luck! 

Disclosure: I was provided OverStock store credit to makeover an area in my home and to host an OverStock giveaway. All opinions are in my own words and my own experience. OverStock has been one of my go-to online shopping sources for years…just one of those places I check out when searching for home decor or gifts. 🙂