Easy Ornament Craft – Pipecleaner Christmas Tree Bells

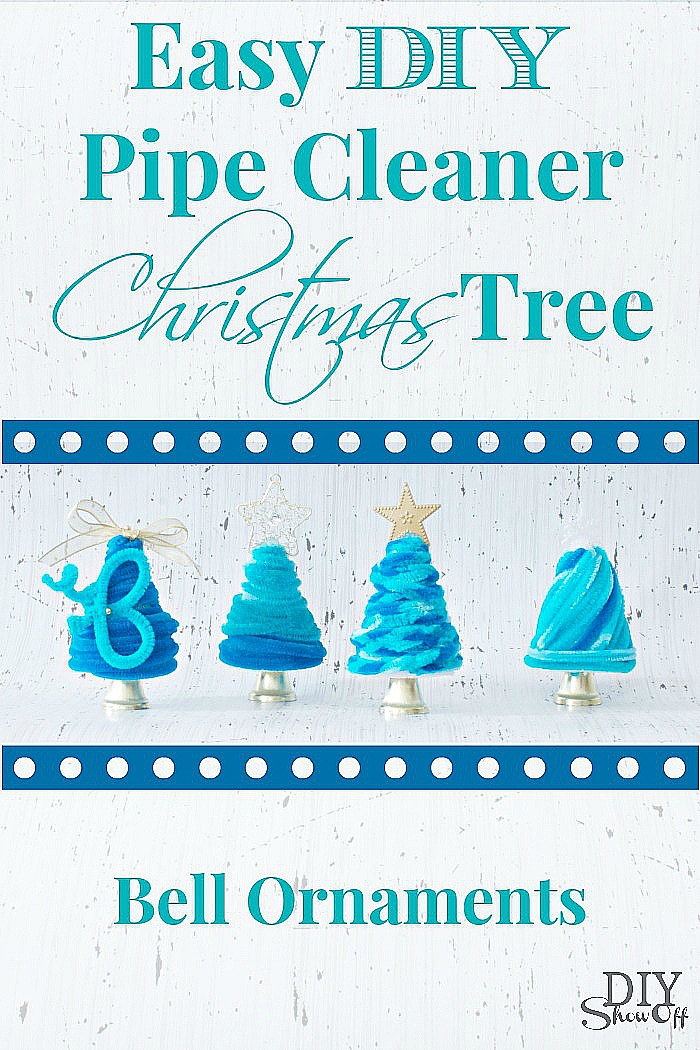
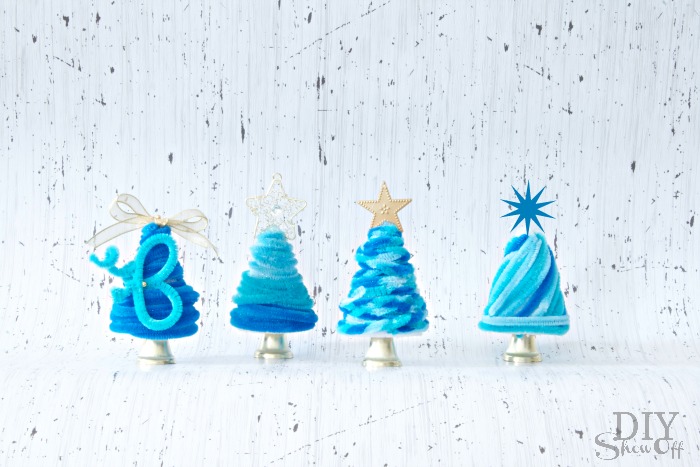
Christmas is nearly here! These DIY pipe cleaner Christmas tree bells are super easy and a fun last minute craft…with a rich velvet-y look and real ringing bells. They’d be so cute in a variety of colors to coordinate with any Christmas theme. 

easy DIY pipe cleaner Christmas tree bell ornament tutorial

Pipe Cleaner Christmas Tree Bell Ornament Materials:

  • pipe cleaners
  • mini Styrofoam cones 
  • small bells
  • hot glue
  • mini star tree topper ornaments (or thrifty costume jewelry)
  • fishing line/ornament hooks
  • optional: straight pins with color/ball heads, ribbon, embellishments – be creative!
  • optional: Krylon Glitter Blast

Tutorial:

Starting near the bottom of the cone, I simply pushed in my pipe cleaner and spiraled around the cone, again tucking the pipe cleaner’s end into the Styrofoam. Repeat as needed. I used three colors to create an ombrè effect. I even braided a few different colors for a different look. I didn’t, but you can use hot glue as needed. DIY pipe cleaner Christmas tree bell ornament tutorial
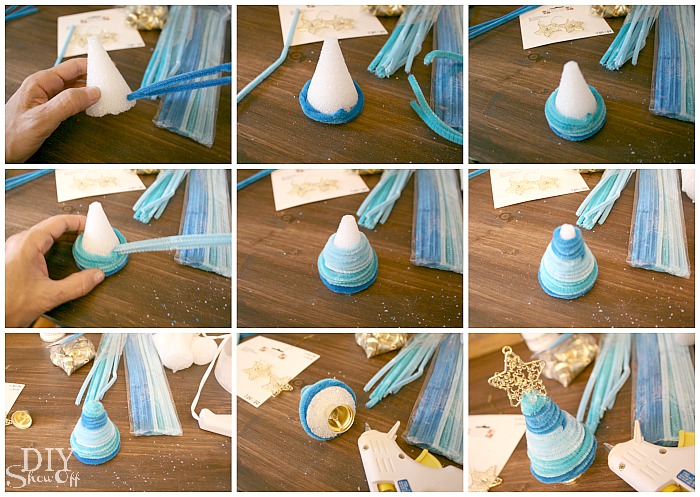
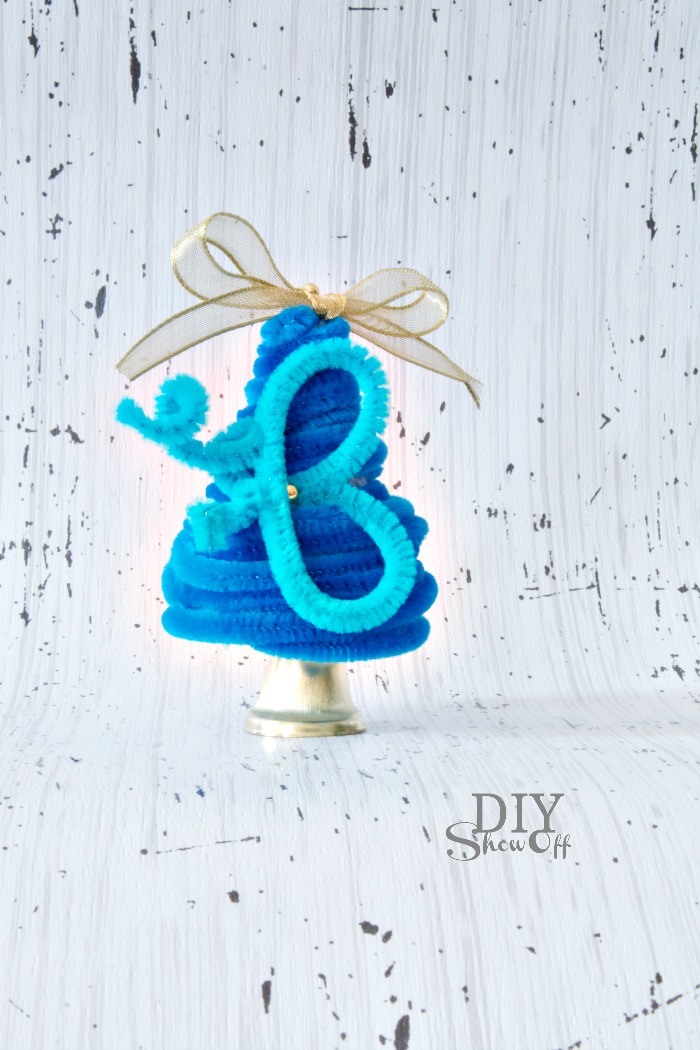
Add a smidge of hot glue to the top of a bell and insert into the bottom center of the Styrofoam cone to create a ‘bell’ tree trunk.PipeCleaner Christmas Bell Ornament
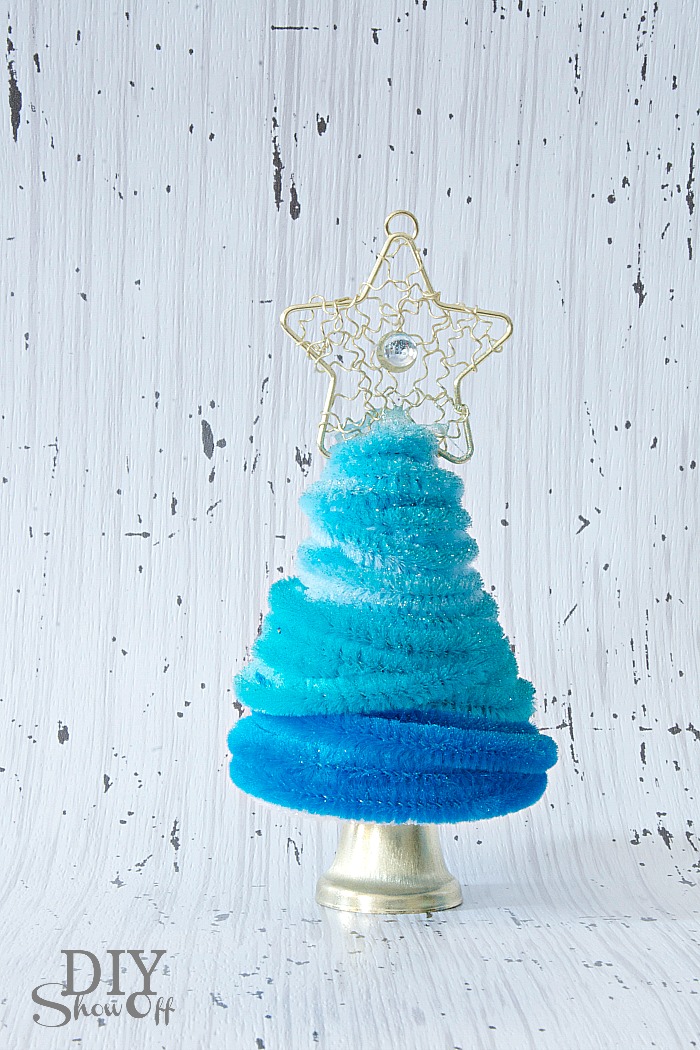
Embellish: using hot glue or straight pins, add a tree topper or pipe cleaner monogram.

DIY Christmas Ornament

Spritz with Krylon Glitter blast for a little sparkle. 

Easy. Simple. Pretty. Fun. DIY Christmas Ornament CraftThen..frame your creation with a pretty Christmas ornament frame.Christmas ornament frame

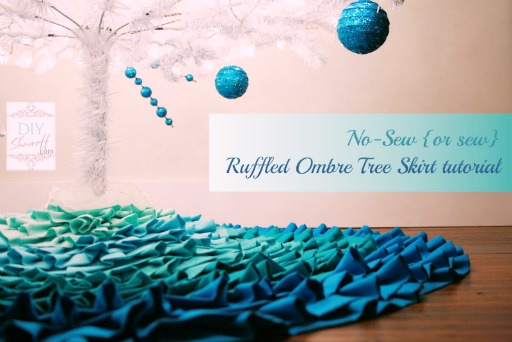
Create a matching (no sew) ruffled tree skirt.

DIY Ruffled Tree Skirt Tutorial

no sew ruffled tree skirt tutorial

See more inspiration at Holiday DIY/Decor Favorites from Christmas Past.


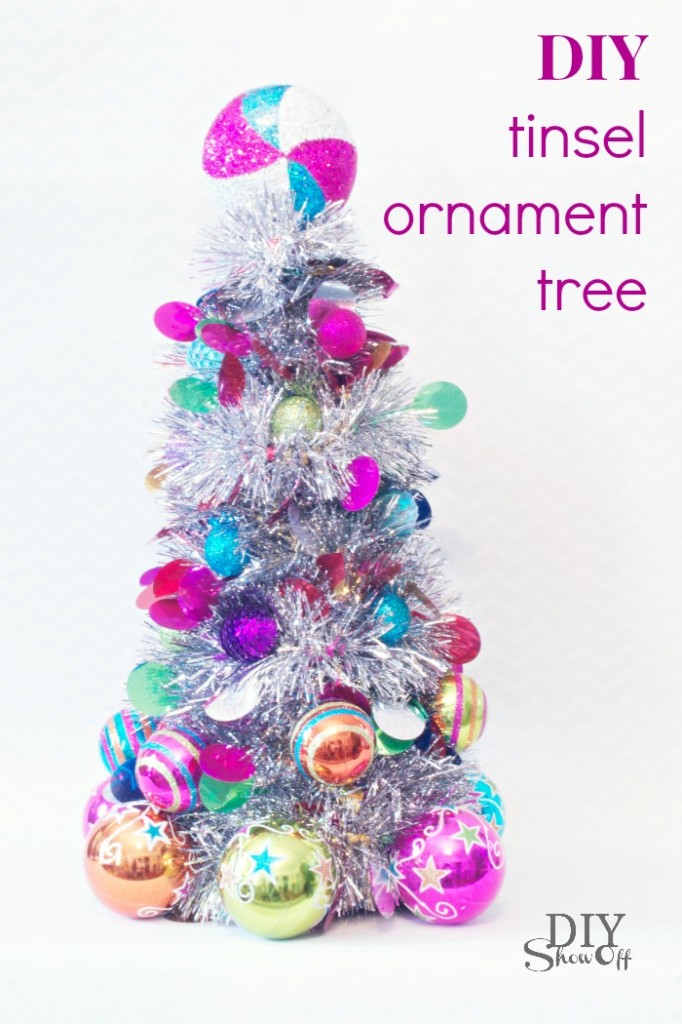
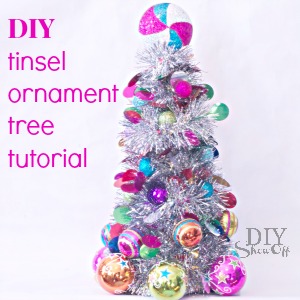
DIY Tinsel Ornament Tree Christmas Decoration

With a Merry & Bright theme going on in the family room, I needed a colorful Christmas decoration to add to my existing decorative accents which is what inspired this tinsel ornament tree tutorial. This tutorial is a part of the fun Christmas Extravaganza Blog Hop! More fun holiday links below!DIY tinsel ornament tree tutorial 
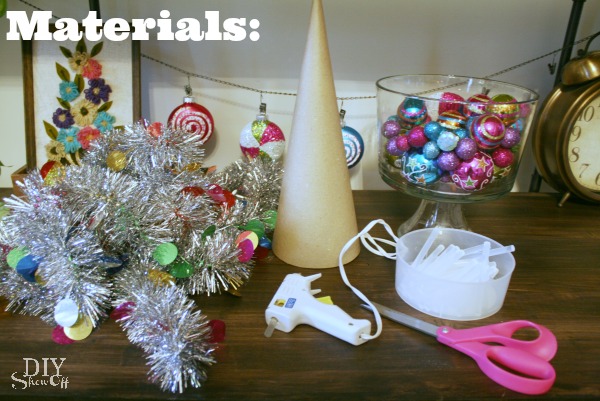
What I used:tinsel ornament tree materials

  • cardboard cone
  • tinsel garland
  • optional: ornaments (I used three different sizes)
  • hot glue/gun

DIY tinsel ornament tree craft tutorial

Tutorial:

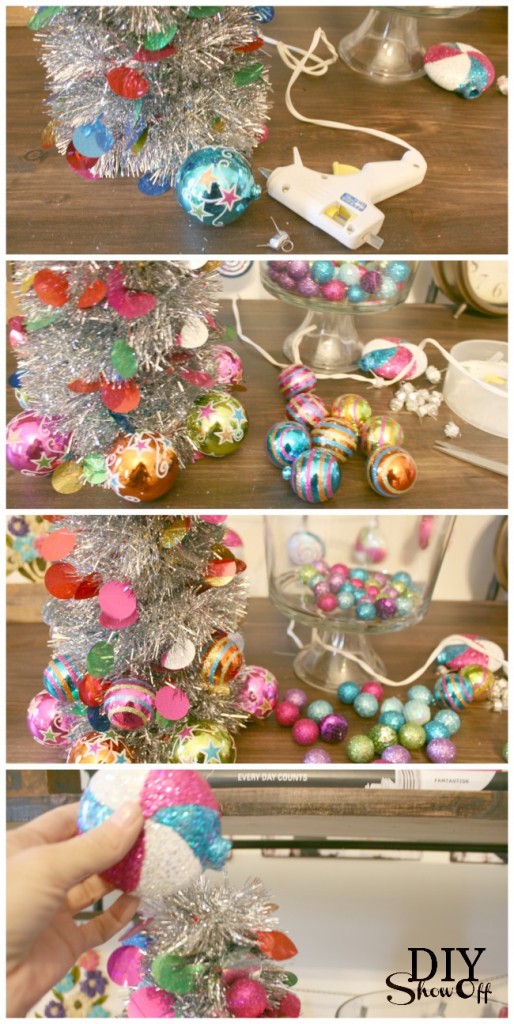
Starting at the top,  add a dab of hot glue near the pointy end of the cardboard cone and attach one end of the tinsel garland.

Wrap the cardboard cone. Pull garland tight for a fuller look or just enough to cover the cone…it’s up to you! I pulled mine tighter and used the entire string of tinsel garland.

Secure the end of the tinsel garland to the cardboard cone with a touch of hot glue.

You could be finished at this step if you like the look! Or use hot glue to add in ornaments (I removed the metal hangers). 

Remove the metal hanger from a favorite ornament, add a dab of hot glue and attach to the top of the tree. tinsel ornament Christmas tree instructions

All done…definitely “merry & bright” AND easy!

DIY ornament tinsel tree tutorialHappy! Right? colorful Christmas


Family Room Makeover

Christmas Home Tour

See more Christmas crafts, decorating, DIY and recipes at the Christmas Extravaganza Blog Hop…

Christmas Exravaganza Blog Hop and Linky Party Graphic

Christmas Extravaganza Schedule

Mint Chocolate Cream Torte from Cupcakes and Crinoline

Easy Four Ingredient Snowball Cookies from Yellow Bliss Road

Holiday Napkin Apron from Jojo & Eloise

DIY Eyelash Yarn Christmas Trees from A Place for Us

Yarn Candy Canes from Lolly Jane

Chocolate & Peppermint Crispy Rice Treats from Ella Claire

Tinsel Ornament Tree from DIY Showoff

Sequin Ornaments from Fox Hollow Cottage

Fuzzy Christmas Trees from Two Twenty One

15 Christmas Decorating Ideas from Town & Country Living

Pom Pom Snowball Wreath from My Uncommon Slice of Suburbia

Christmas Craft Round Up from Debbiedoos

DIY Boxwood Napkin Rings from French Country Cottage

Rustic Glam & Blue Christmas Tree from Setting For Four

Easy Dollar Tree Wreaths from Domestically Speaking

Frosted Pear Ornament from Sand & Sisal

Friday – it’s your turn! Link up your fun Christmas ideas!

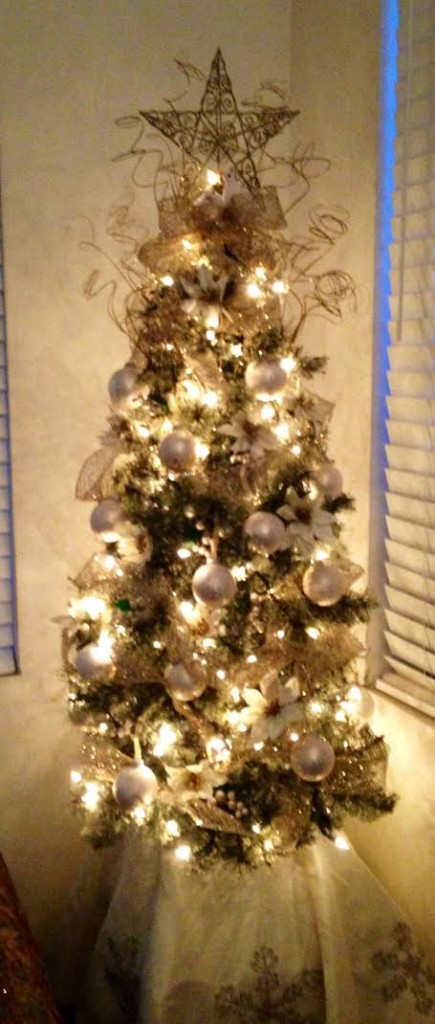
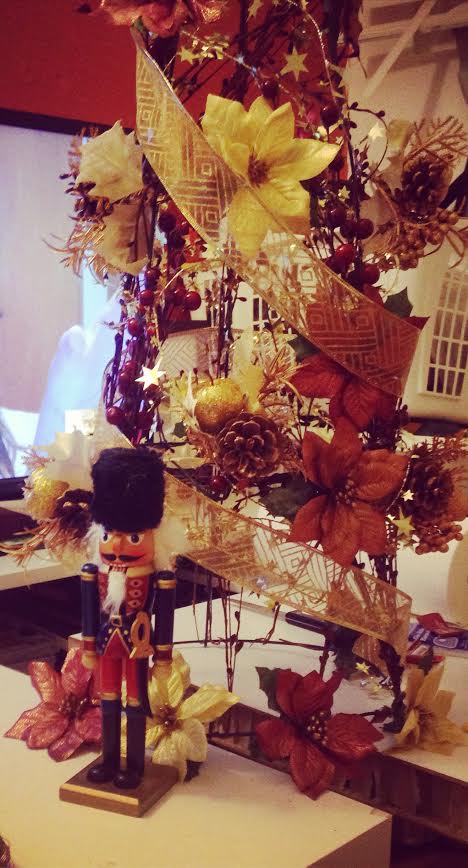
Elaine’s Christmas tree for the Christmas Tree Party & Contest

Elaine's Christmas Tree

Custom DIY Decals – vinyl holiday labels

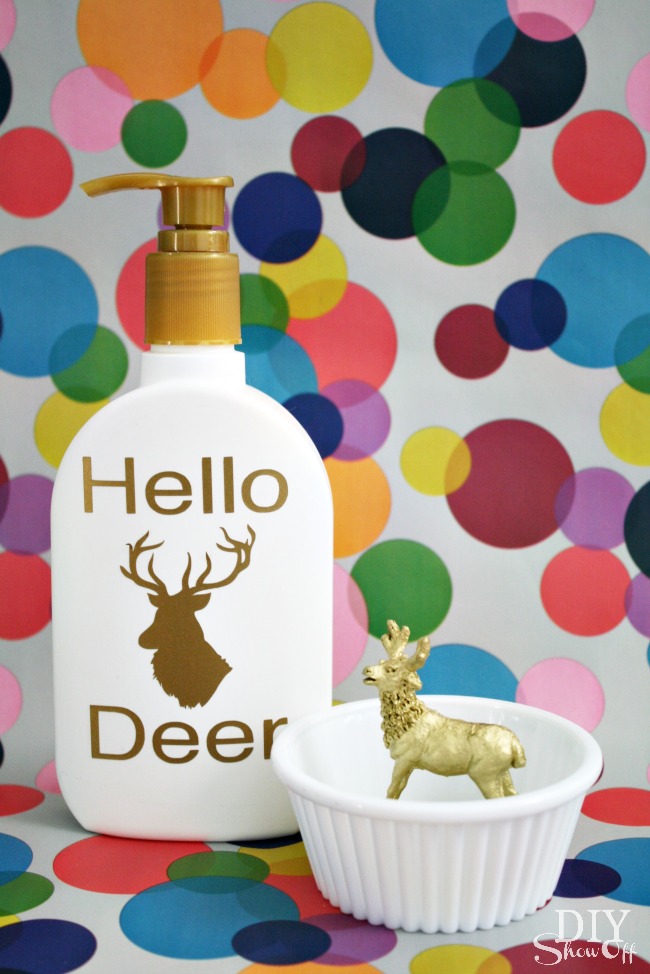
I don’t know about you but the change from fall to winter contributes to dry skin and having a bottle of lotion constantly on display isn’t exactly decorative so why not whip out a vinyl decal/label using a fun shape and text? I used my Silhouette Cameo and vinyl but you could substitute craft paper, glue, contact paper, decorative tape and/or stickers. It’s a cute DIY gift idea too. Here is what I did:

DIY gift set idea

Materials:

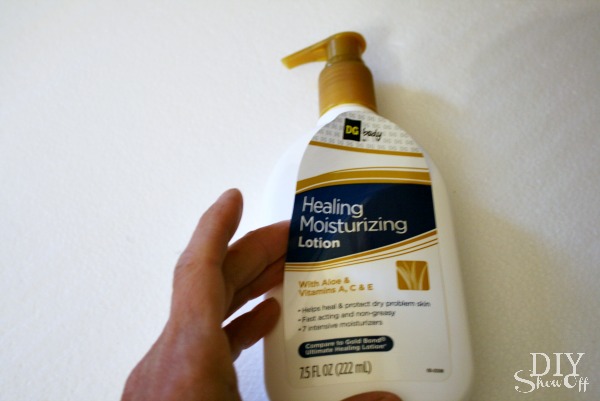
  • Bottle of Moisturizing Lotion (Dollar General) – you could also make your own and use a glass bottle or jar
  • Gold Vinyl from Happy Crafters
  • Transfer paper

Tools:

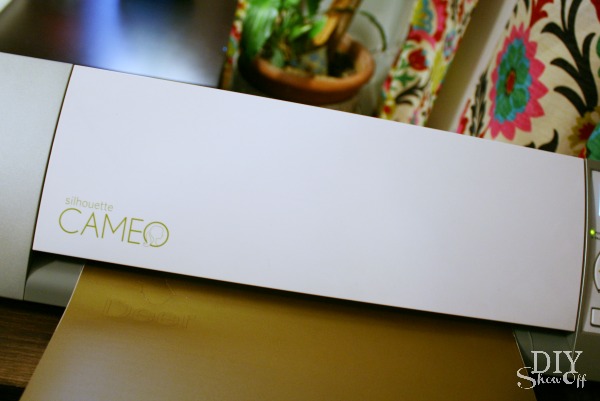
  • Silhouette Cameo

What I did:

Remove front label. I left the back label adhered so there was no mistaking the contents and ingredients. The front label pulled away clean for me but some may take a little elbow grease.

lotion bottle decal tutorial

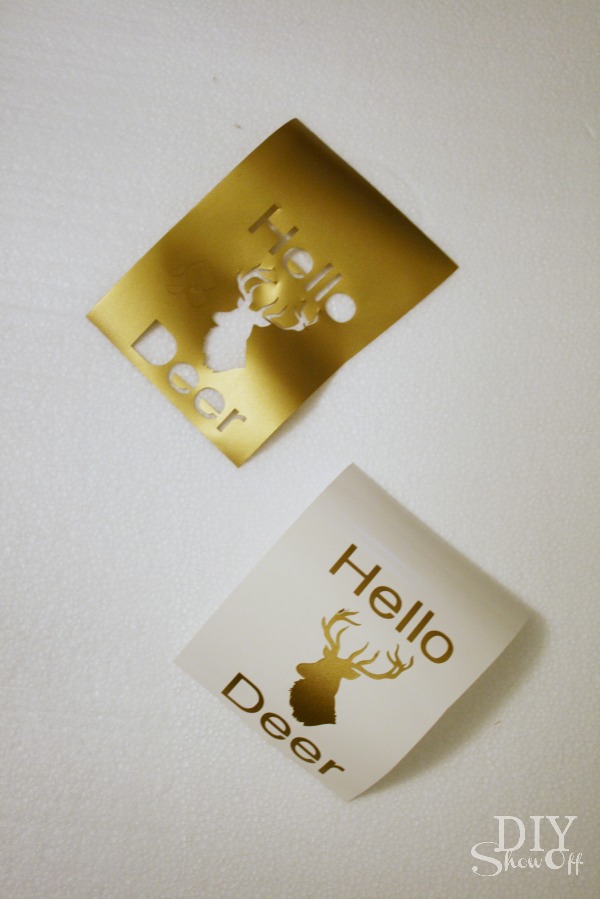
Using my Silhouette Studio software along with a previously purchased deer shape and helvetica font, I created a design measuring small enough to fit on the front of the lotion bottle (roughly 3 x 3 inches).

Load vinyl color side up. I changed my blade settings for cutting vinyl and sent to ‘cut’. 

cutting vinyl decals

Weed away all ‘negative’ vinyl that isn’t a part of the design. 

deer decal

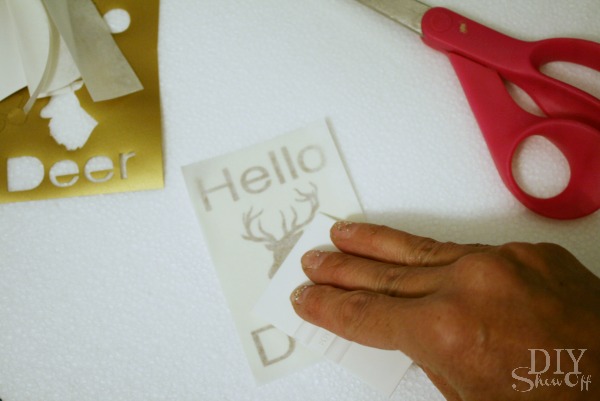
Add a piece of transfer paper to the front side of the vinyl decal and rub with a gift card or credit card.

vinyl decal label tutorial

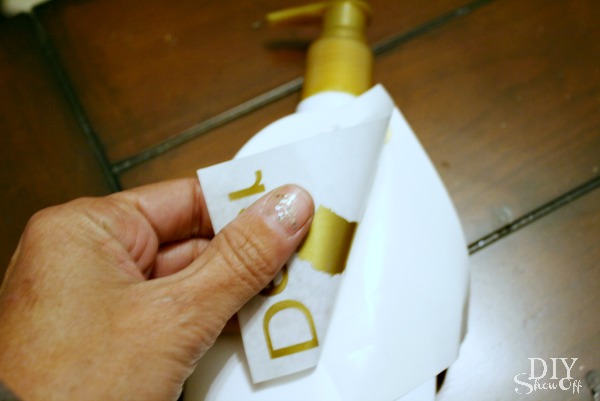
Pull away the wax paper backing.

vinyl decal label tutorial

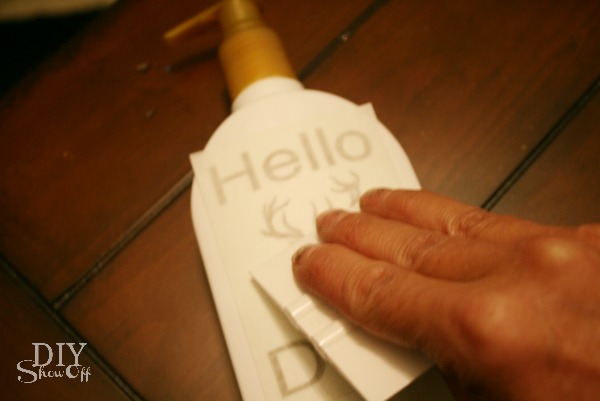
Place the vinyl decal/transfer paper onto the front of the lotion bottle and rub the design with a a gift card.

lotion label decal

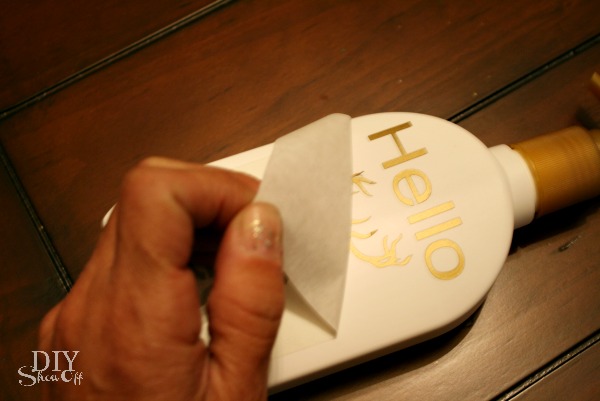
Peel away the transfer paper. 

Vinyl lotion label decal DIY

Add a coordinating bow if desired. Now you have cute guest room accessory.

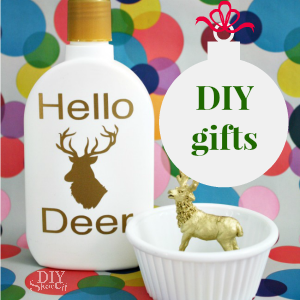
Deer lotion bottle DIY vinyl decal

Or create a holiday gift set by adding a super easy DIY ring/jewelry holder.

DIY gifts

I’m sharing the ring holder tutorial today over at Très Frugal – 30 days of DIY Gift Ideas hosted by Brittany at Pretty Handy Girl today. Hop over to check it out and to follow the entire series for some great gift ideas. 

diy gifts

*This post is sponsored by Happy Crafters. Tutorial, experience and opinion are my own. See more projects at Happy Crafters blog.

HClogopngsmall


Karyna’s handmade tree for the Christmas Tree Party & Contest

Karyna's Christmas Tree