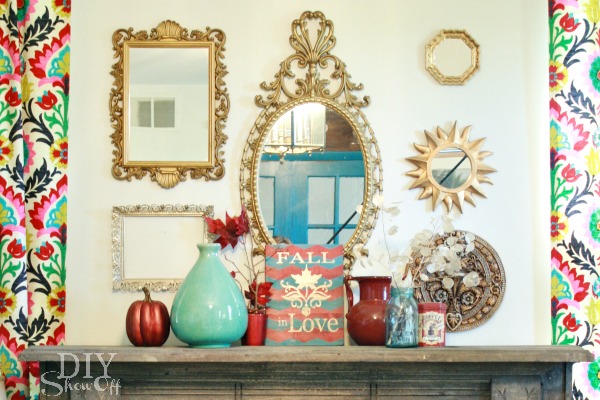
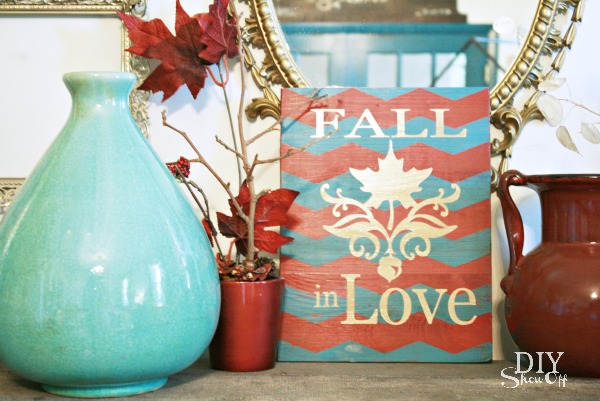
Earlier this week, I shared my fall home tour. Did you happen to see the DIY chevron “Fall in Love” plaque on the mantel in my family room?
Tutorial:
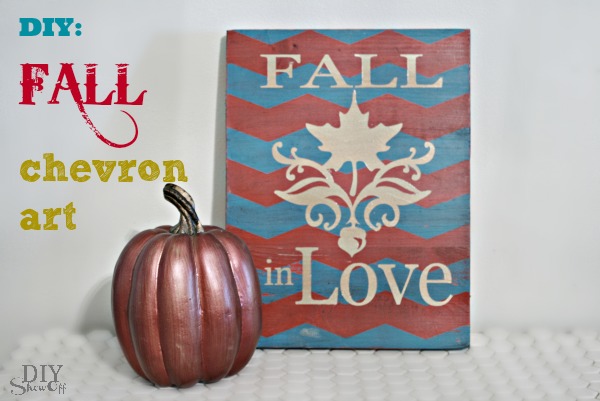
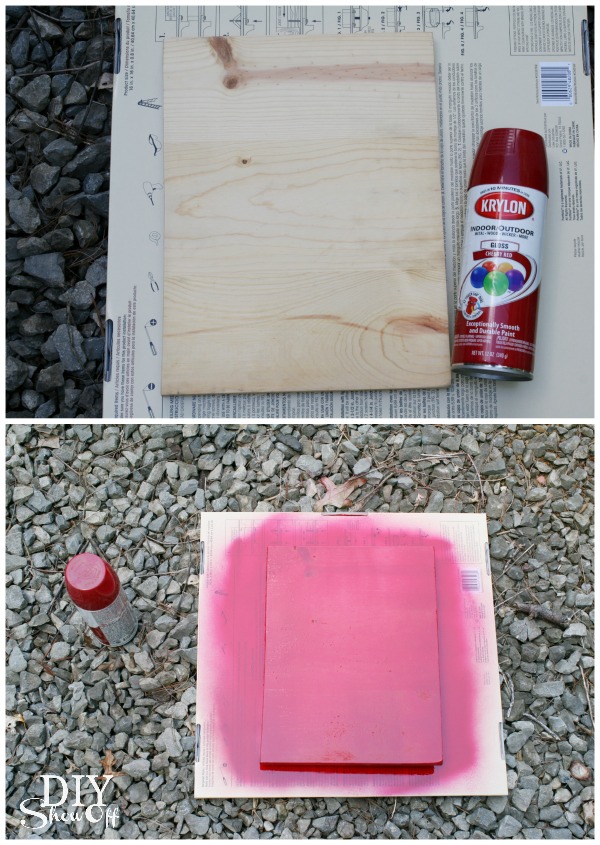
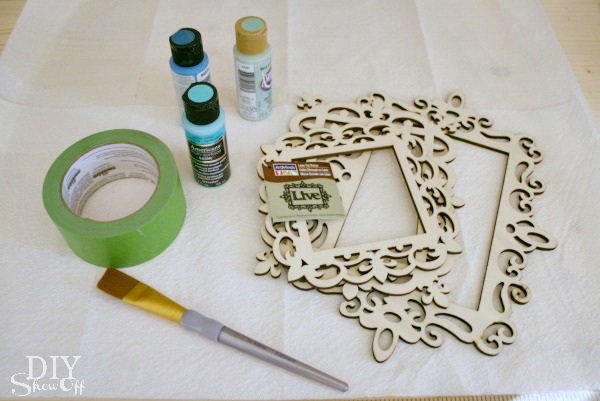
Materials:
- Scrap wood
- FrogTape® Chevron Shape Tape
- Paint (I used glossy Krylon cherry red spray paint, turquoise DecoArt Americana Desert Turquoise acrylic craft paint and a gold spray paint)
- Fall stencil (I created/cut a fall vinyl stencil using my Silhouette. Leaf damask design from Silhouette America online store.)
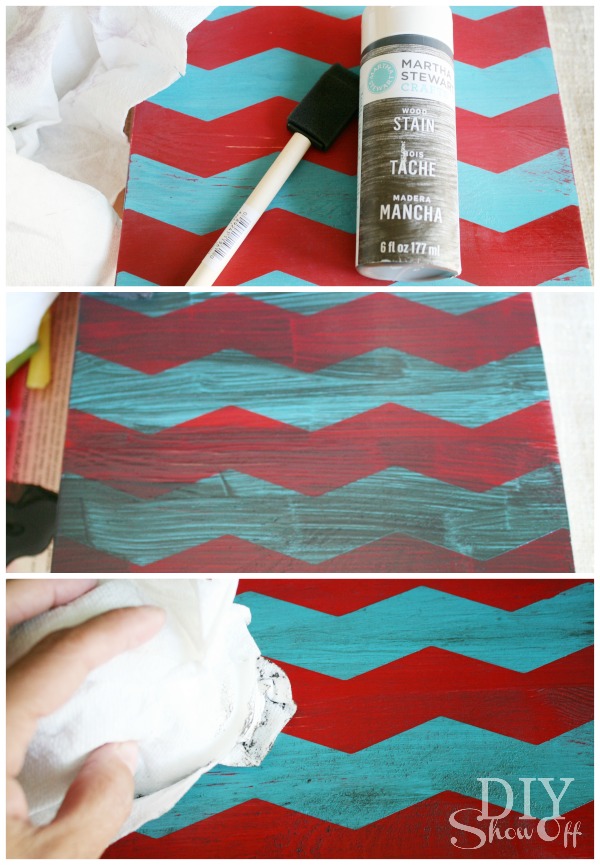
- Martha Stewart Crafts Wood Stain
Here’s what I did:
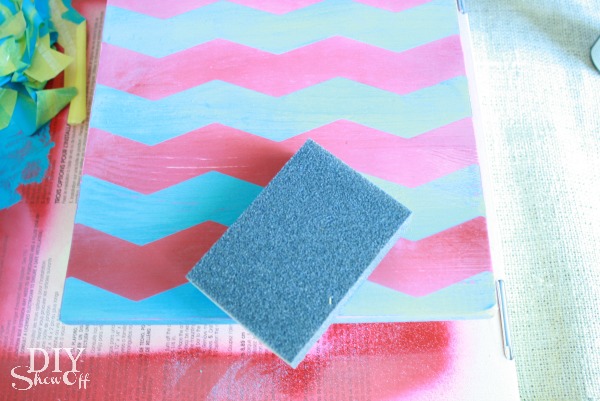
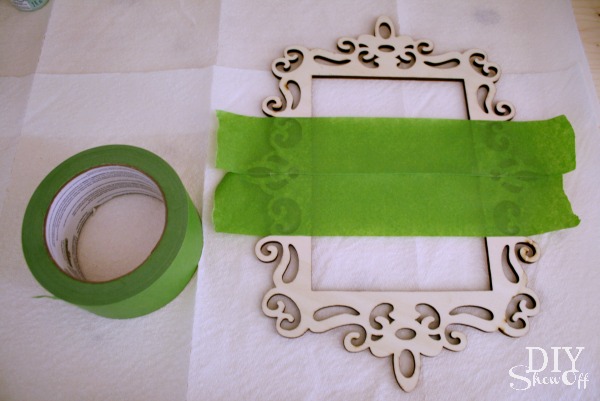
1. I sanded the edges of my scrap wood (left over from a shelf DIY).
2. I spray painted my wood plaque red and let dry for about an hour.
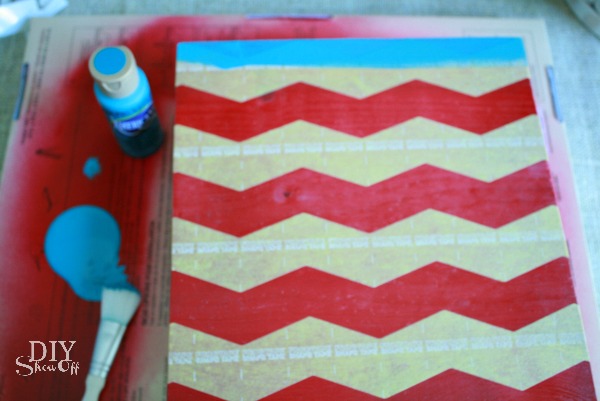
3. Starting at the top of my plaque, I applied the FrogTape® Chevron Shape Tape. Cut to size, remove half of the wax paper backing, place Shape Tape, remove other half of the wax paper backing and smooth into place.

4. and just kept adding rows by placing the zig zag design exactly as my first piece and just eye-balling the distance. To get a chevron pattern, line up the zig zag.
5. Using my thumbnail, I made sure the edges of the Shape Tape were secure.
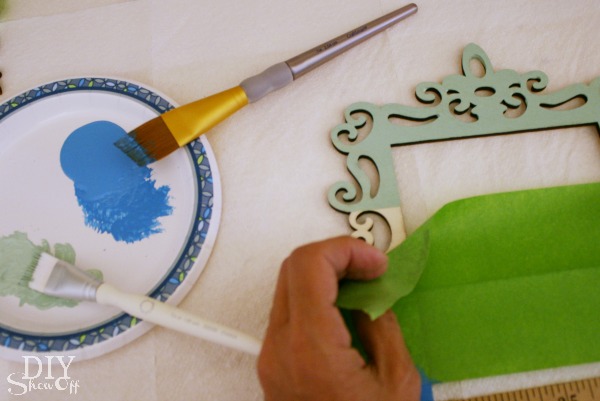
6. Then painted my chevron using turquoise craft paint. I did three coats to completely cover the red paint underneath.
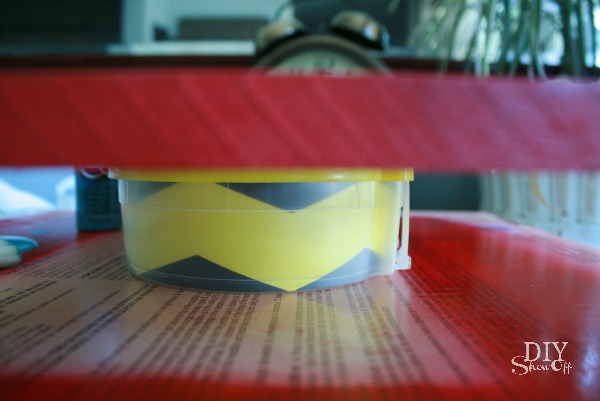
Tip: Elevate the wood using the tape container to paint sides.
7. I peeled away the Shape Tape after the third coat of craft paint while the paint was still wet and let it dry.
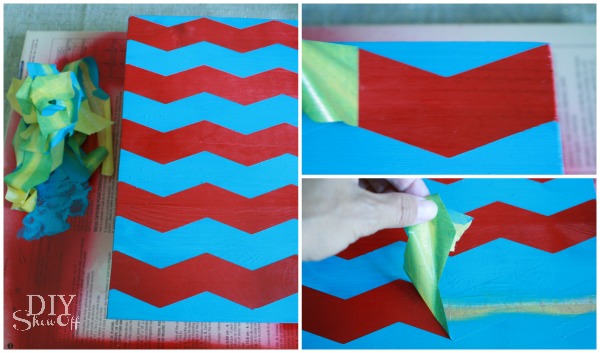
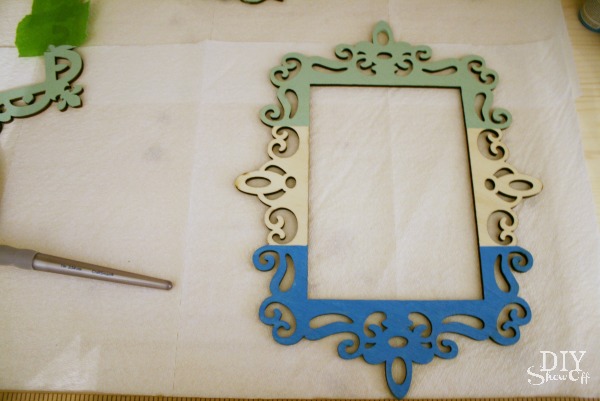
8. Once dry, I sanded the the entire plaque for a bit of distressing.
9. Then brushed on the wood stain, let it sit for a few minutes then wiped it off for an aged look.
10. Once everything was dry, I applied my vinyl stencil and taped the edges of my wood plaque with FrogTape® Multi-surface.
11. Then spray painted the design using gold spray paint.
12. Remove tape and vinyl stencil.

It perfectly coordinates with my red/aqua fall mantel display…

Sharing at the Fall Mantel Party, Fall Nesting Party and Home Stories A to Z.
 *This is sponsored by FrogTape®. FrogTape provided by Shurtech. The opinions are completely my own based on my own experience.


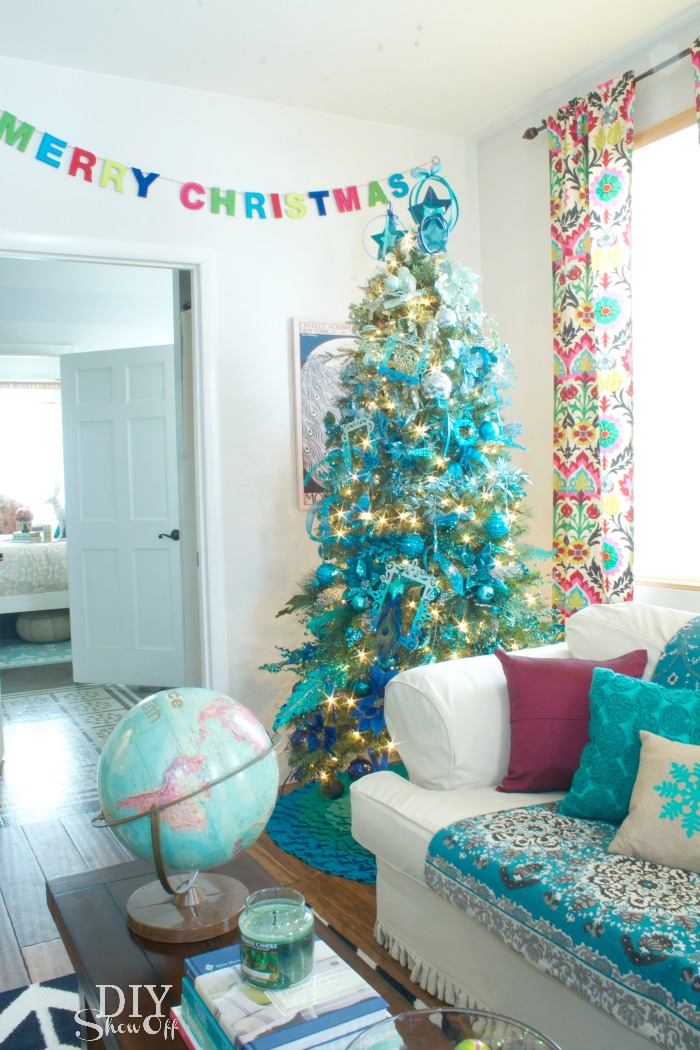
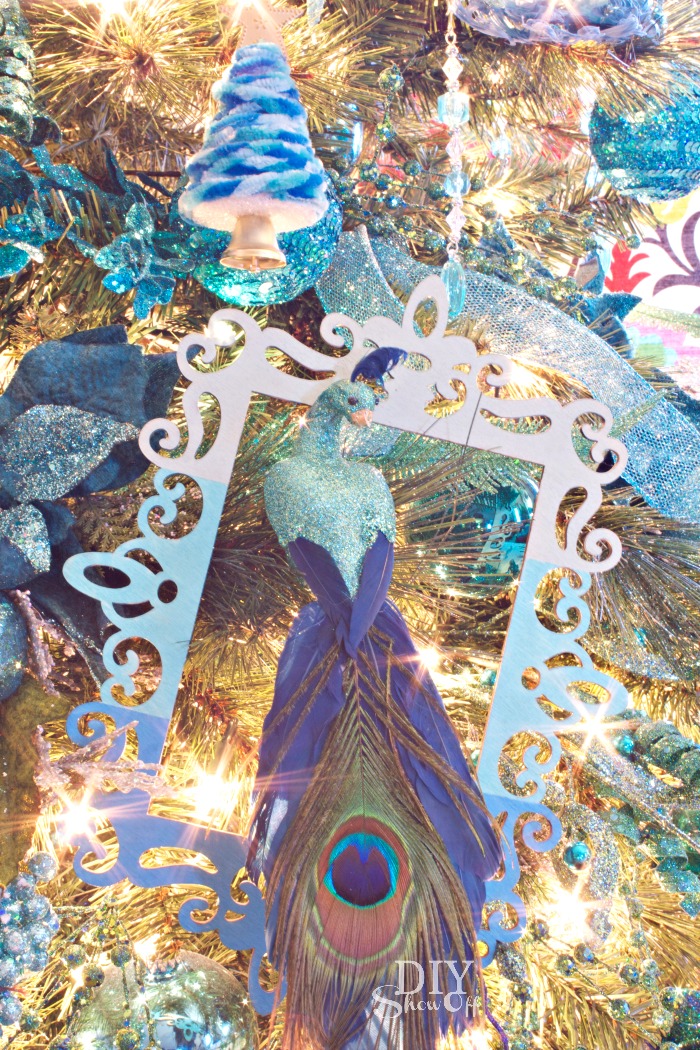 Do you have a favorite or meaningful Christmas ornament?