Choosing tile for the apartment bathroom

We were recently asked if we’d like to participate in the Daltile Atmospheres Tile Collection campaign by The Home Depot. With an apartment renovation in progress, timing was perfect. We quickly replied with our acceptance and couldn’t wait to get started. Literally. We do have a tiling project in our plans at this very moment. The super tiny bathroom in the super tiny apartment we’re renovating is in desperate need of a new floor.

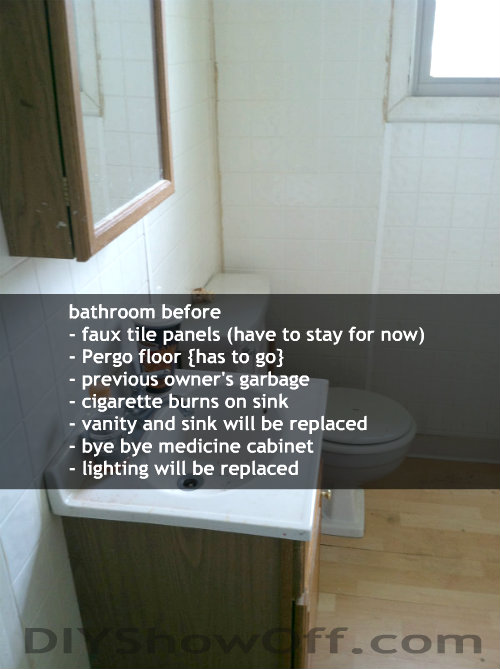
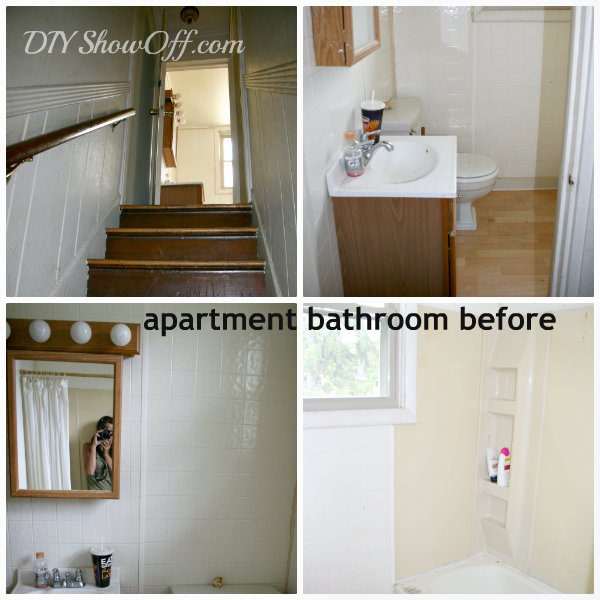
apartment bathroom before

Actually it’s in desperate need of a lot more! There’s a need to gut the entire bathroom and start from scratch but due to a very small budget and time constraints, we’ve narrowed the projects down to

  • tiling the floor and installing baseboard trim
  • painting
  • re-caulking
  • new lighting
  • new medicine cabinet or mirror
  • new vanity, sink and faucets
  • and of course, budget friendly decorating

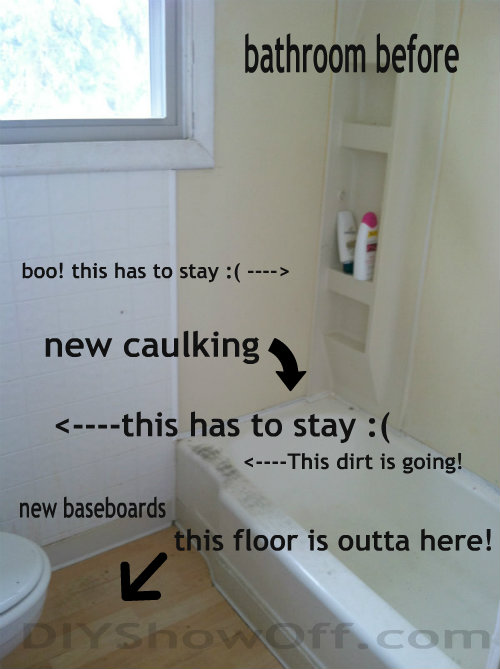
The current flooring is a Pergo-type flooring which is not ideal for a bathroom. {duh} There are a few warped planks. Time to remove it and install something much more bathroom-friendly.

bathroom makeover before

{previous owner forgot their shampoo!}

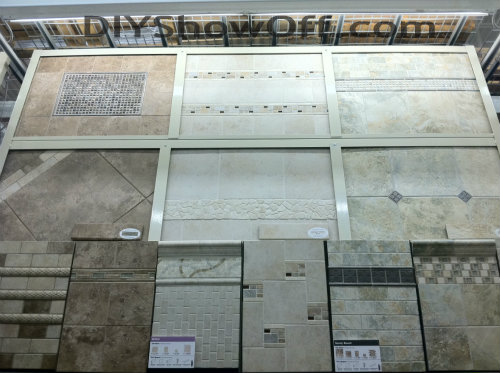
We headed to The Home Depot: a one stop shop for all tiling needs, whether you’re an experienced DIYer (like Mr. DIY) or first time tiler (like me) to see what would work for this space. Here are a few options that we looked at…

Daltile Atmospheres Tile Collection

Daltile Atmospheres Tile Collection

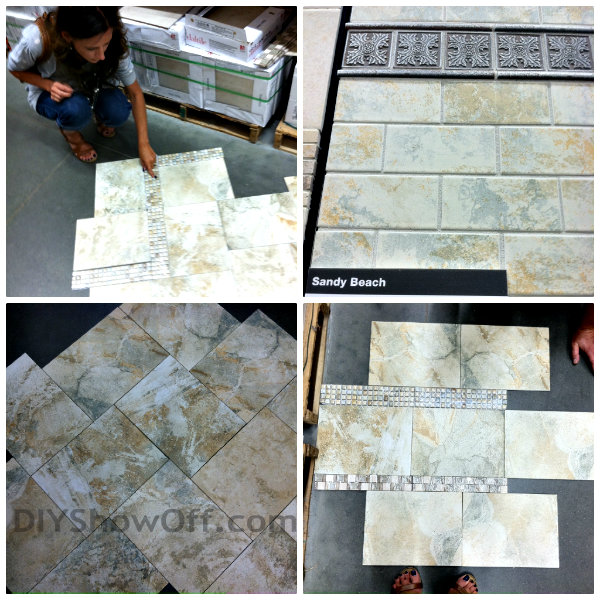
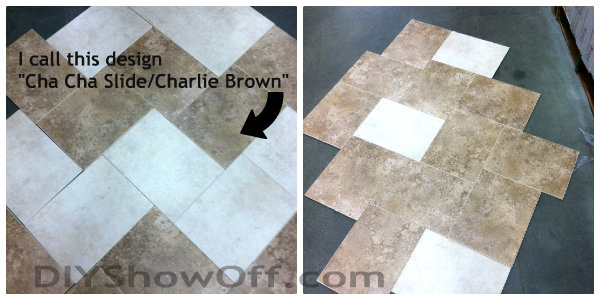
We headed to aisle 13 and “ooh’d and ahhh’d like kids in a toy store” at the awesome displays. We jumped right in and laid out designs right out on the floor. I promise we personally didn’t open any boxes – other people must need to touch and see tile in real life too. The Atmospheres Tile Collection by Daltile offers a variety of styles, colors and sizes to create unique designs…perfect! Endless possibilities!

Sandy Beach – porcelain tile that has a slate look

Daltile Sandy Beach porcelain tile

Pacific Sand and Briton Bone – glazed ceramic tiles with a natural stone look. I really enjoyed using both of these to create designs. I love the pattern on the left!

Daltile Briton Bone and Pacific Sand

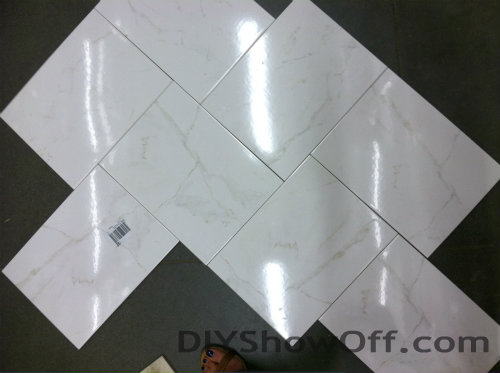
Daltile Designer White – a  glazed ceramic tile inspired by the look of marble

Daltile Designer White

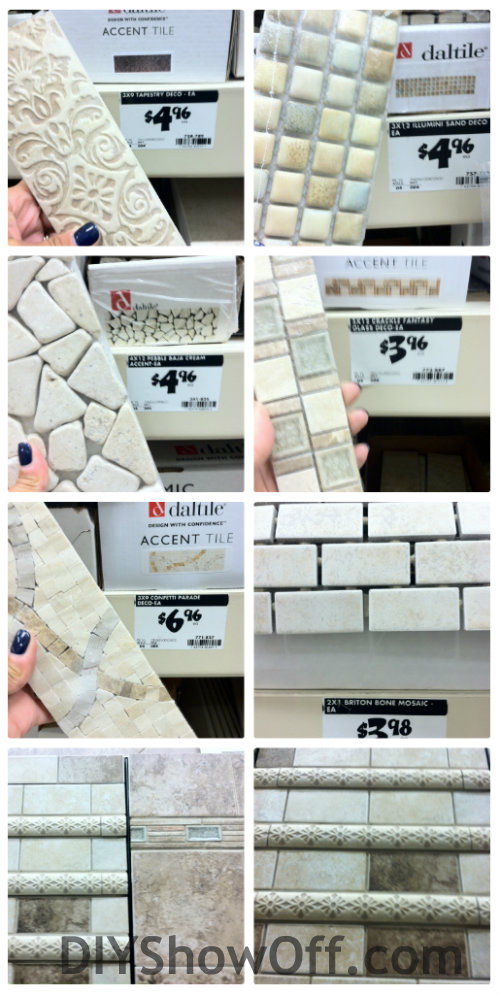
A large pretty collection of accent tiles…

Daltile Atmospheres Tile Accents Collection

Stay tuned to see which tile in the Daltile Atmospheres Collection we choose, my meeting with a Home Depot tile specialist, how to tile a floor tutorial and {keeping my fingers crossed} an awesome bathroom transformation. Which one was your favorite? {I’ve chosen 2. One for the apartment bathroom and possibly one for my future laundry room makeover!} Affordable, stylish and easy to install, Daltile is my kind of product!

The Home Depot


Tips for Tiling: https://diyshowoff.com/2012/08/21/tips-for-tiling-a-floor/

How to Tile: https://diyshowoff.com/2012/09/17/how-to-tile-a-bathroom-floor/

The Home Depot partnered with bloggers {like me!} to participate in its Daltile program. As part of the program, I received compensation from The Home Depot in the form of a gift card to participate in this campaign promoting the new Atmospheres Tile Collection by Daltile. They did not twist my arm to participate nor did they tell me what to say about the products used for the Daltile Program. The Home Depot believes that consumers and bloggers are free to form their own opinions and share them in their own words. The Home Depot’s policies align with WOMMA Ethics Code, FTC guidelines and social media engagement recommendations. 

Apartment: Before Pictures & Plans

Since I’m up to my eyeballs in apartment renovations, you’ll be seeing quite a few posts of our progress leading up to the reveal. Please bear with me until I get to the fun/creative/decorating stuff…I can’t wait for that part myself! It’s the reward for the dirty work, isn’t it? I shared the first project yesterday {sanding floors} and here is the apartment “before-before” and after cleaning/’in progress’ but before paint. Got that? lol It’s just the before pictures before and after cleaning, before and after sanding hardwood floors.

Everything got a bath. E.v.e.r.y.t.h.i.n.g! It went from disgusting to clean. As you can tell, someone was a heavy indoor cigarette smoker. Thankfully with washing/scrubbing everything, sanding floors and primer+paint, airing out and sitting empty for quite a while, the smell will diminish. I apologize in advance for these ‘before’ cleaning pictures. I did spare you worse ones, I promise!

Okay, ready?

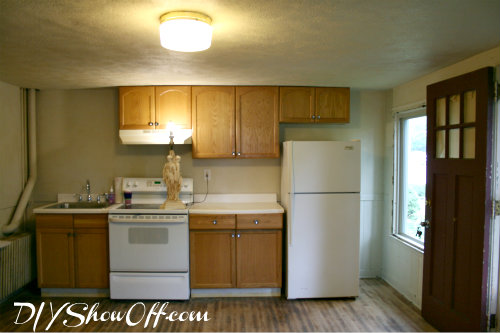
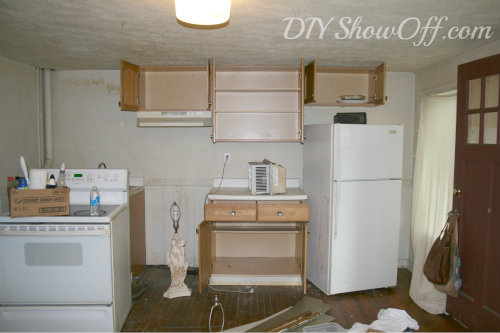
Dirty kitchen ‘before’ and before cleaning…{gag…what is the brown stuff all over the walls? Tobacco? Cooking grease? Coke explosion? Maybe we don’t want to know!}

rental kitchen before

All cleaned up and in progress…ready to move forward

  • paint ceiling {done!}
  • paint walls
  • paint trim
  • paint cabinets
  • redo countertop
  • storage and organizing solutions
  • thrifty furnishings
  • decorate!

There’s a paint fest going on! Envious, aren’t ya?

clean kitchen before

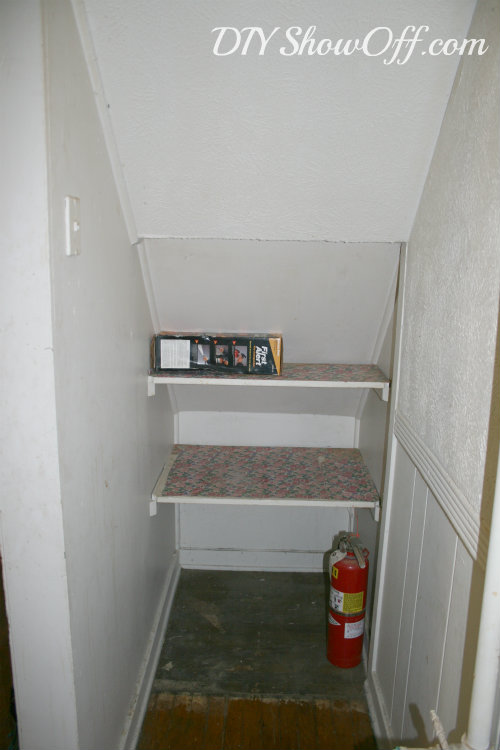
Pantry under the stairs – before

apartment pantry

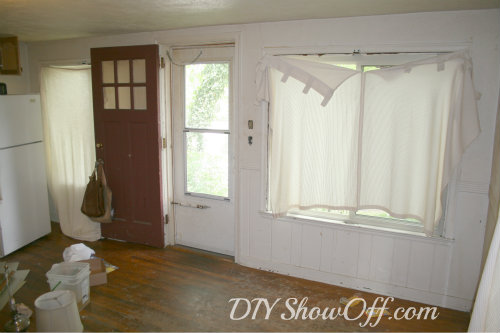
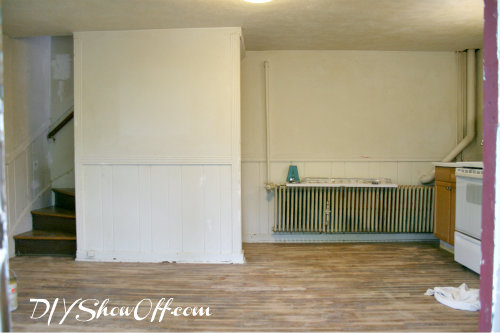
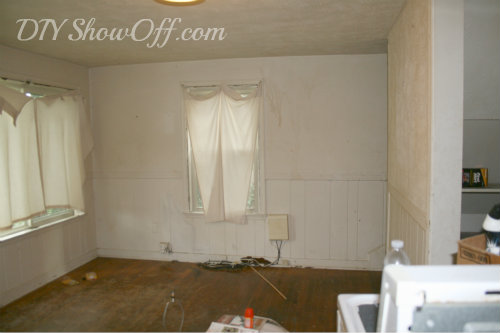
Apartment before then ‘after’ cleaned/sanded…

wall 1

apartment living room entryway before

living room before

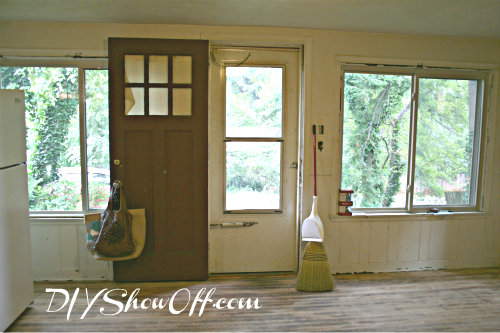
wall 2

living room before

apartment makeover - before

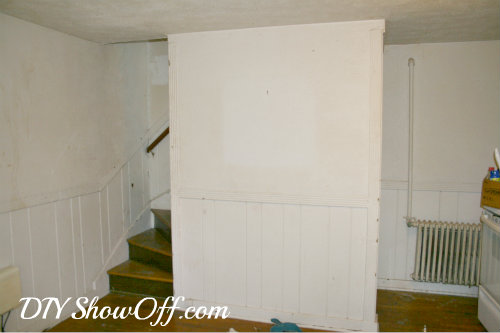
wall 3 – dirty before

apartment living room before

in progress…

apartment before

{You just turned 360 degrees and saw the entire first floor!}

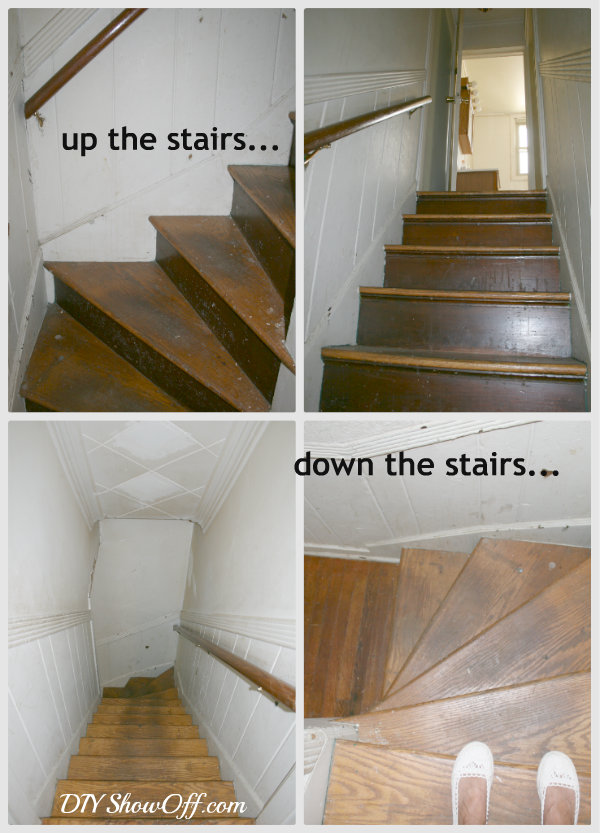
Stairs are so narrow with a bend…we’ll have to get creative with upstairs furniture/getting furniture up!

before:

apartment stairs before

  • clean (done as of yesterday)
  • sanded (done as of yesterday)
  • stain stair treads
  • fun paint technique on the risers
  • paint trim and ceiling
  • patch ceiling/trim

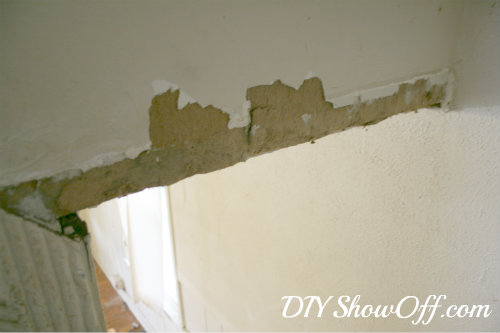
Someone obviously wasn’t too careful with moving furniture out {it’s a super tight squeeze and odd angle for furniture} and tore off the trim and part of the ceiling on the way down…uh oh!

trim before

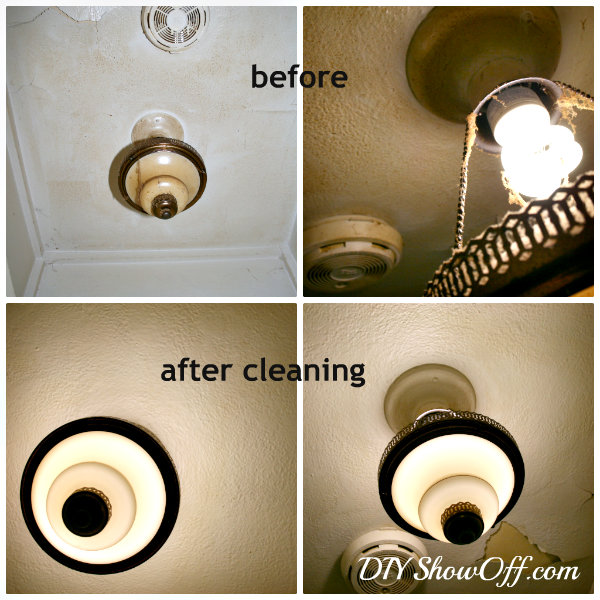
I love the vintage light fixture hanging in the hallway upstairs…

vintage light fixture

  • patch and paint ceiling
  • fun idea for the small wall space coming up!

Bathroom needs a complete overhaul, but we’ll see what’s in the budget. Hate.hate.hate the faux tile walls and yellowed tub surround. Actually, I hate it all! I may be able to get away with a new floor, vanity and lighting but that’s probably all we can manage financially for right now. Those walls and tub surround have to stay for now. Wahhhh!

  • new flooring
  • new baseboard trim
  • new vanity
  • new mirror/medicine cabinet
  • storage solutions
  • new lighting
  • paint
  • caulking
  • decorating!

This bathroom is so tiny, the sink/vanity only leaves a small entrance…

apartment bathroom before makeover

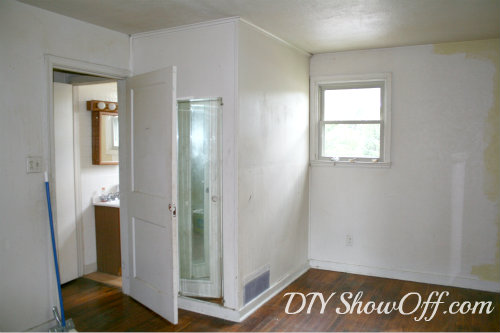
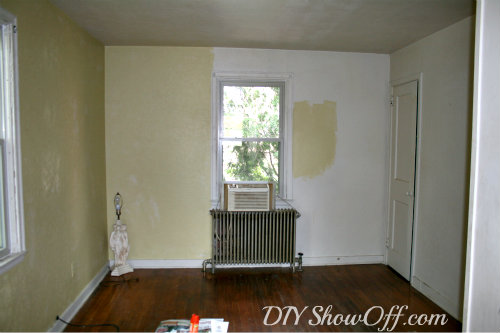
Bedroom before…

apartment bedroom before

who paints half a room and walks away?

apartment bedroom before

After will turn this small room into 3 areas:

  • office/study area
  • bedroom for one
  • dressing room

Improving with every little bit of TLC and elbow grease. Ah, progress. Still a ways to go, but getting started is always the tough part for me and we’ve passed that goal! 😉
DIY Show Off - FacebookDIY Show Off - TwitterDIY Show Off - PinterestDIY Show Off - Feed


Apartment Progress ~ floors are sanded!

It’s been a mega DIY couple of weeks here folks! Where I challenge myself to see just how much DIY I can squeeze into a tight deadline (6 wks.) in the apartment renovation. Sounds like work to most people I know but for me, I say “let the fun begin!”. This rental is my life sized mini-doll house! Here’s an update:

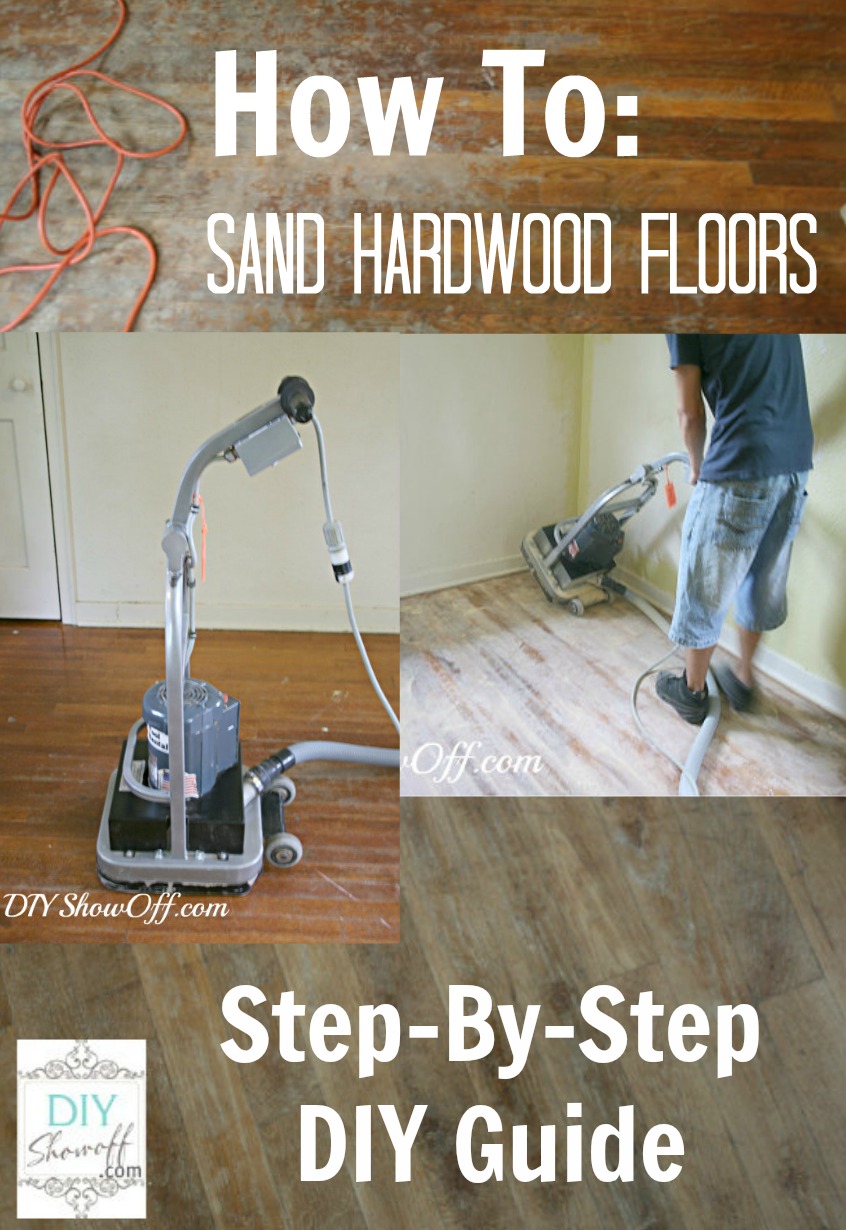
how-to-sand-hardwood-floors

{graphic courtesy of Fox Hollow Cottage}

Apartment Progress!

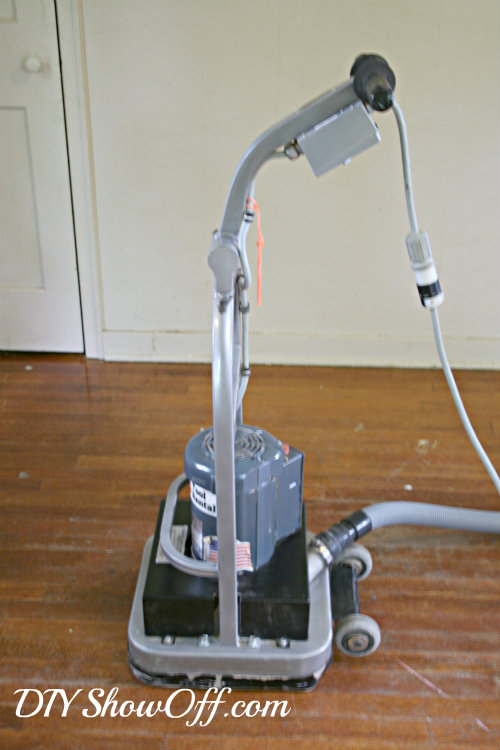
I rented an orbital sander and I enlisted the help from my 19 year old nephew, Kaleb. {muscles, people – I don’t have them!}

orbital sander

HOW TO SAND HARDWOOD FLOORS

{How we did it.}

  1. Floors were cleaned.
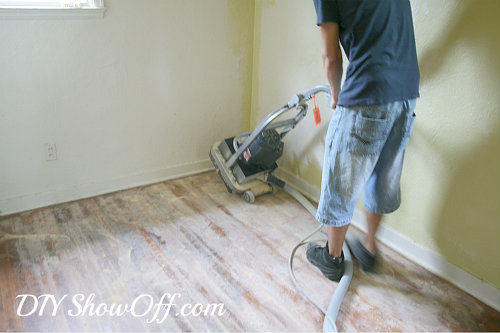
  2. Floors were sanded (24 grit) with the orbital sander. Thank goodness my nephew helped because I seriously doubt I could have carried that thing up the stairs and from the looks of it, once the power was turned on, that thing had a mind of it’s own and took off! I know my limitations. And orbital sander wrangling ain’t one of them. Paying a nephew was a wise choice. Much better for Kaleb to restrain the monster sander than me being spun around in circles and crashing through walls, gouging the floor as I go. (It really wasn’t that bad…I’m just little and wimpy but most people would control the orbital sander without difficulty.)
  3. I swept up the dust.
  4. Then he sanded again (60 grit).
  5. Then swept.
  6. Then sanded again (120 grit).
  7. Then swept again!
  8. I used my Dremel Multi-Max and a palm sander where needed in corners, under radiators and around the edges where floor met baseboards. My little muscles could handle those guys. I did the edging with the 3 levels of sandpaper.
{Please don’t mistake these legs for mine…they’re Kaleb’s!}

how to sand hardwood floors

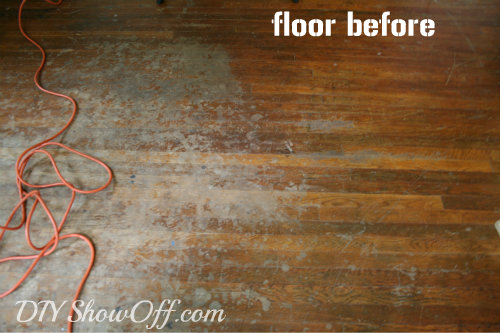
I really don’t know anything about the previous renter/owner. Perhaps their situation wasn’t so easy, but they definitely were not clean and did some damage.

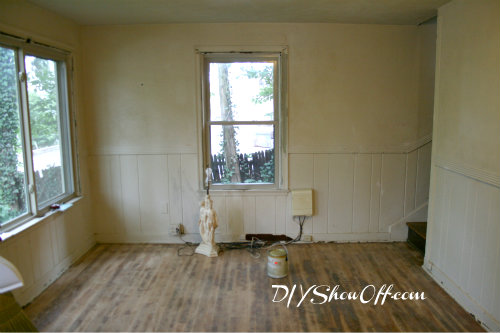
hardwood floors before

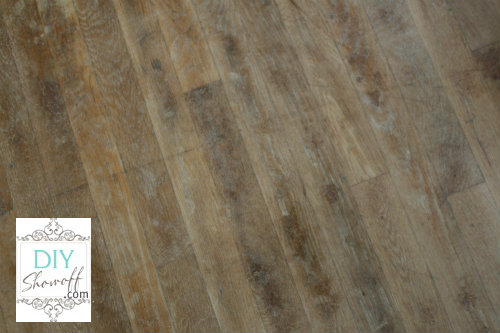
So, floors are now sanded!

sanding hardwood floor

There’s a method to my out-of-order renovating madness. I sanded the floors first before painting the walls because I didn’t want to have to scrub the walls twice (1 – the grime before and 2 – after sanding due to the fine layer of saw dust after sanding floors). Next up is covering the floors and painting the ceiling, walls then trim because I don’t want to lose the weekend waiting for the floor stain to dry.

As you’re reading this, I’m probably at the rental DIY’ing! More to come!

Oh! Hoping for better pictures in the near future. I always have trouble making what I’ve learned ‘stick’ and resort to shooting in auto but I sat in on the Photography session at the Haven Conference and Josh and Kevin really had a way with making it more interesting.  I’m all signed up for Photography 101 to learn how to use my DSLR and to finally learn the skills to take better pictures…

ShootFlyShoot.com

I’m also giving their affiliate program a try and invite you to join me in learning! DIY Show Off - FacebookDIY Show Off - TwitterDIY Show Off - PinterestDIY Show Off - Feed