Who here is a BIG fan of all things Halloween? ::raises hand:: We aren’t into super scary so I whipped up the cutest Halloween Dreamcatcher Decor to share with you today, my pretties! I’m so excited that the Michaels Maker Challenge for October has a Halloween decor theme! Purrrrfect! It’s cute. It’s colorful. It’s fun!
Halloween DreamCatcher Decor Tutorial
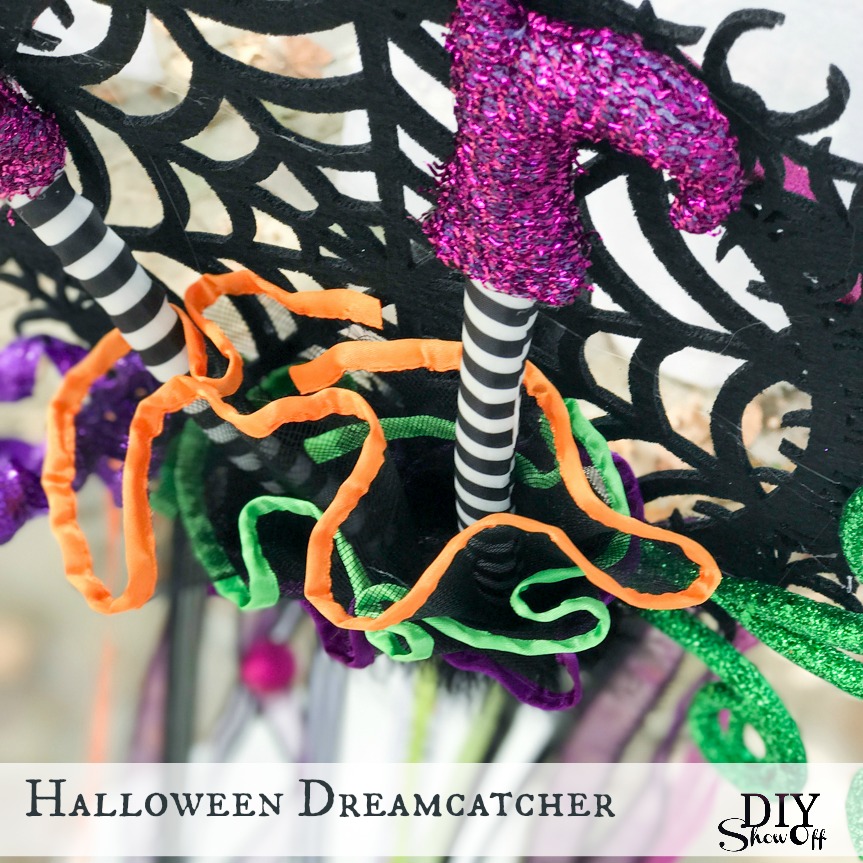
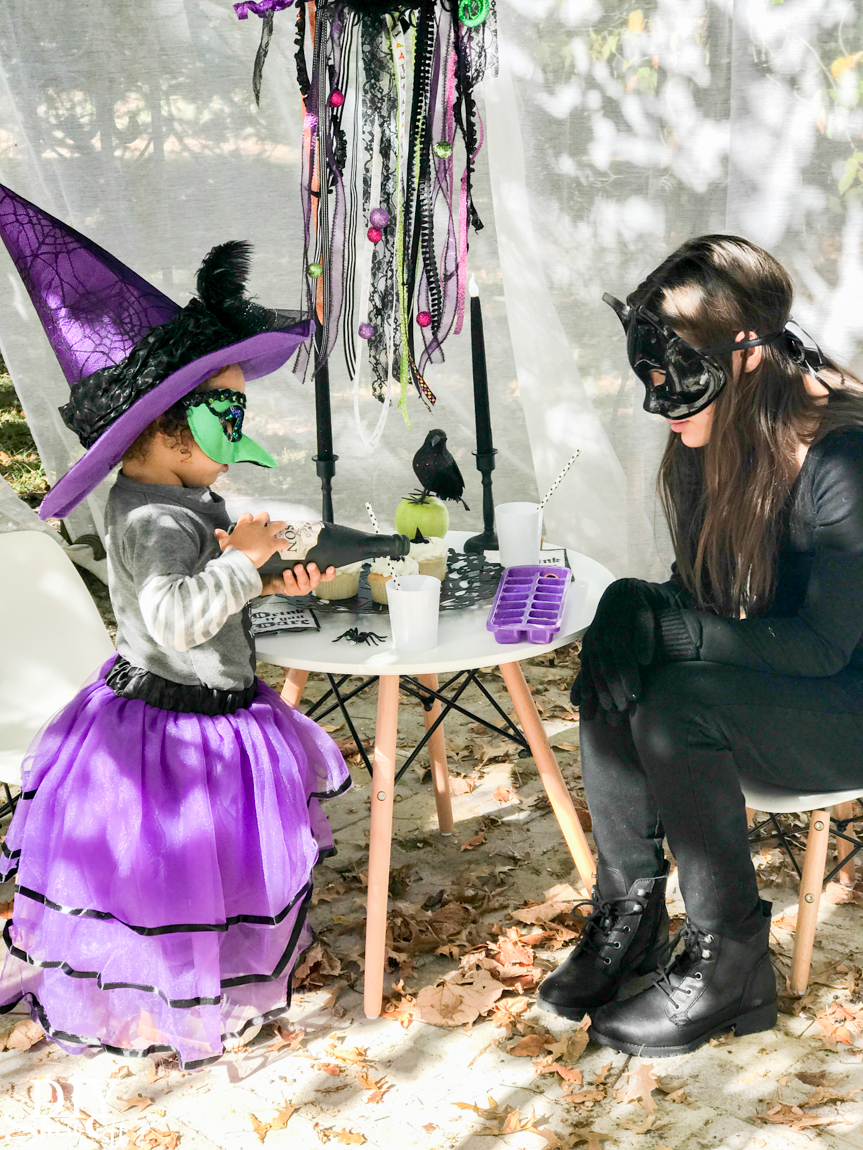
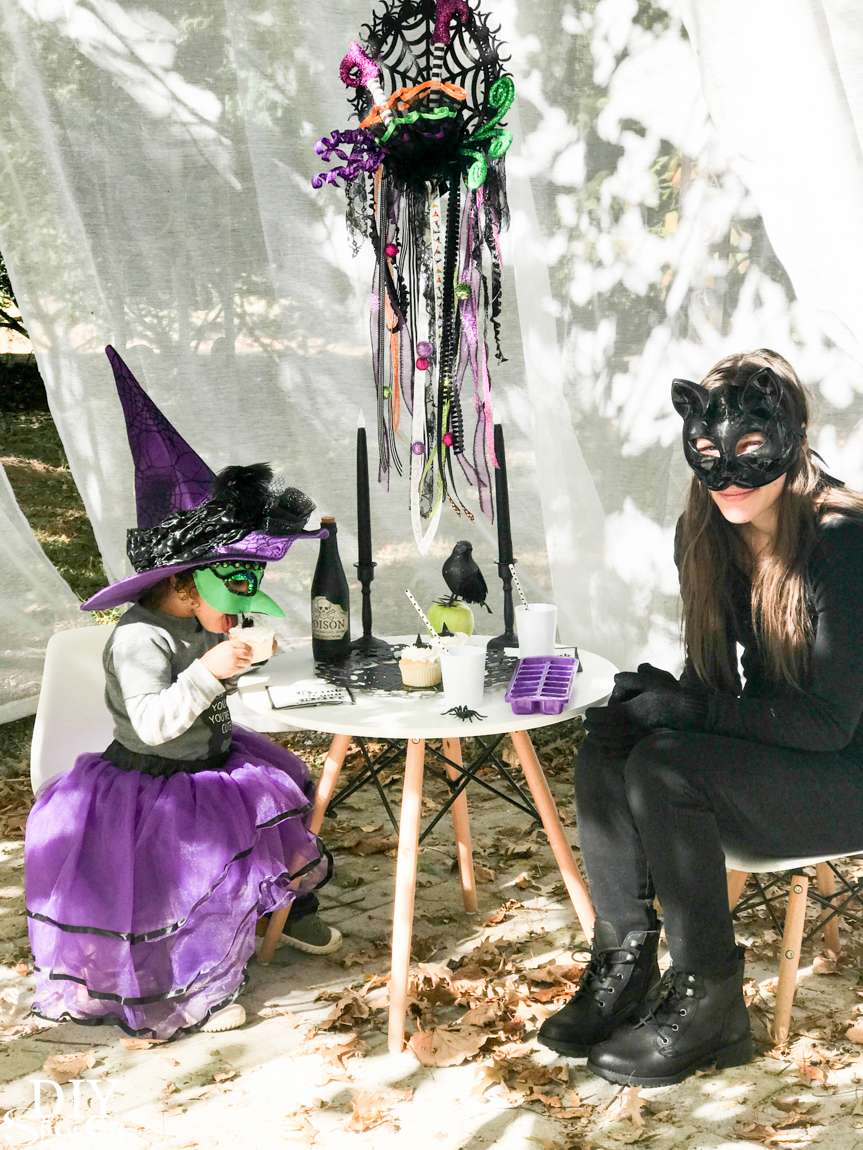
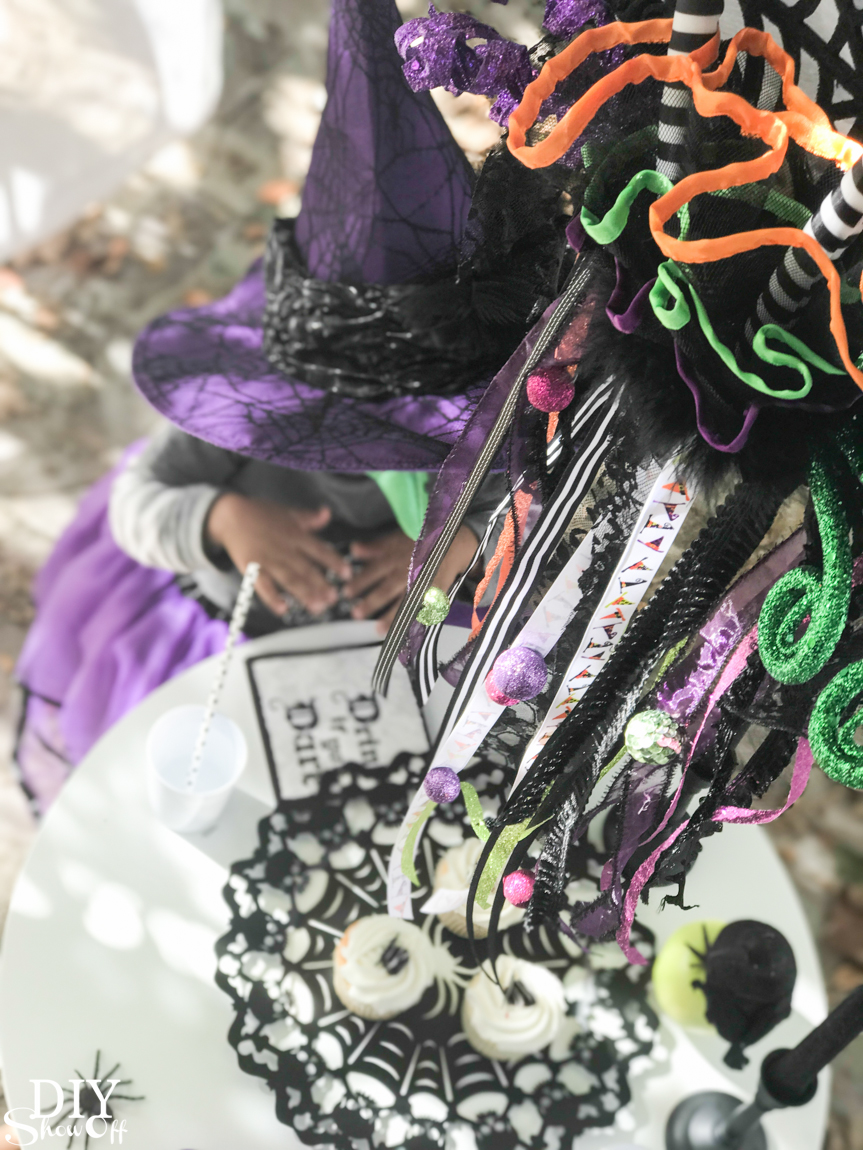
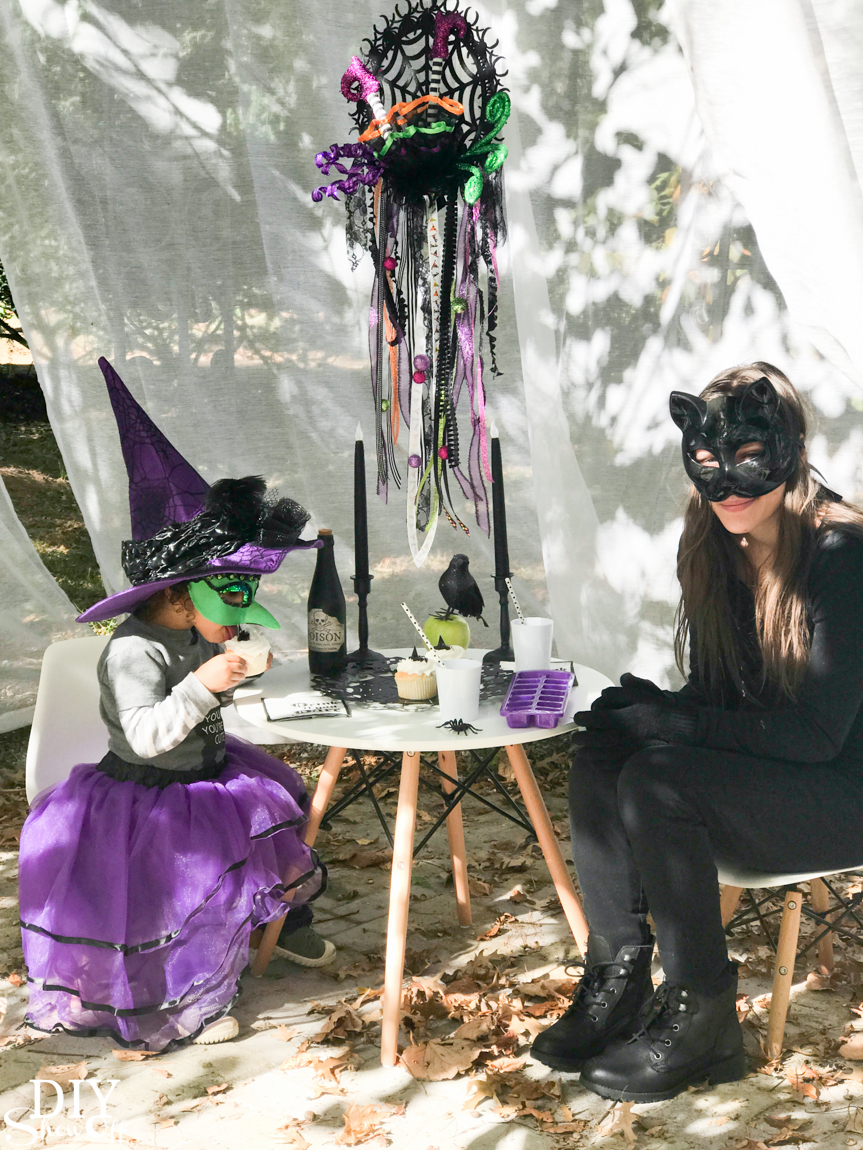
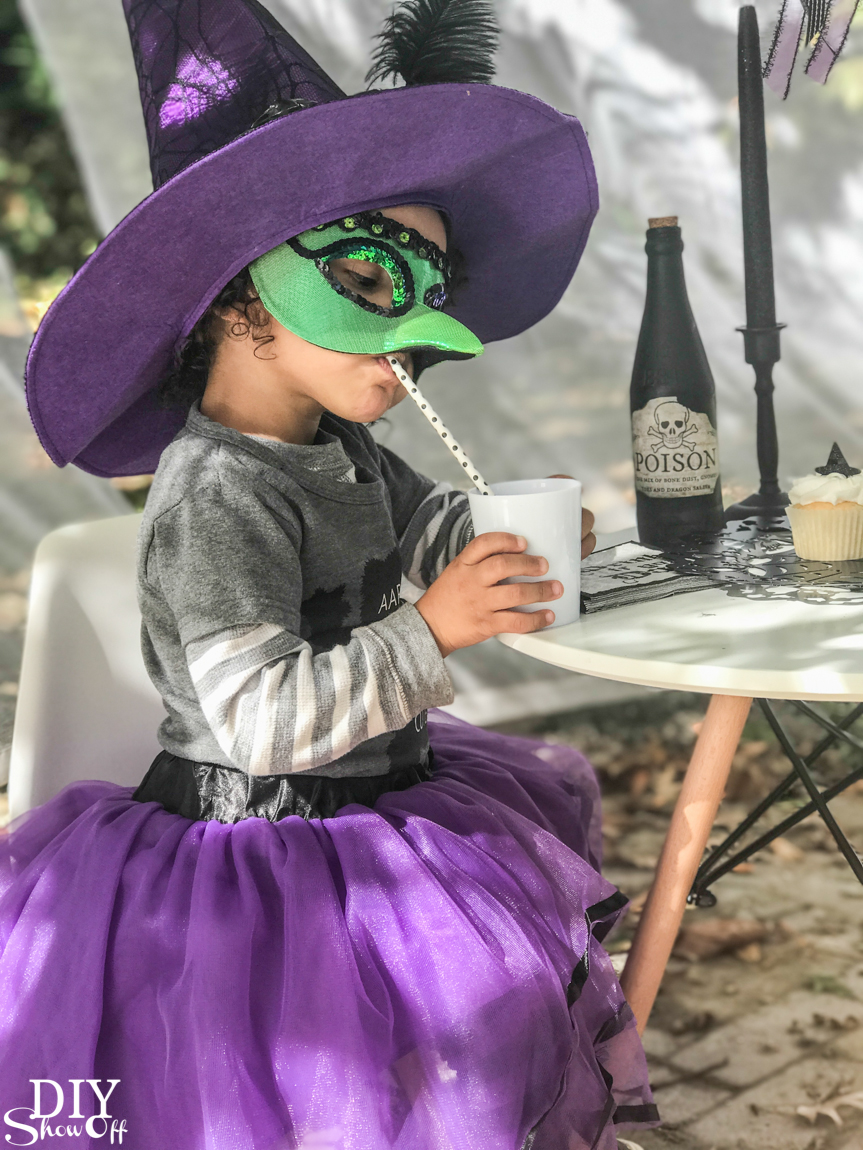
Forget ‘dream’ catcher! With your creative magic, you just might wind up with a witch-catcher like I did. Look at what I snagged, you guys! This sweet little witch! Oh my goodness. Adorable! Er, frightful!
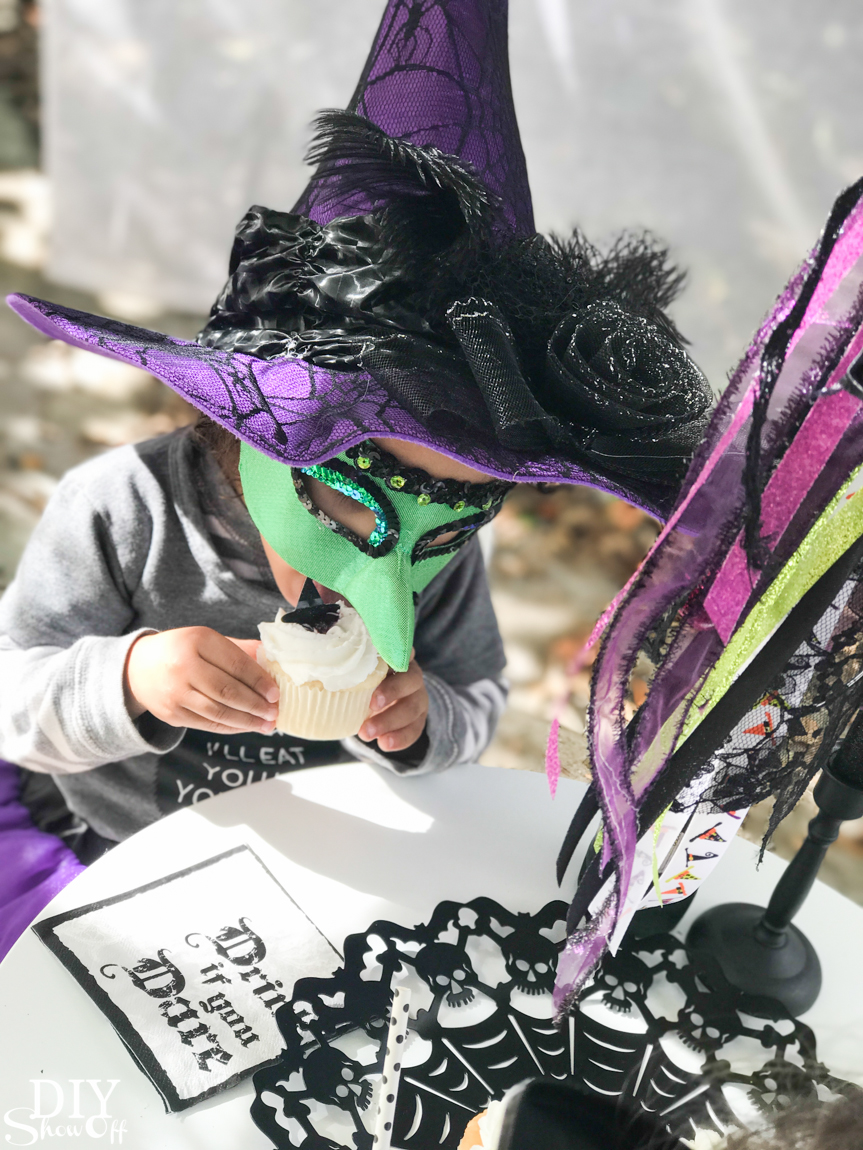
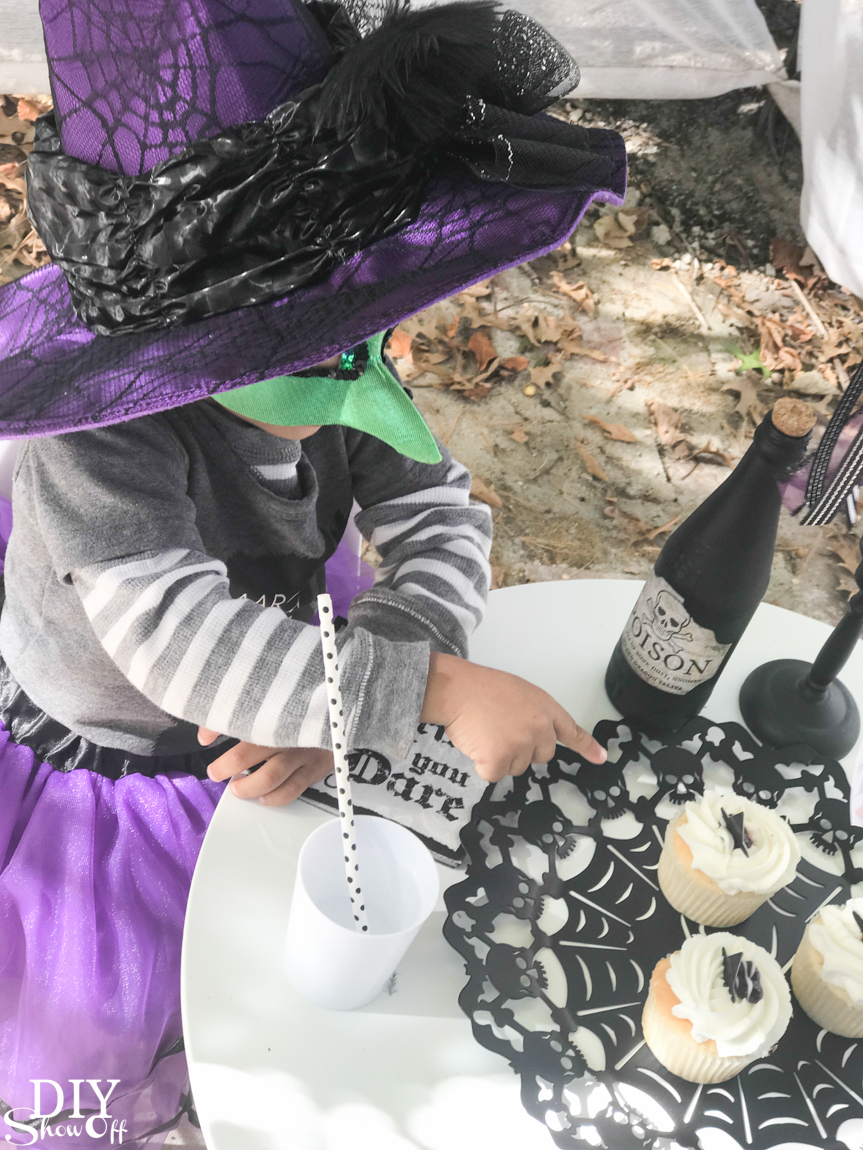
Okay, you’re right. The cupcake lure did the trick too. Treats. Gets ’em every time. But the witch-catcher dreamcatcher is pretty sweet if I do say so myself. This face…it’s the cutest!

Ready to make one of your very own Halloween dreamcatchers? Ex-cell-ent!!!
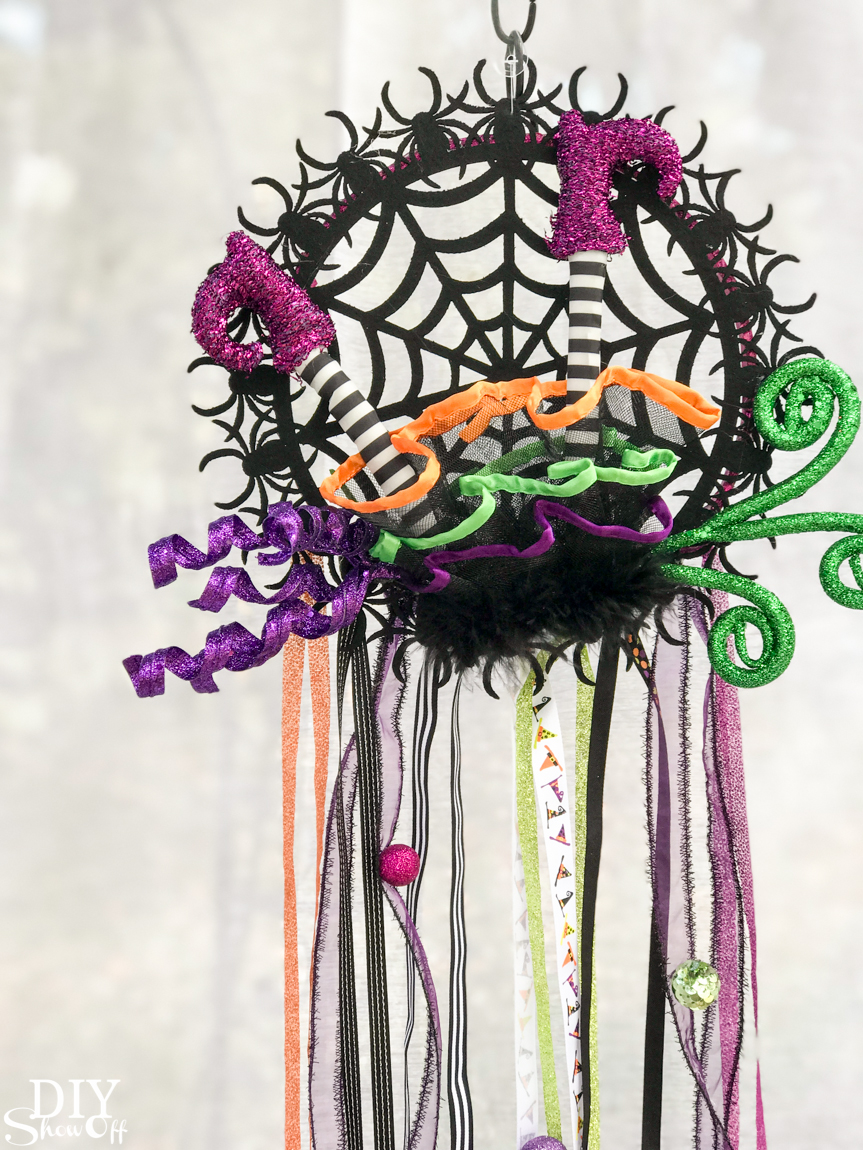
(Note: I’d steer clear of making a spider-catcher! Ain’t nobody wants to catch spiders. Except bats. Bats like spiders. )
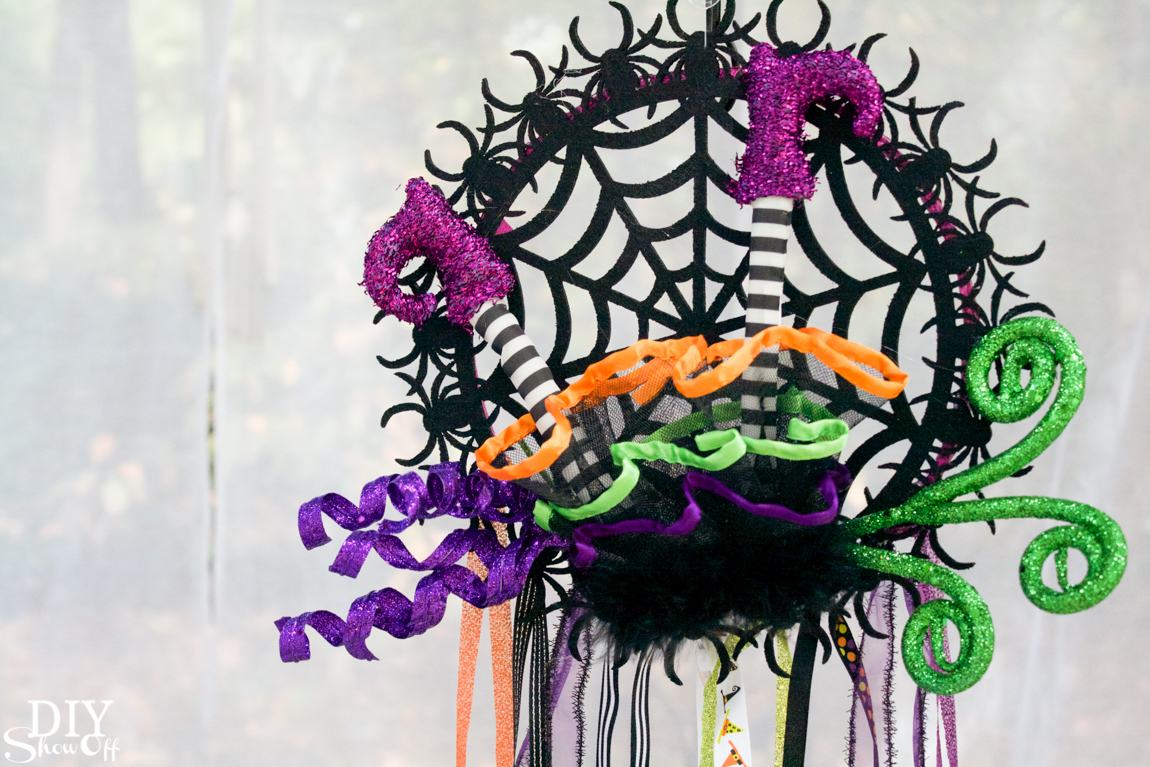
What I used:
- embroidery hoop
- glitter tape (you could also just paint your hoop so insert ‘craft paint’ here in your supply list if you’re so inclined)
- felt spider web placemat
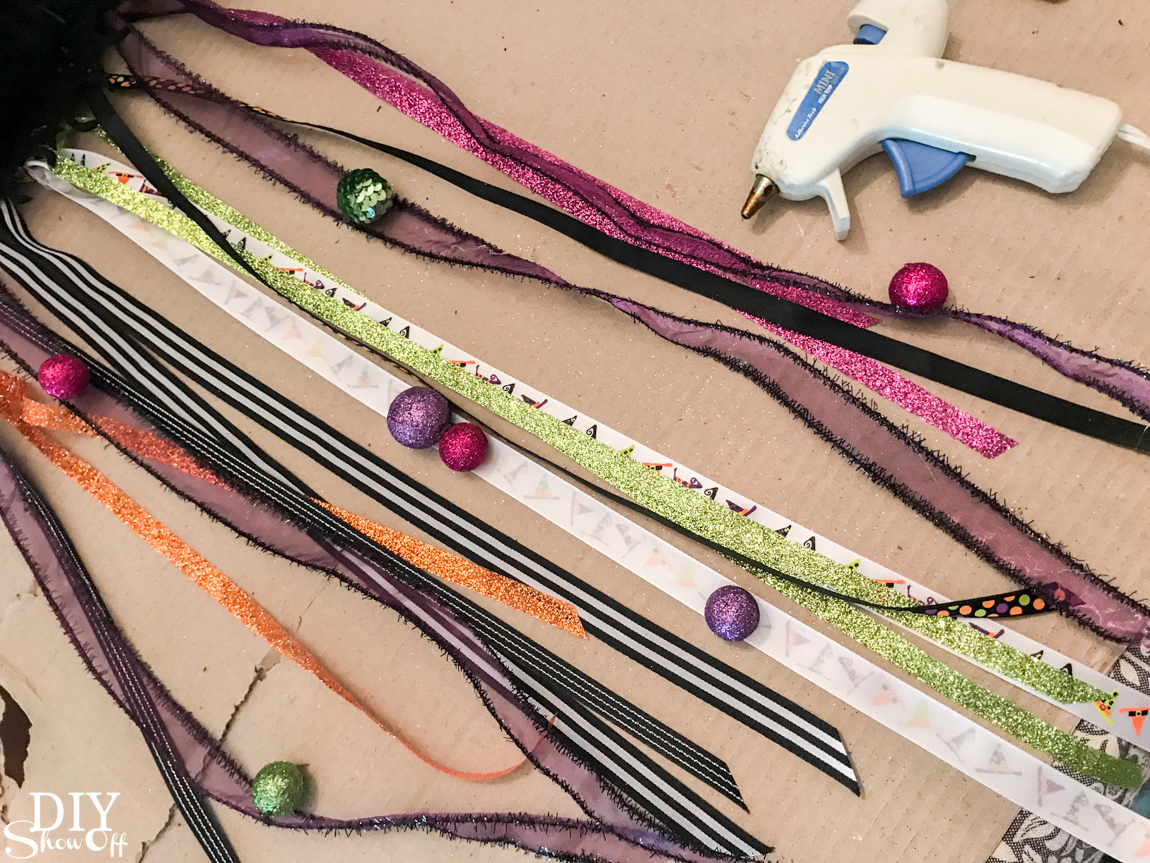
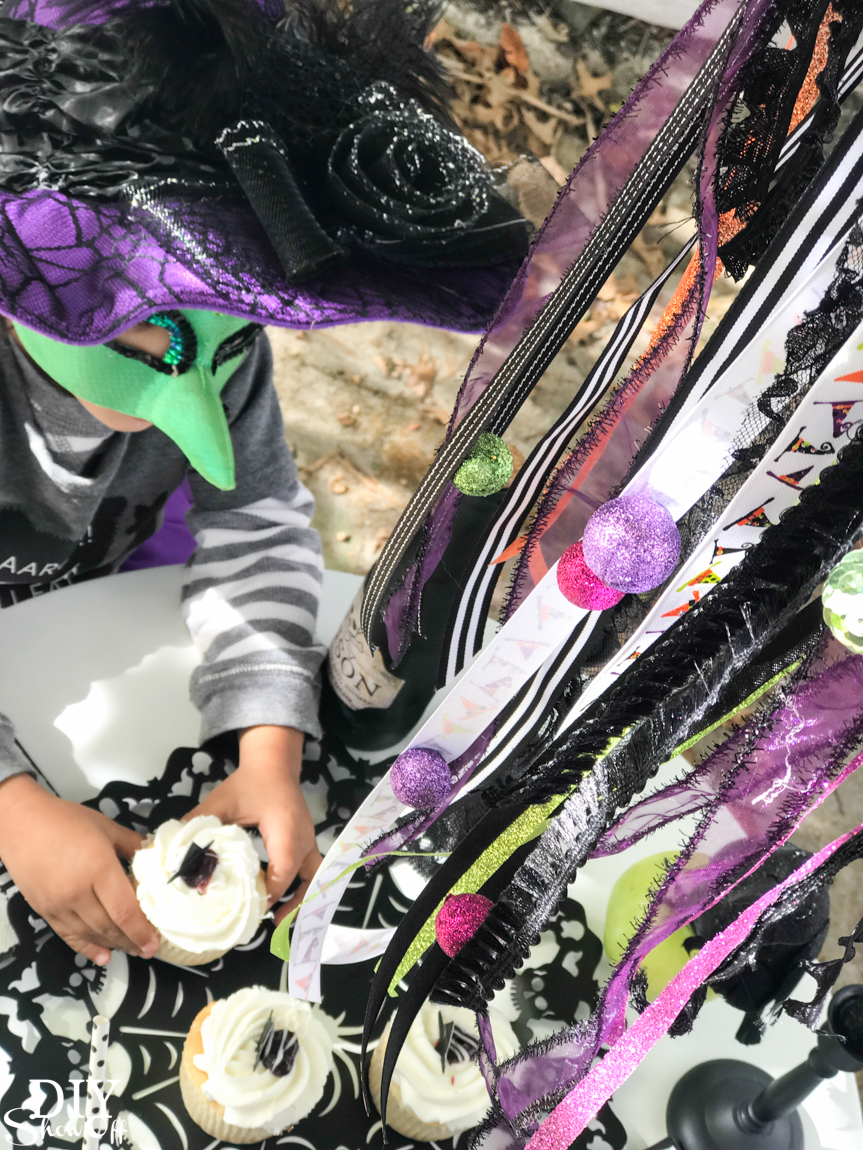
- lots of coordinating ribbons – so many fun colors and Halloween themed ones too (look for lace trim too)!
- embellishments – my list included small colorful glitter balls, witch feet/skirt headband, small raven, glitter floral/Halloween (maybe even tucked in with some Christmas) pics
- hot glue gun and hot glue
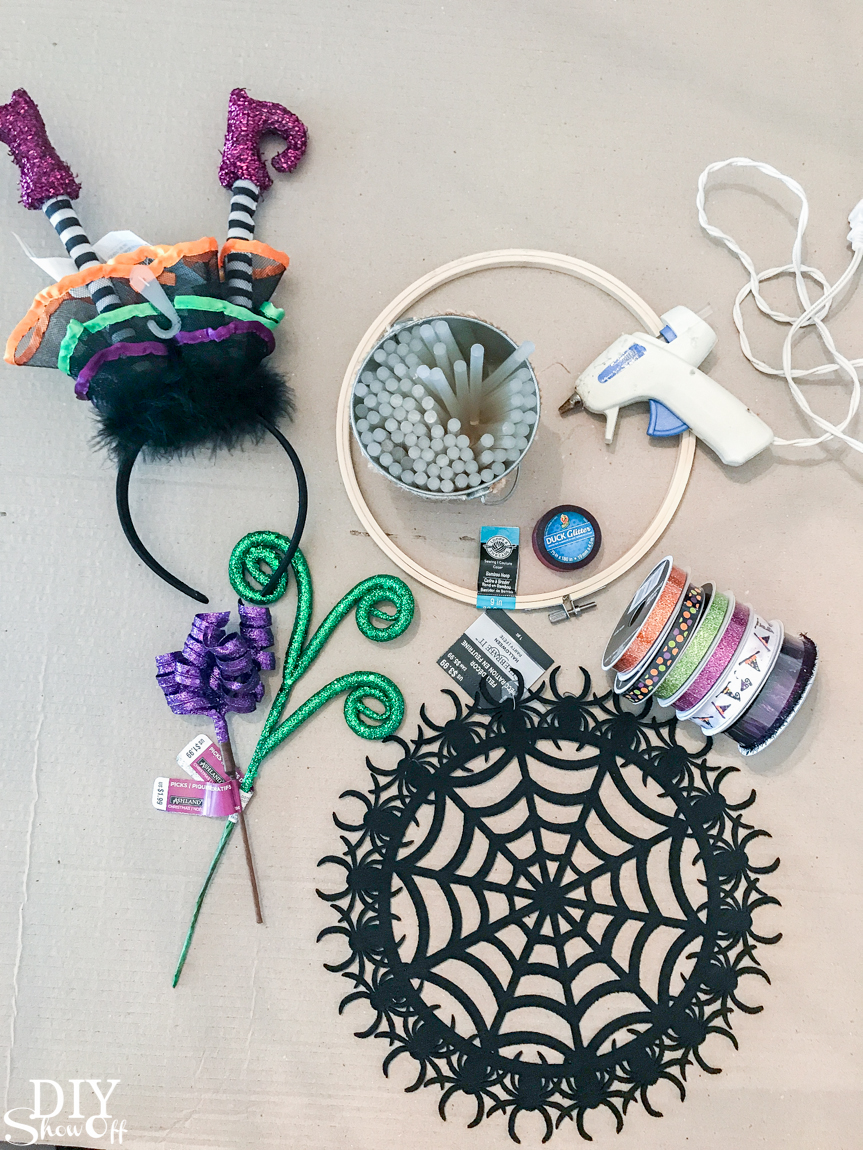
*Michaels provided a gift card for supplies for this project, so in case you didn’t know, all supplies for this project were purchased at Michaels Craft Store. Obv. Seriously, do you spend hours in there finding all.the.crafty.treasures too?! Michaels has everything you need to make your Halloween FUN!
What I did:
(Psssst. The fun thing about DIY is you can alter it to fit your style/supplies…get creative and tweak this to come up with your own version. Creepy or Spooky. Fun and colorful or gory. You decide!)
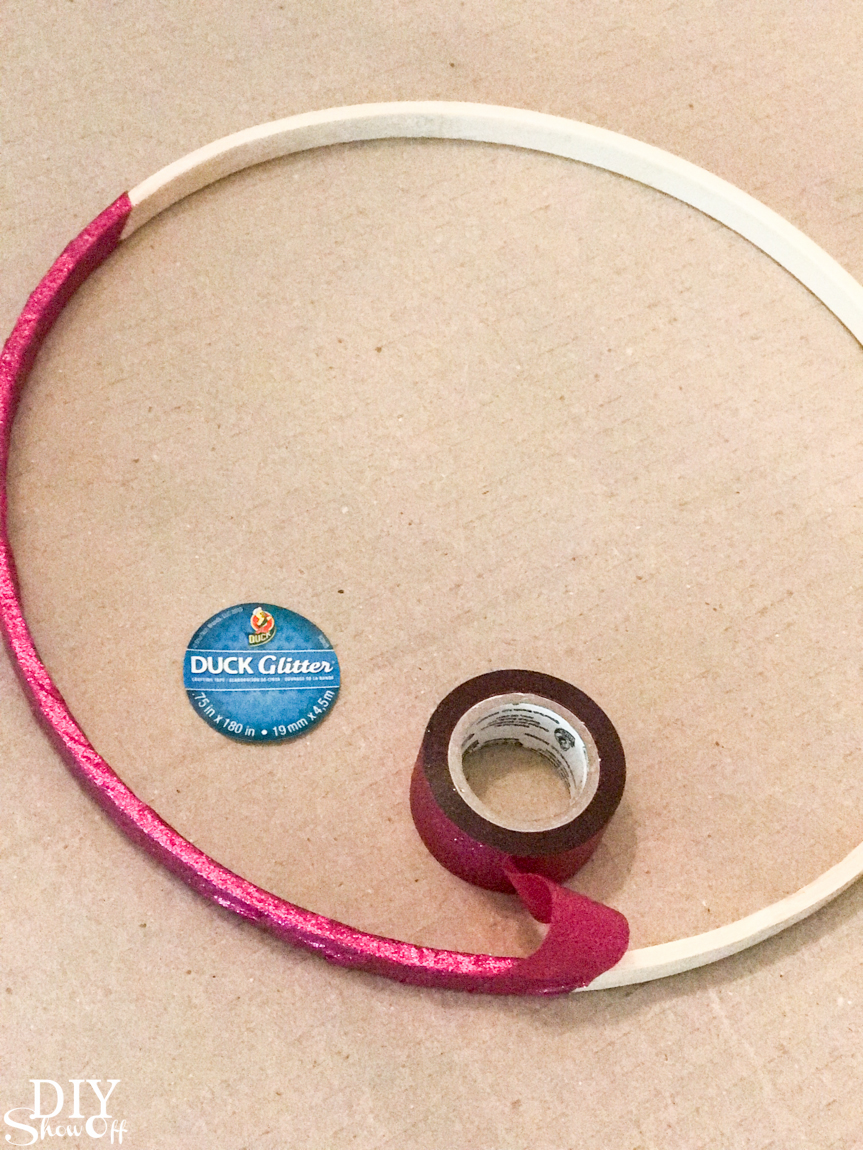
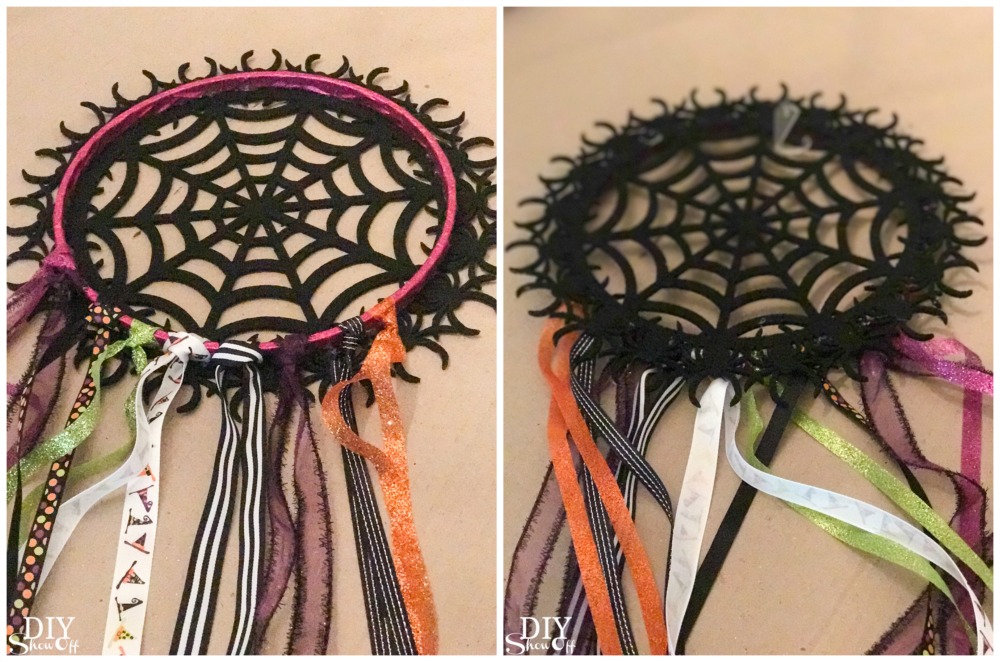
- I used the inside piece of the embroidery hoop. I wrapped that with Duck Glitter Tape. You could also wrap it in ribbon or paint it or leave it naked. It’s up to you!
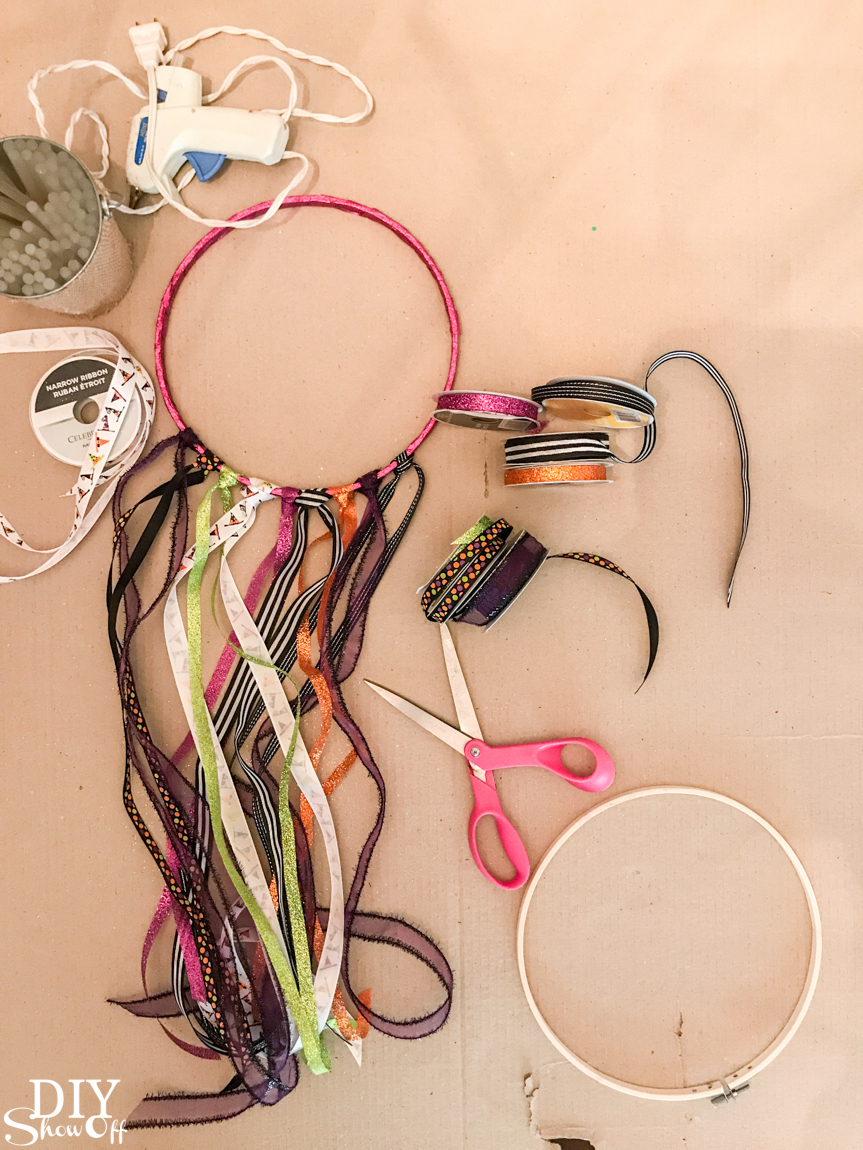
- Next, I tied ribbons/twine/lace/trim/etc. along the bottom. I had to look it up but I used a lark’s head/cow hitch type knot to secure the ribbon to the wreath. Stagger the ribbon/trim lengths. I like the longest in the middle. Or make them all long at this point and trim them up later.
- Using hot glue, secure the spider web placemat to the hoop.
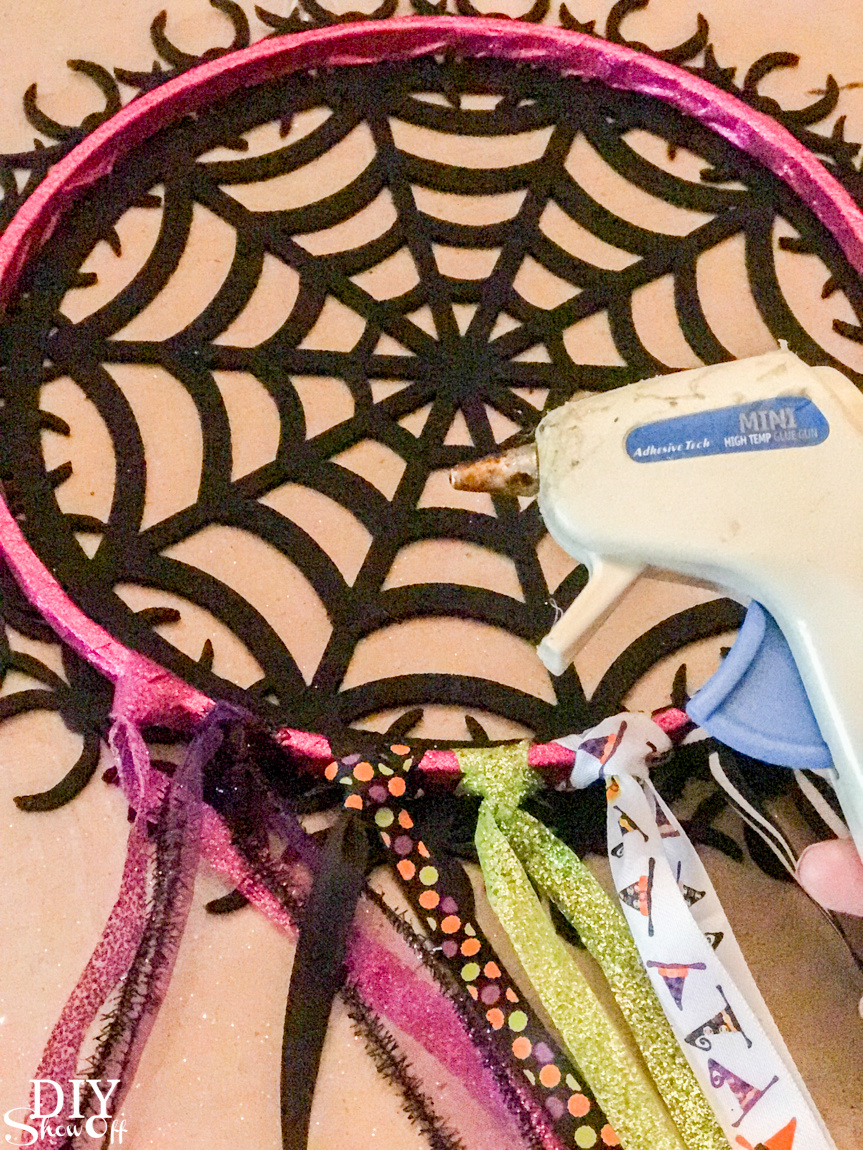
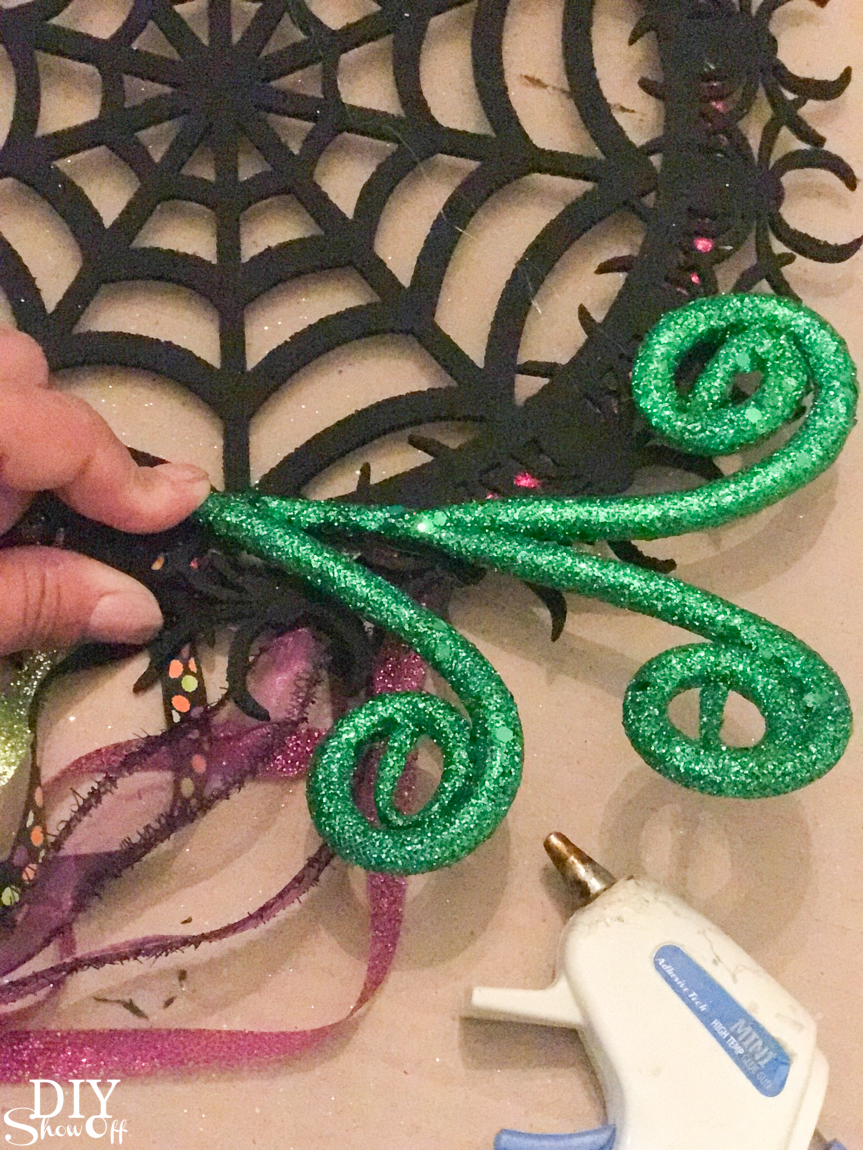
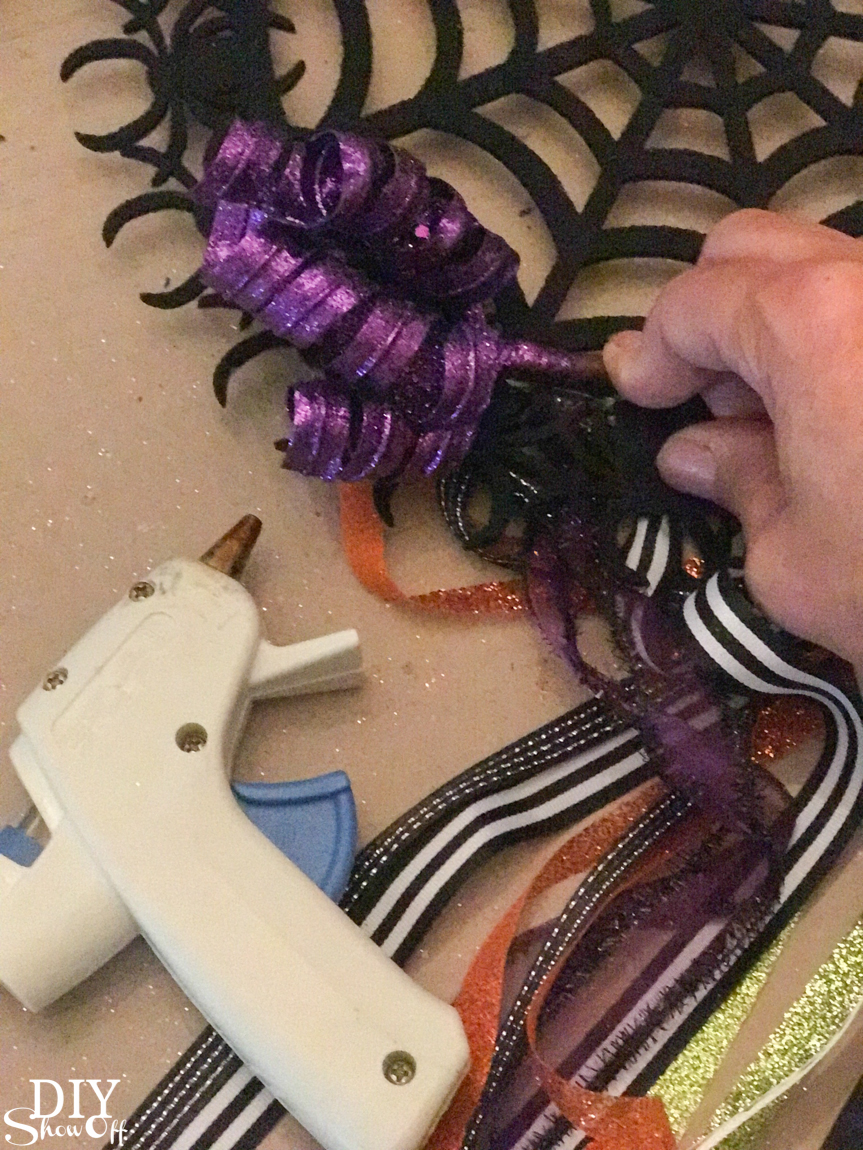
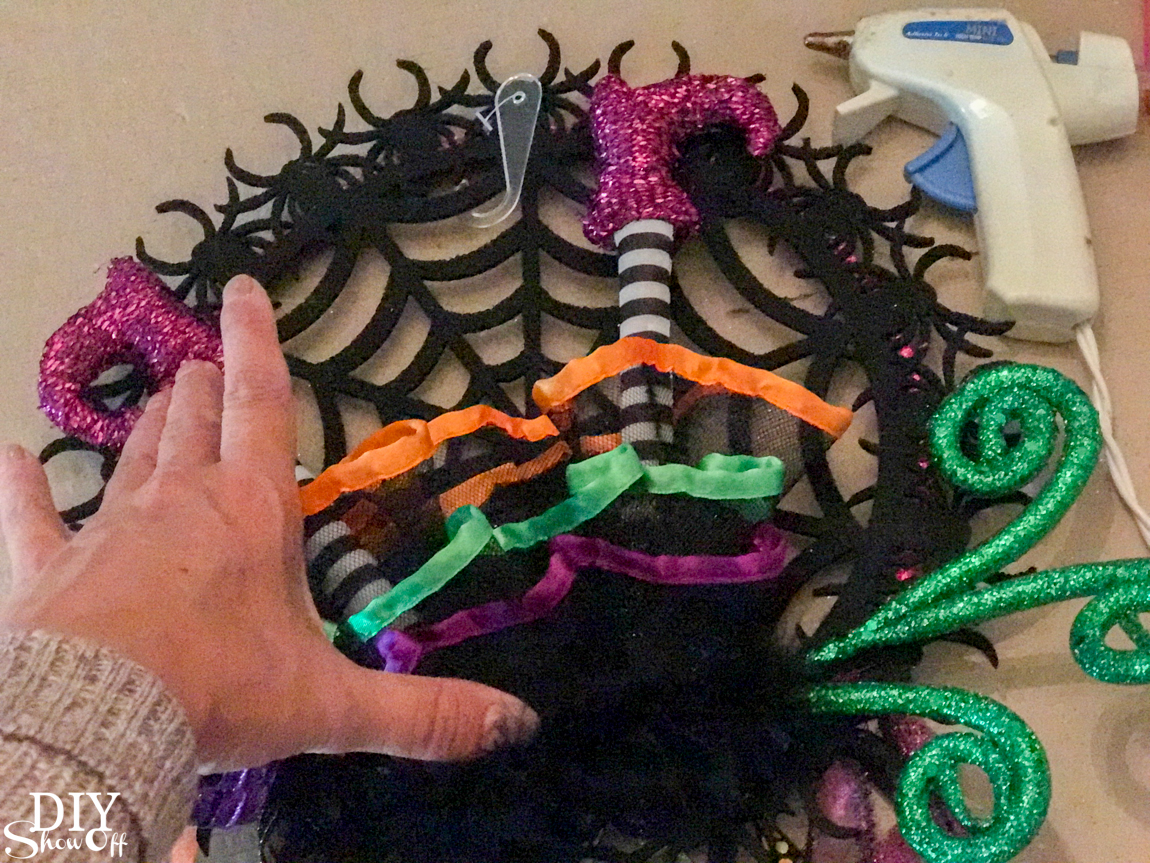
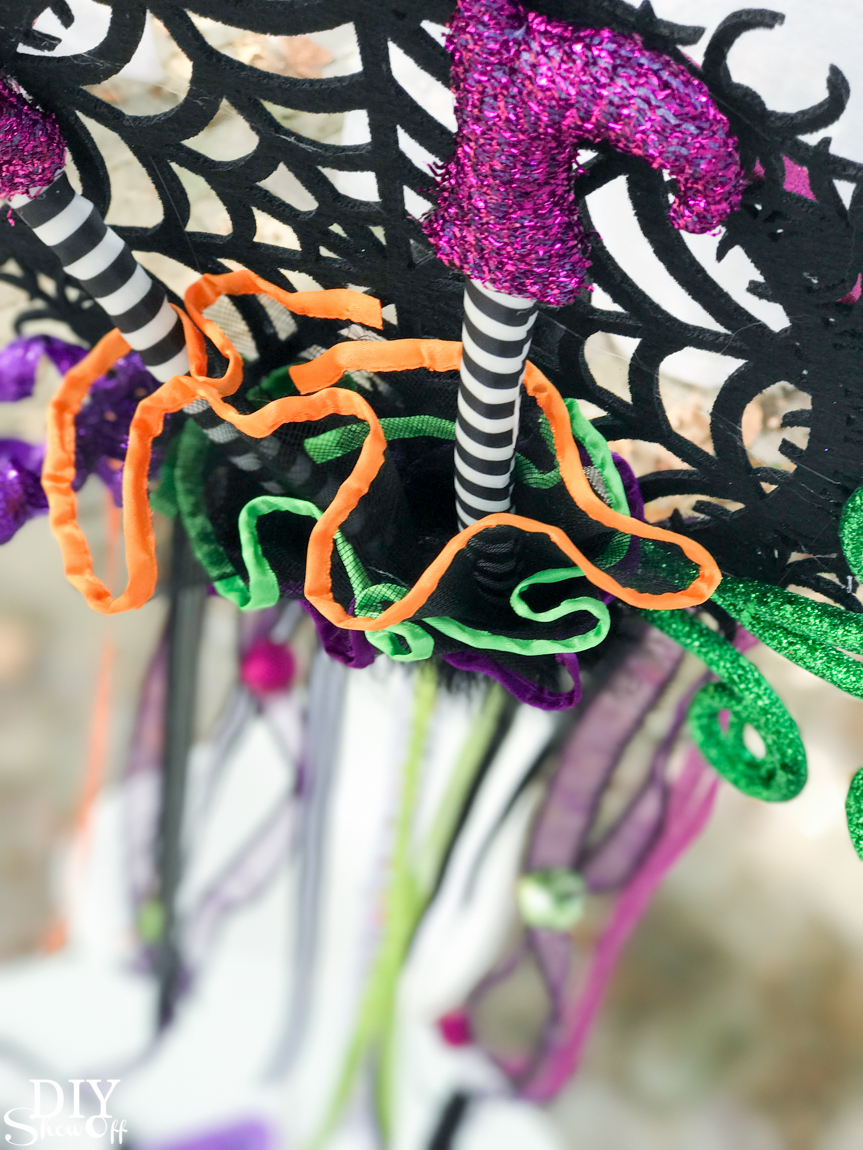
- Then add embellishments using hot glue too. I layered the floral pics above the knotted ribbon. I snapped off the headband from the witch’s skirt/legs. I added a raven to the back so that side was finished as well. Maybe add a few plastic spiders. I added some glittery balls.
Now go proudly display it and and enjoy trick or treat!
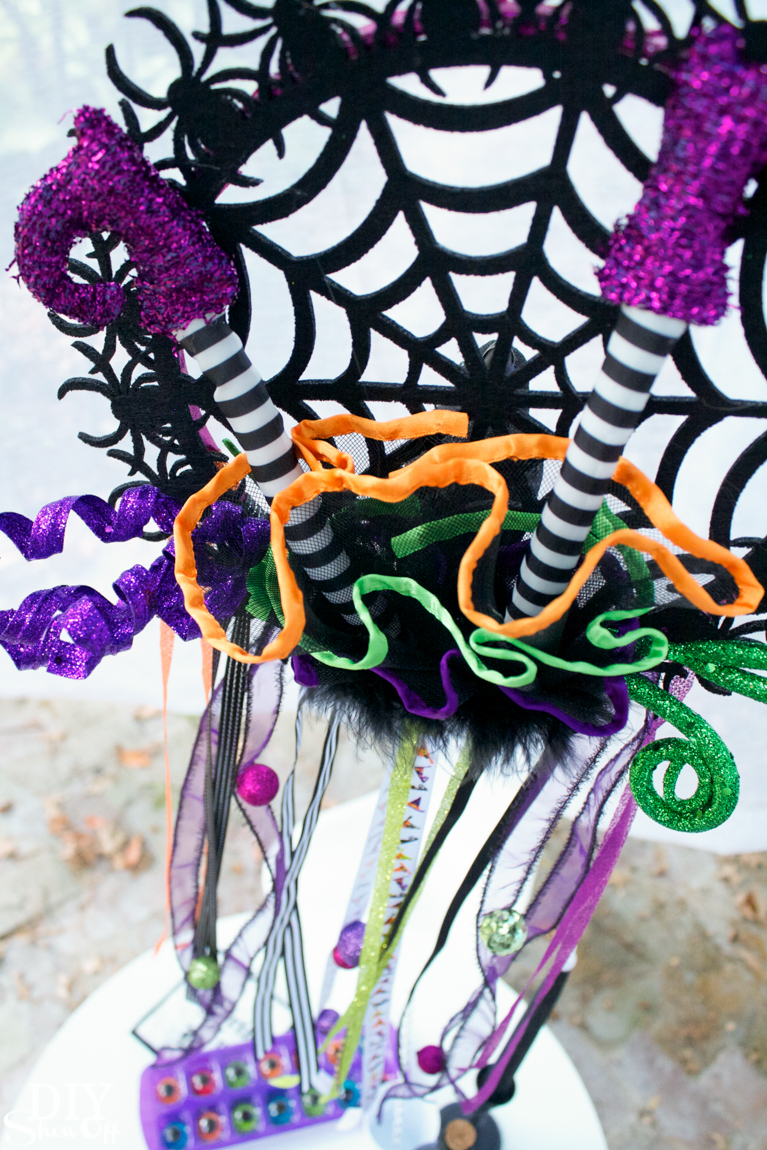
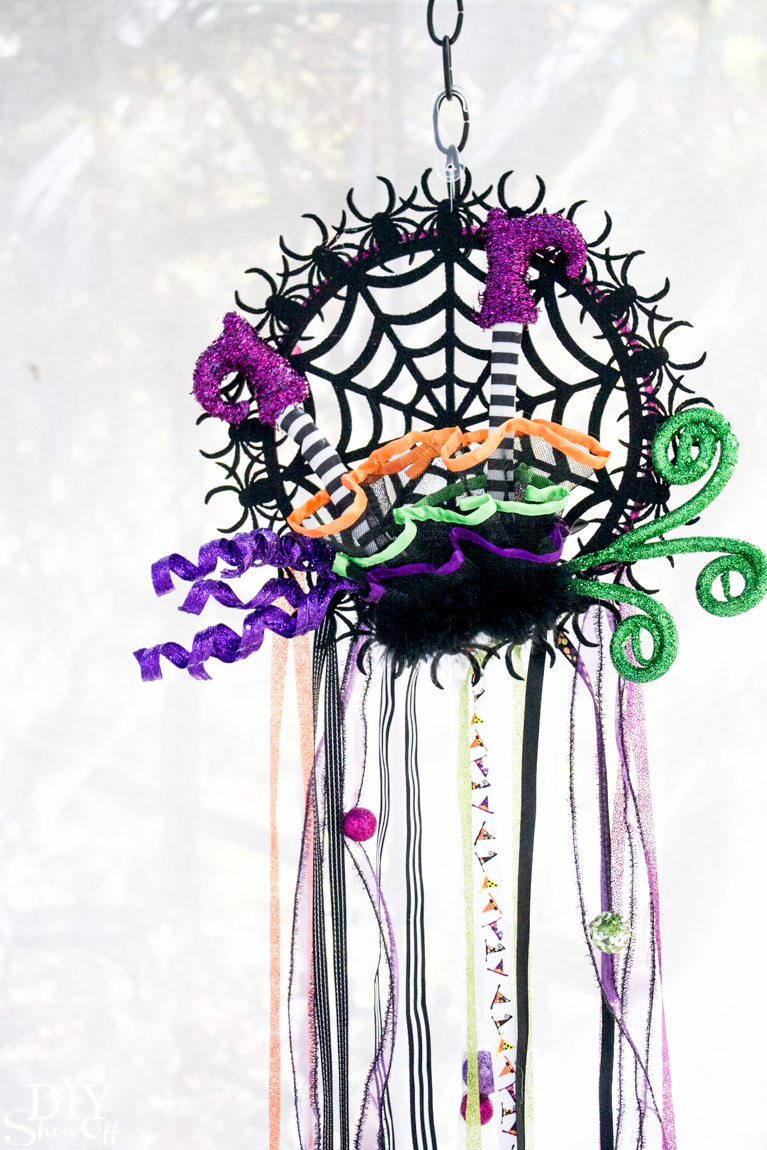

What do you think? For real? Are you inspired to make one up now?! I hope so! Snap a picture and tag @diyshowoff on social media to ‘show off’. Heck, add the #madewithmichaels hashtag while you’re at it. I’d love to see it! This Halloween, Michaels has everything you need to MAKE it Spooky!
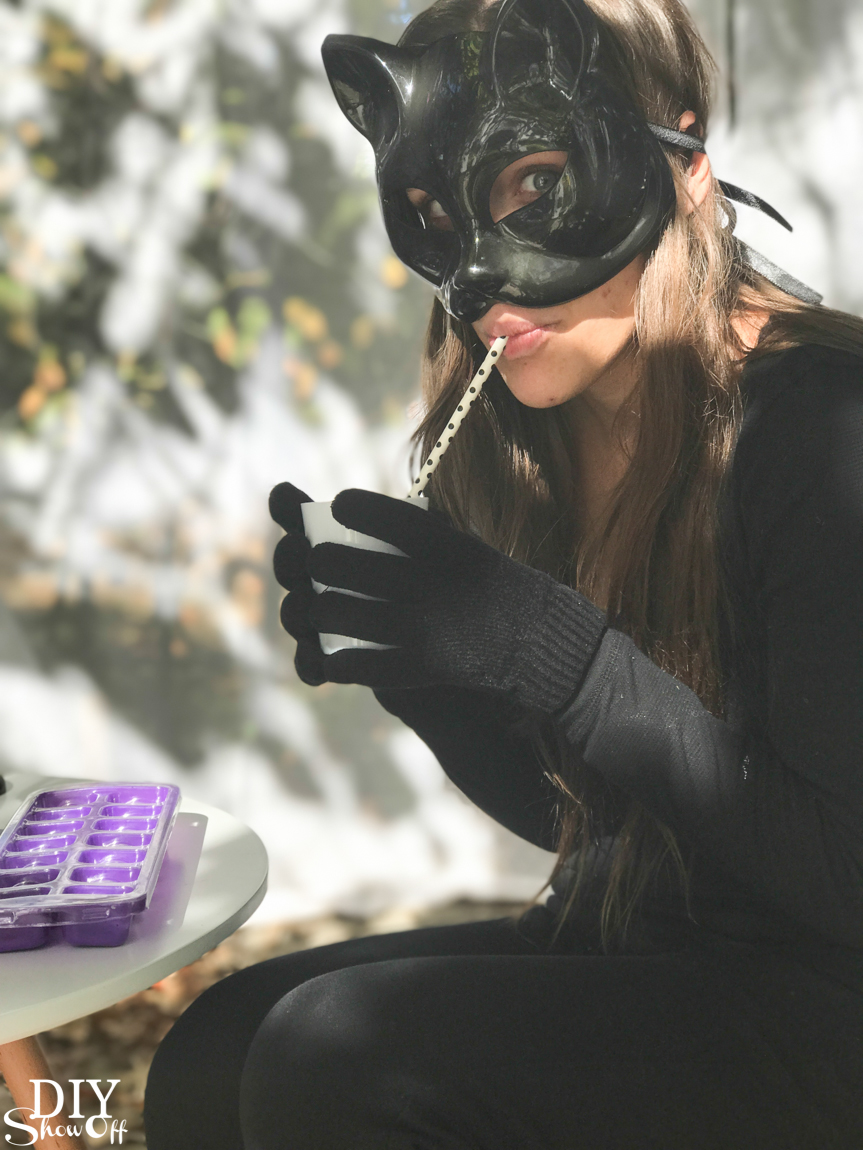
We enjoyed our witchy dreamcatcher tea party.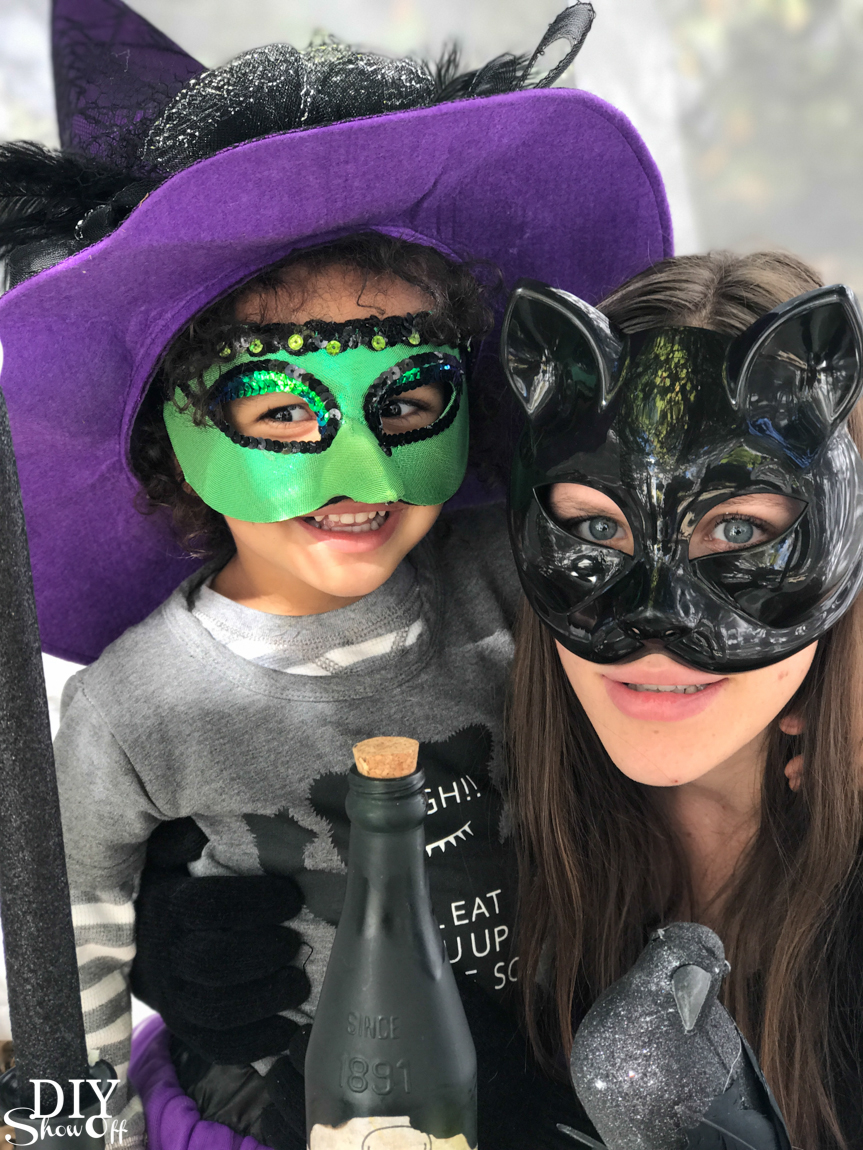
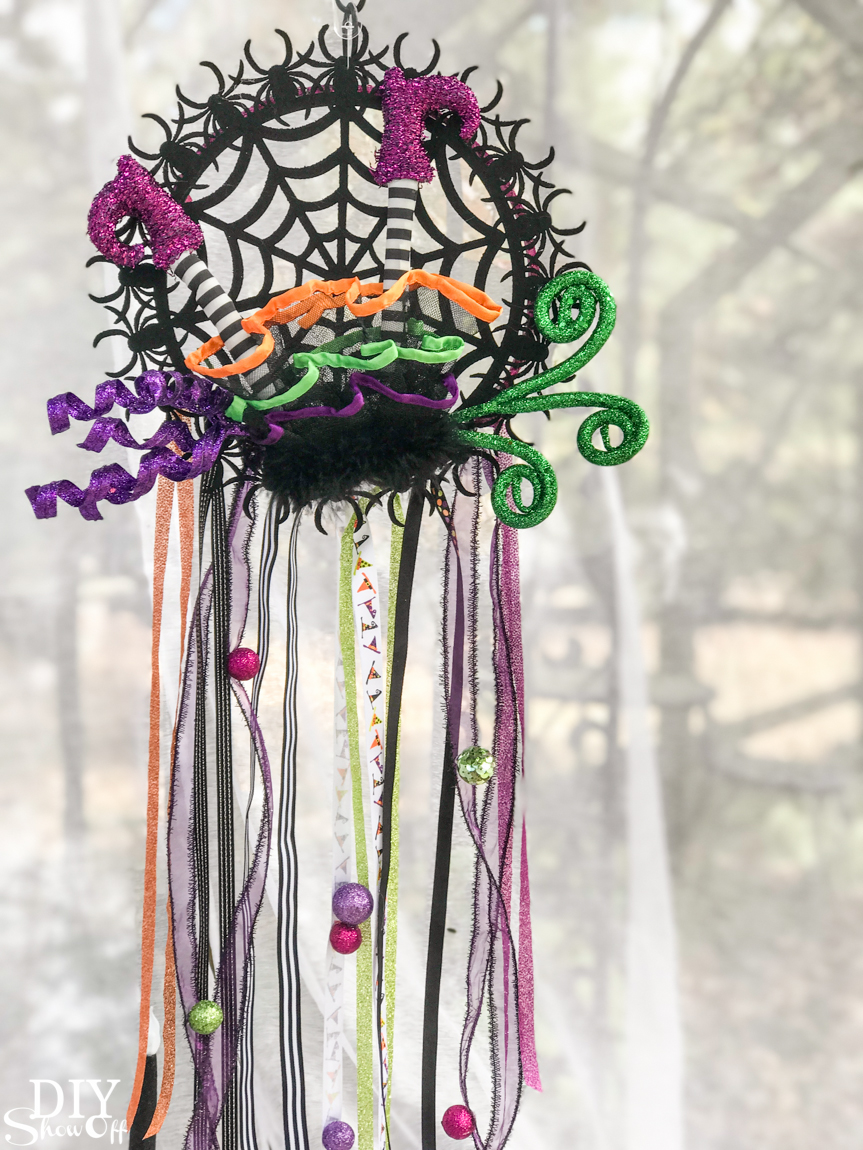
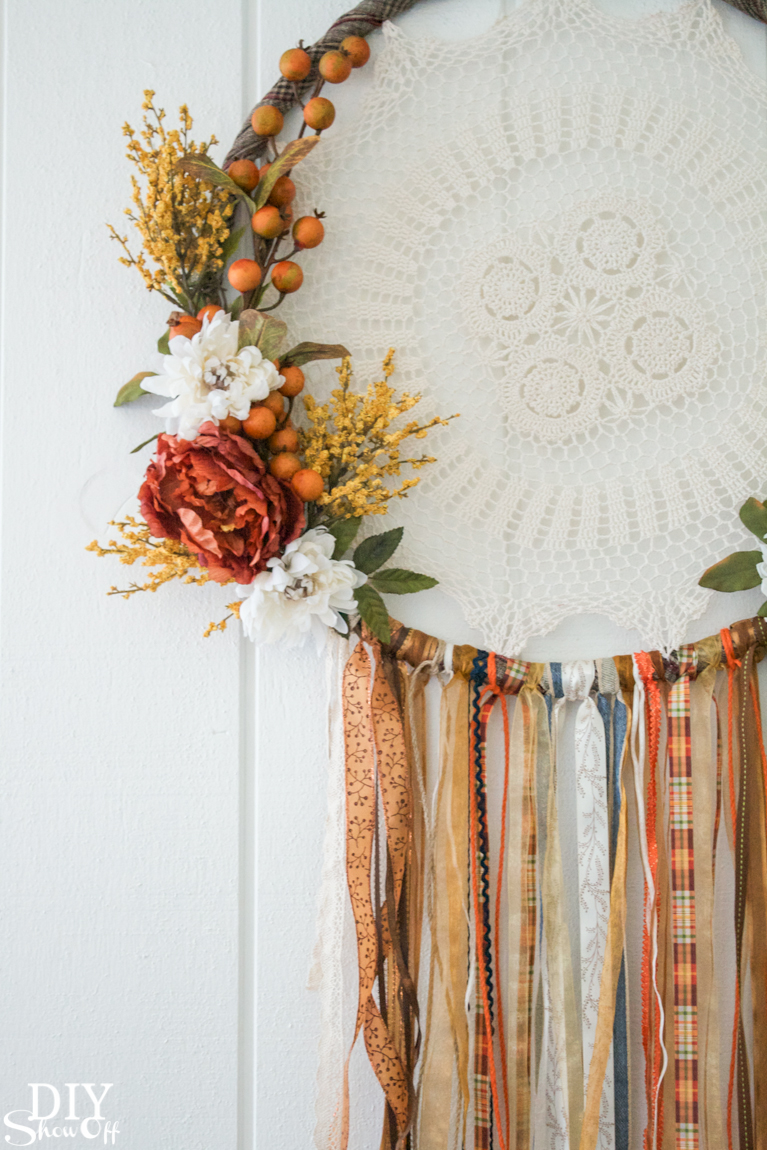
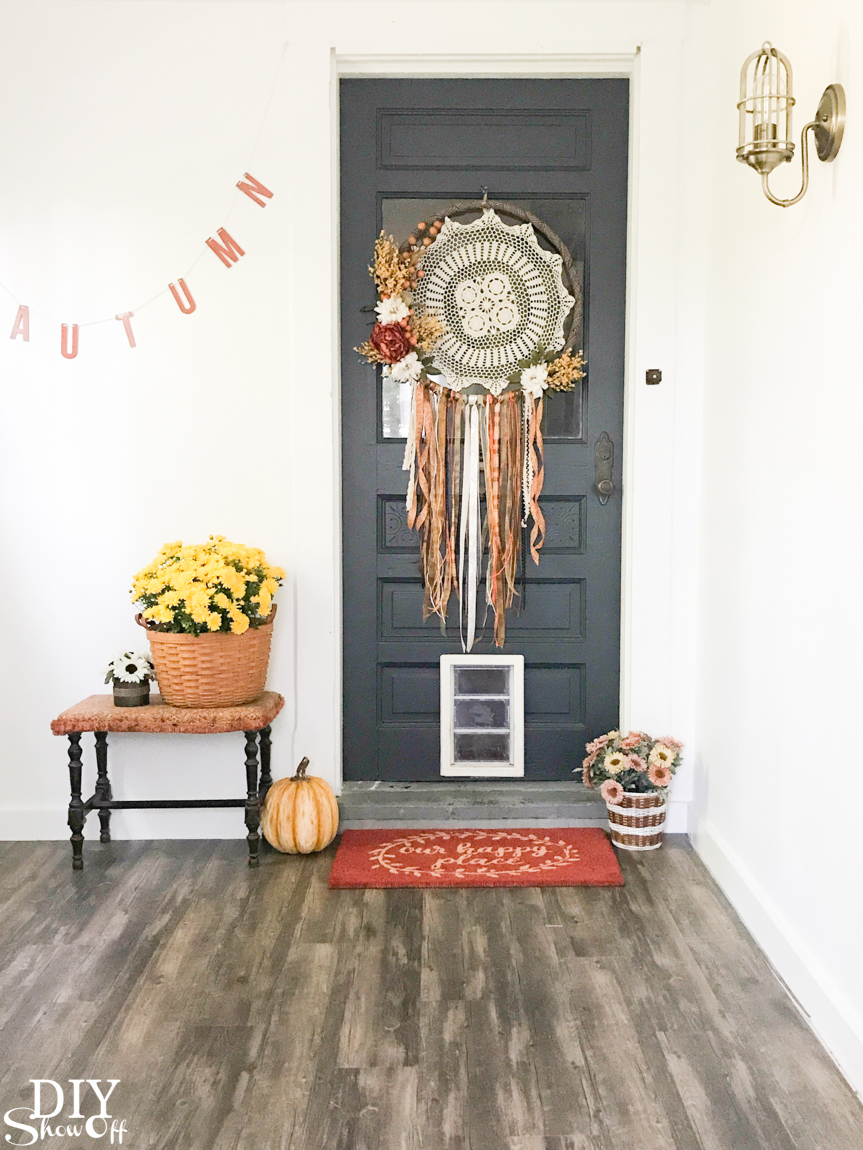
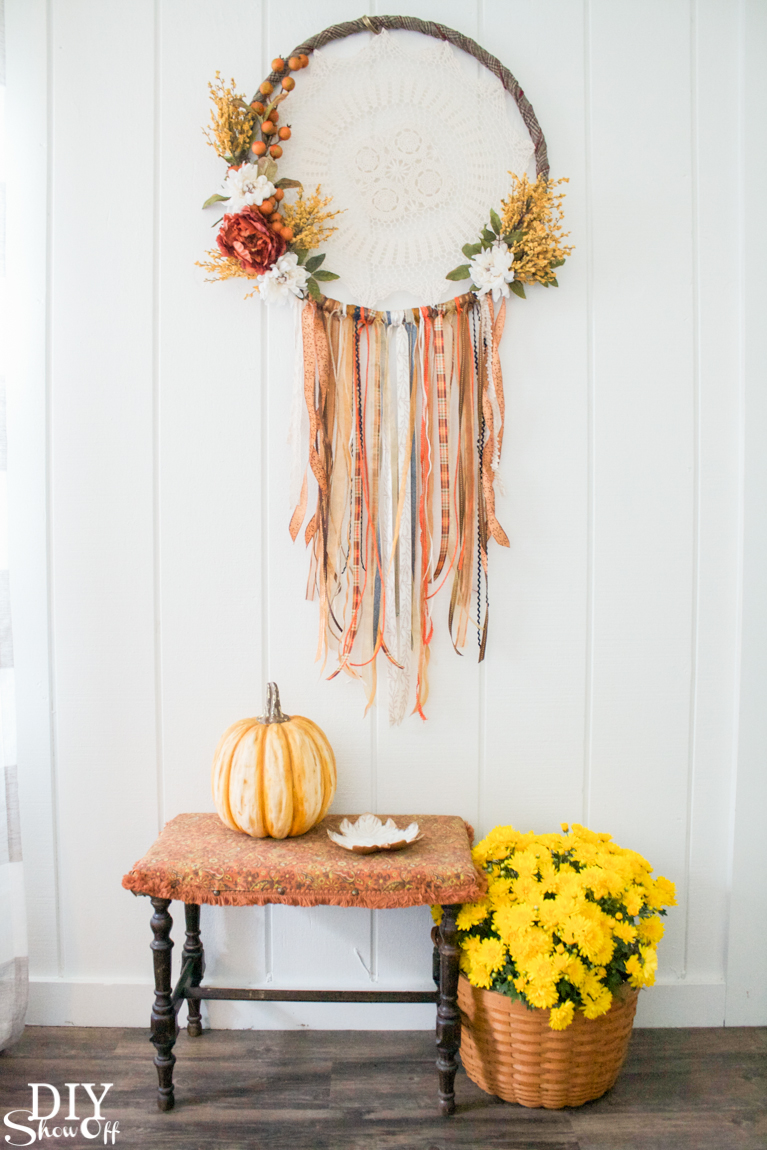
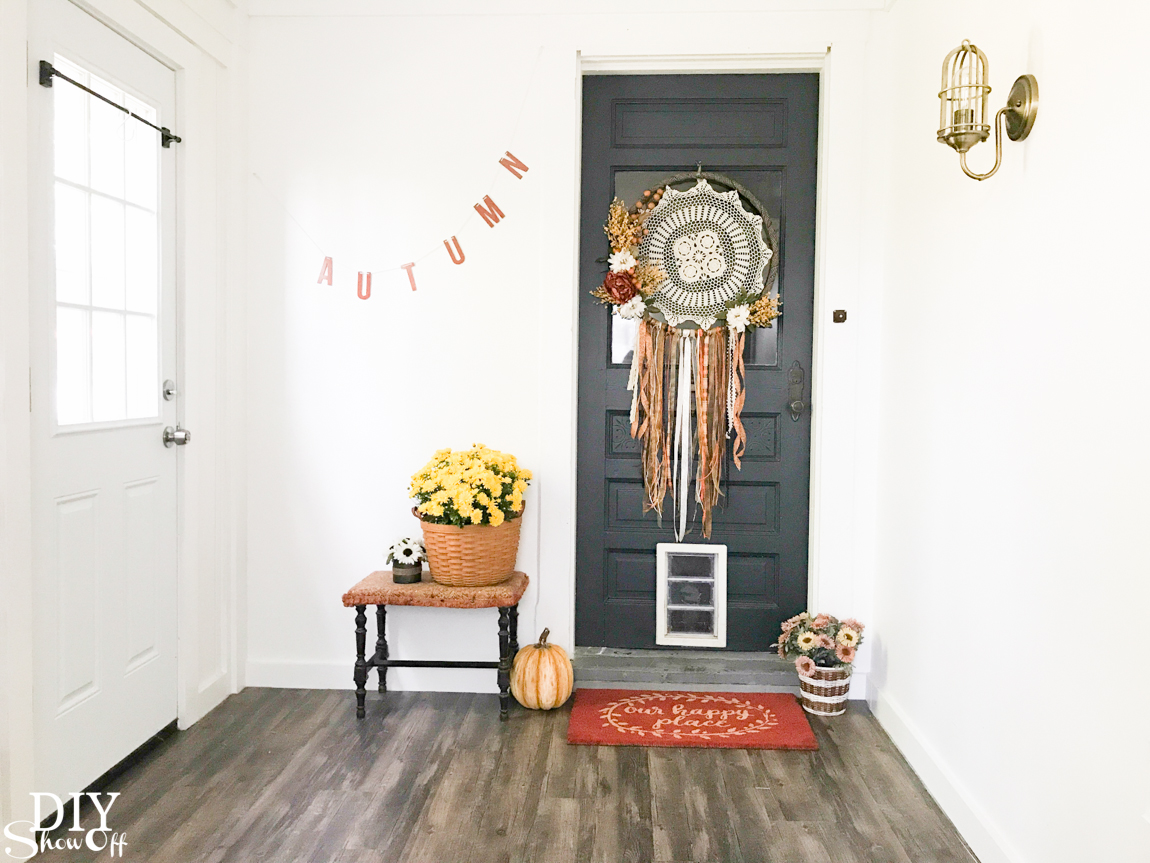
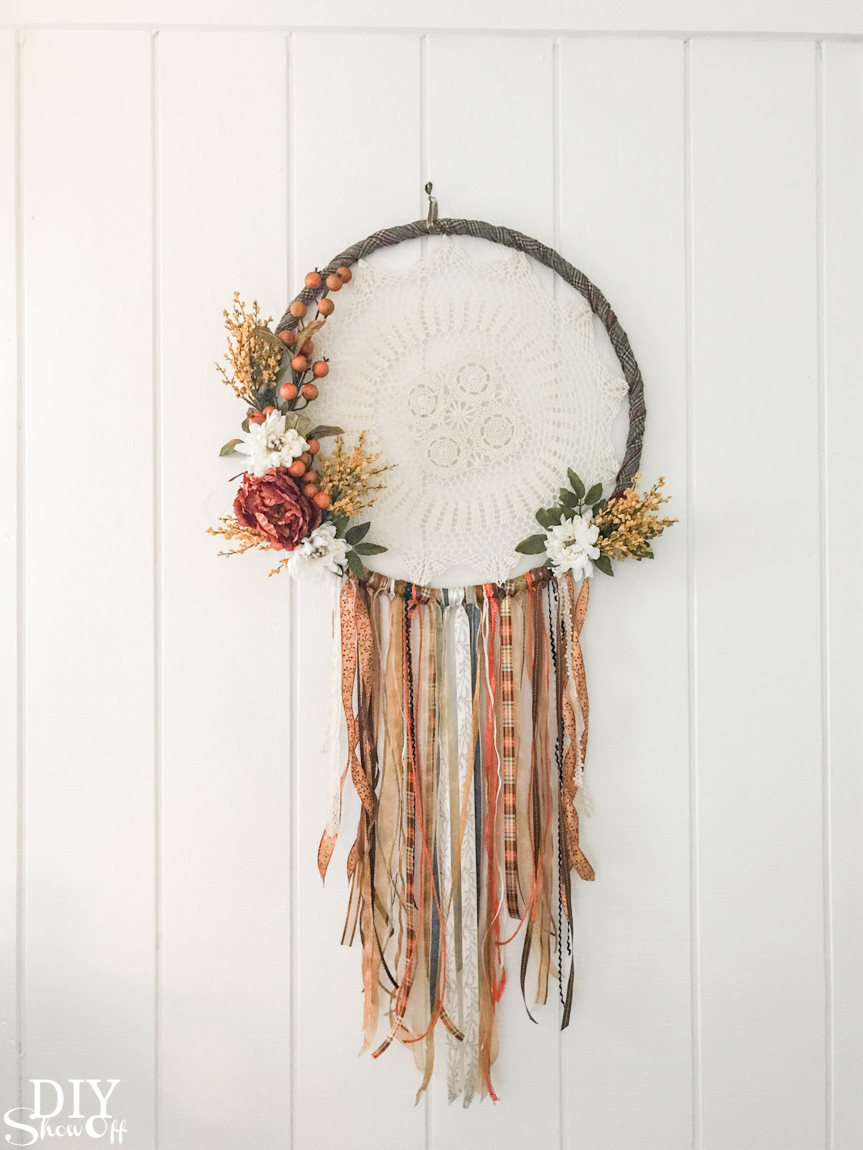
This fun Halloween dreamcatcher project was inspired by the beautiful fall dreamcatcher wreath tutorial I did a few weeks ago. See it HERE! Happy October!


 The Ashes, Oaks, and Maples,
 The sunshine spread a carpet,
 Miss Weather led the dancing;
 The sight was like a rainbow



 Loading InLinkz ...