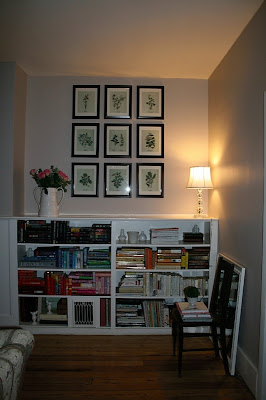
Here is the before: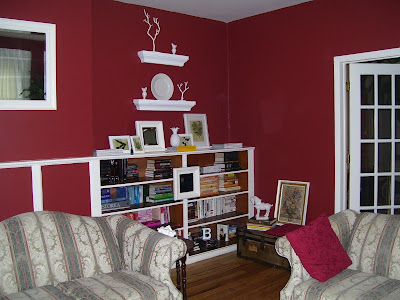 And here it is NOW!
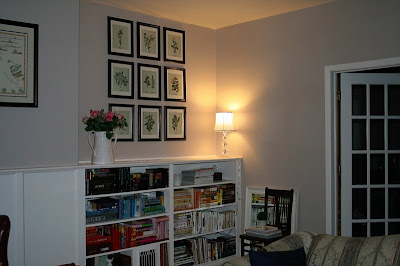 I painted the panels (there is another smaller built-in book shelf to the left of those panels) and I painted inside the built-in shelving to match the trim (BM Half and Half – which I think is a discontinued color! Good thing I have some left over!). Oh! And does anyone know the difference between board and batten and wainscoting? It’s about 4 ft. high so my guess is wainscoting? Which is it between my bookcases? ??? Google wasn’t helping me or I just was just too tired to look beyond a quick look.
Also – at vintage printables, I clicked the picture I wanted, highlighted it and right clicked to copy. Then I pasted it in a Word document(margins set at .5 all around), right clicked again to resize at 10.5 height. Then I dragged the right margin to about 7.45. This allowed the print to fit perfectly in the matting.
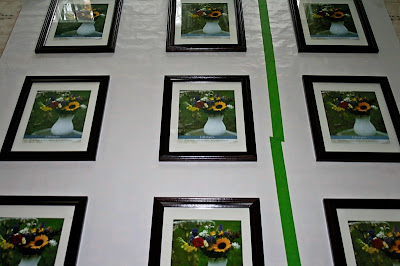
 9 picture frames with all of these little metal tabs on the back = sore thumb and fingernails pulled. OUCH! DIY doesn’t have to be torture! Instead, I use this plastic card to pull them up and push them back down. Very easy!
 I laid out my frames on paper (back side of wrapping paper) and marked where the hanger is on the back (I made a separate frame pattern and marked where the nail needed to go). These look black but they’re a mahogany color. I debated about getting a lighter color but I love how these look on the smokey taupe wall.
 I used tape behind the paper where the nail needed to go in since my walls are a plaster night mare. I learned the hard way that nails and plaster walls aren’t compatible. Lots of crumbling. But! The tape worked like a charm along with the small, very sharp, black nails. The tape kept the wall from falling out in chunks!
 Here it is again! Yes – that’s my Valentine’s day dozen roses from Mr. DIY! AWE!!! And the lamp was brought in from another room for light since it’s dark now and there is no overhead lighting here. I’m looking for lamps for this area and I want to go through the big mess of books. There are way too many that we’ll never read again (lots of handy-me-down romance
novels, etc.). I can’t wait to clean it up and accessorize!
More to come!
So, what do you think?


