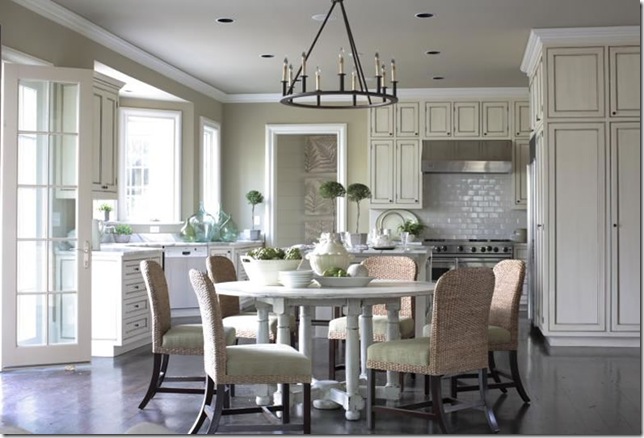
While I’m trying to get Mr. DIY on board for doing a temp fix up in our ugly kitchen until the day we have enough money in the budget for our ‘dream’ kitchen, I thought I’d share this beautiful kitchen makeover from Rachelle (isn’t that a great name? lol!) at Adventures in Creating. Here is her post:
I started this blog only a few months ago, but there I’ve done other DIY projects in the past. One of the biggest was our kitchen. We live in a cute little 1930’s cottage in San Antonio. We love the house’s vintage charm but the kitchen was hard to deal with. It looked ok but wasn’t very functional.
This was the only counter in the whole kitchen. It was only 1′-4″ deep, your counters are probably 2′. We only had 4′ of actually counter space, and very little storage. I did make that colander light above the sink, I was sorry to see it go but it had to in the name of function! That door you see in the background lead to our bedroom. Good for the occasional midnight snack but not good when you smell garlic all night long in your bed. And there was no dishwasher by the way…
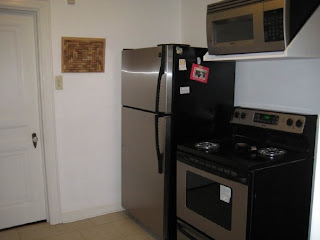
This is the other side of the kitchen. There was no counter space for me to put pots or ingredients when I cooked on the stove. So I would have to walk back and forth to the counter constantly. And the microwave was mounted really high up. Seriously? How did people in the 1930’s do it? They cooked all the time and didn’t go out to eat like we do. I love to cook but it was tough in this kitchen. So after about a year of this we decided to take the plunge and renovate.
The first thing we was close up the door to the bedroom and center the stove on that wall instead. The plan was to create a U-Shaped configuration of cabinets to make the kitchen more functional.
We created a “cubby” hole for the fridge to slide into, this way it wouldn’t take up as much space in the actual kitchen.
We tore out the cabinets and this is what was behind them! Wow! Yes our walls are made of wood. It makes hanging stuff easy because you never need to find a stud but difficult as well because the wood is so hard! (Petrified from years of San Antonio heat I guess.) We had an electrician come and rewire everything. It was also interested washing all our dishes in the bathroom sink.
Cabinets going in! We found these at the ReStore (after many weeks of searching).
Things are coming together! During this time we ate a lot of food that I had cooked beforehand and frozen, this way I wouldn’t have to worry about cooking and we didn’t need to eat out all the time.
Counter tops and sink! And a dishwasher! I didn’t realize how much I would miss having a dishwasher until I didn’t have one for a year.
We got an awesome deal on the glass tile for the backsplash, it wa leftovers returned from another job. Since our kitchen is small we didn’t need that much. We installed it ourselves to save even more money. I was pregnant at the time so I think this would have been an easier task if I didn’t have a big belly in the way while leaning over the counter. Oh ya P.S.- this might be common knowledge for most people but I didn’t know. Wipe off your grout in sections, don’t wait until you have half the wall done. It will be almost dry and almost impossible to get off! My pain your gain!
Check out our faucet! It’s one of those single handle ones!
We kept the original floor, it was in decent shape and by keeping it we saved a lot of money.
We installed the microwave ourselves as well. It was a chore, of course we had no idea what we were doing so maybe that’s why.
The fact that our kitchen is small also helped keep costs down!
So- we went from a practically unuseable kitchen to one that is totally functional and fabulous! I hope you enjoyed reliving our kitchen reno with me.
Gorgeous, huh? I’m so amazed by all of the DIY talent in the blogging community. Thank you for sharing your hard work, Rachelle! I’m inspired.
Visit Rachelle to see more of her amazing DIY projects!
Have you remodeled your kitchen? How was it living with chaos or being unable to cook during the process? Mr. DIY is my own personal iron chef so he’s a little hesitant for me to start tearing things apart but really – it’s such an eyesore in this old farmhouse and looking at ugly linoleum and blue counter tops and orangy-oak cabinets is depressing. Any advice?


