Hello DIY Showoff readers!! It’s so great to be hear on Roeshel’s blog. That girl is the real deal; she makes my heart happy!! So, it’s a thrill to be able to hang out with her!
My name is Janel…

I blog at NellieBellie…

I am hear today to brag a bit. They say you shouldn’t brag. But, sometimes…you have to!! Otherwise you might just burst!! Although I am bragging, I also do so in the hopes that you get a bit of encouragement on your ability to create something awesome from next to nothing. I see a budget as a challenge, not a hindrance. It’s a chance to add creative and personal touches to a space.
So, what am I bragging about today? What was my “challenge”?
My 10 year old son’s room.
He had been wanting his room to “grow up” for several years. The “baby” room was embarrassing him and he desperately wanted me to fix it. I procrastinated and procrastinated. For a few reasons…
1. A giant bunkbed. It was one of those bunk beds with the full size on the bottom and the twin size on top. I am the oldest of 10; our home is often full of overnight guests. His bed was handy for putting an extra person in. But, it was liking have an Airbus in a porta-potty. It just took up too much space. Who wants to help mom take apart a giant bunkbed?? I looked around and there are no takers. Yep, procrastination. Finally, he talked his dad into helping him and I knew it was time to start.
2. A $120 dollar budget. $120 doesn’t go very far. At all. But, that’s all I had in my budget. And, I couldn’t figure out how to get him a bed and ALSO get the needed paint and supplies for the change.
3. Style compromising. He was fairly specific in what he wanted and didn’t want. But, I wasn’t keen on Characters or Neon colors. I wanted it to grow with him and not require repainting and new bedding very soon. I needed to figure out a compromise to make us both happy.
Both he and I are so pleased with how we conquered these “problems”. They weren’t really problems, more like challenges. They made my brain work harder. A hard working brain is always a good thing, isn’t it?
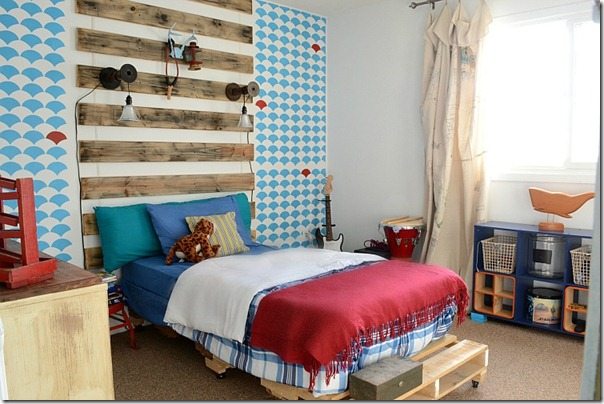
There it is, his new bedroom. Can you see the ways I saved money and got creative?
1. The bed. He wanted a pallet bed. As in, he really wanted it! Well, okay? That costs me all of $8.00. Problem solved!
2. The wood slats on the wall are from the old bunk bed. Doesn’t that make the best focal wall??
3. The main cost of the budget was the paint. Although I paid big bucks for good paint, I only had to do 2 coats. Saves time and gallons of paint! The stencil paint was oops paint. Budget saver!
4. The curtains are “custom-made” fabric. I gave my son a cloth dropcloth and some Sharpies and asked him to doodle. That dropcloth was cut in half and hung on a rod. The coolest curtains!!
5. Lighting was made from shop lights and antique spools.
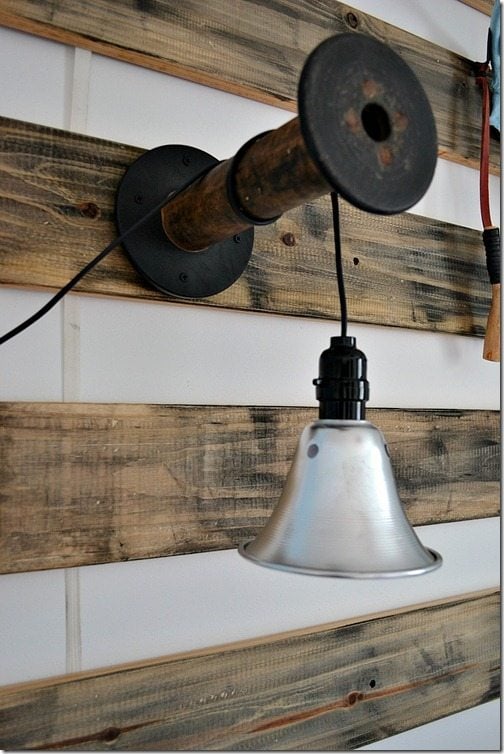
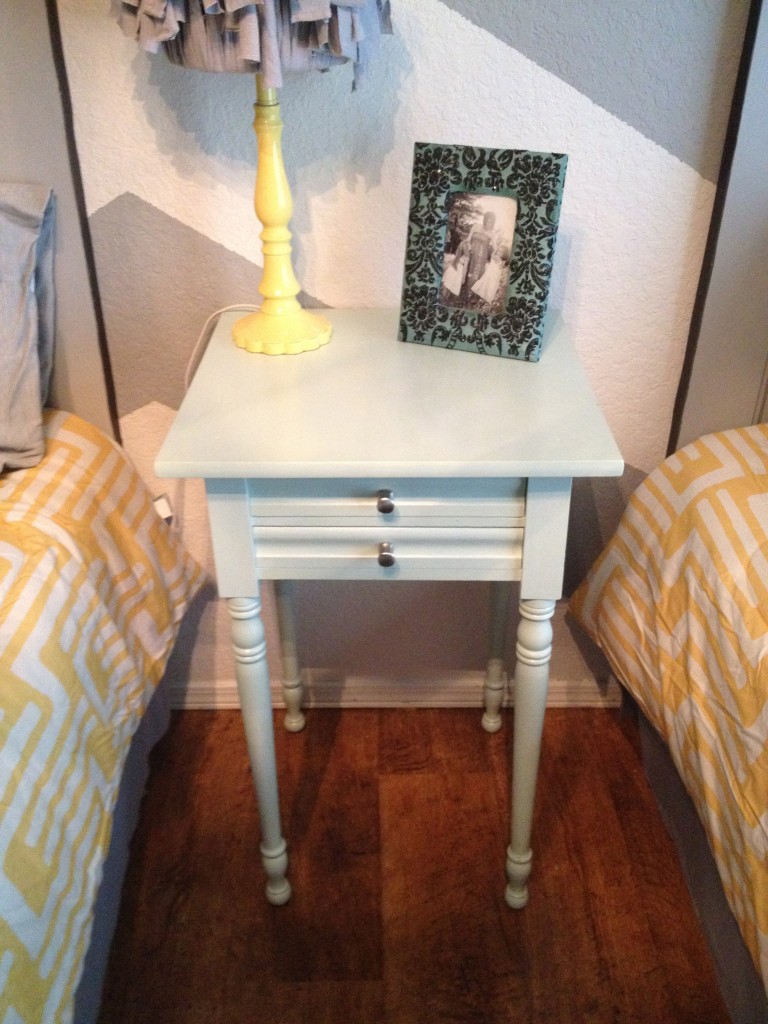
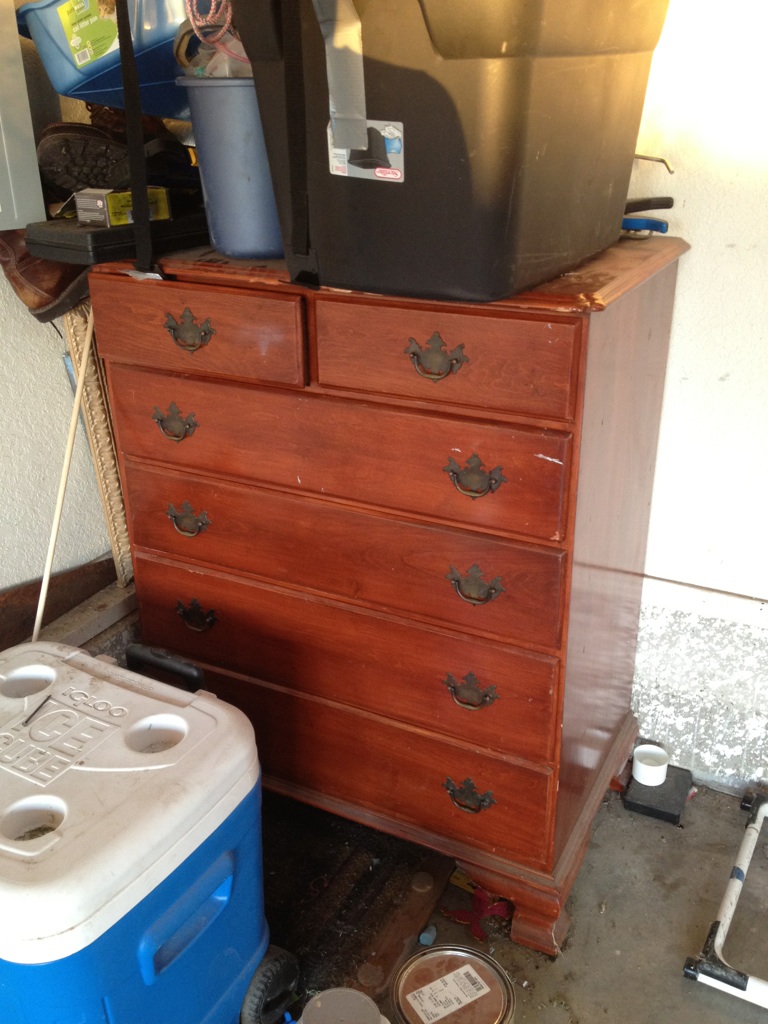
6. I salvaged everything I could from his room and “remade” it to be fresh and new. The bunk bed ladder was painted and put on the wall for shelving. Even his dresser has a new paint job.
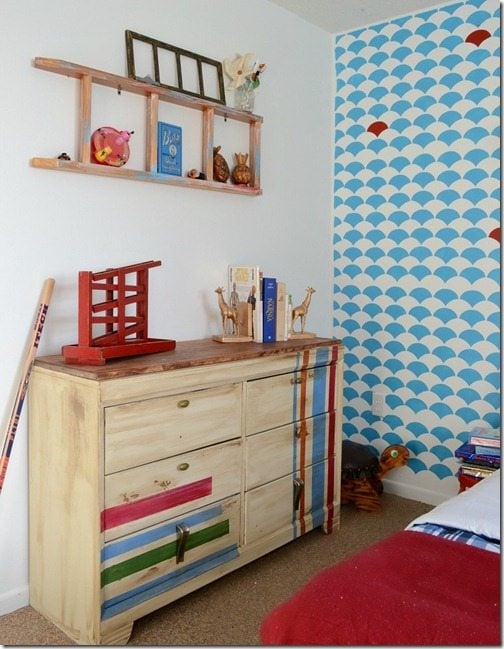
His favorite part of the whole room??
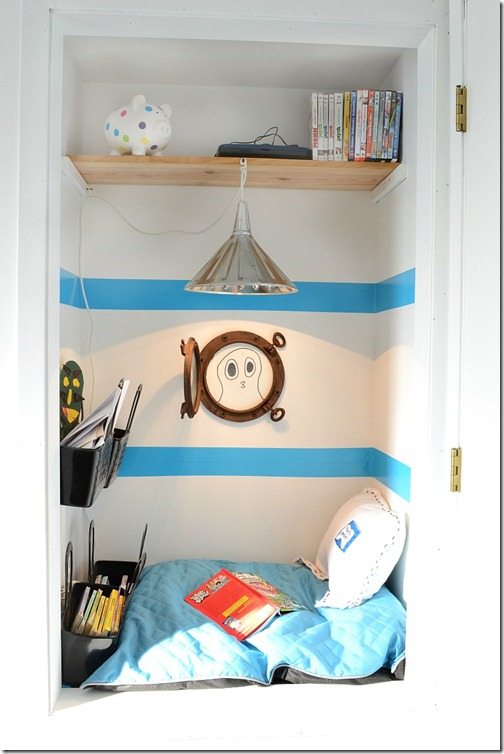
His new reading nook.
I took a little closet and turned it into a great place for a little boy to chill. Budget savers were the duct tape paint stripes, diy funnel light, and dog bed instead of a cushion (seriously…so much cheaper!).
This room redo came in under budget and way past expectations!! Stop by and see the before, as well as more details from this room; including the how-to’s on those “custom” curtains, DIY lighting, and more!
You can follow me on Pinterest, Facebook, Google+, Twitter, and Instagram…you know, if you like friends and all. I know I surely do!


