DIY Show Off – Main Bathroom Before and After Reveal {Shades of Gray}

Main Bathroom Transformation:

budget-friendly-bathroom-makeover

Featured in THIS OLD HOUSE MARCH 2011
There’s even a photo of our precious little Niski and it fills our hearts with joy even more.
(click photos to enlarge)
Here is the estimated cost breakdown for my bathroom makeover:
Ceiling paint, primer and trim & door paint – free (we already had this from previous projects)
Lighting (Washington Collection) from Lighting Direct $220.80
Paint supplies and tape approximately $20 (I used some supplies that we already had.)
Wall paint (BM light pewter and nimbus color matched in Valspar’s Signature paint) $62 total
Valspar Porch and Floor paint (color = Journey) $25
Floor paint for design on painted rug (already had BM Smoke Embers) $0
Elegant Bracket Stencils (2 of the same one) $15
Minwax water based polyurethane $16 (this WILL yellow light colored paint)
Oval Vanity Mirror (Lowe’s) $75
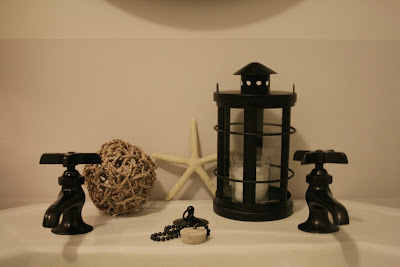
Rustoleum spray primer, oil rubbed bronze spray paint and spray lacquer (for faucets) $25
Oil rubbed bronze shower curtain hooks ($9) and rod $29
______________
Total $512.88
~*~*~*~
Our Main Floor Bathroom before…

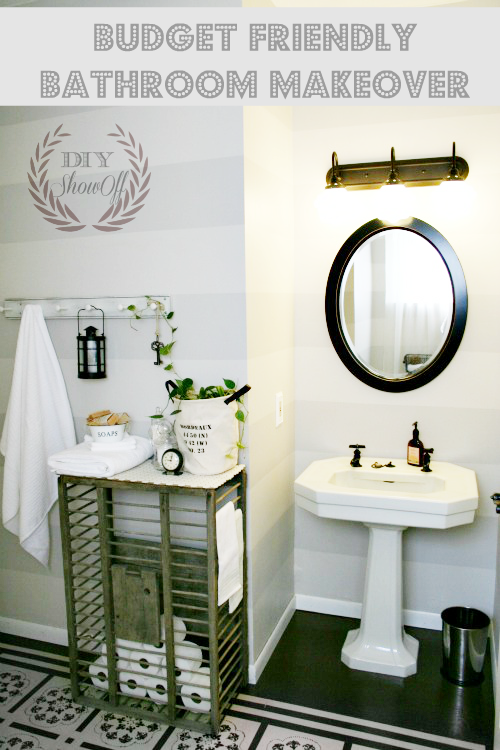
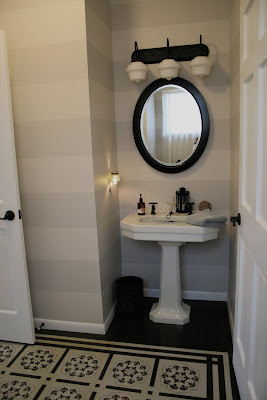
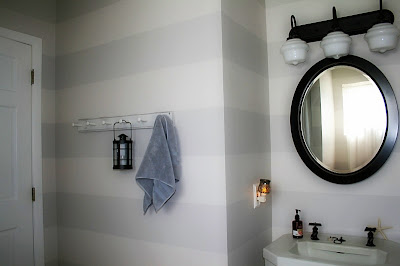
Now: I love the shades of gray!

Sink

Before:

Now:

Before:

Now:

Tips on painting horizontal stripes.

Ceiling light before:

Ceiling light now:
(schoolhouse ceiling mount)
New vanity light (the biggest splurge in the room)

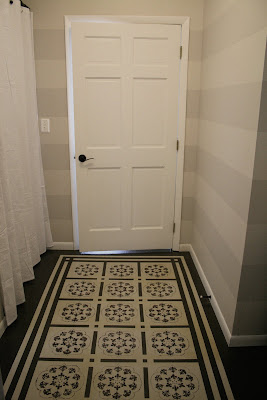
Floor before:

Floor now:

A little more accessorizing (neutral and DIY) coming after the holidays.
This .50 coat rack:

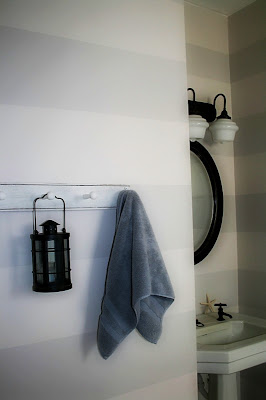
Became this towel rack. I did a little dry brush technique with left over paint and some sanding:

And now I have this:

Updated pictures:

painted floor after 2 years is still holding up…
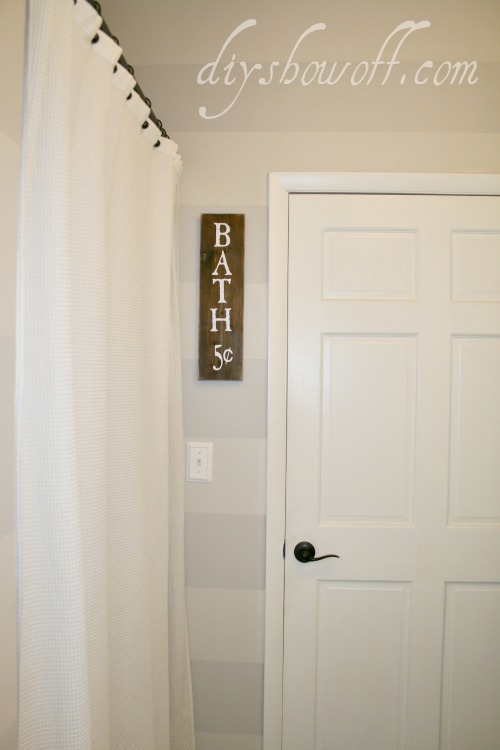
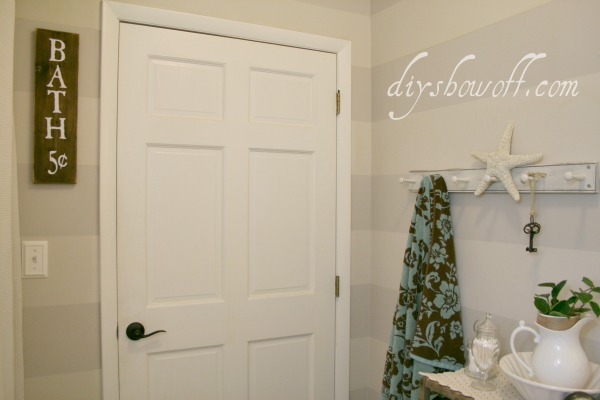
DIY bath 5 cents sign
DIY bathroom sign

Facebook
DIY Show Off - FacebookDIY Show Off - TwitterDIY Show Off - PinterestDIY Show Off - FeedDIY Show Off - HomeTalkDIY Show Off - G+


Prudently, Painted, Vintage – bathroom makeover

Michelle from

Prudently Painted Vintage
recently took this bathroom…
And started making a change.
They put up the beadboard and framed out the miror.

New color is Glidden’s Native Turquoise.

Here it is all finished! BEAUTIFUL TRANSFORMATION, Michelle!

So much charm!
Love the DIY art!
Beadboard, trim and framing the mirror added so much character.
I love, love love lots of pictures.  Inspiring!
Do you love it?!?! Michelle, I DO! It’s a beautiful transformation.  Thank you so much for sharing!

Michelle’s DIY Project list:
Bathroom Before and After

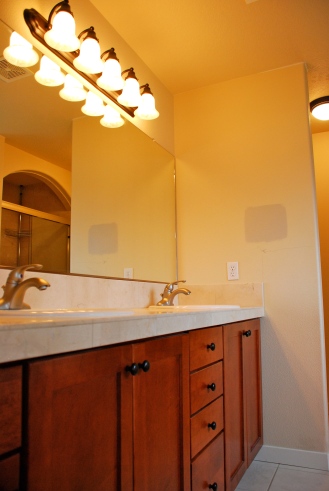
Lindsay from Tell’er All About It just shared her bathroom reveal. Nearly every detail is DIY. ::clap clap clap!:: So much hard work but take a look at the beautiful result. So worth it!  Here’s a sneak peek:

Before: boring builder grade

After: Bathroom showroom!

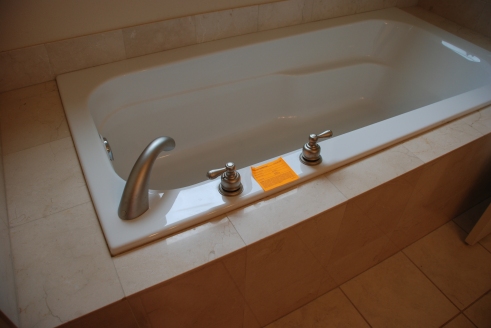
Before: Clean. Nothing really “wrong” with it. 


After: Surrounded by soothing blue and calm white, it’s relaxation waiting to happen. 


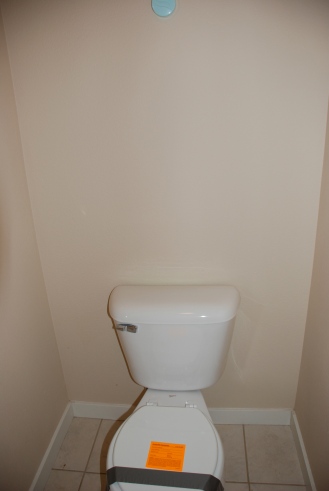
Before: closed for business


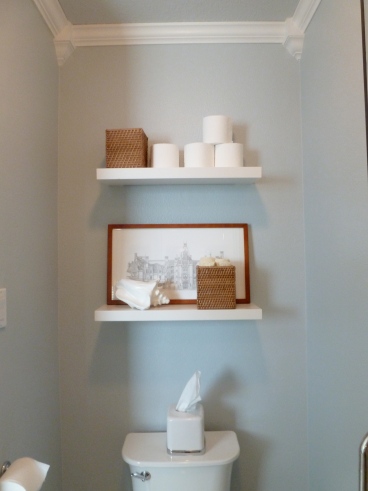
After: Calm.
Visit Lindsay to get all of the details, see TONS more pictures and to see the progress and entire transformation.  It’s such a beautiful peaceful space to get ready in the mornings and to prepare for sweet dreams in the evenings. 
It’s gorgeous, Lindsay!  I have a similar color in our powder room and just love that shade of blue. It looks fabulous with your rich espresso vanity and beautiful white tile.  All of your hard work accomplished a beautiful update! Great job! I love the picture of your DIY super hero in action!

~*~*~*~

Spirit Solar
cut your energy bills with solar panels