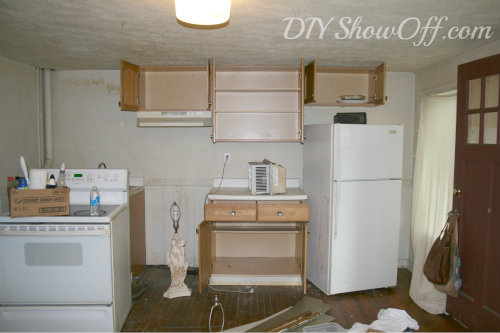
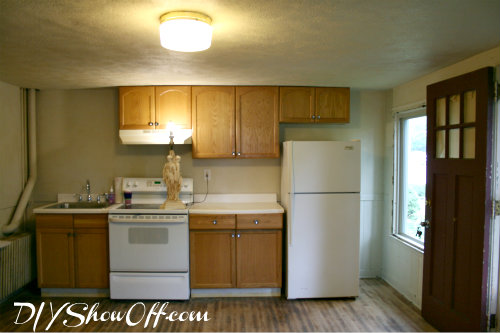
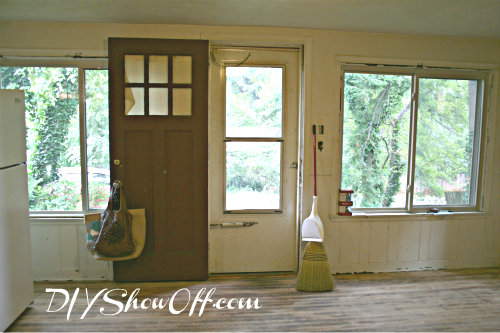
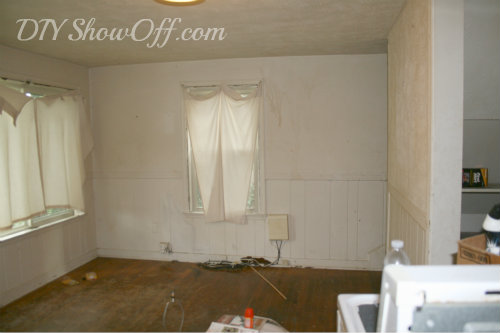
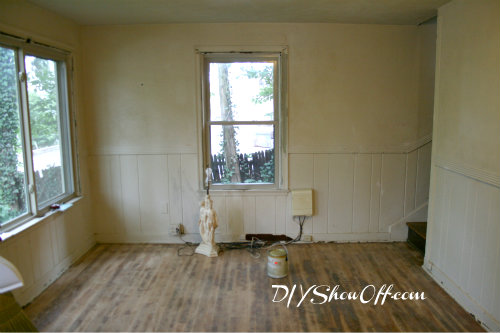
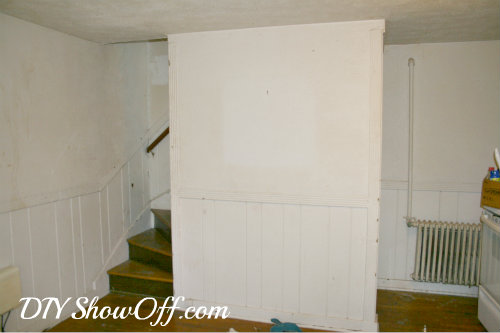
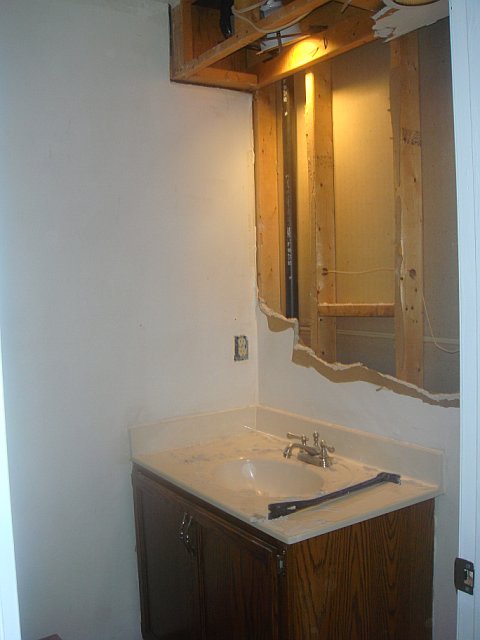
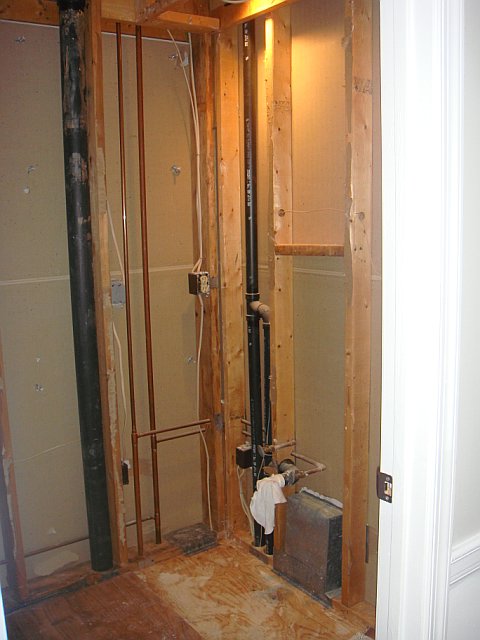
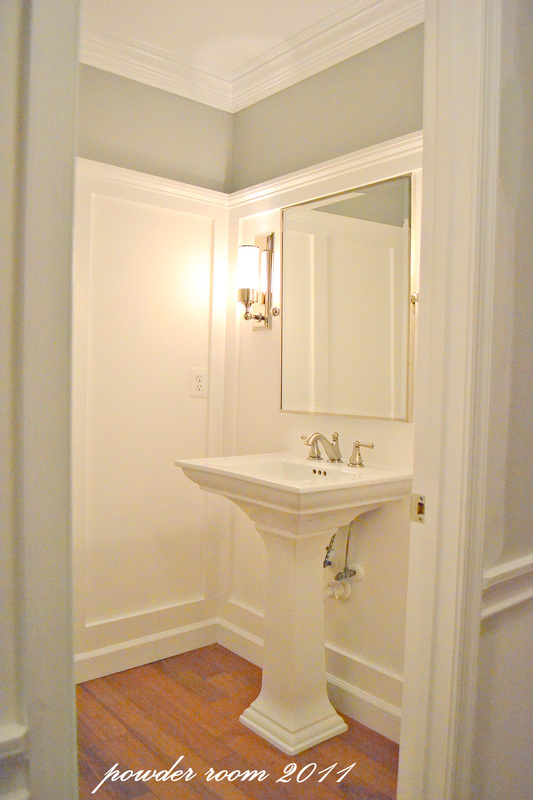
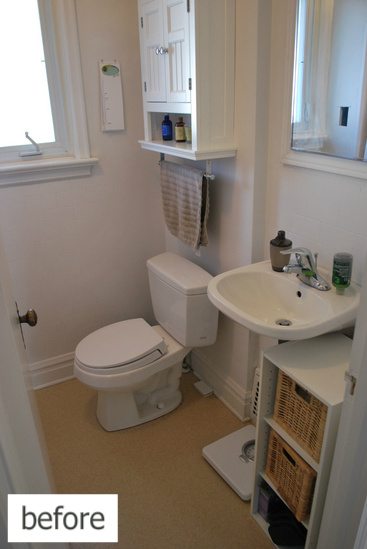
Since I’m up to my eyeballs in apartment renovations, you’ll be seeing quite a few posts of our progress leading up to the reveal. Please bear with me until I get to the fun/creative/decorating stuff…I can’t wait for that part myself! It’s the reward for the dirty work, isn’t it? I shared the first project yesterday {sanding floors} and here is the apartment “before-before” and after cleaning/’in progress’ but before paint. Got that? lol It’s just the before pictures before and after cleaning, before and after sanding hardwood floors.
Everything got a bath. E.v.e.r.y.t.h.i.n.g! It went from disgusting to clean. As you can tell, someone was a heavy indoor cigarette smoker. Thankfully with washing/scrubbing everything, sanding floors and primer+paint, airing out and sitting empty for quite a while, the smell will diminish. I apologize in advance for these ‘before’ cleaning pictures. I did spare you worse ones, I promise!
Okay, ready?
Dirty kitchen ‘before’ and before cleaning…{gag…what is the brown stuff all over the walls? Tobacco? Cooking grease? Coke explosion? Maybe we don’t want to know!}
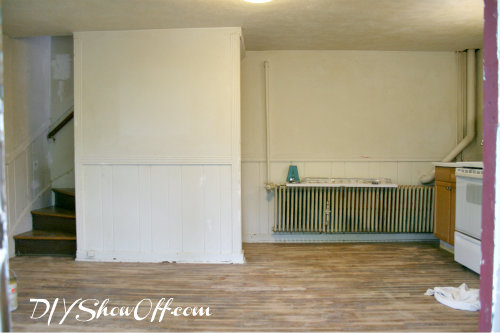
All cleaned up and in progress…ready to move forward
- paint ceiling {done!}
- paint walls
- paint trim
- paint cabinets
- redo countertop
- storage and organizing solutions
- thrifty furnishings
- decorate!
There’s a paint fest going on! Envious, aren’t ya?
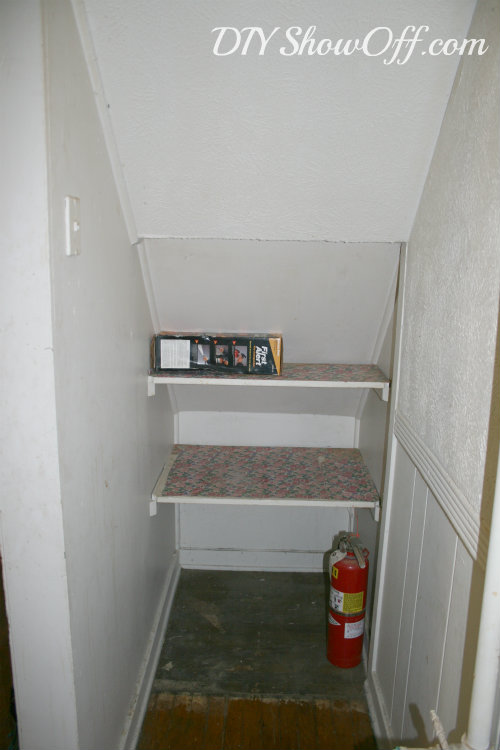
Pantry under the stairs – before
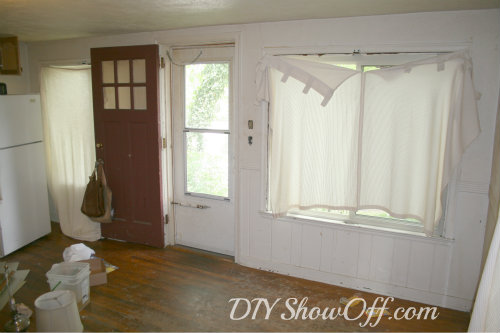
Apartment before then ‘after’ cleaned/sanded…
wall 1
wall 2
wall 3 – dirty before
in progress…
{You just turned 360 degrees and saw the entire first floor!}
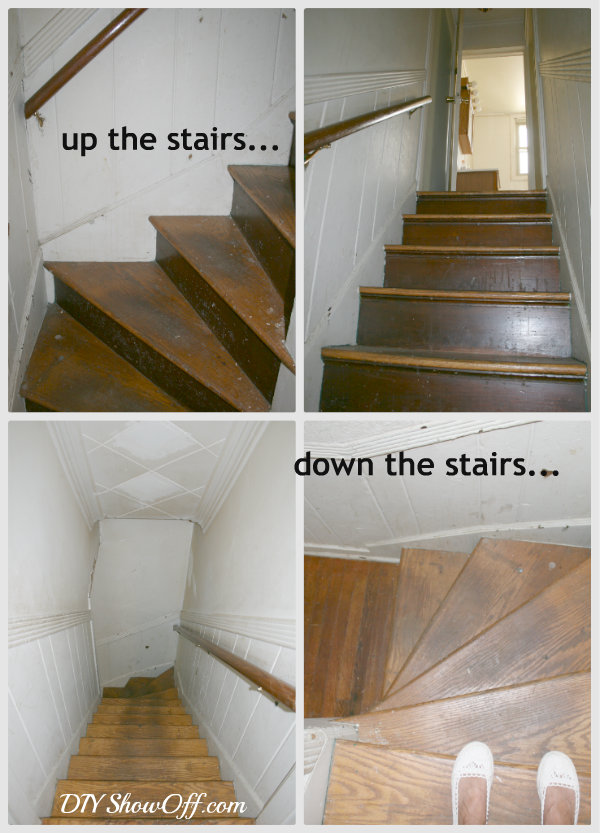
Stairs are so narrow with a bend…we’ll have to get creative with upstairs furniture/getting furniture up!
before:
- clean (done as of yesterday)
- sanded (done as of yesterday)
- stain stair treads
- fun paint technique on the risers
- paint trim and ceiling
- patch ceiling/trim
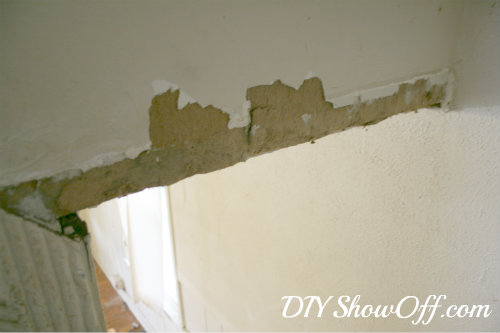
Someone obviously wasn’t too careful with moving furniture out {it’s a super tight squeeze and odd angle for furniture} and tore off the trim and part of the ceiling on the way down…uh oh!
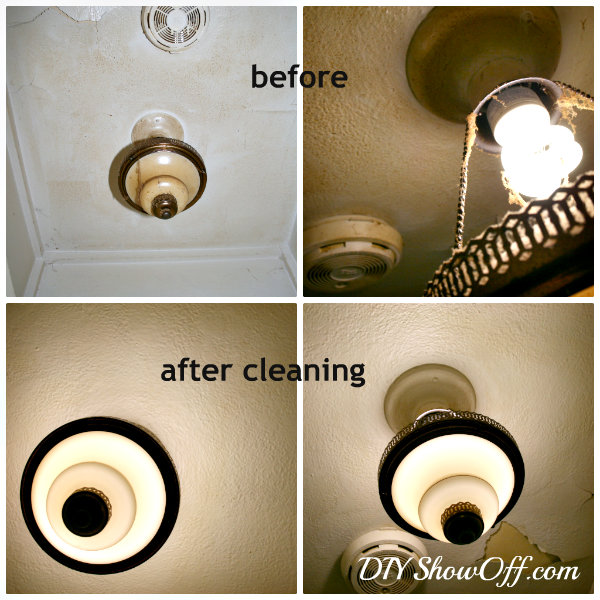
I love the vintage light fixture hanging in the hallway upstairs…
- patch and paint ceiling
- fun idea for the small wall space coming up!
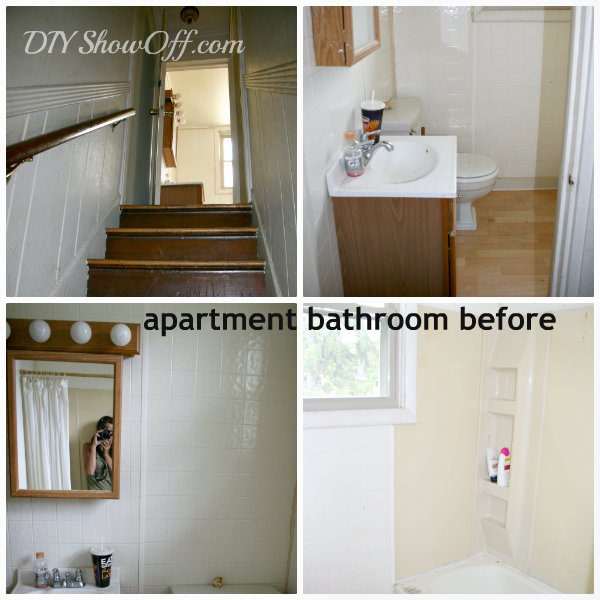
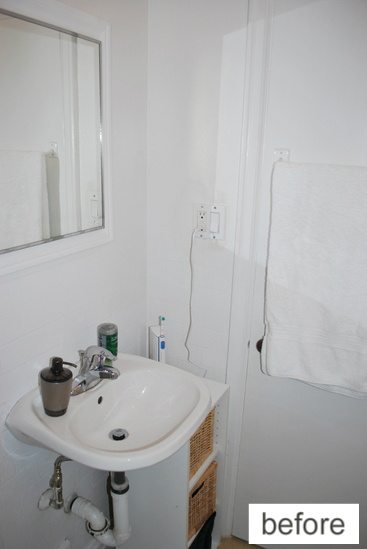
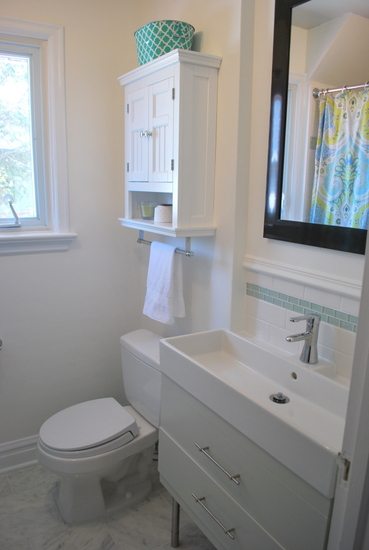
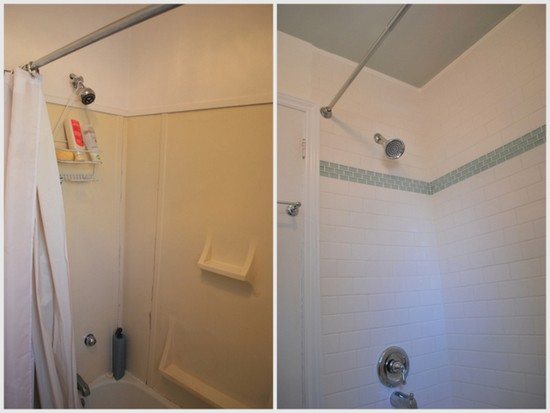
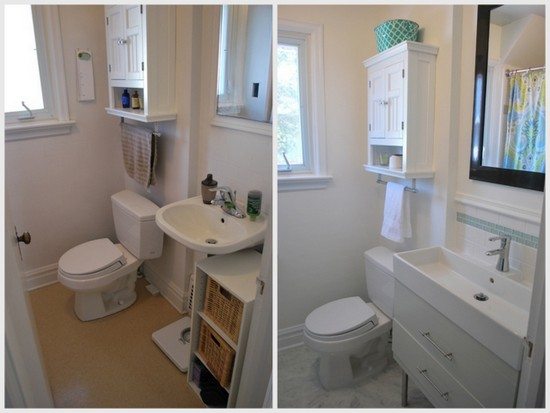
Bathroom needs a complete overhaul, but we’ll see what’s in the budget. Hate.hate.hate the faux tile walls and yellowed tub surround. Actually, I hate it all! I may be able to get away with a new floor, vanity and lighting but that’s probably all we can manage financially for right now. Those walls and tub surround have to stay for now. Wahhhh!
- new flooring
- new baseboard trim
- new vanity
- new mirror/medicine cabinet
- storage solutions
- new lighting
- paint
- caulking
- decorating!
This bathroom is so tiny, the sink/vanity only leaves a small entrance…
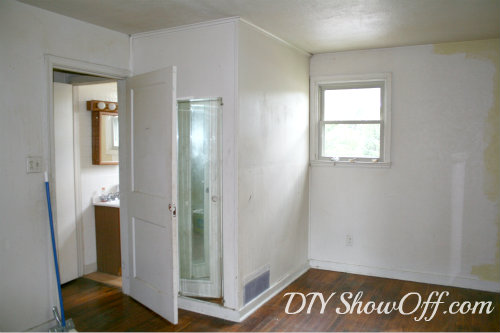
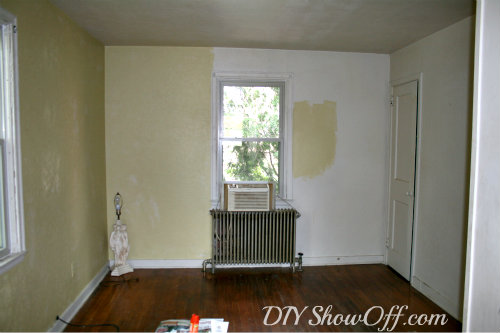
Bedroom before…
who paints half a room and walks away?
After will turn this small room into 3 areas:
- office/study area
- bedroom for one
- dressing room
Improving with every little bit of TLC and elbow grease. Ah, progress. Still a ways to go, but getting started is always the tough part for me and we’ve passed that goal! 😉


