Paper Mache Easter Egg craft

A day with freezing rain isn’t my ideal spring day, but it is still officially winter. Spring. In like a lion, right? ::groan::

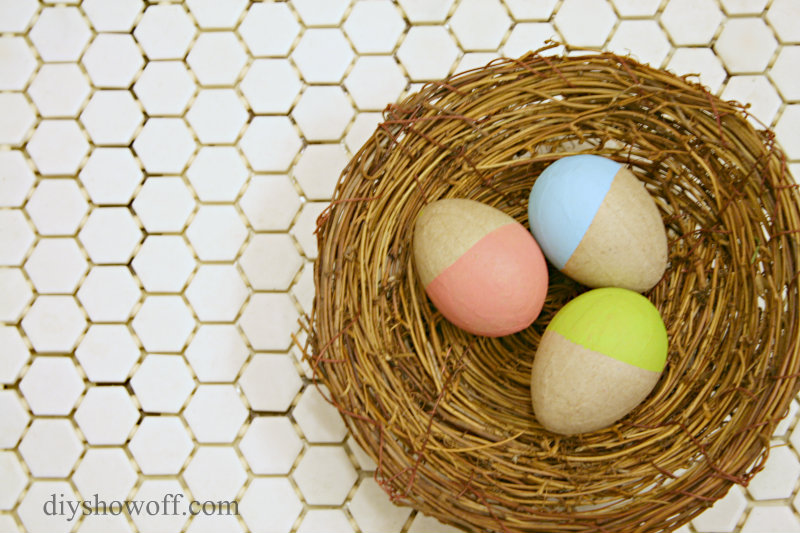
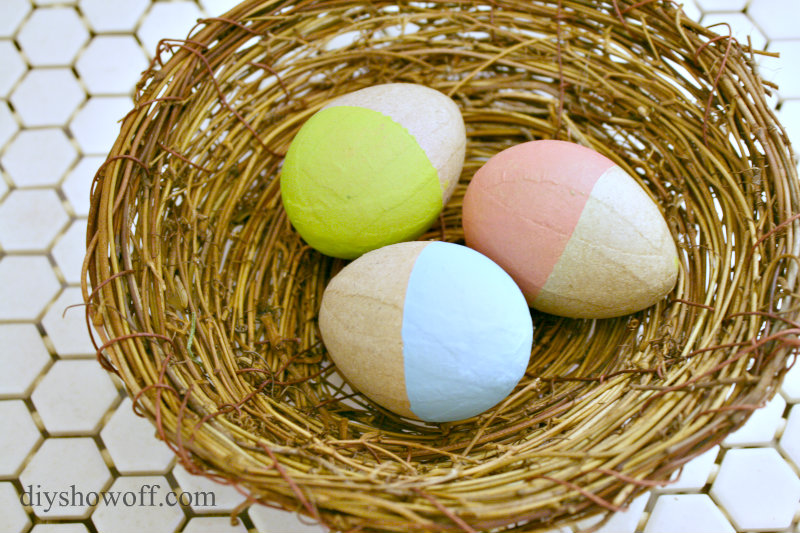
Fortunately, this dip-dyed {painted} paper mache Easter egg craft is a cheerful easy DIY project which aided in averting my eye from the cold, gloom and sleet outside.

painted-dip-dyed-eggs

I don’t think you really need a tutorial. But, since writing up a “how to” is what I love to do, I’m going to tell you what I did anyway. 😉

painted-dip-dyed-paper-mache-easter-egg-tutorial

Materials:

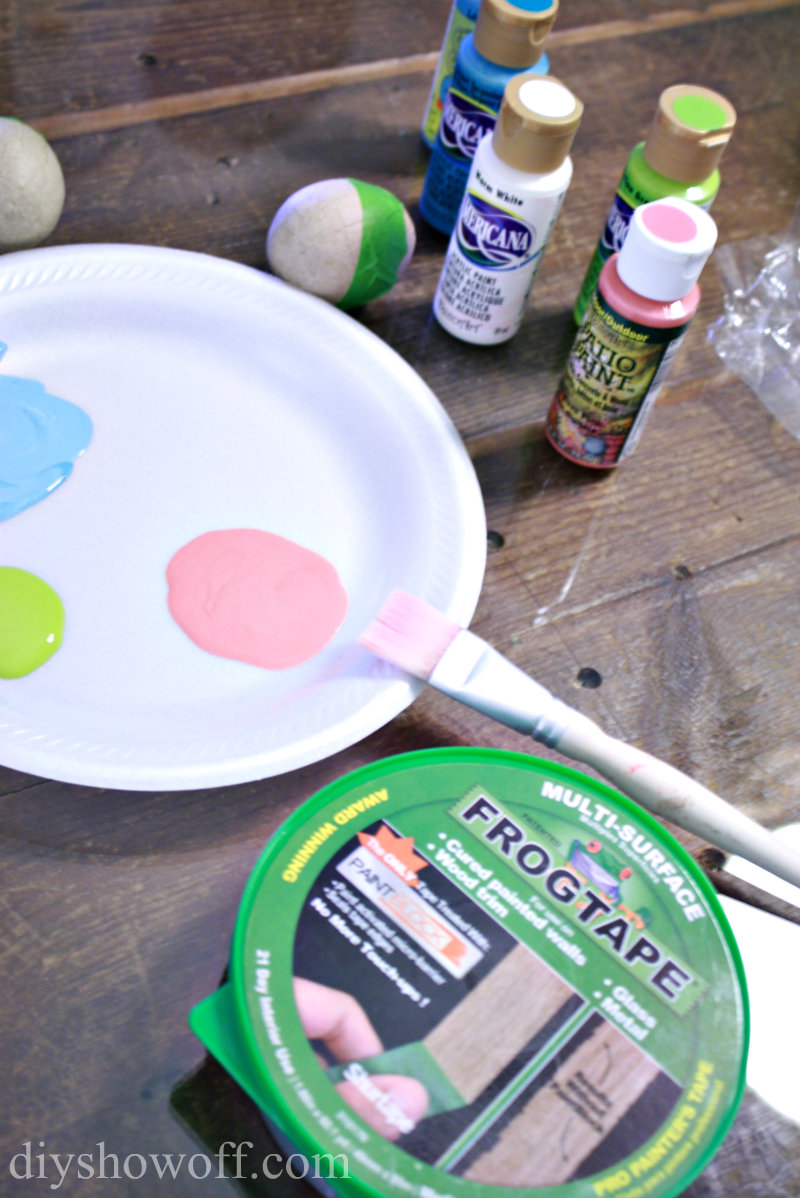
  • Paper mache eggs
  • FrogTape
  • DecoArt Americana acrylic craft paints

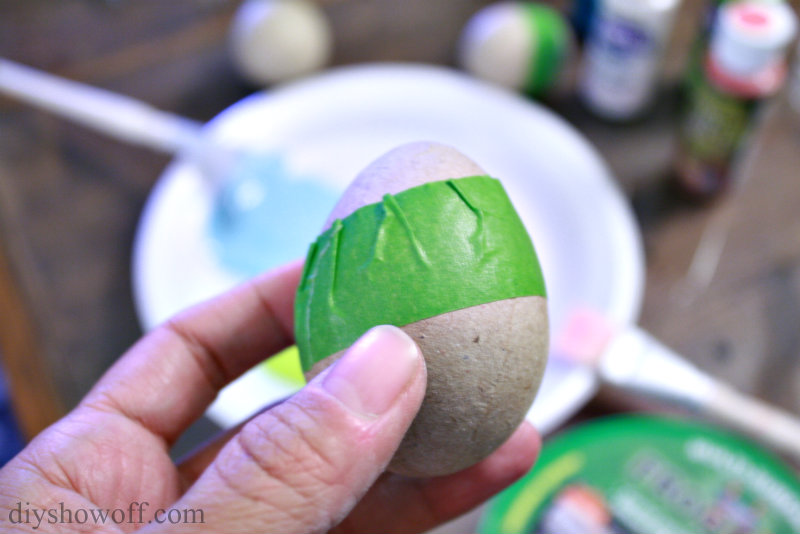
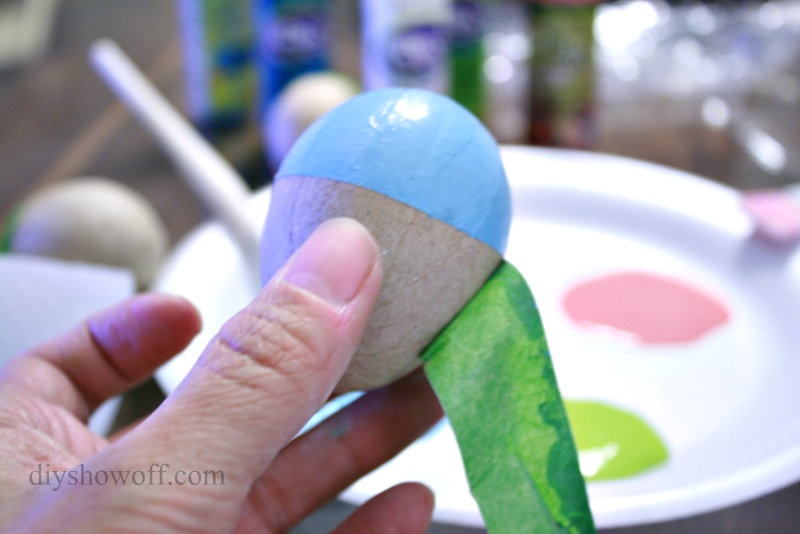
Wrap FrogTape around the paper mache egg to create a faux dipped line. Using my fingernail, I rubbed the edge of the tape to activate the Paint Block Technology to prevent paint from seeping underneath the tape, to create a crisp clean line.

FrogTape-on-paper-mache-easter-egg

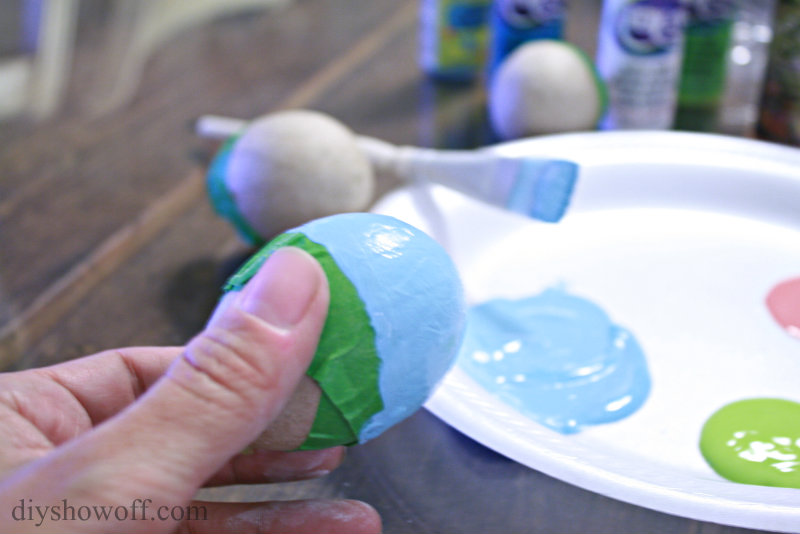
Then I simply painted the bottom of my paper mache eggs using different spring-inspired colors:

painted-paper-mache-egg

Pull away/remove FrogTape while paint is still wet. It’s a little tricky! After I was done, I thought: “I should have used a set of tongs or something to get a better grip on my egg.” #hindsight

removing-FrogTape

Allow paint to dry. (I just set mine on the cellophane paper mache egg packaging.)

Decorate!

dip-dyed-painted-paper-mache-easter-eggs

Do you decorate with Easter eggs {faux or real} this time of year?

Spring-Thing-Party

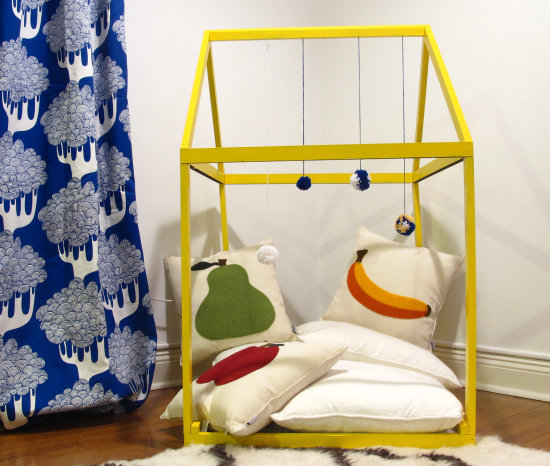
Joining Lana over at Making a House a Home for “It’s a Spring Thing” linky party where she shares her sweet little DIY playhouse for her little guy.

diy-play-house by Making a House a Home

There’s another It’s a Spring Thing link party too! Fun! I’m joining the party by linking up with my best blog girlfriends too.

Spring-Thing-Linky-Party-Button

What are you working on? You’re invited to link up & share!
Joining the party with Amanda too!
Weekend Bloggy Reading

This is a sponsored post brought to you by FrogTape. The opinions are completely my own based on my own experience.

 FrogTape Blog Squad

Affiliate links for project materials:

Accent Wall Before and After

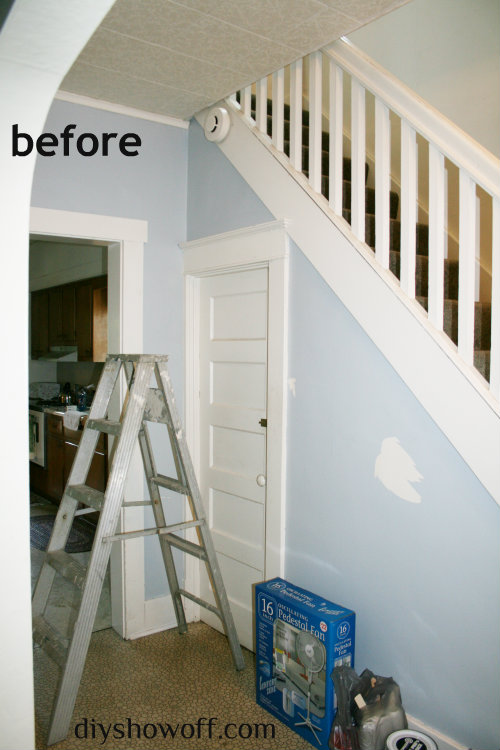
Patti (my youngest sister) is renting but has permission from the landlord to paint…and to be creative about it too. The entryway wall before had peeling paint…

wall-before

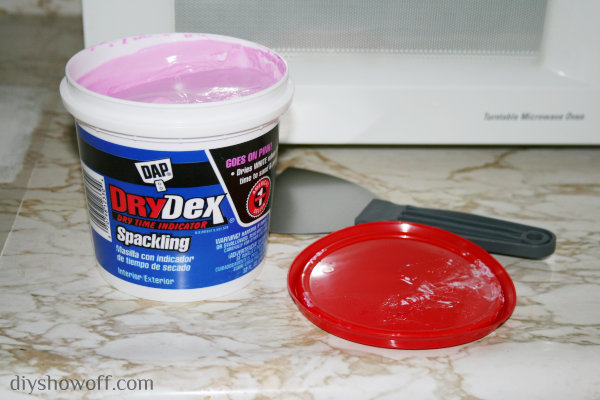
I scraped and sanded until we had a smooth finish. Holes and cracks were patched using DAP’s DryDex (spackling that goes on pink, dries white) and sanded.

dap-drydex-spackling

The walls got a coat of primer and a base coat in a neutral light gray color.

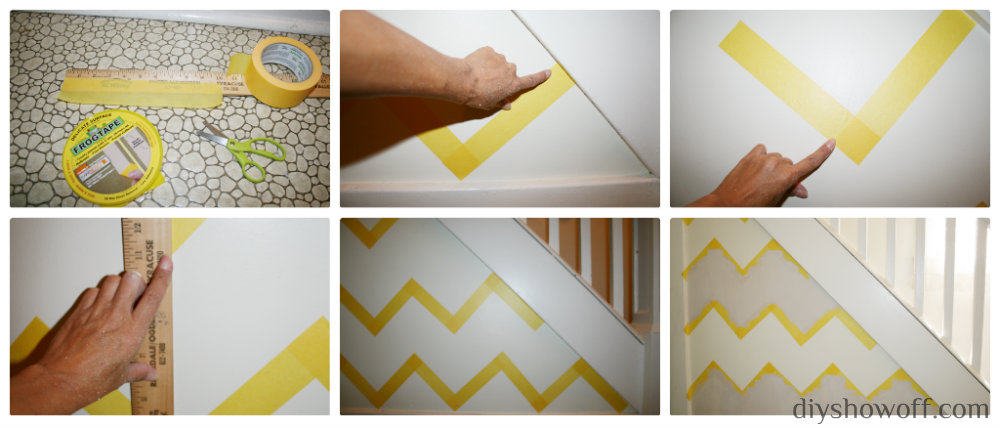
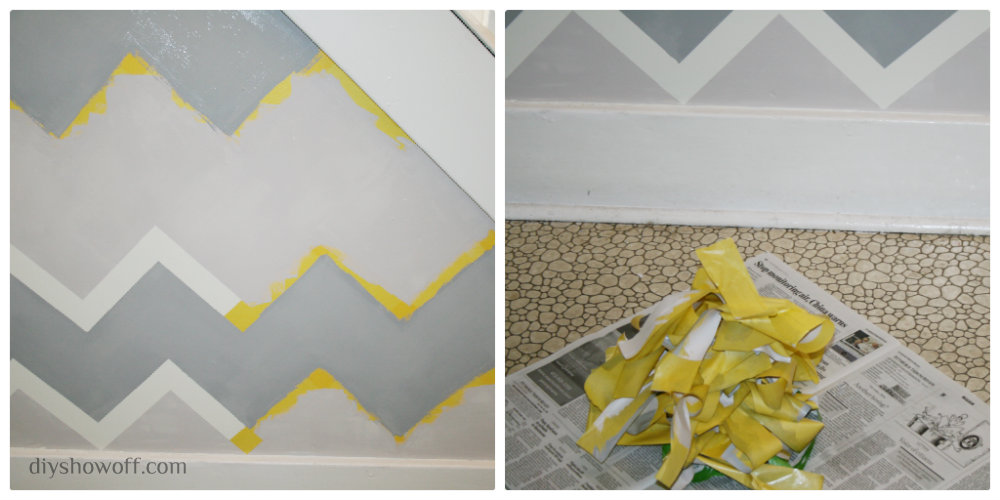
Using FrogTape Delicate (the yellow painter’s tape with PaintBlock Technology, safe for freshly painted walls) the next day, I created a chevron/zigzag pattern.

accent-wall-tutorial

Then painted the zigzag stripes alternating a left-over darker gray paint and left-over gray-beige paint (the color under the tape is a lighter gray).

As soon as I were finished painting the second coat (while it was still wet), I removed the FrogTape Delicate.

removing-FrogTape

Next up cleaning the dingy vinyl floor and decorating.

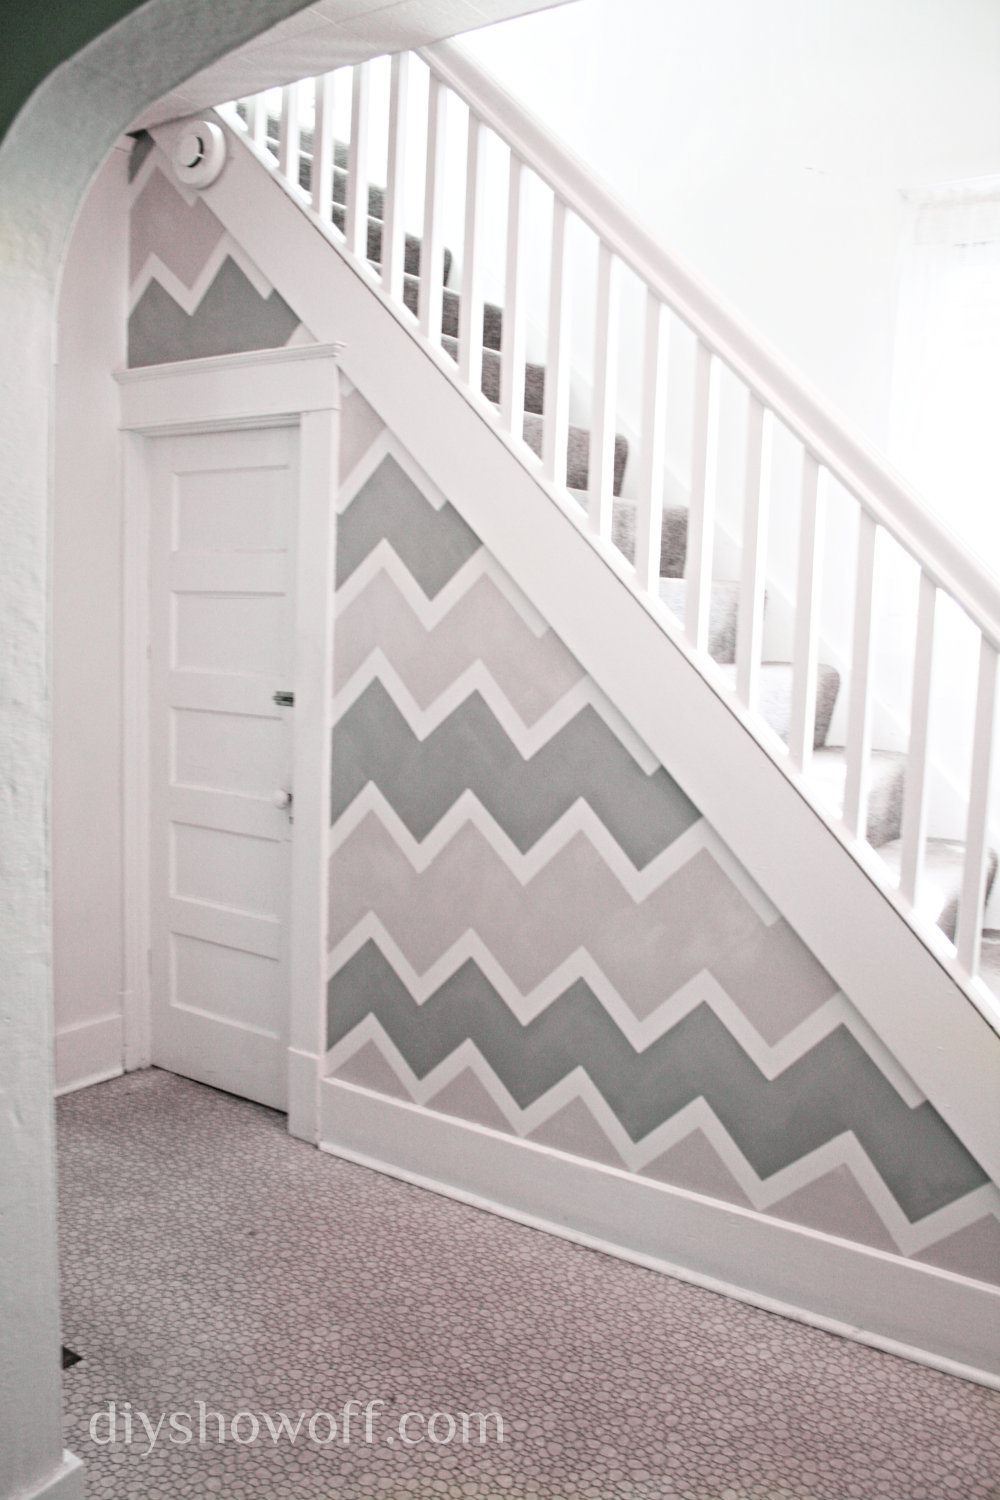
After (paint is still drying):
accent-wall-after

Patti just happens to work part time for a thrift store so she gets first dibs on all of the eclectic treasures (and has a good eye for what can be transformed). Lucky girl! If it was me, I’d never get out the door with a paycheck. I’d be trading those dollars for thrift store goodies!

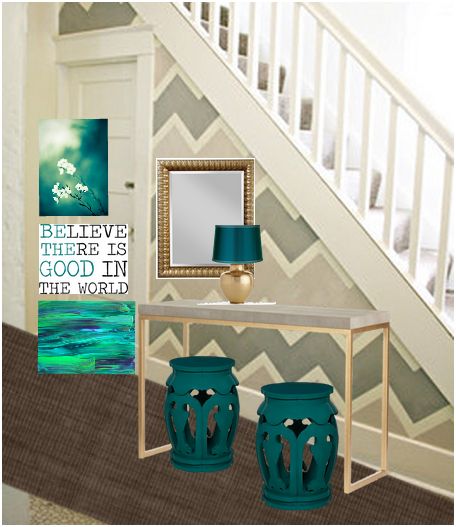
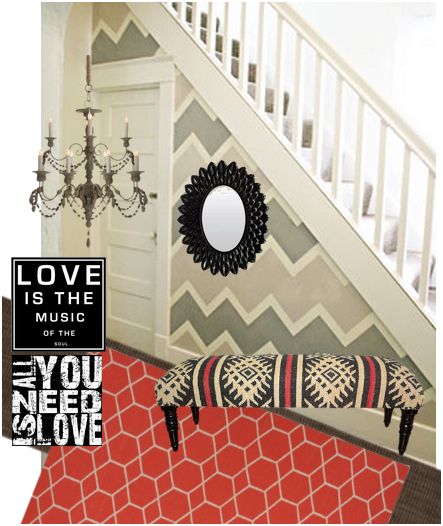
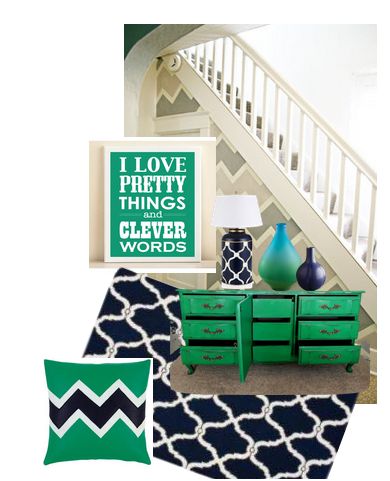
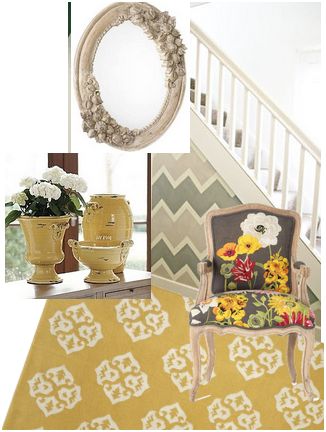
Even though the wall now sports a busy pattern in 3 colors, the colors are neutral enough to work in some fun colorful accents and patterns. {All accessories found on Polyvore.}

teal, gold & gray

teal-gray-entryway

 coral, black & gray

coral-gray-entryway

emerald & navy

navy-emerald

gray & mustard

gray-mustard

Looking forward to seeing what she does, how about you? Which color(s) do you like?

This is a sponsored post brought to you by FrogTape. The opinions are completely my own based on my own experience.

 FrogTape Blog Squad

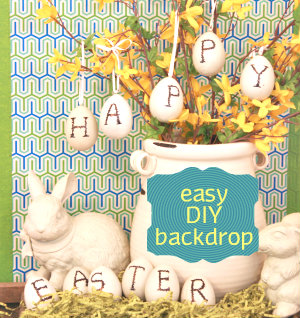
Quick, easy, cheap DIY vignette photo backdrop

Small super easy DIY photo backdrop: Ever need to take some close up shots of crafts or seasonal vignettes for blogging purposes? Here’s a quick easy way to add some fun pattern and color to your “after” photos.

easy-diy-photo-backdrop

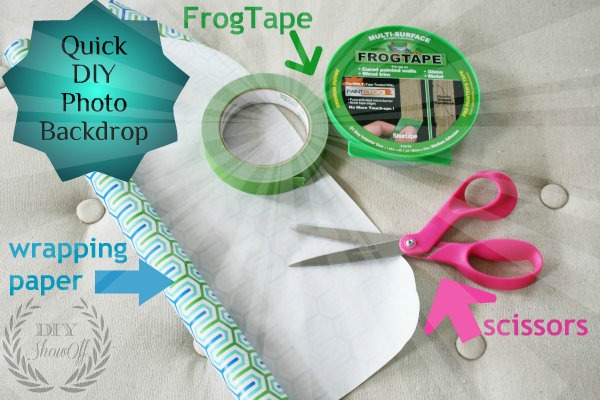
What you’ll need:easy-diy-photo-backdrop

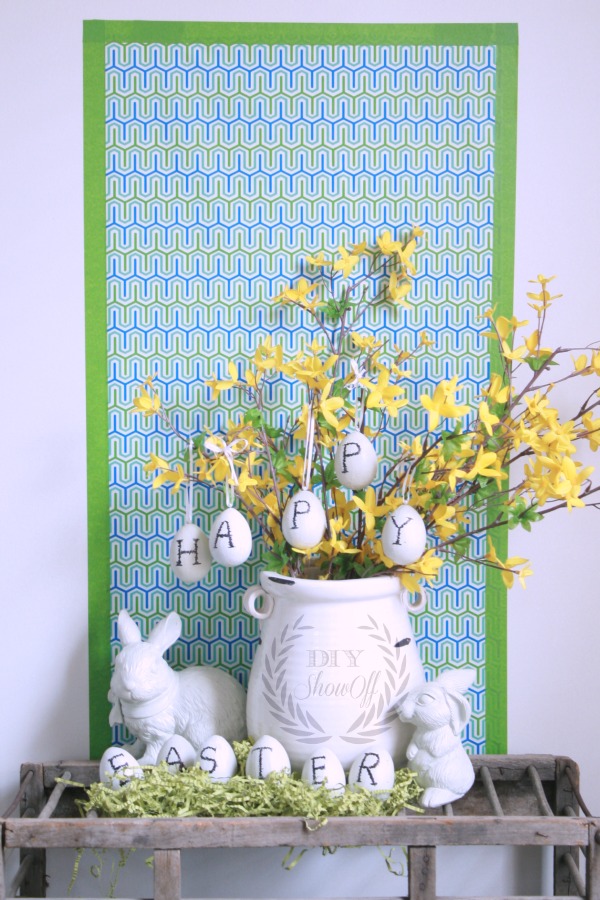
Cut wrapping paper to desired size for background. Keep in place using FrogTape. FrogTape coordinated with my roll of narrow wrapping paper so it works well with my design in creating a faux “panel” and can be used in my photos but just a few pieces to tape ‘outside’ of your photo area works well too. It’s safe for use on walls (no sticky residue or damage) and easily removable.

diy-photo-backdrop

Before:pottery-barn-inspired-easter-eggs

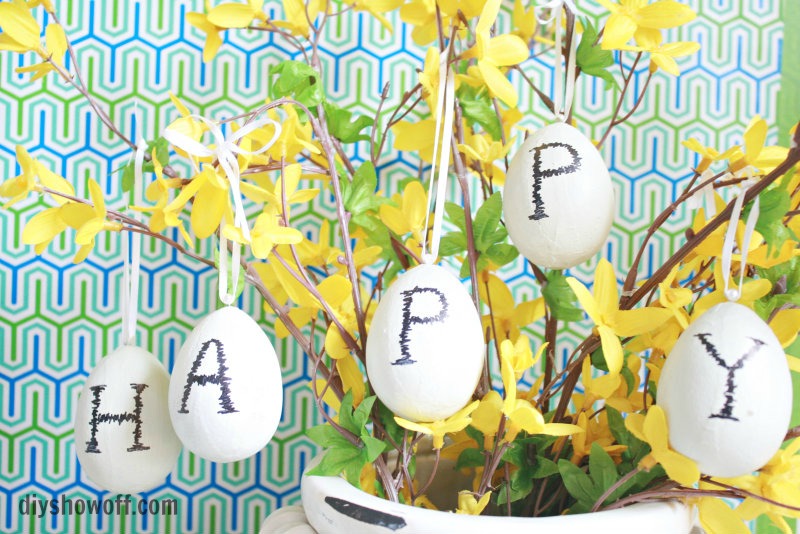
Pottery Barn inspired “Happy Easter” eggs tutorial

After:Pottery-Barn-Happy-Easter-eggs-knock-off

Easy peasy! Quick color and pattern for your photos. Now if I could just get the “photography” part done that simple!

Sharing at Home Stories A to Z’s tutorial & tips party.

Reminder that today starts another week of the Countdown to Spring Party!

countdown to spring

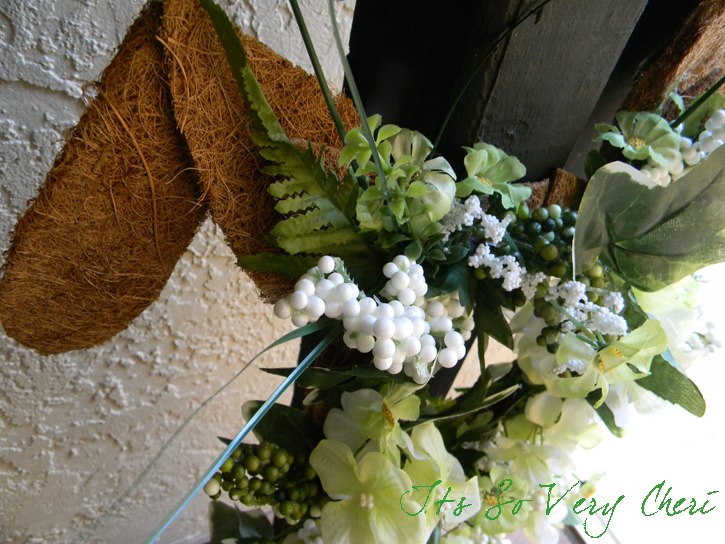
Sneak peek of the project kicking off this week by Cheri at It’s So Very Cheri.

bunny wreath at it's so very cheri


This is a sponsored post brought to you by FrogTape. The opinions are completely my own based on my own experience.

 FrogTape Blog Squad