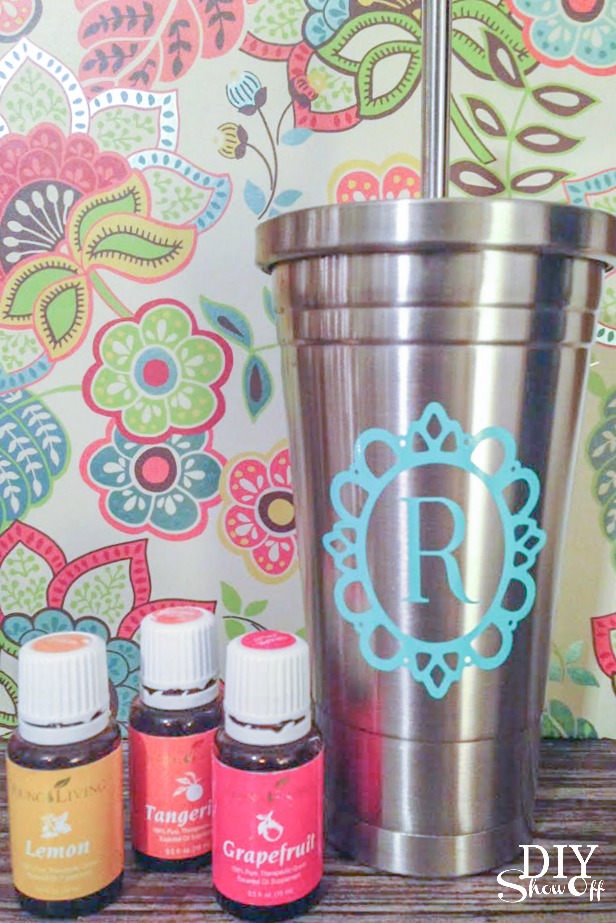
Once I started experiencing the benefits of using Young Living essential oils, I’ve been adding grapefruit, tangerine and sometimes lemon essential oils to my water. Love it! It’s definitely increased my daily water intake! However, because Young Living citrus essential oils are so potent, using a glass or stainless steel drinking vessel is recommended.
I found this awesome stainless steel tumbler (including lid and straw) on Amazon.
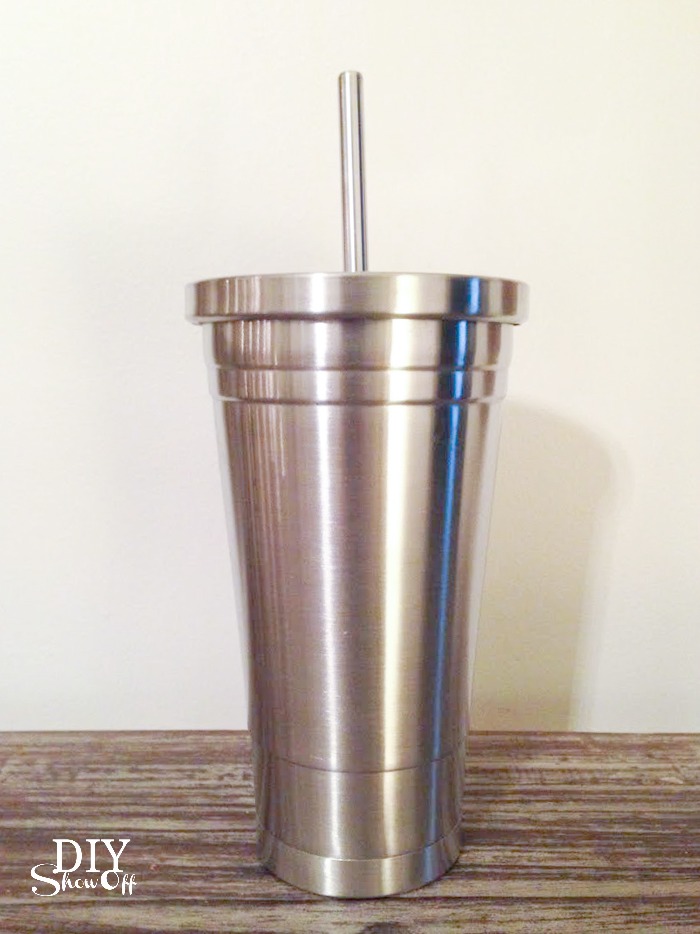
It works beautifully – keeps drinks SUPER cold with a double insulated wall. Design wise, it’s a little boring and plain so of course I couldn’t help but create some vinyl decals to dress it up a bit.
Materials:
- Happy Crafters glossy adhesive vinyl (mint)
- transfer paper
- Stainless steel tumbler, lid and straw {affiliate link}

What I did:
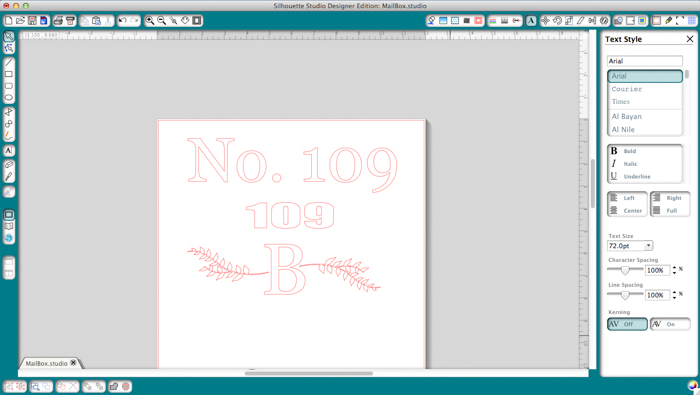
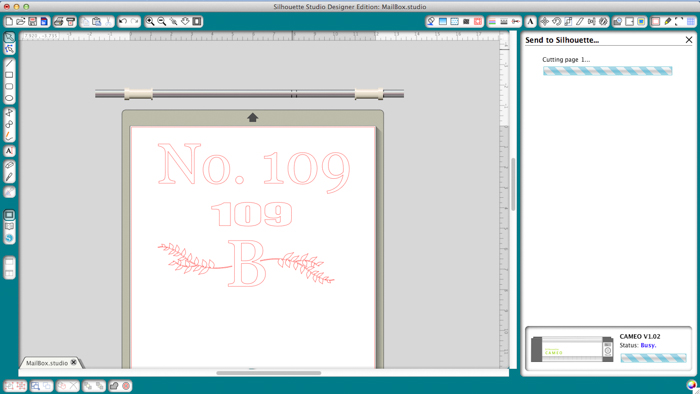
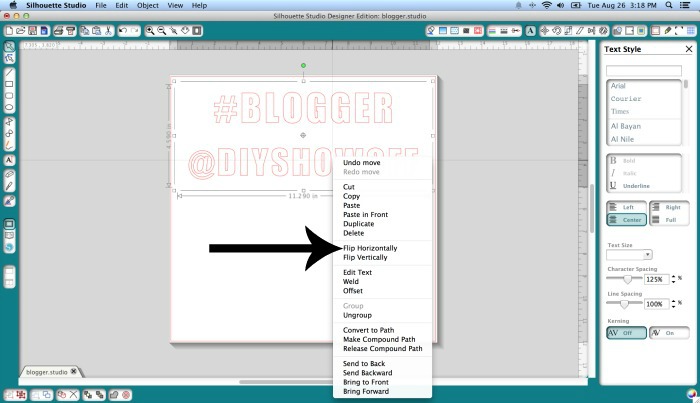
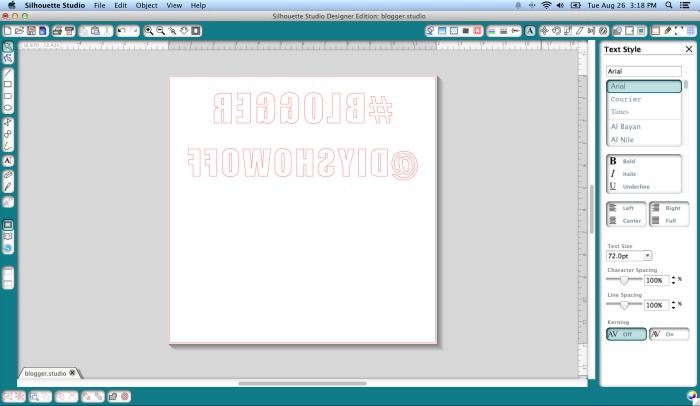
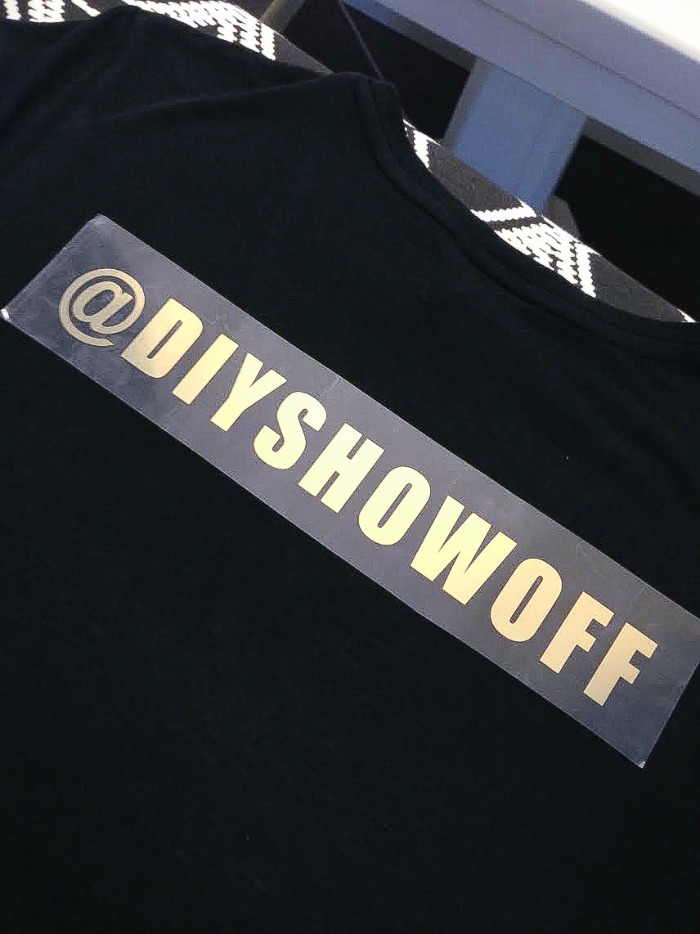
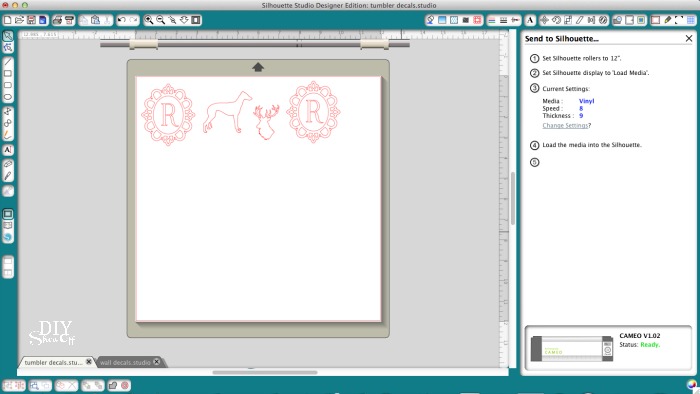
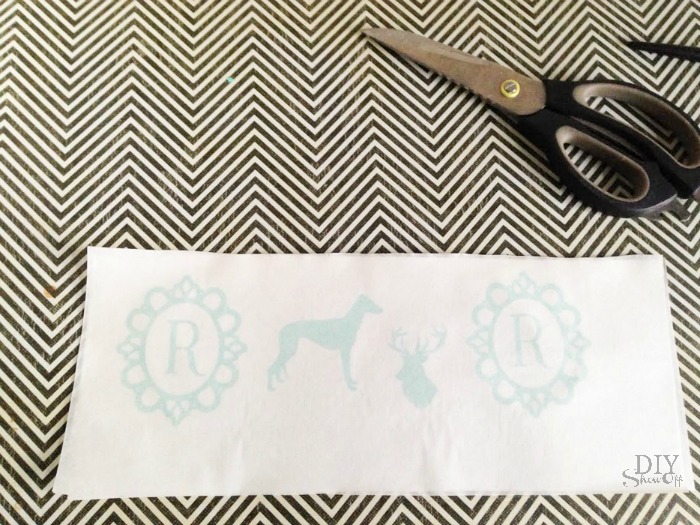
I added my designs (shapes I already had on hand) to the Silhouette Designer Software template, making sure they were at a size that would fit my tumbler. Designs are previous purchases from the online Silhouette store accessible through the software.
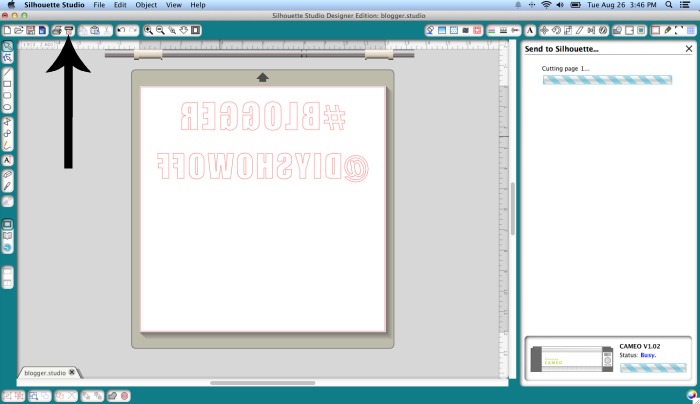
I sent the design to cut.
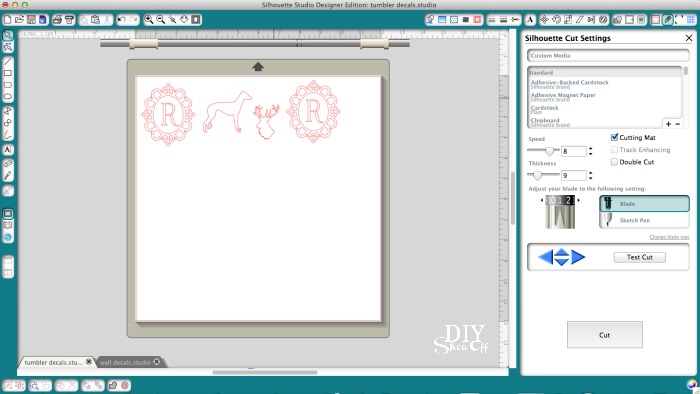
I adjusted setting as needed for cutting vinyl (you may want to do a test cut).
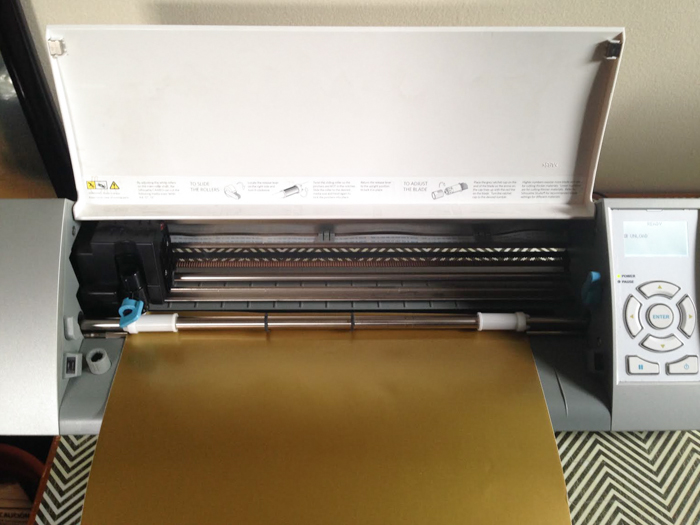
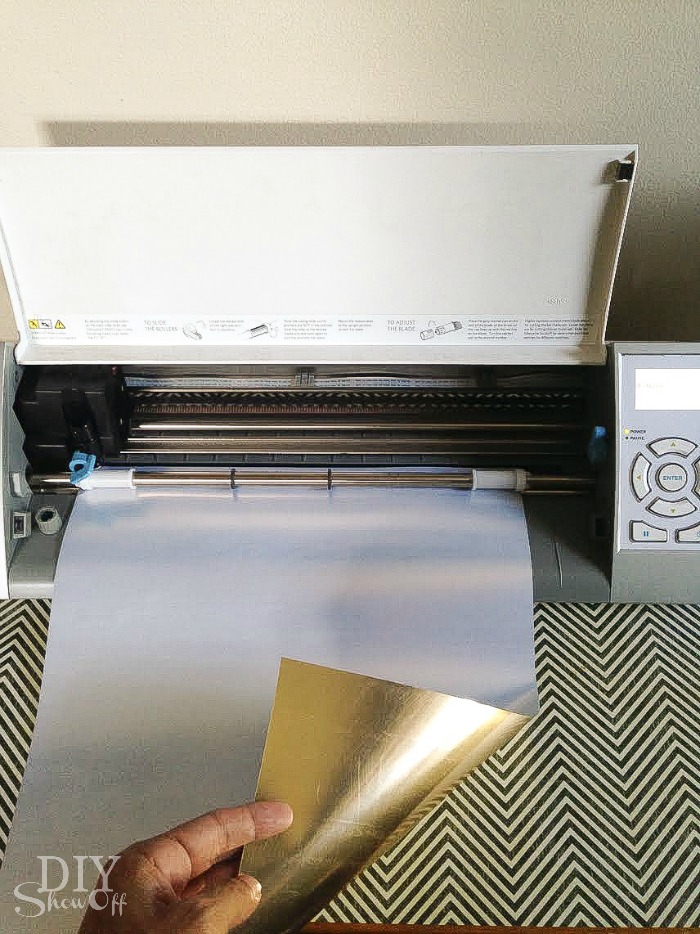
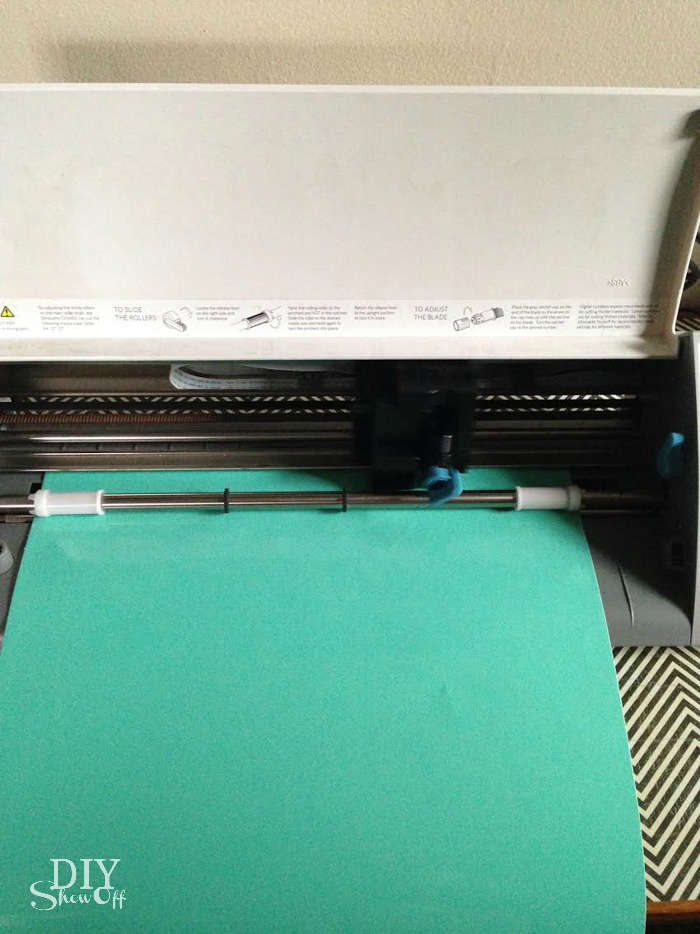
I loaded my adhesive vinyl glossy color side up into the machine.
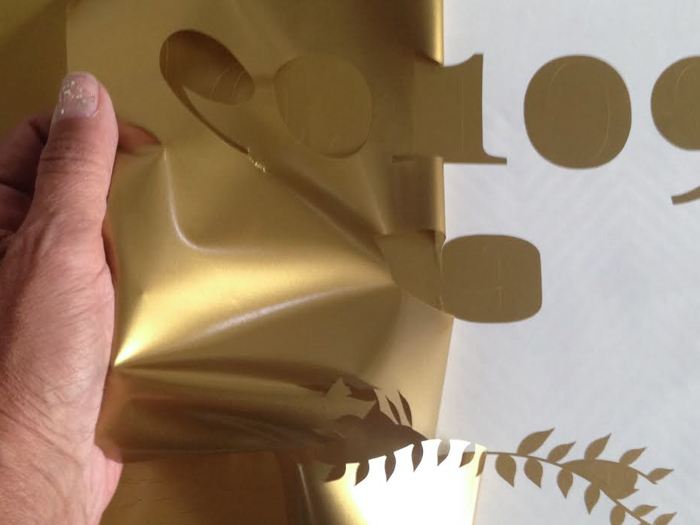
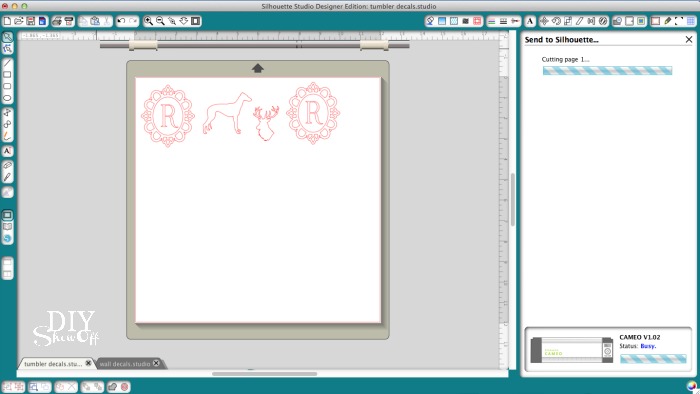
I clicked “cut” and removed vinyl from machine when cutting was complete.
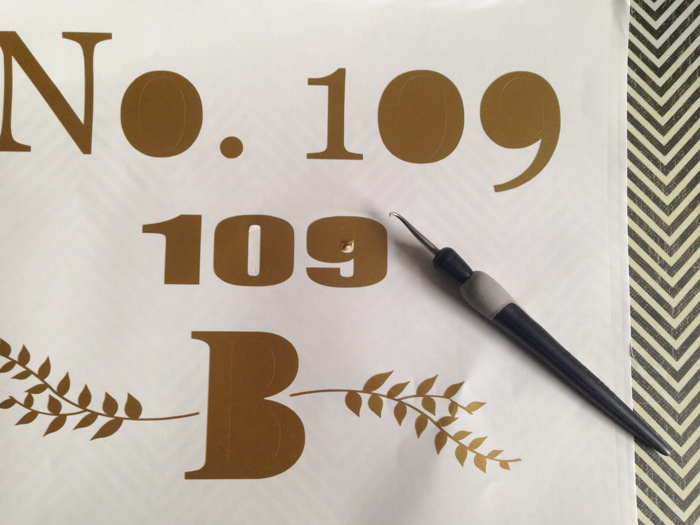
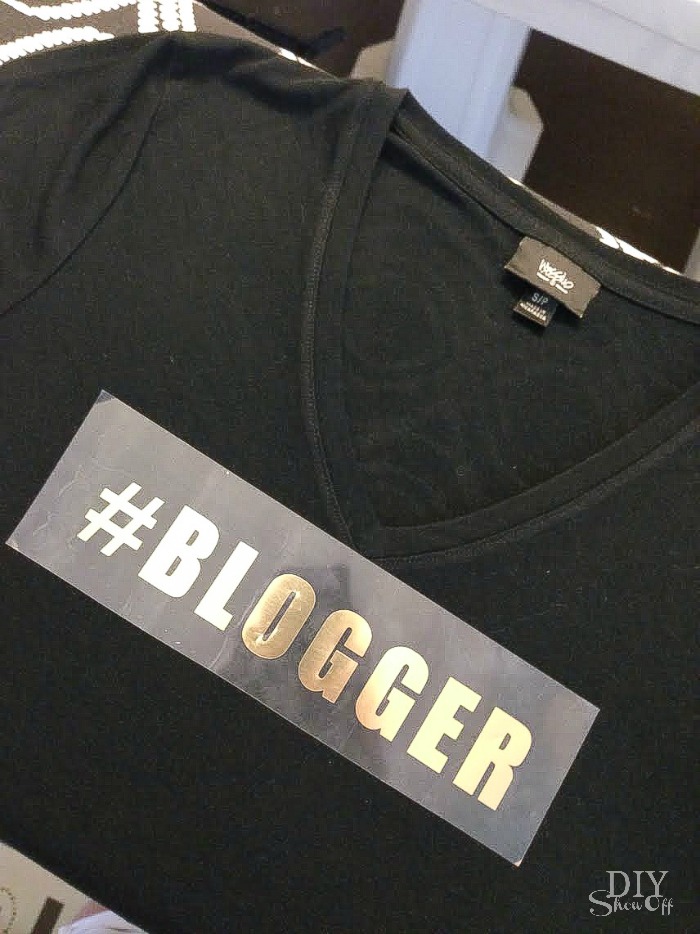
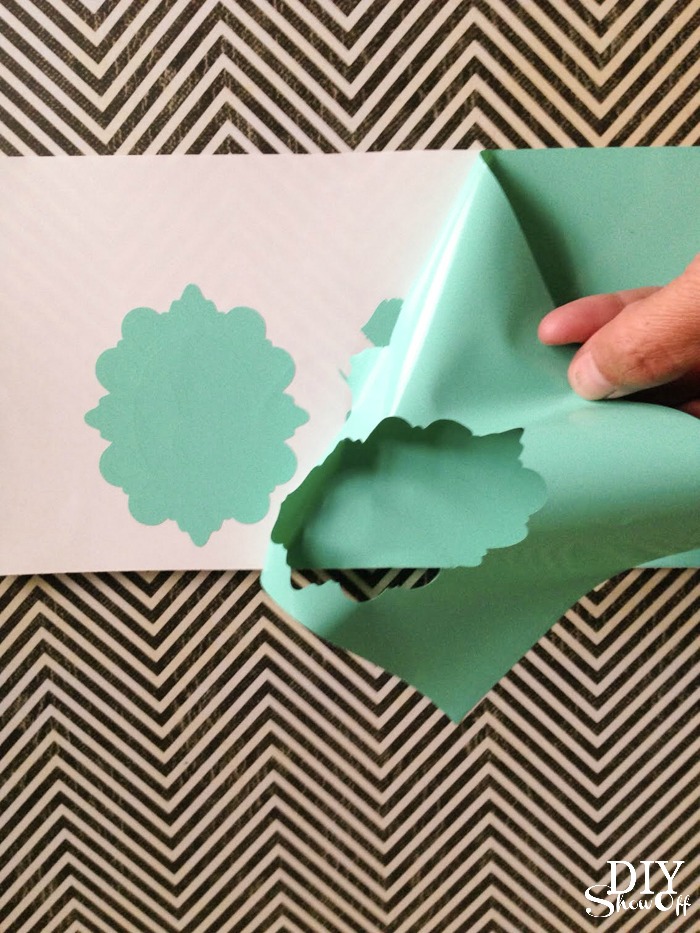
Then, I peeled (weeded away) the vinyl that surrounded the design.
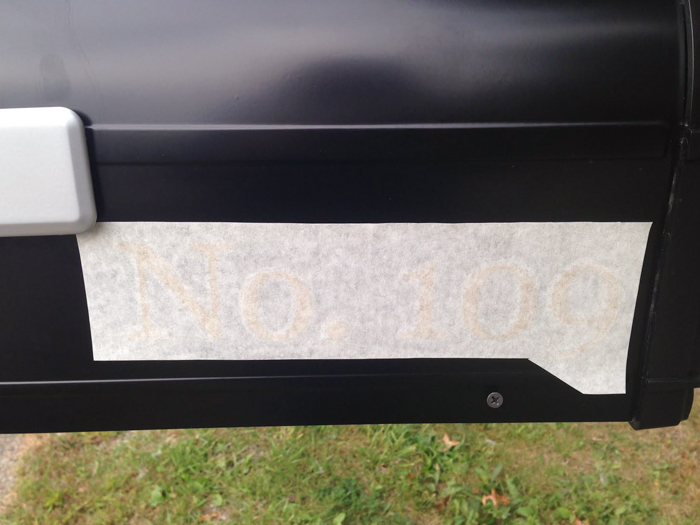
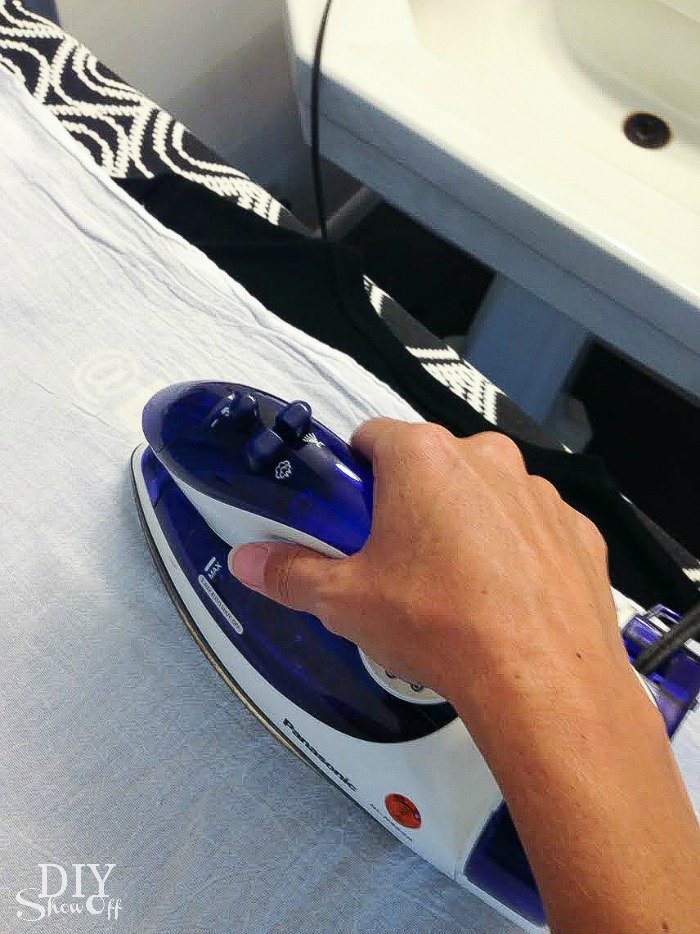
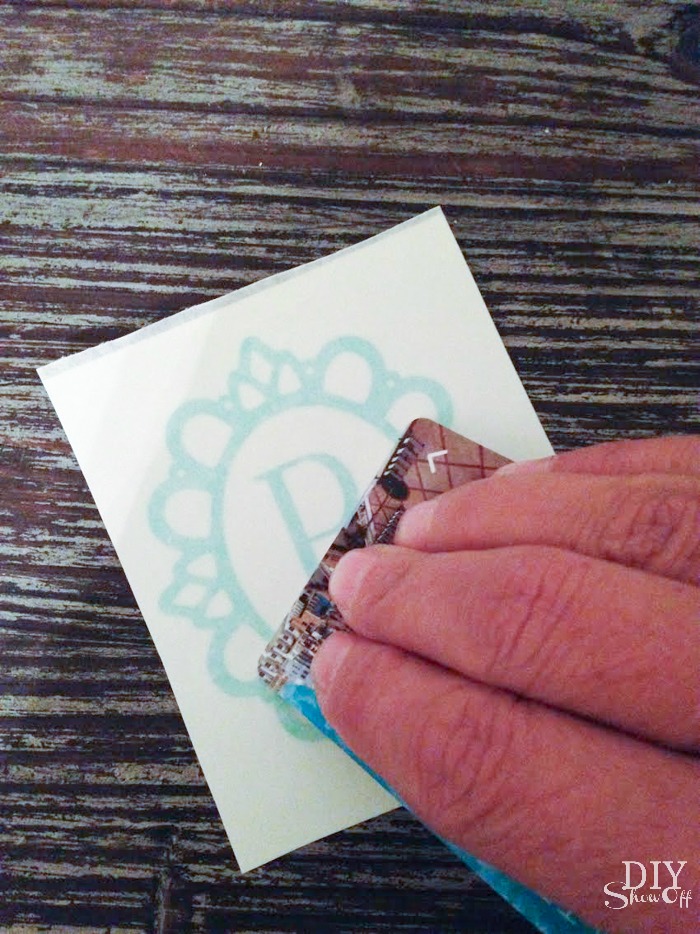
Next I added a piece of transfer paper to the decals and rubbed with a credit card to ‘transfer’ the design.
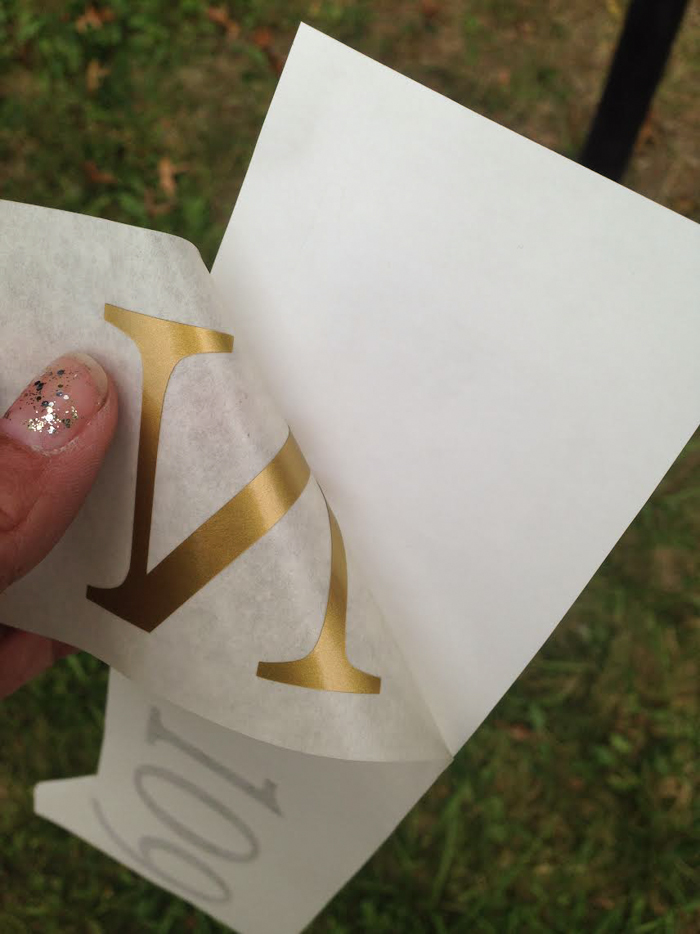
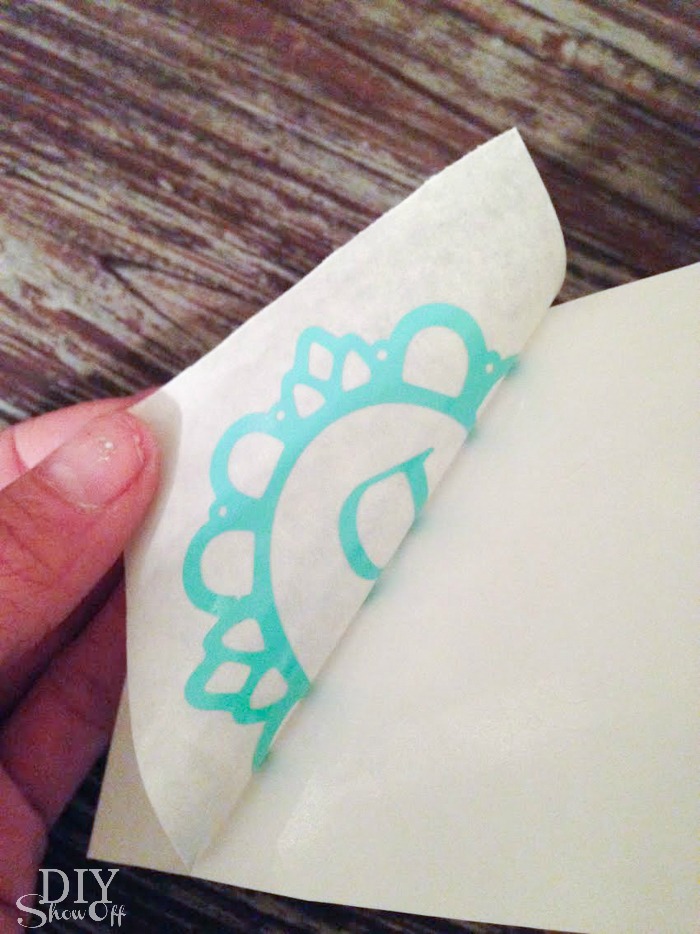
I peeled away the transfer paper, separating it from the wax papered backing (vinyl decal should now be on the sticky side of the transfer paper).
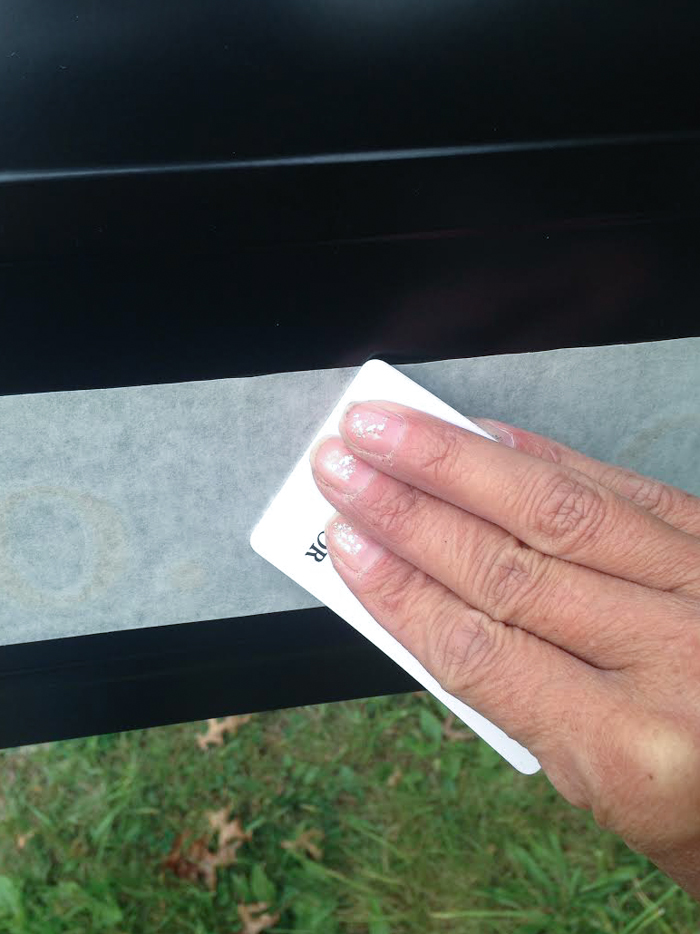
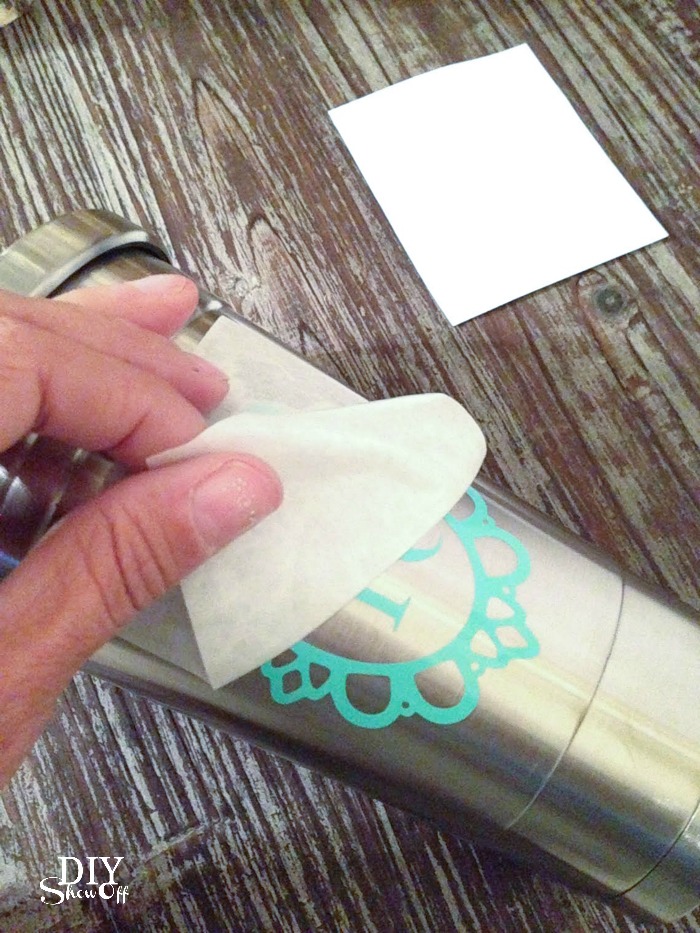
I placed the decal sticky side down onto the tumbler’s surface then rubbed a credit card.
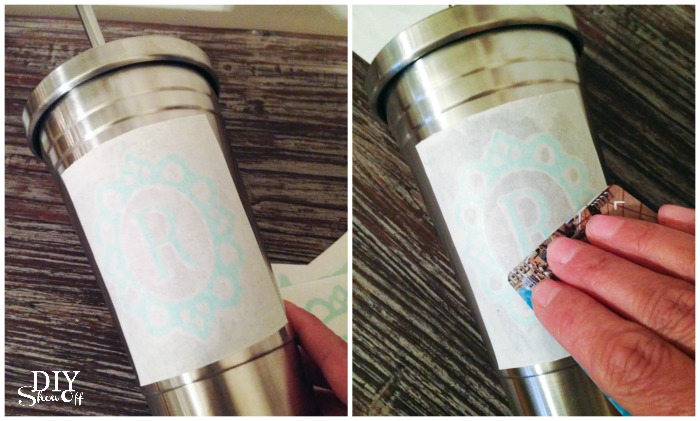
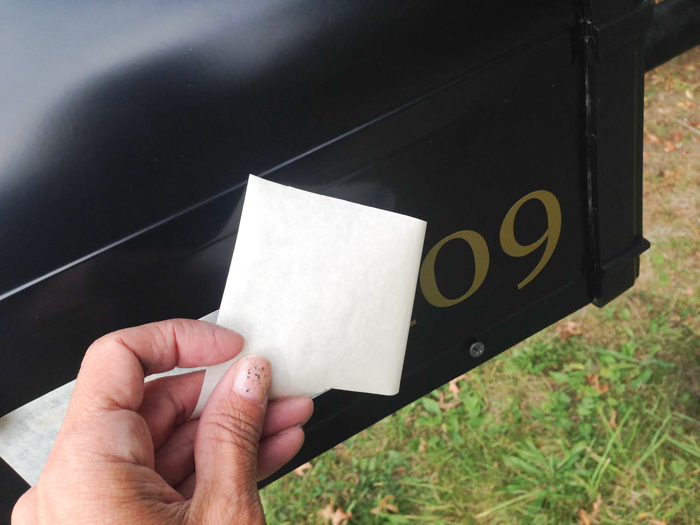
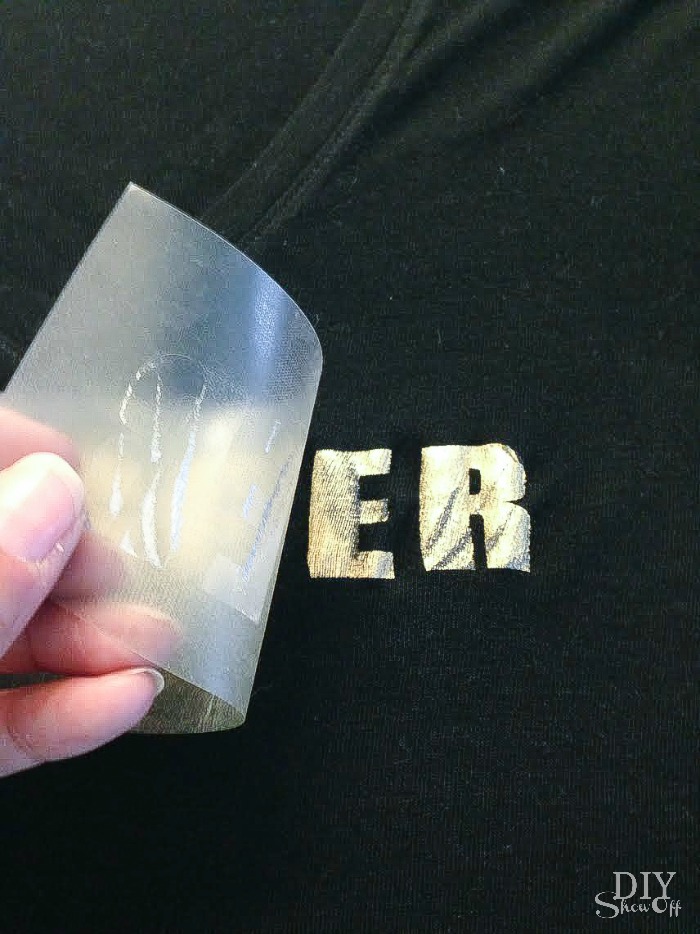
When I peeled away the transfer paper, the decal transferred to the stainless steel surface. All done!
*Now stainless steel tumbler must be hand washed (do not run vinyl through dishwasher). 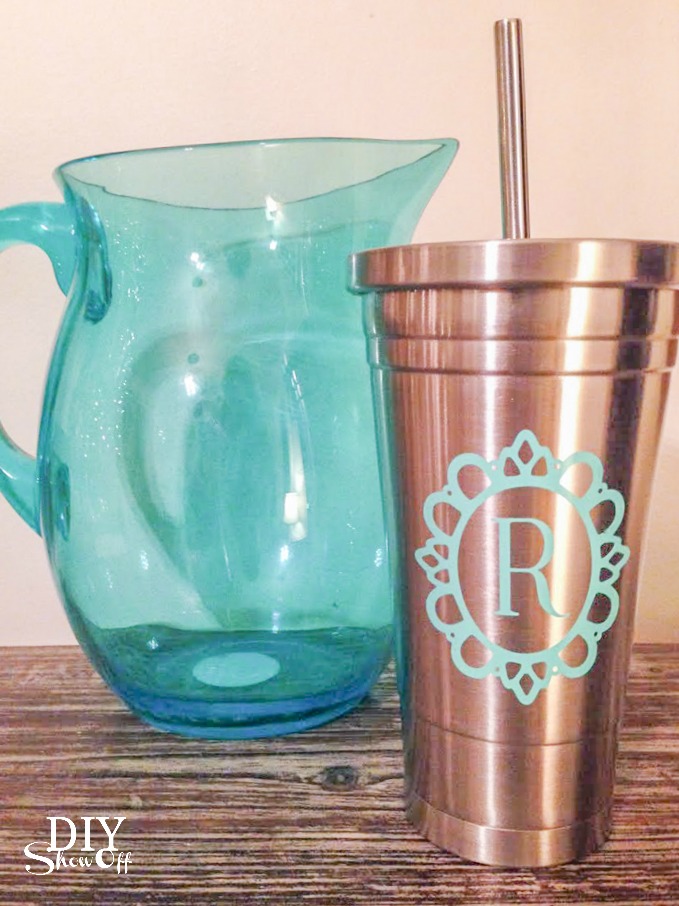
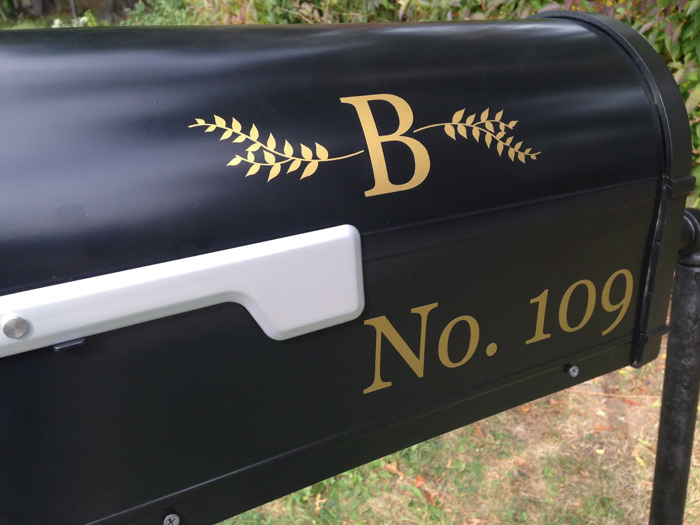
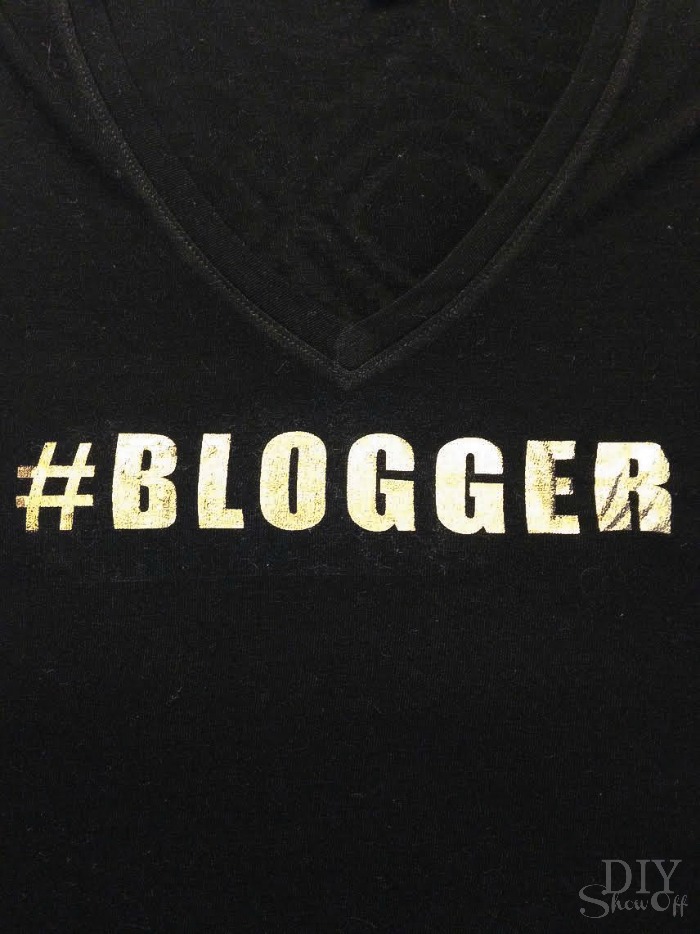
Much cuter! And since my mom, my daughter and I all use these tumblers, now I know which one is mine! It makes a great holiday gift idea for your essential oils team or oily friends and family.
*This post is sponsored by Happy Crafters. Tutorial, experience and opinion is my own. Check out all the supplies at Happy Crafters for inspiration for your next project.