Silhouette Portrait Giveaway

The promotion with GREAT savings ($7.50 for vinyl and transfer paper) using code “SHOWOFF” at checkout runs through 4/26.

This giveaway is now closed. Winner is Ruth: “I have been wanting to add a compass rose to an end table in my living room, so I think that would be my first project.” Congratulations, Ruth! I hope to see the table! I will contact Ruth by email.

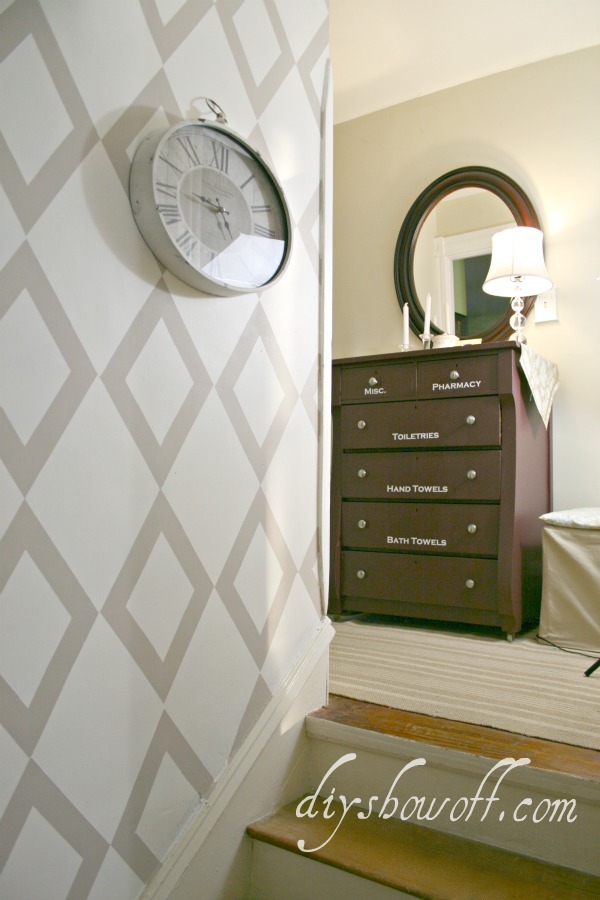
One of the things I love about owning my Silhouette is the ability to create cute customized vinyl labels…

labeled storage dresser in hallway

labeled-dresser

And since welcoming CocoRosie to our family recently….

italian-greyhound-cocorosie

{awe! those eyes!!}, anyway…I wanted to transfer pet food to an airtight container rather than dishing out from a pet food bag. Nothing pretty about those, ya know? I love glass jars but the cat food and dog food look very similar, so cute labels are a great solution.

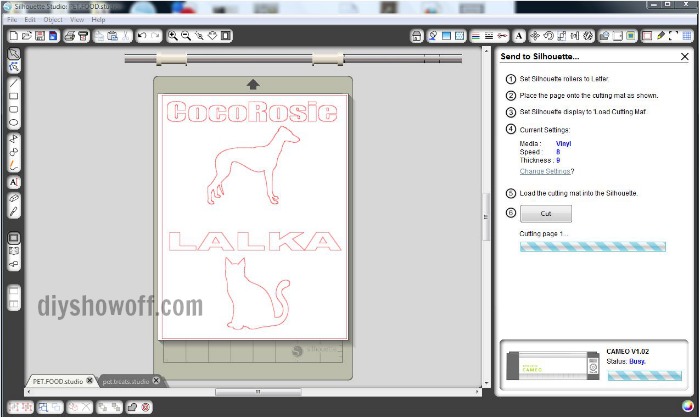
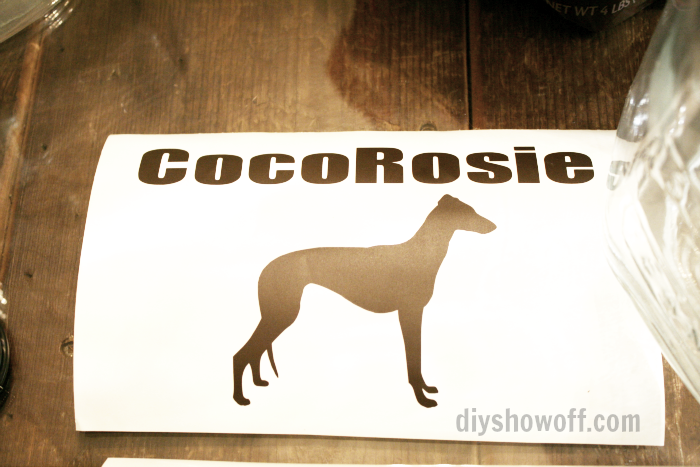
It’s super easy to design my labels using the Silhouette Studio and purchasing/ downloading ‘silhouette’ shapes (and extra fonts) from the Silhouette store. Most run around .99 and stay in my ‘library’ for repeated use.

pet-labels-silhouette-studio

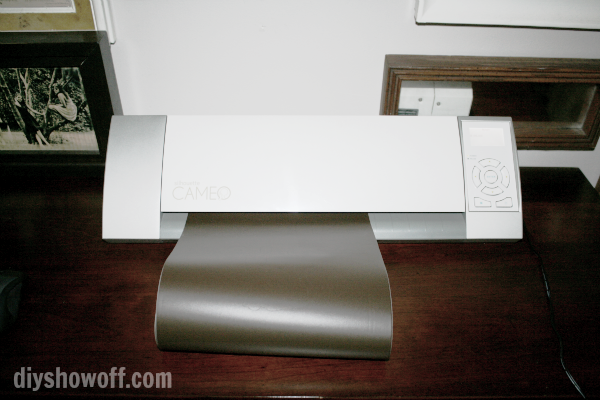
Cutting the vinyl is a cinch too…just load the vinyl, set the blade and click “send to Silhouette” to cut.

cutting-vinyl

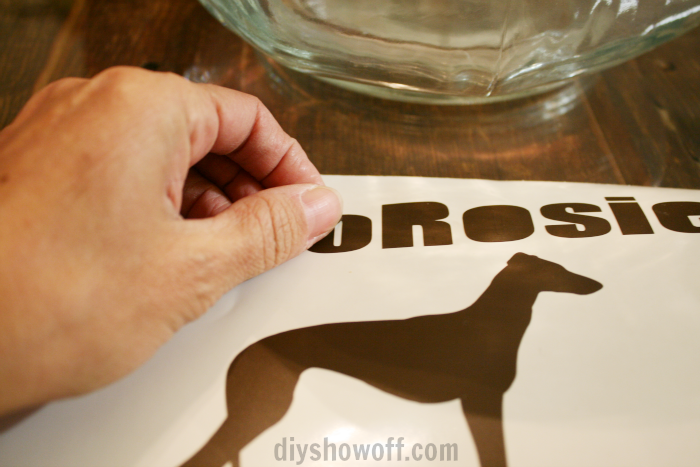
Peel away the un-used/negative part of the vinyl design (also called weeding).

weeding-vinyl

You’ll have a vinyl “sticker” but peeling away the letters and placing by hand for me means creating a slanted label that isn’t ‘level’ and guessing on spacing. This is where transfer paper comes in handy. It “transfers” the vinyl design while keeping the design exactly spaced/level as it shows on the paper.

vinyl-sticker

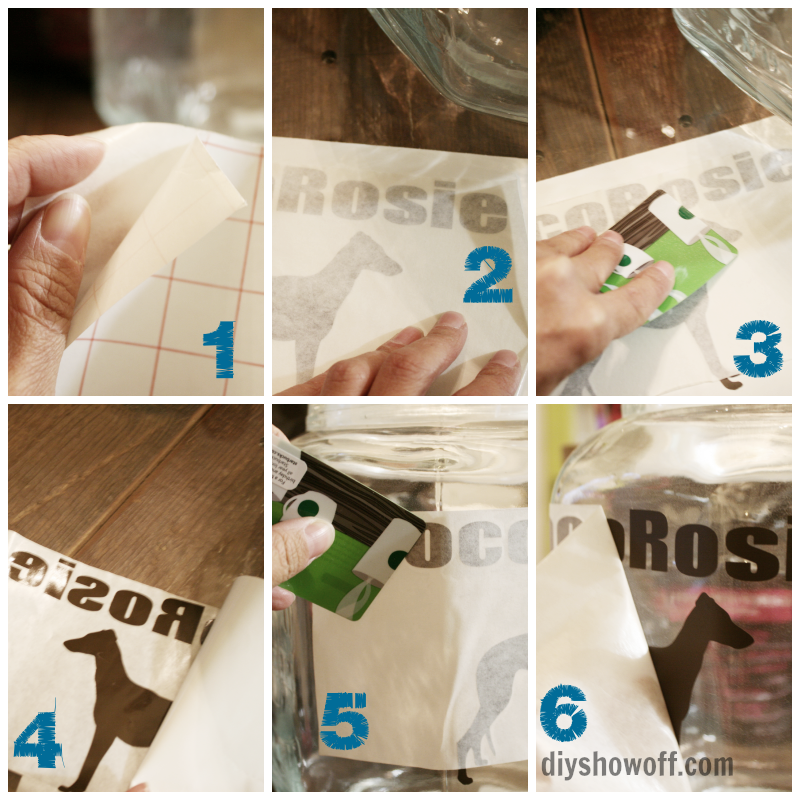
How Transfer Paper Works: Simply cut a piece of transfer paper to size.

  1. Peel away the waxy backside (the transfer paper is the sticky/tacky paper).
  2. Place the transfer paper over the vinyl design you just weeded.
  3. Rub (I use a gift card/credit card).
  4. Then peel the backing away (waxy thicker paper). The design is now stuck (backward) to the transfer paper.
  5. Place the design/transfer paper onto the glass. Rub with a credit card.
  6. Peel away transfer paper. Vinyl design stays adhered to the glass.

transfer-paper-tutorial

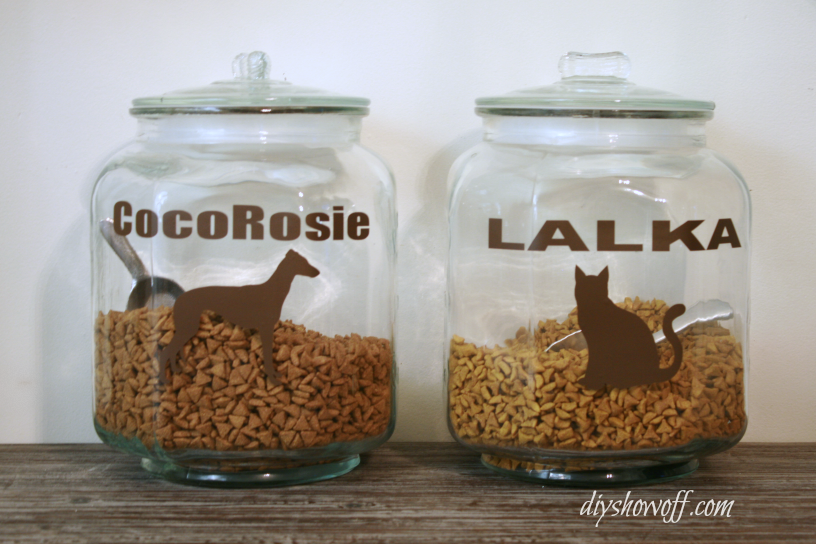
Here’s what I whipped up in less than 30 minutes {containers are from Garden Ridge and scoops from a local commercial restaurant supply store}:

Labeled Pet Food Containers

labeled-pet-food-containers

See MORE of my Silhouette projects here. 

If you’ve been waiting for the monthly promotion to get a Silhouette, now is the time!

Silhouette April Special (just use promo code “SHOWOFF” to get the discount)

Silhouette affiliate link

silhouette-promotion-showoff

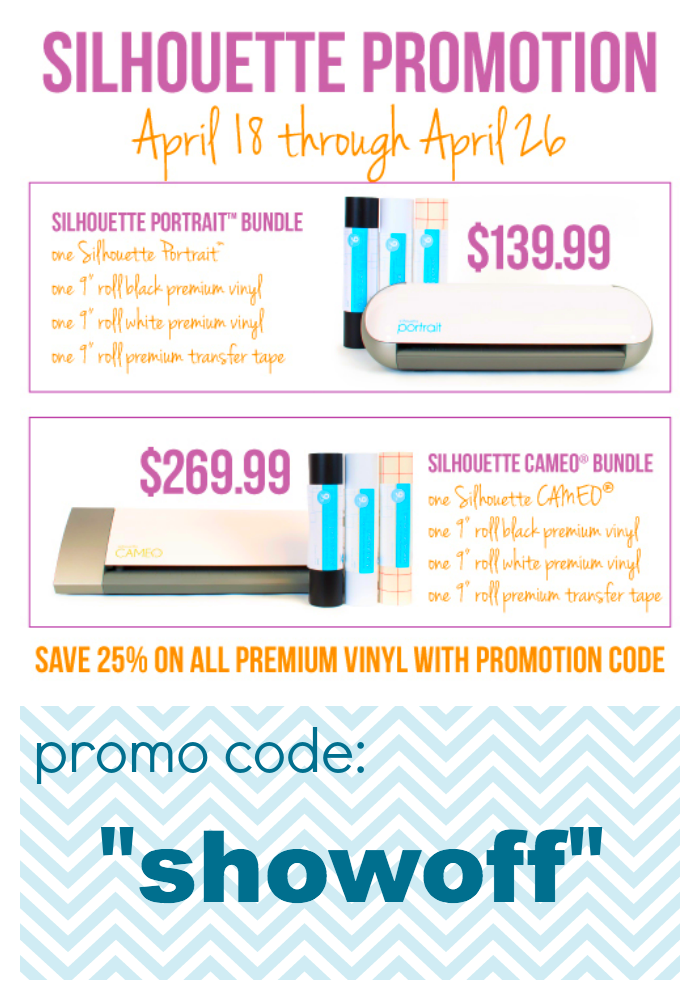
Promotional Pricing Details: sale runs from 4/18-26th at Silhouette America.

  • 1 Silhouette Portrait™ + 1 roll of black vinyl, 1 roll of white vinyl, and 1 roll of transfer paper: $139.99
  • 1 Silhouette CAMEO® + 1 roll of black vinyl, 1 roll of white vinyl, and 1 roll of transfer paper: $269.99
  • All premium vinyl bought outside of a machine bundle is 25 percent off with promotion code: SHOWOFF.

Note that the vinyl discounted in the promotion is all 9” x 10’.  Also, and this is very important, vinyl is actually discounted BIG TIME. It used to cost $14.99 and is now reduced to $9.99 with an additional 25% promotional discount. I’m going to be stocking up!

diyshowoff-silhouette-portrait-giveaway

How to Enter to win a Silhouette Portrait:

a Rafflecopter giveaway

Giveaway runs from April 18th to the 20th. Open to US residents. Silhouette provided me with the vinyl for my project, the Silhouette Portrait for 1 lucky DIY Show Off reader and a small percentage of sales generated with the “showoff” promotional code. Thanks and GOOD LUCK!

Visit the blog friends below for MORE chances to win:

DIY Spring Sign

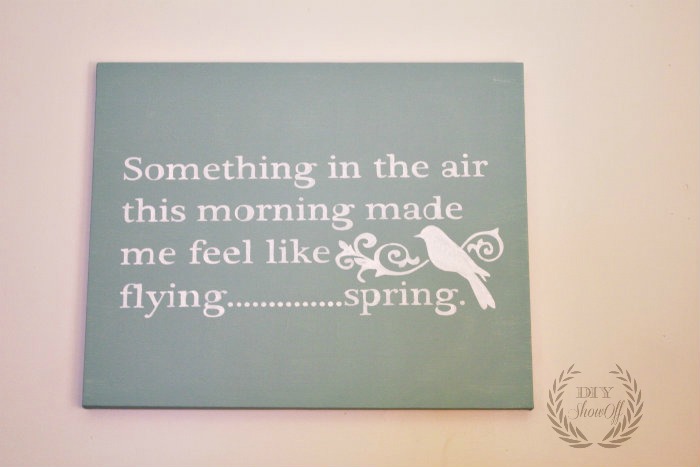
It’s March! And that means spring is right around the corner I hope. Even though I’m looking at snow flurries, a little spring decorating is in order. I’m impatiently waiting and well, why not prepare to welcome spring when it arrives? A new DIY spring sign always gets motivated to decorate and a catchy spring phrase reminds me it’s almost time to celebrate warmer weather and longer days!

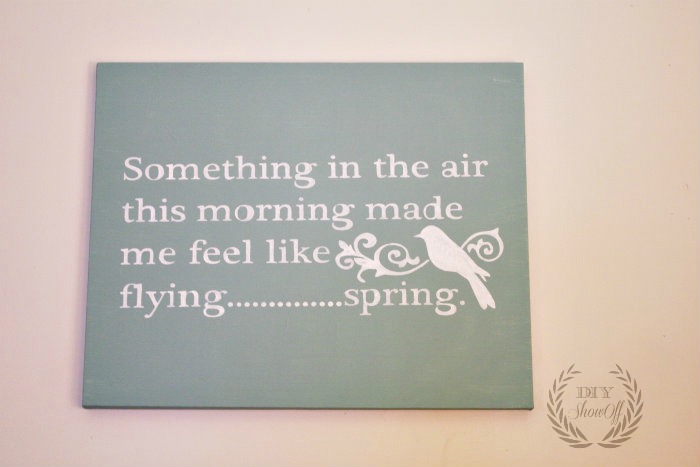
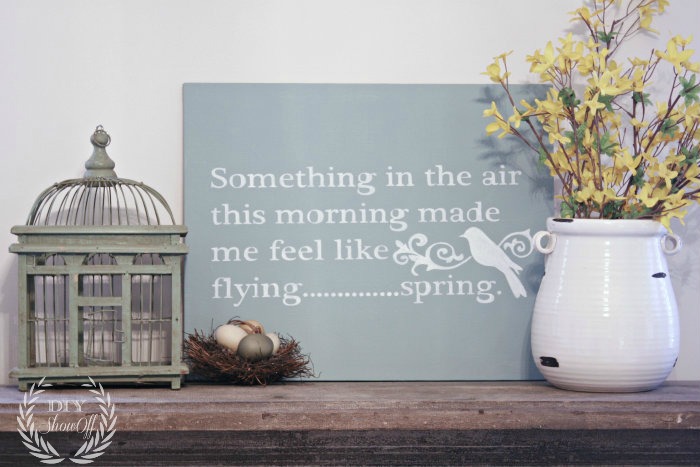
“Something in the air this morning made me feel like flying. . . “

Spring Flight

-Eileen Granfors

spring-diy-sign

For this project, I gathered

  • an old canvas
  • acrylic craft paint
  • my Silhouette Studio Designer Edition software
  • my Silhouette Cameo.

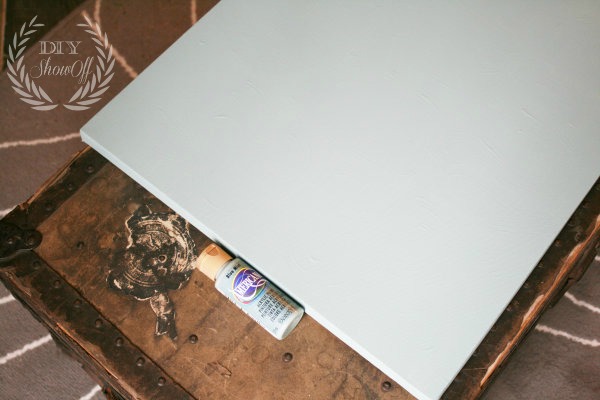
Since I had messed up the canvas with a previous DIY fail (yes, it happens!), I gave it a coat of soft blue acrylic paint to cover up my error to create a blank slate. The texture of the failed project shows through a bit, but imperfection is charm and a little texture isn’t such a bad thing. 🙂

diy-canvas-sign

I created my spring stencil using the Silhouette Studio Designer Edition software which allows me to select fonts, sizes and shapes to create a stencil template. Then simply ‘send’ to cut…

silhouette-studio-designer-edition

Since I’m using my vinyl as a stencil, I removed all of the letters (these can also be saved to use in the same was as stickers or transferred directly to wood or glass as a vinyl transfer).

weeding-vinyl

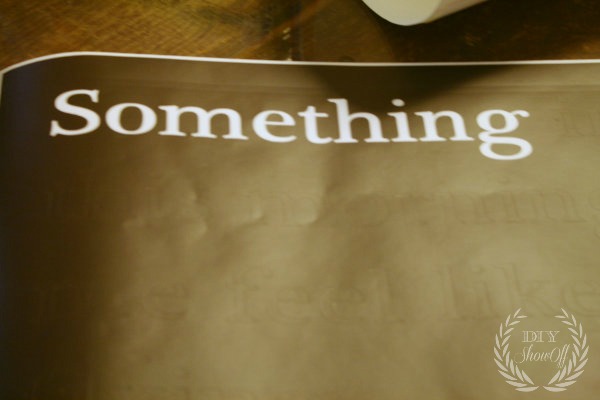
Use transfer paper over top of the stencil to transfer the vinyl stencil to the canvas. Rub into place and peel away the transfer paper.

DIY-transferring-vinyl

It’s not quite that simple. Vinyl doesn’t stick so well to canvas, so it takes a lot of patience. Go slow.

diy-vinyl

The stencil is all ready to go.

diy-vinyl-on-canvas

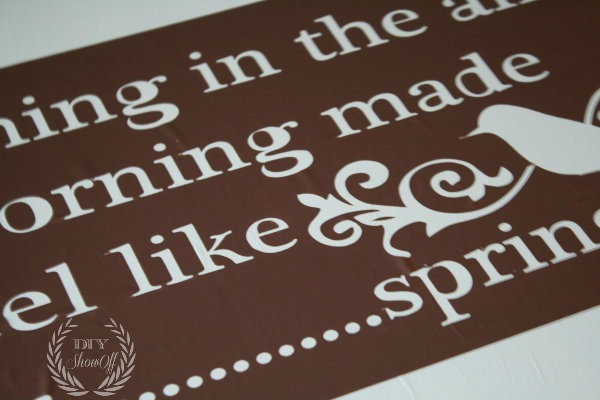
I filled in my lettering with white acrylic craft paint. Since the vinyl does not have a great seal, I’m using my stencil as a guide and filling in the letters with a little bit of paint on the brush, pressing down the vinyl as I work on each individual letter. Slopping it on, will get under the vinyl.

diy-painting-sign

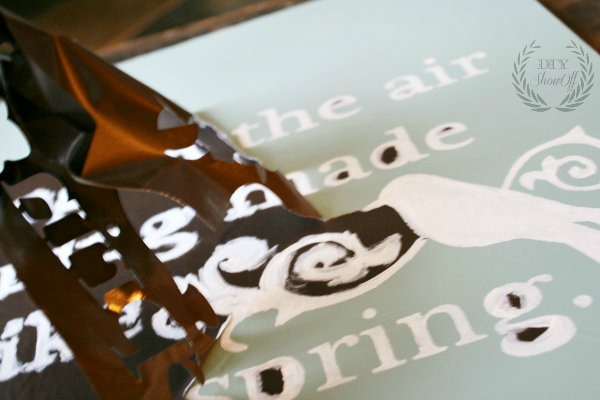
Next, I carefully removed the vinyl stencil as soon as I finished painting and let my canvas dry.

removing-vinyl-stencil

Then just collected some of my favorite spring-y decor and created a vignette around my DIY spring sign as a focal point. Good bye winter blues!

spring-Silhouette-DIY-sign

Hello spring!

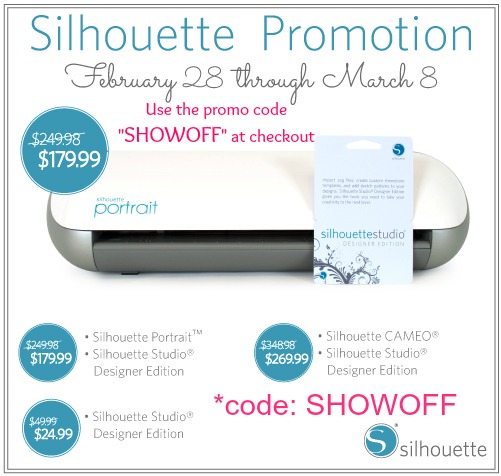
Silhouette America is running a crazy spring special you won’t want to miss! Just use the code “SHOWOFF” at checkout {affiliate link} now through March 8th to take advantage of the discount prices.

silhouette-promotion

I’m ready for spring, all ready! How about you? Open up those drapes, let the light in and decorate!

spring-mantel

Looking for more spring ideas?

Joining the Easter Crafts & Spring Link Party at HoneyBearLane.

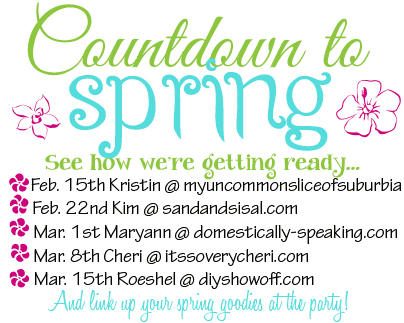
The Countdown to Spring party is underway.

countdown to spring

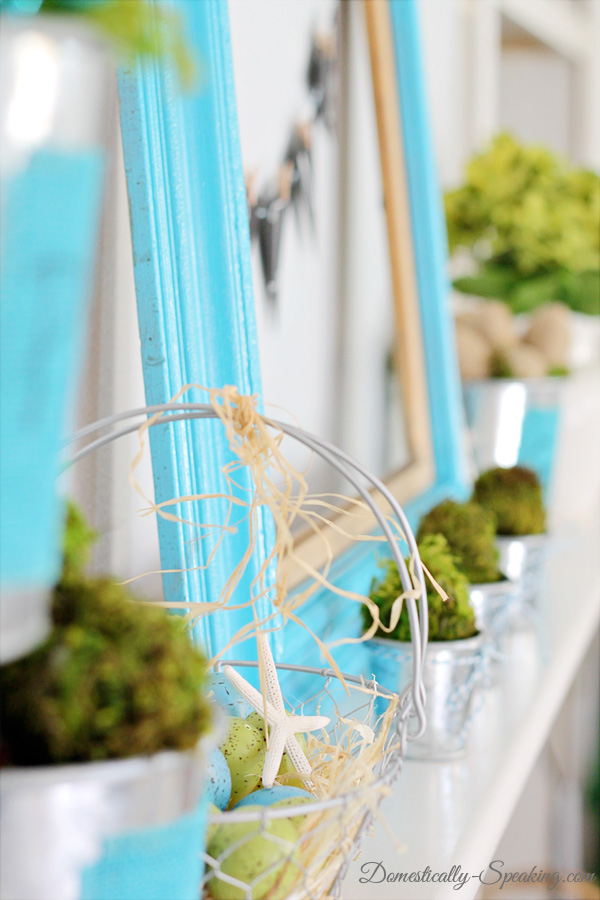
and being hosted by MaryAnn from Domestically Speaking this week with her gorgeous spring-inspiring mantel. Here’s a sneak peek…

spring mantel at Domestically Speaking

Check it out!

Silhouette Double Sided Adhesive

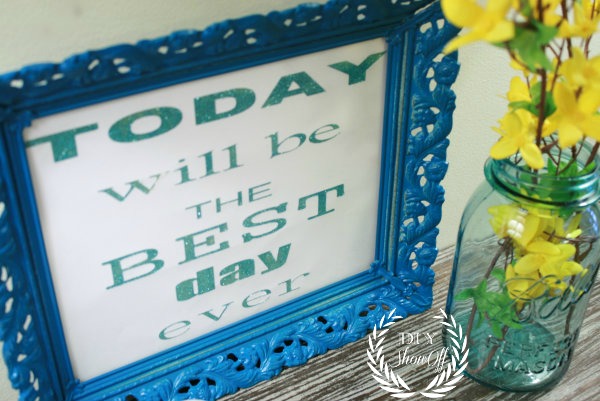
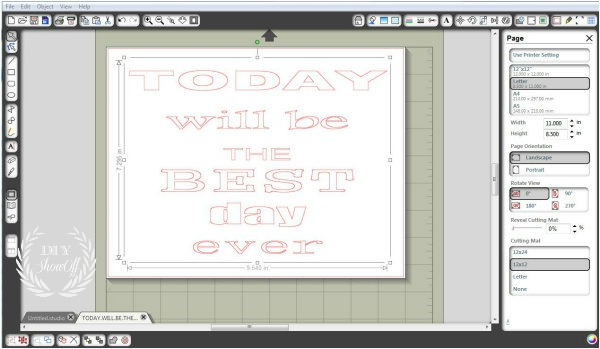
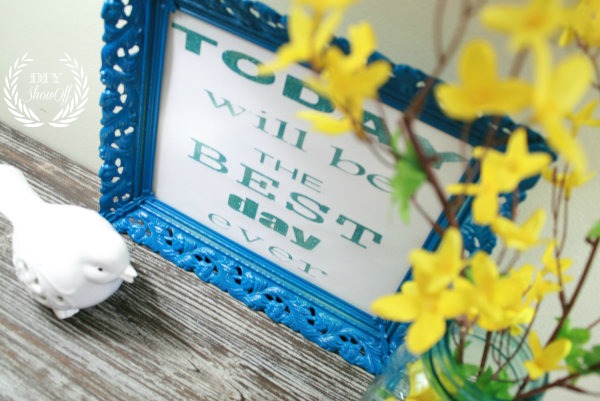
“Today will be the best day ever” … what a great quote to start each morning. Using Silhouette’s double sided adhesive, I now have a pretty glittery reminder that each day is a blessing. glitter-sign

I started by placing my text on a template in the Silhouette studio…Silhouette Studio

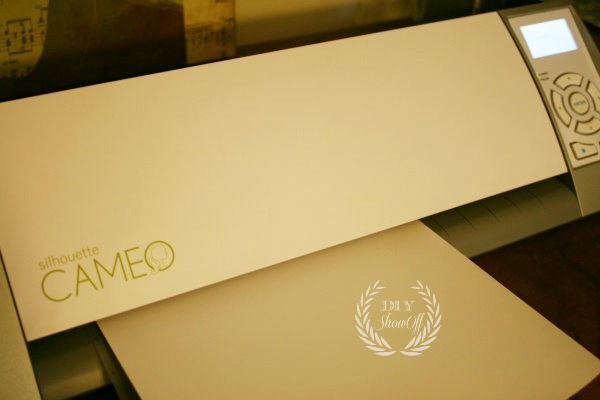
then simply loaded my paper/mat into my Cameo, adjusted my settings for cutting and sent it to cut….silhouette-cameo

What’s cool about the double sided adhesive paper is you remove the backing, press on the letters just like stickers, then remove the top white sheet, leaving transparent SUPER tacky tape in your perfect shape or text.

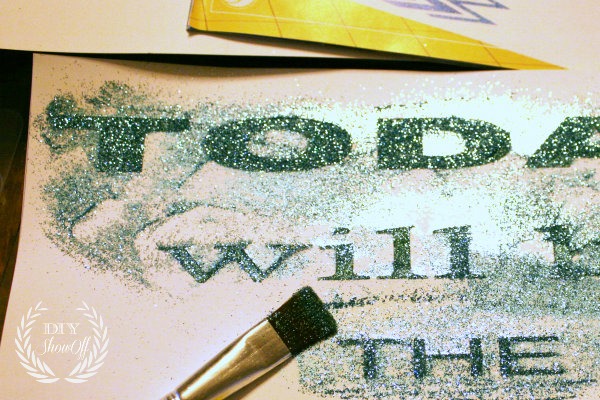
The Silhouette Double Sided Adhesive kit comes with glitter and flocking. I chose the pretty turquoise glitter and brushed it into place…applying-glitter

It’s super-fine and a bit of a chore to clean up but the result is awesome! I loved watching my transparent letters glitter, shine and come to life.

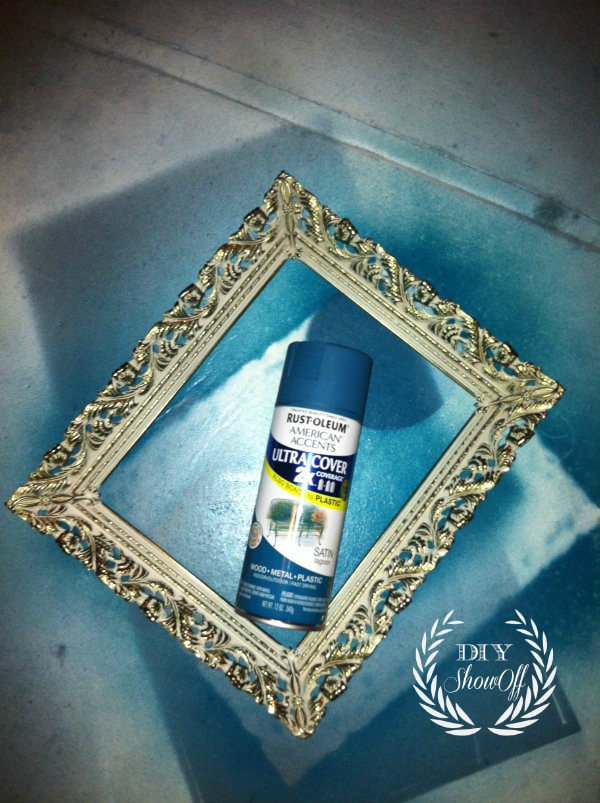
Then I snagged an old thrift store frame. gave it a coat of Rust-Oleum spray paint in “lagoon”…lagoon-frame

and framed my new glittery print:diy-print

Doesn’t it just make you happy to read it…like seeing those words help start the day off on the right foot.today-will-be-the-best-day-ever

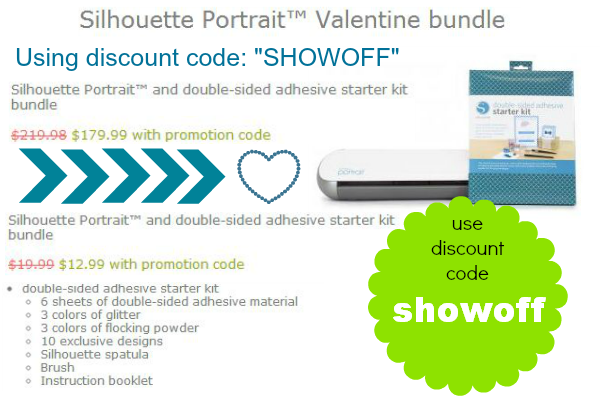
I use my Silhouette Cameo all.the.time. Don’t have one yet, want to try the double sided adhesive starter kit or TONS of other fun cutting projects? Simply use the code “SHOWOFF” at Silhouette America before the end of the day TODAY! (2/14) for an awesome discount. {Sorry for the late notice this time but by ordering now you can have it in time to create a really cute Pottery Barn inspired Happy Easter banner…that’s my plan!!}silhouette-deal