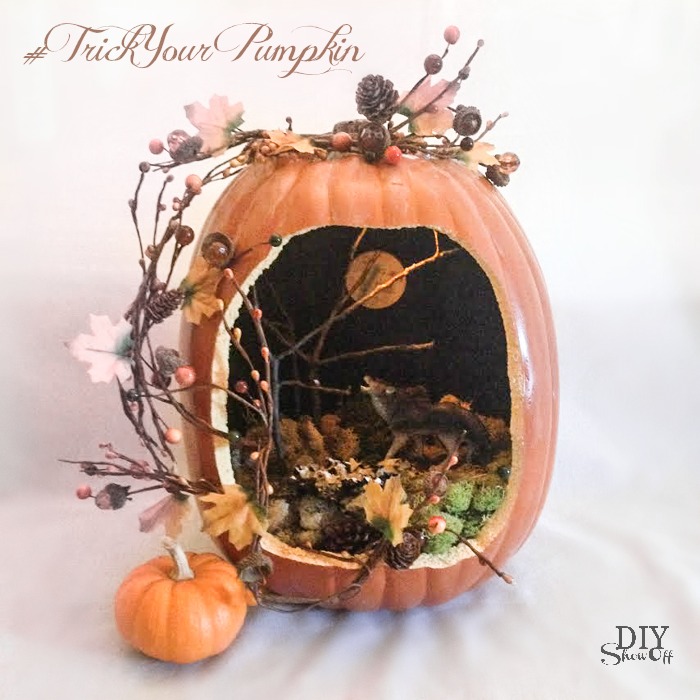
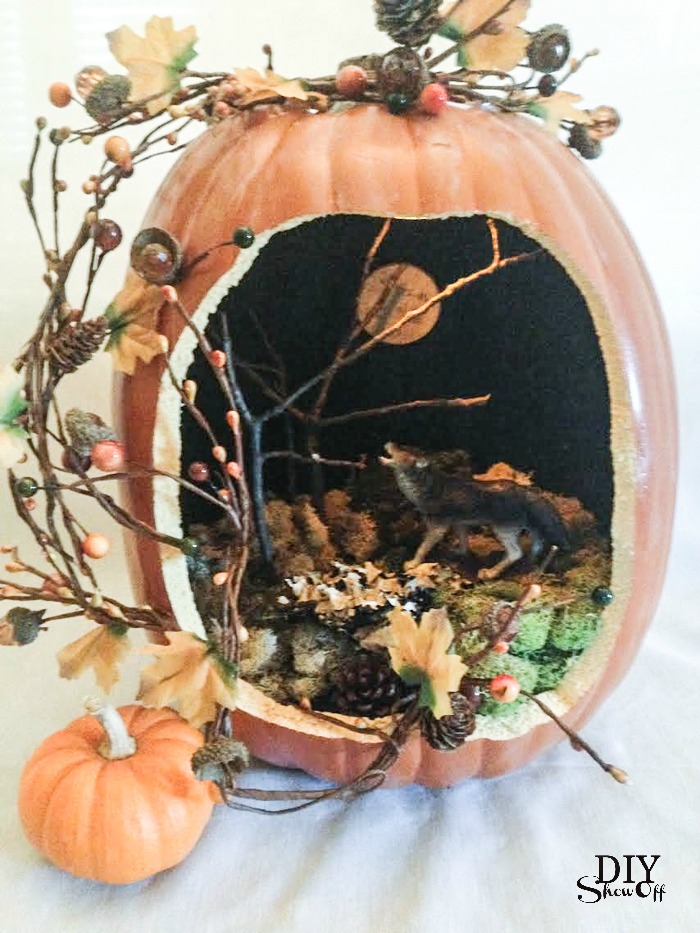
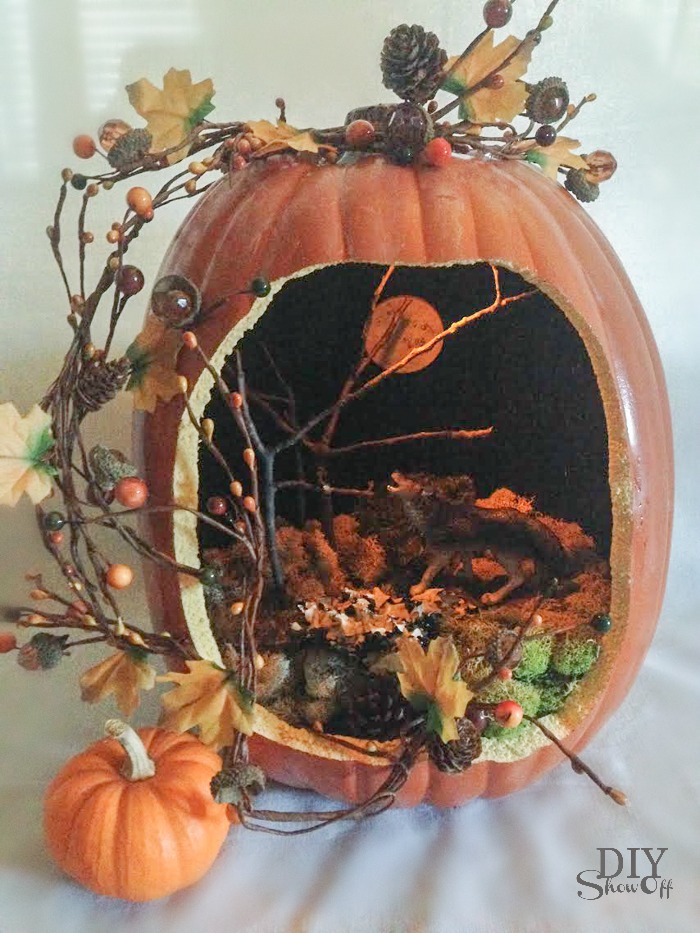
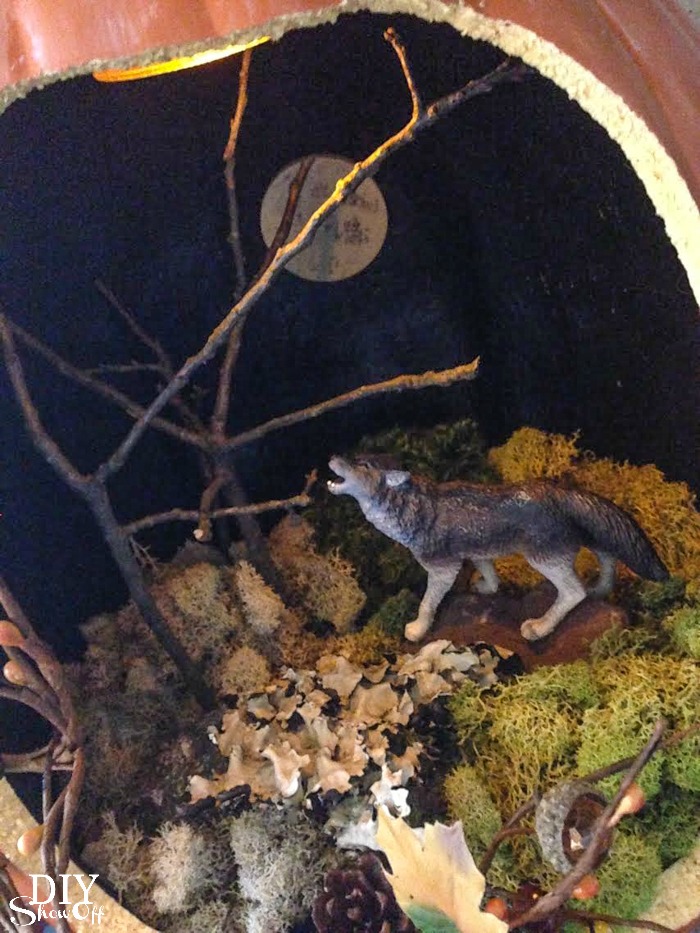
Inspired by a picture of a pumpkin diorama from Country Living that I stumbled across on the Michaels’ Halloween Pinterest Board, I couldn’t resist making up a scenic jack-o-lantern of my own. *This post contains affiliate links.
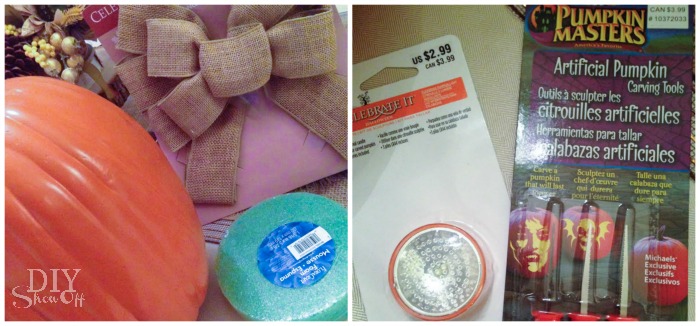
Materials I used (all purchased at Michaels Craft Stores with the exception of stick trees and rocks):
- faux pumpkin
- carving tools
- black acrylic craft paint
- sky blue glitter craft paint
- 4 small foam paint brushes
- plastic toy wolf
- moss
- styrofoam disk
- hot glue/gun
- fall garland
- tree-like sticks from the yard
- small rock
- small wood disk (for full moon)
- white acrylic craft paint
- glow in the dark paint
- tiny faux pumpkin
- small battery operated light
- 3M adhesive velcro
What I did:
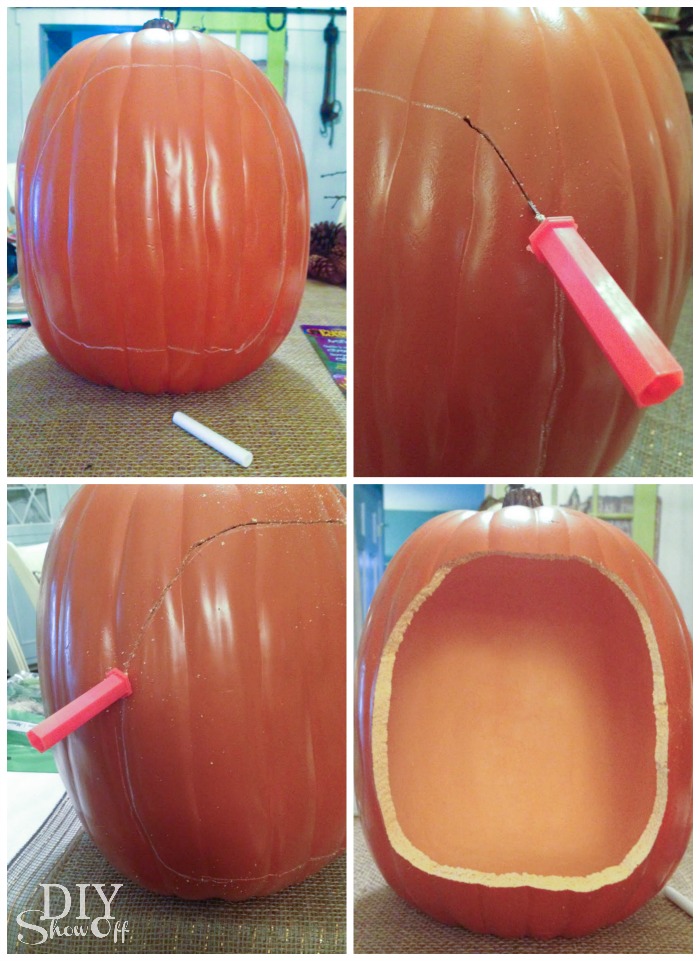
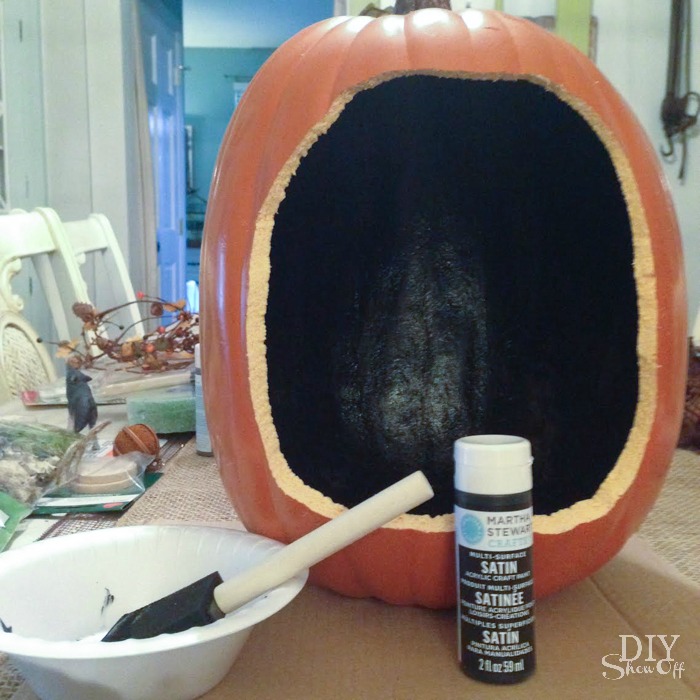
Using chalk, I drew a circular shape onto the front of my faux pumpkin, then cut out the shape using small carving tools. Then I cleaned the dust and pieces out of the pumpkin.
Using a foam paint brush, I painted the inside of my pumpkin black. I brushed on the dark glitter coat over top and let paint dry.
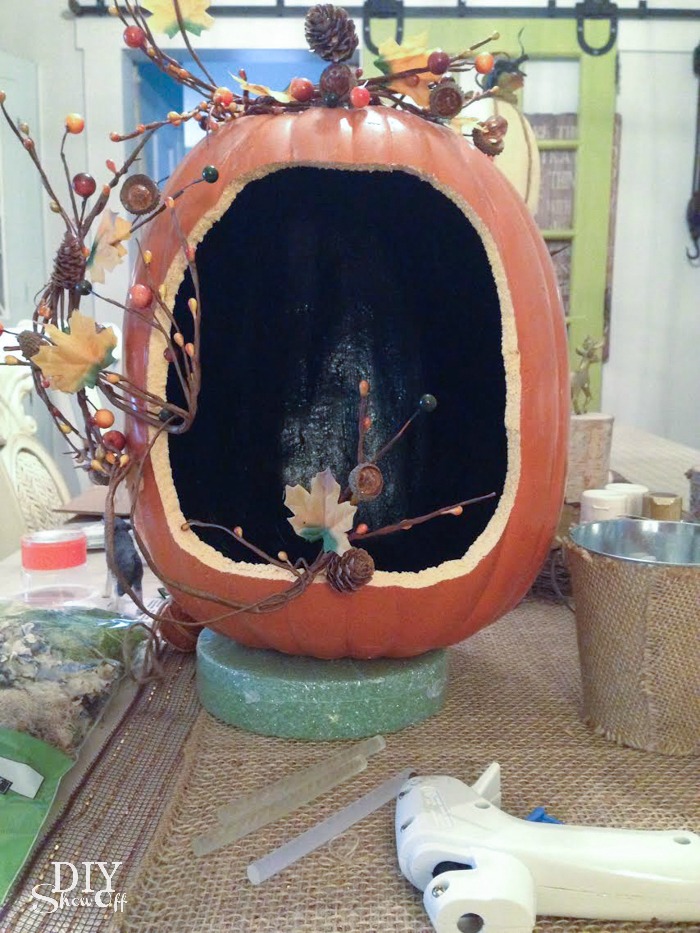
While the paint was drying inside, I attached a decorative fall garland with mini leaves and acorns to the outside using hot glue.
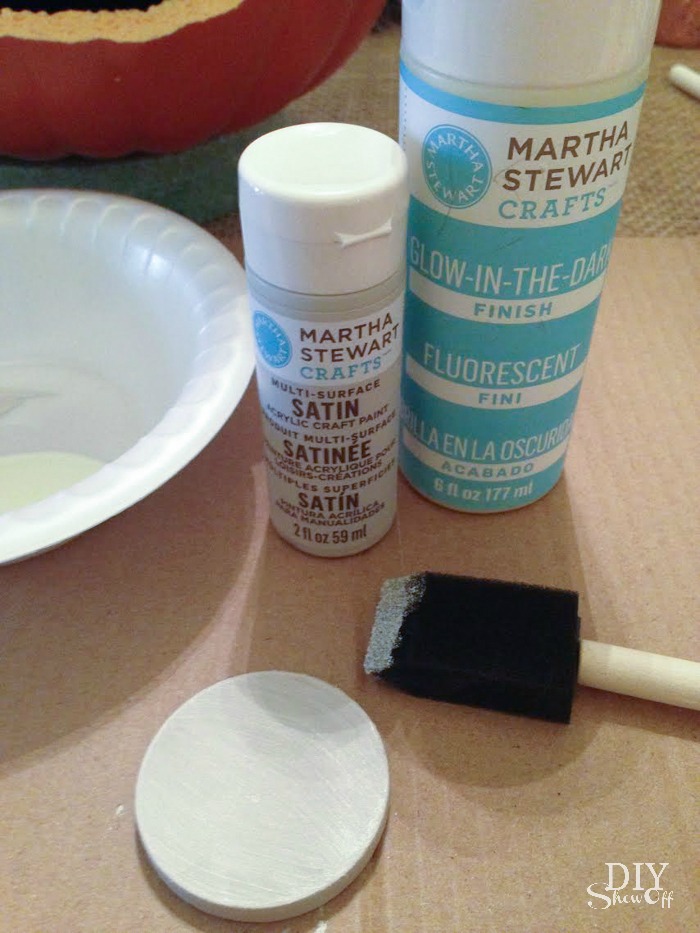
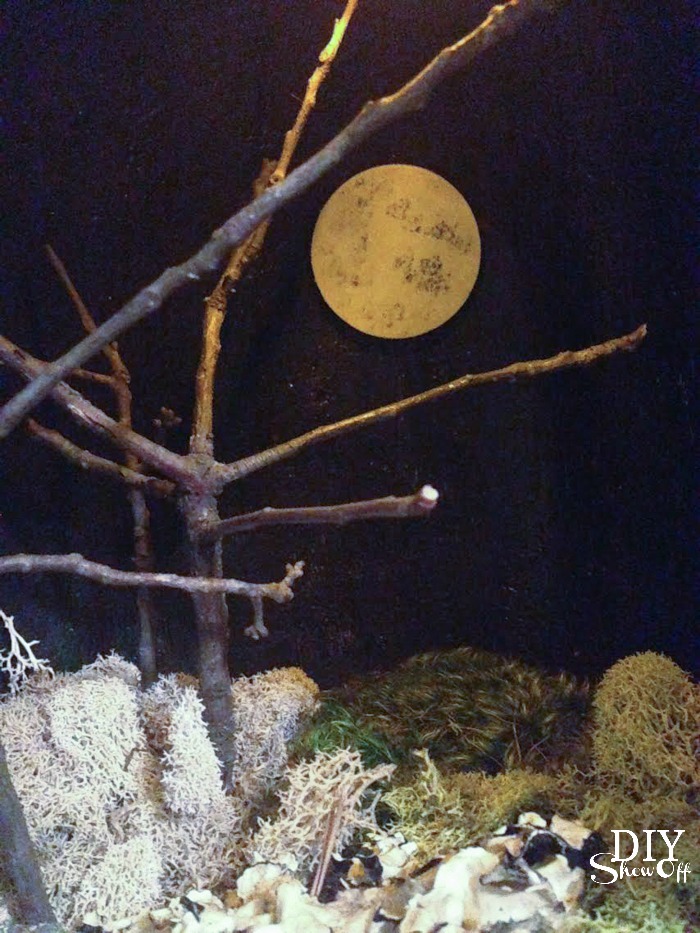
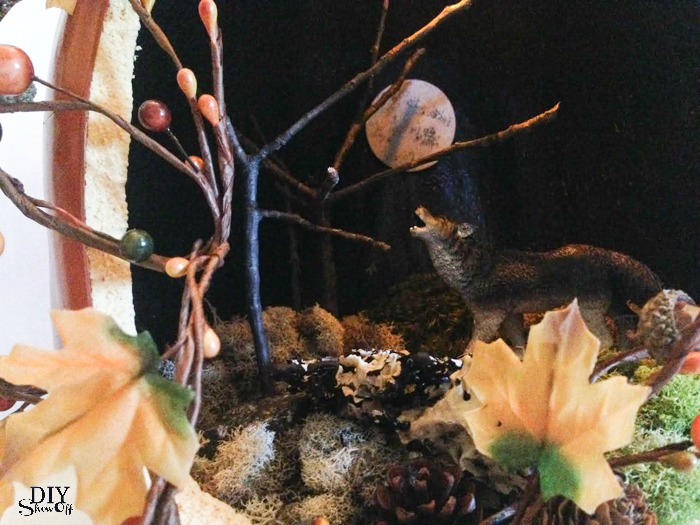
I painted the wooden disk white, followed by a coat of glow in the dark with a few ‘pounces’ of the dark glitter paint using my foam paint brush (not shown). Let dry.
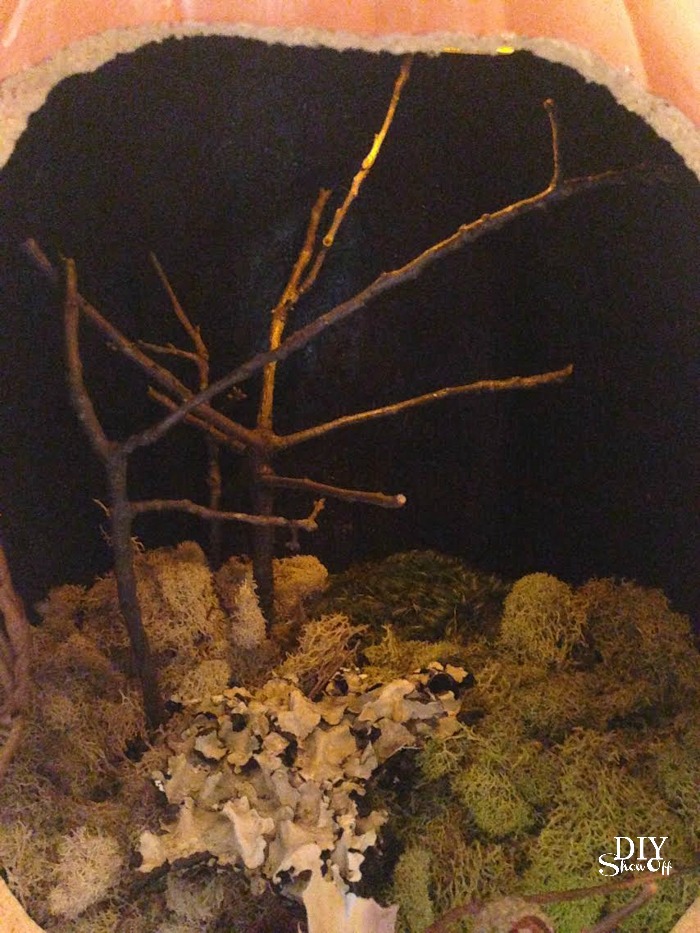
I inserted the styrofoam disk into the bottom of the pumpkin. I left the plastic wrap on the styrofoam disk. Optional: I used some mini-pinecones to fill in the gaps along the sides.
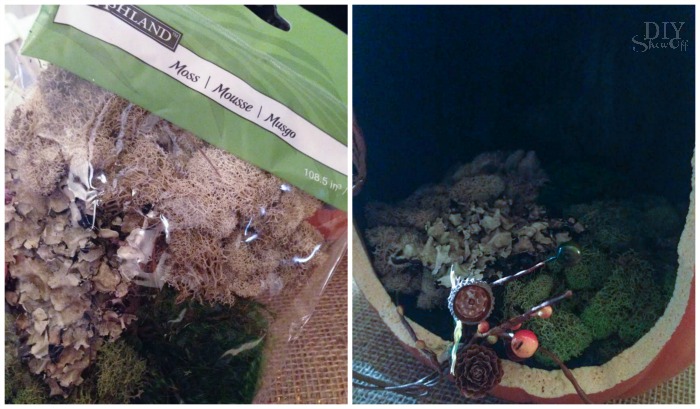
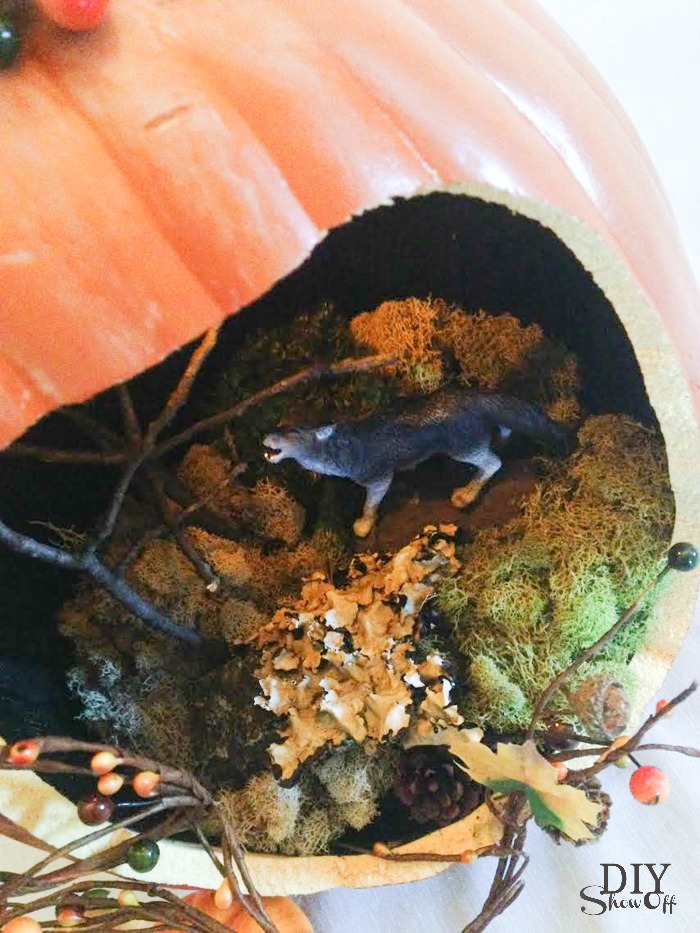
Then I topped it off with moss.
I carefully poked sticks (I found some in the yard that had sort of a ‘tree’ look) through the moss/styrofoam to create “trees”.
I then secured full moon to the back using hot glue. You could do this before adding the trees. I waited so I could decide the placement behind the trees.
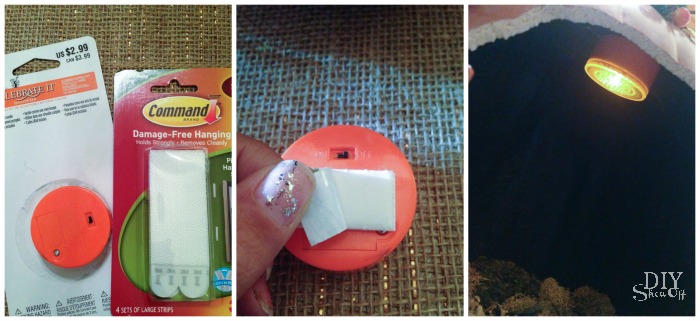
I added a piece of adhesive velcro to the back of the small battery operated light (don’t cover the on/off switch). It’s adhered to the “roof” of the pumpkin. The velcro attachment allows me to remove the light to turn if off and on.
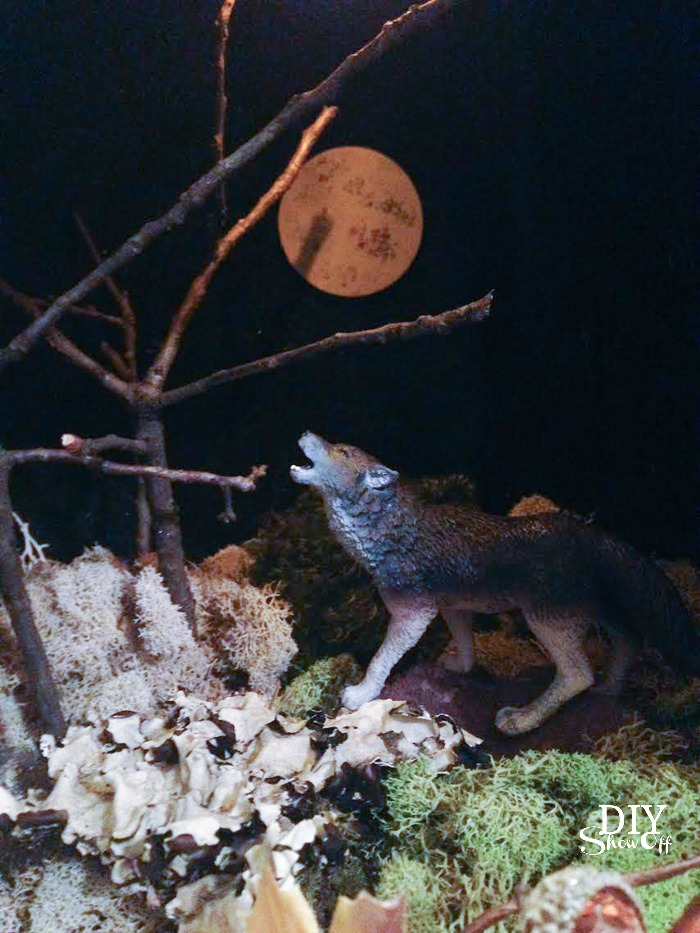
I finished it off by adding rocks and a wolf.
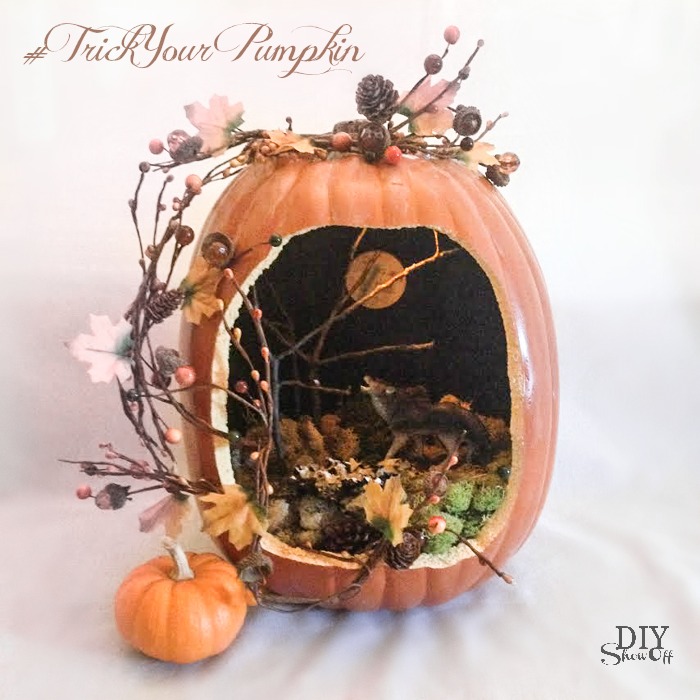
Display! Isn’t it fun? I’m going to raffle this one off at a local event but may just have to make one for myself too…maybe with a different scene: mini hale bales and a scarecrow or a ‘nevermore’ theme with ravens or a graveyard scene with tombstones. What about you?
#TrickYourPumpkin Sweepstakes
The Michaels social team is working on a #TrickYourPumpkin sweepstakes. Crafters just submit their pumpkin creations via Instagram any time between Oct. 4th through 31th, 2014 for a chance to win a $250 Michaels gift card and Plaid products each Friday throughout the month of October! What would you do with a $250 Michaels’ shopping spree?
Michaels would love to see your pumpkin creation! Post your pumpkin project on Instagram (using #TrickYourPumpkin #sweepstakes and tagging @MichaelsStores). Simple! Good luck!
*I received a Michael’s gift card to complete this project.



LOVE it, roeshel! i did my michael’s pumpkins today, too- i created a fairy house with emmy. 🙂 this is more my speed though- love wolves!
Great project! Love the glow-in-the-dark moon.
I love this and am so inspired! I just hope I can still find a pumpkin at Michael’s. Thanks!
How absolutely adorable! So creative!
Well I’m in the midst of making one out of a real pumpkin – now I’ve changed my mind – this is way smarter ( have it year after year ! )
Thanks for sharing !
xox
Such a great idea! I love it! I might have to add that to my long list of fall crafts.
wow this is so creative! Love it