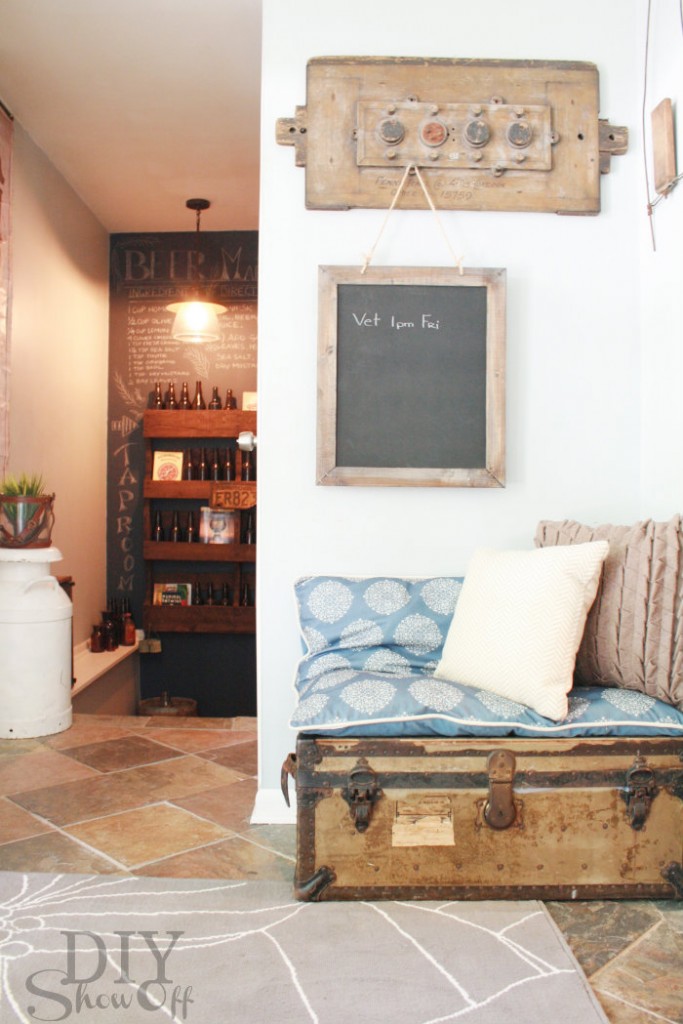
This little seating area is great for putting on shoes and a quiet pet resting place and I love the vintage mould (I think that’s what the chalkboard is hanging on) but you know what? I was ready for a change. Surprise, surprise! haha!
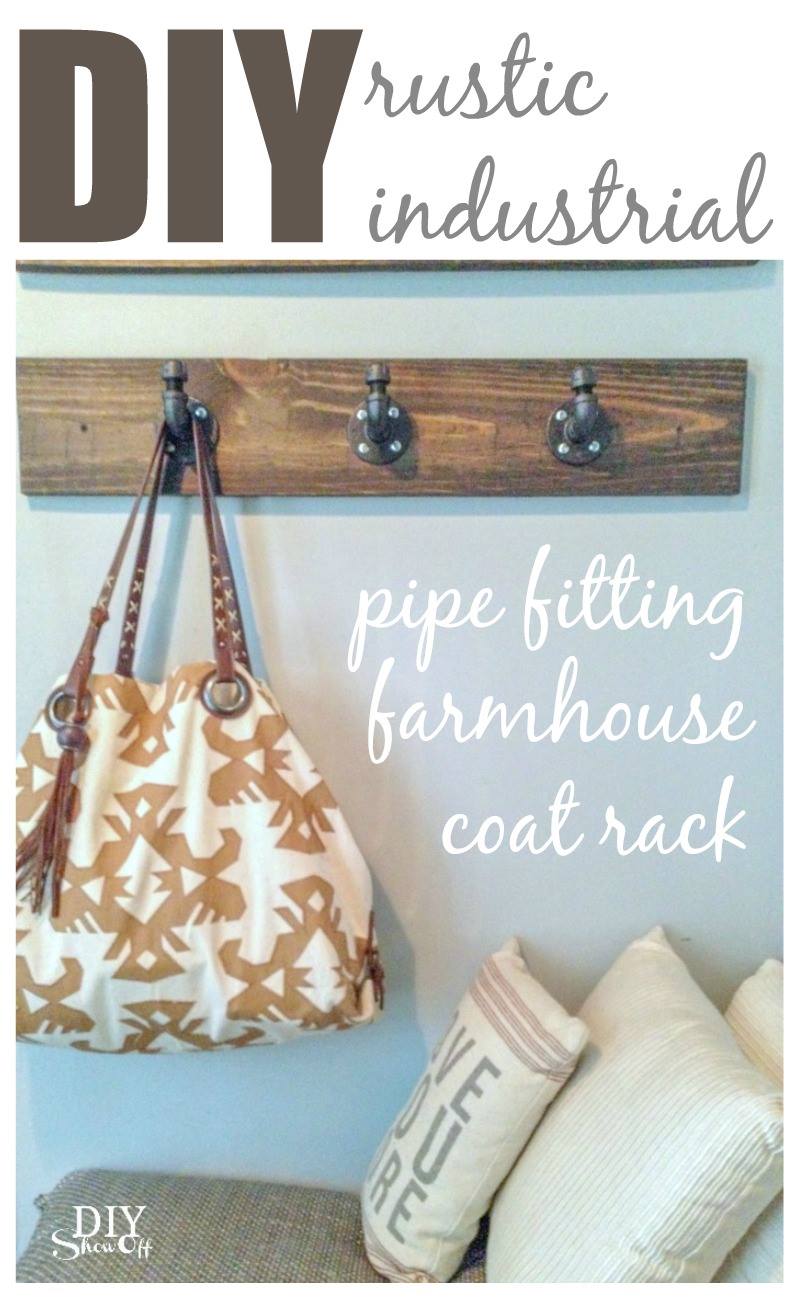
Time to get creative and since we love pipe and wood projects for a bit of a rustic industrial style (see this), those are the materials I used to create a pipe fitting wooden coat rack.
What I used:
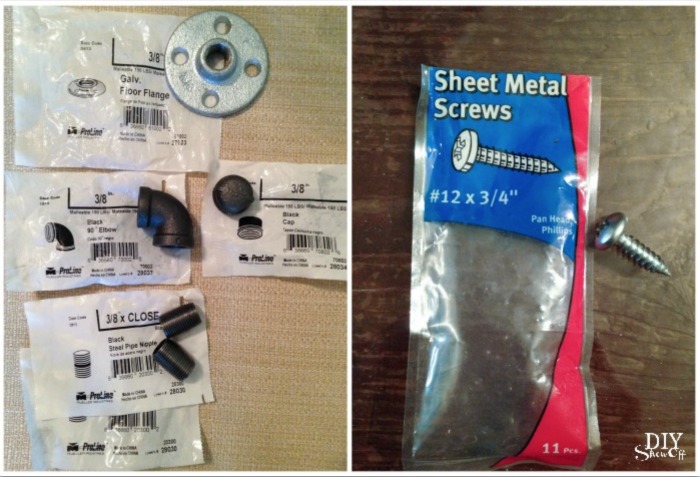
- Three 3/8 inch galvanized flanges
- Three 3/8 inch 90 degree elbows
- Three 3/8 inch black caps
- Three 3/8 inch x close steel pipe nipples
- Twelve 3/4 inch sheet metal screws (these fit nicely for securing the flanges to wood)
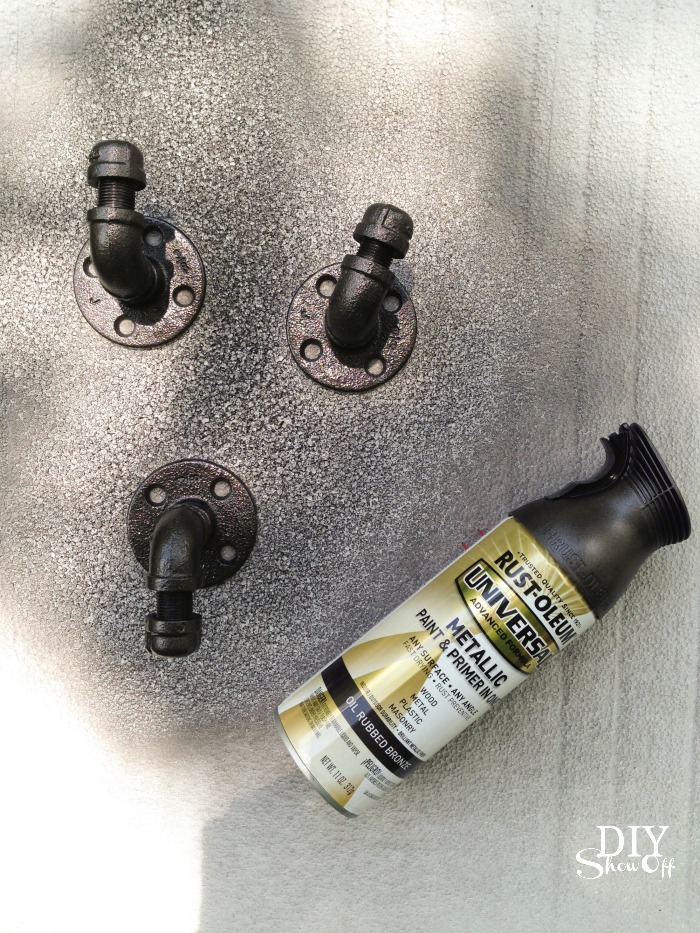
- RustOleum Universal Metallic spray paint + primer (oil rubbed bronze)
- Scrap 1 x 6 pine board
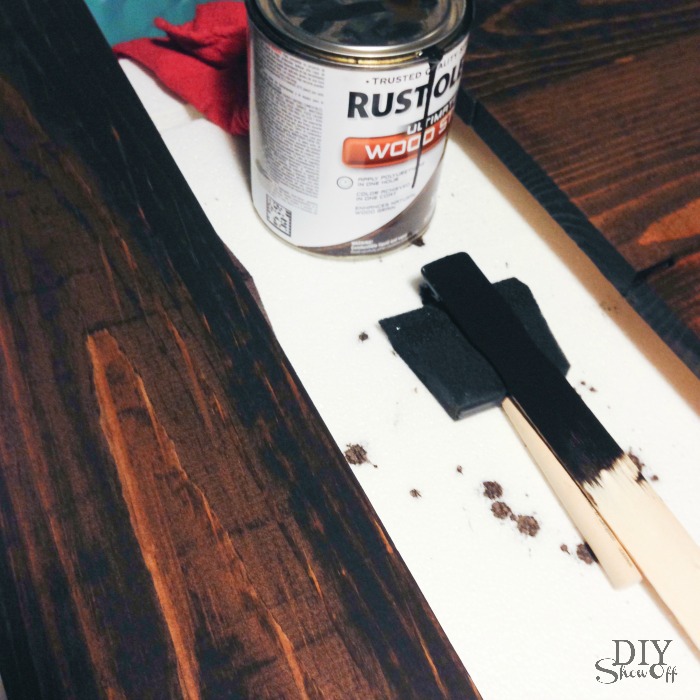
- RustOleum Ultimate wood stain (Kona)
- RustOleum Ultimate polyurethane
- 2 drywall anchors and screws (to secure to wall)
What I did:
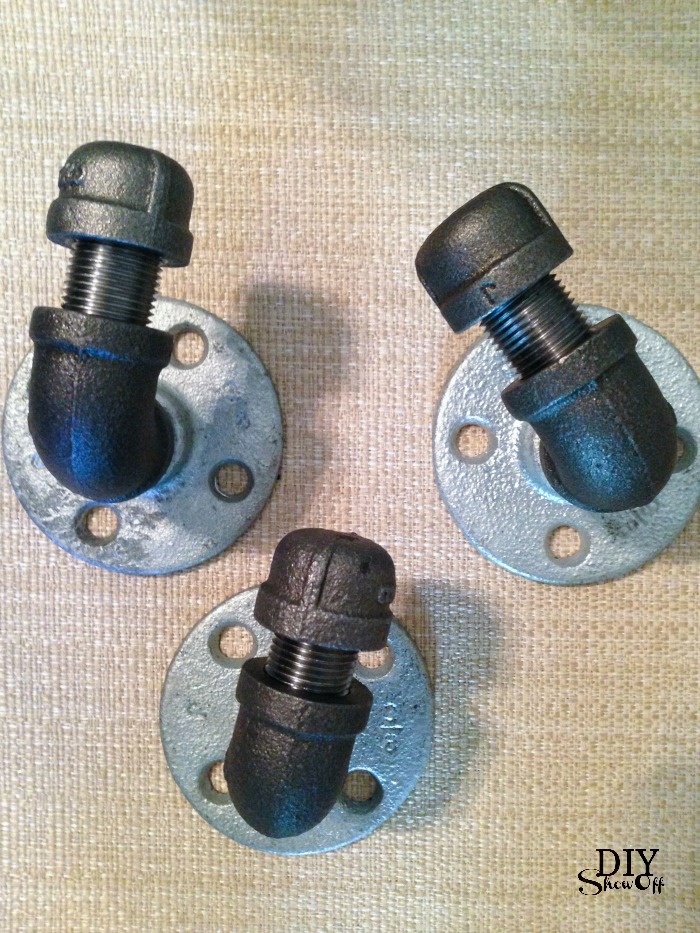
1. I connected my pipe fittings in this order: flange, nipple, elbow, nipple, cap.
2. Then I gave them a few light coats of spray paint and let dry.
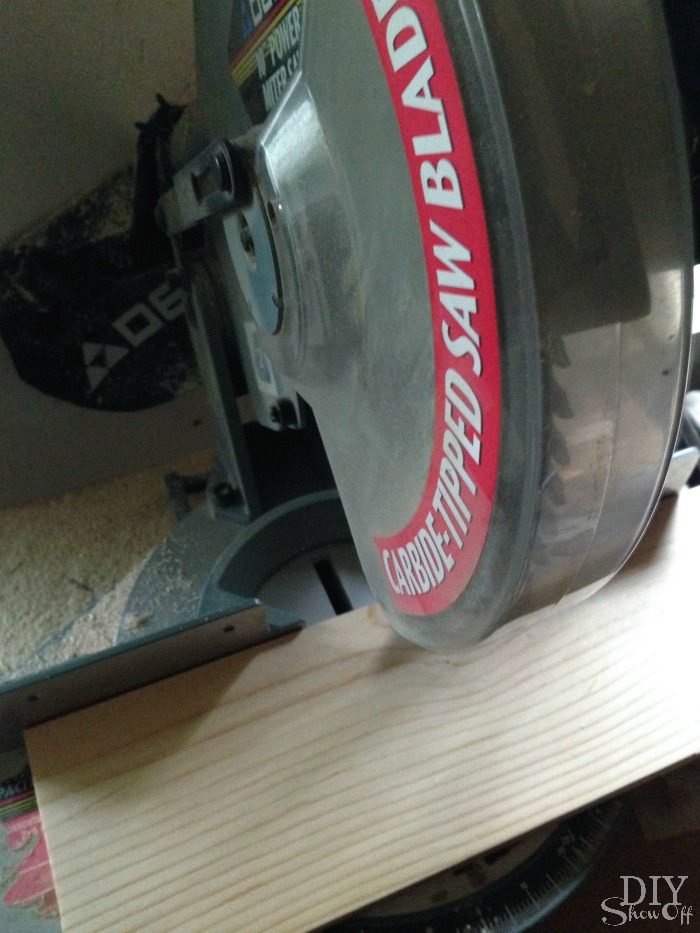
3. I cut my scrap pine board to 30 inches.
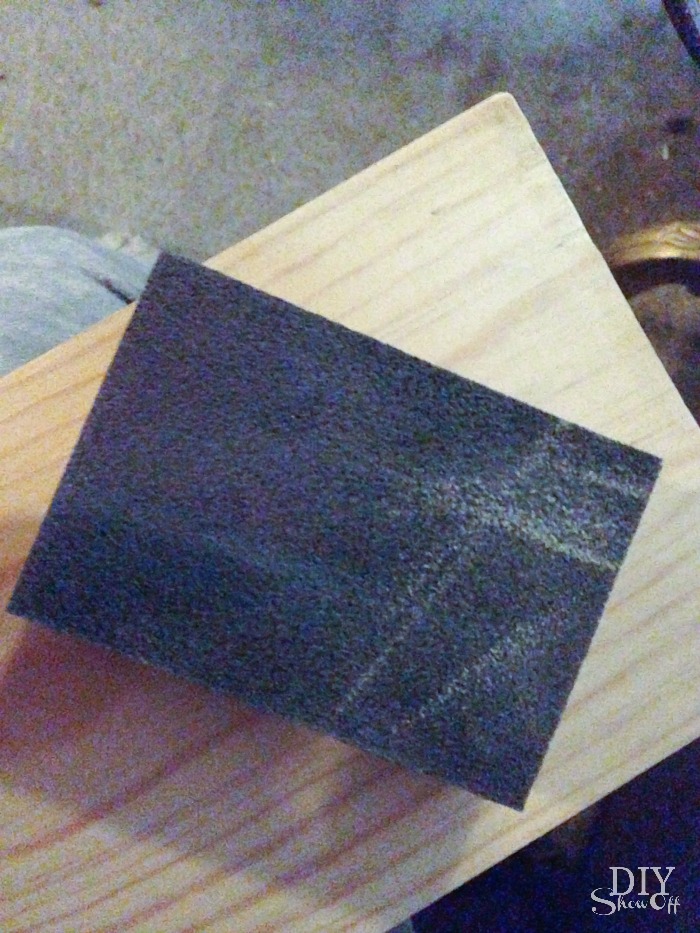
4. Then sanded the edges smooth and wiped clean.
5. Next using a foam paint brush, I applied the wood stain and let it sit for a couple of minutes. You’ll want to wear gloves!
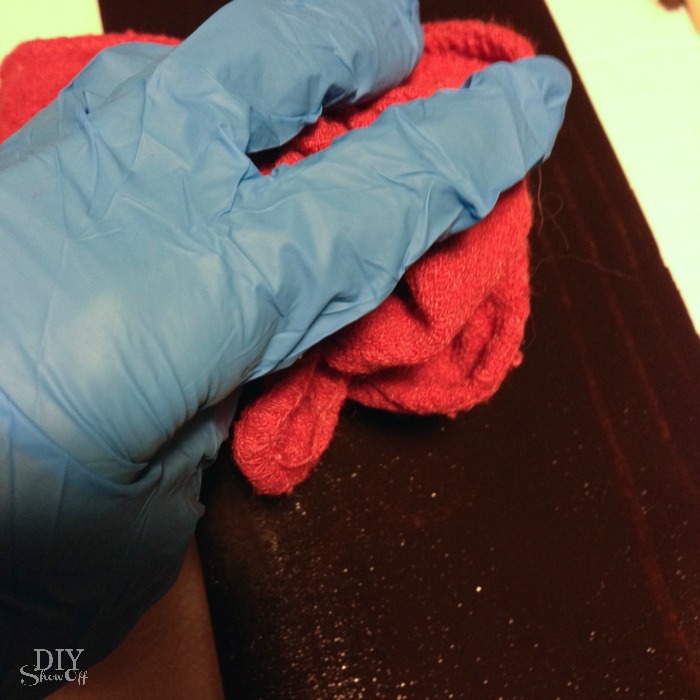
6. Then wiped away the stain with an old rag and let it dry.
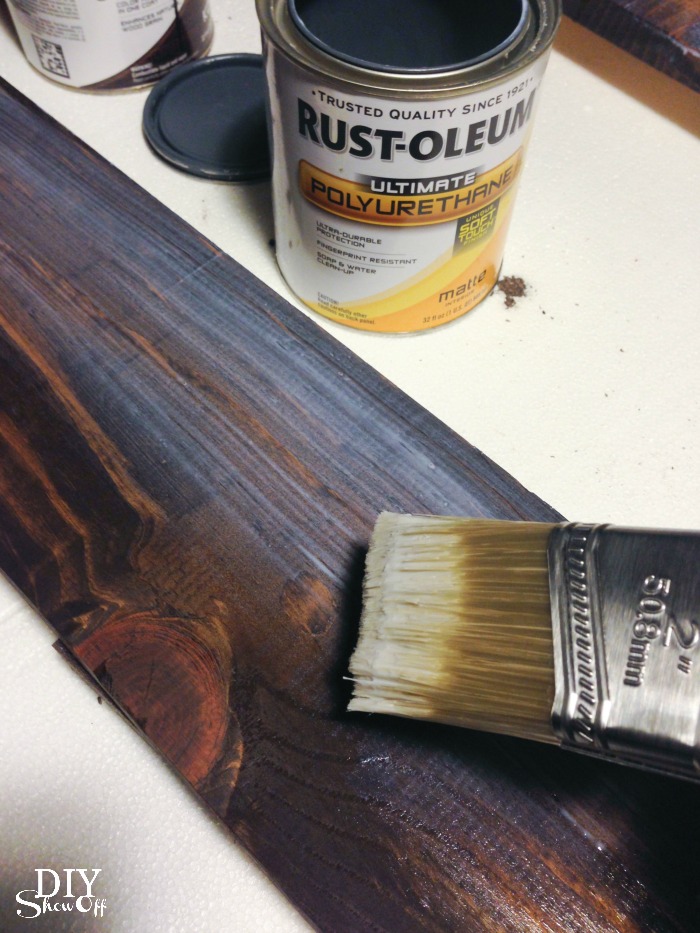
7. After about an hour, I brushed on the polyurethane and let it dry according to manufacturer’s instructions.
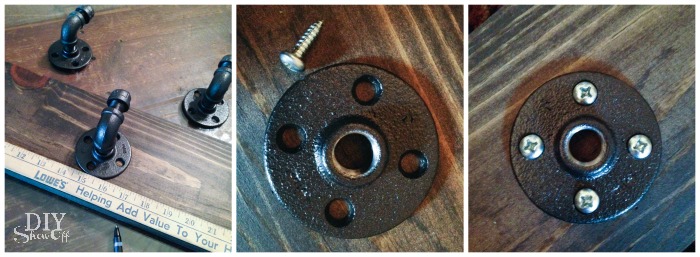
8. Once everything was dry, I secured the first pipe hook to the center of my wood plank. Then secured the other two.
9. I attached it to the wall using drywall anchors and screws.
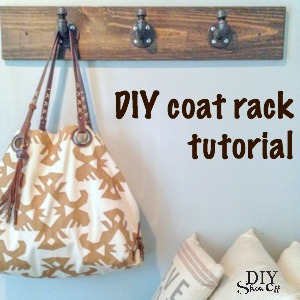
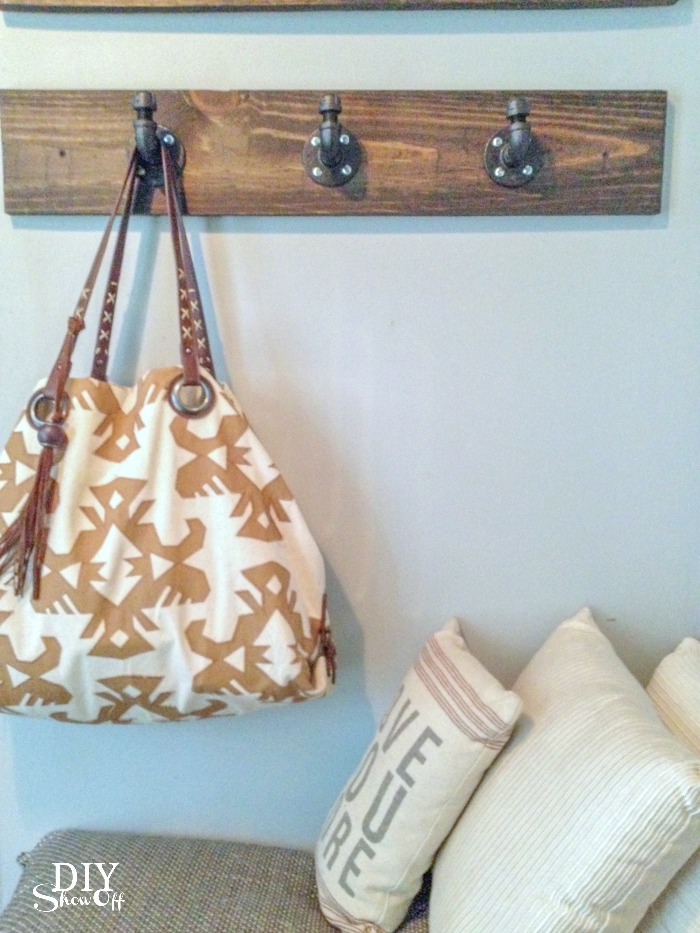
Perfect for hanging jackets, the dog’s leash, or my tote bag.
Check back next week to see the tutorial for the dog silhouette wood plank wall art tutorial.


I love it and it really looks perfect for your little spot.
That’s super cool, Roeshel! Perfect for boys, I think!
I love these! I made wood and steel pipe shelves for my sons room and these would be a great addition. Great idea and thanks for sharing!
Love it! So glad to catch up here. Internet is so random at the campground where we are [temporarily] living, that I am feeling quite luxurious to sit at the library and not lose my connection. x♥x♥
Pingback: DIY rustic industrial chic - Andrea's Notebook
Pingback: DIY Farmhouse Coat Rack - The Sawdust Diaries
Did you consider touching up the screw heads with paint to blend with the flanges?
Sure I did! And that’s something anyone can do if they wish to. But since we have a mix of metallic finishes in the room, I like it just the way it is. 🙂
How does the floor flange look now after a couple of years? I’ve been told not to spray paint galvanished metal as it has a reaction with the spray paint.
I actually just took another picture of it yesterday for a different project. What a coincidence! It looks the same as it always has. There is no reaction. Hope that helps!