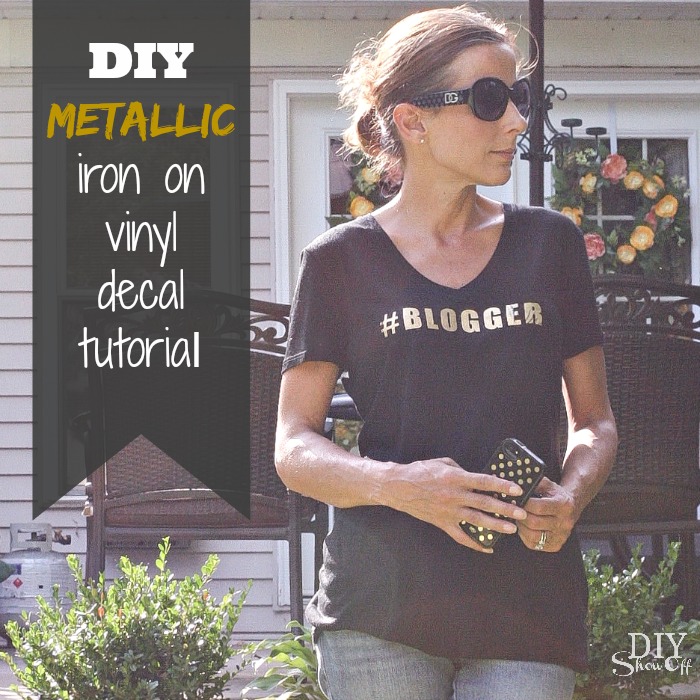
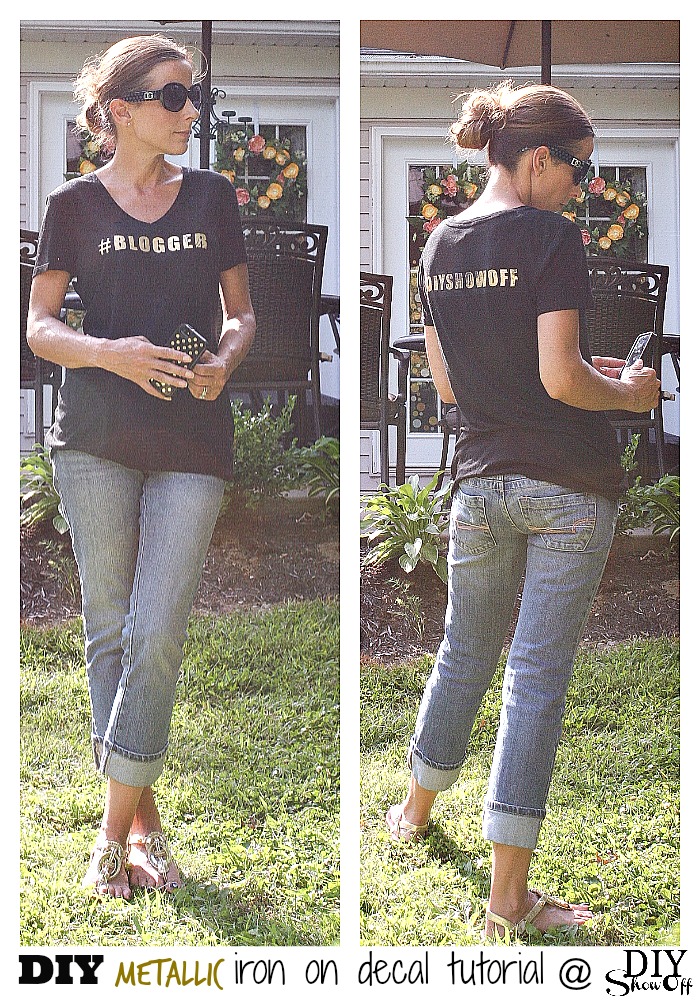
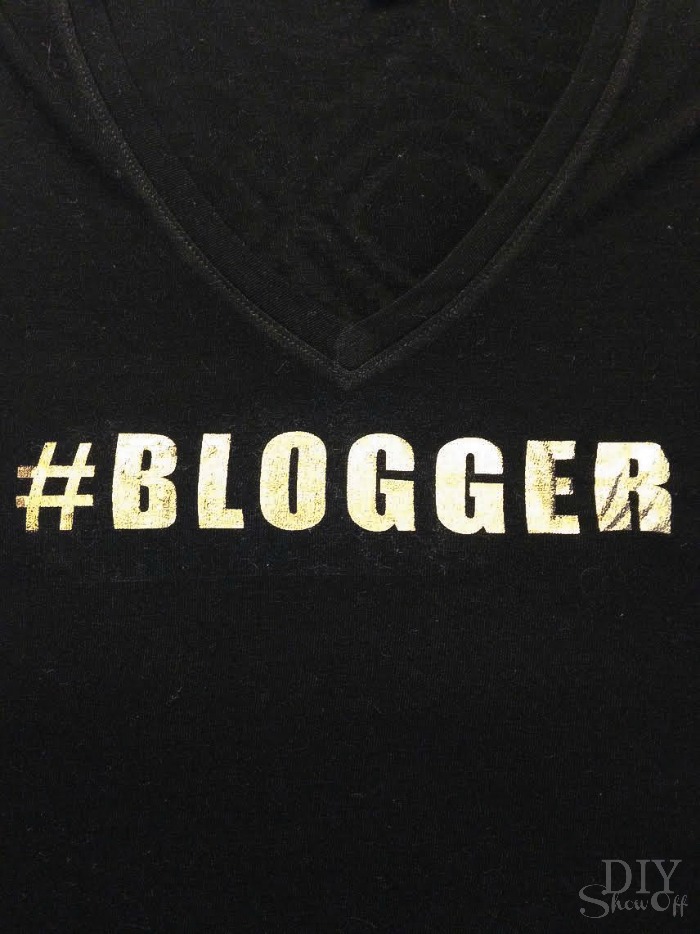
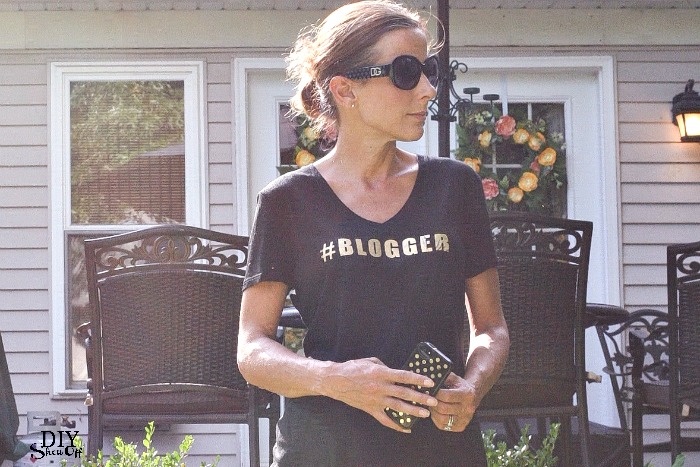
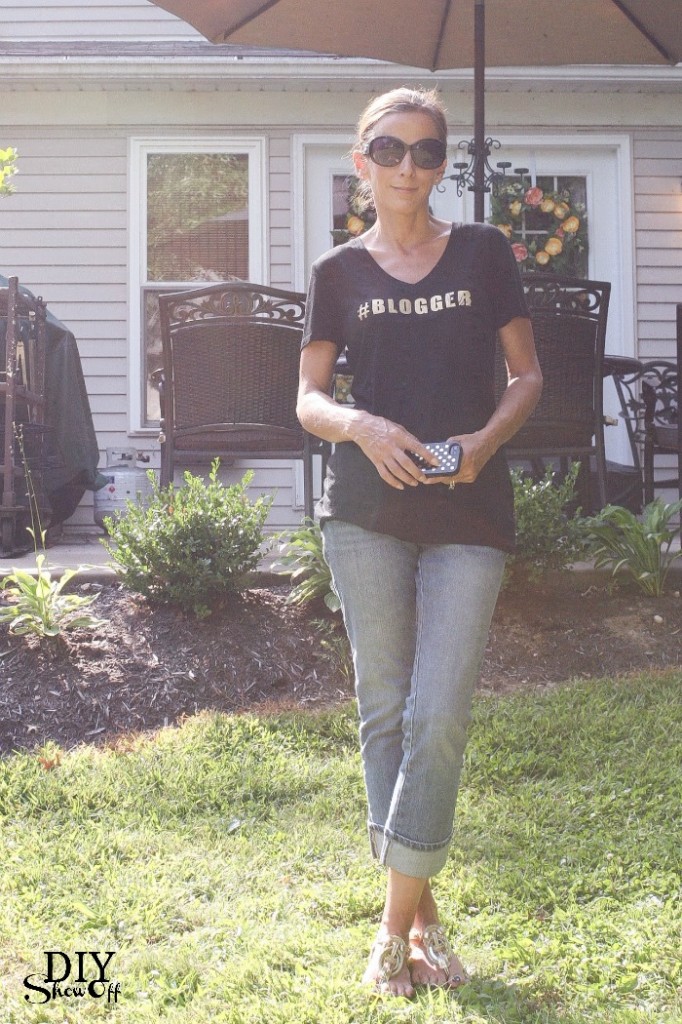
I know, I know. I just shared a t-shirt tutorial a few weeks ago that I created for my sister but making up your own personalized iron on decals is so fun! Recently my blog buddy Julia from Cuckoo 4 Design (love her!) shared on her FB page the coolest t-shirt. It read “#BLOGGER”, however it’s only available in Germany so thinking along the lines of DIY (as usual), I decided to make my own for my August Happy Crafters project. They have a great selection of metallic iron on vinyl that I couldn’t wait to use.
Materials:
What I did:
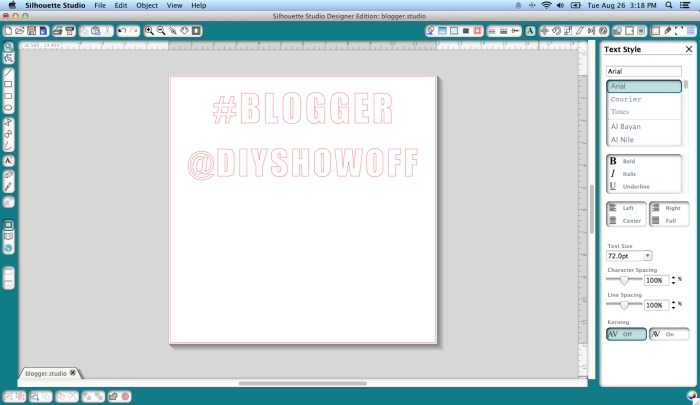
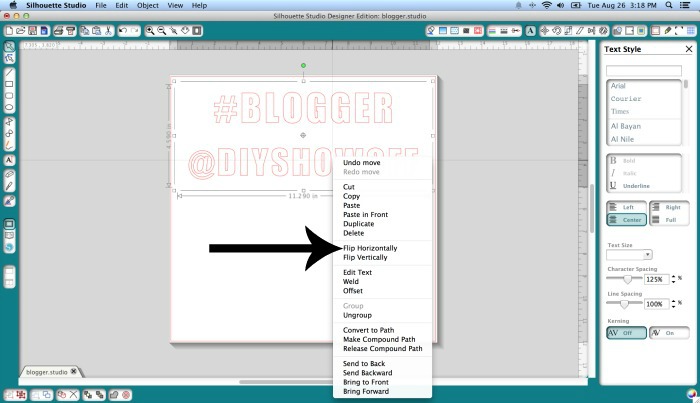
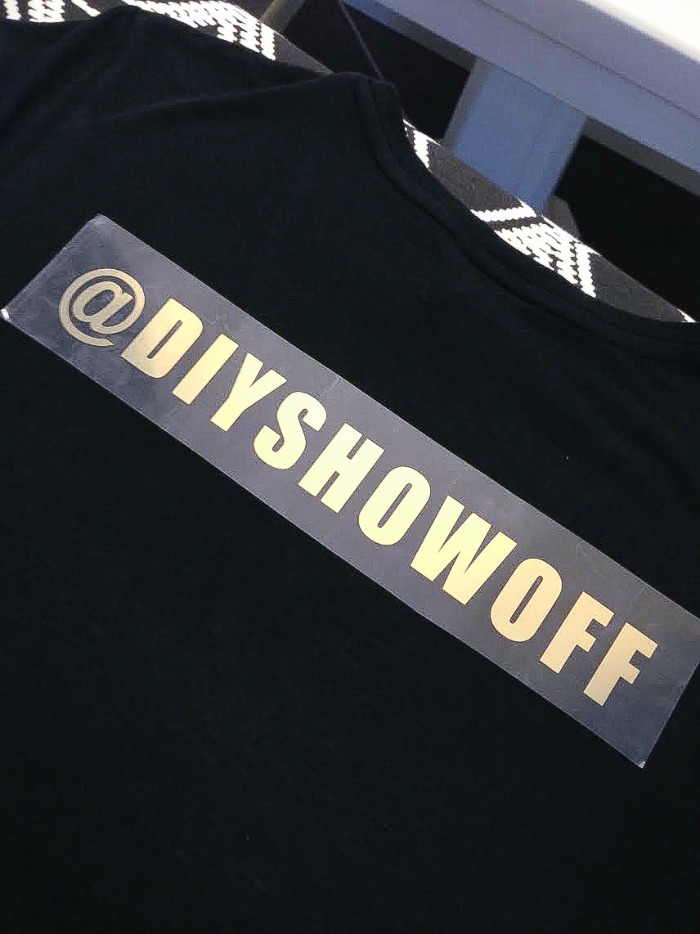
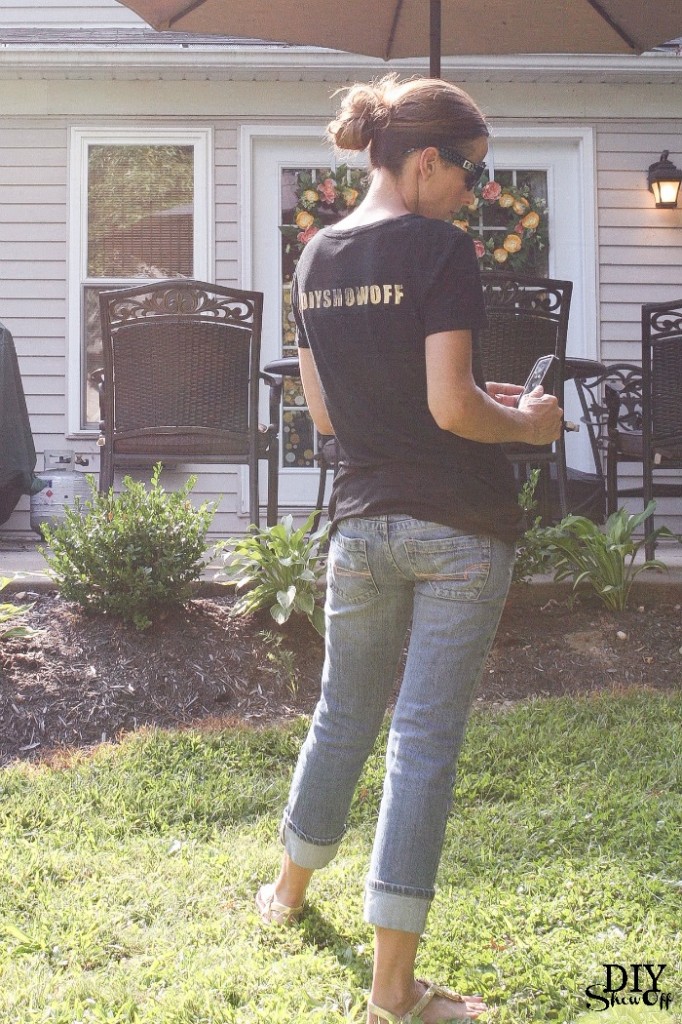
Open up your Silhouette Studio Design Edition software and create the text “#BLOGGER” for the front of the shirt. I also added “@DIYSHOWOFF” for the back of mine. Center on a 12×12 space.
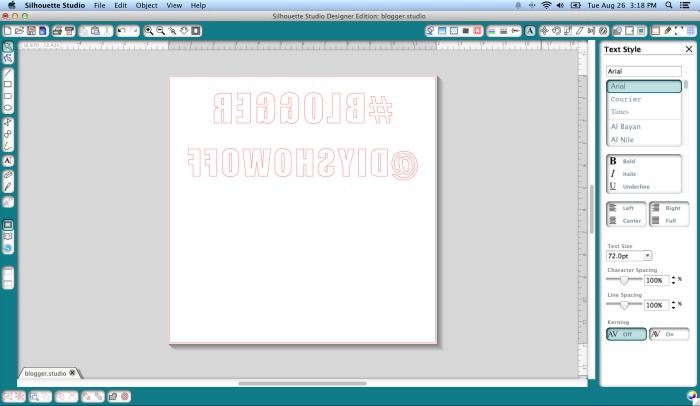
Right click the text box to bring up the edit menu and select “flip horizontally”. You’ll need to mirror the text for cutting.
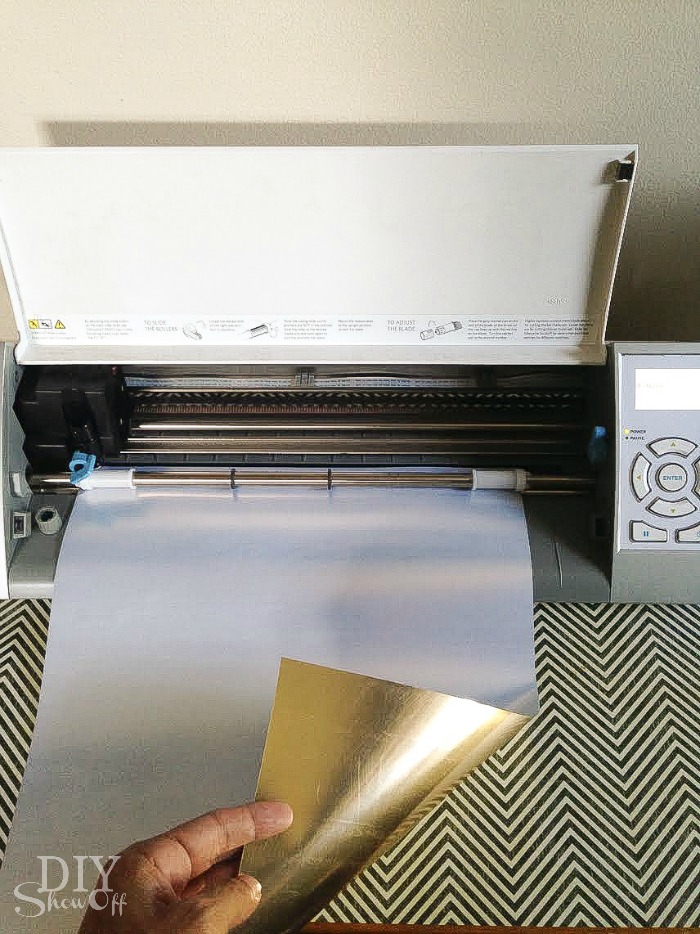
Load the iron on vinyl into the machine gold side down (back side up).
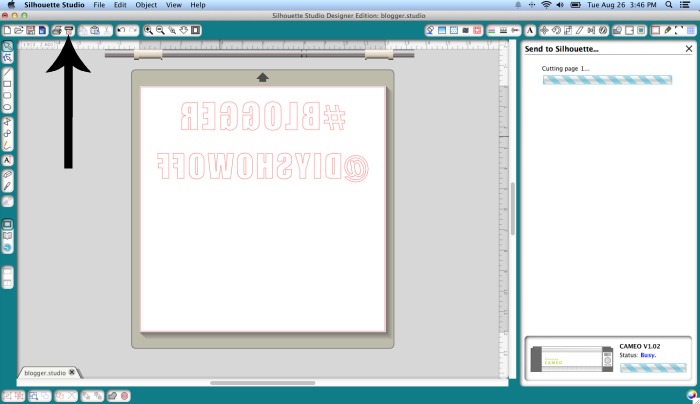
Adjust blade setting for heat transfer and send to cut.
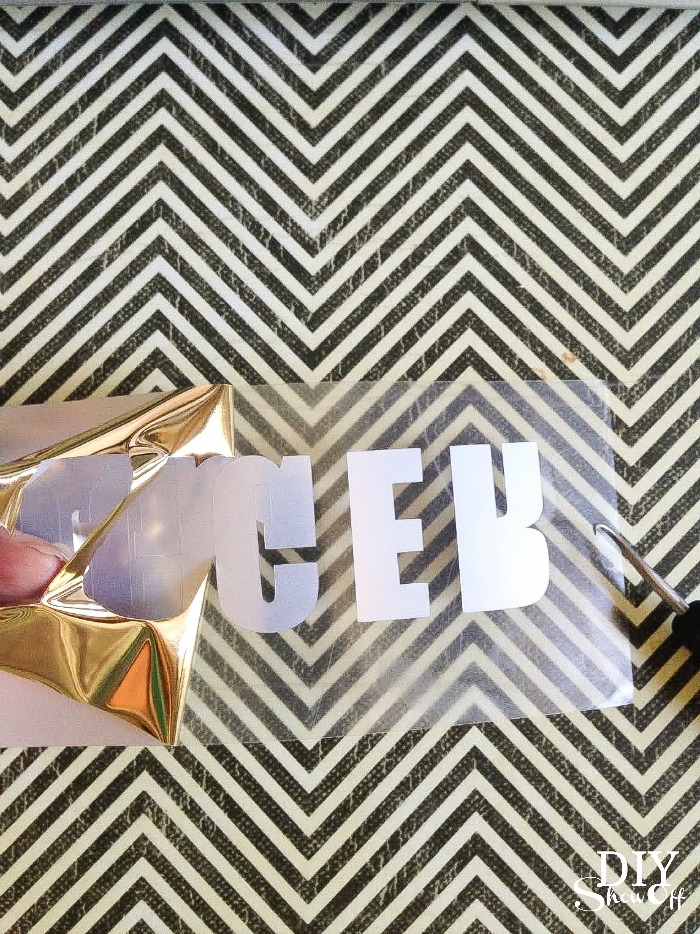
Unload from the machine and weed away excess vinyl. The silver/gold side will peel away from a tacky transparent side (your text will be stuck backwards to the tacky side).
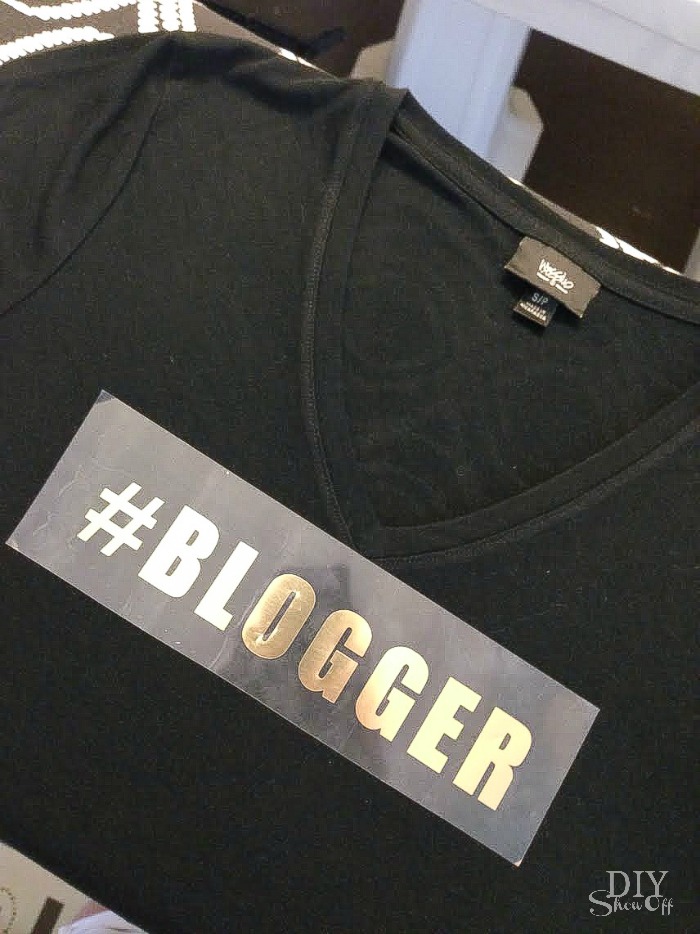
Smooth out the shirt onto an ironing board. Place iron on vinyl decal tacky side down in the spot where you’d like it to show on the front of the shirt.
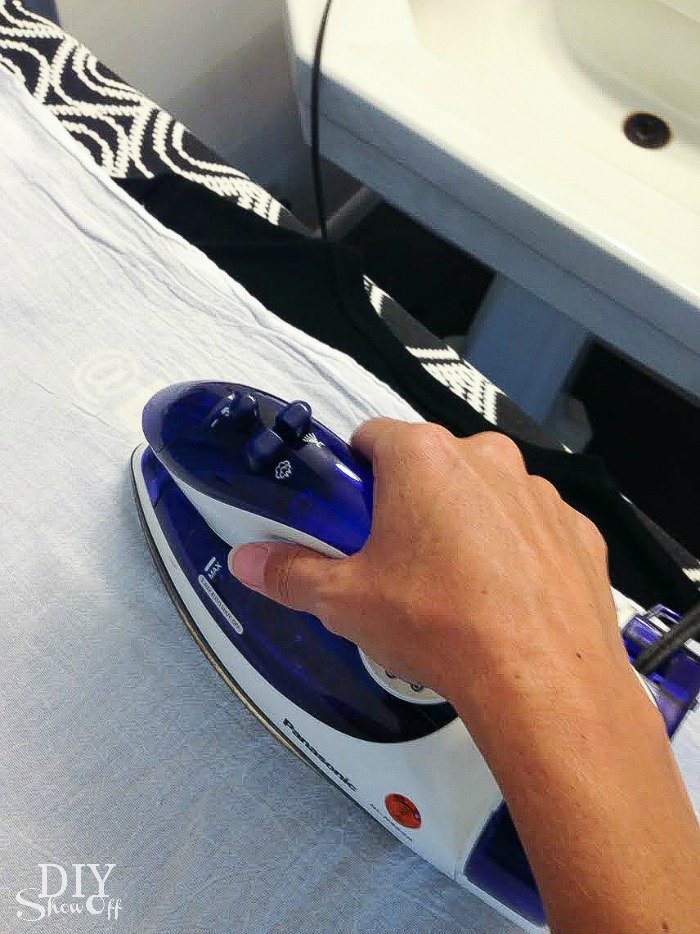
Cover the decal with a cotton dish towel (or scrap fabric). Iron on high adding pressure according to the instructions provided with the Happy Crafters iron on vinyl.
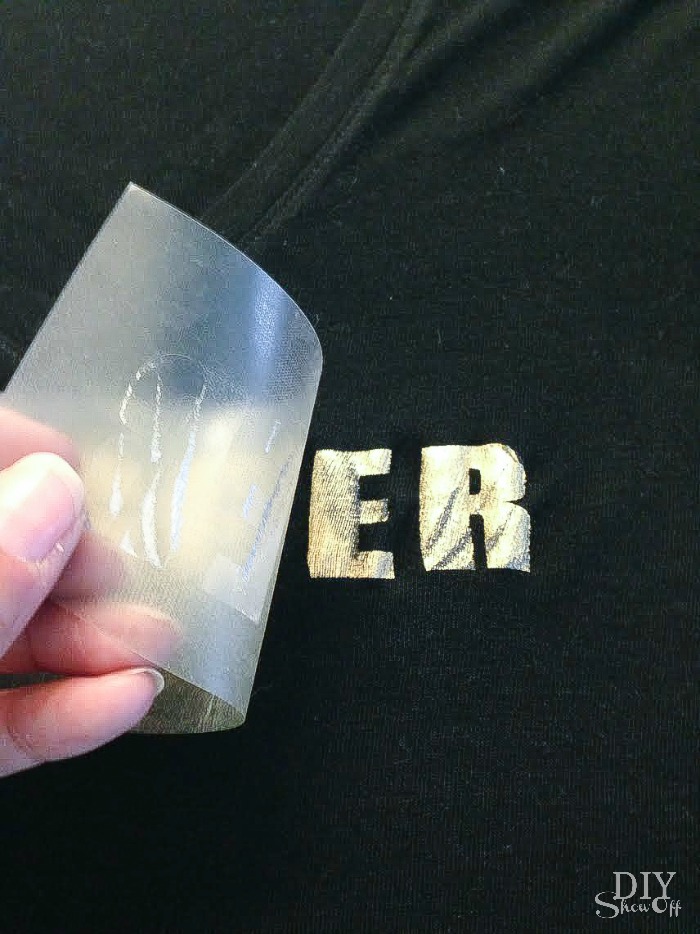
Slowly peel away the transparency. If you notice that the vinyl hasn’t adhered, replace transparency and iron again applying more pressure.
Once transparency is removed, I replaced my cotton dish towel and ironed the lettering flat.
Repeat the same steps for adhering the iron on vinyl decal to the back you may want to slide a piece of cardboard inside of the shirt first to prevent re-heating the front iron-on decal.
That’s it. I may have ironed mine on too high a temp so I have a sort of distressed look to my decal … which I love! So you may want to do a practice run/test to get it just right if you’re not a fan of the distressed lettering. Good luck!
And…it coordinates with my black and gold polka dotted iPhone case. #stylish haha!
What hashtag would you choose for your shirt?
*This post is sponsored by Happy Crafters. Tutorial, experience and opinion is my own. Check out all the supplies at Happy Crafters for inspiration for your next project.



Too cool! Love it! I may just have to give it a try…
You’re inspiring me to try out a few tshirts! This one is fantastic. Oh and btw….love your shoes! I have the same pair and wear them constantly. Lol. 😉
Love this! So many ideas and uses for this! #goldfordays 🙂
You are so good! Like I said, I failed miserably at trying to make shirts for my family. It turned out awesome. And thanks so much for the shout out.
I love this….. I love gold on black too. And thank you ever so much for this tutorial. And you are just too cute.. such a perfect model. Seems I missed a ton when my pc told me to to to H**L….. so I must go see Julia now.
what machine did you use???
Silhouette Cameo
Thank you for sharing this tutorial! So helpful 🙂