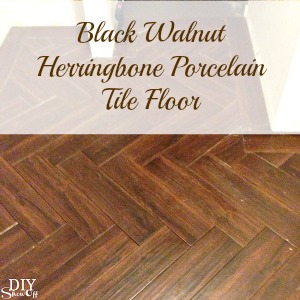
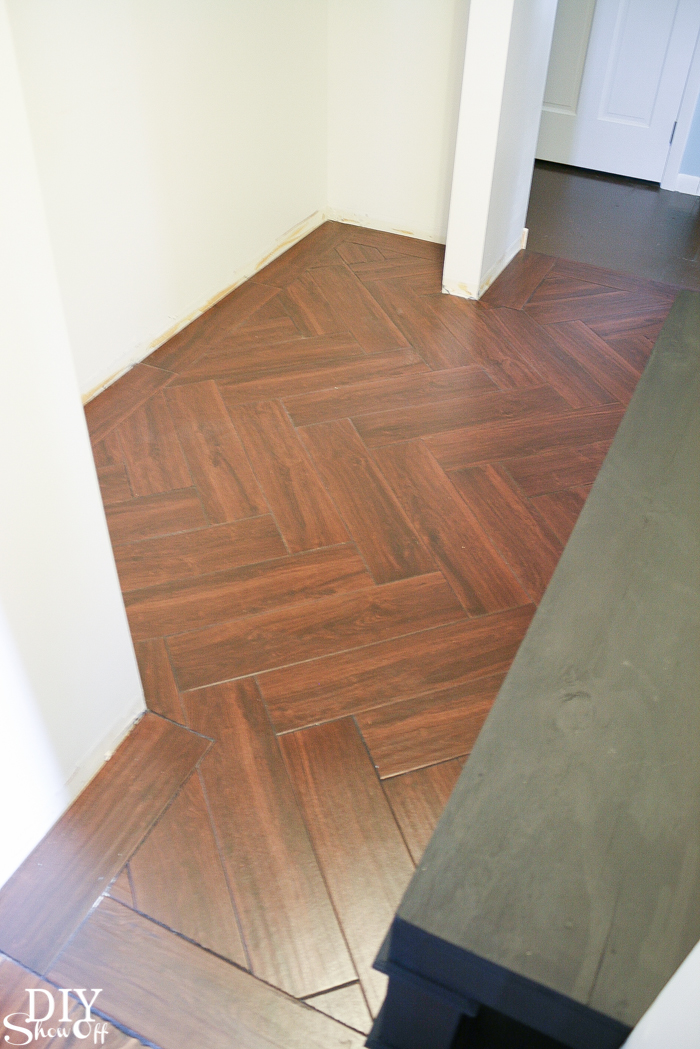
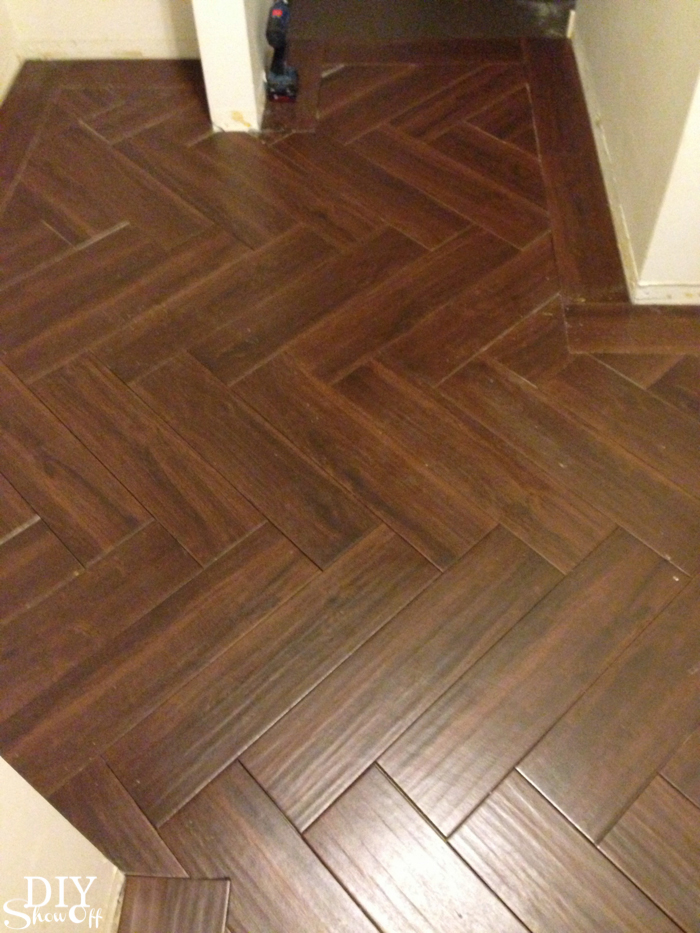
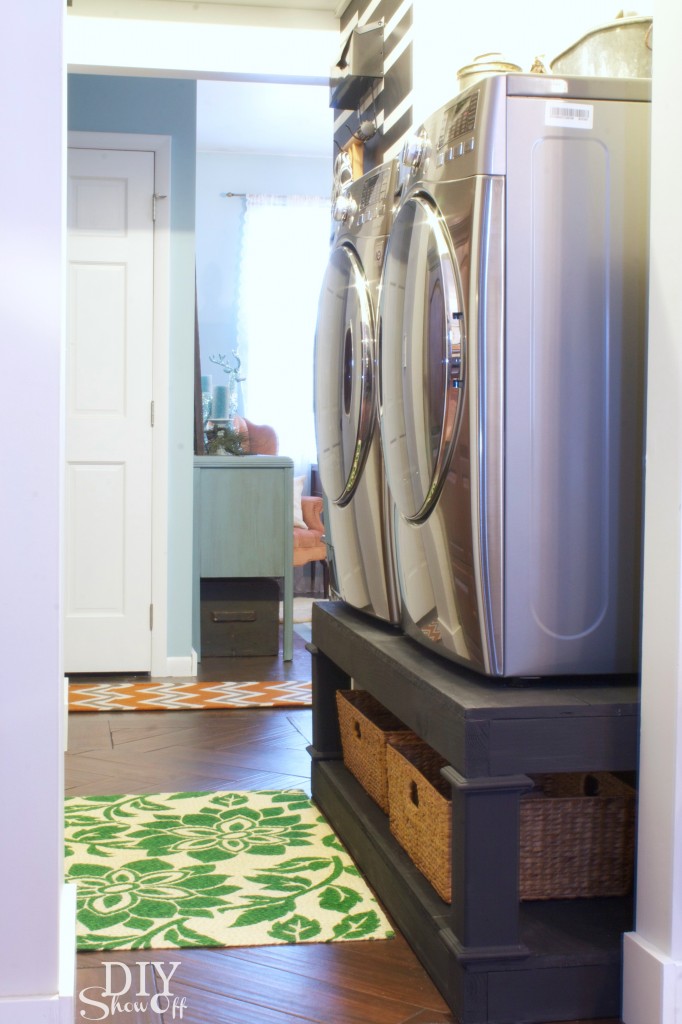
We’ve been working in the laundry room (see more in the home tour). We chose black walnut porcelain tile that looks like wood and oh my, it’s gorgeous!
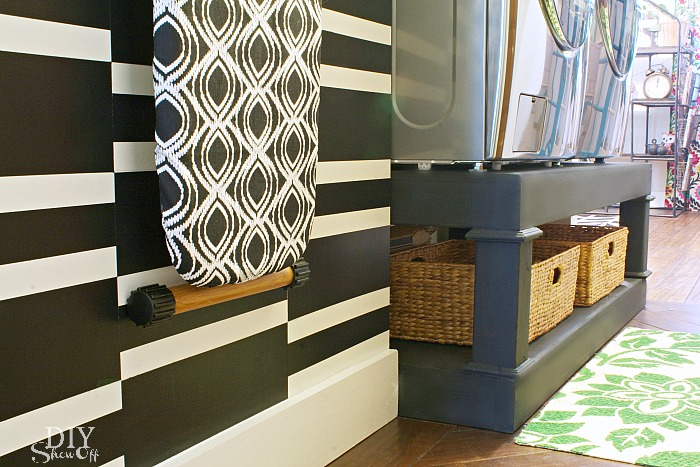
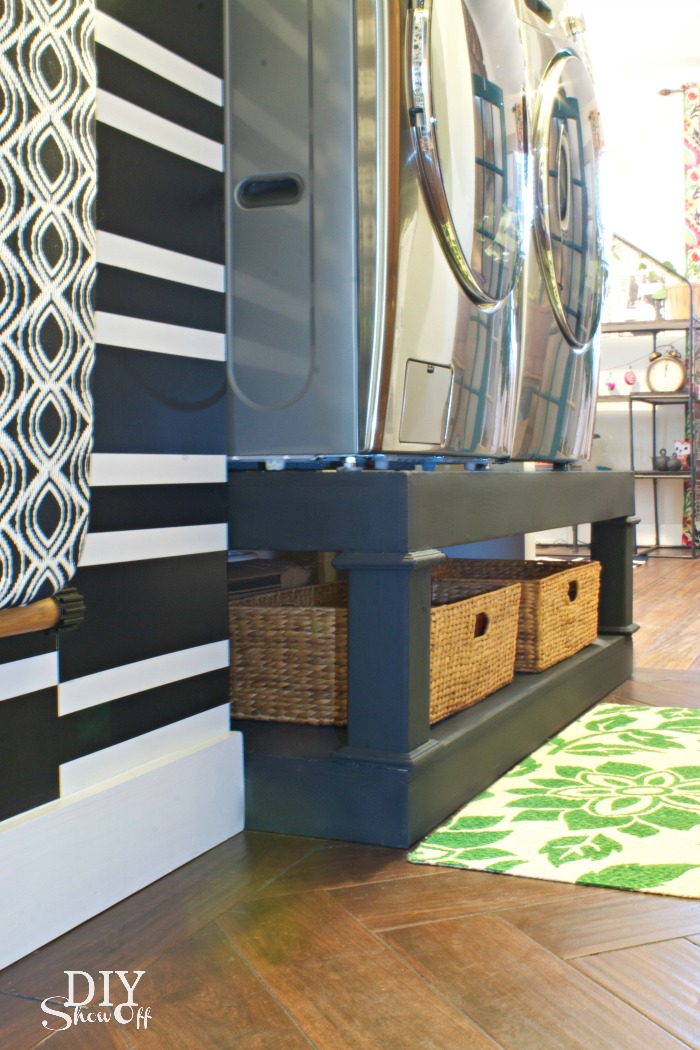
When we got it home from Lowe’s, my sweet husband suggested doing a herringbone pattern (because the herringbone patterned brick walkway and patio wasn’t enough torture, I guess) and I think he realized after his offer, that he may have stuck his foot in his mouth. But he did a beautiful job despite the tricky cuts, despite the fact that most of it is covered by a washer and dryer, a throw rug and someday soon, cabinetry and shelving.
This isn’t a full detailed tutorial per se because I’m not the one who did the work but I did take some pictures of the process for your DIY tiling enjoyment. Be sure to do plenty of research on tiling tips before beginning. Ready?
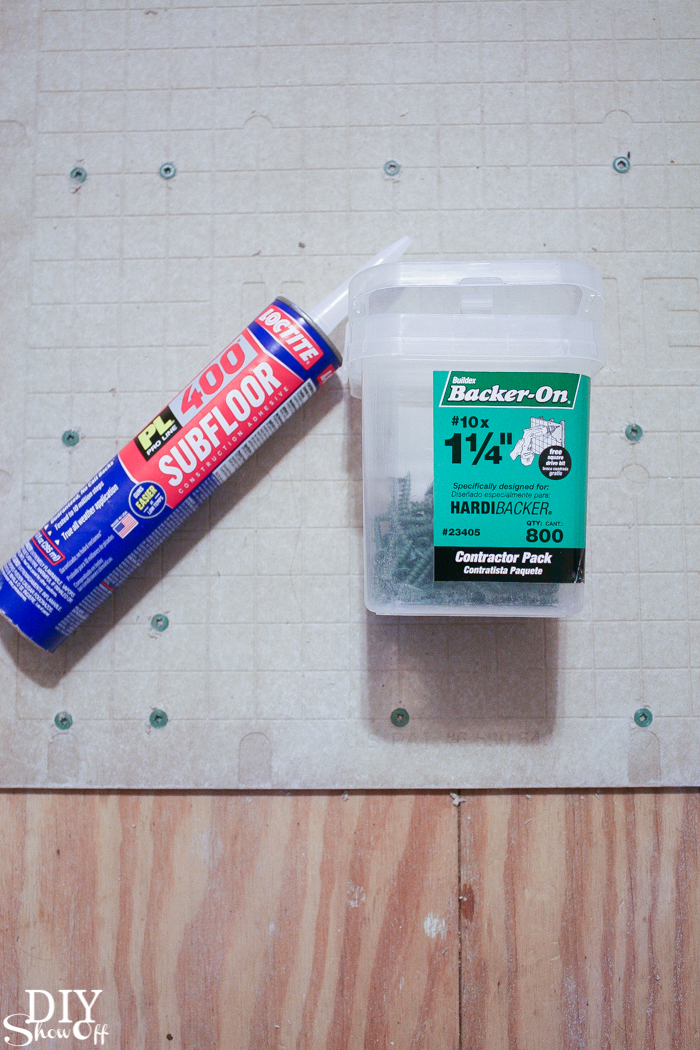
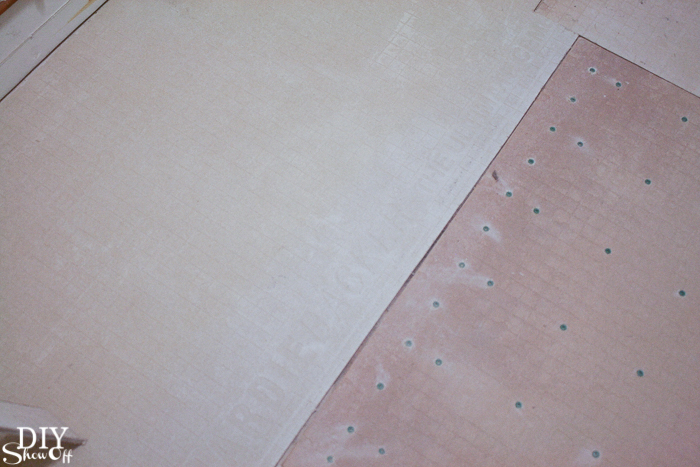
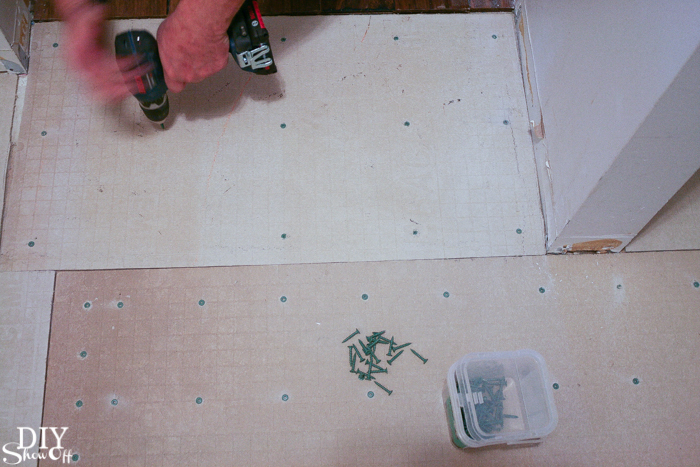
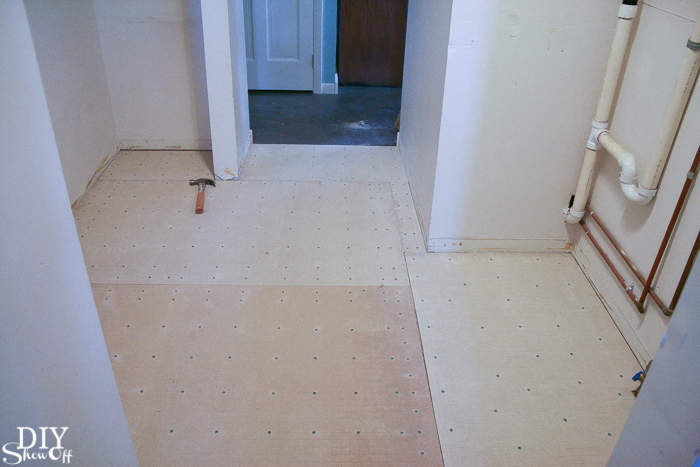
Level subfloor. Check. Hubby glued and screwed down Hardibacker.
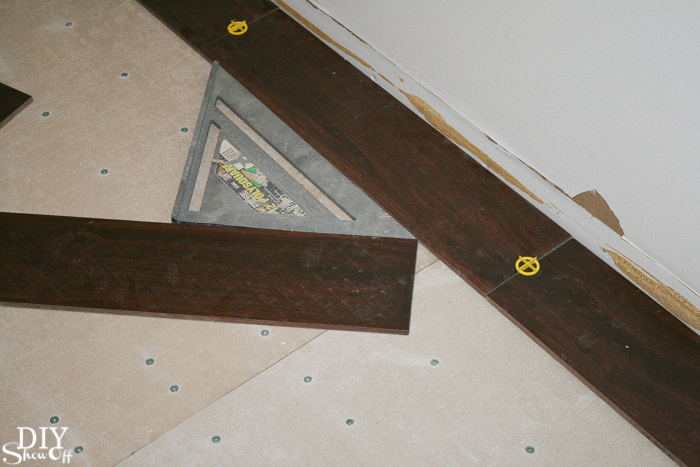
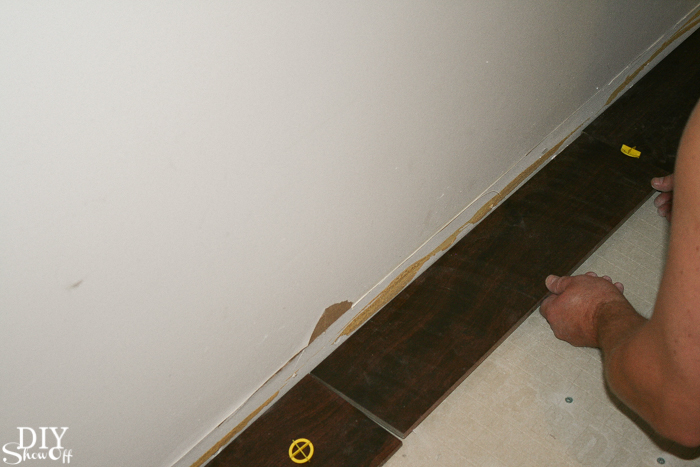
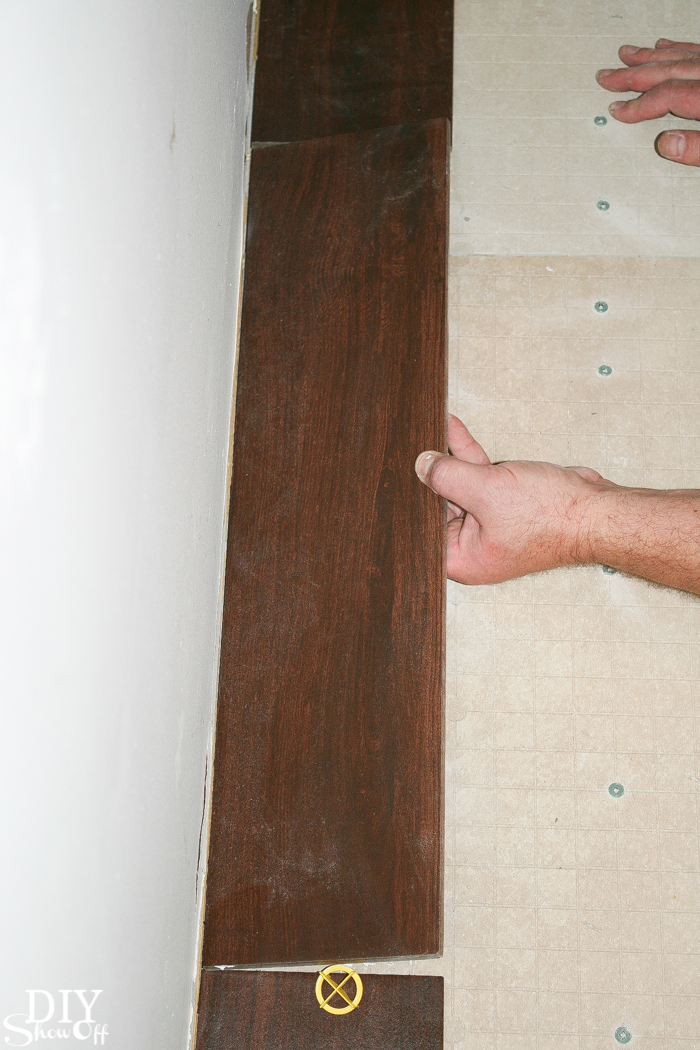
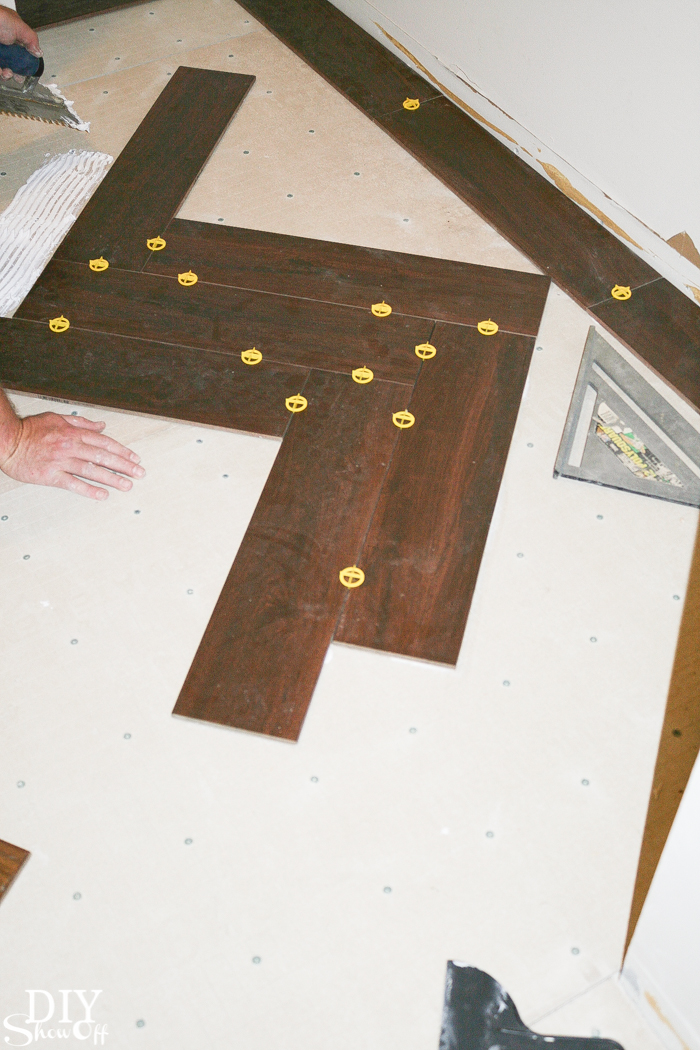
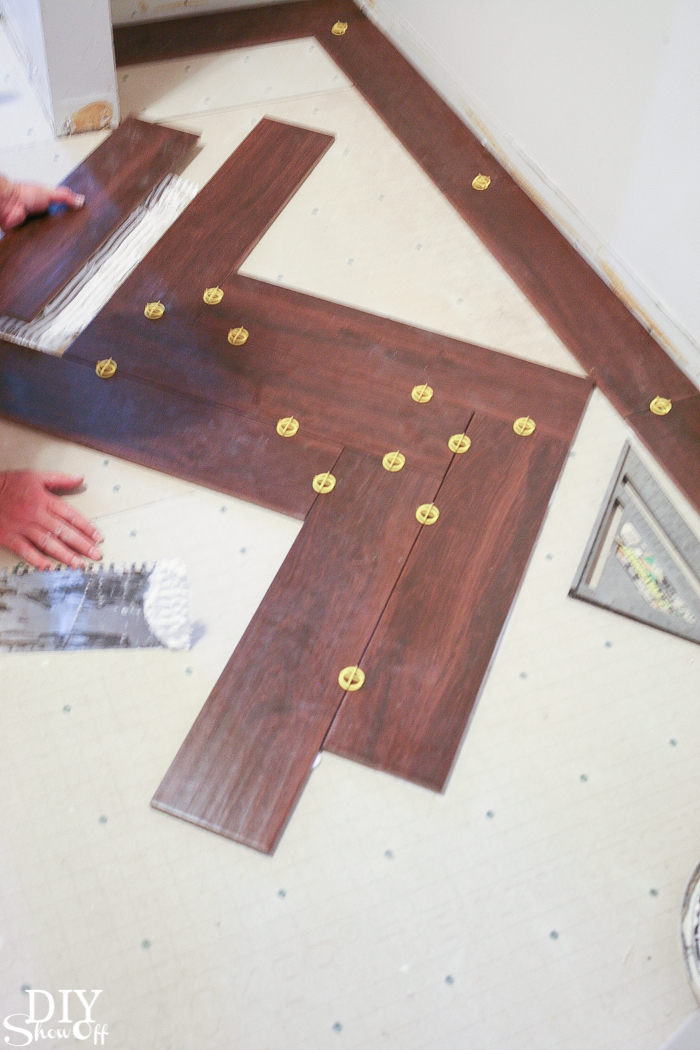
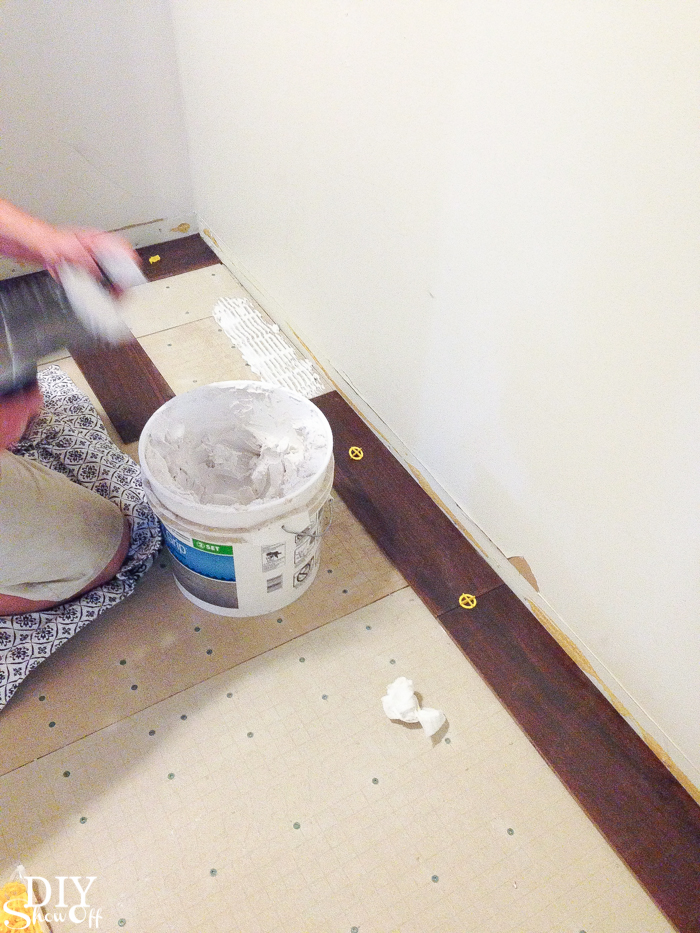
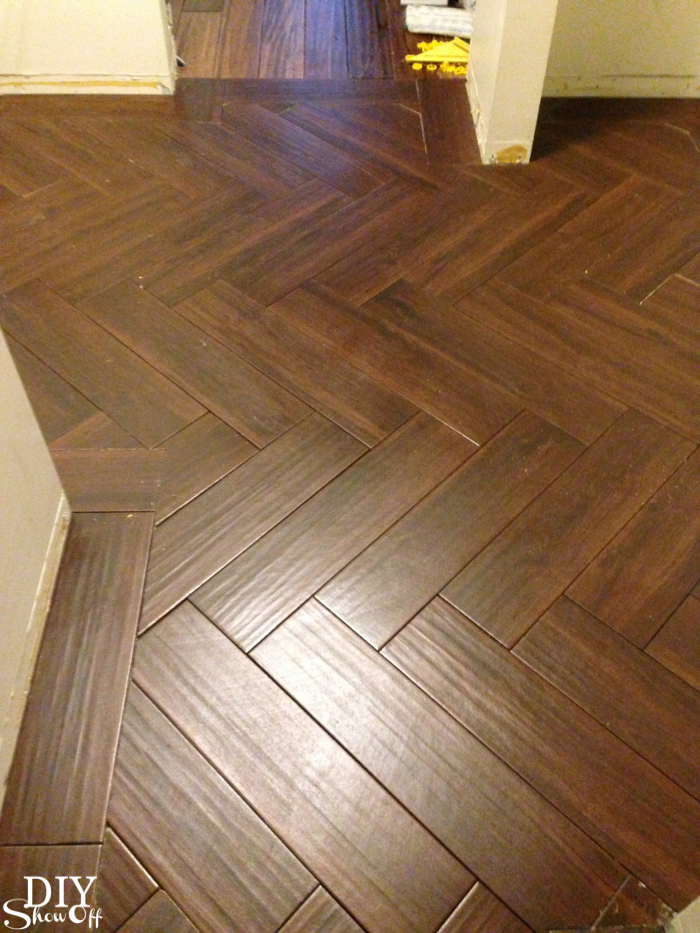
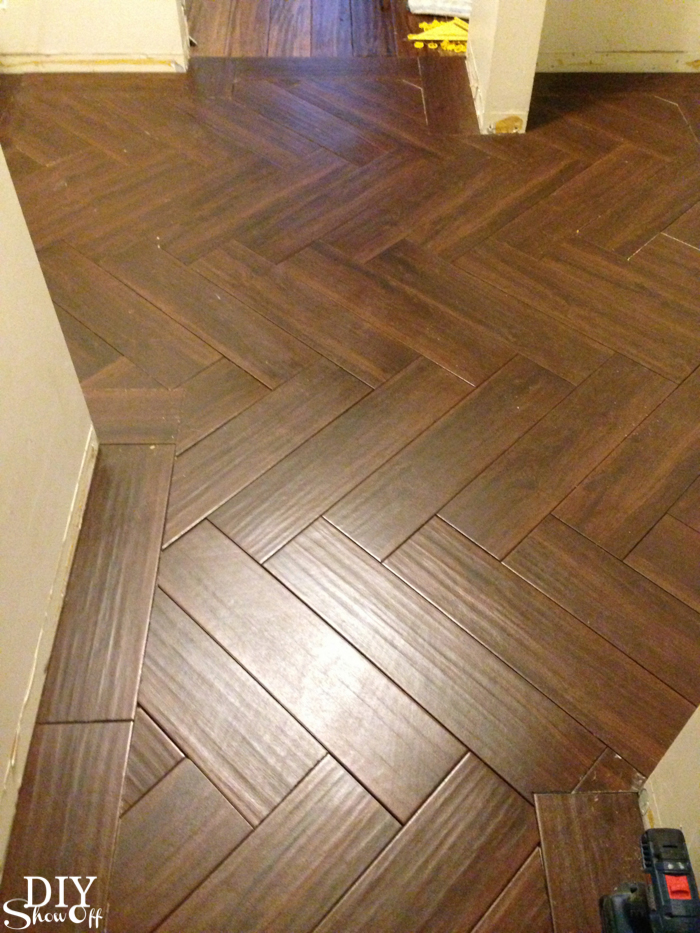
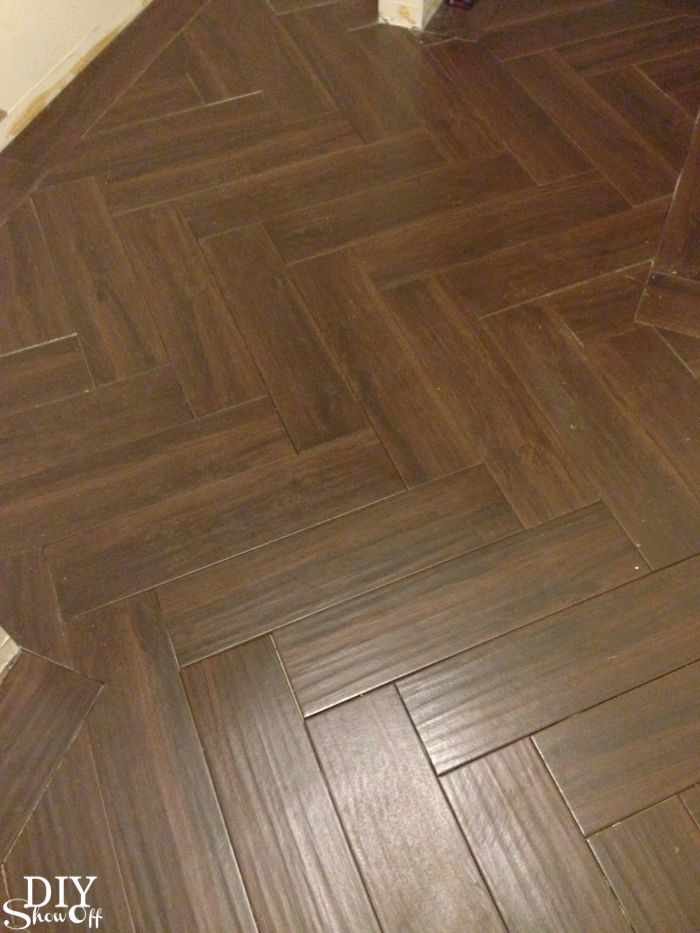
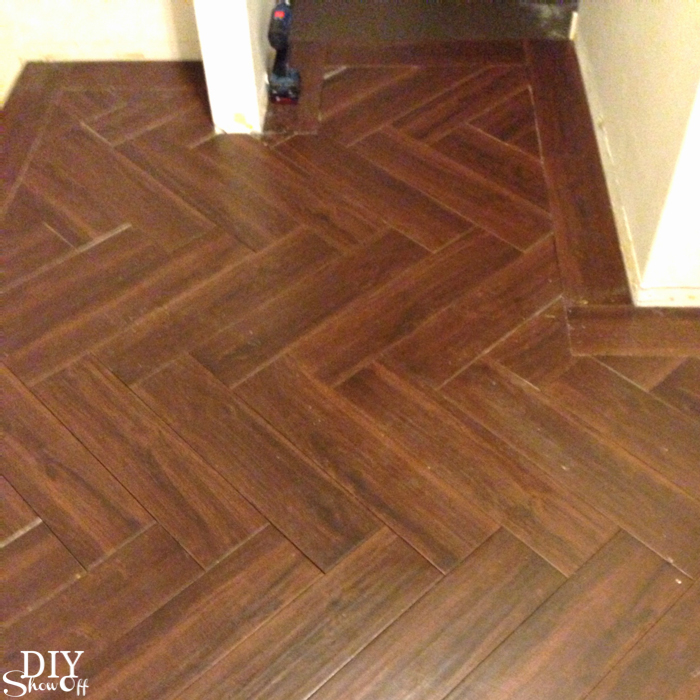
He started the tile pattern by creating a border around the space and cutting/laying out/fitting those tiles first.
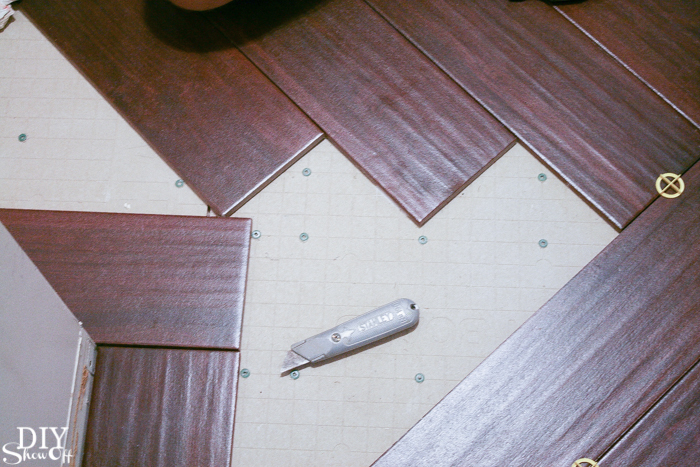
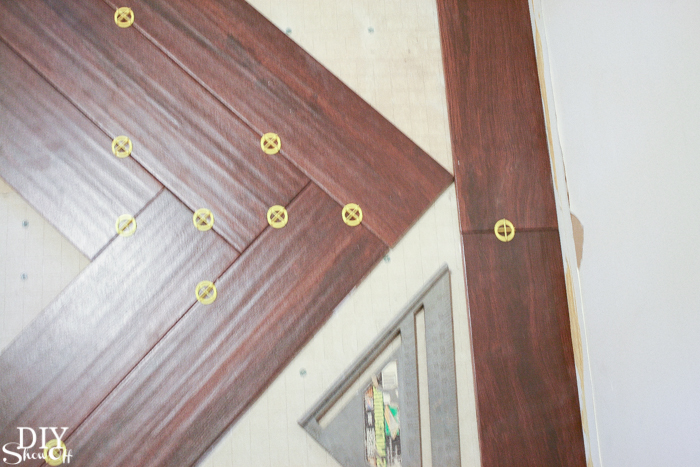
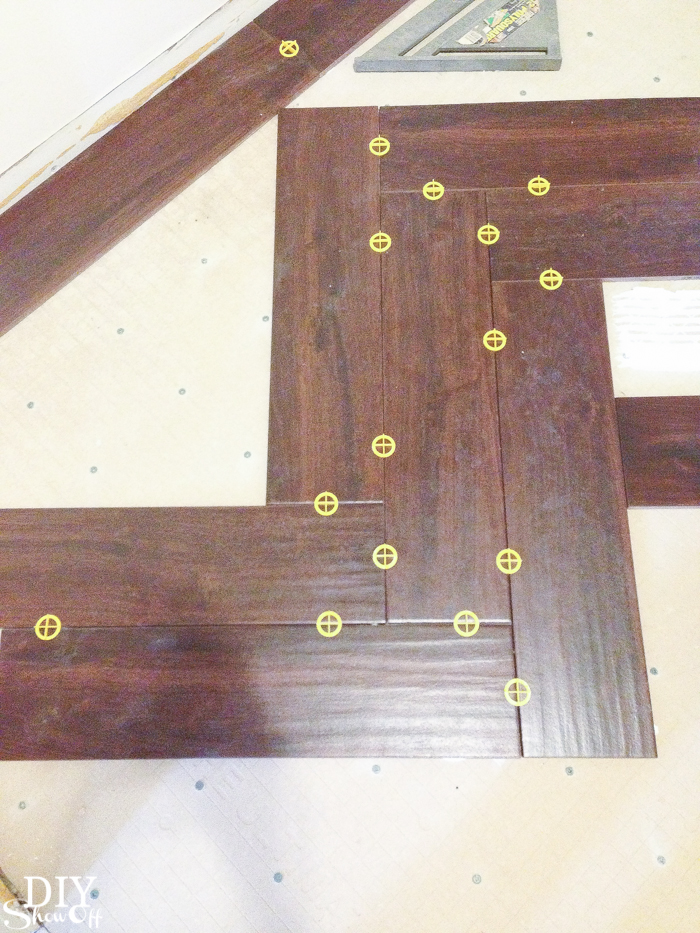
Then laid out the placement of the herringbone with solid un-cut tiles in the design.
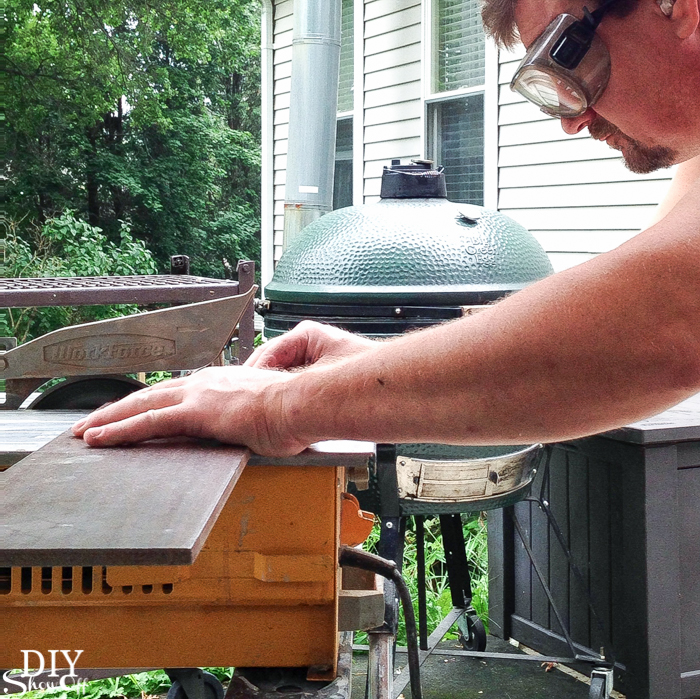
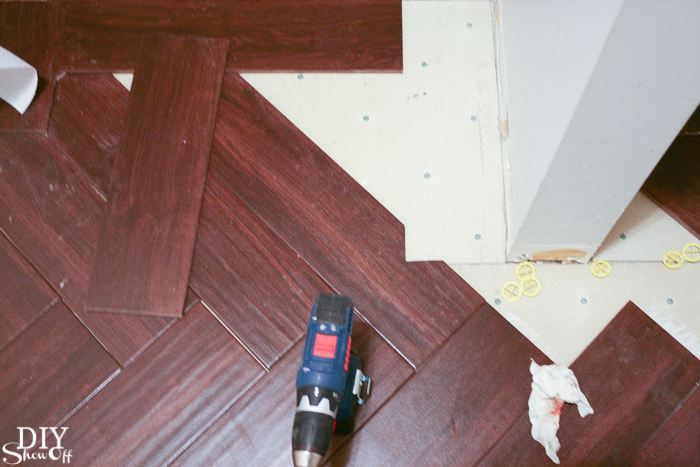
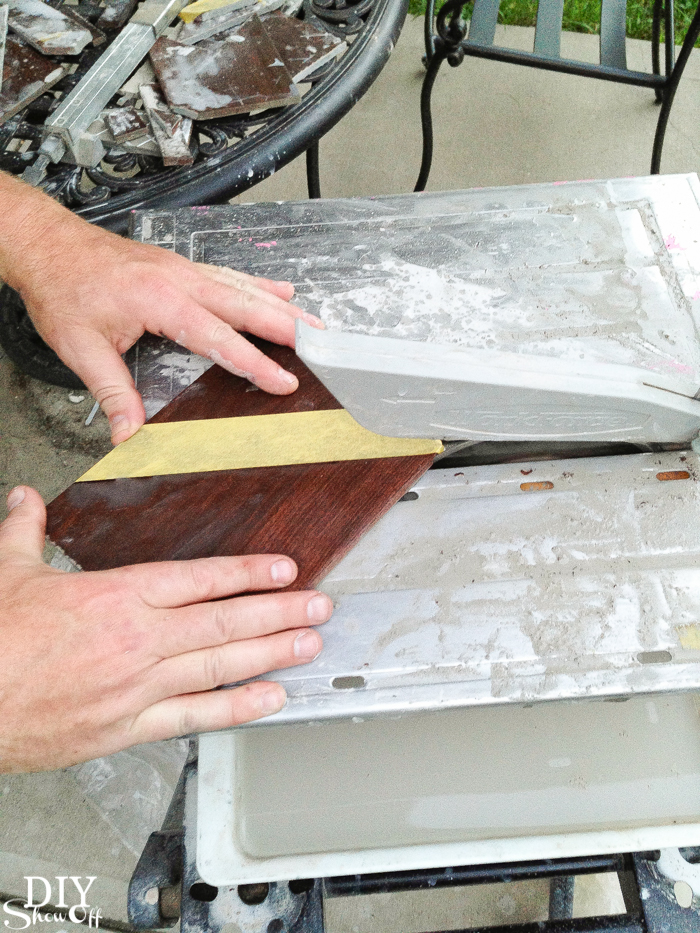
Next up is cutting the tiles needed to create a herringbone pattern in the space between the tile border.
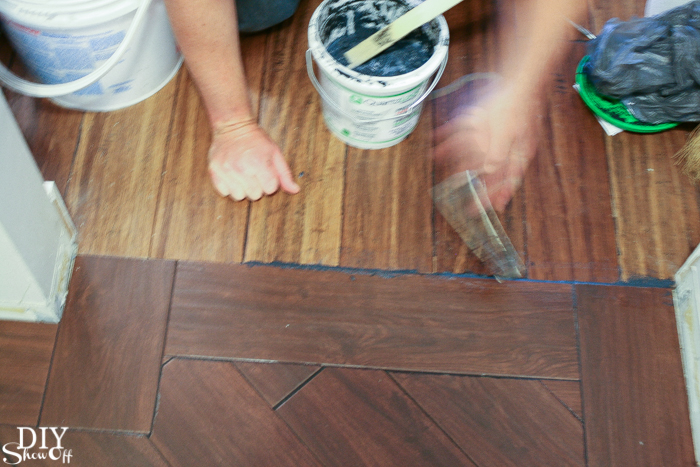
We find (he finds) that using FrogTape on the tile cut lines for tricky cuts with angles or small pieces helps prevent breakage.
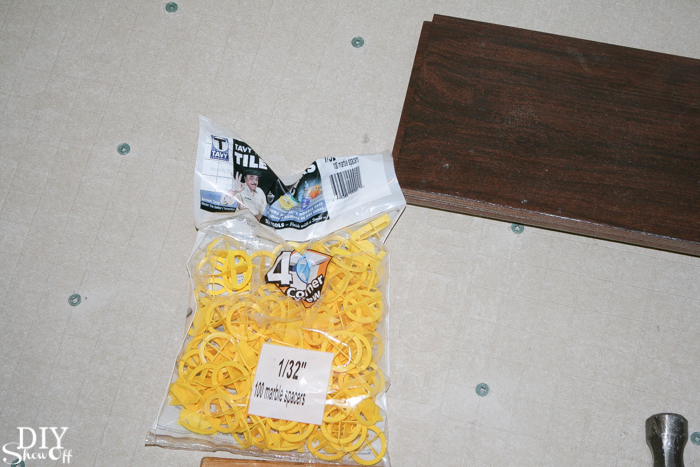
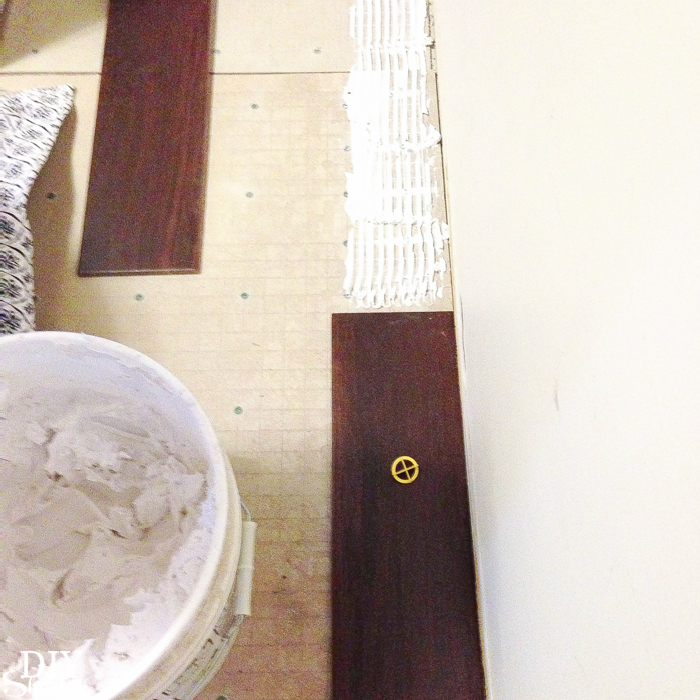
We used 1/32″ spacers. We didn’t want huge gaps between the tiles since they resemble wood.
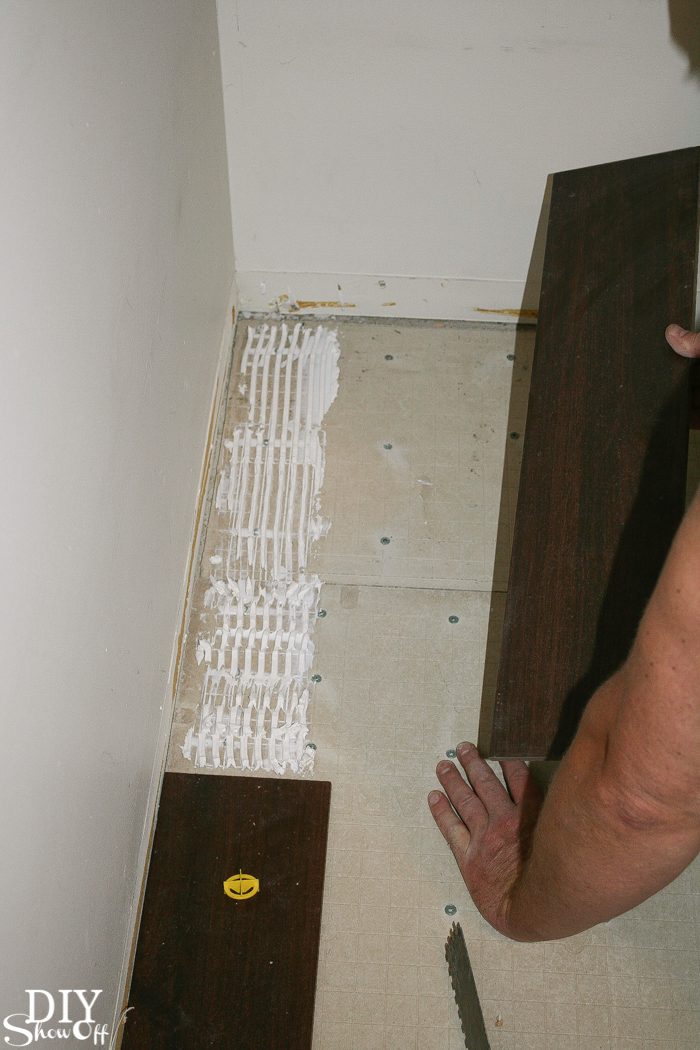
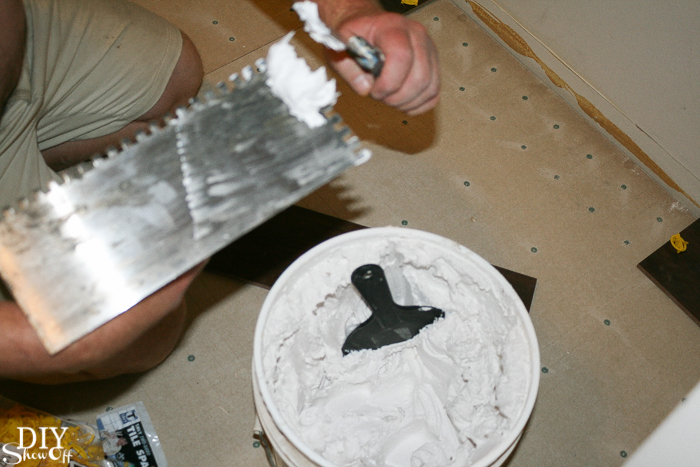
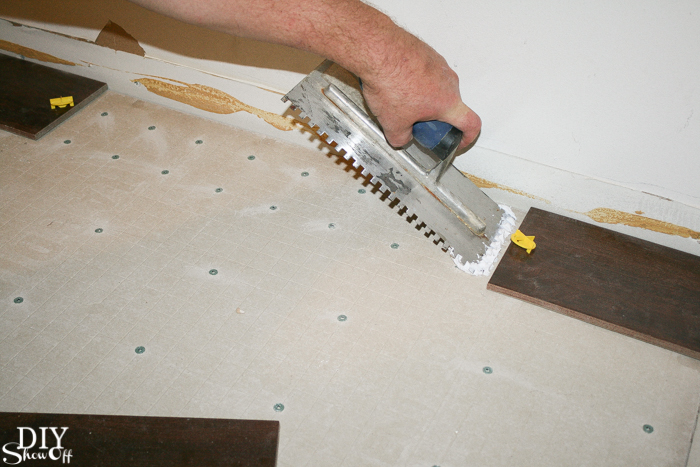
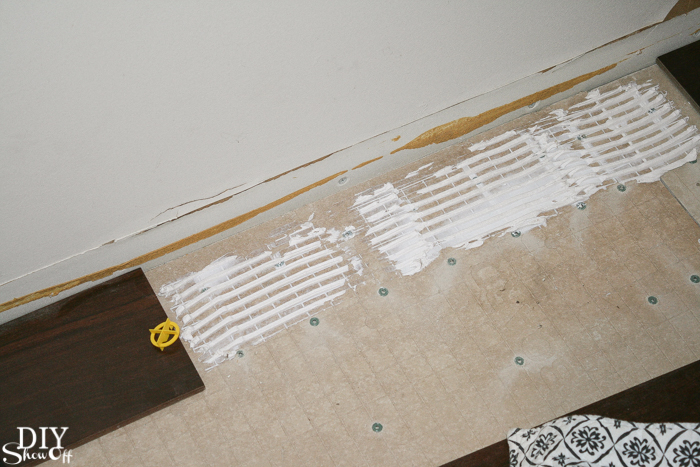
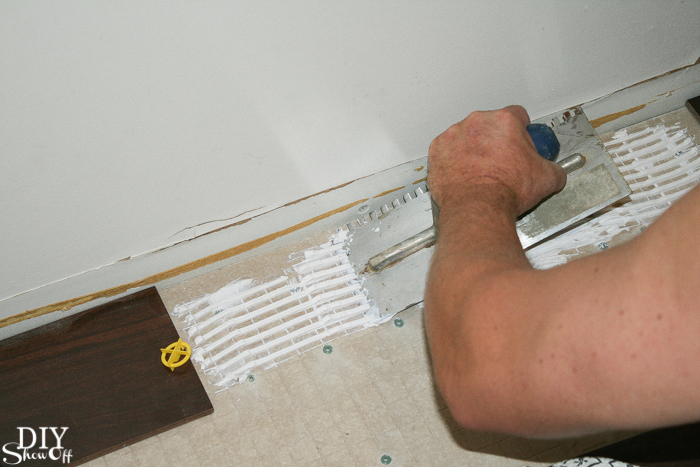
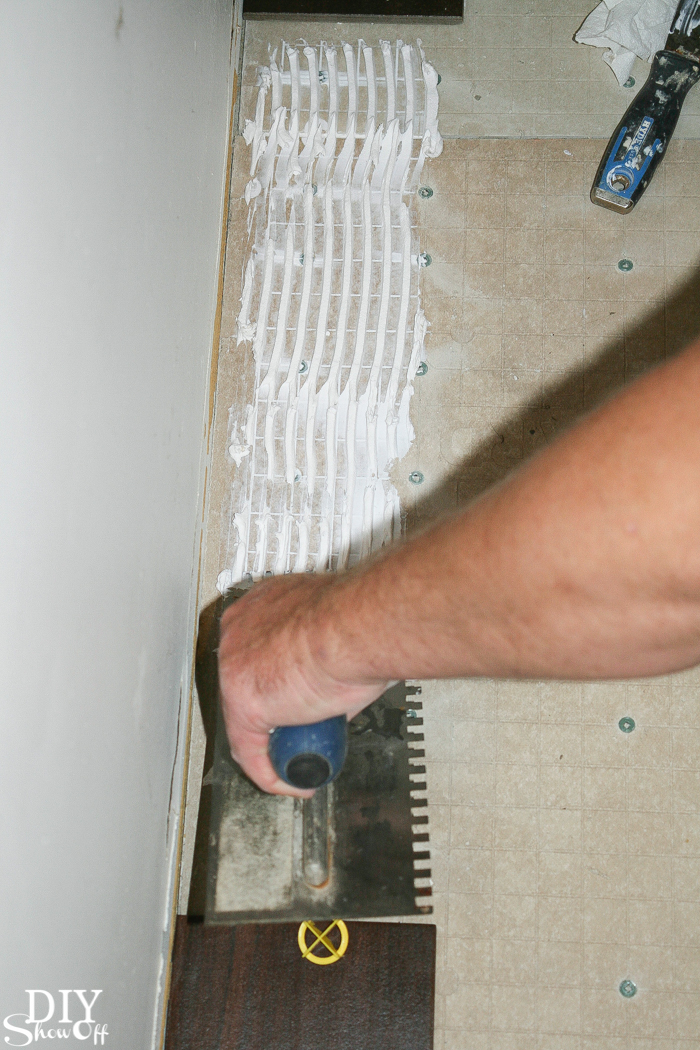
Next up, he set the tiles with mortar (OmniGrip) applied with a trowel.
Then removed the spacers and started the grouting process. We let it ‘cure’ for a week before applying the grout.
Grouting: We chose a black grout because it gave a similar look to the edges of our distressed antique java bamboo floors in the adjoining room. He used a sanded black epoxy grout (Quartz Lock Urethane Grout – jet black), smushing it into the spaces between the tile with a float then wiping away the excess with a sponge.
Let dry a good 24 hours before walking on it and because we were awaiting appliances, it was a couple weeks before every-day traffic.
Isn’t it beautiful? I was half tempted to put the washer and dryer somewhere else so I don’t have to cover it up! More laundry room makeover details coming up. Stay tuned!


It looks amazing! Great choice!
Angela @ Number Fifty-Three
Oh wow, the tile is gorgeous and I love the herringbone pattern. It looks amazing.
*swoon* I think I’m in love with Mr ShowOff too. I am absolutely lovin your laundry room great share … cheers Roeshel.
Gorgeous! I’d love to lay the same tile in our kitchen. Maybe one day!
Those floors look spectacular! I’m in love : )
Thanks, Deb! Me too! I really do hate to cover them up with the washer, dryer and cabinets!
I sooooo love this! Looks just like wood too. How do you like this tile? Does it look as good in person as the photo?? I sure wish they had had this before we put down wood in the house. Wood floors and big dogs do not do well!
This is so gorgeous. From the photo you would never know that it was not real wood. Kuddos to your hubby for such a beautiful job.
Wow. Your floor came out GORGEOUS! I really love it! I will have to pin this so that I don’t forget about it whenever we have a new place to DIY :0)!
It looks gorgeous {as does the rest of the room!}. What an amazing hubby you have – mine would have turned and ran the other way! 😉
Looks amazing Roeshel!! I’ve always loved herringbone patterned floors! The black walnut is gorg!!!
What a difference! This project really modernizes the area and makes everything else pop. I am considering using similar wood planks for the hallway walls. With your experience using this product, do you have any tips for someone that wants to get them up on a wall? Have you done that before?
Thanks, James. No, I don’t have any experience with installing floor tiles on a wall, only mesh-backed tiles on a backsplash.