Winter Wonderland Lamp Makeover Story…
Sleigh bells ring, are you listening,
In the lane, snow is glistening
A beautiful sight,
We’re happy tonight.
Walking in a winter wonderland.
I know. It’s August. Why in the world am I thinking winter? Well, I love a good DIY challenge! And thinking about December in August is a challenge, isn’t it? Besides, when August temps are high, it’s the only time I’m wishing for snow.
and…
HomeTalk and Lamps Plus are hosting a Holiday Design Contest and I’m excited to be participating! What is HomeTalk? A fun community based around all things “home” and Lamps Plus is an awesome source for lighting – what a great team!
I Spy Winter Wonderland Lamp Tutorial:
Materials:
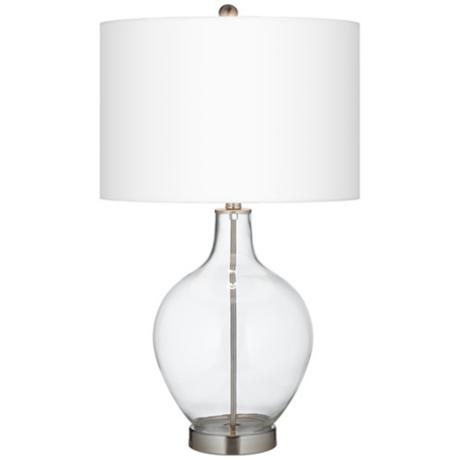
- Fillable Clear Glass Ovo Table Lamp
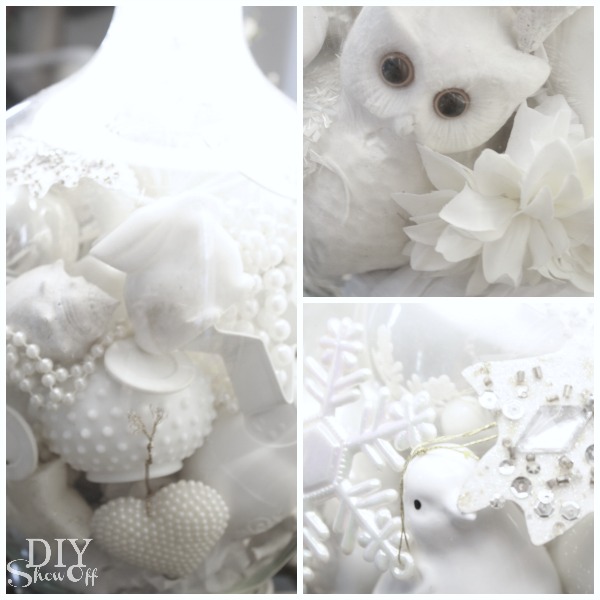
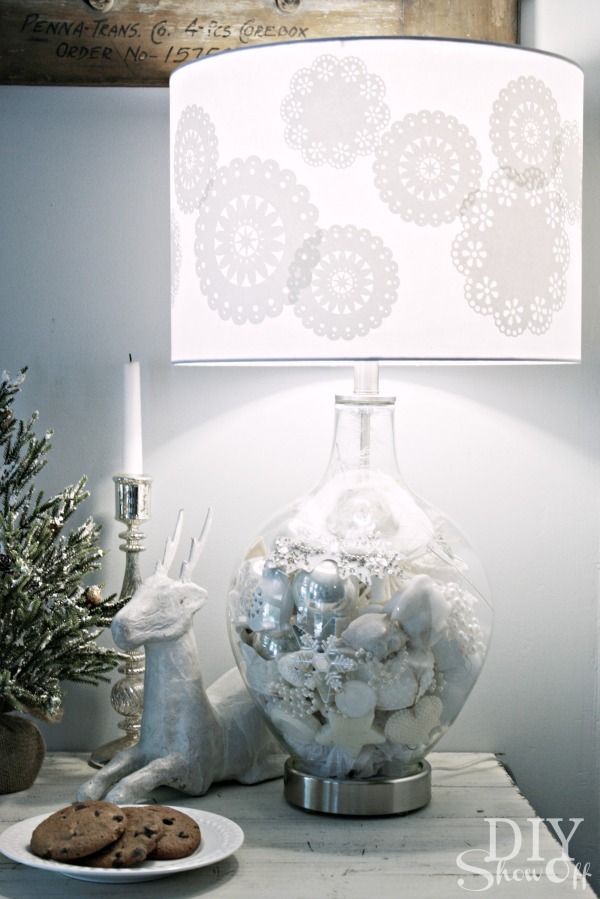
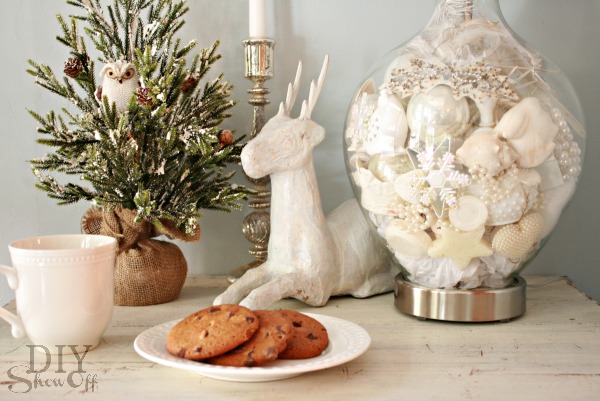
- assorted small white accessories from around the house. Mine include Christmas bulbs, snowflake ornaments, a white owl, ceramic angel, seashells, small white feathers, stars, mask, organza butterfly, nesting dolls, poker chips, chess pieces, faux dahlia, pearls, etc.
- paper doilies
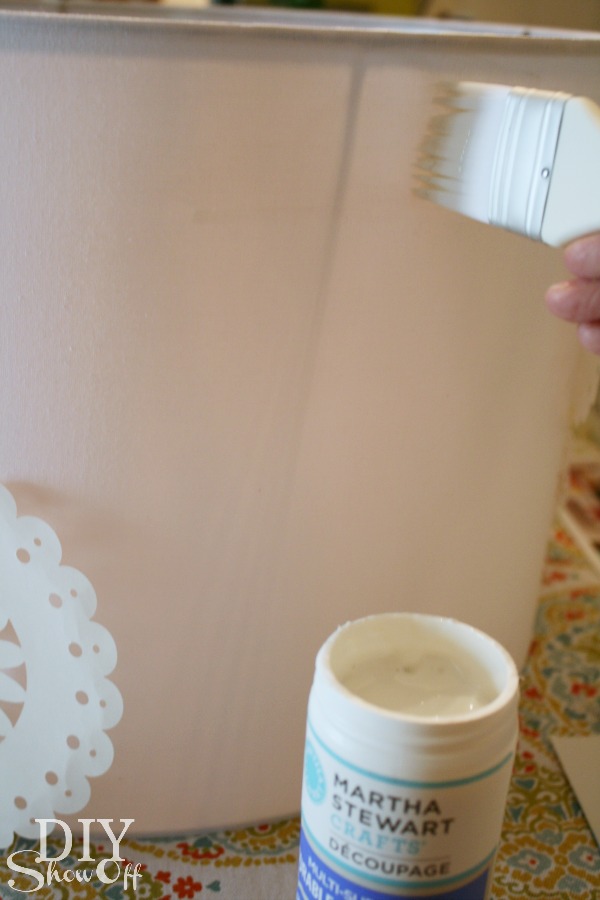
- Martha Stewart Decoupage Multiple Surface Durable Matte Finish
- craft chip brush
Lampshade Tutorial:
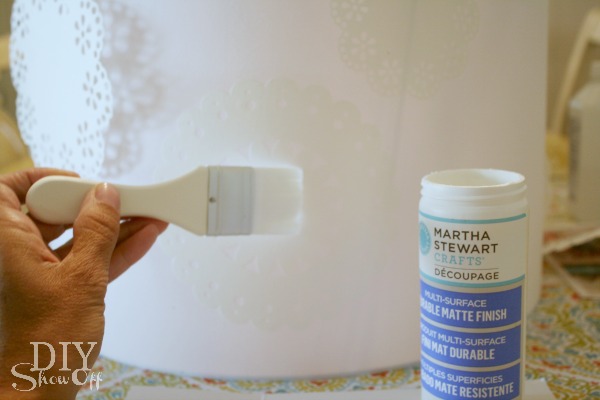
Working quickly and in small sections, apply decoupage to lamps shade with a soft bristle chip brush.
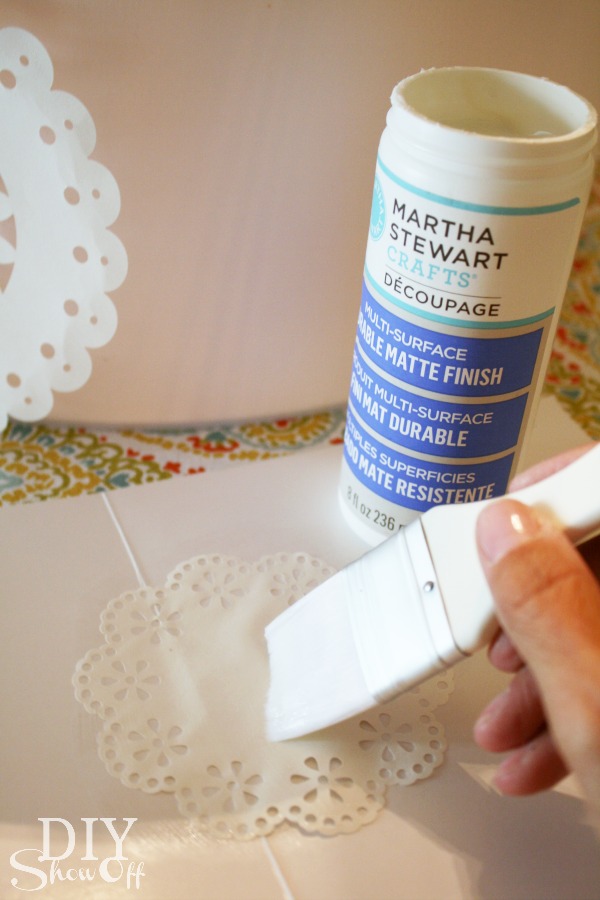
Apply decoupage to the back side of the paper doily.
Place paper doily onto the freshly brushed decoupage on the lampshade.
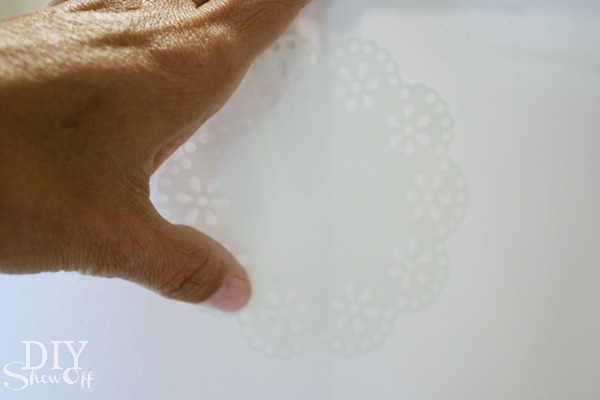
Apply a coat of decoupage to the paper doily and surrounding area.
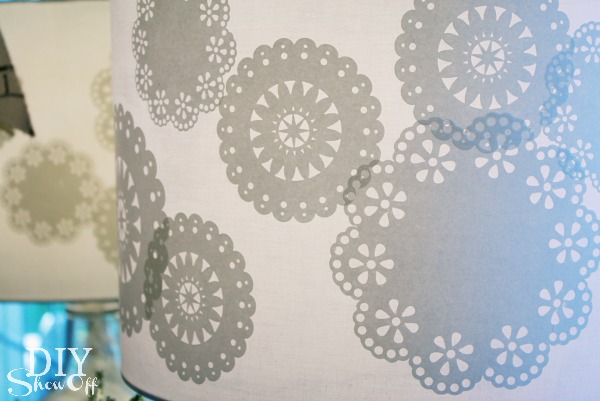
Repeat steps above for all paper doilies, staggering the designs.
Attach lampshade to lamp and give entire lampshade one to two top coats of decoupage, allowing 1-2 hours of dry time between each coat. Let dry.
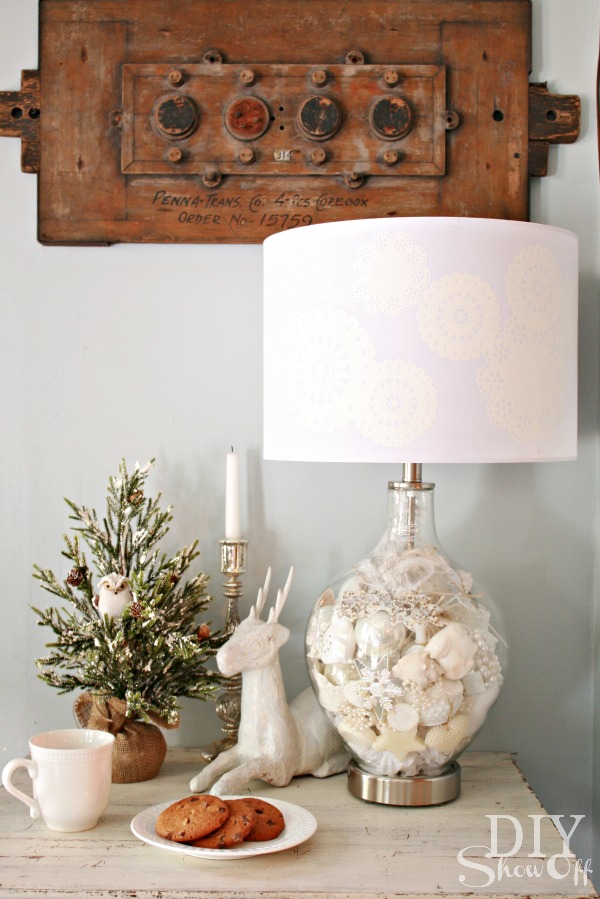
Ta-da:
Filling the Lamp:
Filling the lamp is super easy: Unscrew the wing nut on the bottom of the fillable lamp to separate the bottom piece. Carefully fill the lamp with baubles. In my case, it was my white “I spy” collection from around the house. At the bottom of my lamp, I added a little bit of old tissue paper to act as a cushion. When full, replace the the base and secure with the wing nut.
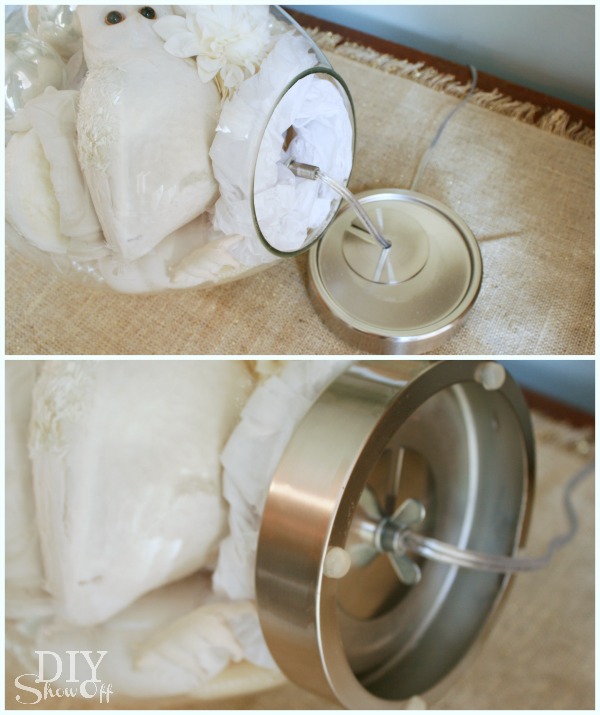
Attach lamp shade.
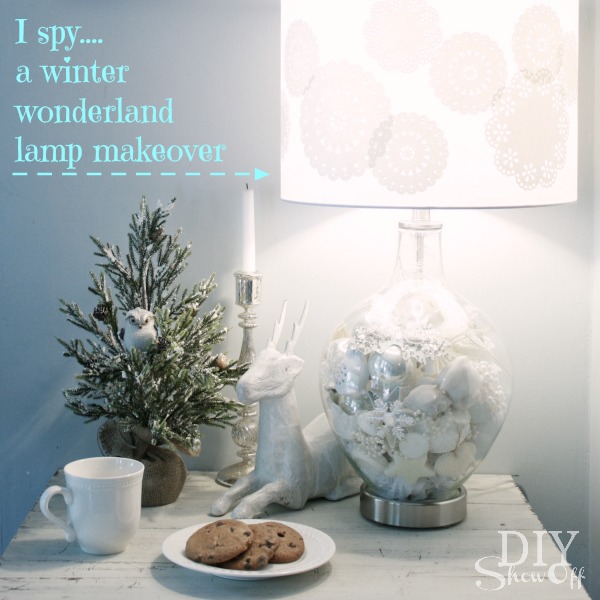
Hot cocoa, a warm throw, cozy fire, holiday music and dreaming of a white Christmas…
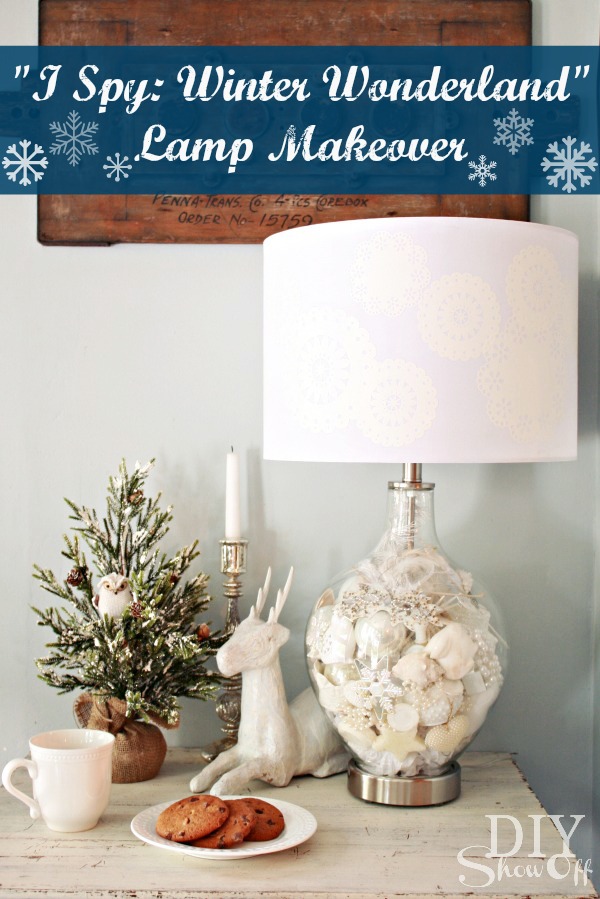
What I love about my “I spy winter wonderland lamp”:
- I love that while my lamp definitely has a winter wonderland vibe, it’s a subtle enough style to display all year long since it doesn’t scream “HO-HO-HO! Merry Christmas!”
- Great for a winter decorated side table or vignette to coordinate with any holiday theme or color scheme. White goes with everything!
- Perfect for a guest room night stand…who needs to count sheep when you can hunt for treasures?
- And a fun quick “I spy” game and conversation starter for guests in the living room.
- Easily refillable for a new look.
Thanks to HomeTalk and Lamps Plus for inviting me to participate in this fun Holiday Design Challenge!
*LampsPlus supplied the lamp for this project. All thoughts, opinions and project tutorial are 100% in my own words.


Love this! Puts me in the holiday mood already!
As long as we’re not singing Christmas carols in August, we’re safe, right? Thanks so much! xoxo
Beautiful! Love those snowflakes! Life to the full! Melissa
Looks so beautiful!
Thanks, Megan! 🙂 xoxo
What a pretty lamp! You did a great job. I love the shade!
Oh, I so very love, love, love your new lamp and shade. It is perfect. Even for hot weather loving me!
I love it! so pretty and I love decorations that you could leave up all season.
Thanks, Joen! I think for fall, it’d be pretty filled with acorns…there are so many options!
I love the doilies on the lampshade!! I didn’t even notice those in the first couple of pictures! The idea of filling up the empty lamp with baubles is awesome too. Great project!
xox
Bailey
Thanks, Bailey! I love that I can swap those baubles out for other decor and the doilies will coordinate with just about anything! 🙂
I really like this lamp and you are so right you can use it all winter long. Very pretty!!
Cynthia
Oh, I LOVE this Roshel. What a super FUN challenge. I am ready for the cooler temps to start showing up and your Winter Wonderland Lamp has made me want them even more 🙂
Great job!
xoxo
That’s such a great idea! It looks wintery and coastal: perfect!
I love the lamp, Roeshel! Especially the lampshade. You did a great job creating a winter wonderland lamp.
Hi Roeshel,
Your lamp turned out fabulous! Love the falling snowflake doilies on the shade and your winter ‘fillings’. Reminds me that winter will be here before we know it.
Thanks for the inspiration,
Suzanne
Pieced Pastimes
Now I want to decorate for Christmas! My 4 year old already wishes it was Christmas every night. I am staring down my mantle already. But first I think I’ll add more pumpkins…. YEP I already busted out the pumpkins I couldn’t handle it any more. They had to come out. I was literally pacing back and forth in front of the mantle until I told myself I was ridiculous and to go get them. Yes I talk to myself.
By the way the pic on the left of you by your contact info is very pretty.
I love what you did. Especially the paper doilies!
I love everything about this lamp. I think the snowflakes brought a smile to my face!
dianntha
Weeee … this is a great idea, I can’t wait to make my own!
Omg! What an enchanted look! Love it.
Love how you have transformed a simple table lamp.. Fantastic Job!