Ombre Stenciled Flower Pots

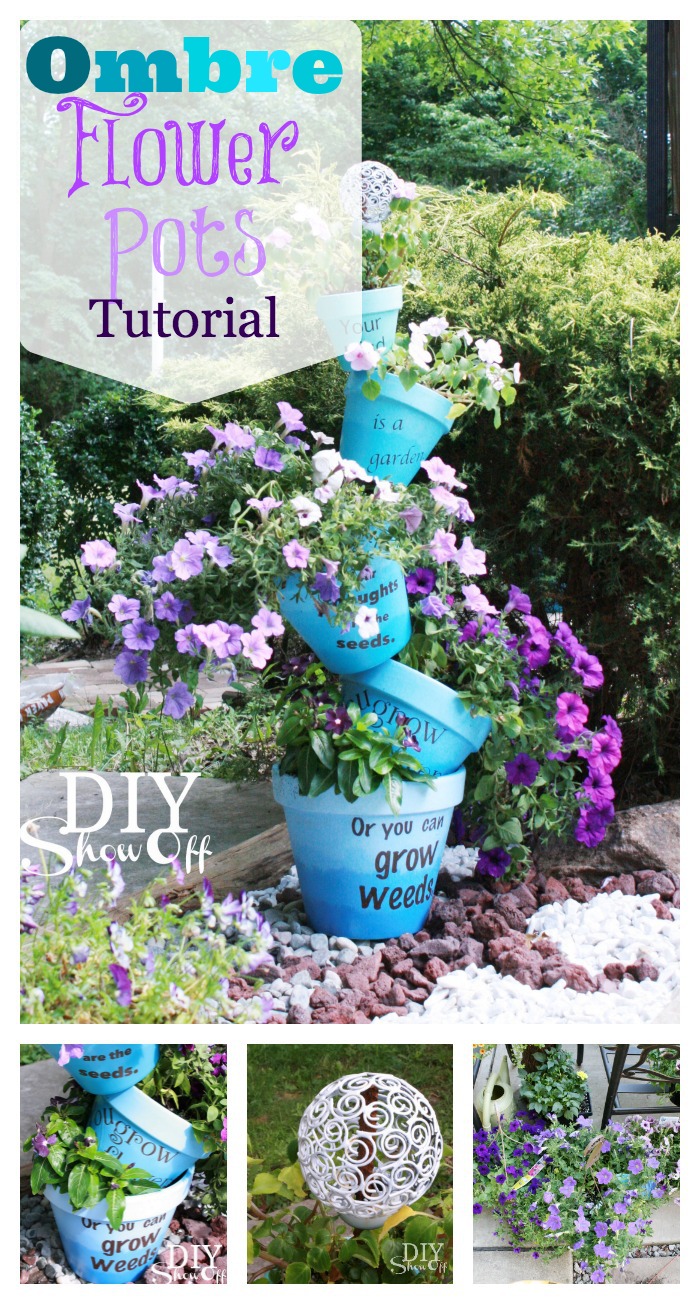
This is definitely the summer of DIY flower planters at DIYShowOff, isn’t it? We’ve always been so busy with projects INside the house, that decorating outside hasn’t been a priority but this year, I’ve been especially happy to celebrate summer. I wanted to spruce up the yard a little with some colorful flowers and flower pots and that’s exactly what I’ve accomplished. I do promise (I think) that this is the last DIY flower pot project of 2013.  

Stacked Stenciled Ombre Flower Pots Tutorial

Materials:

  • Terra cotta flower pots (5 different sizes from smaller to bigger)
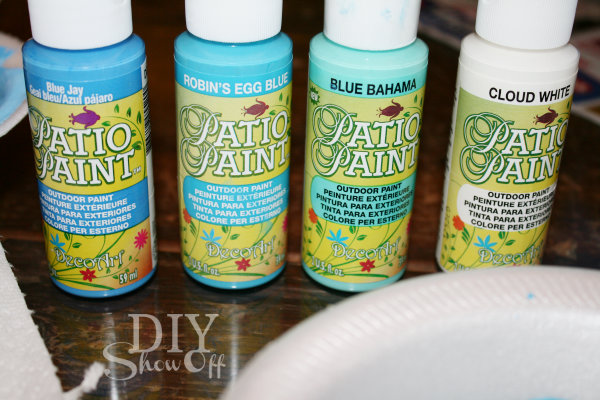
  • DecoArt Patio Paint (1 Blue Jay Blue, 1 Robin’s Egg Blue, 1 Blue Bahama, 2 Cloud White, 1 Woodland brown)
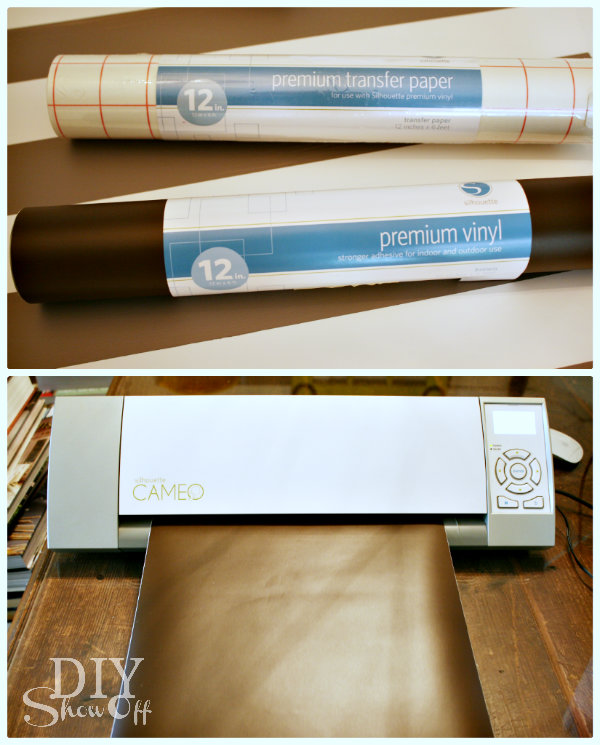
  • Vinyl stencils (I created mine with my Silhouette Cameo and vinyl from my sponsor, Happy Crafters). 
  • Krylon Clear Coat
  • Rebar (mine is 42″)
  • Potting soil and flowers
  • Optional: Curtain rod finial (I found mine at a thrift store and spray painted it white)

Ombre flower pots Tutorial:

I purchased three colors blue and two bottles of white patio paint to create 5 colors in styrofoam bowls:

  • Blue Jay Blue
  • 50/50 Blue Jay Blue and Robin’s Egg Blue
  • Robin’s Egg Blue
  • 50/50 Robin’s Egg Blue and Blue Bahama
  • Blue Bahama

deco art patio paint

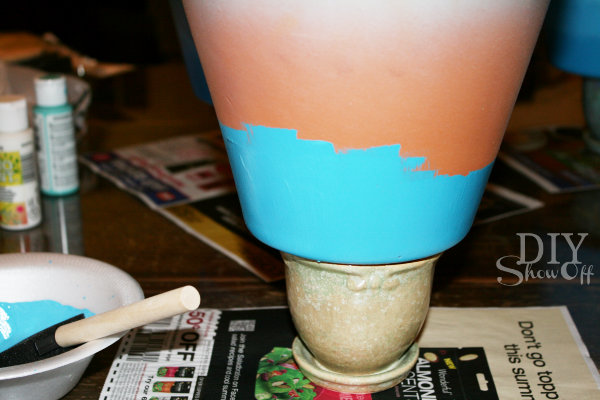
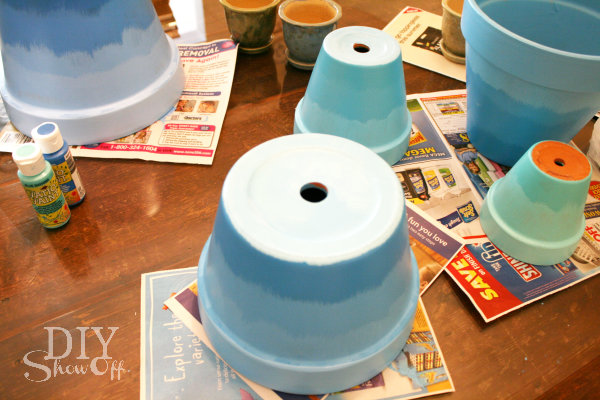
For each pot, I started with one of the base colors above. Using a foam brush, I started on the bottom, “feathering” the paint. I then elevated my pots to make painting/drying easier. 

painting terra cotta flower pots

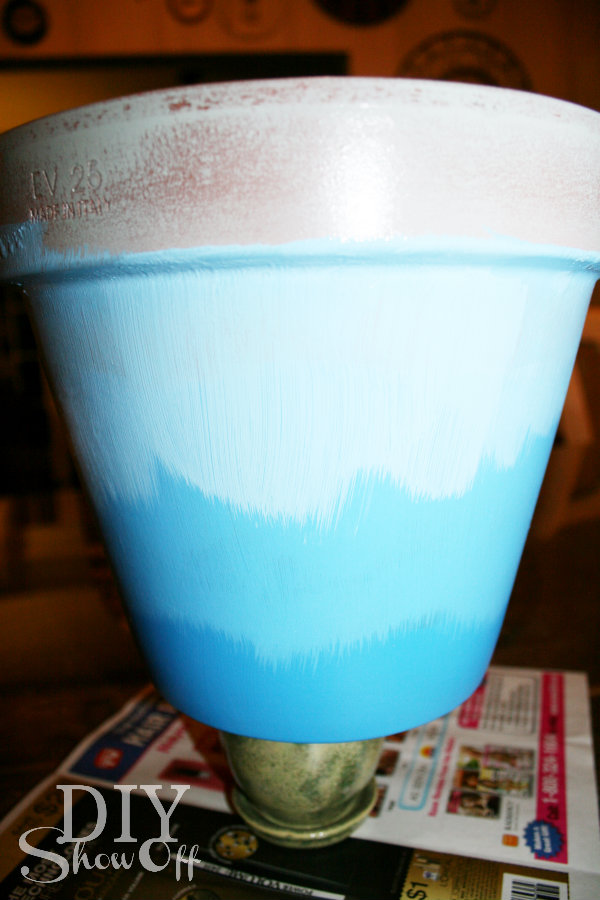
Then added white to the paint and feathered another row on the same pot, working my way around the pot.

And added more white and repeated.

ombre flower pot tutorial

When the bottom was dry, I flipped the terra cotta pot. Then added more white to my paint and finished all the way to the top and a little down into the inside. 

I did the above steps for each paint color for each terra cotta pot.

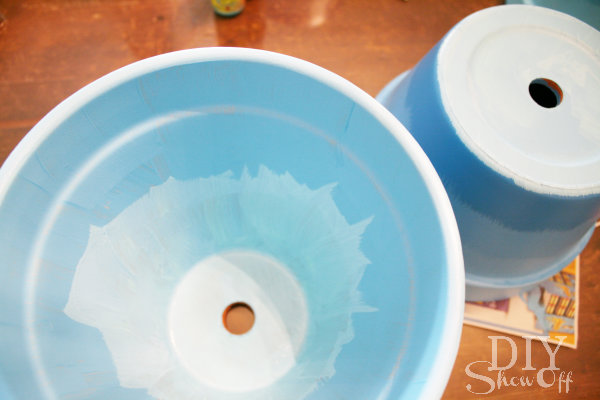
Then I mixed all of my left over paint together and painted the insides of my flower pots…

painting flower pots

then flipped and painted the bottoms and let them dry overnight. 

painting terracotta flower pots

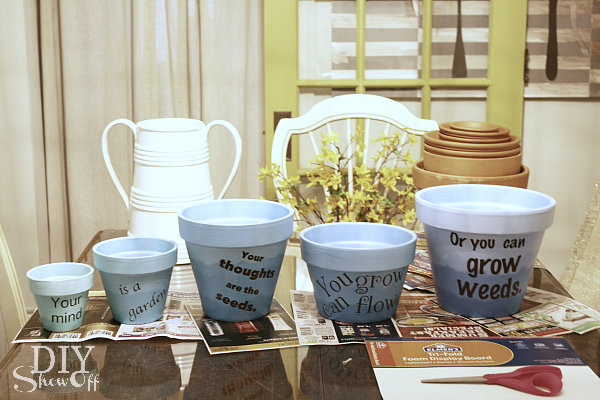
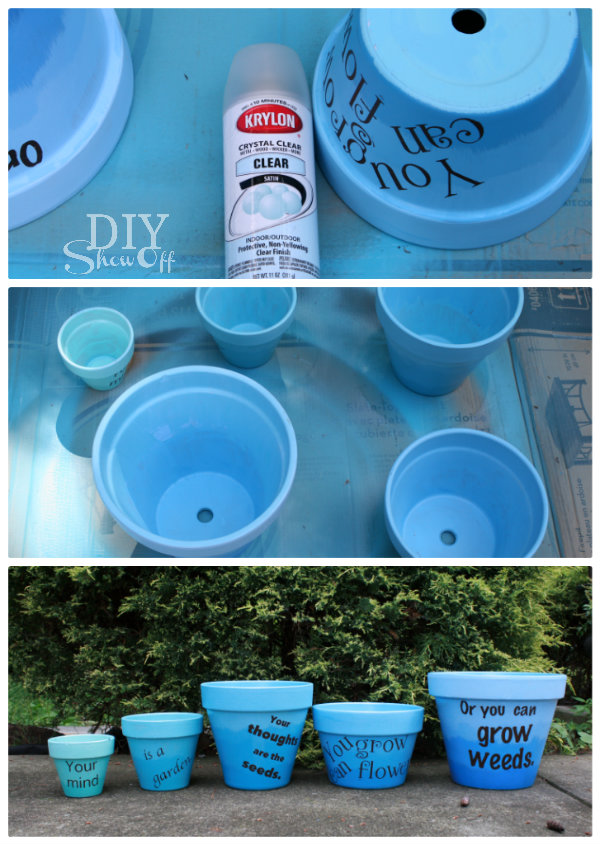
Next, using my Silhouette Cameo and vinyl from Happy Crafters, I created vinyl stencils with this little quote:

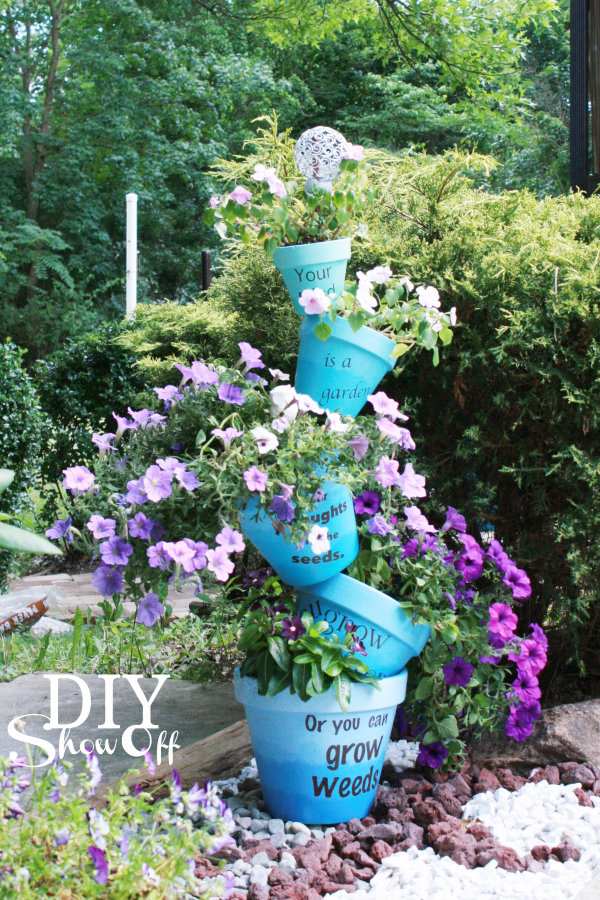
Your mind is a garden.

Your thoughts are the seeds.

You can grow flowers.

Or you can grow weeds.

making sure that the sizing was correct for each pot. I used my Silhouette Cameo to cut vinyl stencils.

Happy Crafters

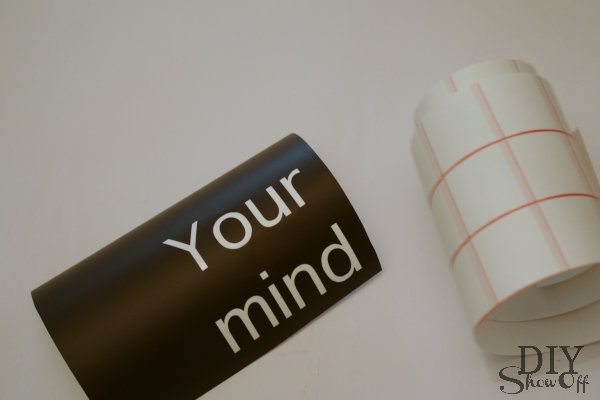
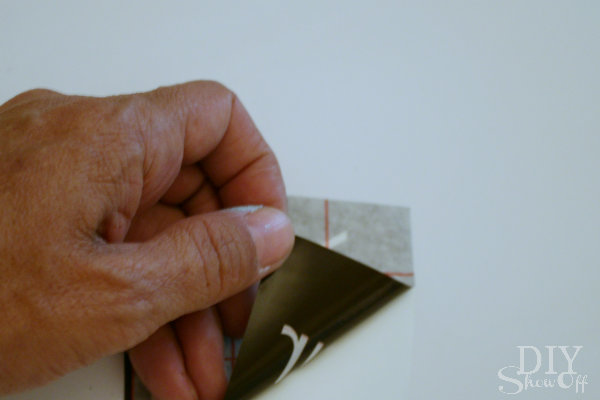
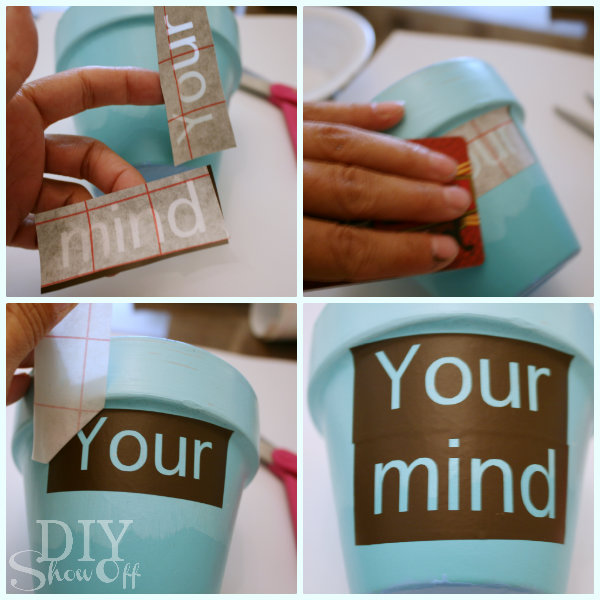
Since I’m using the vinyl as a stencil, I peeled away the lettering.

creating a vinyl stencil

Applied the transfer paper and peeled away the wax paper like backing…

vinyl stencil

and applied the stencils to my terra cotta pots. Since the pots are curved, I found it easiest to apply each line of stencil text individually. Rub with a credit card then peel away transfer paper.

applying vinyl stencil to terra cotta

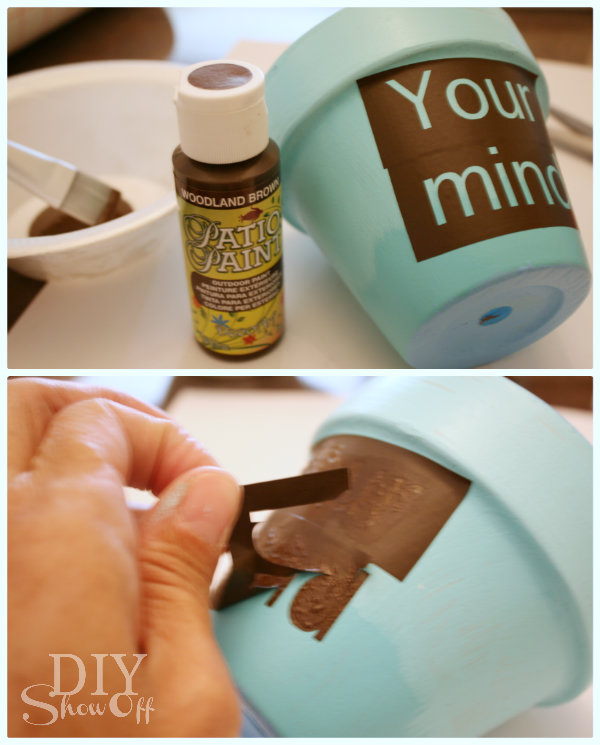
Next I filled in the lettering with brown patio paint.

stenciled terra cotta pots

I removed the vinyl stencils as soon as I was done painting and let everything dry for 72 hours according to the patio paint’s instructions.

painting and stenciling terra cotta pots

Then gave the insides and outsides a spray of protective clear coat. 

sealing painted terra cotta pots

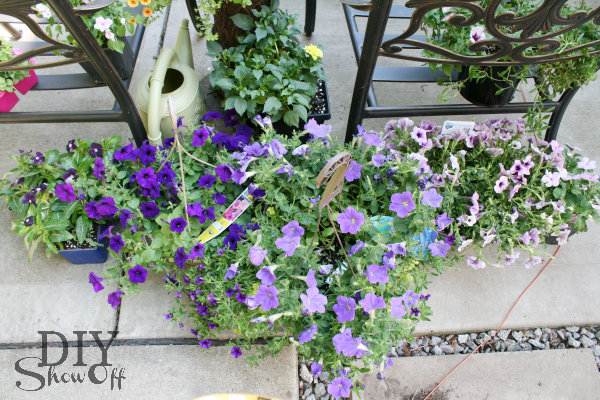
Once that was dry, it was time to plant! I even tried to find flowers in purples ranging from dark to light for more ombre effect… purple ombre flowers
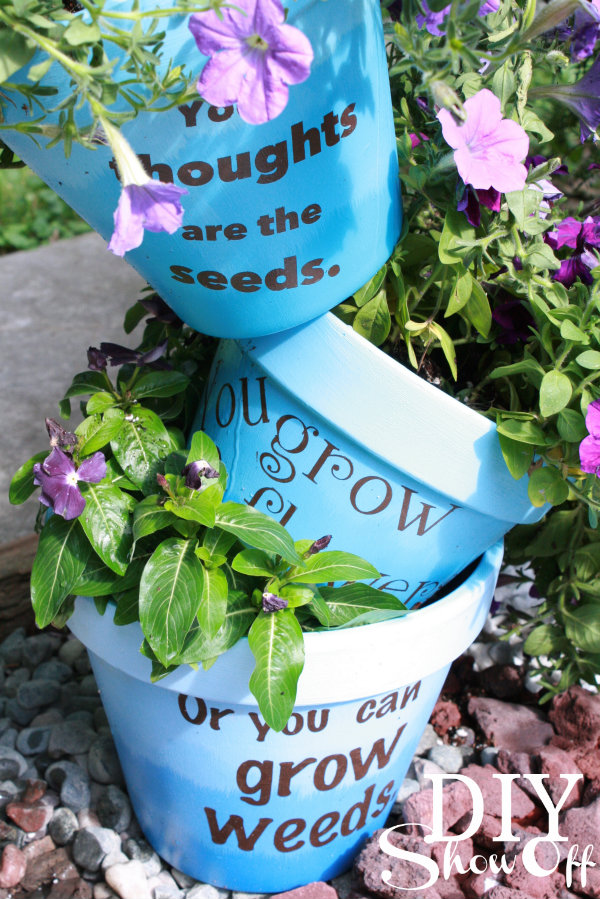
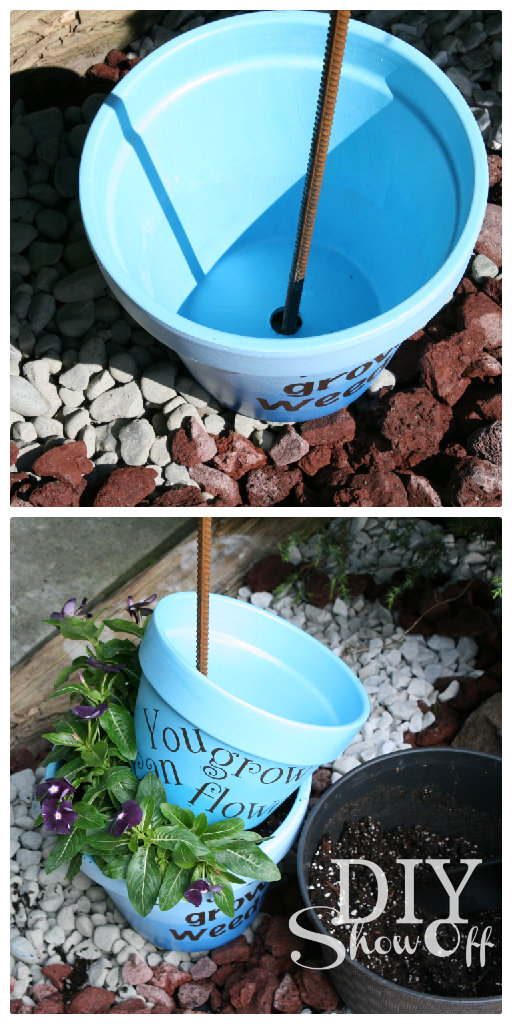
And followed Beth’s instructions for stacking my flower pots at Home Stories A to Z utilizing rebar.

stacking terra cotta pots


Watered them too. 

stacked ombre flower pots

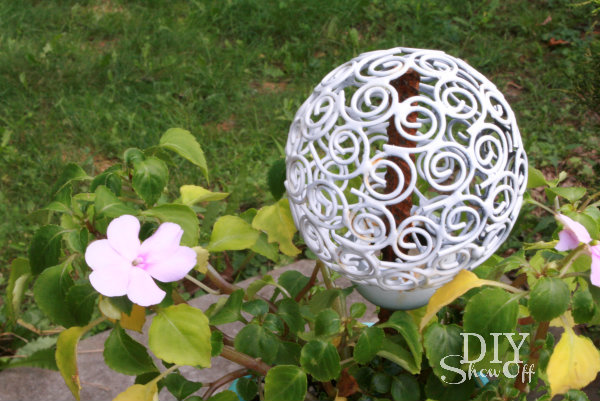
Then topped off the rebar with my finial…

finial

stacked ombre flower pots tutorial

Colorful and happy! More DIY planter tutorials:

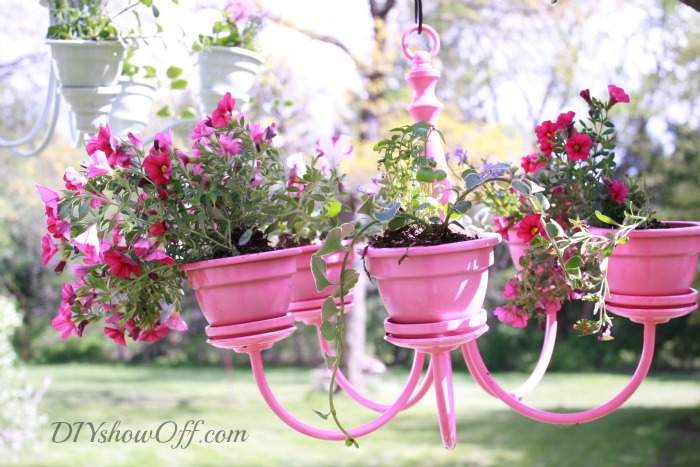
How to Make a Chandelier Flower Planter

pink-chandelier-planter


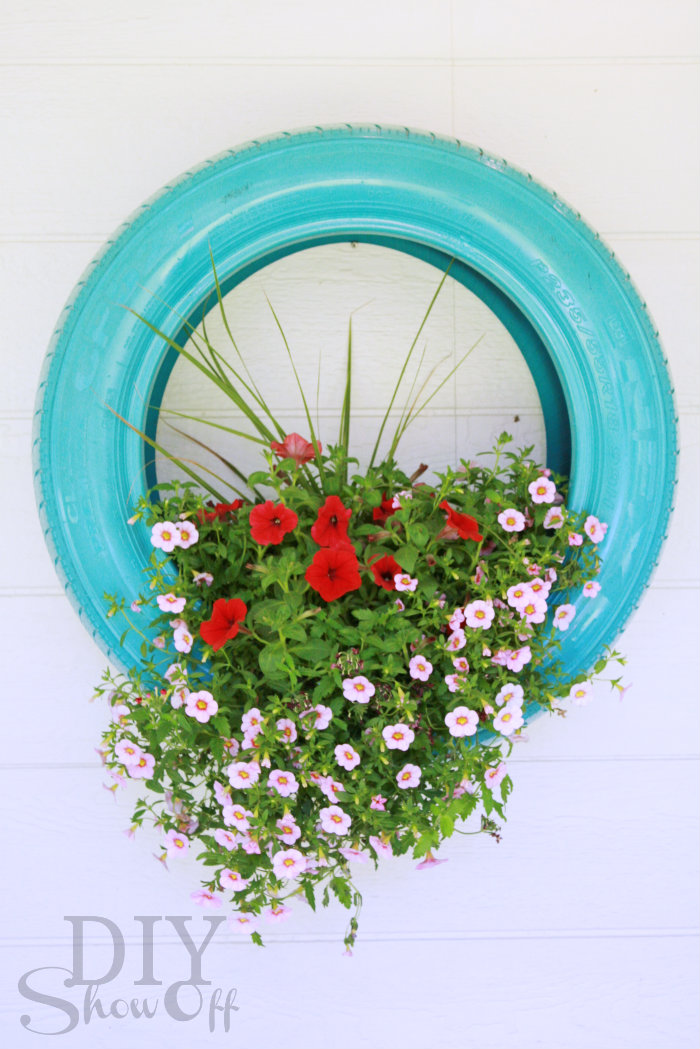
How to Make a Tire into a Planter

tire flower planter decor


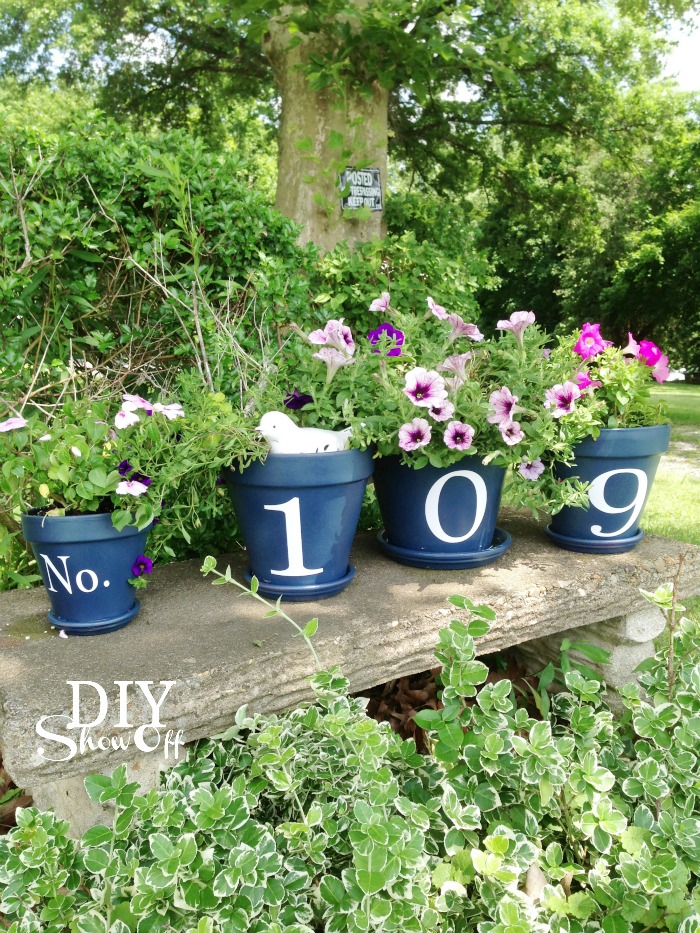
How to Make House Number Flower Pots

house number flower pots


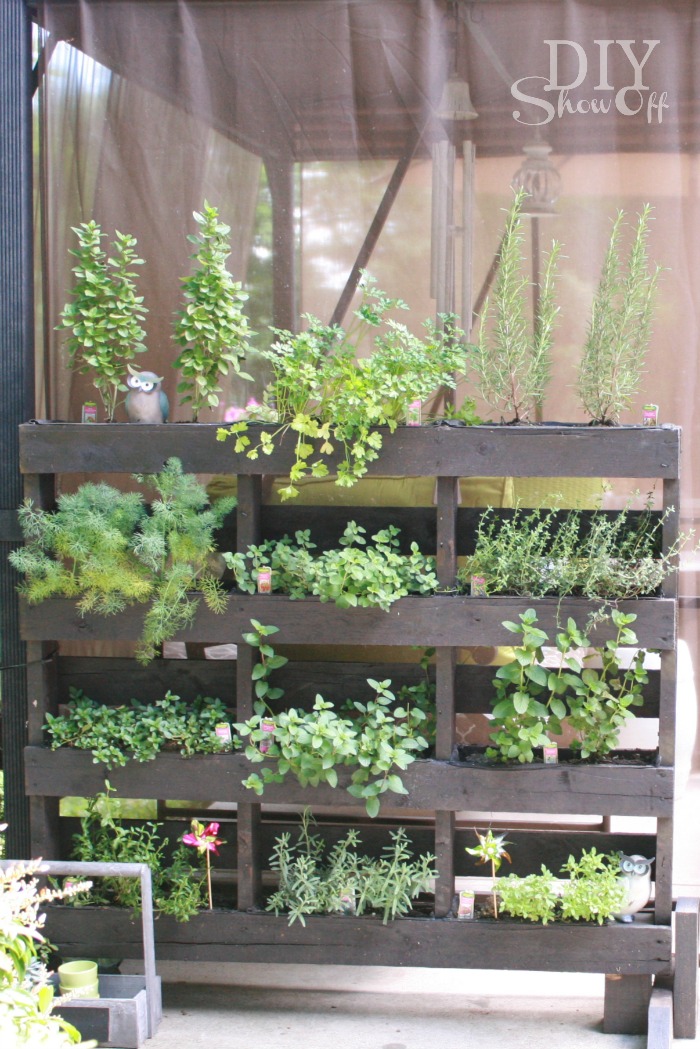
How to Make a Vertical Pallet Herb Garden

free standing pallet herb garden

This post is sponsored. Vinyl and transfer paper supped by Happy CraftersHClogopngsmall

Hellooo, Farm Kings! #farmkings

Uh, hello? Where have I been? Have you heard of the tv, the docu-reality show called Farm Kings on GAC? A show about an amazing mom, her 10 kids and their farming? I hadn’t. And they are nearly geographically right under my nose. 

Farm Kings

farm kings family

{source}

Well, the day that you realize that family is seriously practically your neighbors (as in less than 10 mi. away), that Freedom Farms sells pasture raised, antibiotic/hormone free chicken, beef and pork, non GMO foods, AND fresh flowers for all of those room makeover props and that they have their own tv show is the day you’re completely star struck. And your usually controlled crazy gets loose like the time I learned that Brett Michaels is from my hometown too. Craaaazy! The Kings are hard working good people and they live local! So in a small effort to support local business along with my shopping, I felt they deserved a bit of a “show off” in a DIY Show Off post. 

And so even though I’ve eaten their pies and carved their pumpkins, Bri and I still couldn’t resist the temptation to make a point to stop by the Freedom Farms just down the road on the day their new season starts. I did have to pry myself away from the Farm Kings marathon leading up to the season premier. Okay, no need to whisper that I’m being borderline stalker crazy. I’m well aware. But it just seems so cool and now that I’ve had a chance to see a little behind the scenes to “tv-meet” the fam, I’m a fan.  

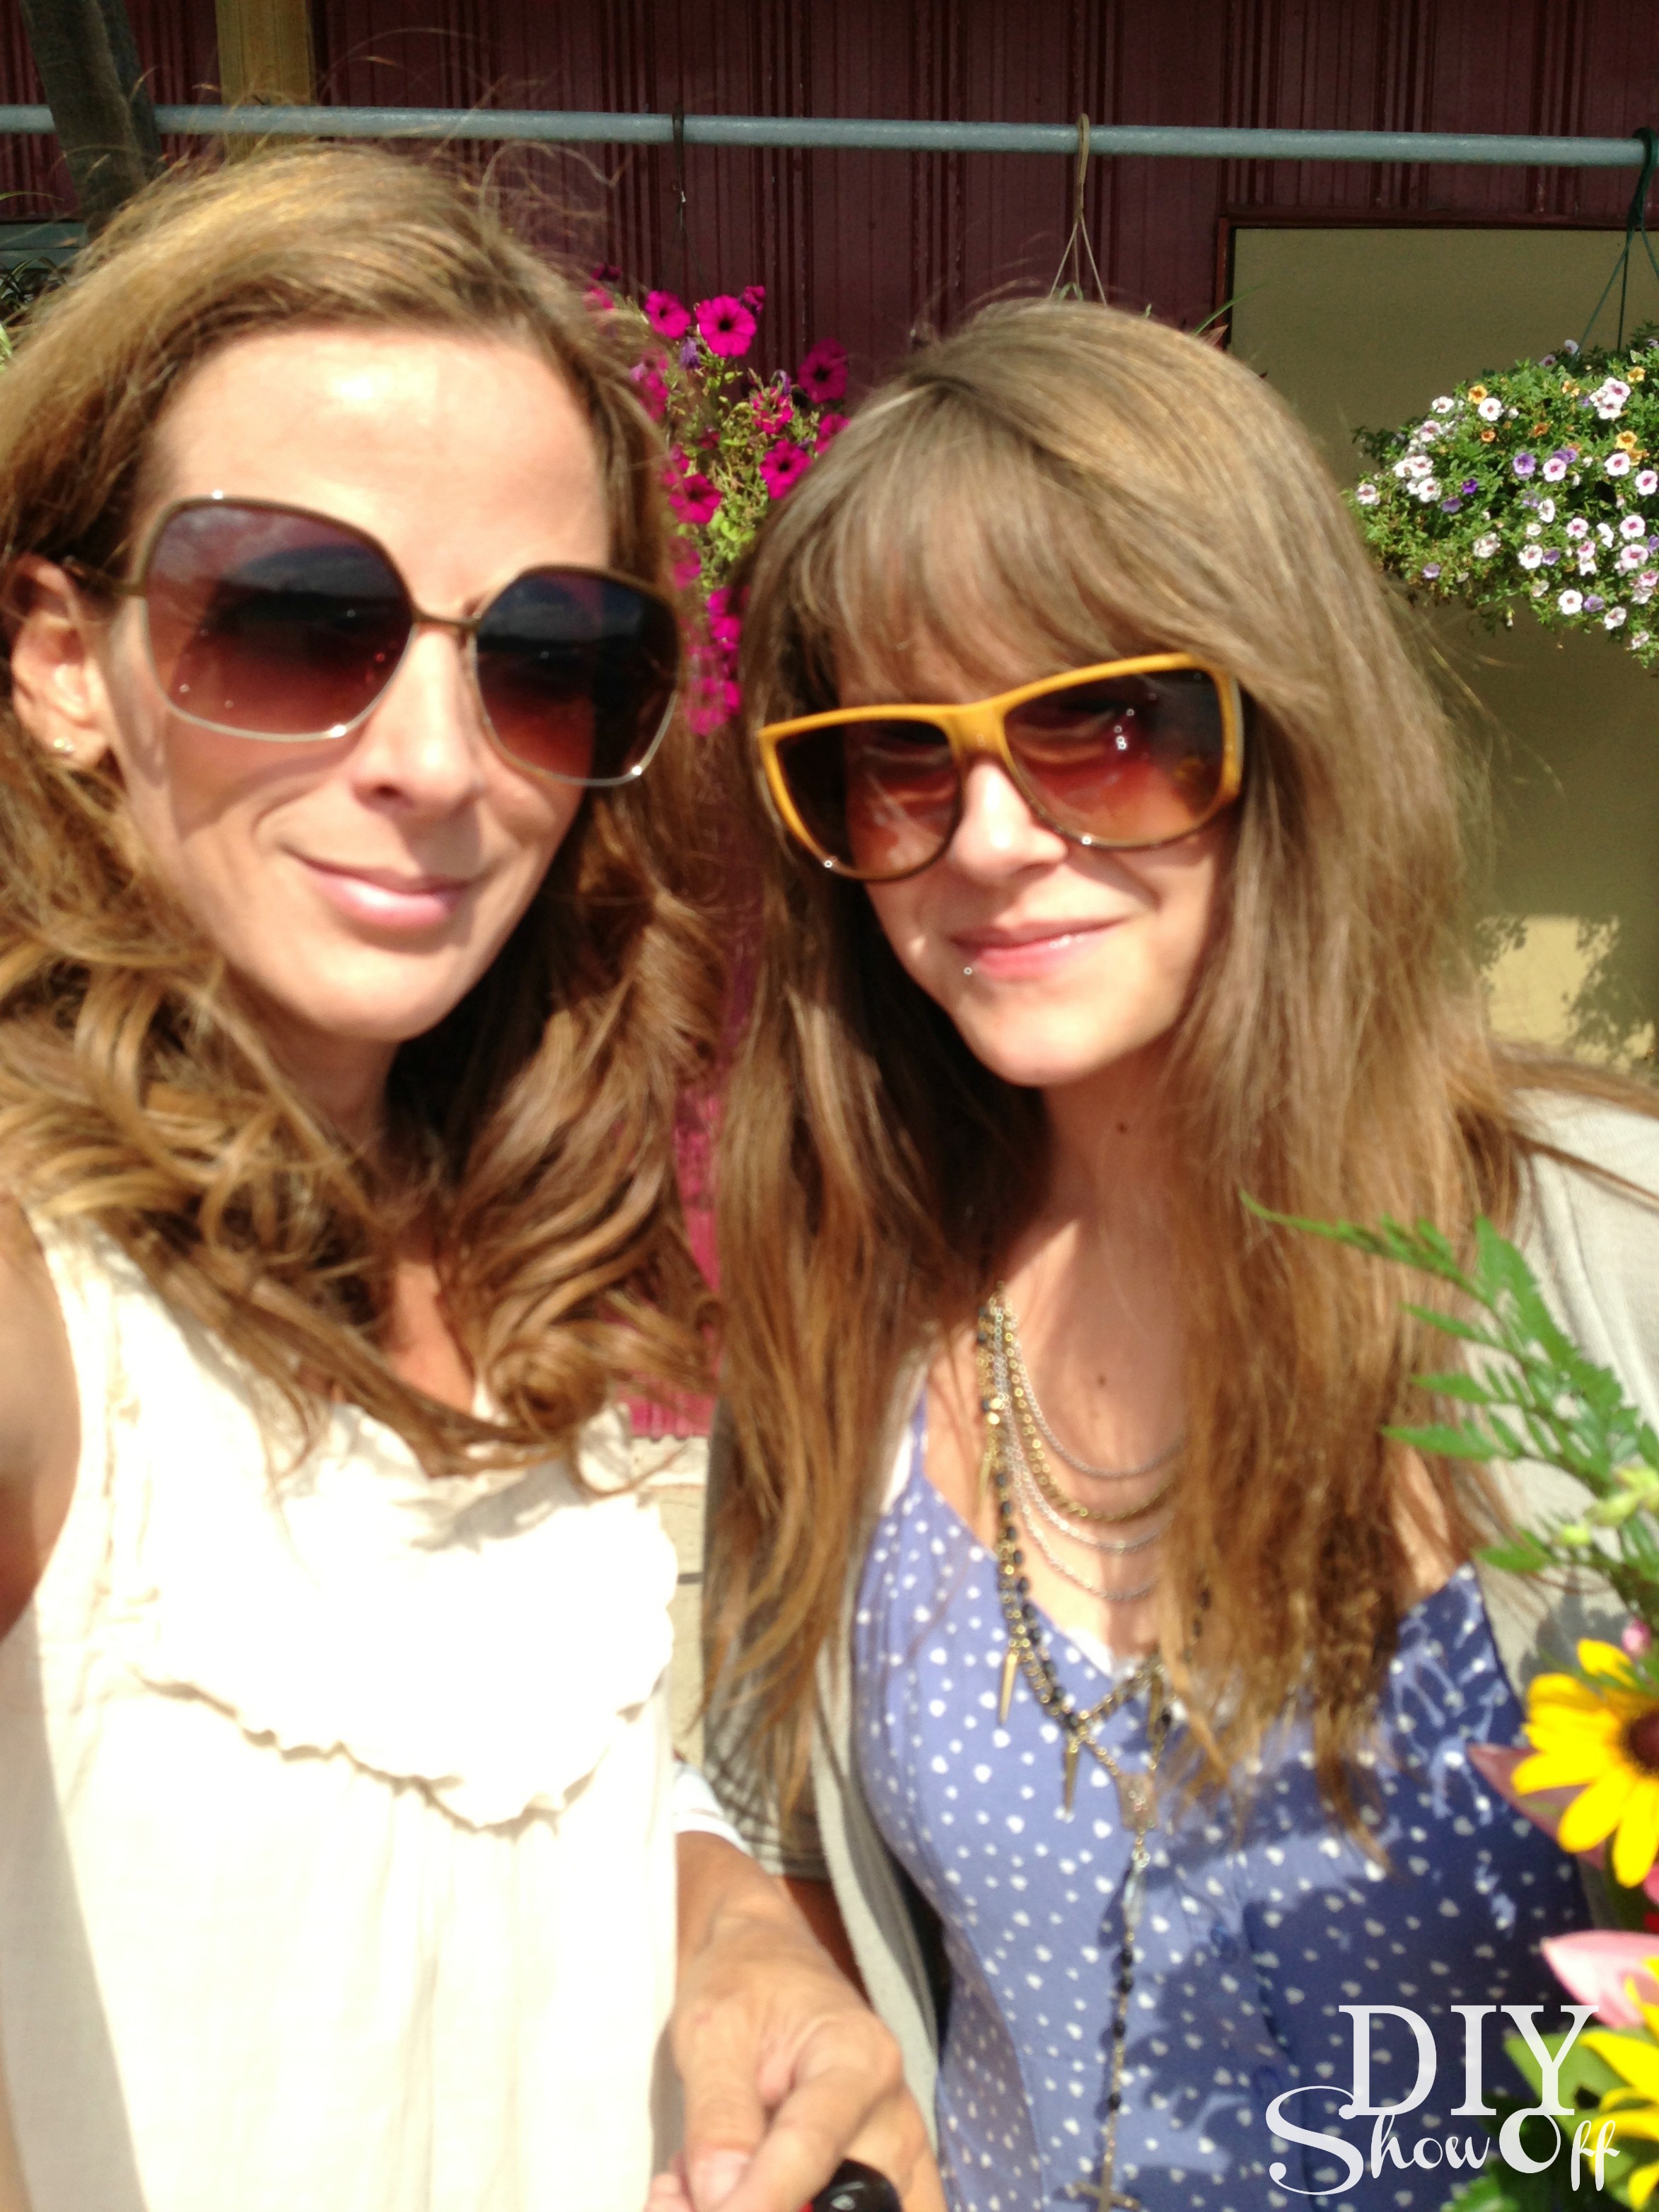
Roeshel and Bri

Me and Bri at Freedom Farms 

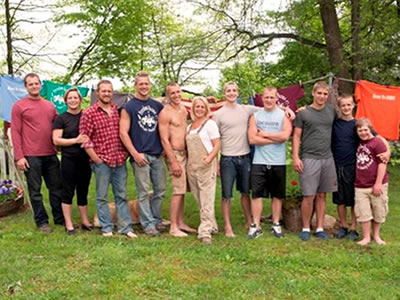
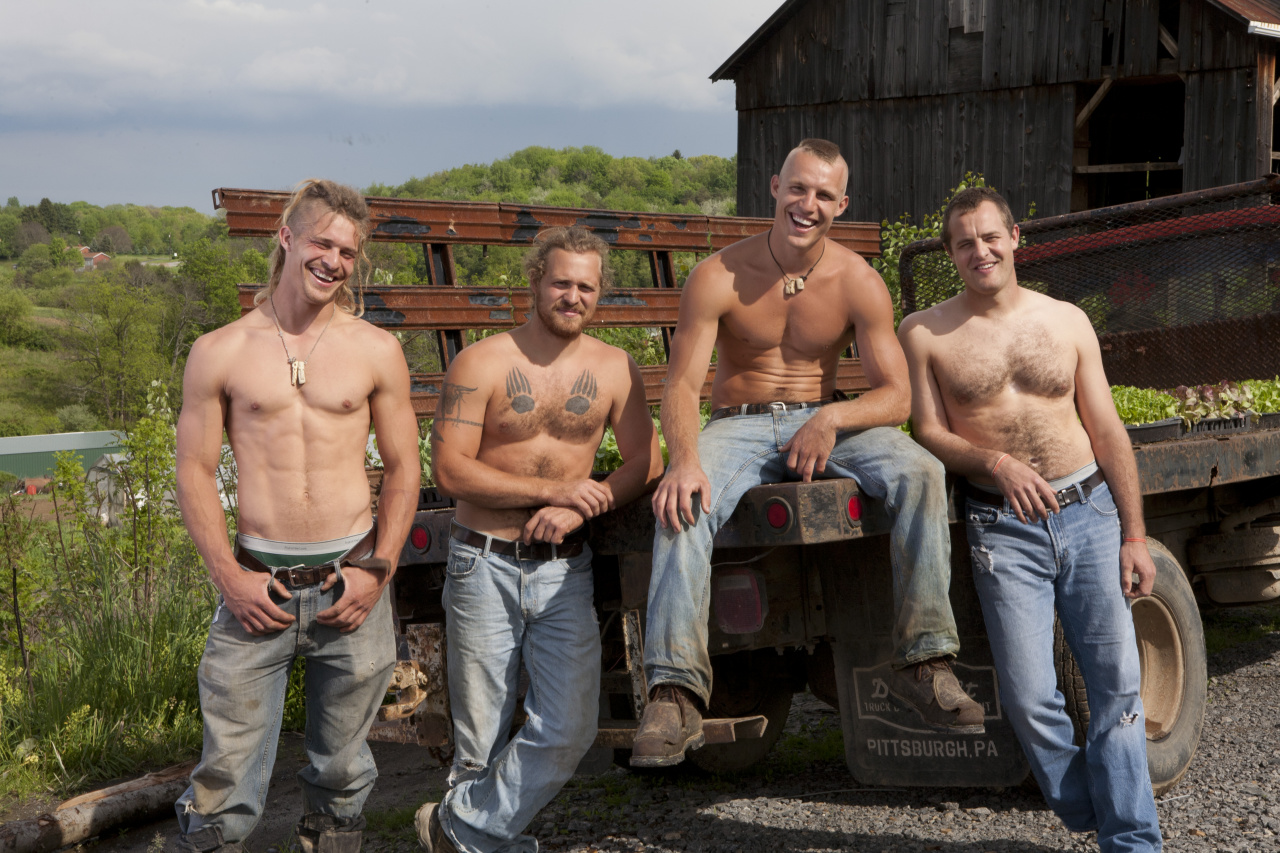
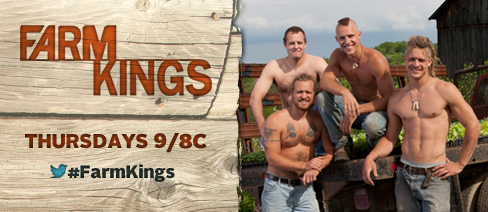
Oh and I have to mention it – these are four of the brothers.  No further comment needed. If you’re not familiar with who I’m referring to, here you go: 
farm kings

{source}

You’re welcome!

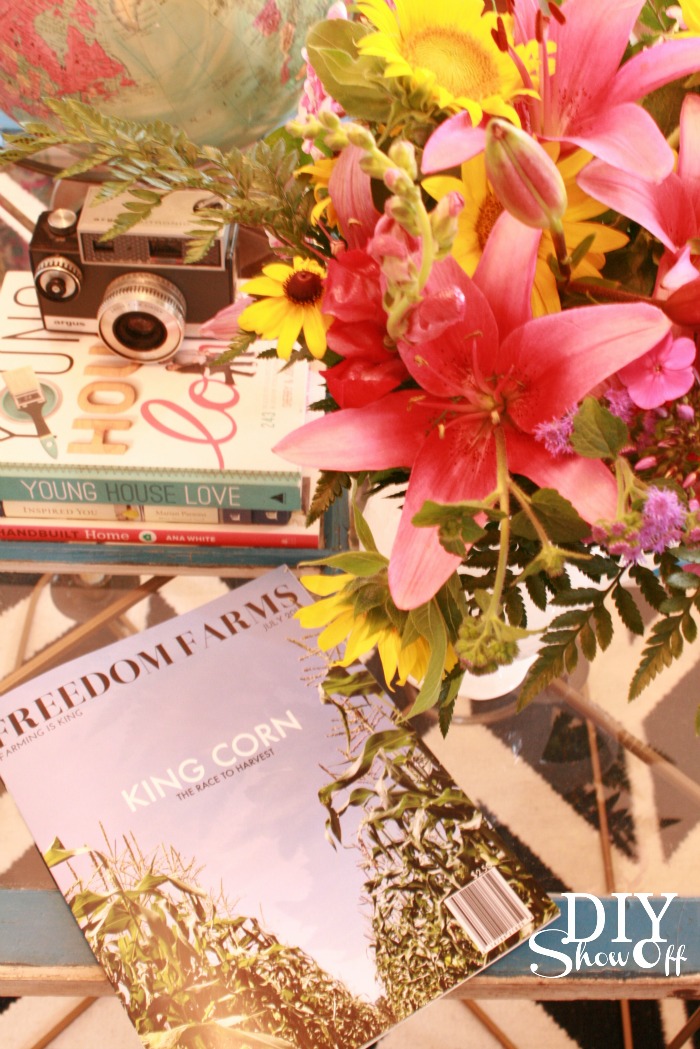
I’ve never been able to get on board with reality tv but this show and family has won over my heart. Since I raised two girls on my own for a very long stretch of time, I have to tell you that if I ever have the chance to meet Lisa, I’m giving her a big high five. Smart, strong and funny. And well, I did have the chance to meet her today but since I’m shy, I was too chicken to approach her. How do you do that anyway without being so awkward? So I purchased some fresh green beans and leaf lettuce, the Freedom Farms magazine then couldn’t resist a bouquet of beautiful fragrant flowers from Lisa’s Garden…

Flowers from Lisa's Garden

I’m pretty excited to have a very local place to shop for hard to find NON GMO food! I’ve been asking Bri to get started on a blog to share her wealth of non GMO knowledge (will keep you posted). A major obstacle to changing our diet has been the inconvenience and difficulty finding non genetically modified foods. So this is BIG! 
So…who’s seen this? Who’s looking forward to the new season? Who’s watching today and tonight? And why didn’t you tell me? 

New to you too? Meet the King family tonight (July 11th) at 9/8c on GAC. Check out more info here. You know where I’ll be on Thursdays.
Farm Kings Show

 Shop for Farm Kings Things here.

ps. This is not a sponsored post. 😛

That DIY Party Highlights

Every week, I make the time to go through each link in THAT DIY PARTY. You may not know I’ve been there as I don’t have the time to leave a comment on each and every shared project, but I do visit, I am inspired and I pin to give my crafty DIY friends a little shout out as well save your awesome ideas for future reference. Thank you so much for taking the time to visit, link up and even comment. Having a weekly link party is a lot of work but I’ve been doing it for six years so it’s obvious I’m a “party girl”! I love seeing what you’re up to in my few hours of down time. Visiting you is a real treat!

diy highlights  

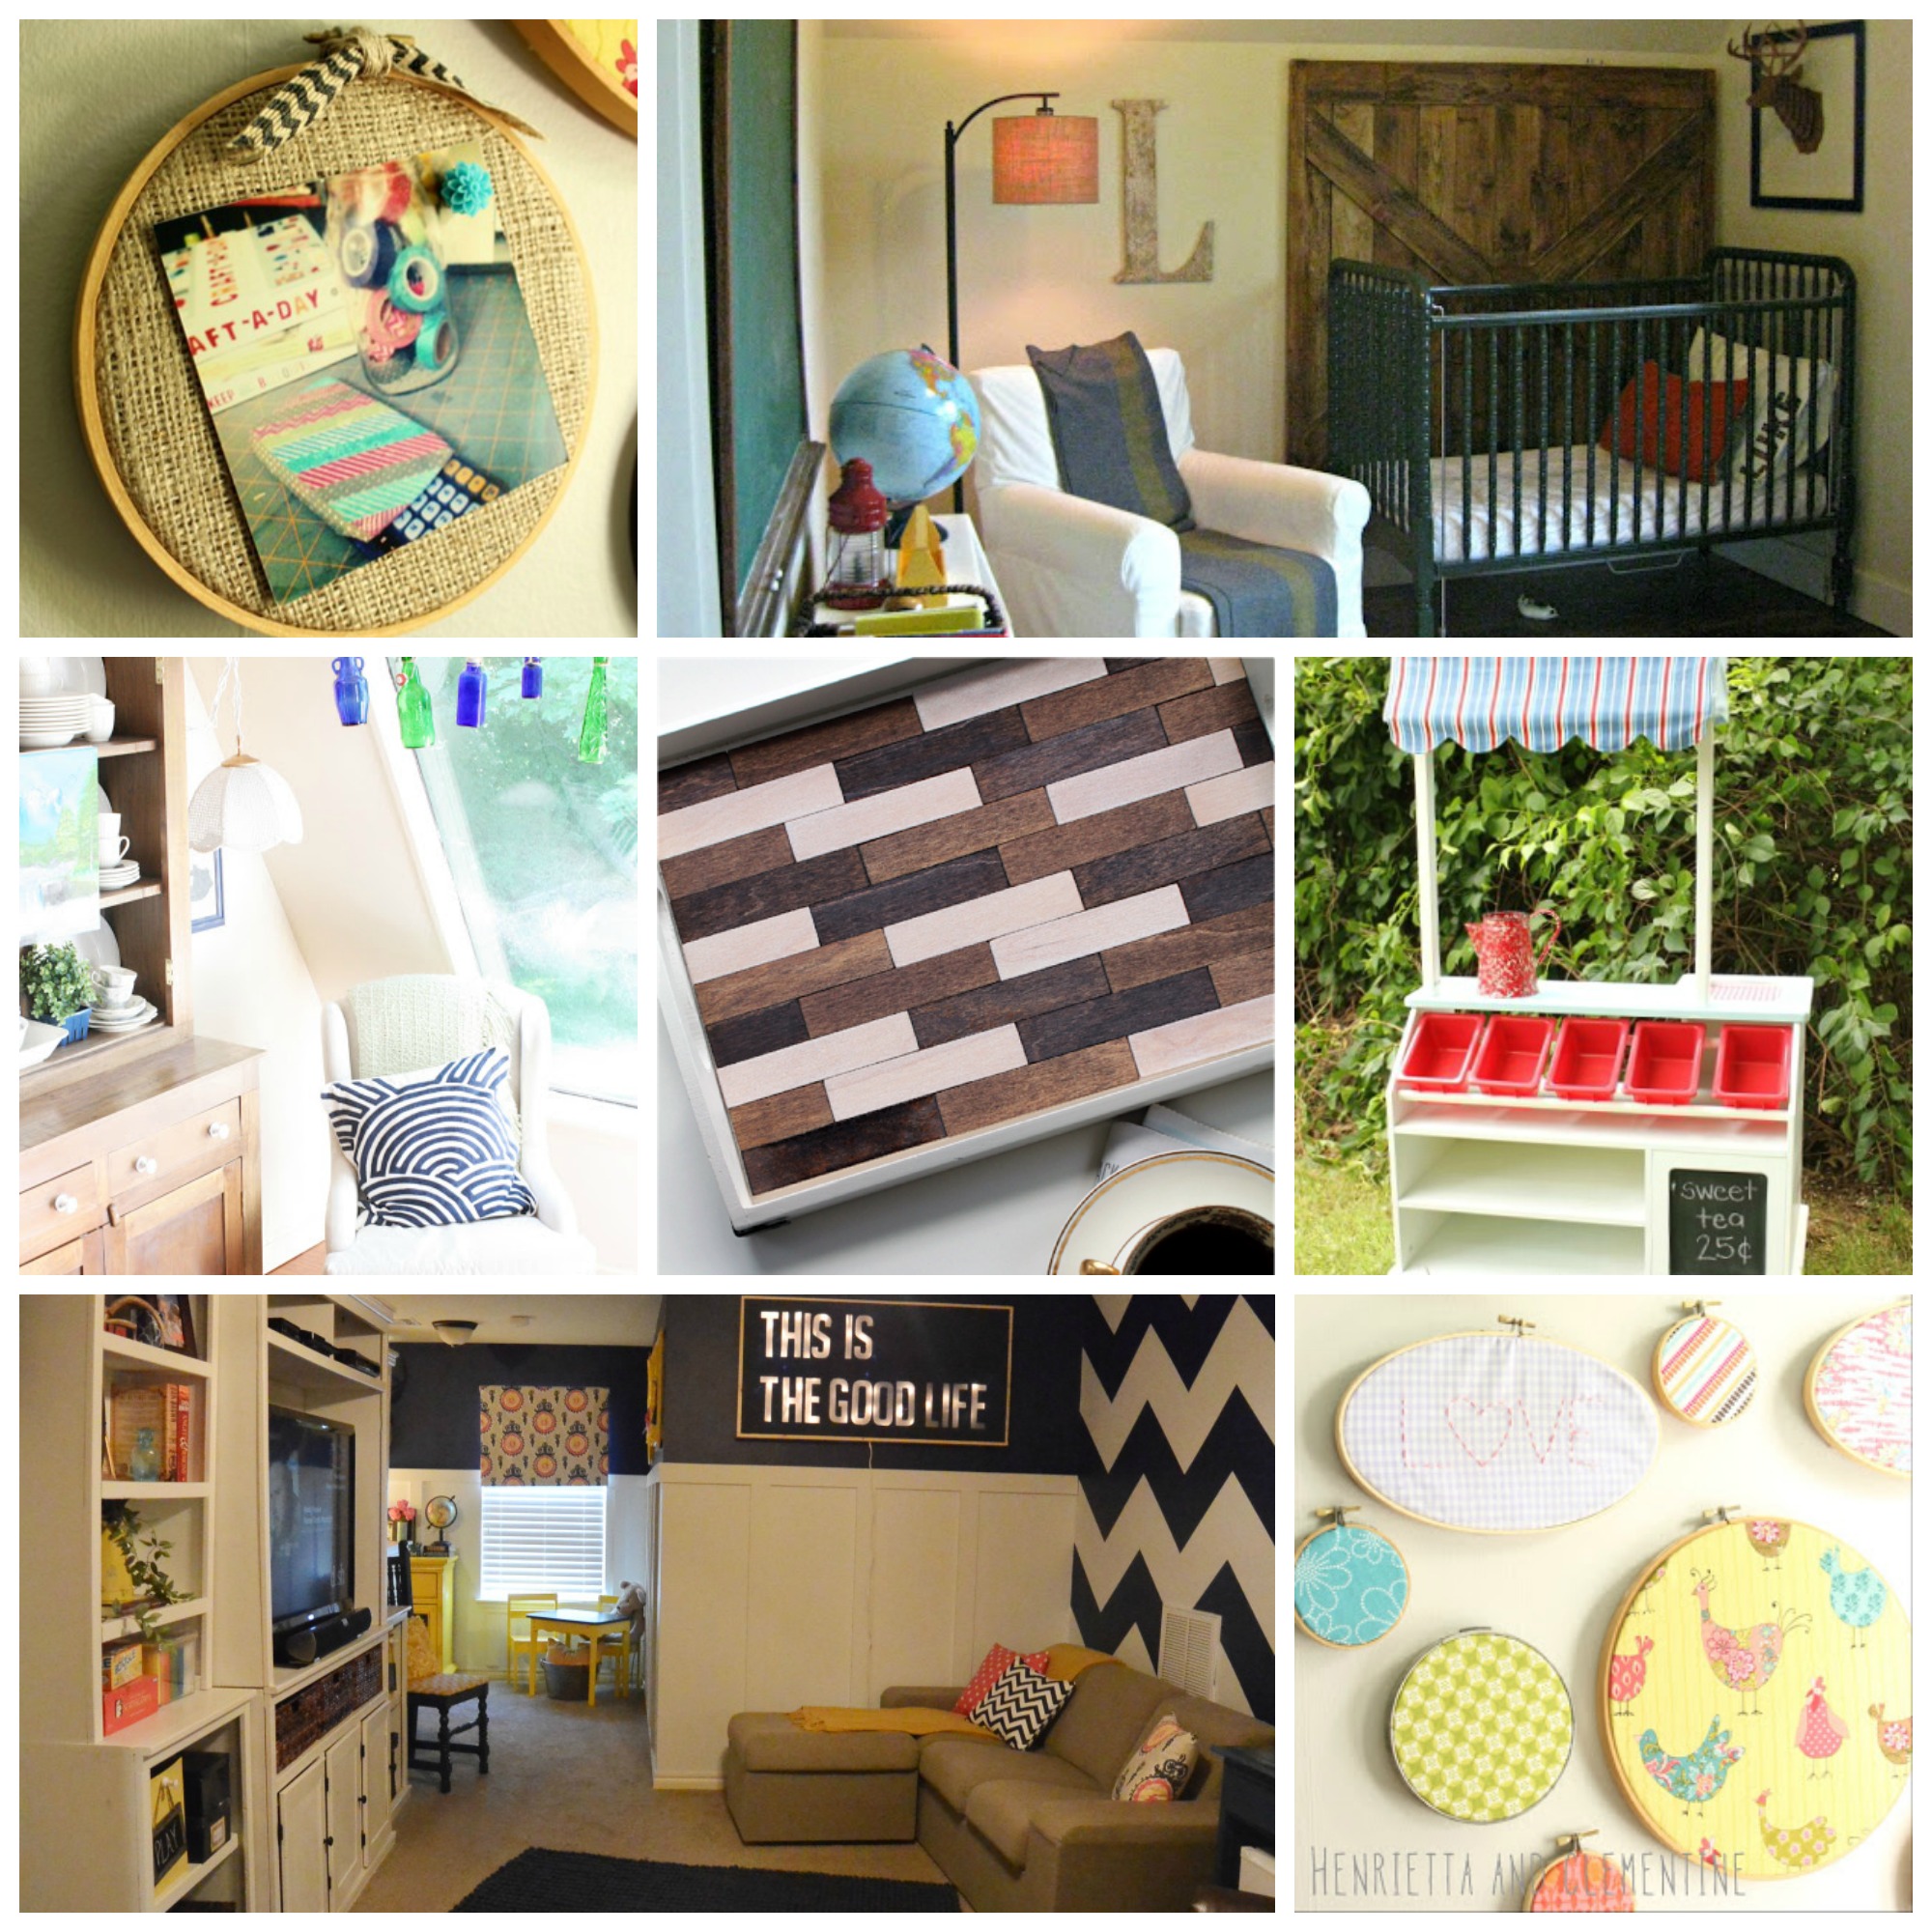
Here are some favorite highlights from some awesome blog friends at the previous week’s That DIY Party:

Amazing Accents

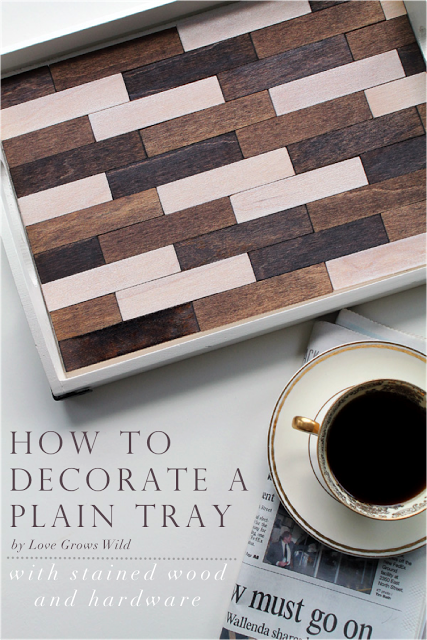
Liz is creating some gorgeous accents for a little kitchen updating and I’m loving her tray makeover at Love Grows Wild. Great tutorial too!

Decorative-Tray-Makeover Love Grows Wild

DIY Wall Art

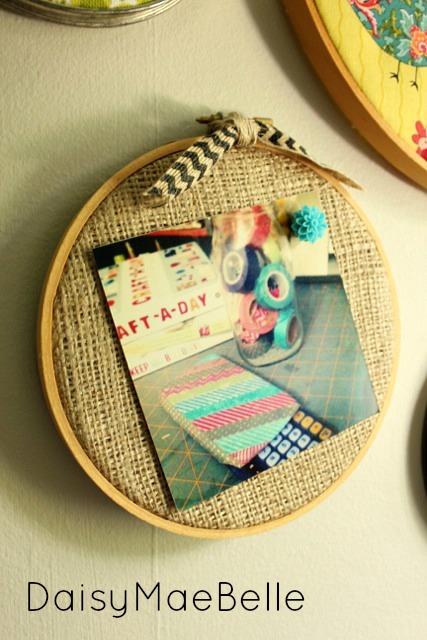
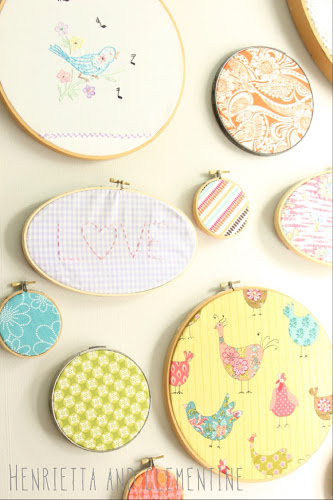
I’ve done some hoop art in the past. It’s such a fun, easy, affordable way to add color and texture, personality with so many custom choices to a wall. Collect embroidery hoops from thrift stores to get started. This week I spied two awesome hoop art ideas in That DIY Party from a super talented mother/daughter team, Melissa & Daisy:

Daisy Mae Belle – pin board hoops

embroidery hoop pin board at DaisyMaeBelle

Henrietta and Clementine – stitched wall art

stitched hoop art at Henrietta and Clementine

Summer Time Fun

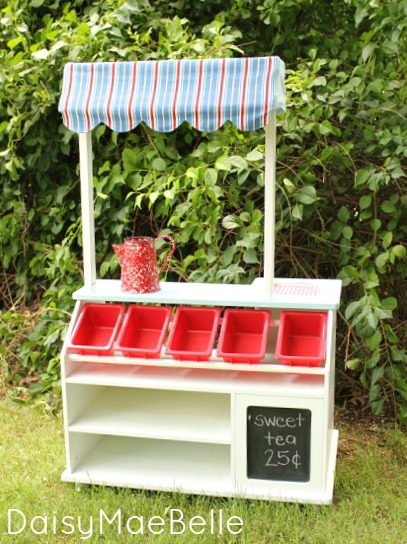
Melissa created the most adorable DIY lemonade stand at DaisyMaeBelle. So perfect for summer time refreshing and an introduction to responsibility and earning money. Don’t miss her sweet painted children’s table and chairs too. So cute!

DIY lemonade stand at DaisyMaeBelle 

Fabulous Room Makeovers

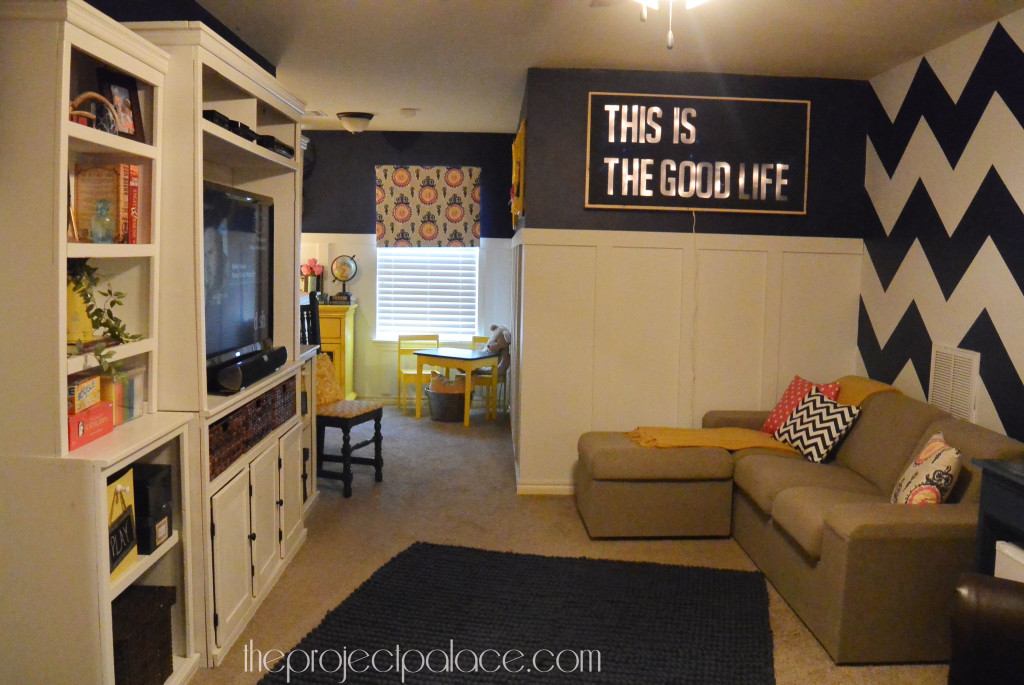
Stacy reveals her bonus room/playroom makeover at The Project Palace, packed full of DIY awesome-ness.

bonus room playroom makeove at The Project Palace

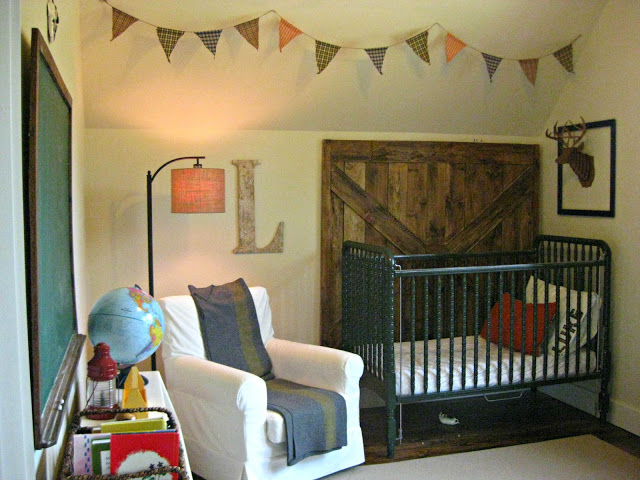
Oh my goodness! Did you see this sweet rustic nursery reveal at Hunting Creek Homestead? Alycia shares all of her amazing DIY details. 

rustic nursery at Hunting Creek Homestead

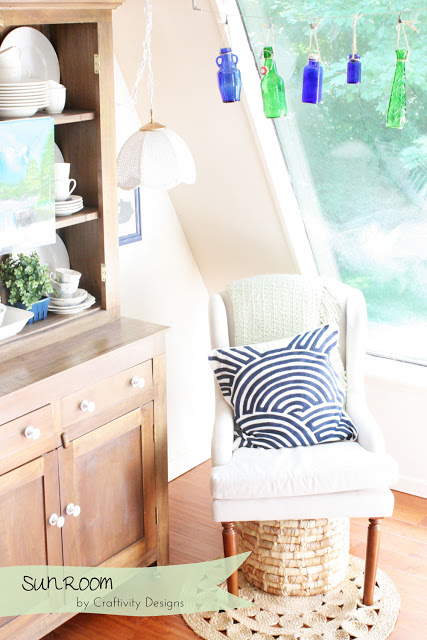
Lora has invited us over for a visit to her sun room makeover at Craftivity Designs. Such a bright and happy space…we’re not going to want to leave!

sun room makeover at Craftivity Designs

Helpful Tips

Corey shares her Craigs List Hunting Tips at Tiny Sidekick. Yes, I’ve now made a recurring note on my Google calendar. 

How to find great stuff on Craigslist at Tiny SideKick

See more highlights at That DIY Party Pinterest Board, repin from original source links there and follow along to stay up to date:

thatdiyparty.pinboard

 Do you have a DIY project to share? Head on over to this week’s THAT DIY PARTY and get linked up! 

That DIY Party