It’s been one of those weeks where my DIY projects don’t produce a jaw-dropping reveal, just behind-the-scenes DIY. However, there is progress! I recently had the opportunity to review the HomeRight PaintStick. You know how much painting goes on around here and I actually have a thing for paint gadgets (remember the edger?) so I was excited to give this a try.
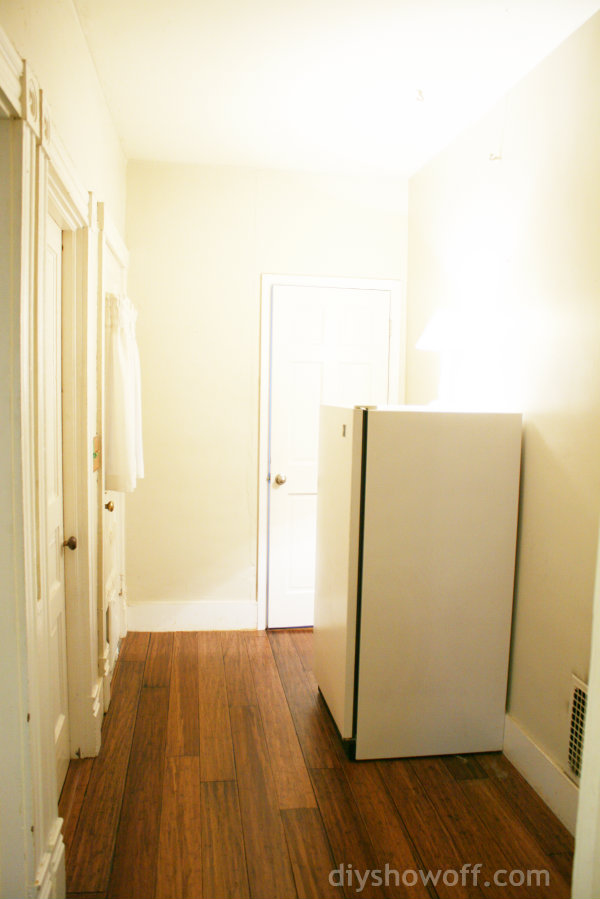
A few weeks ago, I shared our plans for turning this space…
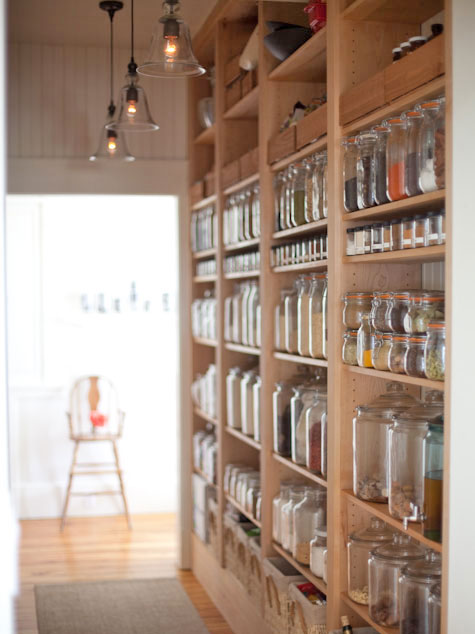
into an organized open pantry area. Here’s my inspiration, {pantry from Emerson Made}:
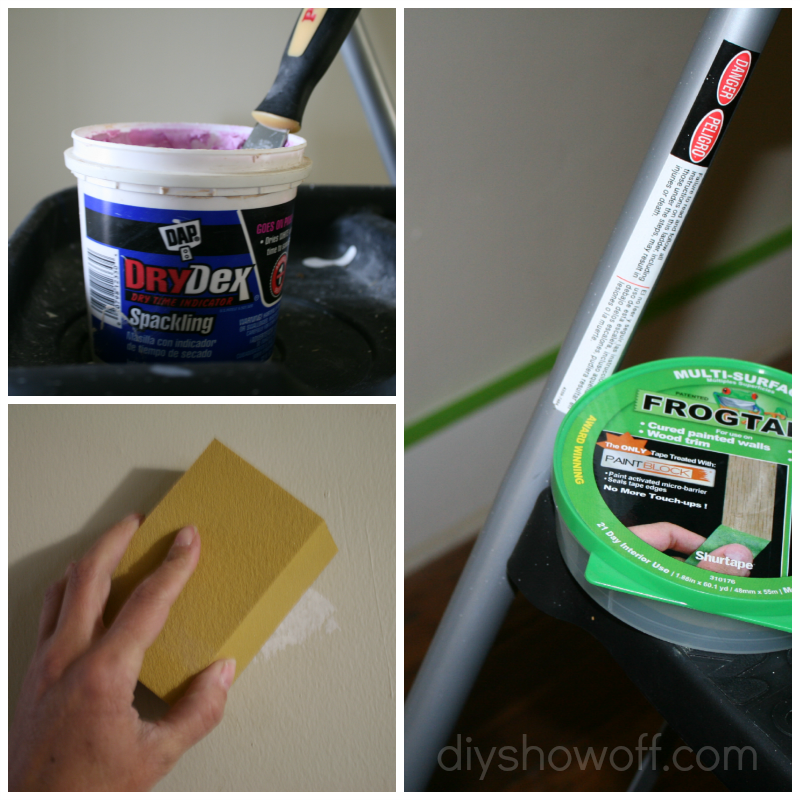
First up, I needed to prep for painting by filling holes, sanding and taping off what I didn’t want painted with FrogTape. Then I cut in around all of the trim in this room.
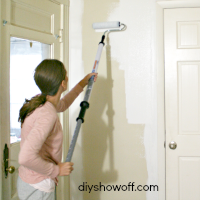
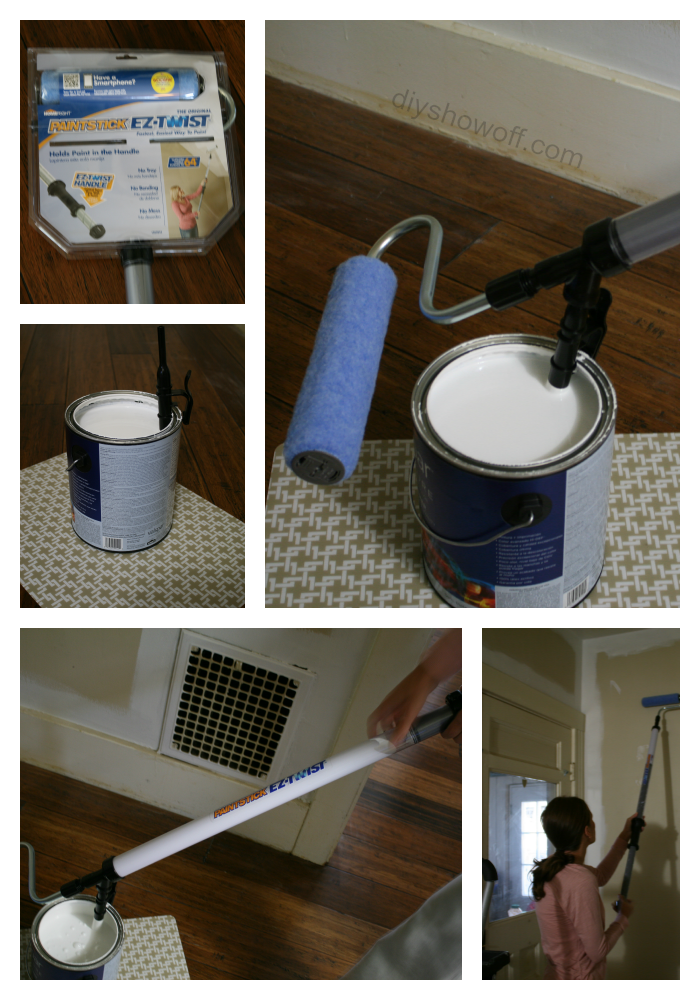
This old house has high ceilings so I chose the HomeRight EZ Twist PaintStick to assist me in getting the painting job done.
I watched the helpful videos on HomeRight‘s webpage for tips. They sure made it look easy enough which made me even more skeptical – like a “too good to be true infomercial”. But surprisingly, it was easy! I think opening the package was the most difficult part.
The paintstick holds paint right in the stick! Attach a tube into the paint can, attach the paintstick to the tube, pull back on the handle and “fill ‘er up”.
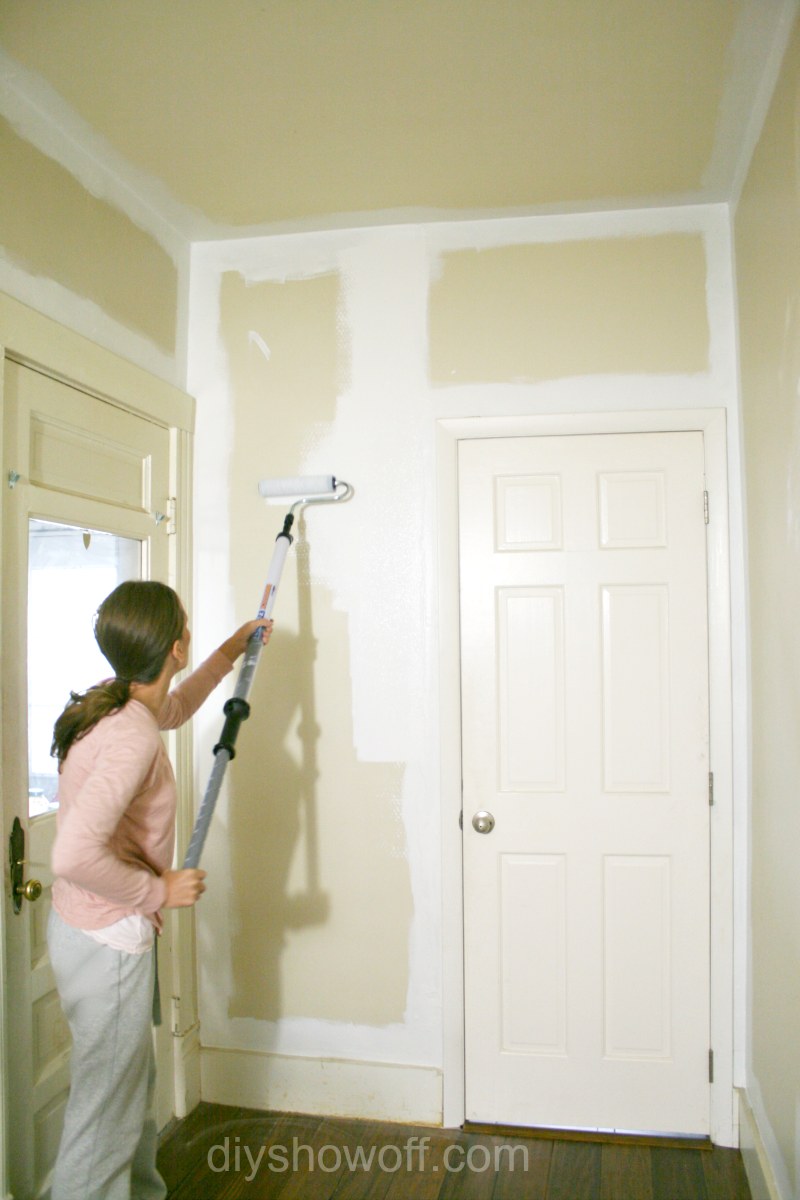
It takes a bit for the paint roller to become saturated, just roll and twist the handle to release the paint. The roller itself has small holes, releasing paint from inside. I had the walls and ceiling painted in less than an hour. It really was awesome!
Ugh…that trim. Scratched up from installing bamboo floors and in need of shoe moulding. We’re getting there. In the meantime, I’m planning on doing a subtle stenciling/paint treatment on these walls and ceiling, so both were painted with the same paint in an eggshell finish (color is Valspar Cool Grey).
I was dreading the clean up, but it was surprisingly easy enough and not quite as time consuming as I anticipated. I simply cleaned the parts in the basement utility tub with water according to video directions.
What I liked:
- Eliminating the need for a messy paint tray and possible drips paint from tray to wall or ceiling.
- The speed of painting without having to go back and forth to a paint tray.
- The coverage (cover an 8’x8′ area with one fill)
- Minimal paint waste (left over paint stays in the can…easy to empty the paint in the paintstick right back into the can too).
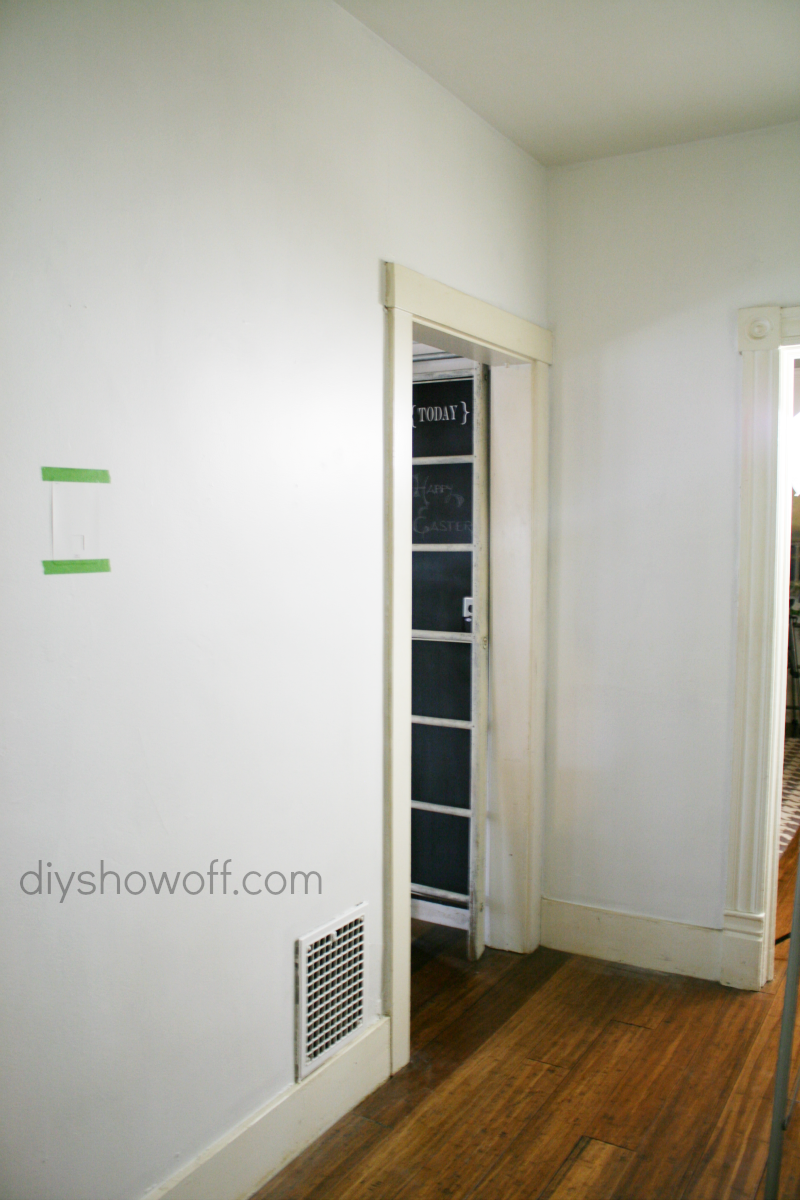
From beige walls and creamy trim to cool gray walls . The walls look so much better, but ahhhhh! That trim! Yellow-y next to cool gray. Guess what I’m doing this weekend?! Ultra white trim coming right up and one step closer to an open pantry! Woo hoo!
So for you: “Yay or nay” for painting gadgets? For me: anything that makes the job easier/quicker!
This post/review is sponsored by HomeRight but the opinion is my own.
This is a sponsored post brought to you by FrogTape. The opinions are completely my own based on my experience.



How cool is this!? I think I need it! Anything to make painting easier is a winner in my book!
I love that you reviewed this one!! I was wondering how well they really work!! I have a room I dread to repaint and this makes me happy!! I also wanted to say I love your pin it thingy that pops up over your pictures and doesn’t put a white overlay as you are scrolling down!!! I can actually still see the picture!! Love that!! Have a great day!!
I love this. I don’t often use paint gadgets because of the “it looks too good to be true”, but I’m glad that this one is a winner! I may need to try it! I think it would be great for ceilings!
I completely agree- anything that makes painting easier is a “yay” for me! I love the plans you have for your pantry- can’t wait to see it!
Oh it sounds great… and any clean up is a pain to me, so the faster you get ‘er done, the less clean up time. I love your open pantry idea for those walls. Would not work for me (sure wish it would and I had a wall space to do them), too many climbing kitty kats and I would have fur covered everything.
Looks good to me…totally worth a try! 😉
Something to paint faster? Can’t be bad, according to me. I can’t wait to see the open pantry, but before that, good luck with the trim painting this weekend!
I had a paint stick a couple years ago and loved it. Then we let my husband’s friend borrow it and I have never seen it again! I really need to get another because I was very happy with how fast I could paint a room with it! Glad to see you liked it too!
-Shelley
The open shelving idea looks so great! Can’t wait to see the progress. 🙂
toddlindsey.com
I used something similar to this when I stained a deck at our old house. Worked like a breeze. Everything looks great. Can’t wait to see the trim painted.