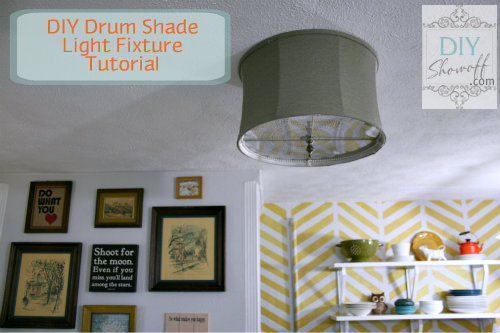
In the apartment: Staying within a very tight budget inspires creativity. The main floor of the rental had a boring light fixture and we wanted to do something a little more fun. A thrift store drum shade was a great solution and worked with existing ceiling mounted light fixture base. {peek of the thrifty gallery wall}
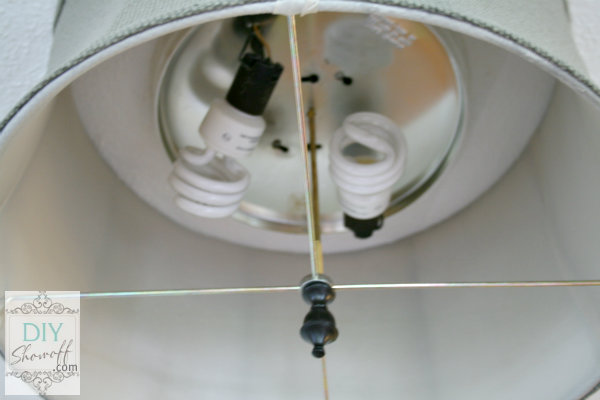
I originally purchased a steel nipple {are you giggling?! who decided that was a good name for hardware?} for a lamp kit, but it was too big in diameter to fit through the hole in the existing light fixture base. Lucky for us, True Value Hardware is within walking distance of the rental. So convenient. Great for finding last minute things and a huge selection of everything plumbing (and lamp kits too). I found that a ‘toilet’ plumbing piece {a rod threaded on both ends} was a perfect fit. We simply unscrewed the existing base, added a nut near the hole in the center of the existing base and screwed in the threaded rod and re-attached the base of the light fixture.
Next, Just center of the drum shade over the threaded rod and the finial holds it all into place.
But the ugliness is visible from underneath…
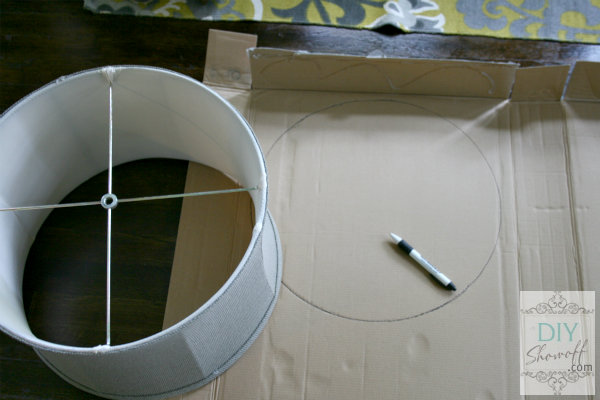
Solution: Measuring the diameter of the interior of the drum shade, I made a pattern/stencil from cardboard (tracing the interior of the shade).
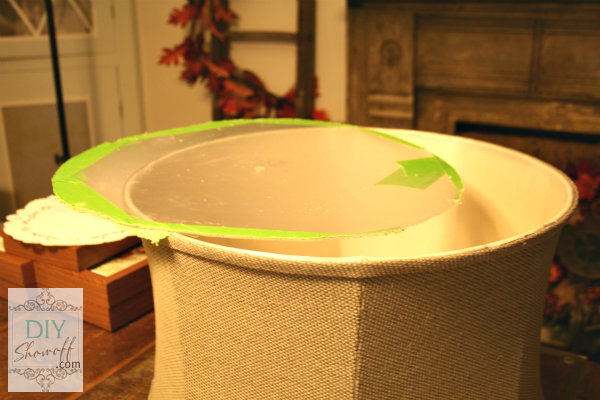
We used the cardboard circle as a template for cutting plexiglass (2 circles). We found cutting plexiglass to be a challenge and cut a larger circle, wrapped the edges in FrogTape to help minimize cracking and chipping then used our Dremel Trio to cut the circle border on the FrogTape. Note: this project is NOT for perfectionists. Amateurs (like us) achieved a jagged circle but we’re okay with that.
Remove FrogTape and transparent protective cover from plexiglass. We didn’t get a smooth cut, but it’s not extra noticeable when placed into the drum shade and hot glue and ribbon or beads can cover the jagged edge.
We also drilled a hole in the center of each piece of plexiglass for the threaded rod.
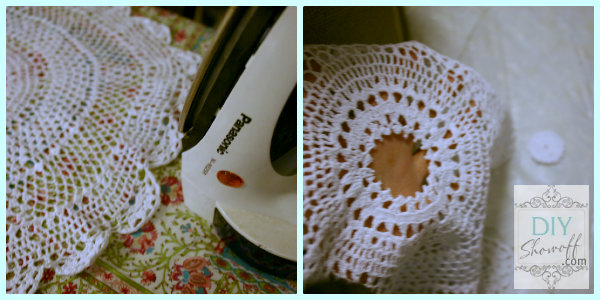
I ironed my doily and cut out the center circle…
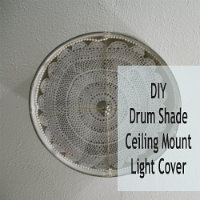
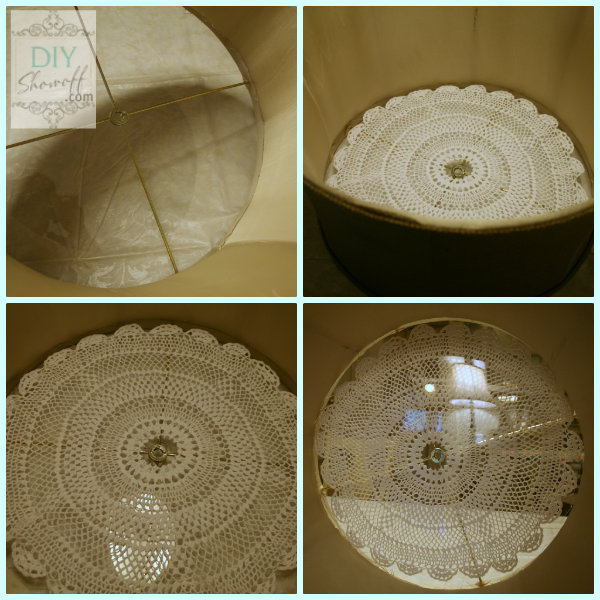
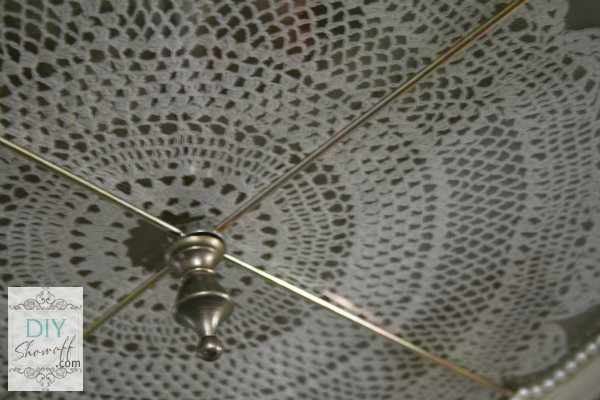
and put the plexiglass into the drum shade {plexiglass, doily, plexiglass}, resting it on the lamp shade supports (drum shade will be installed ‘upside down’). Note: You may want to use a spray adhesive on one side of the doily to keep it from sliding as you’re layering plexiglass, doily, plexiglass. I also used hot glue to attach a string of beads to hide our jagged cuts.
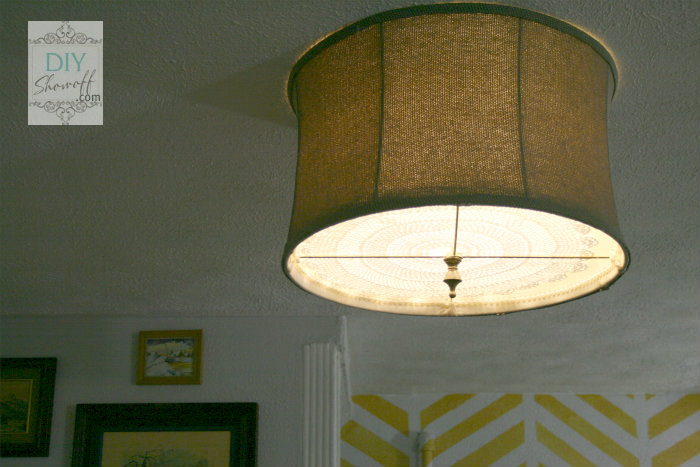
So pretty DIY ceiling mount light {a little off center, hence the suggestion for spray adhesive as noted above}:
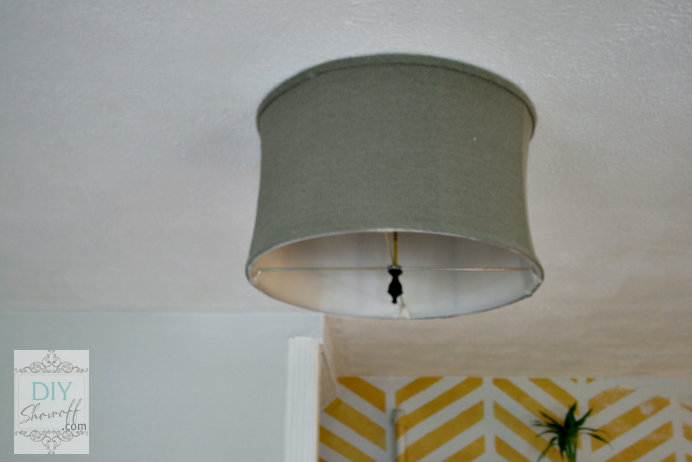
Then just put the drum shade into place, secured by the finial…
We love how it turned out – but note: plexiglass is more expensive than we anticipated. So while it still worked out to be a less expensive option than a pretty drum shade ceiling fixture and prettier than a boob light, it wasn’t super cheap like I had planned. Approximate cost breakdown: plexiglass $25, drum shade $5, doily $10 + finial and threaded rod.
We were chosen by True Value to be one of the members of the 2012 DIY Squad. I have been compensated for the materials needed for my DIY projects. However, the thoughts and opinions expressed are completely honest and my own. I have not been paid to publish positive comments and no one has twisted my arm to participate. 
This is a sponsored post brought to you by FrogTape. The opinions are completely my own based on my own experience and project results may vary.




It looks very nice! Yes, plexiglass can be quite challenging to cut. I’ve tried it myself and managed to break a lot before succeeding. Great work!
Now, that is downright clever!
What a beautiful shade but such a pity you had to spend $10 on that pretty doily!I would have worked one up for you in no time!!
I love your blog besacuse it is full of inspirations! This DIY is awesome!
Check in my DIYblog http://www.milavojtowicz.blogspot.com.
I love it! It looks so cool. You are so creative. I just love how you take the ordinary and turn it into something extraordinary. hmmm, now you’ve got me thinking how I can change the ugly light fixture on a ceiling fan….(in other words, just try!)
This is a very unique, yet very beautiful way to brighten up a room!
The other day I had the same thought … I can cover my nasty light with a drum shade and not change the fixture at all. Love this idea!
Love this creative solution! It looks great.
Warmly, Michelle
I know, right? I’ve looked into plexiglass for another project and RAN!!!
I just did the same thing in my rental! I tried the plexiglass but found it way too difficult to cut evenly. I ended up going with a fabric diffuser instead. Great tutorial!
http://ashleymacq.com/2013/04/rental-light-fixture-woes/#.UXiHqLXvvpY
Great job, Ashley! The magnets and fabric diffuser are awesome ideas! That’s definitely the way to go! Thanks for sharing! 🙂
I absolutely love this idea and can’t wait to try it. I think I will frost the Plexiglas though by simply going over it lightly with my sander. Thanks for sharing!
Great diy project! I’m about to do the same thing to cover up an ugly light/fan combo in a bathroom (with space above to allow for air flow.)
Re: the cost of plexi-glass. If one didn’t mind a more diffused, softer glow, you could probably cut a circle out of a clear plastic bin from a thrift store–as long as the clearance from the bulb is enough AND you’re using a low watt bulb (I certainly wouldn’t try it with one of the old 60 watt bulbs! too much of a fire/melt hazard.) Even so, with that option I would probably do what I’m doing and hang the fixture from wire to allow a gap between the top and the ceiling for air flow/ heat escape.