Have you ever wondered what to do with a collection of wine corks? I love this awesome project from Laura at
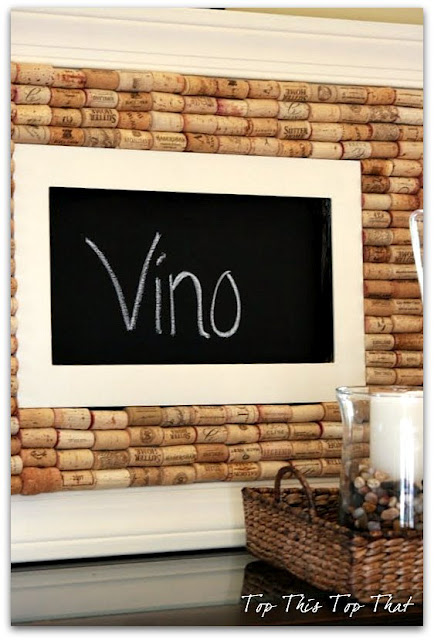
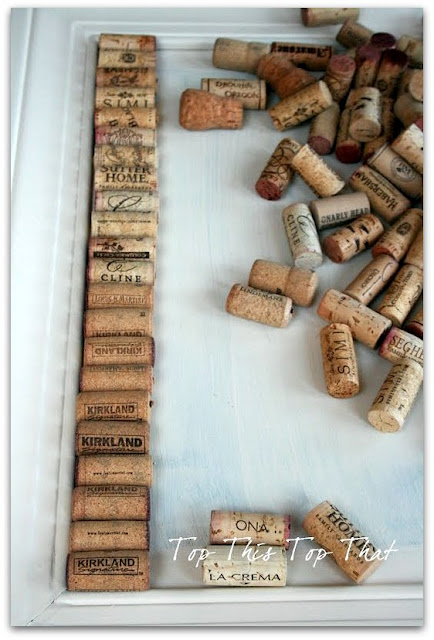
who combines corks + wood trim + chalkboard to create a beautifully framed cork board/chalkboard. (Warning: This project may encourage more wine drinking.) Here’s how she made hers:
Materials needed
- Wine corks- lots of them (Laura used 350!)
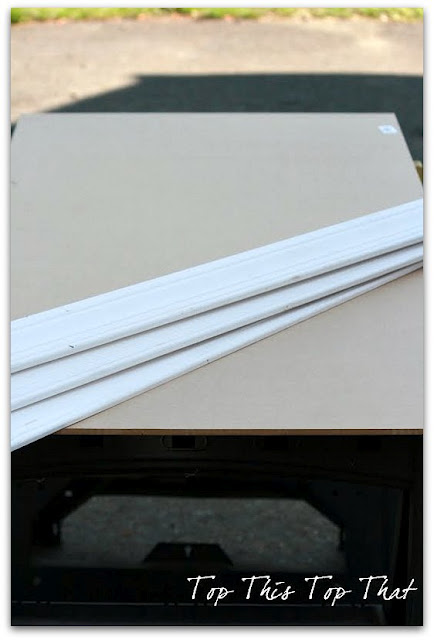
- Piece of MDF- pre-cut to 36inch x 24inch
- trim for the outside frame
- picture frame for the chalkboard
- chalkboard paint
- paint for the outer frame
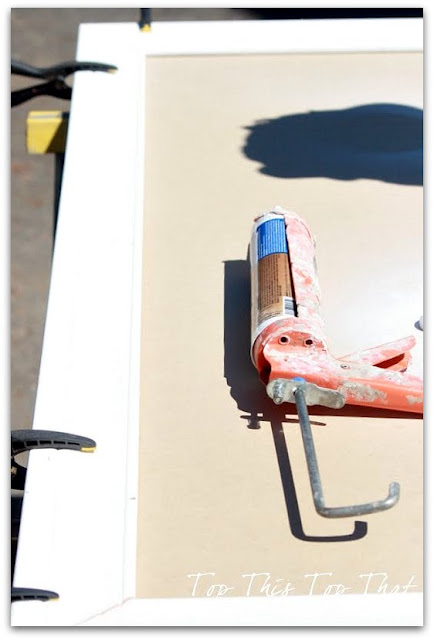
- liquid nails- to secure your frames
- hot glue gun- to secure your wine corks
- picture frame wire/screws, or Dischangers or 3M velcro for hanging
Tutorial:
1) Cut trim pieces for the frame.
2) Assemble boards on piece of MDF and secure with liquid nails.
3) Clamp and let dry.
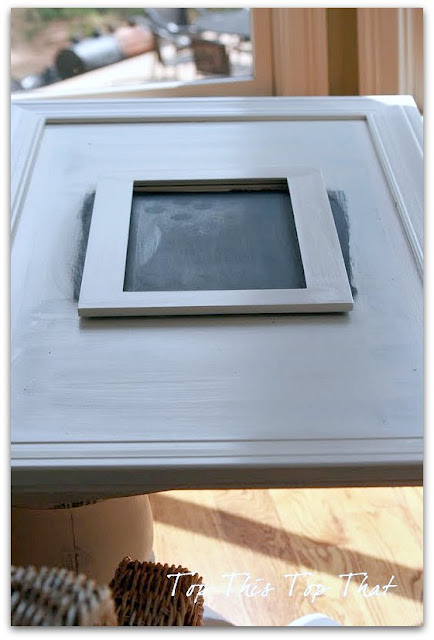
4) Paint outside frame and MDF and picture frame.
5) Paint an inner area the same size of the inside of the picture frame with chalkboard paint according to instructions. Let dry.
6) Attach picture frame (framing the chalkboard painted area) with wood glue.
7) Pre-arrange and secure wine corks using hot glue.
8) Attach picture frame wire/screws, Dischangers or 3M velcro to hang.
9) HANG!
Her finished project looks like something I’d Pin from a Pottery Barn catalog. Awesome job, Laura!
See more DIY, decorating and Laura’s beautiful home tour at




I love working with corks. This is a wonderful idea!
Dee
love this! i started a project just like this and then didnt finish because i couldnt get it just right. this has inspired me to revamp it a little and get this project finished!
I have been looking forever for something like this. If you ever make these to sell I would buy one right away! Please let me know if you would be interested in making one for me. I could never manage to get this right if I tried myself!
Hi Kelly – I know, it’s awesome, isn’t it? For this project, I featured Laura from http://topthistopthat.blogspot.com/. She is the one who created the beautiful wine cork/chalkboard. I’m not sure she makes them to sell but hope that helps!