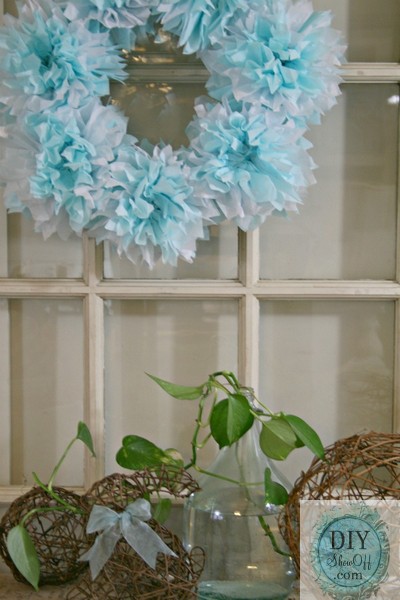
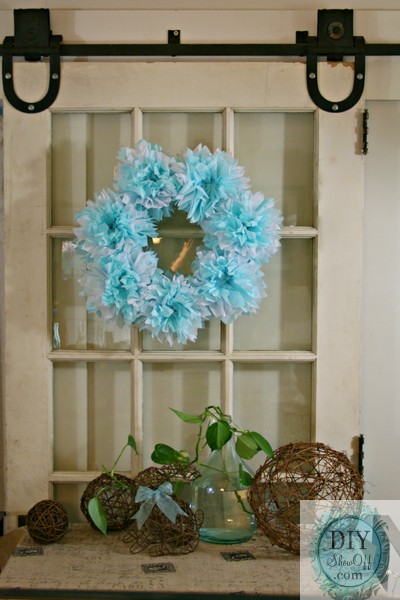
I’m taking a small break from family room painting to do some crafty fun today. I love tissue paper poufs but hanging them doesn’t always fit with my decorating. This is a great alternative and perfect for spring.
Materials:
- Foam wreath form
- Tulle
- Ribbon
- Tissue paper
Tools:
- Scissors
- Hot glue gun/glue (low temp)
How to:
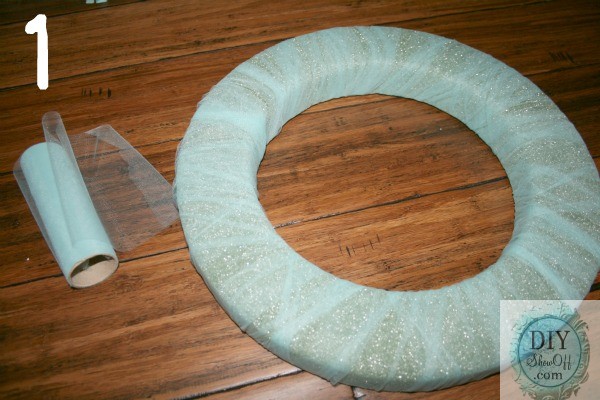
1. Cover wreath form with tulle or ribbon (or paint) to help camouflage the base.
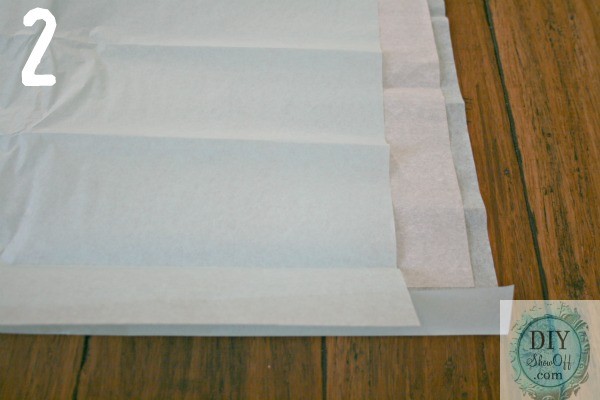
2. Layer 3 pieces of tissue paper (I used aqua/white/aqua).
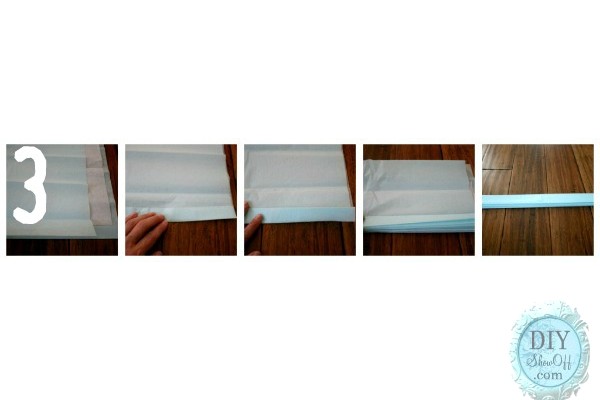
3. Fold tissue paper accordion-style (flip with each fold).
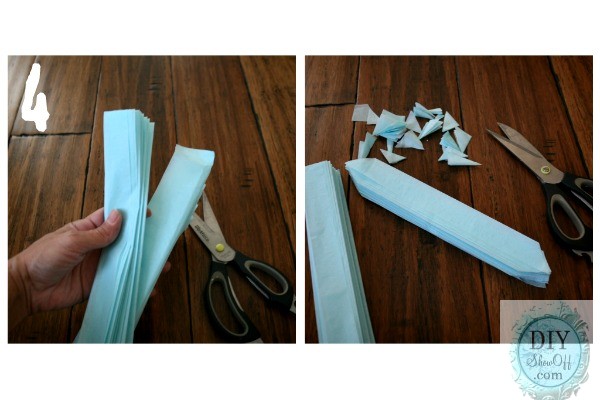
4. Cut in half to create two thin pieces and snip the ends to create a point.
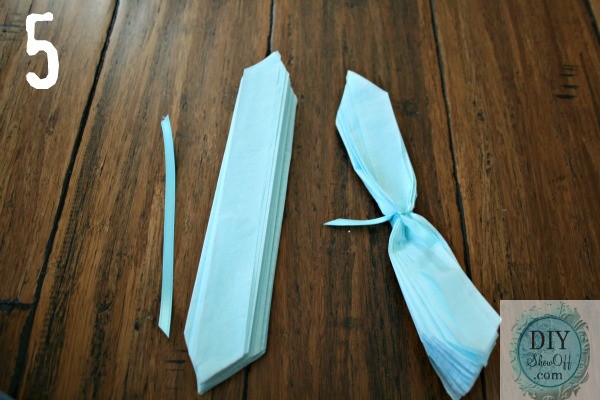
5. Tie a knot using ribbon in the center of each of the accordion pieces.
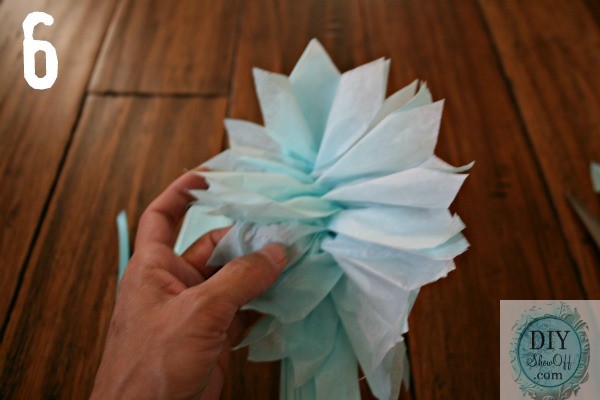
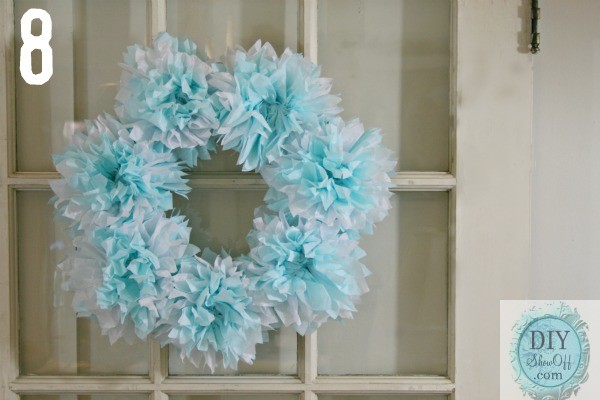
6. “Fluff” by carefully pulling apart tissue paper layers. (My wreath form took 7 poufs.) Pull apart in one direction (one side will be fluffly, the other flat).
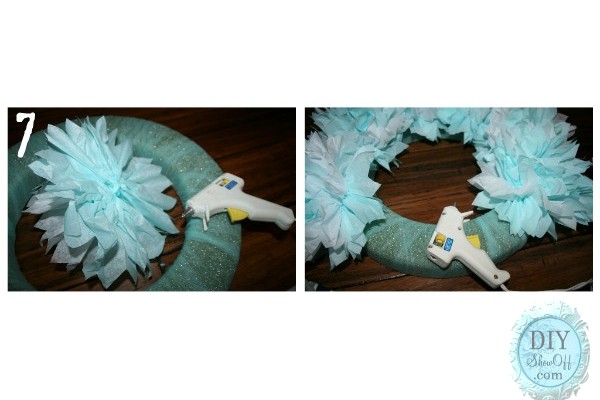
7. Secure poufs to wreath form using hot glue.
8. Hang with ribbon or Command velcro strips.
Have you crafted a spring wreath?
Ready for spring?
I’m linking up to the Spring Fling with Centsational Girl today…



This is gorgeous! I tried making those poufs once… such delicate work! Tougher than it looks.
Just darling Roeshel! Also, LOVE the new blog look!!!
so cute and fresh and springy – nice!
Such a fresh and pretty wreath! I love how quickly this one can come together. Thanks for sharing.
It’s wonderful. I tried pinning it, but they’re probably down at the moment. It’s a great start to spring.
I’m noticing the same issues, Anne. 🙁 Thank you for the head’s up. Hoping to get everything running smoothly again.
Love that Roeshel! I was thinking how cute it would be to do smaller ones in pink for my daughter’s birthday and have them hanging from the backs of chairs! 🙂
Vanessa
LOVE this!! So CUTE! Thank you for sharing! I am definitely going to make one!
Lou Cinda 🙂
Oh my gosh…I love this! I have to try it! 🙂
Love the fresh colors!
I love the lightness (puffiness!) of this wreath. I pinned it on my Spring Pinterest board and on my Wreaths board because I can imagine it in different colors for different seasons. Thanks for sharing it!
Very cute. Looks fun and cheerful. BTW, I love the new look of your blog. It’s so welcoming! 🙂
those are so pretty – I always mess up on the big flowers – but maybe I could conquer with these. And I love the new look – so pretty!
soooo cute and Springy Roeshel!! love your wreath, BUT I want that door! 🙁
I’ve been trying to figure out how I can do that in my kitchen “on the cheap”.
have a great weekend!
gail
There’s another door just sitting in the barn, Gail! 😉 I didn’t have the heart to paint it…I just love the old look but after looking at these pictures…it looks more dirty than worn even though it’s clean. lol I’m going to have to paint it after all.
Great tutorial, and I love the colors you chose. This wreath is so easy and really celebrates spring. I’ve shared a link to your tutorial from the StyroCrafts Facebook page. Thanks, Roseshel! Sharon
Roeshel, the wreath turned out soo cute! I may have to make one. ; ) I made up a bunch of tissue paper poms poms for my daughter’s 6th birthday party, to hang over that table. After the party they got moved to her room, where they hang from the ceiling light. I used tissue paper that were the colors of the polka dots on her bedding. They turned out great and look soo cute. The best part, they cost me nothing!! I used tissue paper I already had, some of which had been crumpled up and shoved into gift bags. I just smoothed them out with my hand and they turned out just as good as the ones I made with unused tissue paper. : )
BTW, I love your Spring mantel too! Soo cheery and sweet. Have a lovely weekend!
~ Catie
Hi! What a great idea. So many things we can do with tissue paper. I love it and the color is great!
Love the tissue wreath and the color blue too! Last Mother’s Day I had the granddaughters make flowers for a vase to give their Mother, fun!
I made a spring wreath with an iridescent white garland wrapped around a plastic 2-rung wreath, and then I simply glued some pastel colored plastic Easter eggs all around the front, and hung one in the center that says “Happy Easter,” and it’s on my front door. I can post a photo if you like. Very easy to do, and cheap too!! (I used to work a full time job during the day, and then a part-time fun job at Michael’s and later on, JoAnn Fabrics…love crafty stuff like this…I can do anything with a glue gun)!!
So cute and so Easter perfect!
Pingback: #photoadayApril – Day 20 – 22 « My Unassuming Life
Pingback: Looking back: 2012 DIY recap | | DIY Show Off ™ - DIY Decorating and Home Improvement BlogDIY Show Off ™ – DIY Decorating and Home Improvement Blog