I don’t normally really decorate for Valentine’s Day but when Ashley from Cherished Bliss asked if I wanted to join 14 Days of Love, I just couldn’t resist! Visit the link below to follow all 14 days of fabulous Valentine projects…she did a fantastic job organizing this fun blog event! {Thanks, Ashley!}
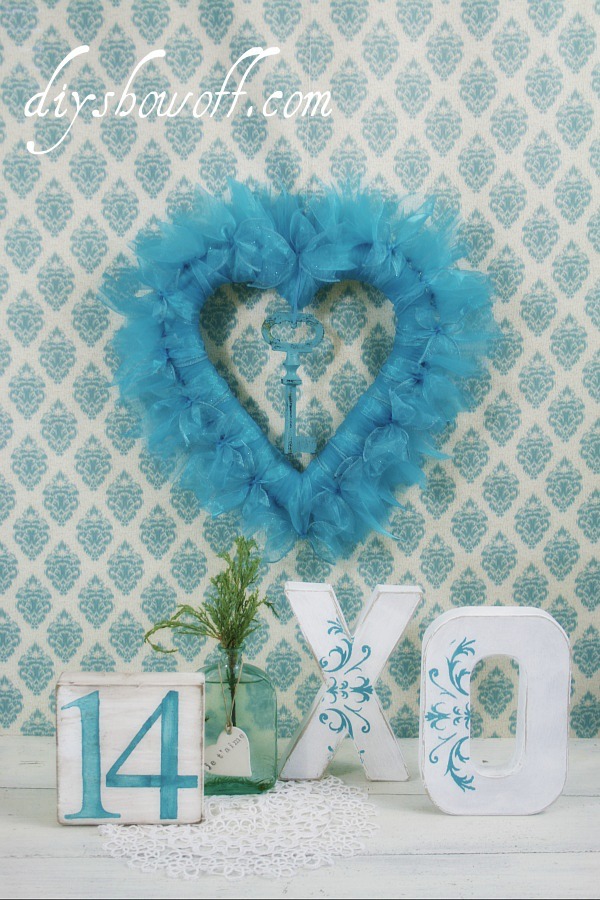
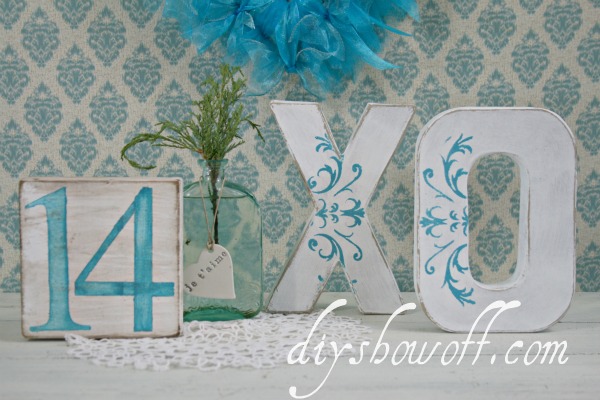
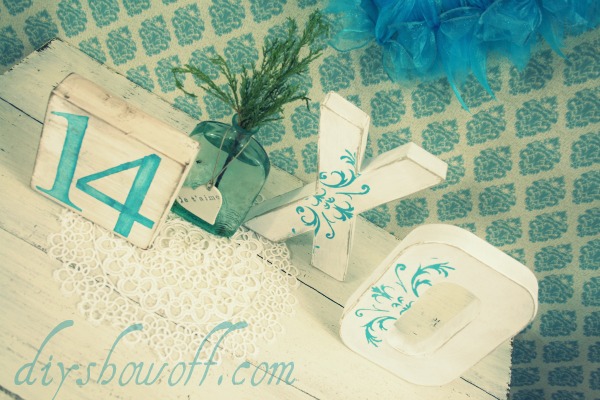
You can see my “14” tutorial and X’s and O’s how-to over at the DIY Club today where I used some Deco Art Americana acrylic craft paint, Stencils and Glamour Dust.
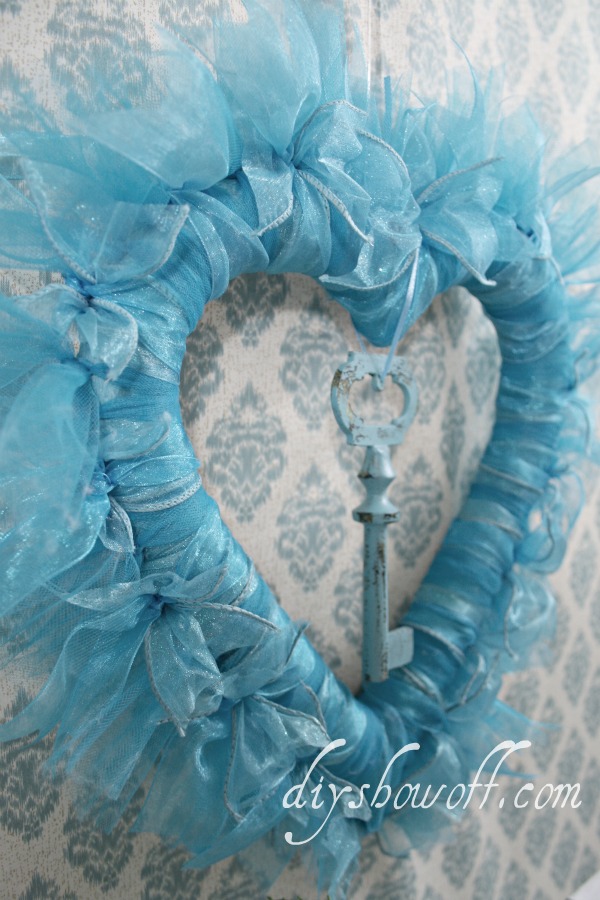
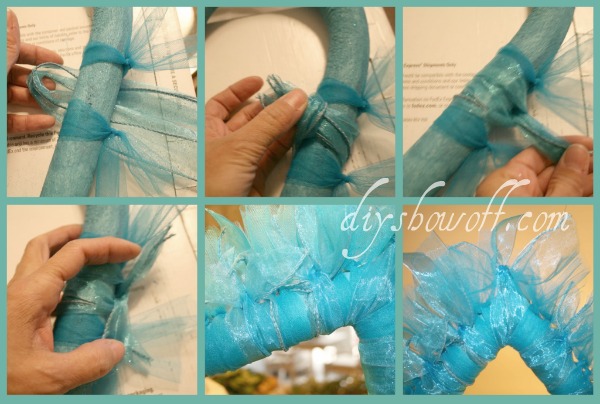
Ribbon Wreath Tutorial
Pin It {key to my heart wreath}
I used:
- Styrofoam heart
- 2 spools of organza ribbon {you can choose different types/all one type – up to you!}
- 2 spools of glittery wired ribbon
- 1 spool of toile
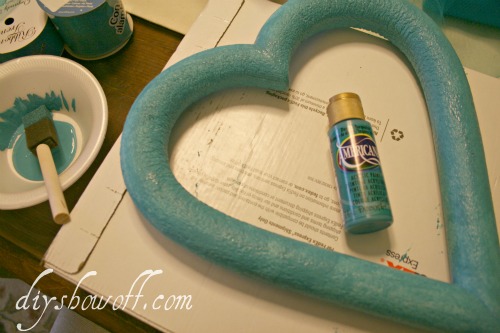
- Deco Art Americana craft paint (Desert Turquoise)
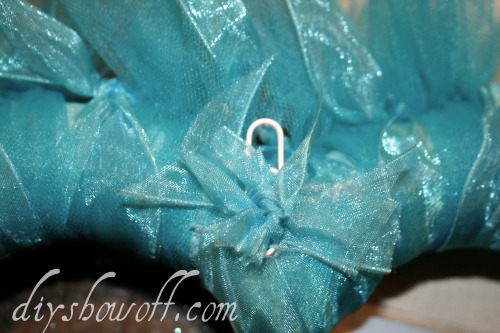
- Embellishments (I used a decorative key)
- hot glue
- paper clip
What do you think? {yes, that’s my fancy/schmancy DIY photo backdrop…but for all you know, it could be a wall in my home, right? These accessories are really displayed on my mantel in real life.} Want more Valentine inspiration? Visit the creative blog friends shown on the button for more fun ideas!
See Aimee’s SUPER cute MR.&MRS. {in the bedroom – G rated, I promise} at It’s Overflowing shared yesterday and tomorrow ~ check out the sweets at See Kate Sew then get ready for an awesome HUGE giveaway at My Cherished Bliss on February 7th!
Other news:
The Lucky Linky Follower Giveaway has added a $50 cash prize to the pot!





OH I love this!!! Love the fact that I’m seeing lots of blue/turquoise this year in Valentine decorating!
It’s so unusual to see Valentine’s decor that isn’t pink – Love It! Thanks for sharing.
Roeshel this is just perfect for valentines! I love the wooden letters and the little heart with the french! I have followed you since I found out what a blog was and it is such an honor to have you take part in this series! : ) Everything you do is just beautiful!
I totally love this and the color too!
So fantastic Roeshel! Love the key in the middle and the color is such a fun change from red and pink! 🙂
That is gorgeous, Roeshel! Made my heart go pitter-patter!!!
Love this! The blue is my favorite, I’ve incorporated a lot of teal in my V’day decorations too! The key is adorable. So fun to participate with you in the 14 Days of Series!
Heather
I adore the colors you chose and the display turned out gorgeous!
SO stinkin’ cute I can hardly stand it!!! I love the letters and backdrop and wreath to pieces!!! SUPER FUN!
XO, Aimee
Oh, so fluffy and lovely! I love turquoise and blue. Why should be Valentine just blue? 🙂 It is fantastic idea.
Love the colors you chose for valentine’s…very pretty! Visiting from Sunday’s Best!
The blue is refreshing. I have not decorated for Valentines for sometime. I am feeling like I should do something this year.
Absolutely beautiful! Wow! I’m honored that you linked up to my Valentine Link Party! Thank you.
Can wait to try this project. Think I will try to make a round wreath. Should be interesting. The colors will be endless.. Thanks for the tutorial.
i like this.
it’s blue but not sad.
it’s unusual yet totally befitting to your room.
Oh how I love this. I a turquoise crazy..teals and all of the blue green family, Orange/coral is running a close 2nd. Toooo cute!
So very pretty and I love the twist that it’s not red 😉 Very nice!!! Happy to have been part of this series with you, what an honor!
Thanks for hosting the party, and your wreath is so very pretty. Great not seeing traditional red, I would leave this up all year. Thanks for sharing your creative inspiration at Sunday’s Best Par.Tay!
Pingback: Looking back: 2012 DIY recap | | DIY Show Off ™ - DIY Decorating and Home Improvement BlogDIY Show Off ™ – DIY Decorating and Home Improvement Blog
Please explain how you tied on the ribbon, tulle, and organza. I am making something similar for me, but it’s not coming out right. I’m not sure what I’m doing wrong.
Thank you,
Cheryl
Hi Cheryl!
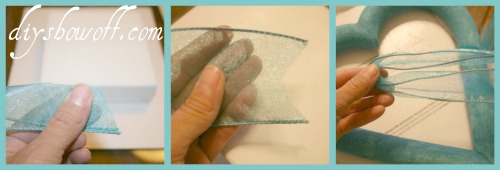
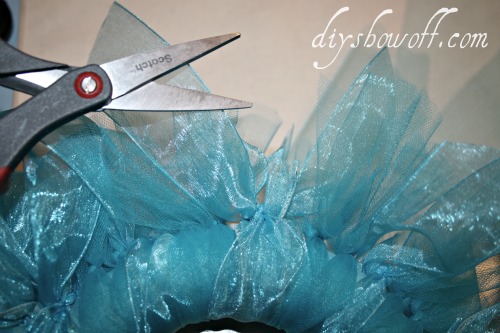
Sorry you’re having trouble! I’ll do my best to explain – it’s been so many years since I made it (old tutorial), but it was really easy. From what I remember…I simply tied on strips of each with the knot on the outside edge and pushed everything close and tight, alternating wired ribbon/organza ribbon/strip of tulle squished together like ribbon. I also clipped the outside edges of ribbon with a “v” shape. I’d guess my pieces were probably about 6″. Example: Wired ribbon knotted and spread out/push the pieces apart (or push apart wired ribbon when you have it all covered/fluff it when complete), then a strip of organza ribbon, then a strip of tulle (spread apart). Repeat the entire way around. I hope that helps! I’d love to see it when you’re finished.