DIY Show Off Project Parade & a Giveaway!

This GIVEAWAY is now closed. 
If you’re a regular DIY Show Off reader (thank you!), you know our kitchen is under construction.  There’s a DIY transformation in the works.  When isn’t there?  So imagine our excitement when Delta contacted us to review a faucet!  Our reaction…”YESssssssssssssssss!”  I don’t have an update to share because if you’ve ever updated a kitchen – you know it takes forever! But here is the faucet we chose.
It’s the Vessona Two Handle Faucet which has a high arc – providing a large work area for Mr. DIY who loves to cook. It’s going to look awesome with our new sink and be so much more cook-friendly!
We actually have this Victorian one in our powder room. Isn’t it pretty?
I‘d love these in one of our bathrooms…


So what’s the giveaway?  No, not my old faucet. You really wouldn’t want it, not even for free. Delta is generously giving away a $200-$300 faucet to a DIY Show Off reader!  How do you enter?  It’s so easy!
  1. Visit the DELTA website.  Go virtual window shopping!  Pick out your favorite, come back and comment which one you’d choose.  (Please leave your email address if I can’t contact you via your blog.)
  2. For a 2nd chance, comment with the link that you’ve shared the giveaway with friends on twitter, facebook or your blog. 
Giveaway starts TODAY (9/12) and ends next Sunday (9/19).  Winner will be selected using random.org and announced at next week’s DIY Project Parade. (US and Canada only)
~*~*~*~
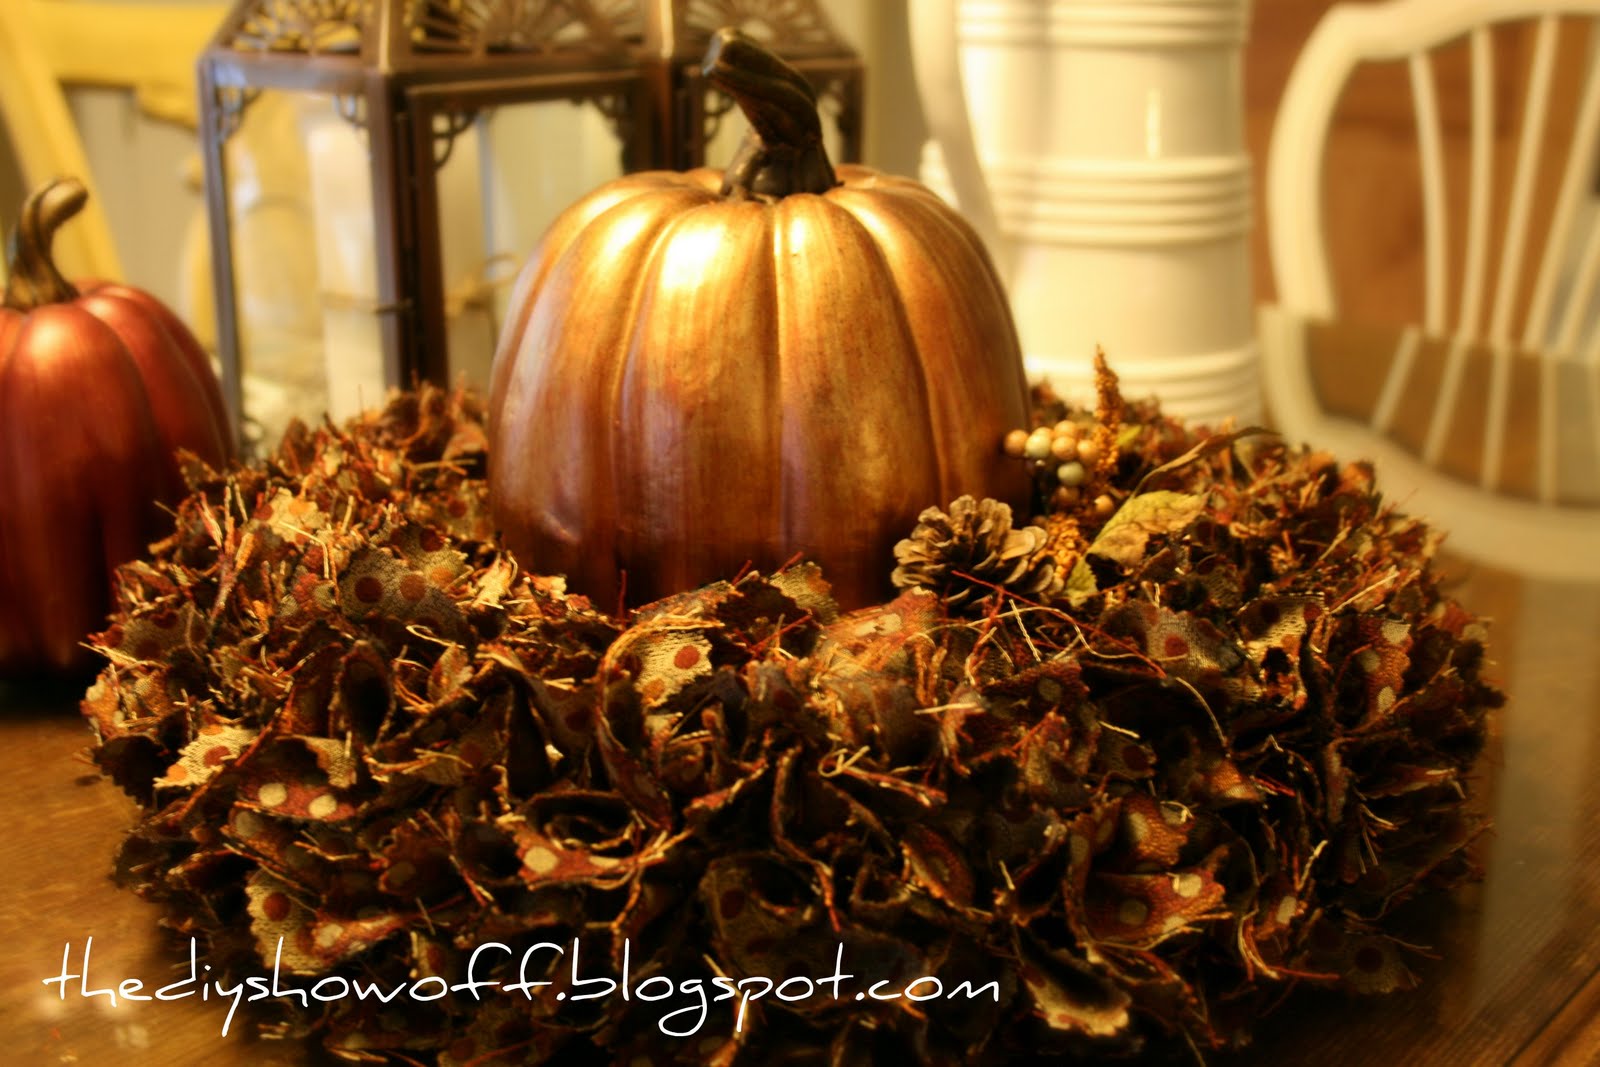
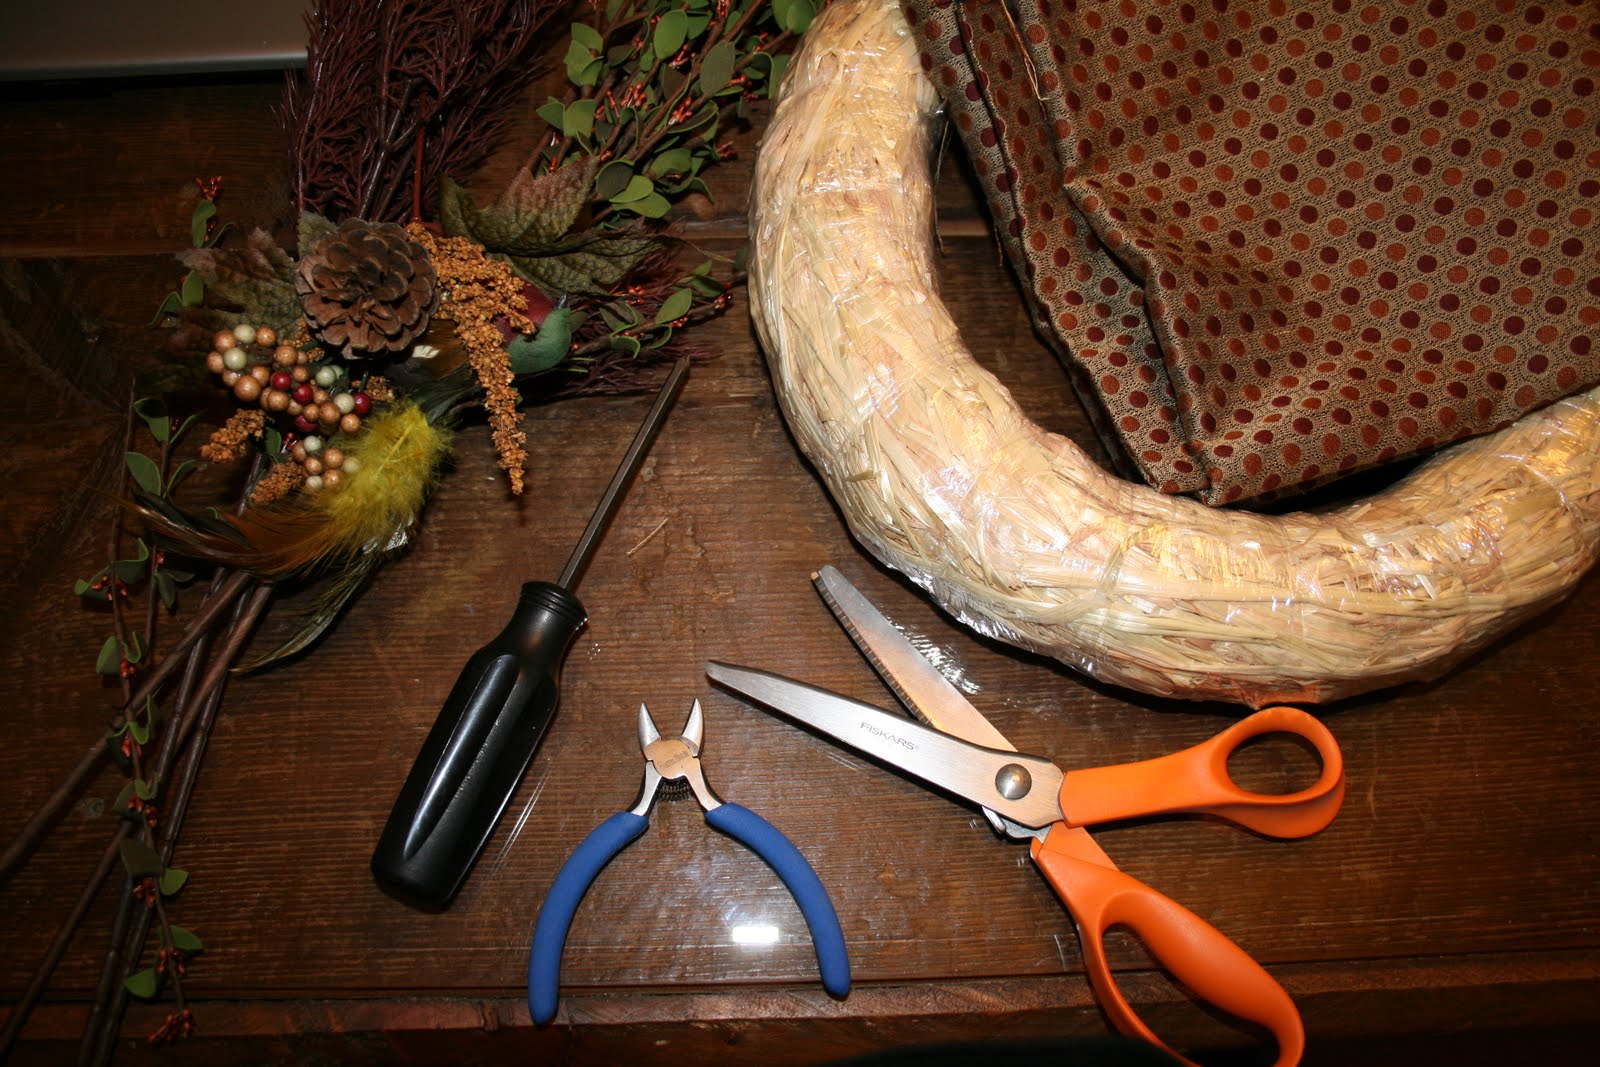
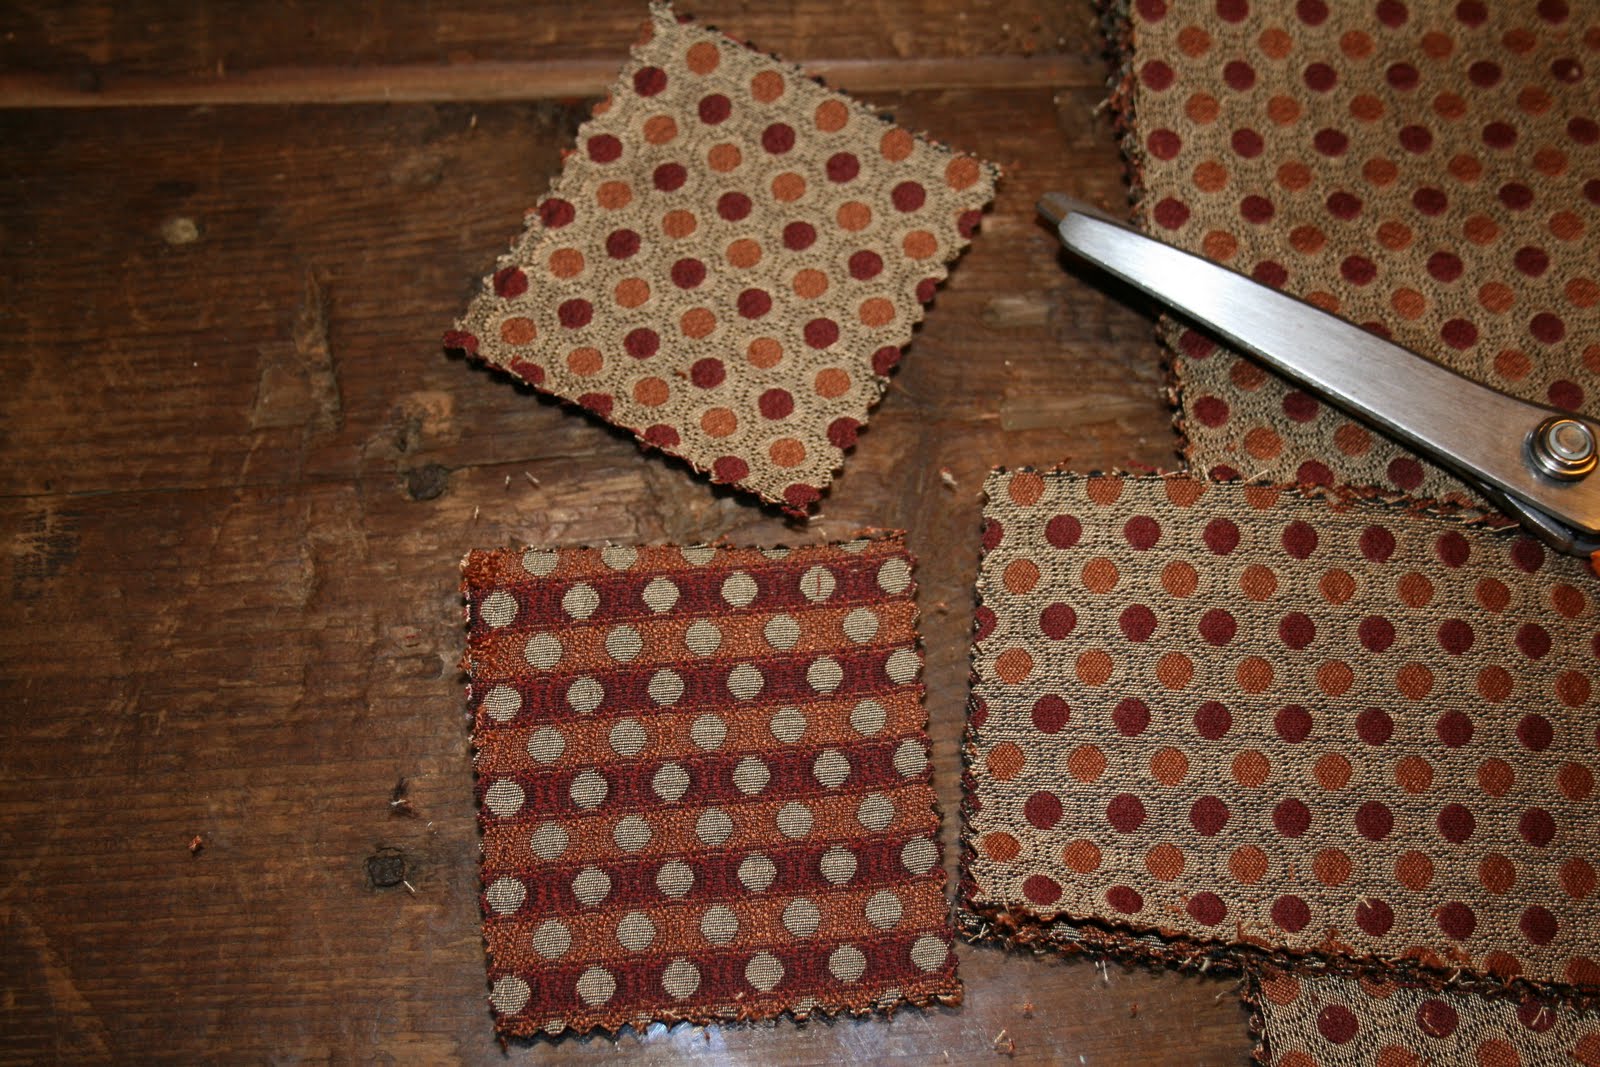
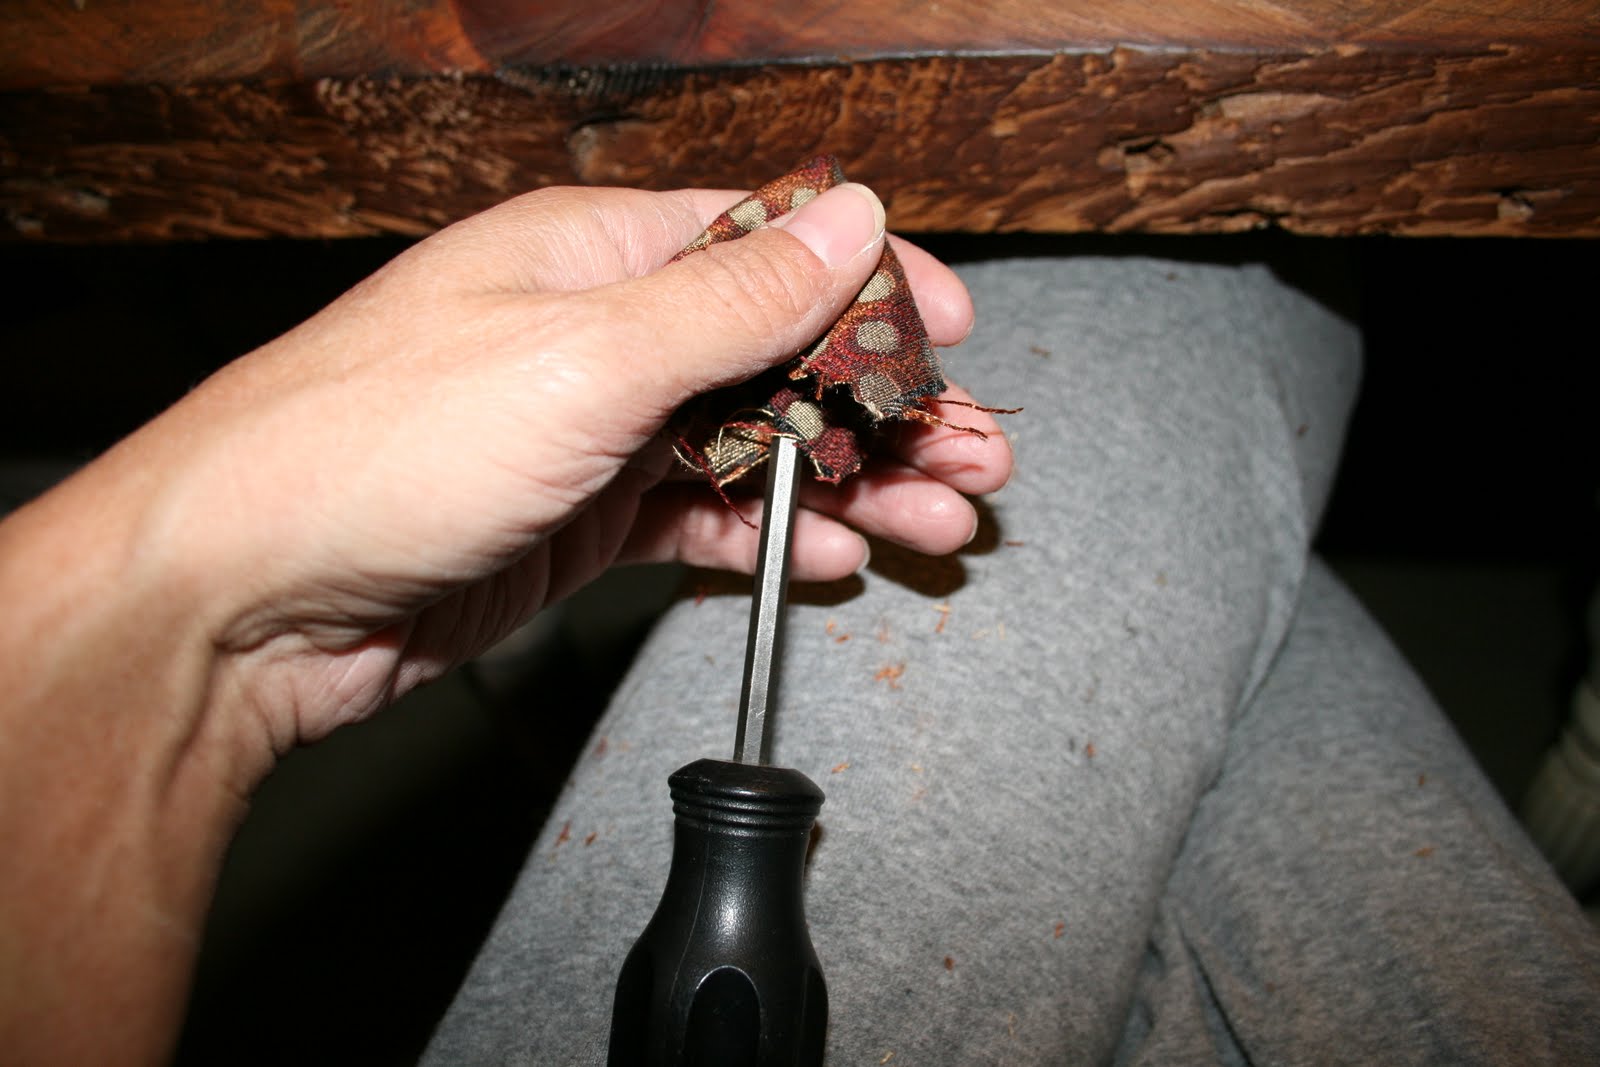
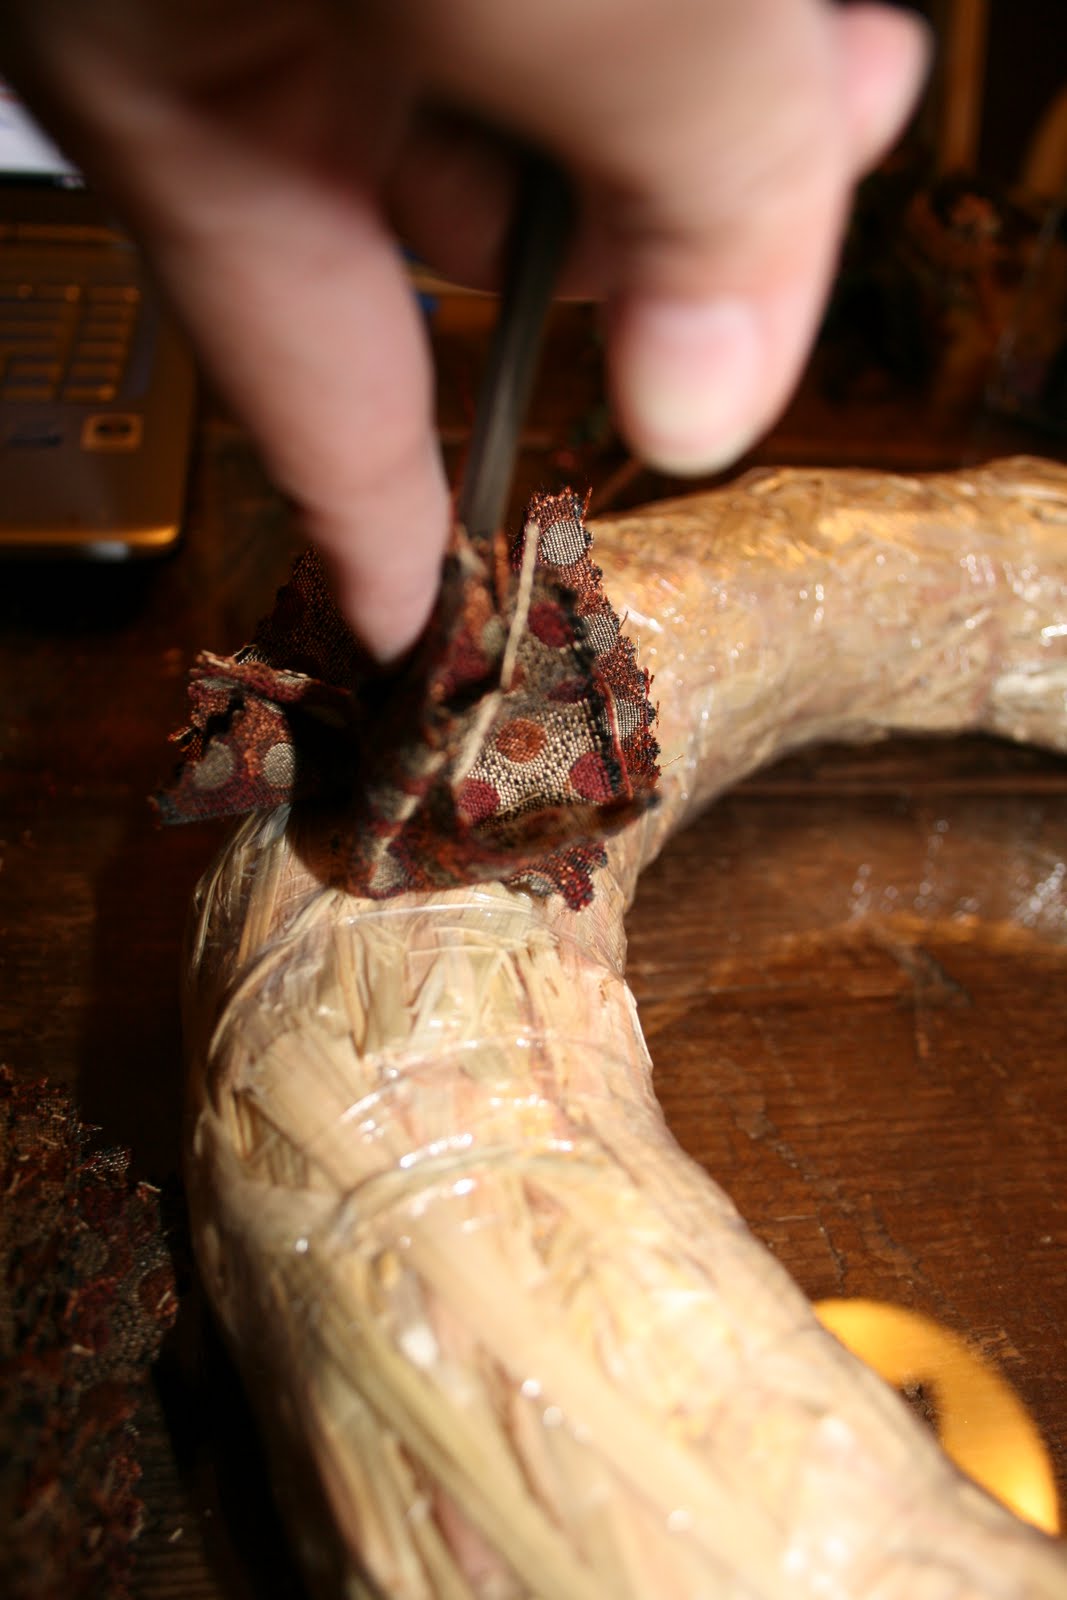
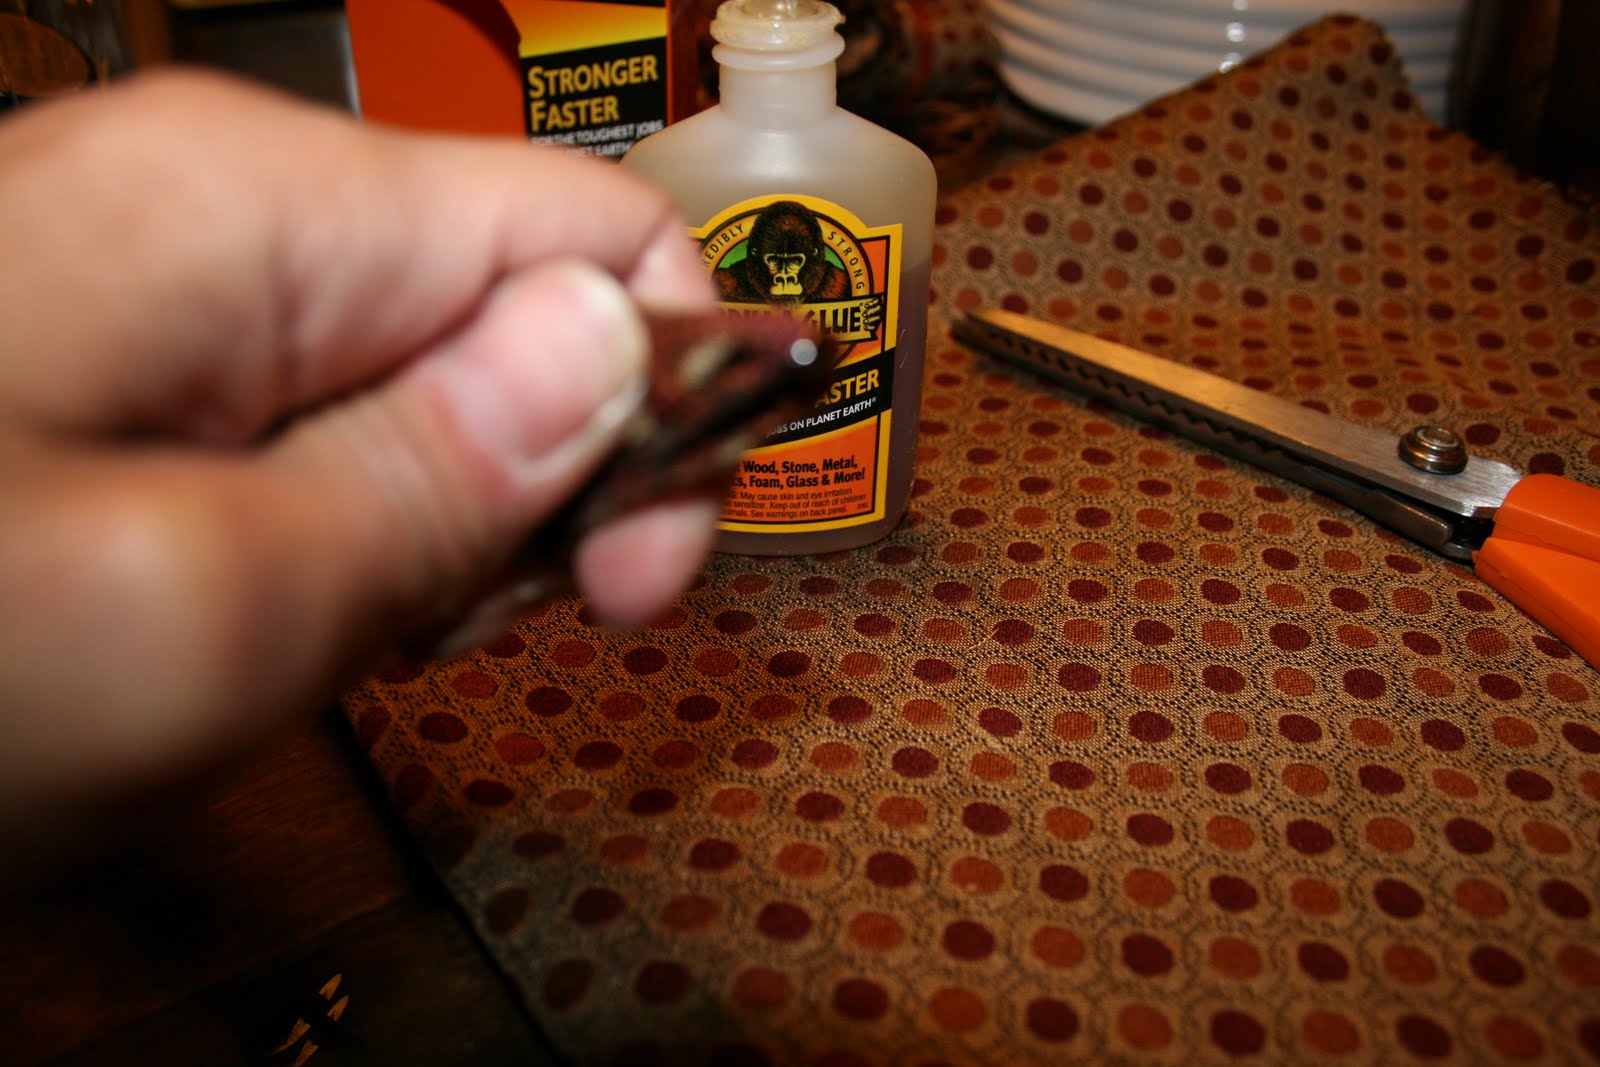
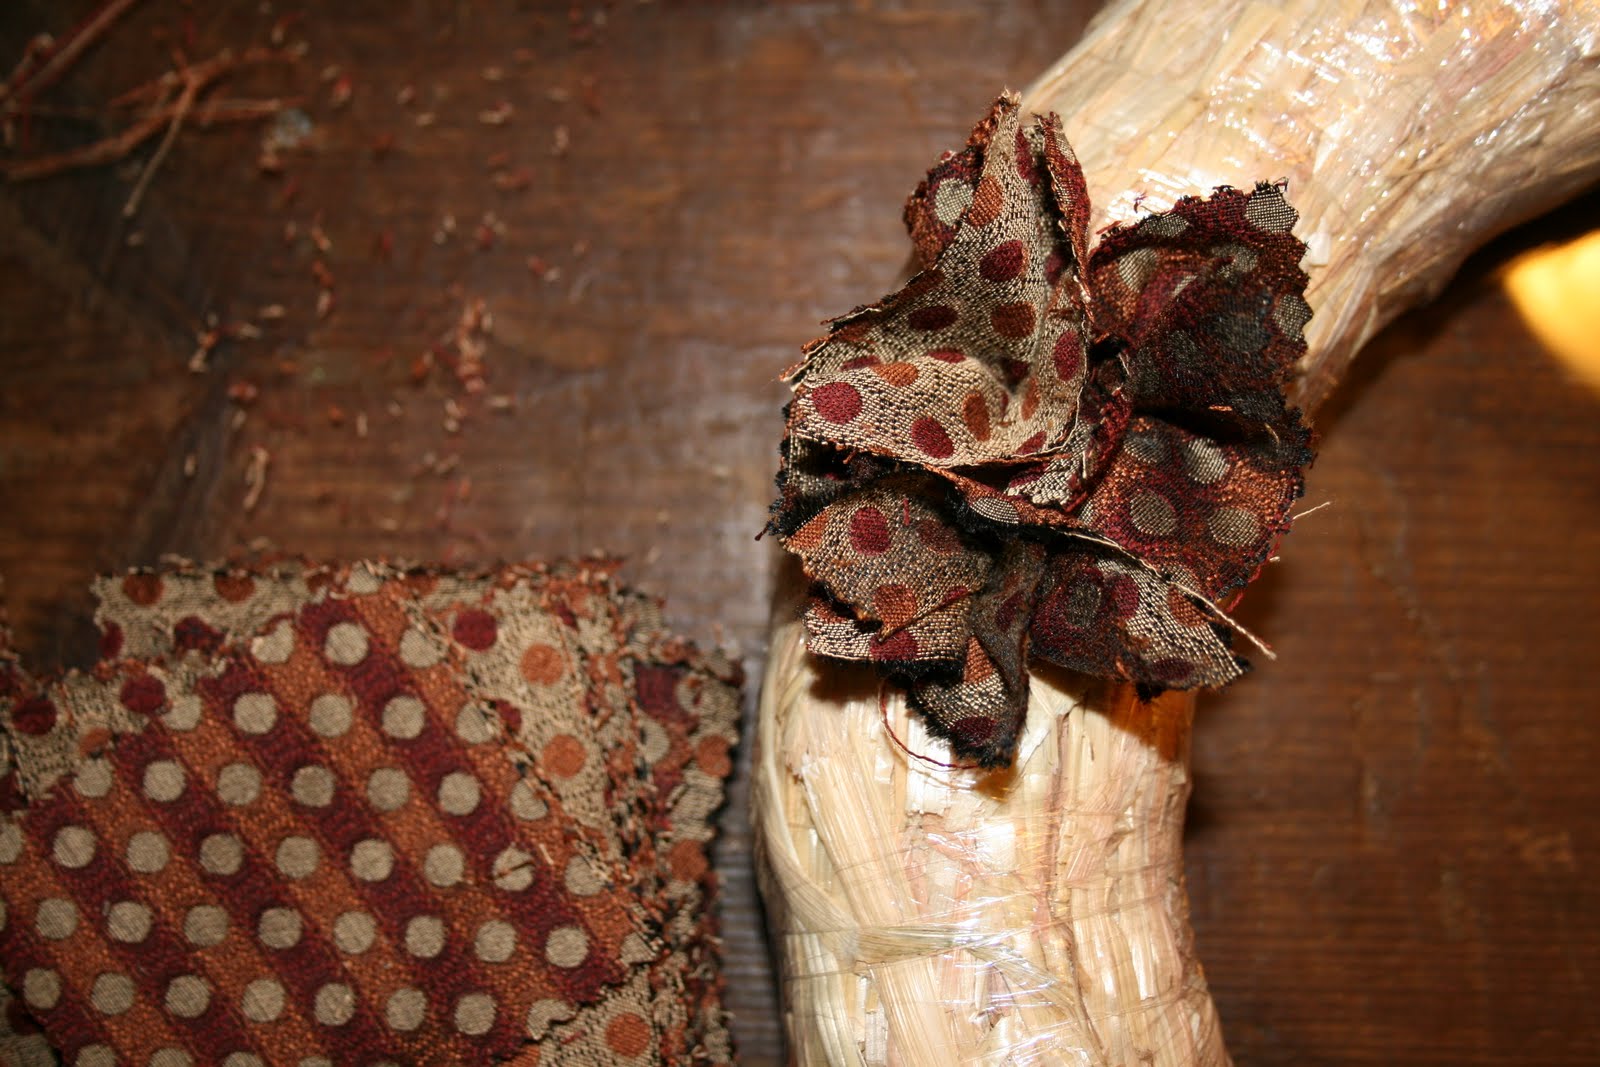
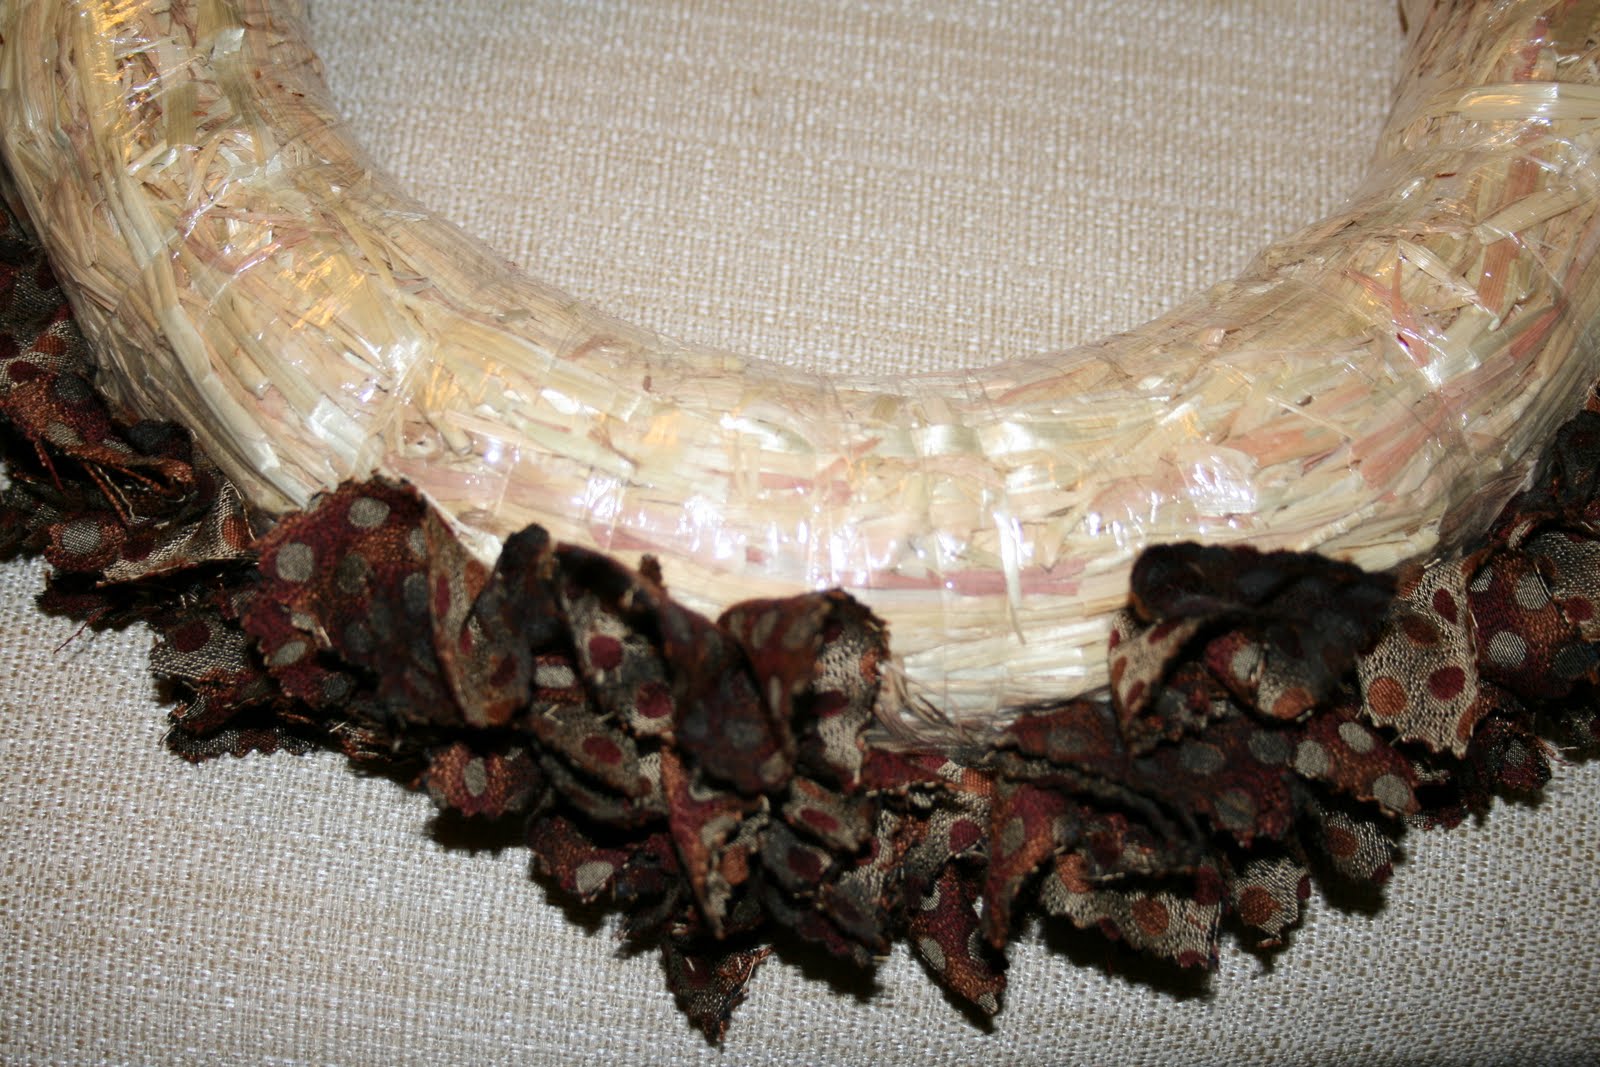
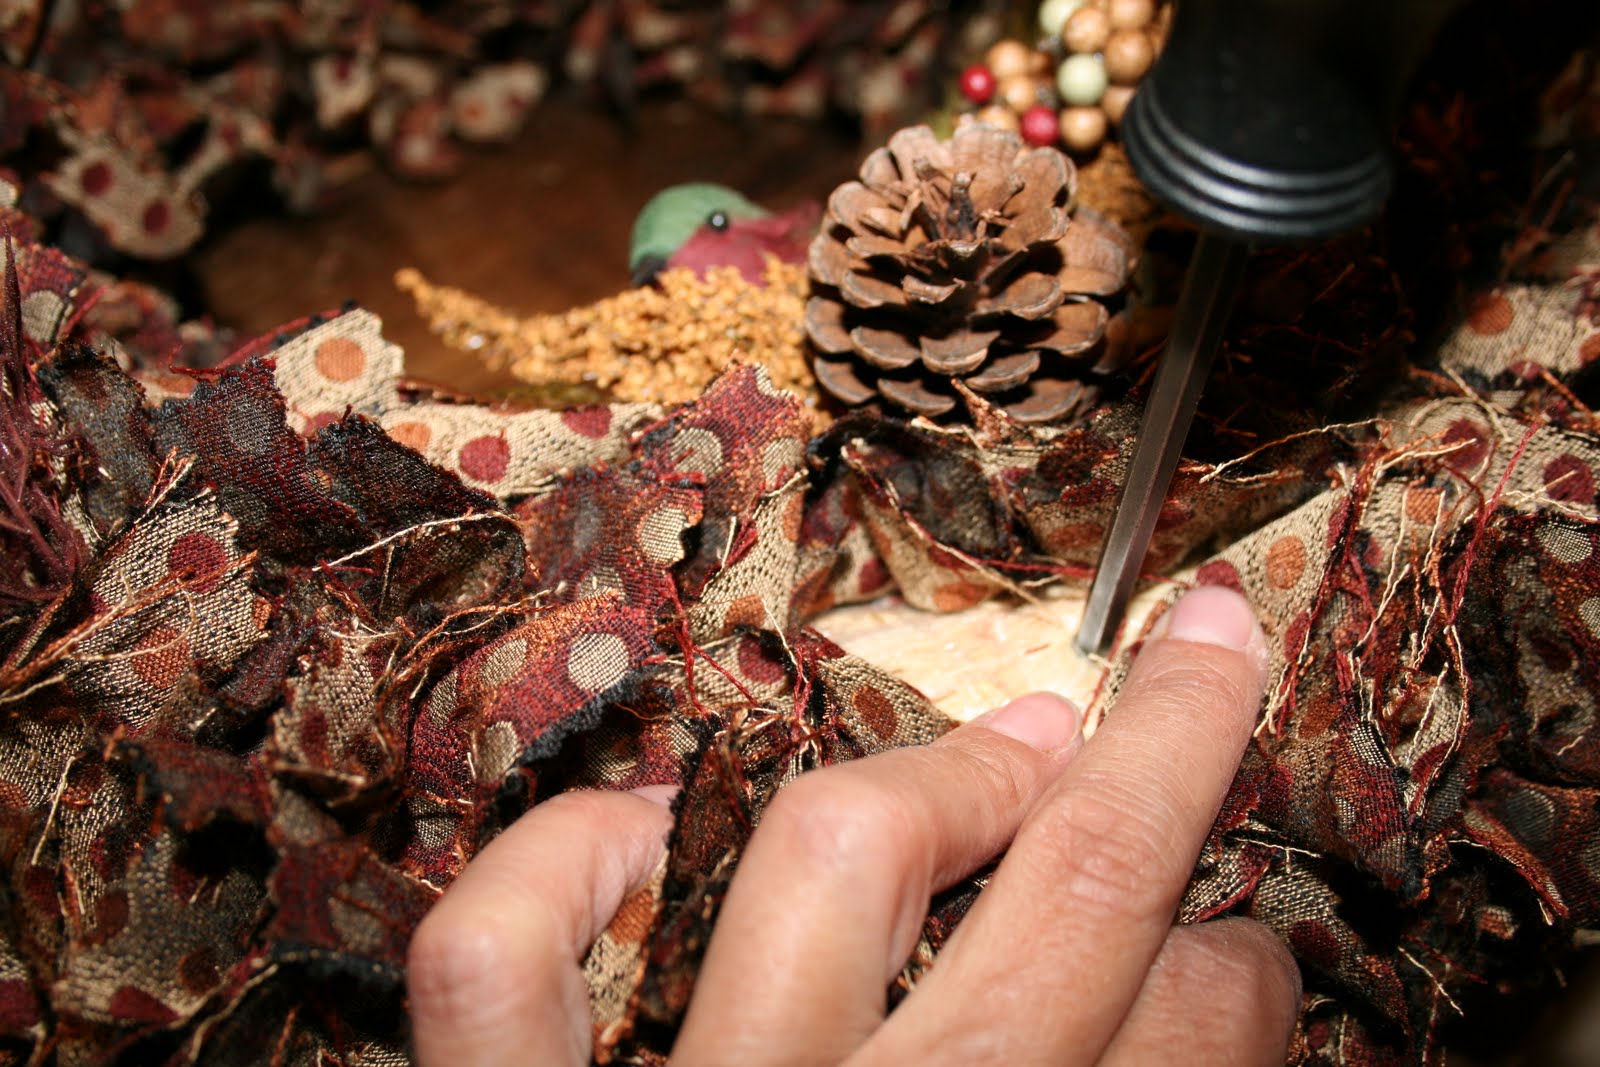
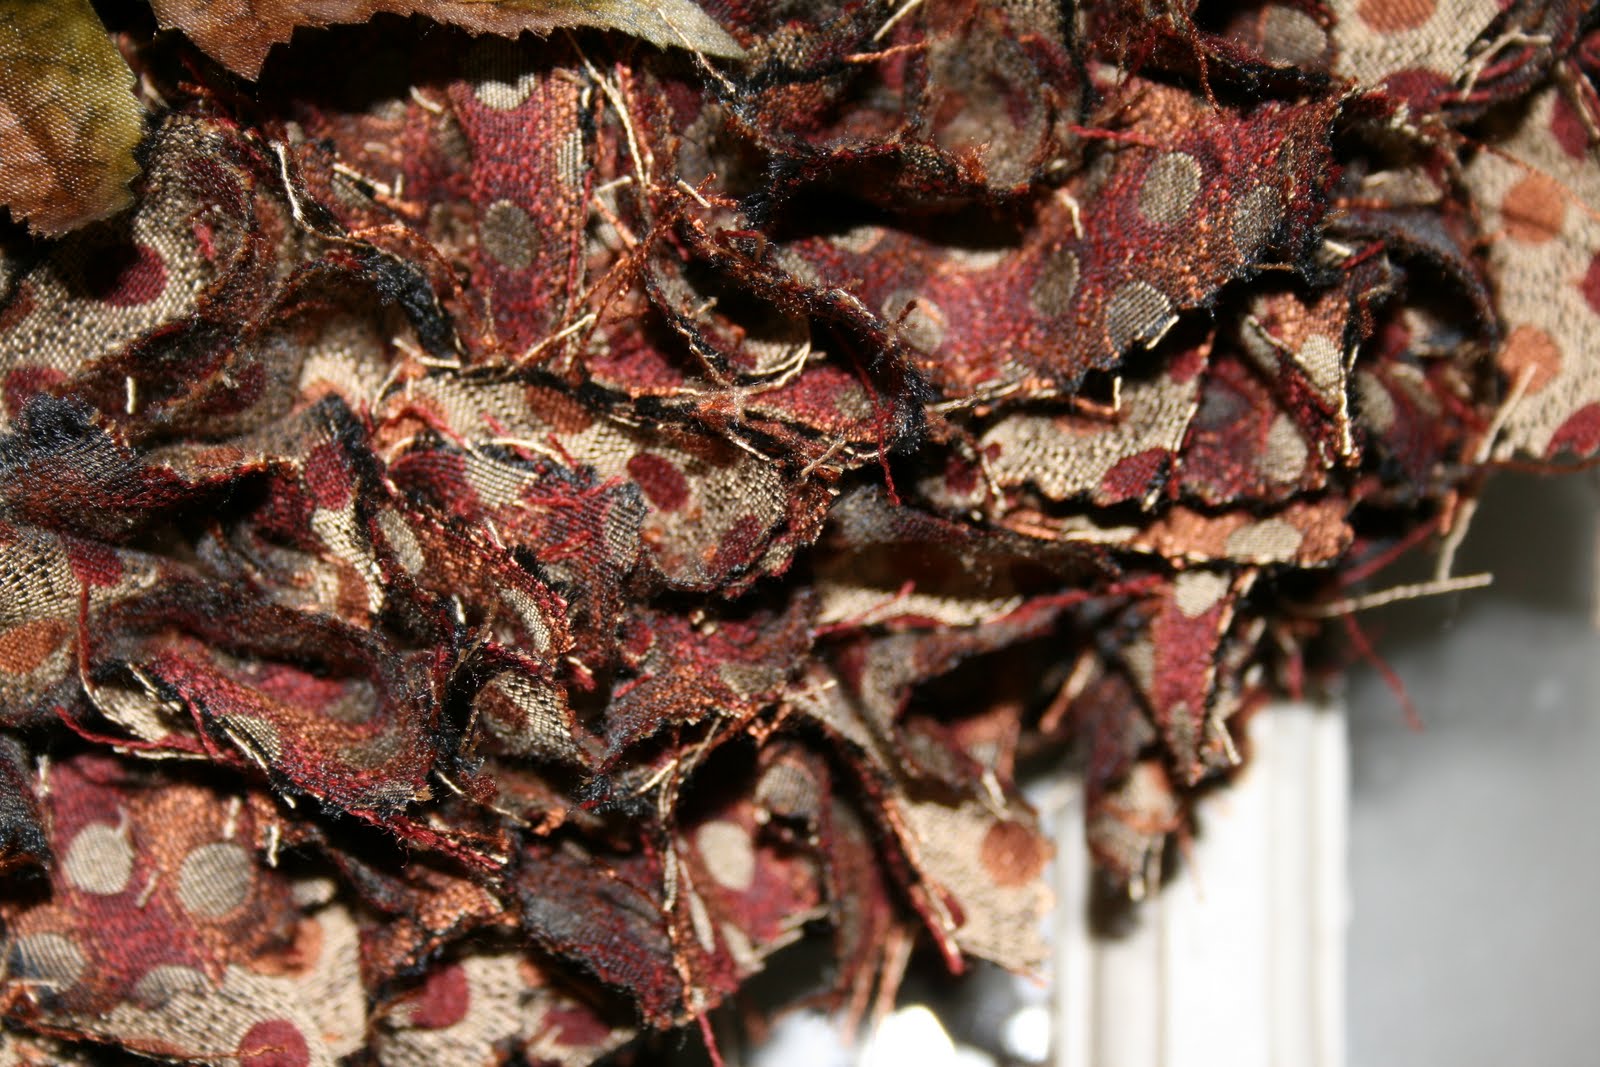
Now…the reason you might be here besides the fantastic giveaway.  The DIY Project Parade, right?  Needing some DIY inspiration…you’ve come to the right place.  Want to show off your DIY project?  We’d love to see it!  This week I made a SUPER easy CHEAP DIY Fall wreath.  Click here for the tutorial.  

Fall Wreath 

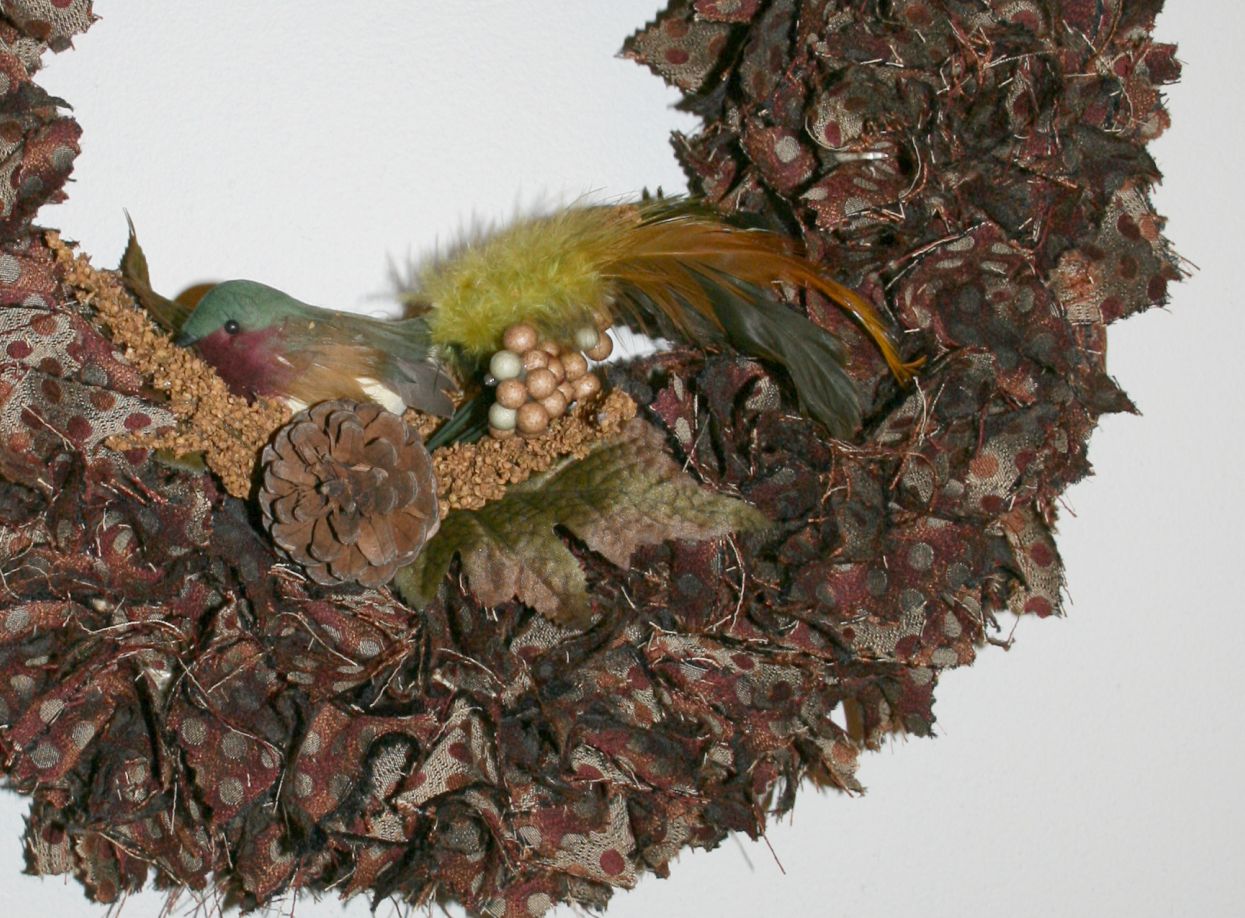
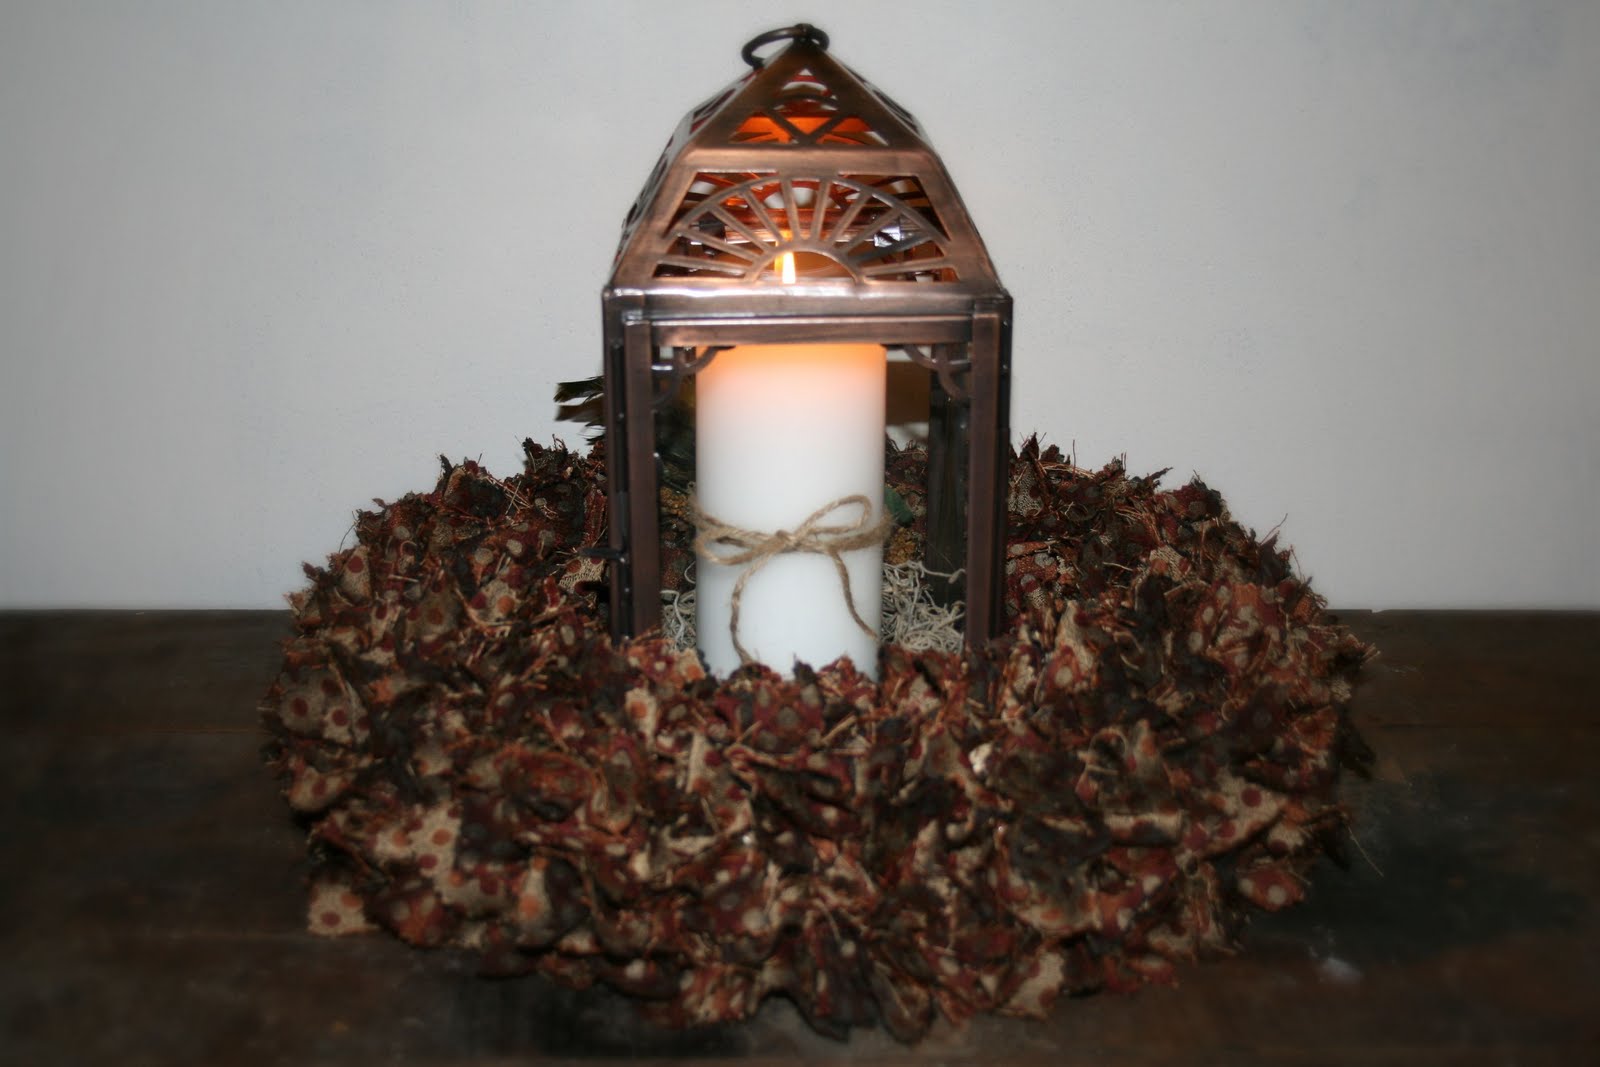
It’s so easy, I made another small decorative wreath with burlap:

If you’re project is Fall related – feel free to link up to the DIY Show Off Fall Festival too. 
~*~*~

SHOW IT OFF!  What did you DIY lately?
The DIY Show Off

If you’d like to link YOUR DIY project post to The DIY Show Off Project Parade:
  1. You must use the button above and link to this post to share the linky love.
  2. Include your name or blog name and project title. Add your permalink (not your blog url, but your DIY project post url). Feel free to link a Past Post, just invite your readers in a current post with a quick note.
  3. Or email your link to thediyshowoff@gmail.com and I will add it for you.
  4. If you notice your link has disappeared please add the link back to The DIY Show Off to your post today with a quick note to your readers about the party and try again! I love when everyone participates and readers check out everyone’s links, but I think the return favor of linking back is the nice thing to do so everyone plays fair and enjoys all of the projects and links. Also – this blog party is for DIY projects only. Links not related to DIY will be de
    leted.

    A Season of Thrifty Treasures!

    Before you even think it – I know.  I know!  I’m a junkaholic. I admit it.  It looks like I need to HAVE a yard sale.  And if you saw my basement, you’d agree that I need an “Open for Business” sign.  I didn’t realize I had picked up this much until I started this post.  It’s just a few things here and there all summer long.  But, these are things I love for decorating this old farmhouse. 

    Here goes.  My beautiful junk treasures:

    The newest addition is this big old chunky lady. We found her in the bargain basement of a used furniture  store.  She’s old and it shows but I love her antique pulls, mystery history and hoof feet.  She’s perfect as a buffet with our reclaimed barnwood dining table.  It came with the mirror too which used to be attached .  It’s very dull and streaky – just the way I like it!  The dining room is undergoing a mini-makeover (I just painted walls today).  I’m not sure if she’ll receive cosmetic surgery or not.  For now, I love her ‘as is’:
    (Yep, that’s me hunched over, standing on a chair because I took the picture at night.  Trying to get an angle where the chandelier and flash aren’t reflecting in the mirror.  Please ignore that and wow – that mirror looks to add a few pounds!  Of course, the lounge pants and sweatshirt aren’t doing anything for my figure there.)

    We snagged this chair which my daughter uses for the vanity in her bedroom for $7.  It was used as a photo prop this day:

    This painting for her room too:

    Pair of lamps $2.50 (here is one) for my daughter’s room.  Still looking for shades.

    My daughter spotted this $10 upholstered rocker in that bargain basement and had to have it for her room.  It usually collects clothes…

    Old scale.  Perfect for our farmhouse kitchen transformation – coming fairly soon – it’s hard work!!

    Mr. DIY brews beer.  Empties used to be unorganized and on top of the fridge.  Now they have a spot all their own:
    A mixing bowl:
    2 of the 3 FREE wooden bowling pins:

    Old books and one of a few little old wooden boxes:
    An oscillating floor fan – amazing breeze!
    Lots of old crates and an old milk jug:

     $5 glass lamp…

    Blue ticking table cloth in use as a bed spread and $2 linen bed skirt for the guest room:

    Tray basket and alarm clock (oops – blurry!):

    One of many old windows.  Nothing like a picture to point out imperfections. Need to move the bed a little to the left or the picture a little to the right!

    Painting for the guest room:

    A little step ladder:
    Chippy old frame:

    Old carpenter’s tool box:

     $3.98 for all 4 of these planters:

    White dishes 25 cents each at Habitat Re-Store:

    Leaf dish and 3 trivets 75 cents each:

     Another addiction, glass bottles and jars:

     $20 cart and crates.  I love rustic!

    A rusty old baffle.  Baffled?  Me too but it’s interesting!

    7 peg hook coat racks.  Here is one.  The others are going in a closet.  Makeover in the works!

    $1 shelf:

    Stool:

    $1 camp chair (post makeover):

    More old windows:

    $15 Bistro set before:

    Bistro set after:

    My BEST finds:

    3 light/pot rack fixture – $5 at Habitat yard sale:

    $1 side table!  It was already this pretty color.  I just added an Anthropologie knob.  Vintage fan is also a yard sale find:

    Do you love shopping at flea markets, thrift stores, yard and estate sales, Habitat and Craig’s List as much has I do?  What have you found?  I’m linking to The Lettered Cottage – linky party for your summer yard sale finds. And to Southern Hospitality Blog.     http://linda-coastalcharm.blogspot.com/Great places for some thrifty treasures inspiration.
    Now, about my addiction.  You may think I have a problem, but I’m thinking I’d make Sue Whitney of JunkMarket Style proud.  Regardless…I better get busy with my self help:


    And if you’ve got a Fall related post – I’d love to see it linked up to the DIY Show Off Fall Festival.  Please!  I need all the help with accepting fall, cooler weather, shorter days and approaching winter that I can get.  Let’s see your Fall warmth!

    DIY Fall Festival and Easy DIY Fabric Wreath

    Do you make your own wreath?  Looking for an easy tutorial?  This one is perfect.  Inexpensive, easy and DIY.  Easily customize it for any occasion but by using fall colors…I’m reminded of a pile of raked leaves.  Perfect for fall!

    I made this from a straw wreath and fabric.

    It’s a wreath…

    or a centerpiece…

    or a candle/lantern ring…

    I love how it turned out.  It reminds me of a pile of raked leaves!  I love that there are so many different options.  This one is perfect for Fall but use different fabric to make one for Halloween or holiday fabric for winter or Christmas or Spring or to match decor. You could even match your clothes if you were so inclined.  I can’t wait to make another one! In fact, I’m working on another with different fabric and I’ll post pictures when it’s done (using my rotary cutter so it’ll be quicker and even easier).
    Here are the instructions for making a larger wreath.  You choose the theme or design!
    Materials:  1 yard of fabric, one 14 inch straw wreath (leave the plastic wrapper on)
    Tools:  Scissors (or pinking shears), screwdriver

    Optional:  Embellishments, hot glue, wire cutter, Gorilla Glue

    Instructions:
    1. Fold fabric and cut into squares.  Mine are 3×3 inch but you can go bigger and they don’t have to be perfect.  No one will know! (I chose a fabric looked pretty on the back too but it’s not necessary.)  This is the hardest part because cutting up a yard of folded fabric hurts!  But a rotary cutter would make it a lot easier.

    2.  Holding a fabric square in one hand and a screw driver in the other, place the screw driver into the center of the fabric square. (It’s hard to get a picture because it takes both hands but hopefully this helps.)  ***Note:  Burlap is a little trickier. It helps to use the screwdriver to make a pilot hole, then fold the burlap into a square.  Dab Gorilla Glue into the hole and then using the screwdriver, push the end of the square that is all fabric (hold the fabric like a diamond, it’s the bottom part that is all fold) into the hole and twist.
    3.  Poke into the straw wreath (with plastic wrap still on) and give it a little twist.  That’s it!
    To keep things very secure, you can use a dab of Gorilla Glue before pushing fabric into place. It will expand inside the hole and adhere to the fabric and straw. This will keep the fabric from falling out, especially if the wreath hangs in a high traffic area such as a door.

    4.  Repeat until the wreath is covered.  Place about an inch apart, filling in randomly or from outside in, whatever works best for you.  When done, go back over and fill in any ‘holes’.
    5. Embellish with leaves, pinecones, a bird, etc. (or other decorative items depending on the season/holiday or look you’re going for).  I use wire cutters to cut the wire stems shorter or to cut off smaller silk flowers/etc. to embellish.  Creating a pilot hole using the screwdriver helps or attach using hot glue.  I also slid a twist-tie in the back/top underneath the fishing line looking string that keeps the straw wreath its shape to hang it. 

    That’s it! Super easy.  Inexpensive.

    So easy, I made a second decorative one from burlap and a smaller straw wreath.  Tutorial using burlap here.
    —–
    The DIY Show Off

    thediyshowoff.blogspot.com

    ~*~
     http://diyclubinc.com/

    ***Sharing my fall wreath tutorial at Centsational Girl.  🙂

    Do you have a DIY Fall Project to share?  
    Show it off!
    Rules:
    • Create a blog post about an Autumn/Fall project that you’ve done
    • Add your project title to Mcklinky (example: House # Pumpkins)
    • Type in the permalink address, not your basic blog address. A permalink is the address that links directly to your specific post. (example: http://thediyshowoff.blogspot.com/2009/08/house-number-pumpkins)
    • Please use the DIY button or link to this post to share the party with your readers.
    • Although a tutorial is helpful, it’s not required. Anything DIY – autumn related is permitted.
    • Please follow all steps above or your link will be deleted.  If you notice that you’re link disappeared, please make the correction according to the rules above and re-link!
    • Enjoy and be inspired!


    Linking to:

    Just a Girl – Show & Share