DIY Project Parade

I‘m working on a DIY project that involves a LOT of sewing and if you’re interested, I’m completely recovering an A-frame swing (canopy, arm rests, seat cushion) for my mom. 
So here are some highlights from last week’s DIY Project Parade.  Thanks for sharing your amazing DIY skills – everyone!  I am so inspired by each project and even if I haven’t had time to comment (sorry – I wish I did!), I love seeing all of your creativity!  Click the links to be redirected to the original post!
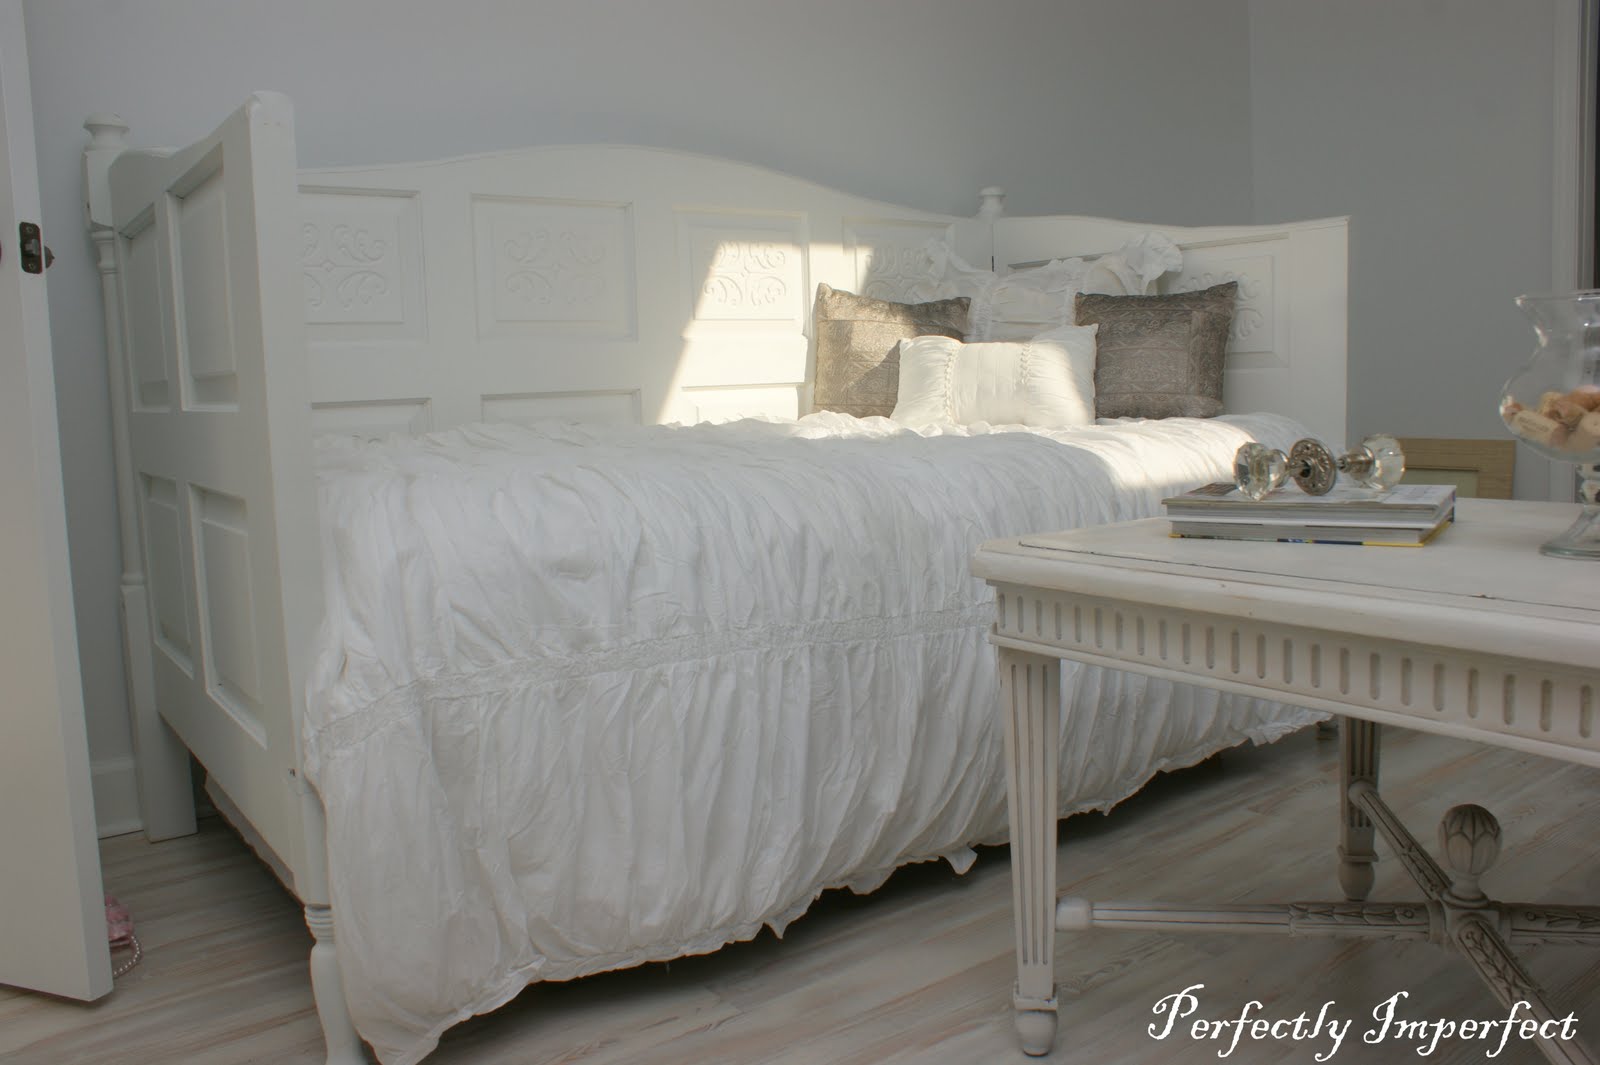
Check out this GORGEOUS day bed Shauna created at Perfectly Imperfect.  DROOL!  I want to curl up there with a novel and never leave. Isn’t it relaxing?  I’d love an all white space to call home.

You have to see this awesome peg board book at Pregnant with Power Tools! Genius space-saving idea!
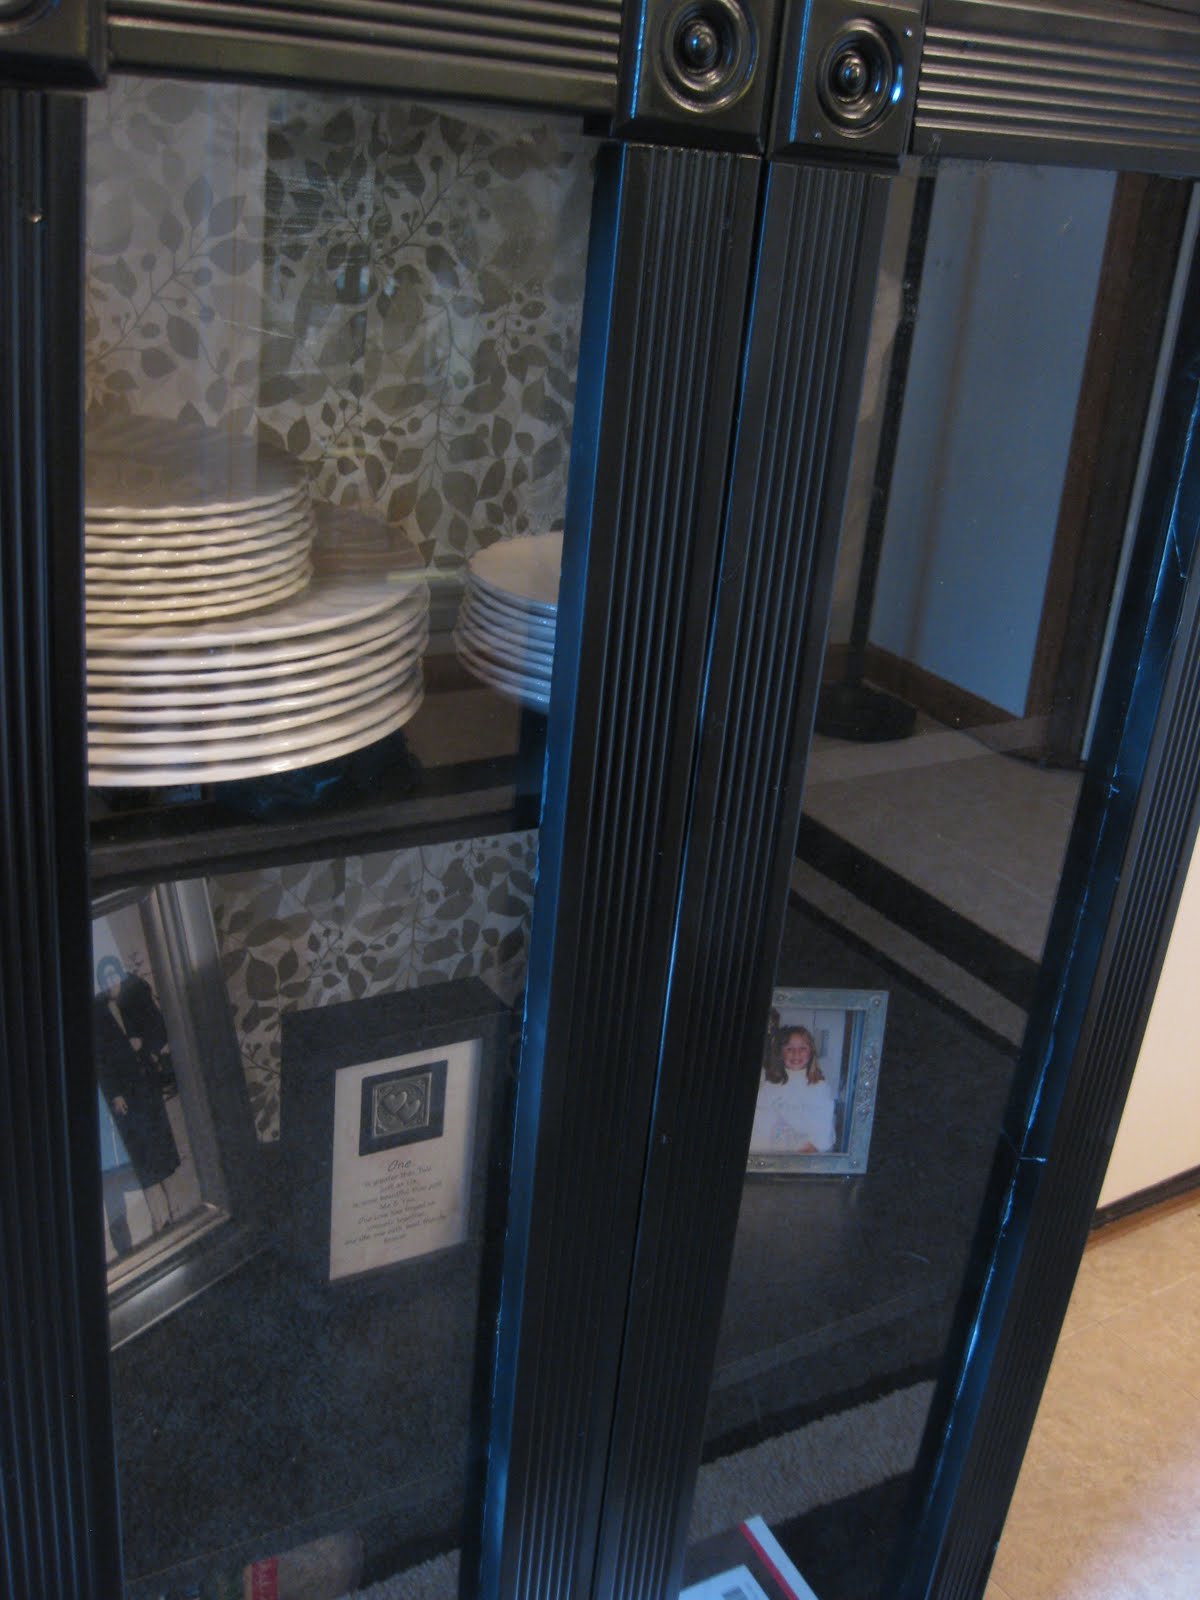
This before and after hutch from Melanie at The Frosted Gardner is SO pretty!  Definitely an inspiration.  I have 3 built-ins in my dining room, but I’d still love 1 more and to redo a free-standing one!

BeforeAfter

I love this soap dispenser at Decor Chick…too cute and something I’m going to try. (Even if it wasn’t original, Emily, YOU inspire me – I haven’t seen it before and I love it!)

 
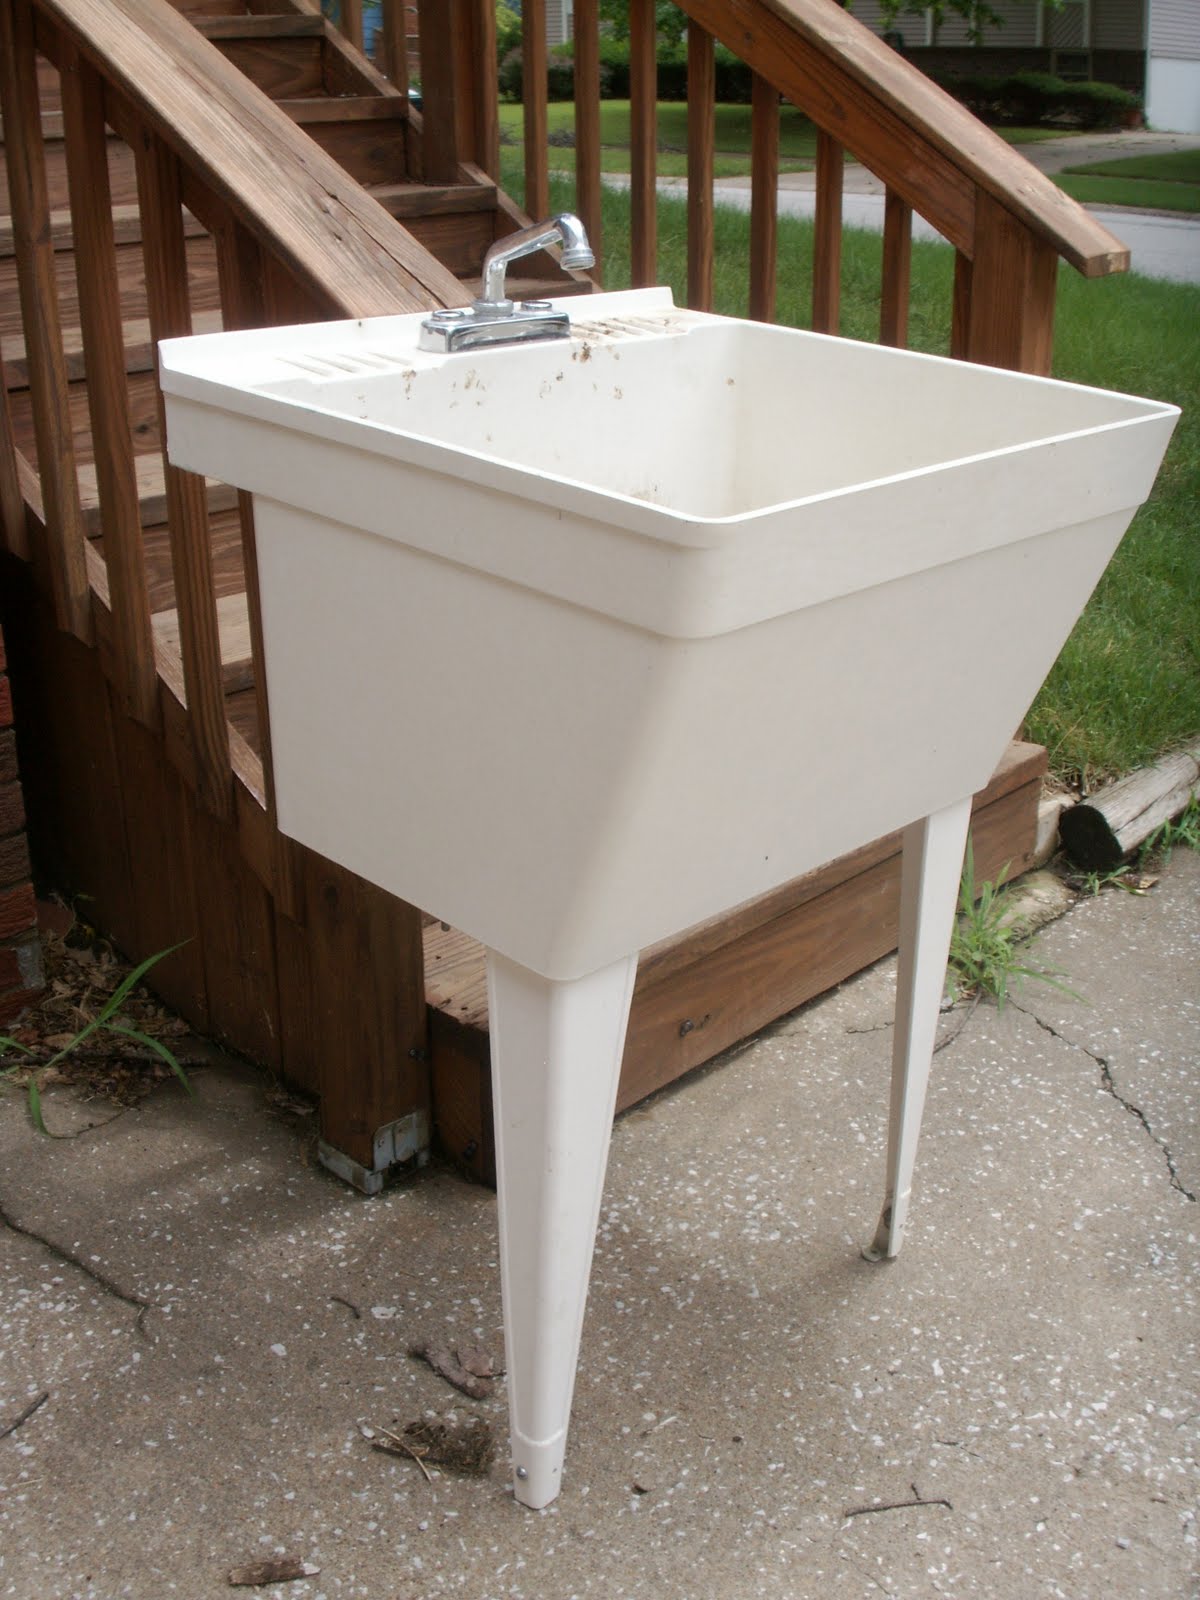
This one is amazing!  Utility sink turned into cart!  Check out the before and after at Yes! Big Deal!  Don’t you love it?  Who doesn’t love more storage options?  How creative!
In my house, I’m looking at a screen covering a big sooty black hole, how about you?  Original idea & pretty! – fireplace art at Messie Confessions!

Cute shipping crate step stool at All Thingz Relatedlove the stamps!  Perfect touch!

106

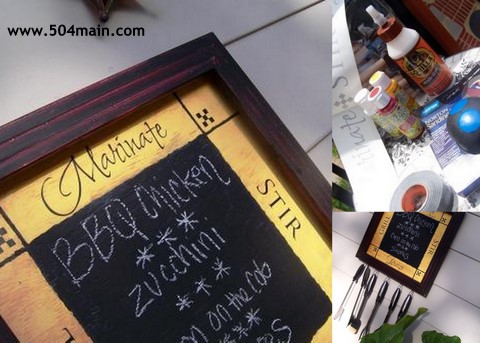
A Grillicious Menu Board and Tool Holder  tutorial at 504 Main!
I see a birthday gift idea for Mr. DIY!
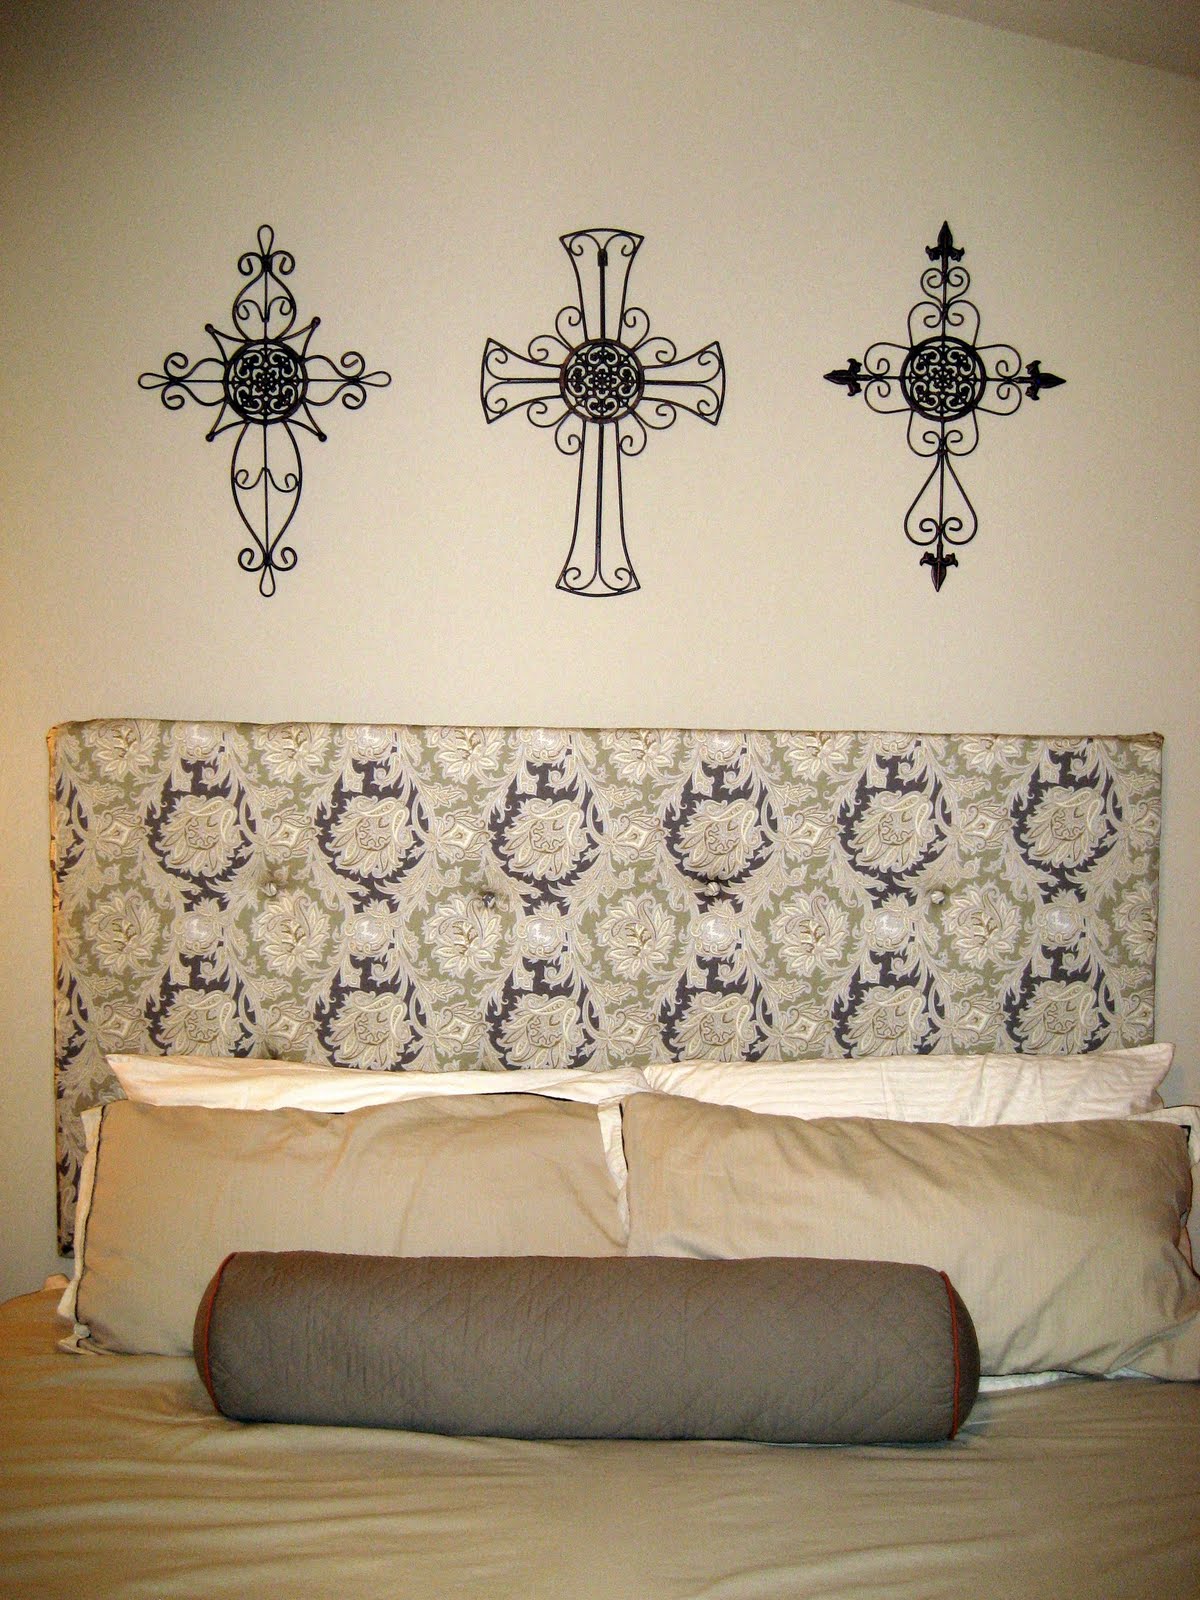
Look at this pretty DIY headboard at House of Huddleston – Love the fabric pattern and soothing colors.
Another item to add to my DIY “I want that” list.  I’ve never used a drying rack, I hang things around the house.  How much more functional is this awesome Ballard-inspired drying wrack at Attempting Creative.
LOVE this tutorial for making your own glass doors for your book shelves!  
Thanks for the tips,
Amanda!

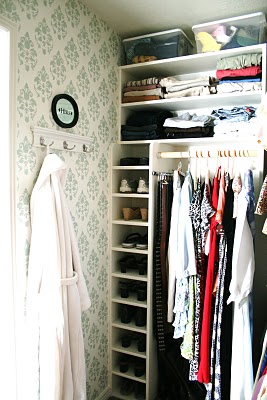
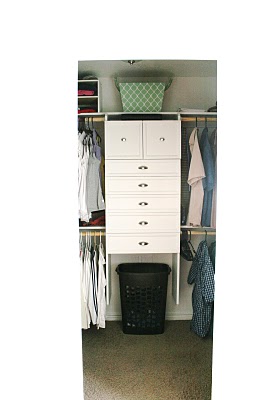
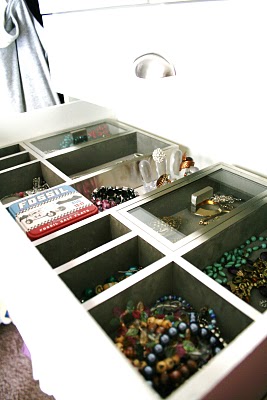
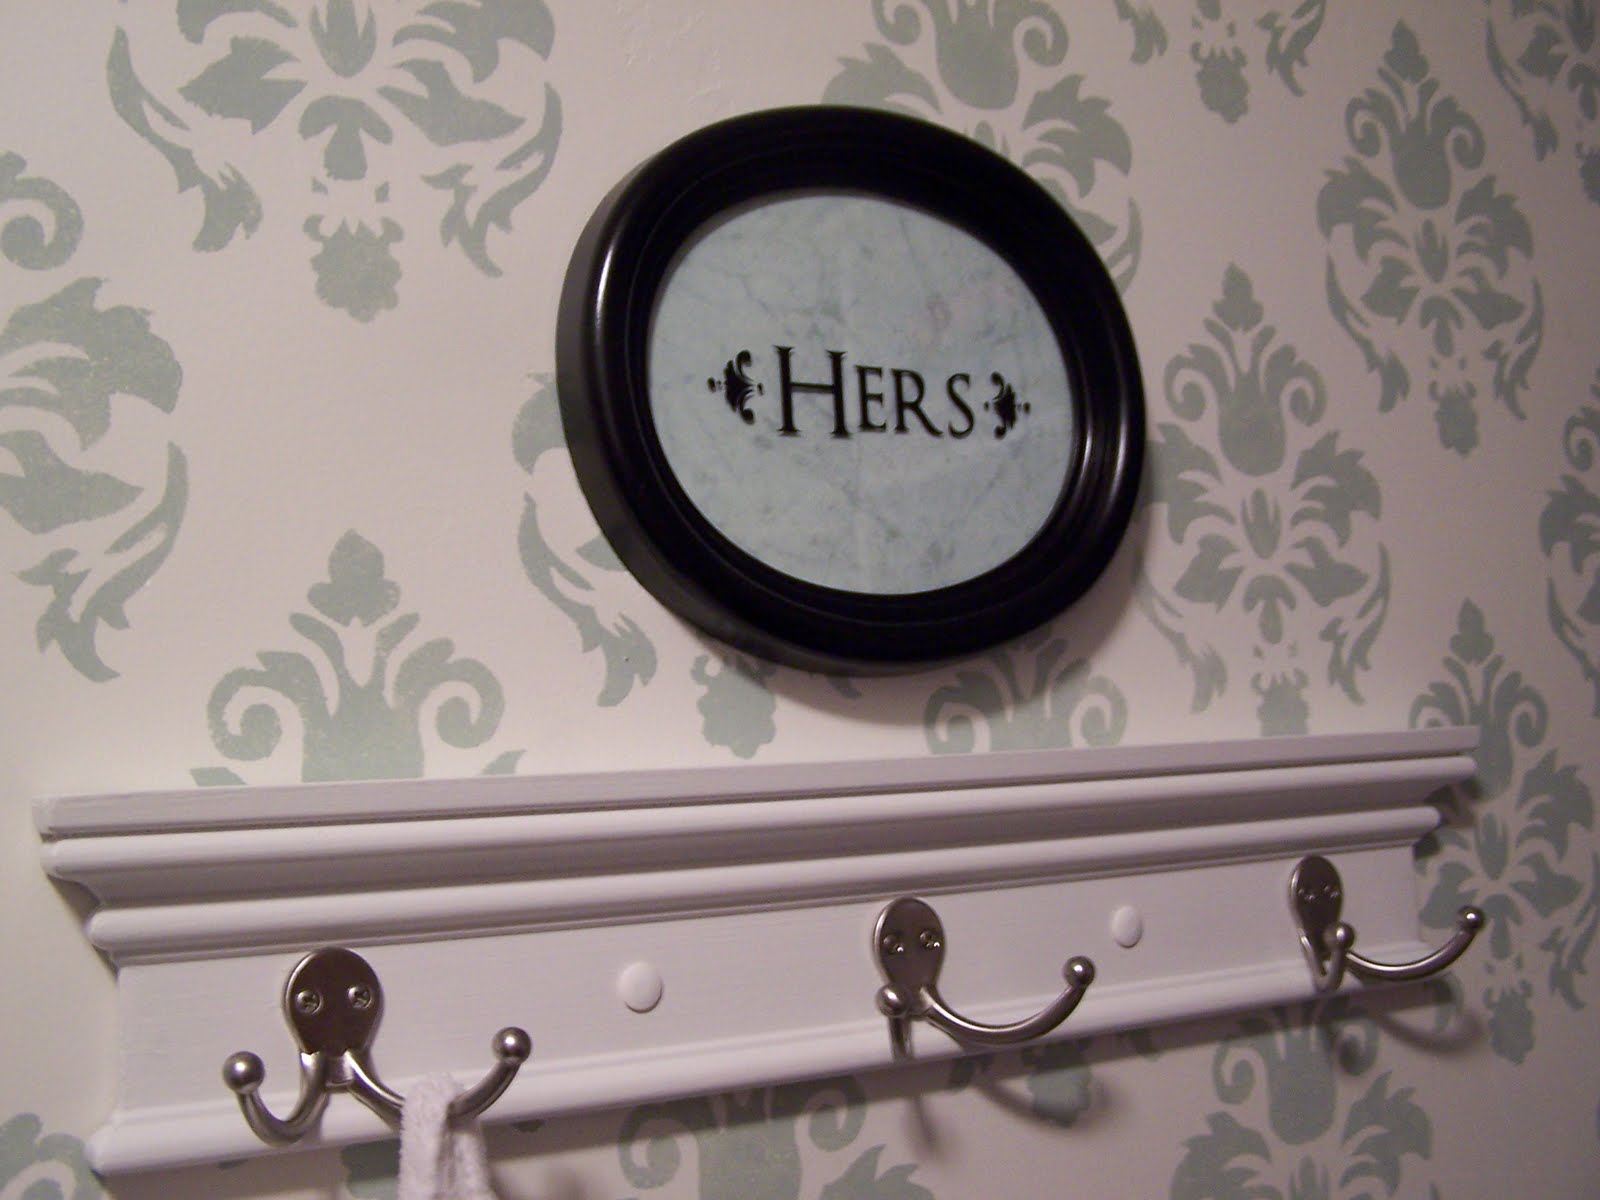
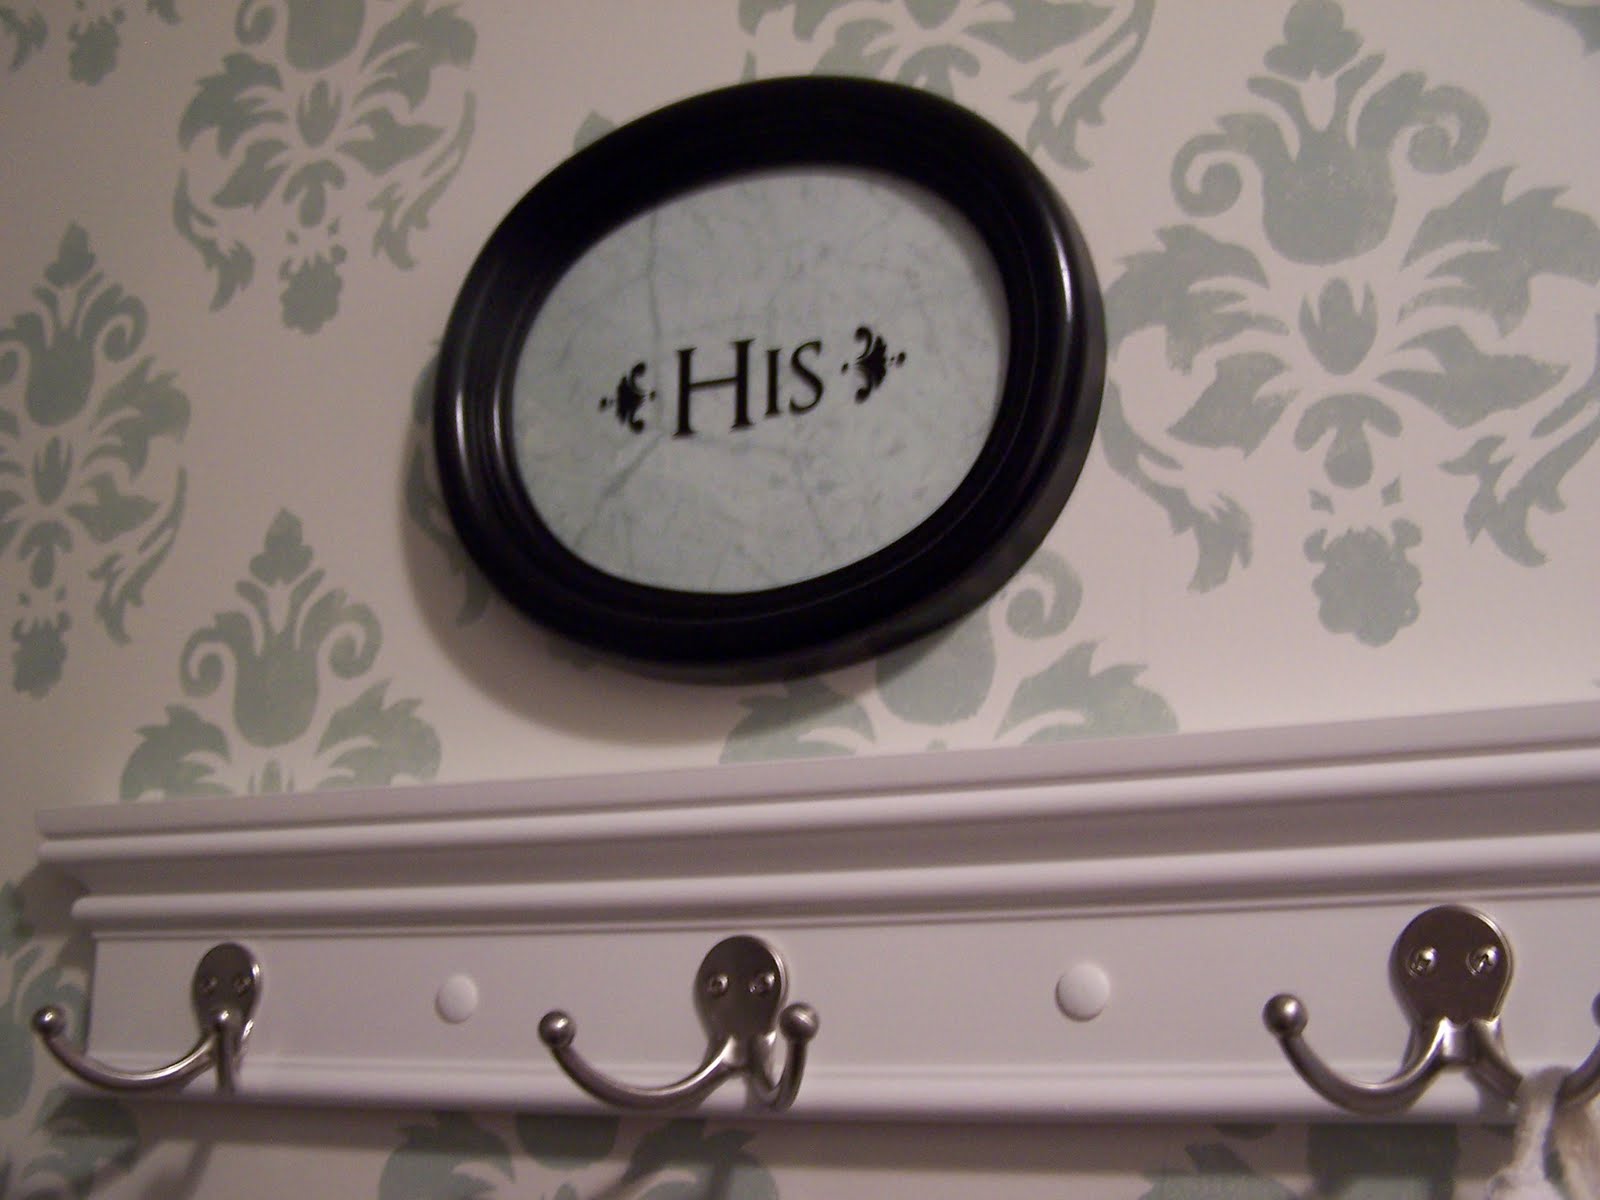
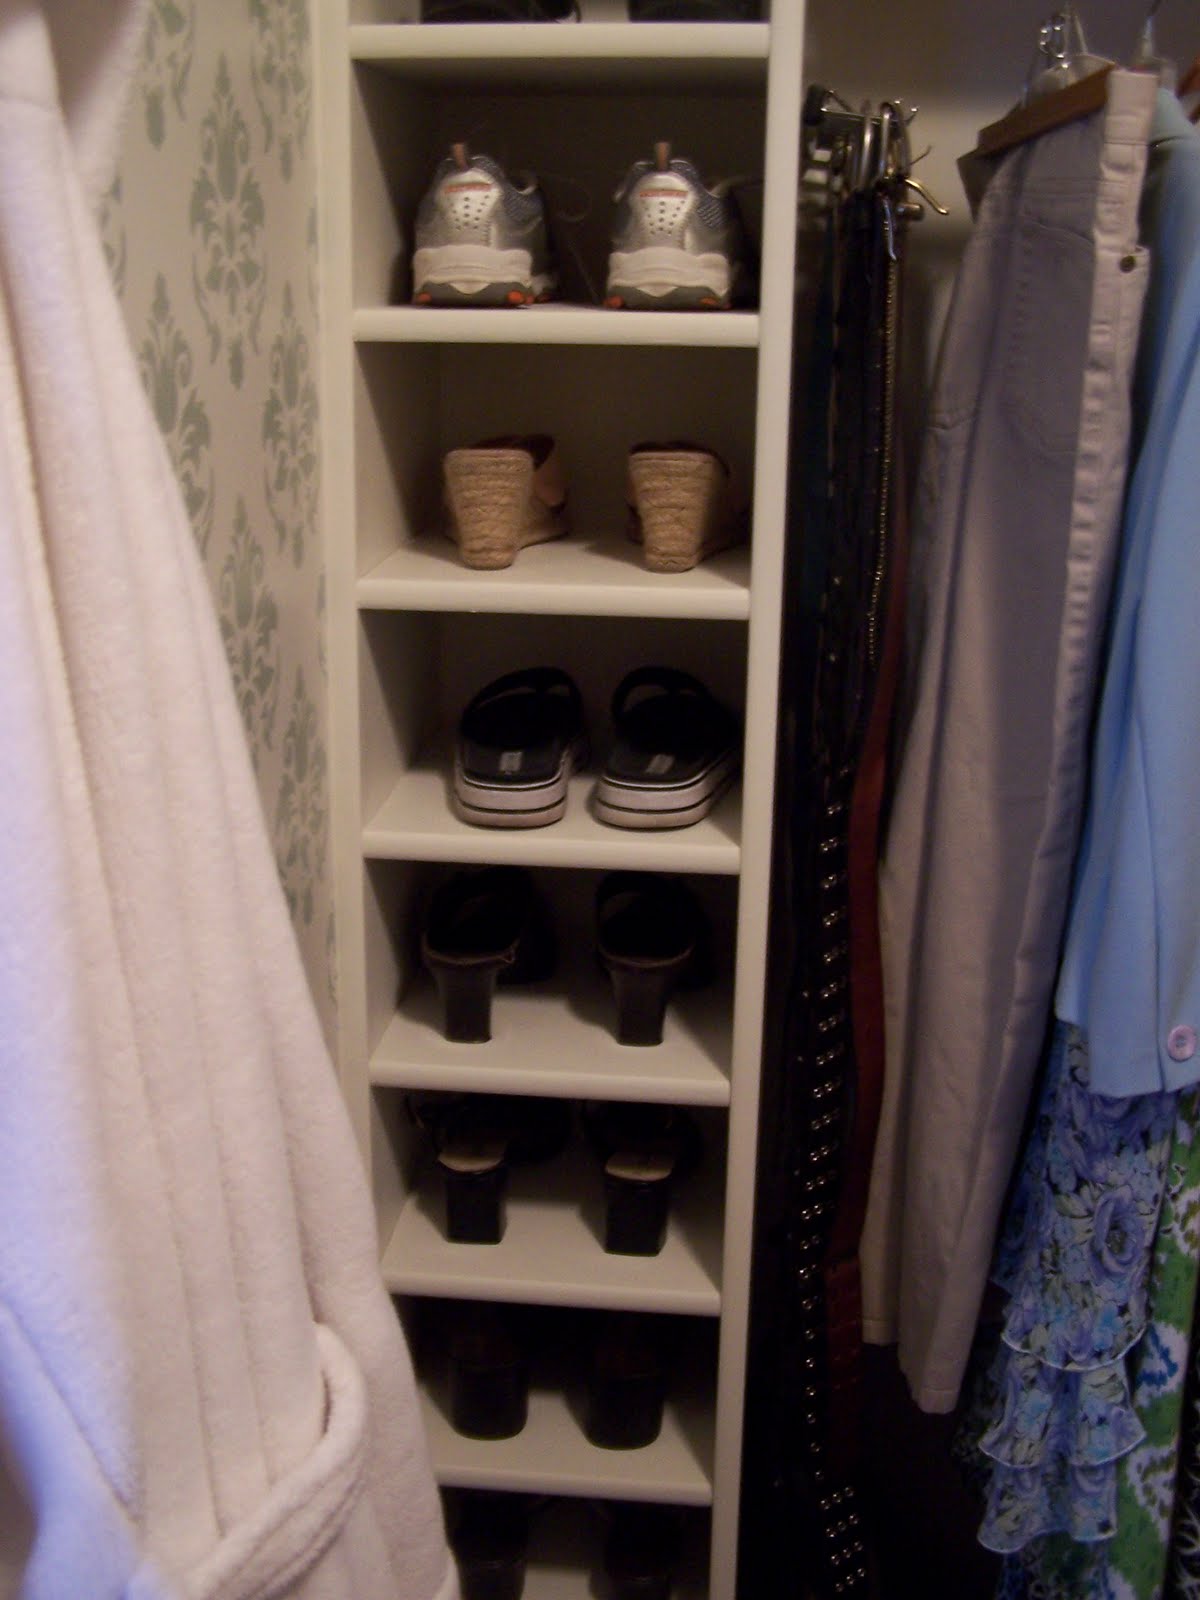
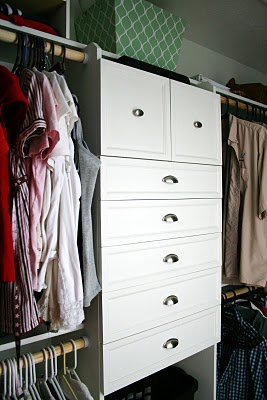
I mentioned Friday that I’d have another closet makeover to share and I will do that soon!
~*~*~*~
So...What have you been up to?  Feel free to link up!

The DIY Show Off

If you’d like to link YOUR DIY project post to The DIY Show Off Project Parade:
  1. You must use the button above and link to this post to share the linky love.
  2. Include your name or blog name and project title. Add your permalink (not your blog url, but your DIY project post url). Feel free to link a Past Post, just invite your readers in a current post with a quick note.
  3. Or email your link to thediyshowoff@gmail.com and I will add it for you.
  4. If you notice your link has disappeared pleaseadd the link back to The DIY Show Off to your post today with a quick note to your readers about the party and try again! I love when everyone participates and readers check out everyone’s links, but I think the return favor of linking back is the nice thing to do so everyone plays fair and enjoys all of the projects and links. Also – this blog party is for DIY projects only. Links not related to DIY will be deleted.
~*~*~*~

Closet Makeover #1

Sometimes I wonder if you guys can read my mind!  I have a closet makeover on my list to do in the next month!  And I’ve just received 2 closet re-do submissions to show off!  Coincidence?  Nah.  Great minds think alike!

Here is a beautiful (drool!) closet makeover from Ronda at Batchelor Way:

Closet Reveal

We are finally done with our master CLOSET!! And I’m in LOOOOVE!!!  Here is the after of my side.
And the Before
The before of the middle
And the after.  (This is looking straight into the closet through the master bath.)
Before of Les’ side,
After of Les’ side
I found these jewelry boxes at Downeast Outlet store for $5 each.  I think they look great in my jewelry drawer.  Go here to see how we did the drawers.

I found a cute little oval frame I wanted to make signs out of, but could only find one.  But super neighbor to the rescue.  Shelley found two slightly larger oval frames for me.  ( They only cost 10 cents each.) 
I spray painted them, of coarse.  Then I replace the pictures with some scrapbook paper I had  and finished them off with some vinyl.  I got the vinyl from my great neighbor Shelly.  (You can get the same thing for $2 each!)  I love these signs.  They are the perfect detail.  Go ahead and take them in!!!!!
I also love my new shoe cubbie.  We have so much more storage now.  And it’s custom to “our” storage needs.  Plus I love it when my supper functional storage it so dang pretty.
I’m pleased with my stenciled wall.  My last post tells how to make your own stencil like I did.  I got the great quadrafoil basket below on clearance for $7 at Home Goods.  And the wood to build the boxes below that for free.
These shots are a little different angle, but I wanted to show the whole stenciled wall.  Call us crazy, but we took the door off.  We never really shut it, and it allowed us to use the wall space on both sides of the door.
So that is my new closet!  Do ya think it’s over the top for a closet?  Maybe, but I love it.  And I get to go in there every day.  In fact I keep sneaking in just to stare at it!!!! Silly me.

WOW!  First, I’d stare at it all.the.time. too!  So organized. Everything within easy reach.  Great job Ronda!  Thank you so much for sharing your gorgeous closet!  I love the stenciled wall, the His&Hers plaques and coat hooks.  So pretty!  Love the drawers too – everything having a place has to make life so much simpler!

I‘ll share another amazing closet makeover tomorrow!

~*~*~*~
This post is brought to you by 
Sit back in comfort with polywood chairs from DIY Home Center, knowing you’ve made the right choice for our environment. 

Saltbox Treasures – DIY Projects

Julie from Saltbox Treasures has a lot of DIY ideas and projects going on.  Check out her creativity! I love having her tutorials in the archives for reference – I haven’t covered a chair seat pad yet but it’s on my DIY list.

DIY: How to reupholster a chair seat pad . . . easy!

I want to show you how to reupholster a chair seat pad because it is so easy. Anyone can do this, and what a change it can make ~ A great way to customize any chair!

1. Remove the chair seat from the chair and remove the old fabric (usually it is too old, stained, or yucky to use). If it’s in good shape and it doesn’t show thru your new fabric you can cover over it.

 [I had two old covers to remove :)]

 2. Cut your new fabric at least 2-3″ wider than the chair seat on each side, depending on how deep it is. You will need to be able to staple it all around the edges on the back side.

3. Center your chair seat with padding side down on the wrong side of the fabric
(if your chair padding is in bad shape you can also use batting to add more cushion and staple it along with your new fabric).

4. Using a staple gun with 1/2″ staples, staple the first staple on the front edge side. Put the next staple on the back side of the chair seat, pulling the fabric tight so it is not loose on the fabric side. Flip your chair seat over and check to see if your fabric pattern is where you want it on the seat and it’s straight.

5. Staple about 5 staples along the front side of the seat and then the back side of the seat about 2″ apart; making sure to pull fabric tight as you staple, to keep the fabric in place.

6. Now move to the sides of the chair seat and staple one staple on each side, pulling fabric tight.


7. Continue stapling all sides to within about 1″ of each corner.

8. To staple the corners, tuck in each side and staple if necessary and then pull the corner toward the center and staple, making sure the front and side edge is not puckered and looks the way you want it.

9. Flip it over; reattach it to the chair and VOILA! YOU’RE DONE!!!
Doesn’t it look great?!!!

                             After (above)
 
And Click Here to see her antique table makeover


And how to make a table cover.. HERE (great idea for protecting table from kids!)

Thanks for sharing your DIY projects Julie!  The chair seat is so pretty!  I love your antique table makeover and I think vinyl table cover is a great idea – I have had marker stains on my dining room table before and then it advanced to nail polish so I wish I had seen this earlier!  🙂
Julie’s home is beautifully decorated too!
Pop over and check it out – Saltbox Treasures
~*~*~*~
This post is brought to you by 
Look no further than polywood patio furniture to fulfill your need for durability, style, & environmental sustainability.