DIY Show Off - HomeTalk DIY Show Off - G+

Another Amazing Kitchen Makeover!

All of these gorgeous kitchens. Is it a hint? Time for me to stop procrastinating ours? Here is what I’m talking about. Kristina at The Purple Pea is sharing her amazing kitchen makeover. Here is her post:

The Kitchen Redo: COMPLETE

Last we talked I was slowly but surely self mutilating my wrists painting my kitchen cabinets. Well, lo and behold, I’m finally finished!

Lets revisit my kitchen…
Before:

IMG_0888 copy

Horrible builder grade cheapy cabinets.

IMG_0890 copy

As I expressed before, this was HARD. But in the end, it is completely worth it. Take a look!
After:

IMG_0971 copy

IMG_0972 copy

These are the cabinets that were routed and glass was installed. I’ll teach you how to do that soon.

IMG_0973 copy

IMG_0974 copy

Overall, this was the biggest project I’ve tackled and it was time consuming. I used the same technique as my craft room table. But I am a million times more happy about my kitchen that I ever was before. I’d love to install crown molding and replace the back splash at some point. But I sort of want a break from mini-renovations for a bit.

However, I’ve got some tips and tricks to share with you!

Stick around for:

IMG_0983 copy

How to light the TOPS of your cabinets

IMG_0939 copy

Tips and tricks for hardware installation

IMG_0925 copy

How you (yes, you!) can have glass fronted cabinet doors too!

Kristina – it’s awesome and I’m looking forward to your tutorials with more much needed details on your beautiful cabinets! Thank you so much for sharing!

A Couple of Dreamers – Kitchen Makeover

Yes! Keep submitting your makeovers! I NEVER tire of seeing them! I need all of the inspiration I can get! Especially kitchens. The more I see DIY kitchen renovations, the more motivation I acquire to get to ours a.s.a.p. Here is another amazing transformation from Katie at A Couple of Dreamers. I’m pretty sure I have the same cabinets in her before pictures. Don’t they look beautiful in white? What about that open shelving? I love it for everyday dishes. Check out her beautiful countertops too. What an improvement! Here is her post:

As promised, I have before and after pictures of our kitchen today! The before pictures are in various stages of grossness including before we peeled the tile and after we started removing the texturing from the wall. And even though it is painfully obvious which are the before pictures and which are the after pictures, I will still label them!

Before:

After:

Before:

After:

Before:

After:

Before:

After:

Before:

After:


So, there you have it! What next? Who knows, we have so many choices!

Awesome job Katie! It is such a big difference and I love it! Thank you so much for sharing your hard work and for all of the tips. I can’t wait to get started! 😉 Click HERE to see more details behind the scenes of Katie’s kitchen makeover.

Speaking of kitchens – did you see Rachelle’sPhotobucket
kitchen in the Summer 2010 BHG Kitchens & Baths? I did a quick feature here and you can find her post here with links to more information. Congratulations Rachelle! I’m so exci
ted for you! You rock! I was also a little excited to see my blog listed as a favorite BHG inspiration on the same page!
—–
This post is brought to you by

Replacement UV Bulbs, by Purely Products, are the perfect inexpensive OEM alternative to brand name bulbs.

Dressing Up Outside

A pretty porch makeover by Marty at A Stroll Thru Life.

Here is her post:

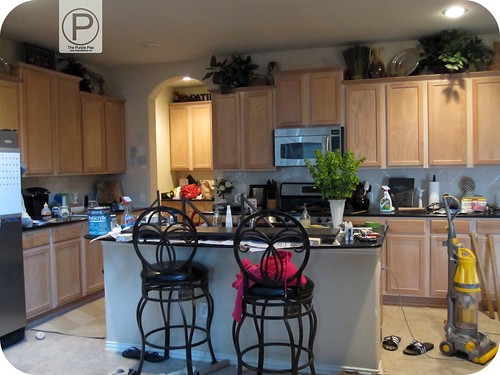
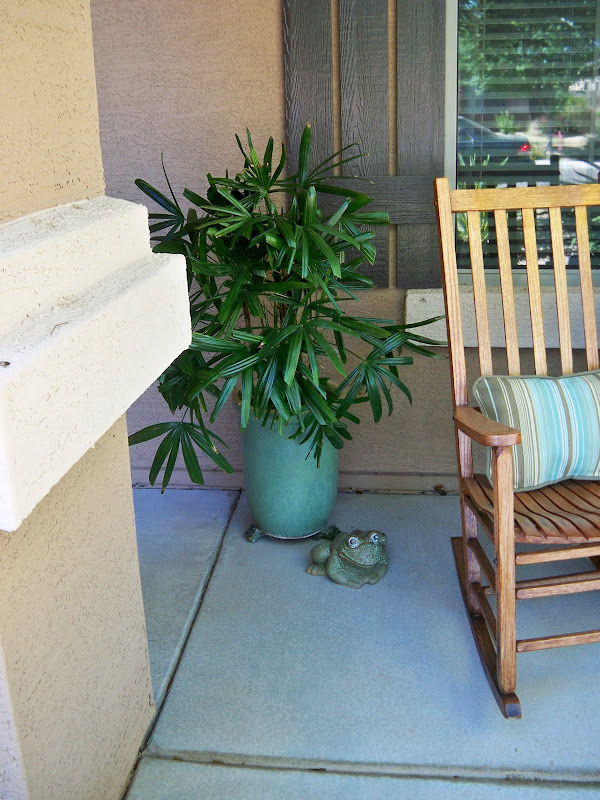
My front porch was in very sad shape. This is what the poor rockers looked like. They really need refinishing.

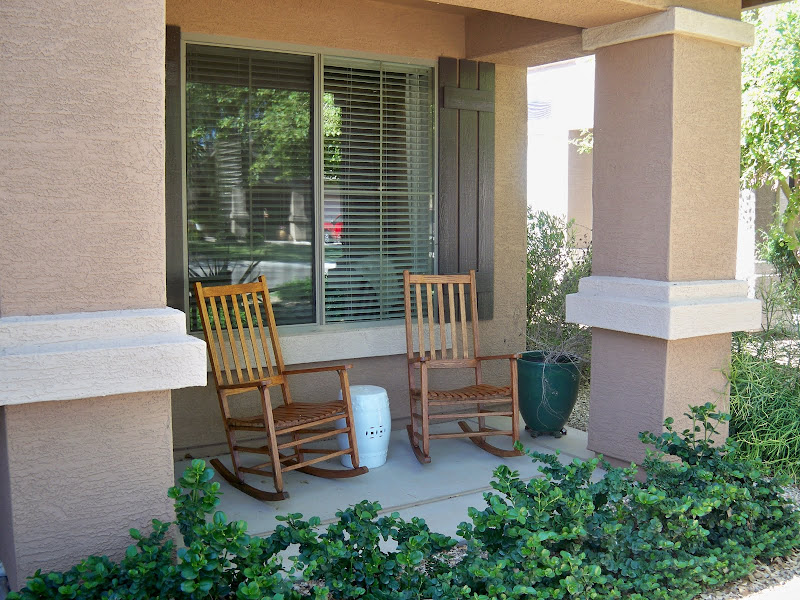
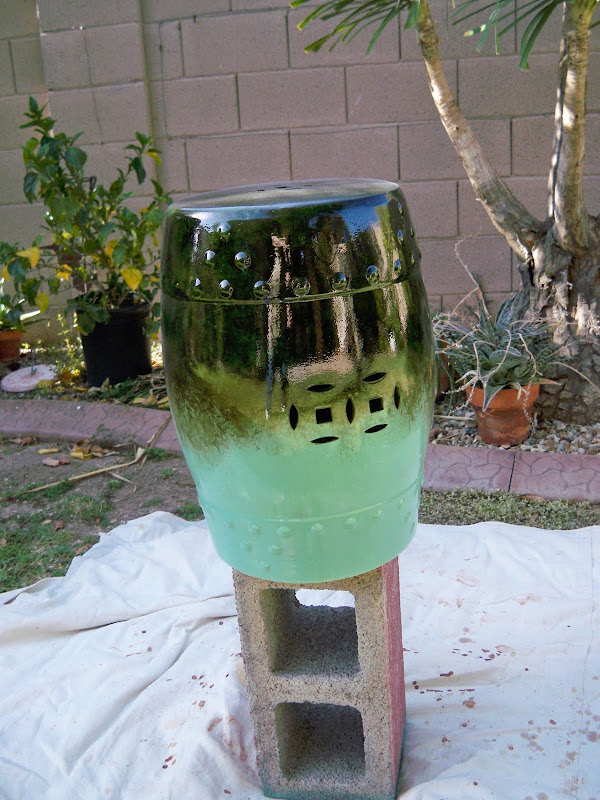
Restained and looking so much better. See the white chinese garden stool. That’s the famous one from Big Lots. It needs painting too, and the poor dead plants replaced.

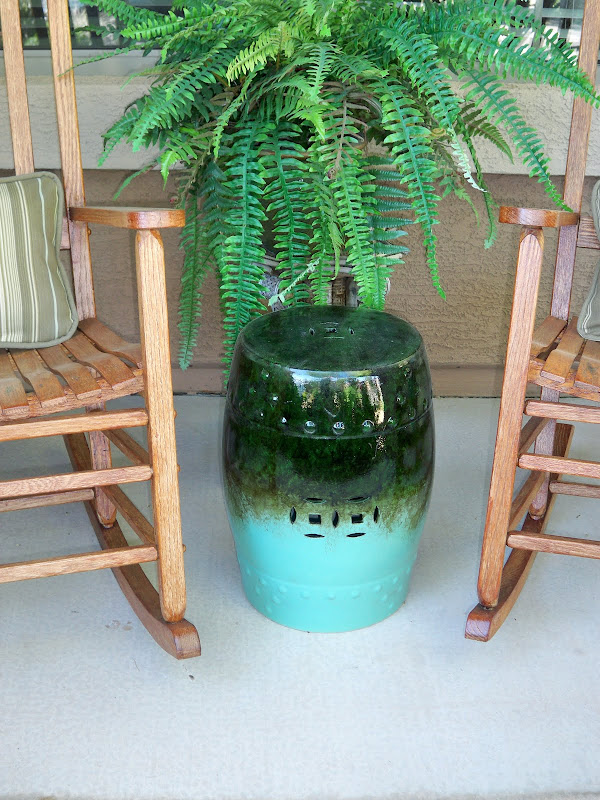
This is what I used to transform the chinese stool.

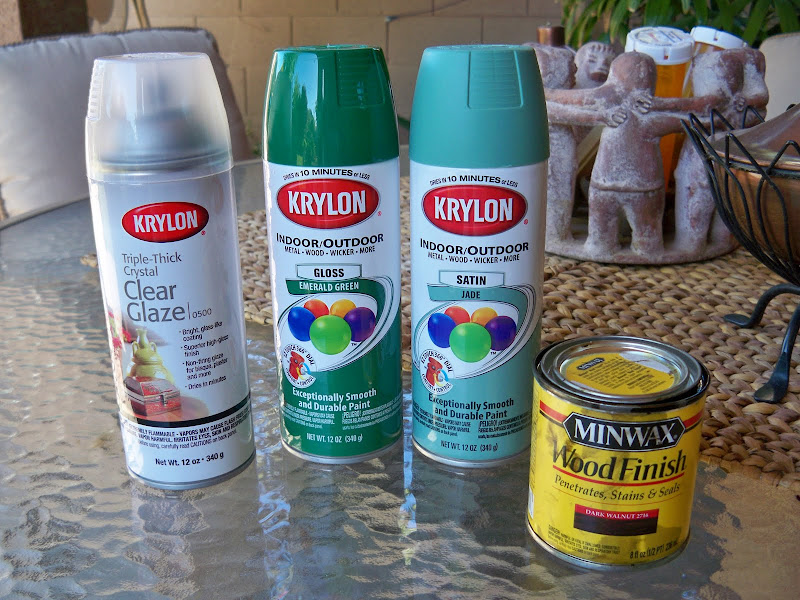
First it got two different colors of green.

Then a little stain was sponged on for character. I finished it with 2 coats of Clear Gloss.

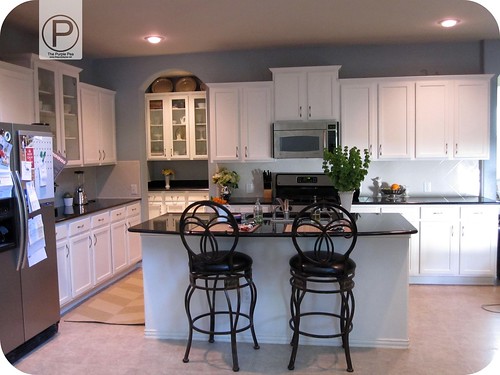
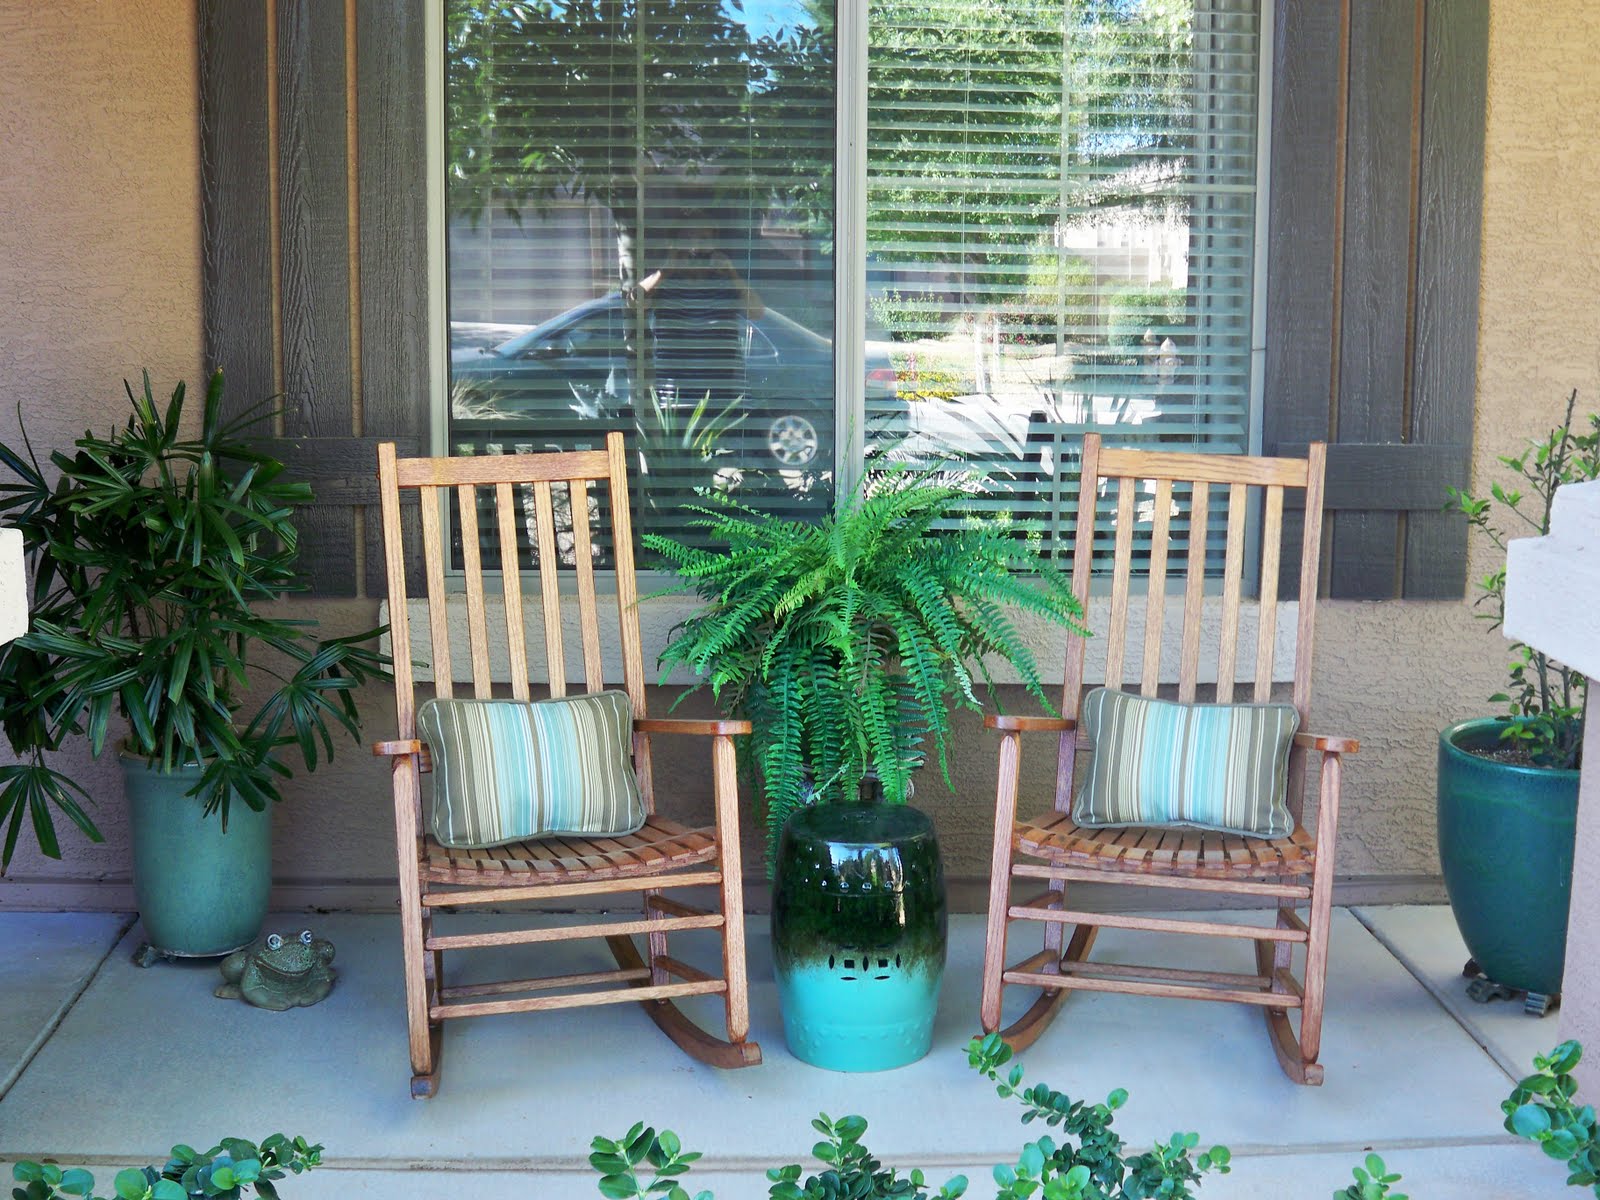
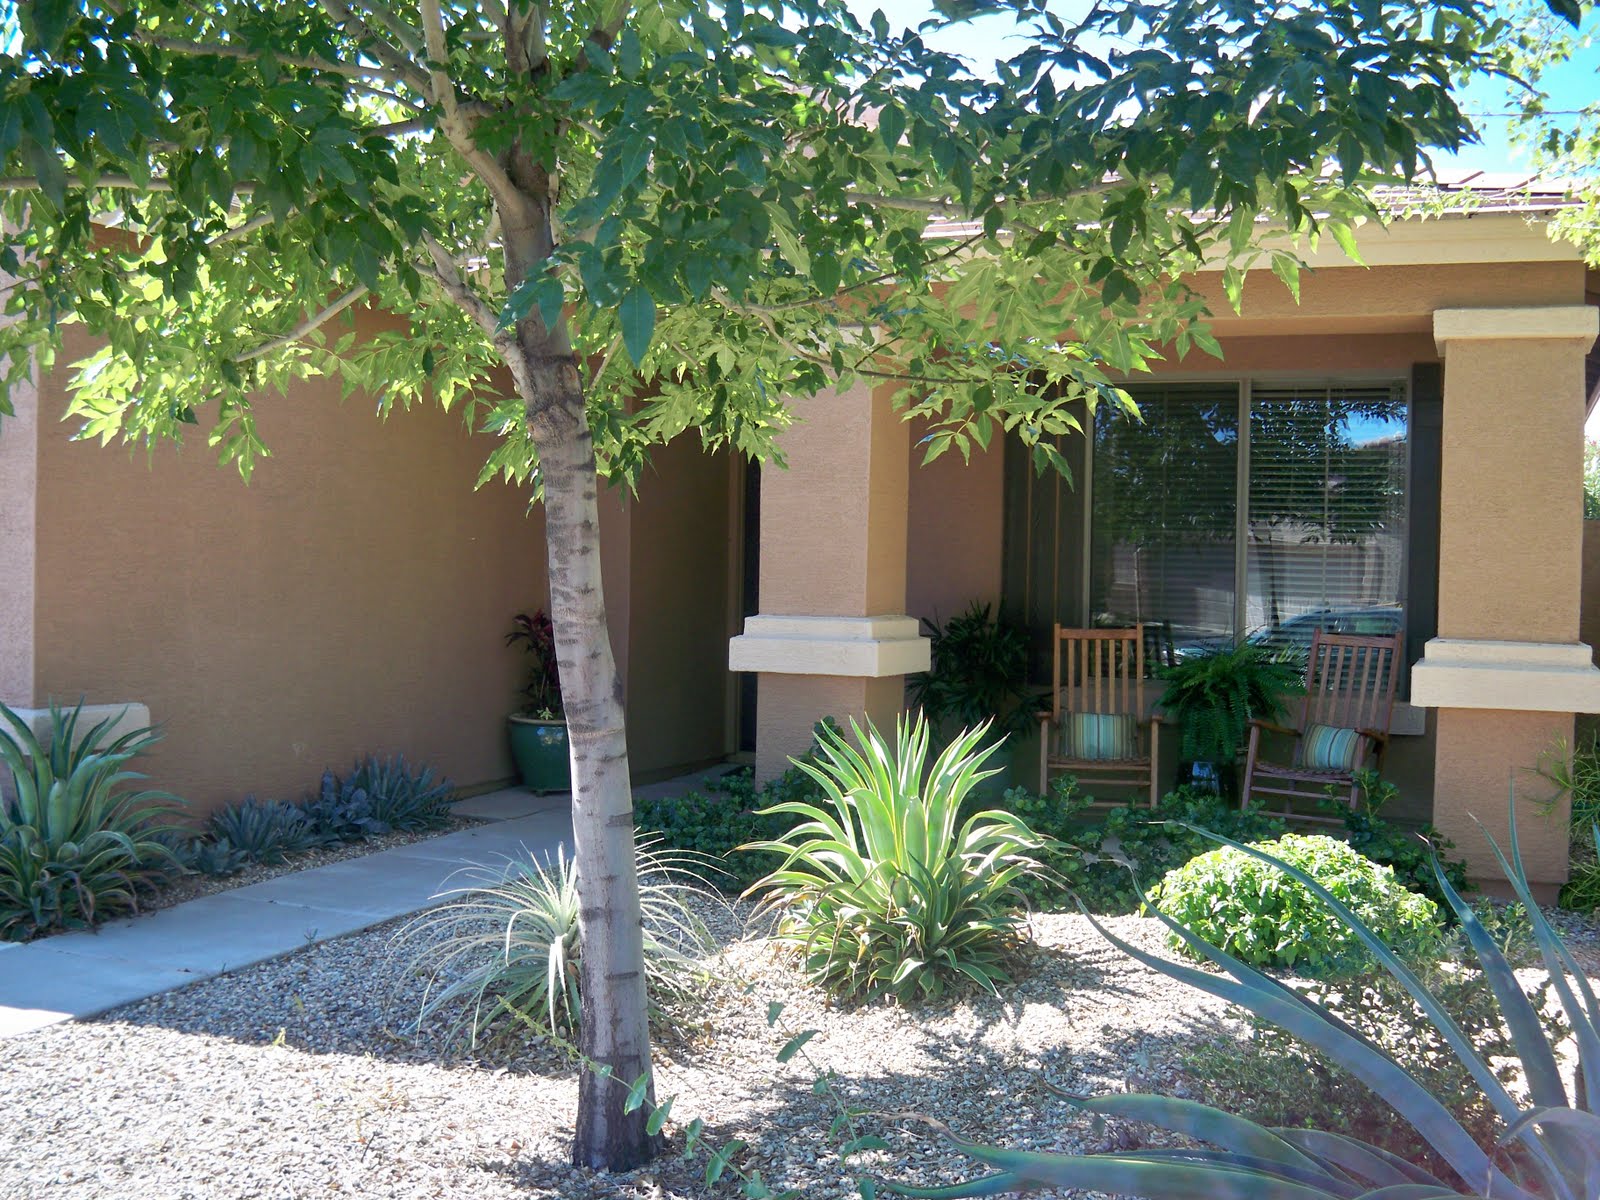
Ta-DA!!! New front porch. Much better.

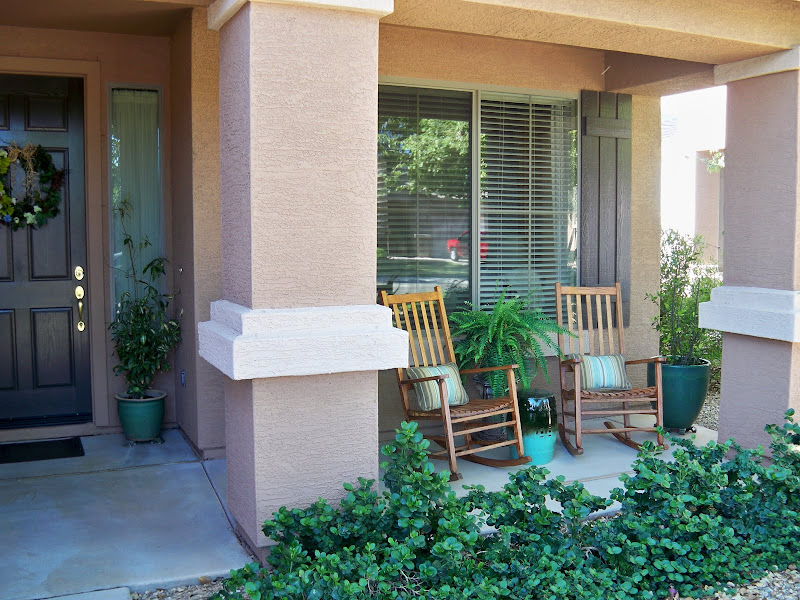
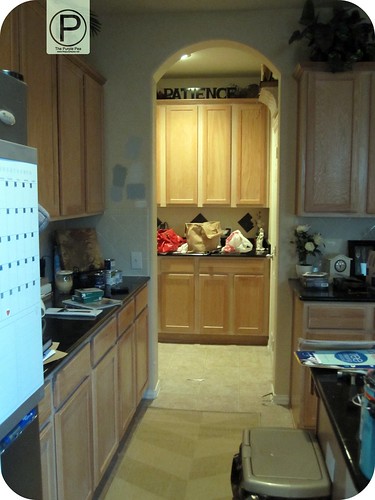
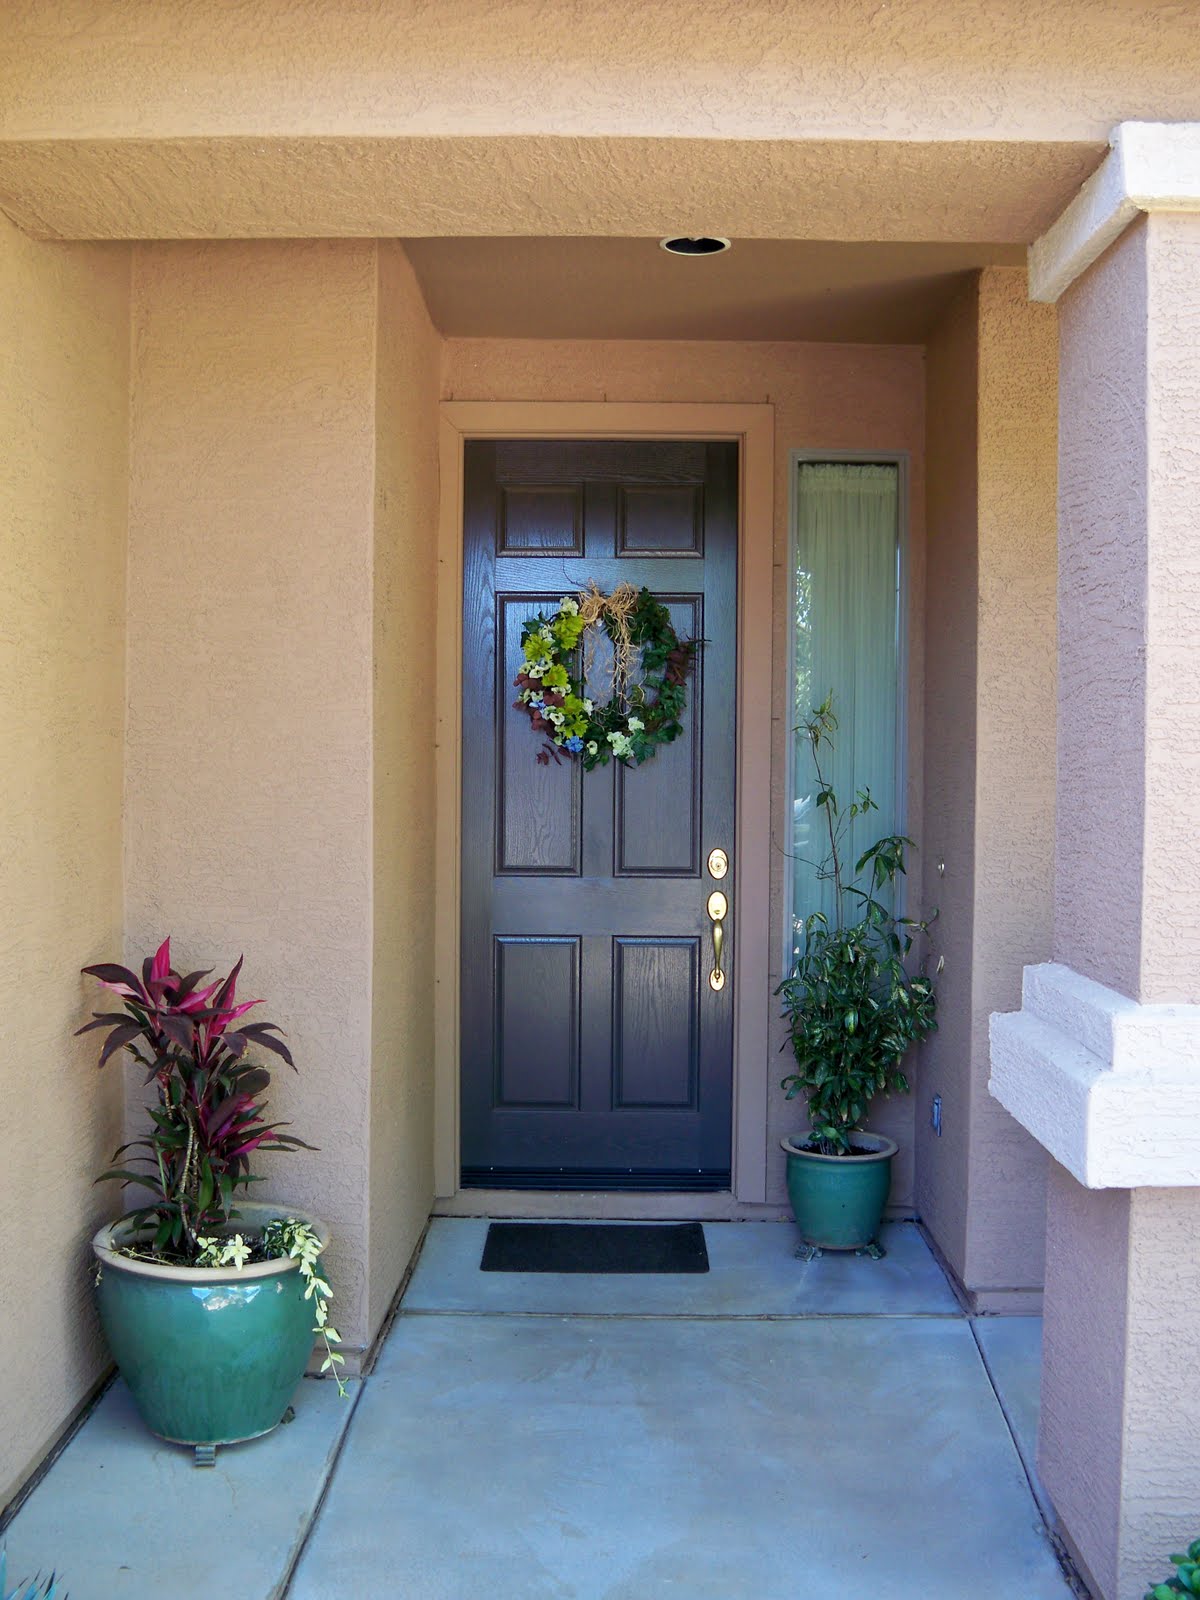
A view to the front door.

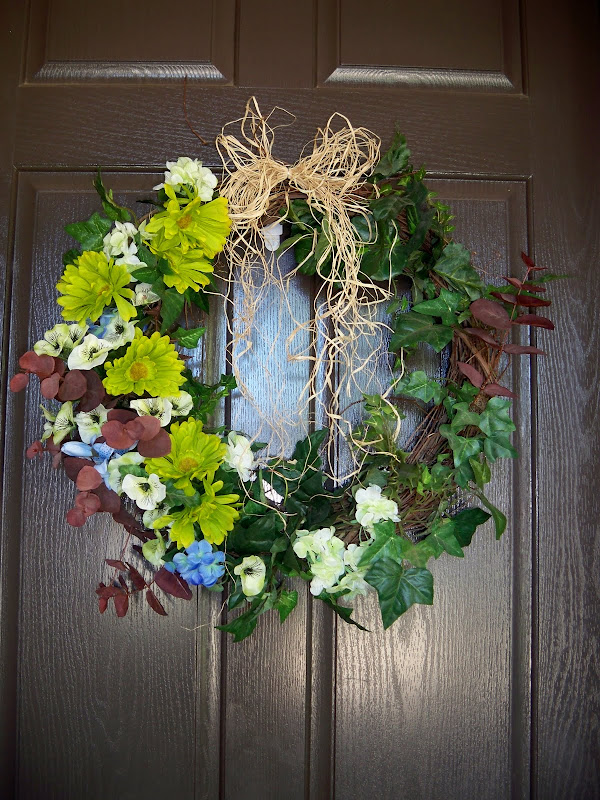
The wreath got a little redo too.

Some pillows and a new fern, now this looks inviting.

Of course a little critter had to be added.

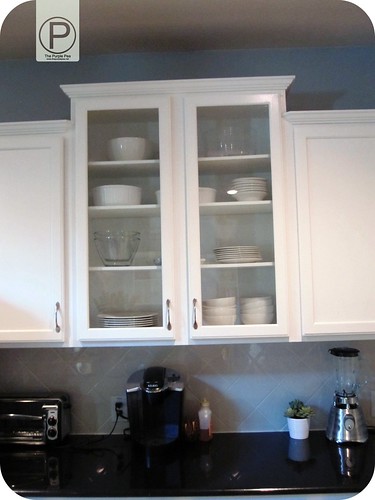
The stool is just the perfect size for a couple of glasses of iced tea.

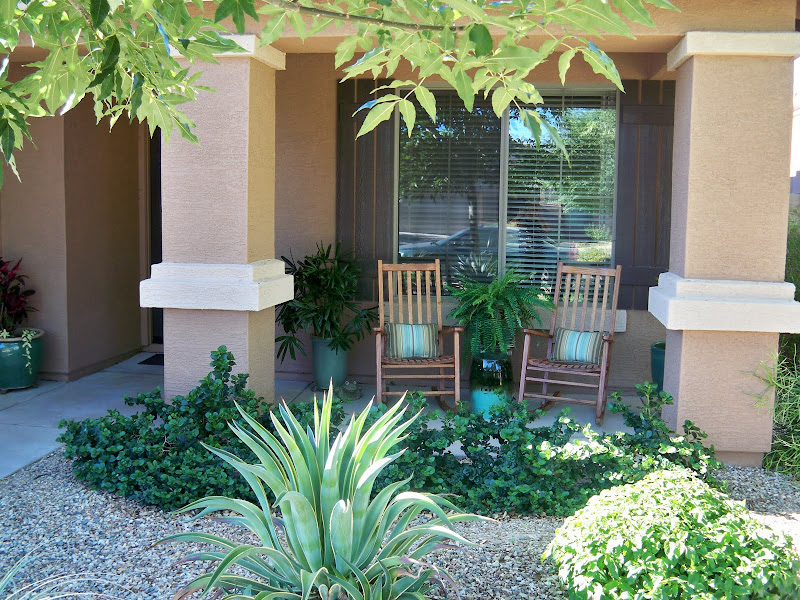
Since we live in Arizona, of course we have desert landscaping, but the porch still looks inviting.
Beautiful job Marty! Thanks so much for sharing! I love how everything looks so fresh and pretty! I’ll even take some of that Arizona sun right about now. 😉

~*~*~*~
Remember when I did my house number flower pots? (Tutorial here.)


I’m so excited that I’ve inspired someone! I got this letter with photos:

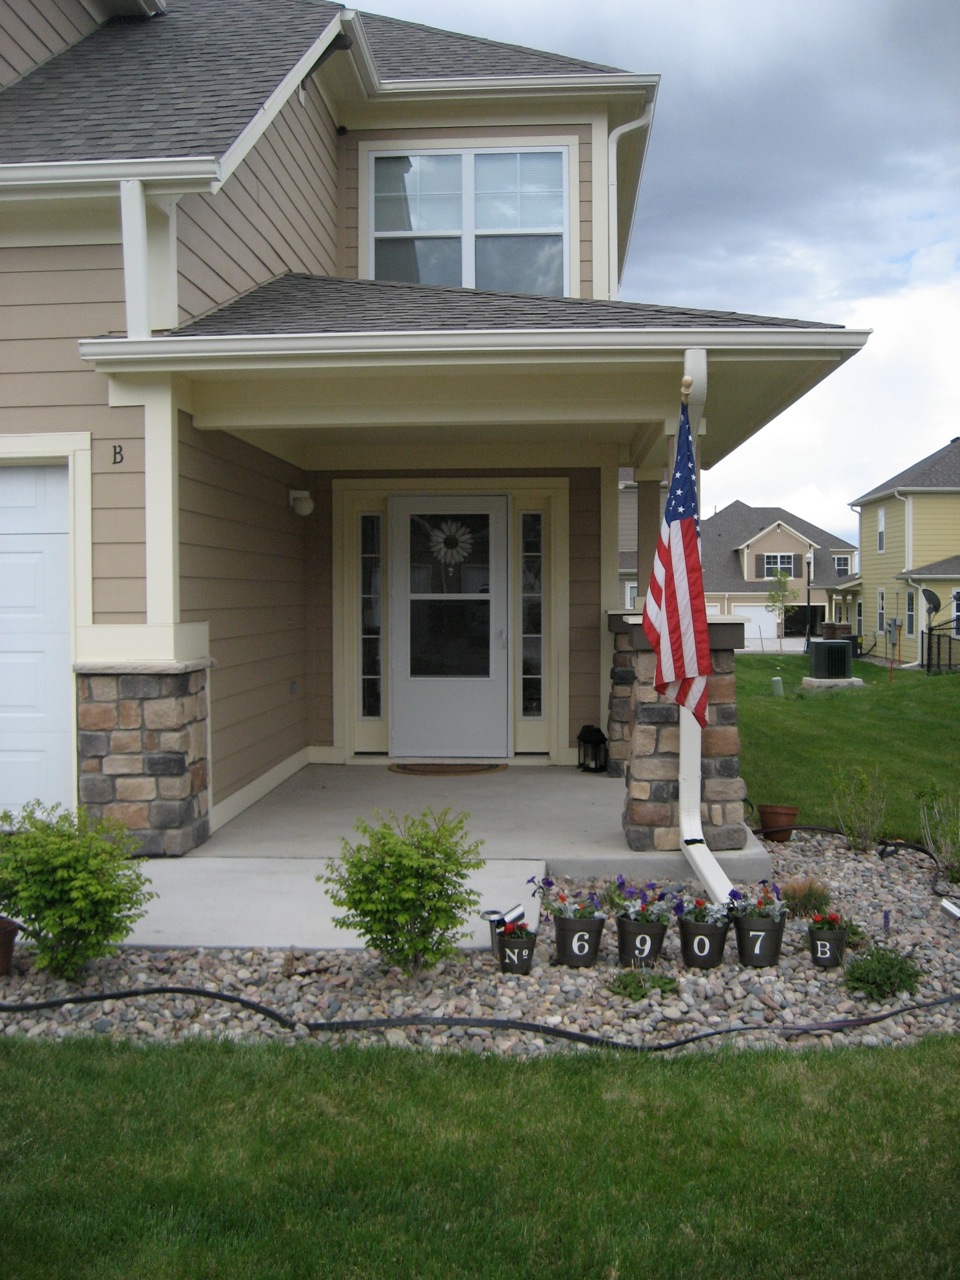
Hi Roeshel, I have LOVED your blog ever since I came across it. I have been waiting for spring to arrive in the Rockies to attempt your house number project…we had a couple frost free days in a row so I decided to go for it! I used inexpensive plastic pots from Target and spray painted them, then free-handed the numbers/letters on and painted them in with acrylic paint. I’m waiting for my husband to build me a bench (on the to-do list for his new table-saw after the dog house is built) but I’m super pleased with the results – especially to make our house stand out a little in our military housing! Thanks for another awesome, easy-to-accomplish idea!

-Lara

Here are her pictures:

Thanks for sharing Lara! They look great and I love how you swapped out the pots for plastic ones. I do have some touching up this year after leaving mine out over the winter. (OOPS!)

—–
This post is brought to you by

DIY Home Center

has a large selection of replacement uv bulbs for your Sharper Image ionizer.