I bet you, like me, never ever get tired of before/after room transformations, right? Specifically kitchens since that seems to be hot right now and I’m not complaining! Ours is a hot mess and the more inspiration, the more kitchen makeovers, the more motivated I am to get to mine as soon as I finish up some other little projects. I feel like that’s the one area of my home that would make a HUGE difference. We have so much left to renovate in this farmhouse, but having that done would be a huge chunk of it. It’s the most work and one of the worst looking areas in this old house right now.
So, I wanted to share this kitchen makeover at Starter Home to Dream Home from last week’s DIY Project Parade. Again, it’s GORGEOUS! I’d give anything to have my kitchen look half this nice! Here is her post:
It has been a hard and long 2 months! Wow, I can’t believe it took us 2 months to get this thing finished. It is FINALLY DONE!!!!!!!!!!! I am so excited to show all of you I had to post this before my big date tonight 🙂
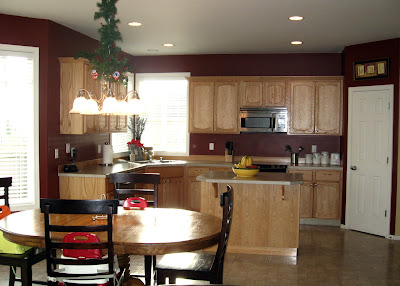 |
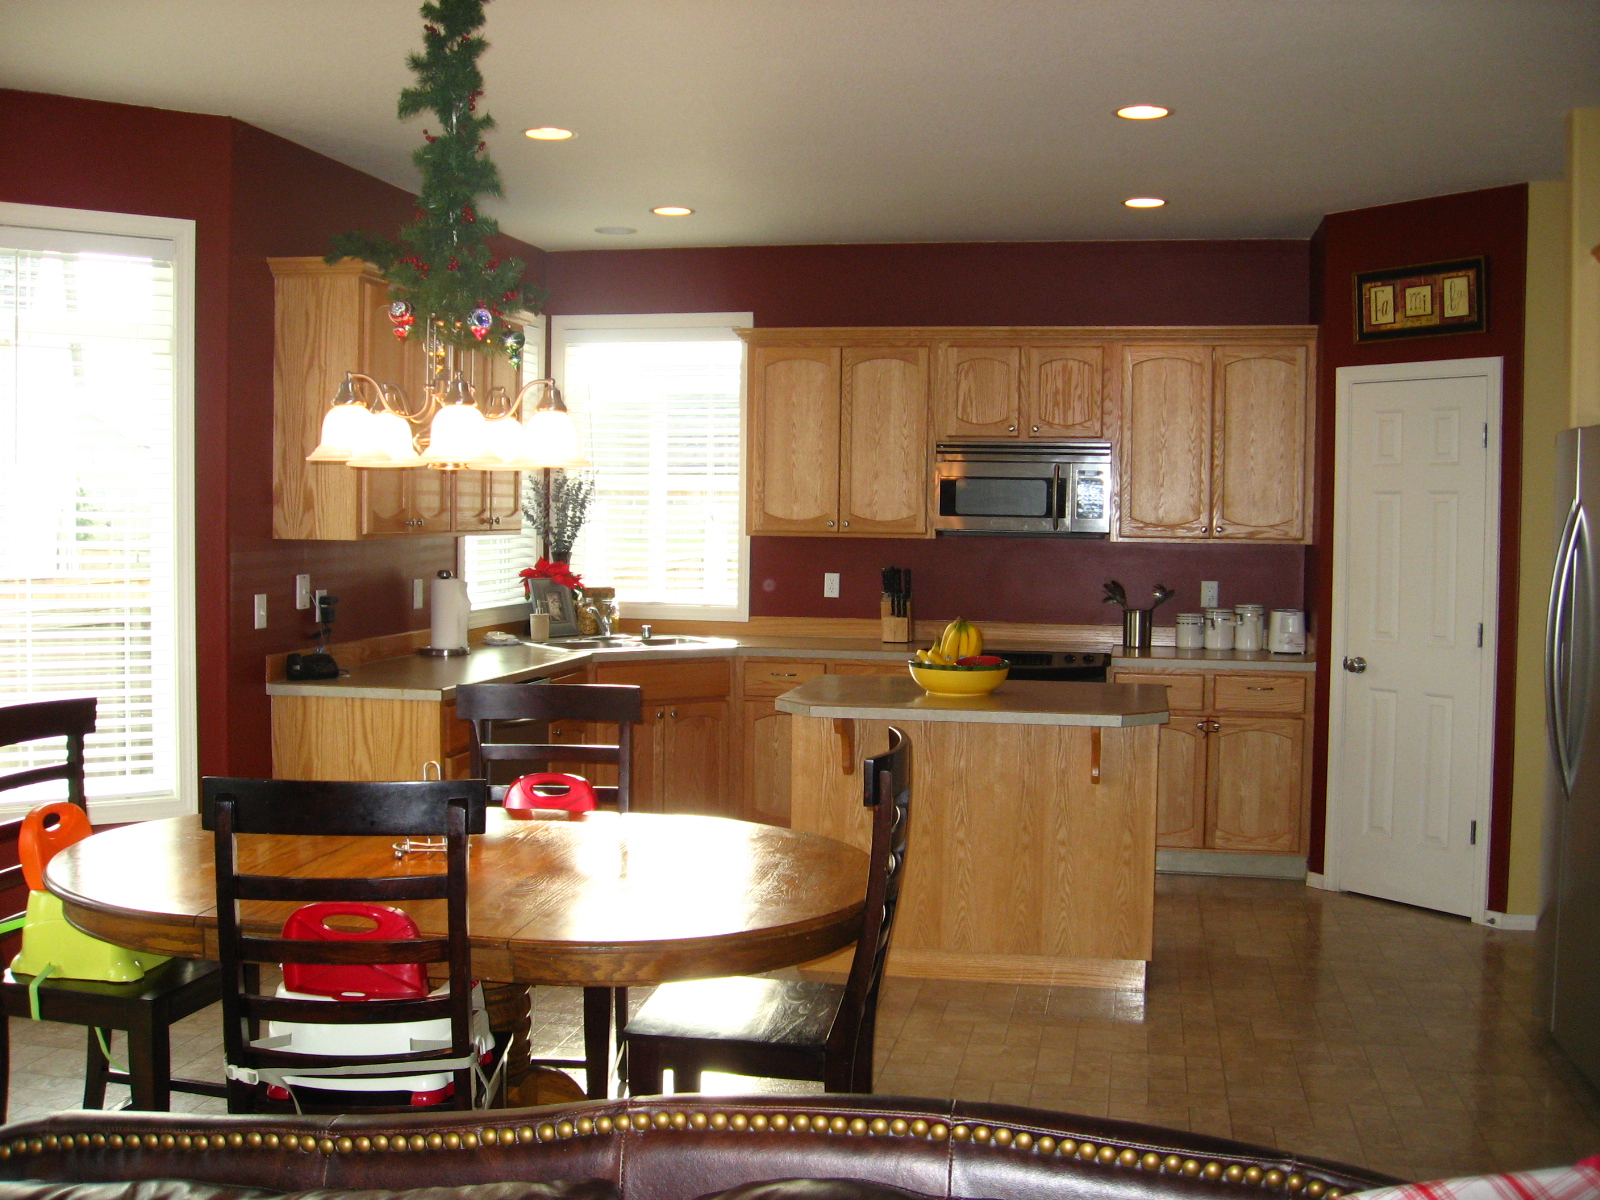
| BEFORE |
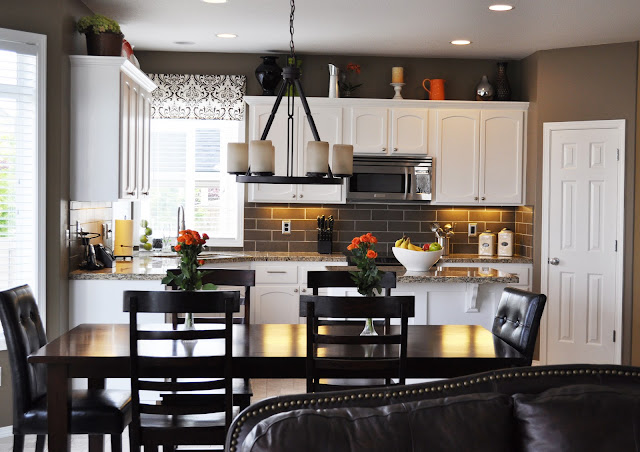 |
| AFTER |
I can’t tell you how pleased I am with the final result. Our projects ALWAYS come out BETTER than we had planned.
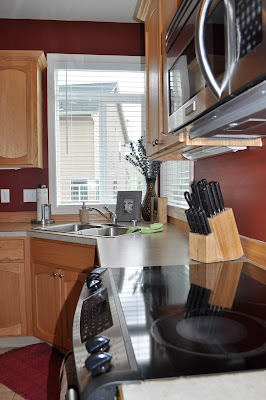
Remember how I originally had picked, and purchased, Tumbled Travertine as my backsplash? Well, my gut told me it was wrong, so I returned it and traded it for Porcelain, dark and contemporary tiles. LOVE IT!!! That was the best choice I made. And I am SOOOO lucky that Oregon Tile & Marble made the exchange, THANK YOU!
The Granite goes perfectly with our whole contemporary feel. Click HERE for my post on our DIY Granite Mini Slabs
My $10 Valances above my corner sink fit right in.
I am in love with my elegant Faucet that reminds me of Swan Lake. I can’t believe I actually wanted to return it. I have fallen in love with it more everyday. I got it at Lowes for $200!!
I had so much fun Accesorizing my new kitchen:
 |
| Got ’em at Target |
No, this knife set isn’t new. I just spray painted the wood Oil Rubbed Bronze. A quick fix for it to look sleek and new.
 |
| See the “old” knife set to the right? |
I wanted to add some accessories on the top of my cabinets. Just because I can’t accesorize within 2 year old reach I had fun with this one! I still feel like I need to tweek it a little bit but I have time for that.
 |
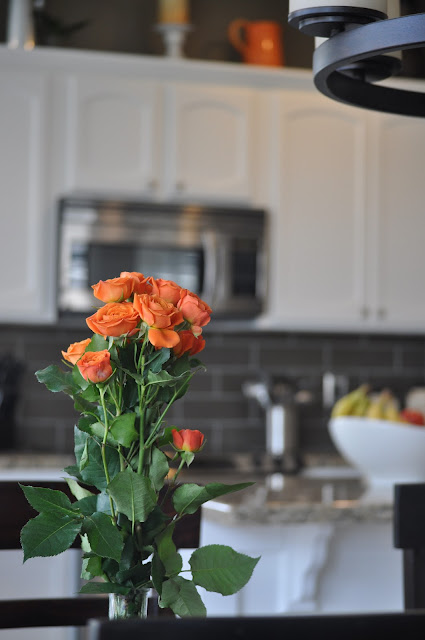
| I added this plate for a POP of orange and to add some “Hawaii” to my life |
|
 |
| I had to get that green in. Love that green. |
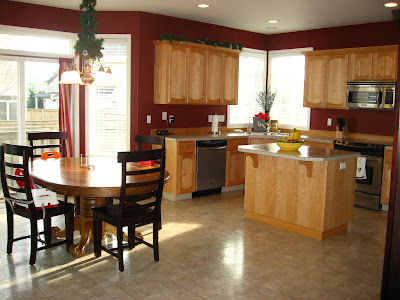
I am just loving the look of my Kitchen Island Redo. It makes such a statement! Don’t get distracted my the kids playing on the floor…. hehe
Lets have some fun with before and afters:
 |
| BEFORE |
 |
| AFTER |
More:
 |
| BEFORE |
 |
| AFTER |
And 1 more:
 |
| BEFORE |
 |
AFTER
—– |
It’s stunning. I love the color. That tile backsplash is my favorite but the pretty white cabinets, that light fixture, the beautiful countertops and gorgeous valances and accents…dreamy!
If you’re not familiar wi
th Starter Home to Dream Home, you’ll want to check it out. Beautiful home and awesome creative DIY projects!
And if you’re looking for a DIY project to inspire you, click the DIY Project Parade label on the left to see TONS to choose from! I can’t keep up. You guys are amazing! Thanks so much for linking up and sharing your creativity! I’m honored that you share your ideas here! Thank YOU! Now if I can get the weather to cooperate with me, hopefully I’ll have something to share soon!
—-
Now, let’s get inspired!
~*~*~
If you’d like to link YOUR DIY project post to The DIY Show Off Project Parade:
- You must use the button above and link to this post to share the linky love.
- Include your name or blog name and project title. Add your permalink (not your blog url, but your DIY project post url). Feel free to link a Past Post, just invite your readers in a current post with a quick note.
- Or email your link to thediyshowoff@gmail.com and I will add it for you.
- If you notice your link has disappeared – please add the link back to The DIY Show Off to your post today with a quick note to your readers about the party and try again! I love when everyone participates and readers check out everyone’s links, but I think the return favor of linking back is the nice thing to do so everyone plays fair and enjoys all of the projects and links. Also – this blog party is for DIY projects only. Links not related to DIY will be deleted.
—–
This post is brought to you by: