Teen Boy's Bedroom Makeover

Jami from An Oregon Cottage submitted her son’s bedroom makeover. It’s awesome and I love the videos too! Here is her post:

Extreme Room Makeover: The Reveal

Finally, it’s time to reveal our son’s completely redecorated room! Be sure to look at the Introduction, Day One, and Days 2,3, & More to see the before video and some of the process we went through. Click HERE for her original post to see the reveal on video.

Here’s the review in pictures with commentary and the cost breakdown:


The room viewed from the doorway before.

The room from the doorway after.
The new, larger bed is now against the wall as our son has wanted for awhile (I have no idea why…). We had to move the dresser to the foot of the bed as well.


The corner of the room before, complete with overloaded shelves and desk (and floor…).


The same corner after.

This picture really shows how cool the bed is that Brian made. We had to purchase the pine for the side rails, special large bolts to hold it together (and enable it to be taken apart to get it in and out of the room), and the fancy post caps which totaled $51.96. All the other wood and the paint was from previous projects.

We found the double mattress and box spring on Craigslist for $20, so the total for the bed was $71.96.

Of course, then I needed linens to cover the mattress. Sheesh, I’ve never bought all the needed linens for a bed at one time before, it’s usually just the cover or the sheets, so it was more than I was thinking. I was hoping to find one of those “bed in a bag” type packages, but they were all funky patterns (what’s up with that?). So the total for mattress pad, sheets (including one to cover the box spring), and a comforter came to $72.23, bringing the grand total for the bed to $144.19.


The bedside table before.

Wow, the whole skirted-table look was just not working for him. We definitely needed something with at least one drawer. And that could be easily dusted.


Bedside table after.

The table with a drawer came from Target and put us back $79.99 (we already had the basket- isn’t it cool how it just fit?). Having never shopped for new furniture other than our couch and a mattress, we had no clue what a nightstand would cost. And this is fairly inexpensive in the world of new nightstands. Most were closer to $100.

And don’t even get me started on the ridiculous prices our local thrift stores (and I visited five!) were charging. Most were broken (drawers, handles, huge wood chips) and they still were asking $40 to $50 dollars. The nightstand is the area that really could’ve benefited from advanced planning.

I’ve already written about the lamp transformation, but in this picture you can also see that I used the bronze spray paint on a clay pot to hold pens and a formerly white plastic waste basket.


The closet wall before. I’m sure this is typical of teens…right? Please say yes…


Closet wall after moving the bookshelf (made by Brian) and bulletin board that I made a few years ago. See? We really don’t shop for furniture much!
I love how the creamy white paint contrasts with the light khaki walls in this photo.


Here’s a view of the inside of the closet.
We continued the floor and paint, but just used what he already had (yes, those cool vintage gym baskets were in the before picture!). We donated a ton of stuff and organized his clothes.

Now we’ll see how long it lasts.


The bookshelf and dresser before.


The dresser after.
Again, we couldn’t find a dresser better than this one, although we looked for a wood one that would be big enough and be in our budget.

So we kept this and I touched up the paint job I had done years ago (eight?). This dresser was a find on the side of the road and was so beat-up even a paint job wouldn’t have covered up it’s flaws. This is a tissue-paper technique I did and then painted and glazed (my inspiration was old 50s suitcases). Over the years the tissue paper texture had torn off in a few places which made me think it was ready to be replaced, but in the end it cleaned up pretty well.


I know this is a long post, bear with me as I share just a few more things!

I LOVE the new curtain rod ($13.99 at Target!) and how it coordinates with the light fixture I spray painted. The same curtains look new on them.

Target came through again on the rug. It’s a large 5×8, but only cost $39.99 because they called it a “remnant.” It’s just what I was looking for to cover my floor that didn’t turn out the way I’d hoped and all the other rugs this size started at $79.00. Whoo-hoo.


And you know what? The floor isn’t that bad with the furniture and rug. Only a little of it shows anyway.
And my son told me that one of his favorite things is the floor…he thinks it looks cool.
Ah…life is good.

And the total cost for the room makeover? $394.73

I was hoping to be closer to $300, but some things were just more than I anticipated (nightstand, $50 for polyurethane, and such). But I’m still happy with the outcome for less than $400, since just to recover the floor with normal carpet or wood would’ve cost about that!
I’d love to know what you think!
-Jami

Jami – I think it’s awesome! I love his reaction and you did an amazing job on a tight budget! I love the textures and natural feel. It looks like a comfortable relaxing retreat! Great job!

Perfectly Imperfect – A Chair Gets A Makeover

Don’t you just love cinderella stories for chairs? This one from Shaunna at

is stunning! Here is her post:

First, let me say two things:

One, my computer is going to a new place of crazy and i’ve literally been trying to upload pictures to blogger all morning long!

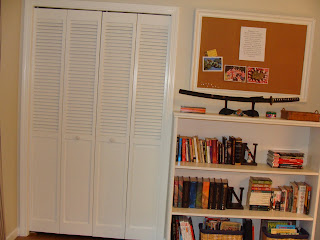
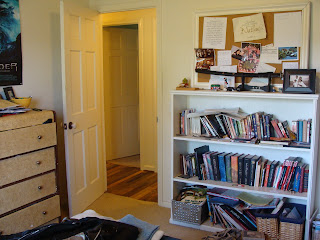
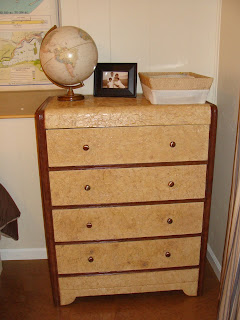
Second: let me say that our house is turning into a flea market as we wait to get in our addition….there’s theater seating in the living room (creating somewhat of a circular seating arrangement), an elliptical, desk, and dresser in the entry….all that to say: These after shots are not my norm. There’s lots of background stuff, but I hope you appreciate them all the same! 🙂

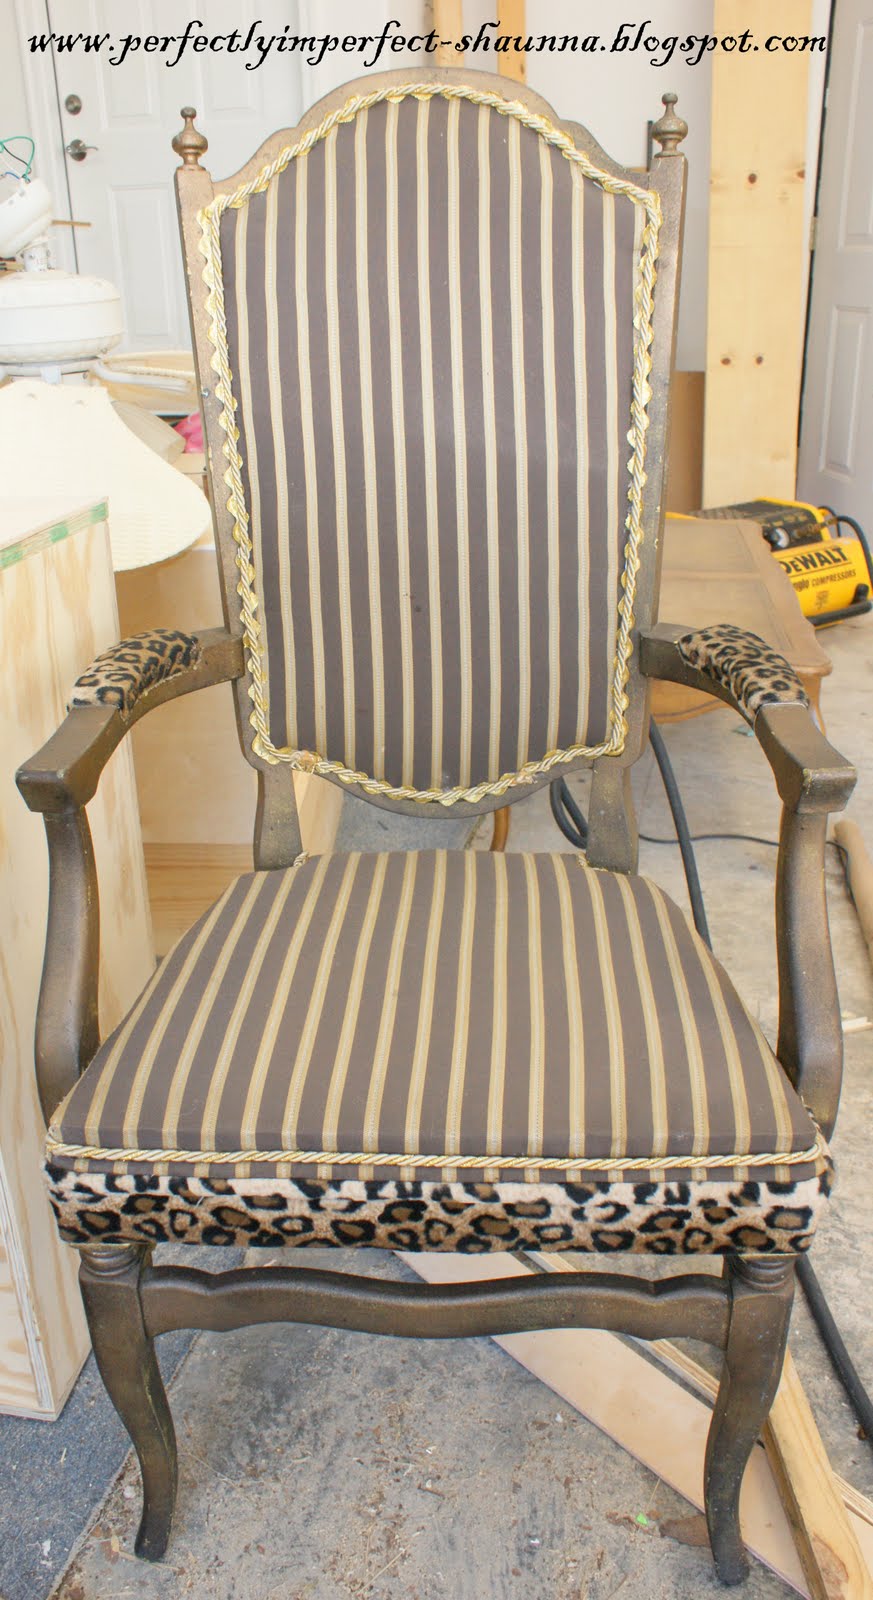
Okay, drumroll…….Remember Darla? (i giggle every time i say “her” name)


She had a LOT of problems that don’t even show up in the before shots, but on to that in a minute.

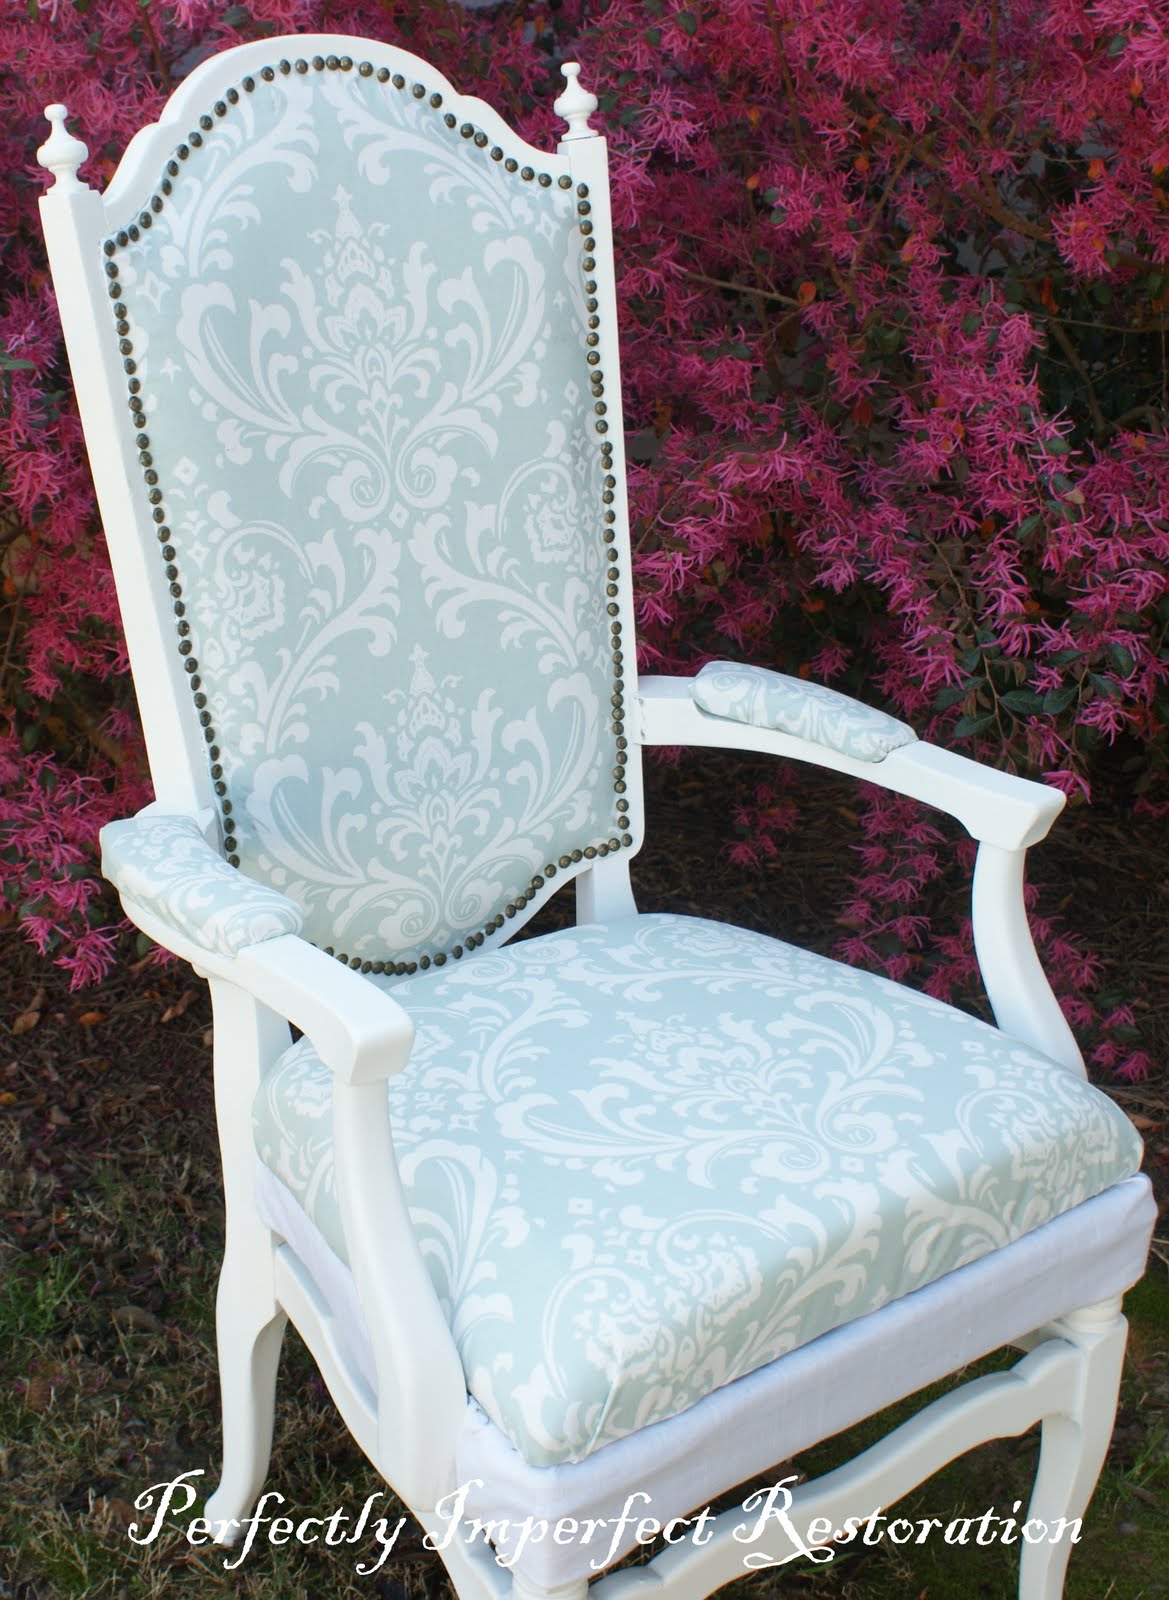
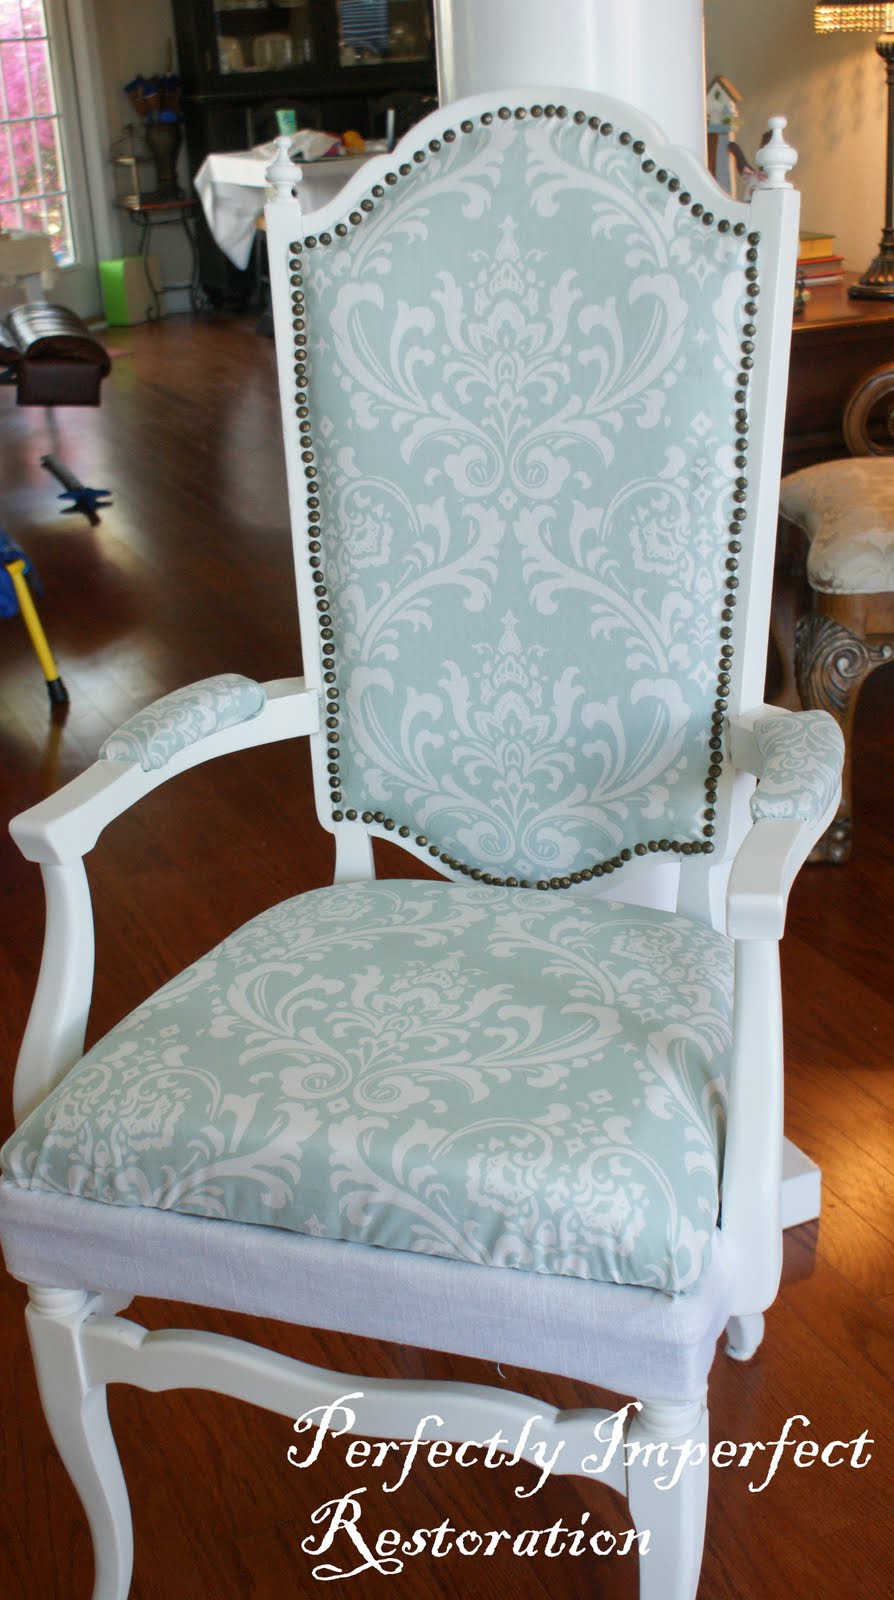
Here she is this morning:


Let me say, I’m just as excited to hear what you think as I am to have her completed!! Lots of work and two battered thumbs later, I might be a little anxious for some affirmation. Just maybe. 🙂

Okay, anybody care for lots of pictures and a tutorial??

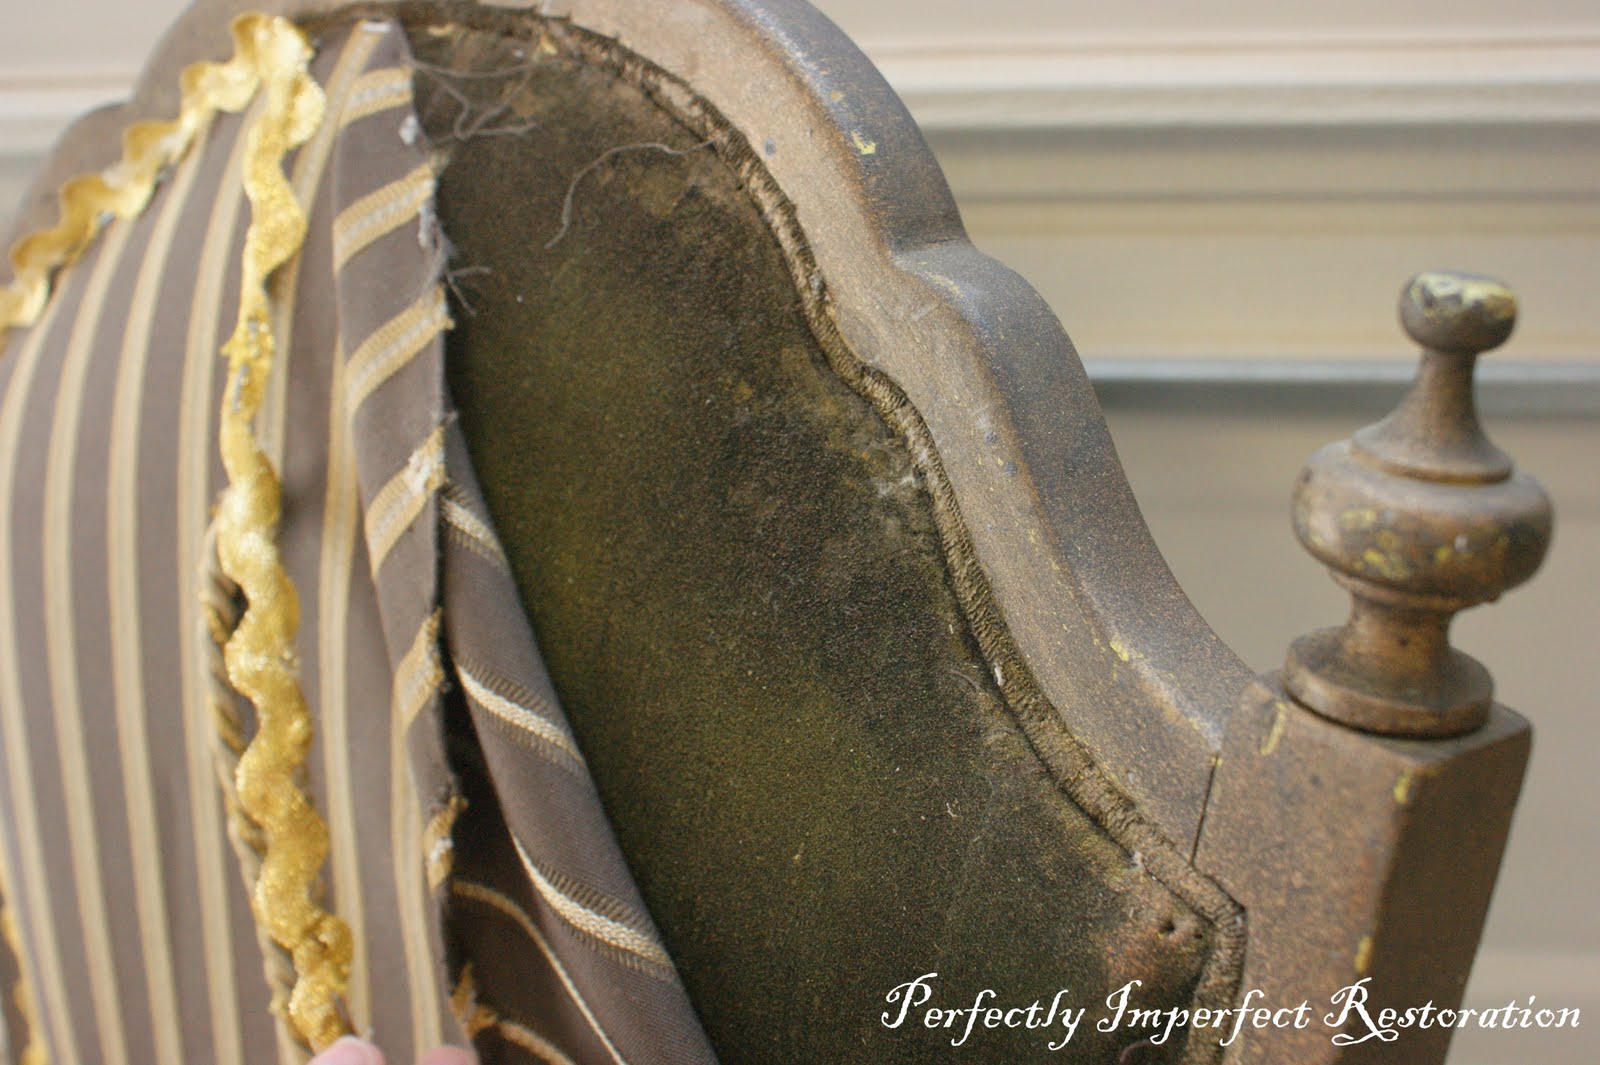
Let’s do it……let me say this before I begin: This was way more than just recovering a seat cushion. I’ve done that before and it’s a pretty straightforward job….this old gal had a LOT going on underneath her “dressing.” I posted about some of the trouble here.


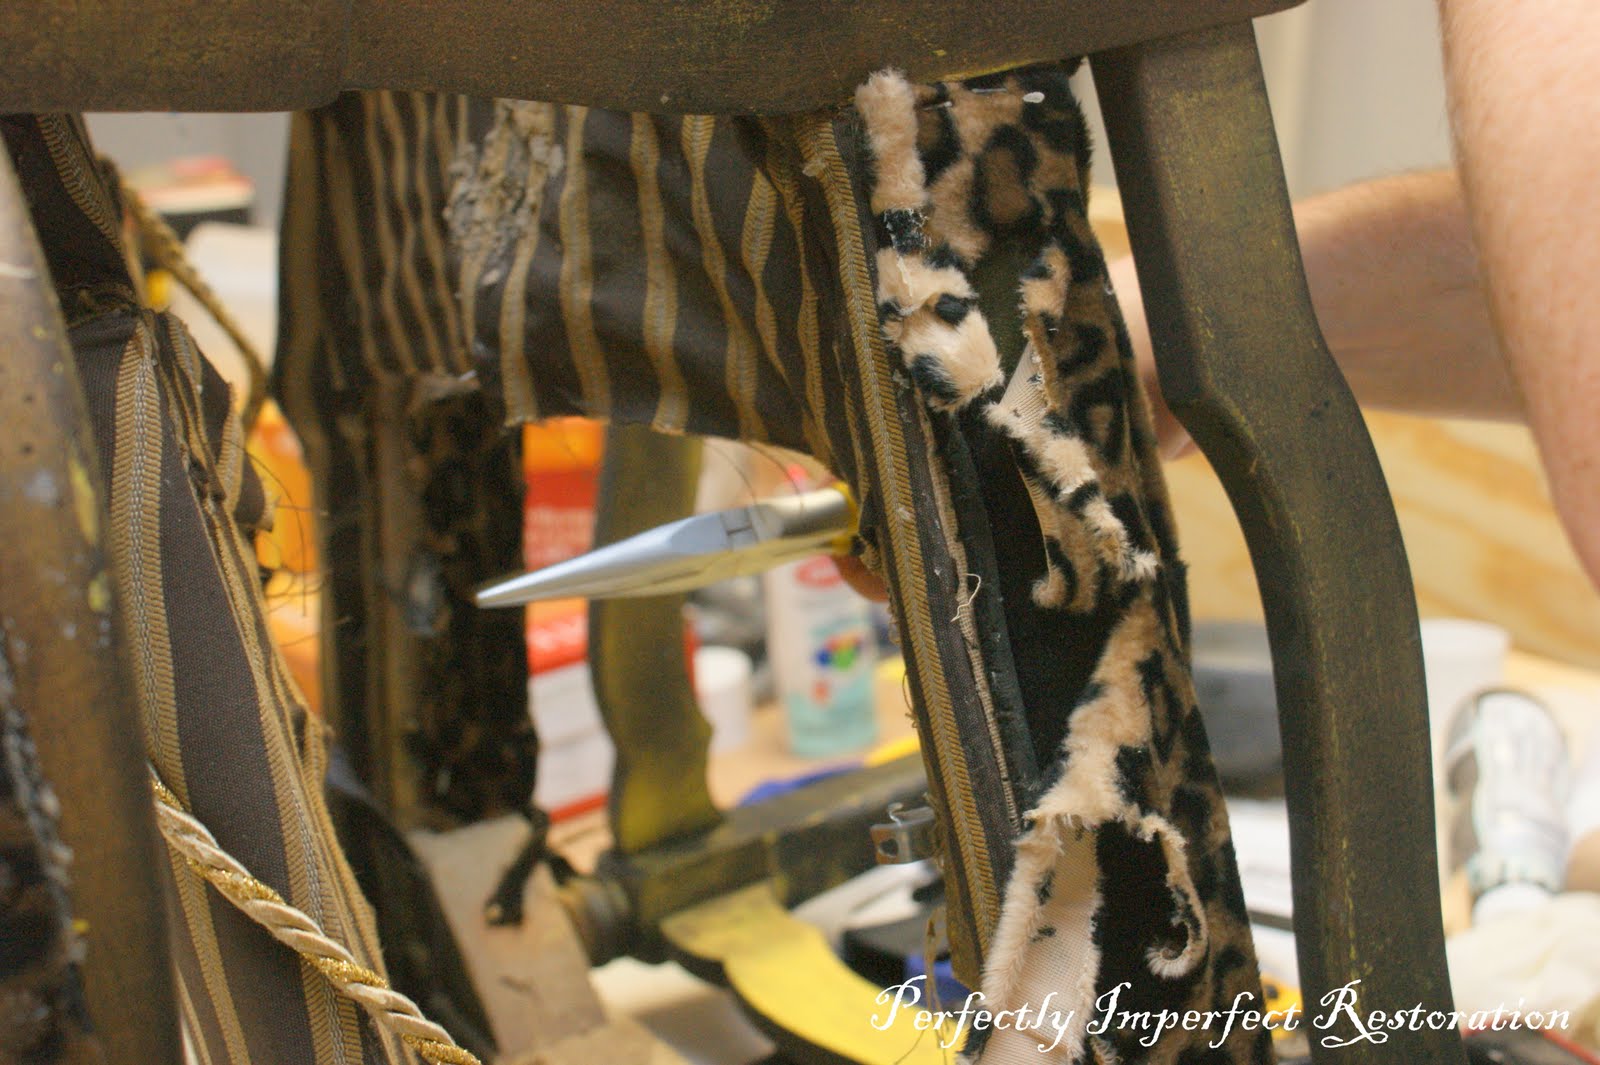
One of the problems was the massive amount of prep work to be done…..I know I pulled 300 staples out of the framework from the previous reupholstery job. If you can call it that….fuzzy leopard and ric rac…..and LOADS OF GLUE.

First, I had to remove staples, and all the previous fabric. (notice the back of the seat does not come out of the frame….I was going to have to reupholster new fabric into the back cushion. Yikes.)


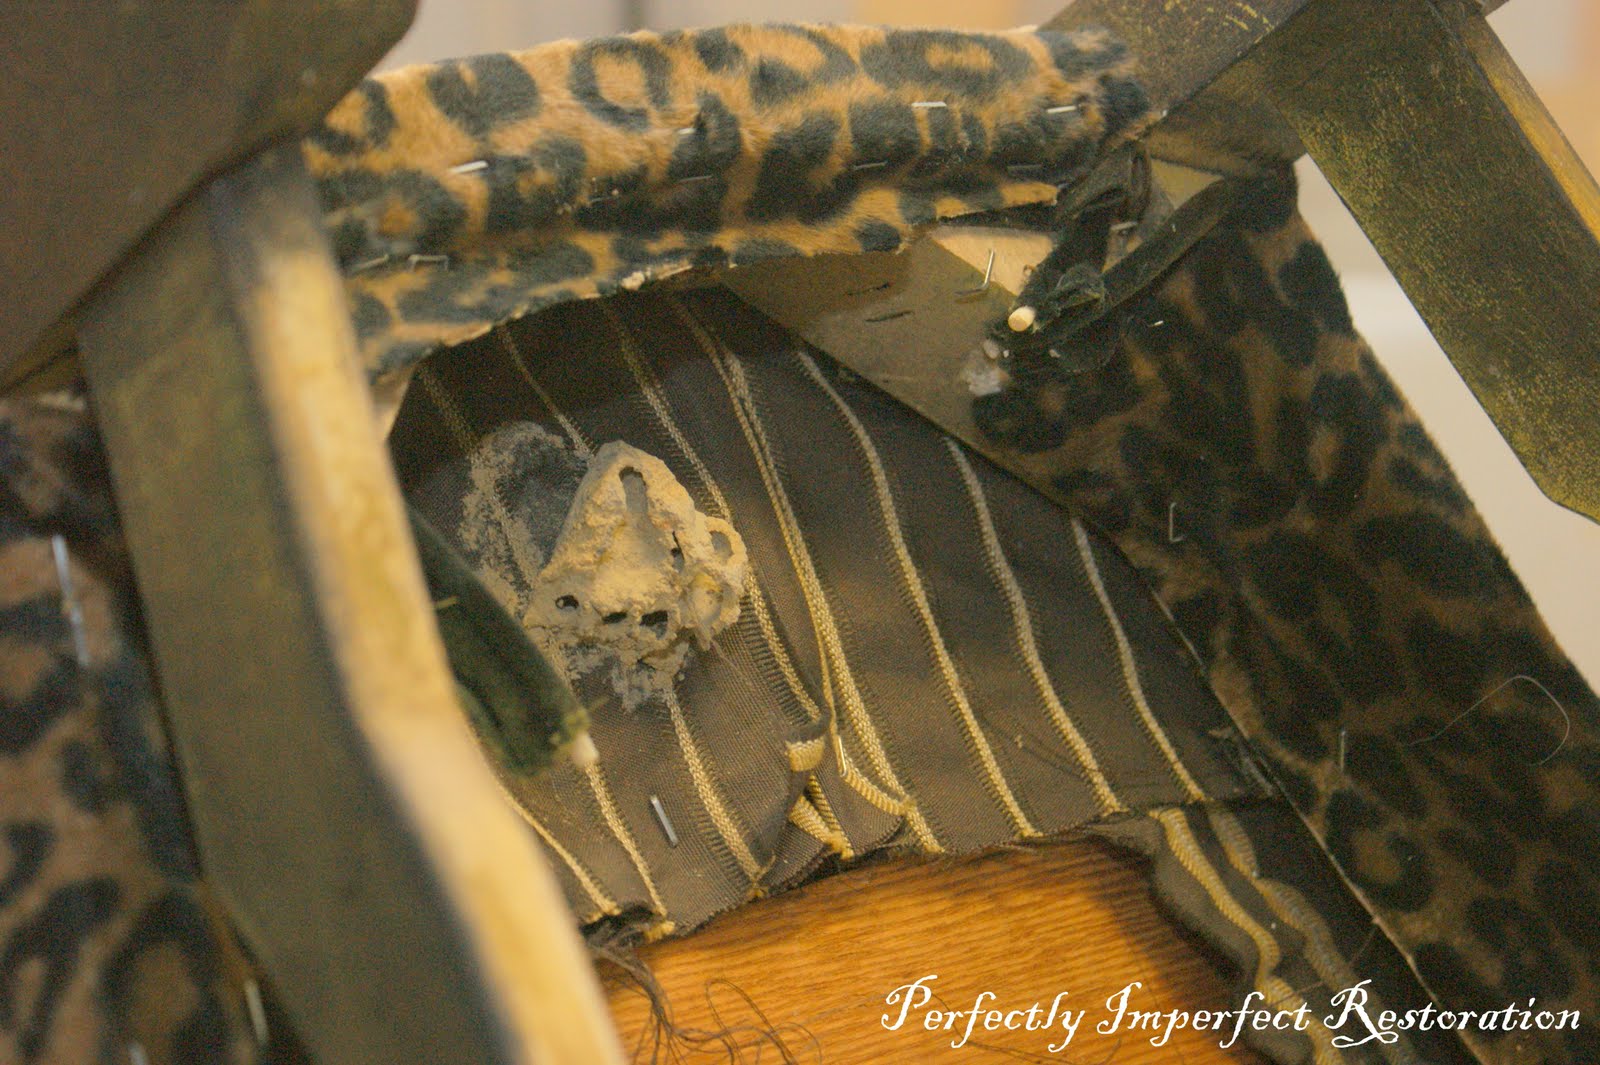
I also showed you the dirt dobber nest….and I love that so many of you have asked what a dirt dobber is! Sometimes I forget that there is most definitely a different culture here in the South. A dirt dobber looks exactly like a wasp…just no stinger. 🙂

There’s the lovely nest and other yuck that I cleaned up.


We removed the seat cushion (with some force, I might add),


then I had to prep the chair frame for painting. On detailed pieces with small grooves like this chair, I like to use Gloss Off to strip the surface. It’s less tricky than true paint-stripper, dries quickly, and really helps the surface “grab” the primer.


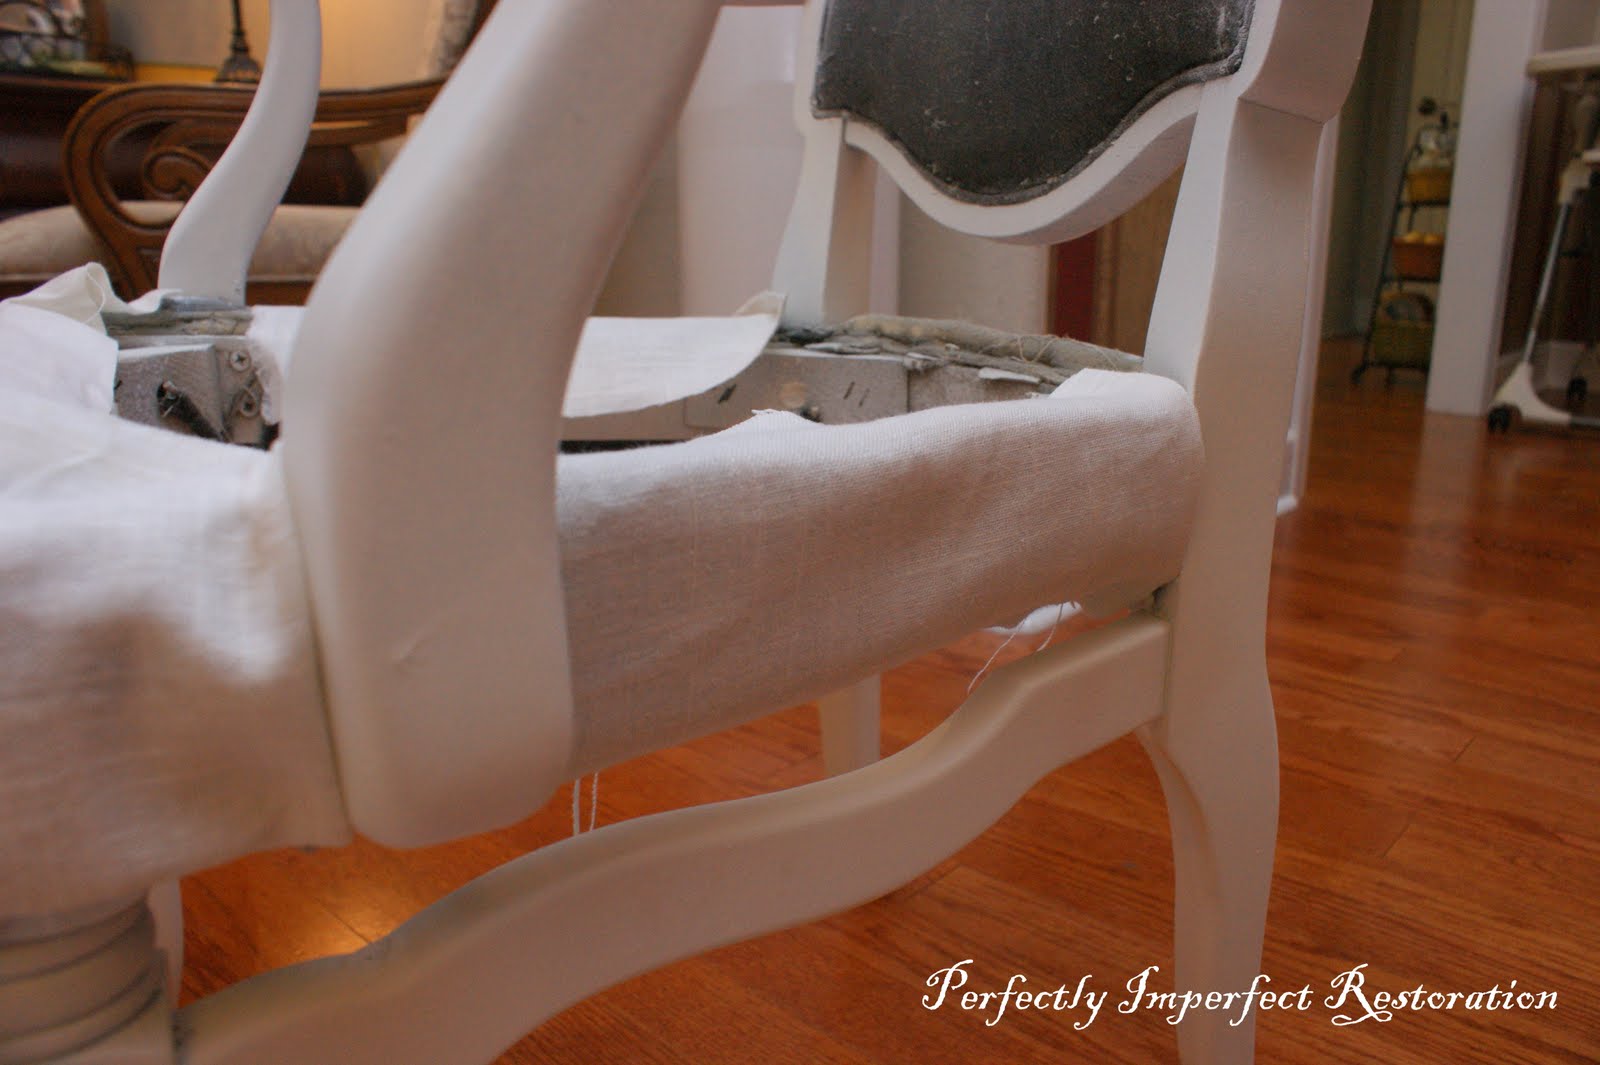
Here she is….stripped down, primed and painted two coats of Valspar’s Delicate White (one of my favorites). I did use my Wagner sprayer, but even if you don’t have a sprayer, I would recommend using some of the latex spray paints out there….it is so much easier to cover all those hard-to-reach areas and grooves. Rustoleum has lots of options, like the famed “heirloom white.”


Next up for me was to cover the bottom frame of the chair with fabric….look back at the before…it was covered in fuzzy leopard. I chose a white linen….the original upholstery was glued on so tightly, I decided it would be better to cover than to restore that part. I chose the linen to off-set the formality of the nail head trim….I felt like it would blend seamlessly as the frame, but with softer lines.

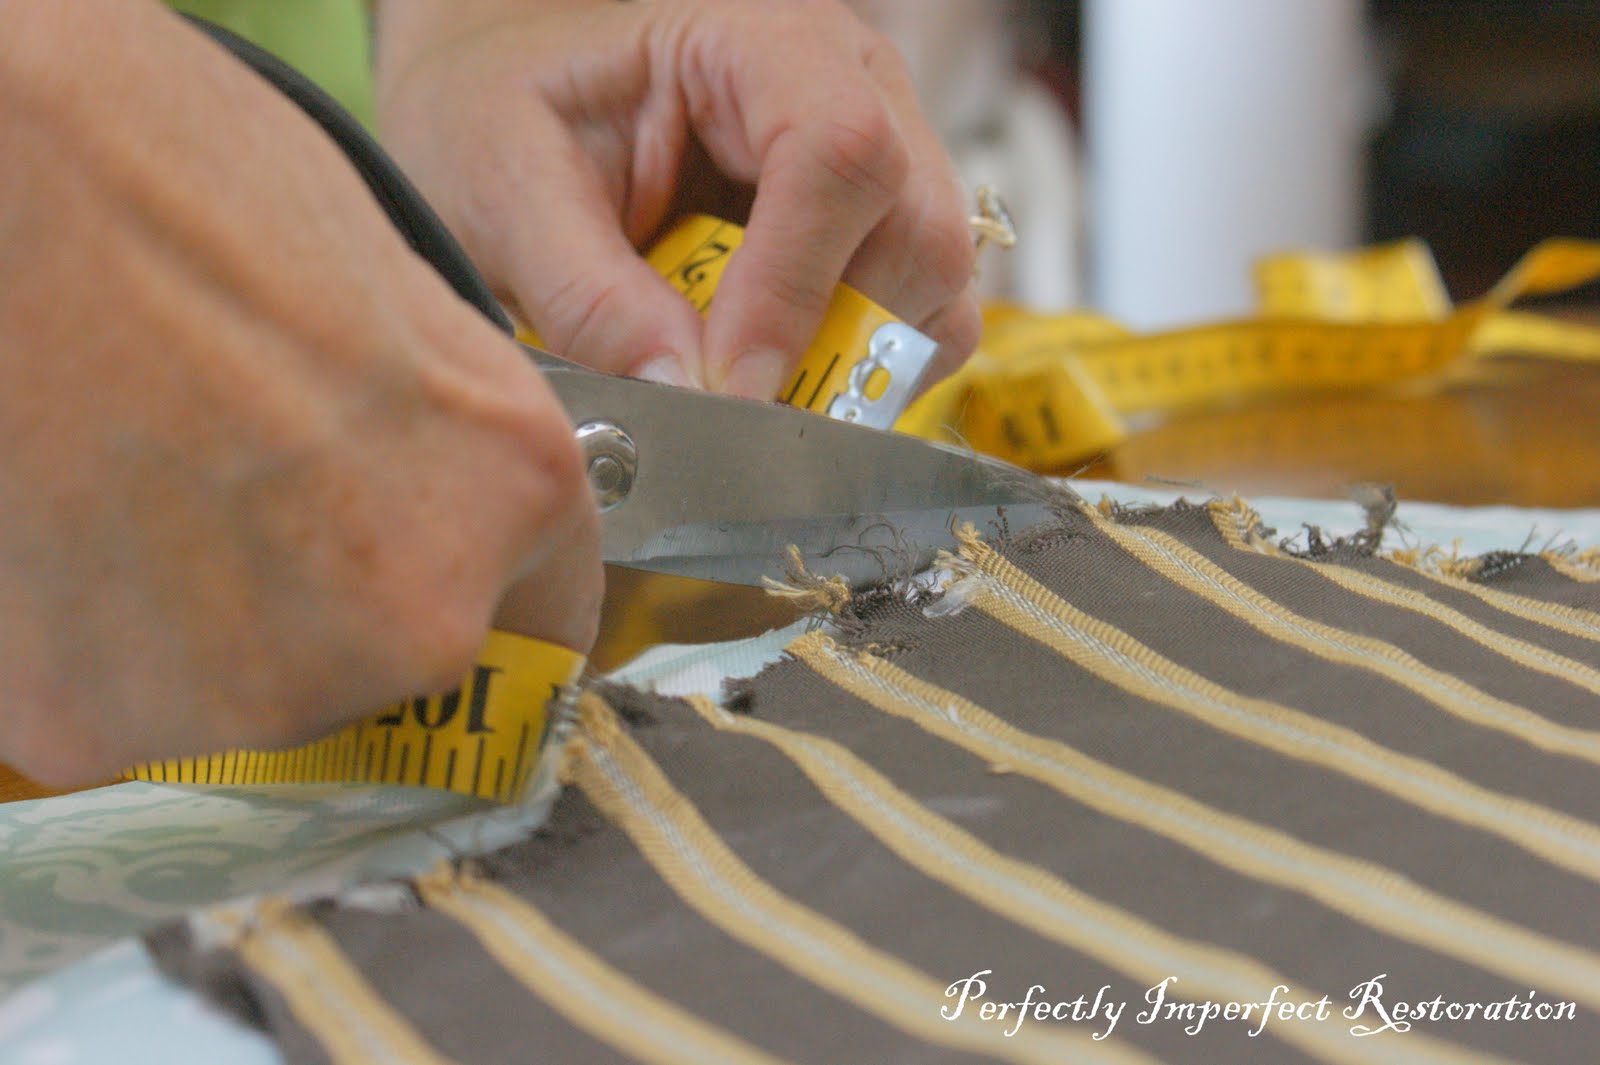
In case you have to do this one day….first, measure your chair…..length of fabric needed and
width to wrap it.


I found it easier to wrap my fabric first as a practice run to be sure I had the right amount and that I was pleased with the look.

I then moved on to the back of the chair…..again, the back did not remove.


Luckily, I was able to separate the upholstery from the frame just a bit, and used my flat cricut tool to smooth the fabric into the frame….that part was great! No stapling, glueing, or praying. 🙂

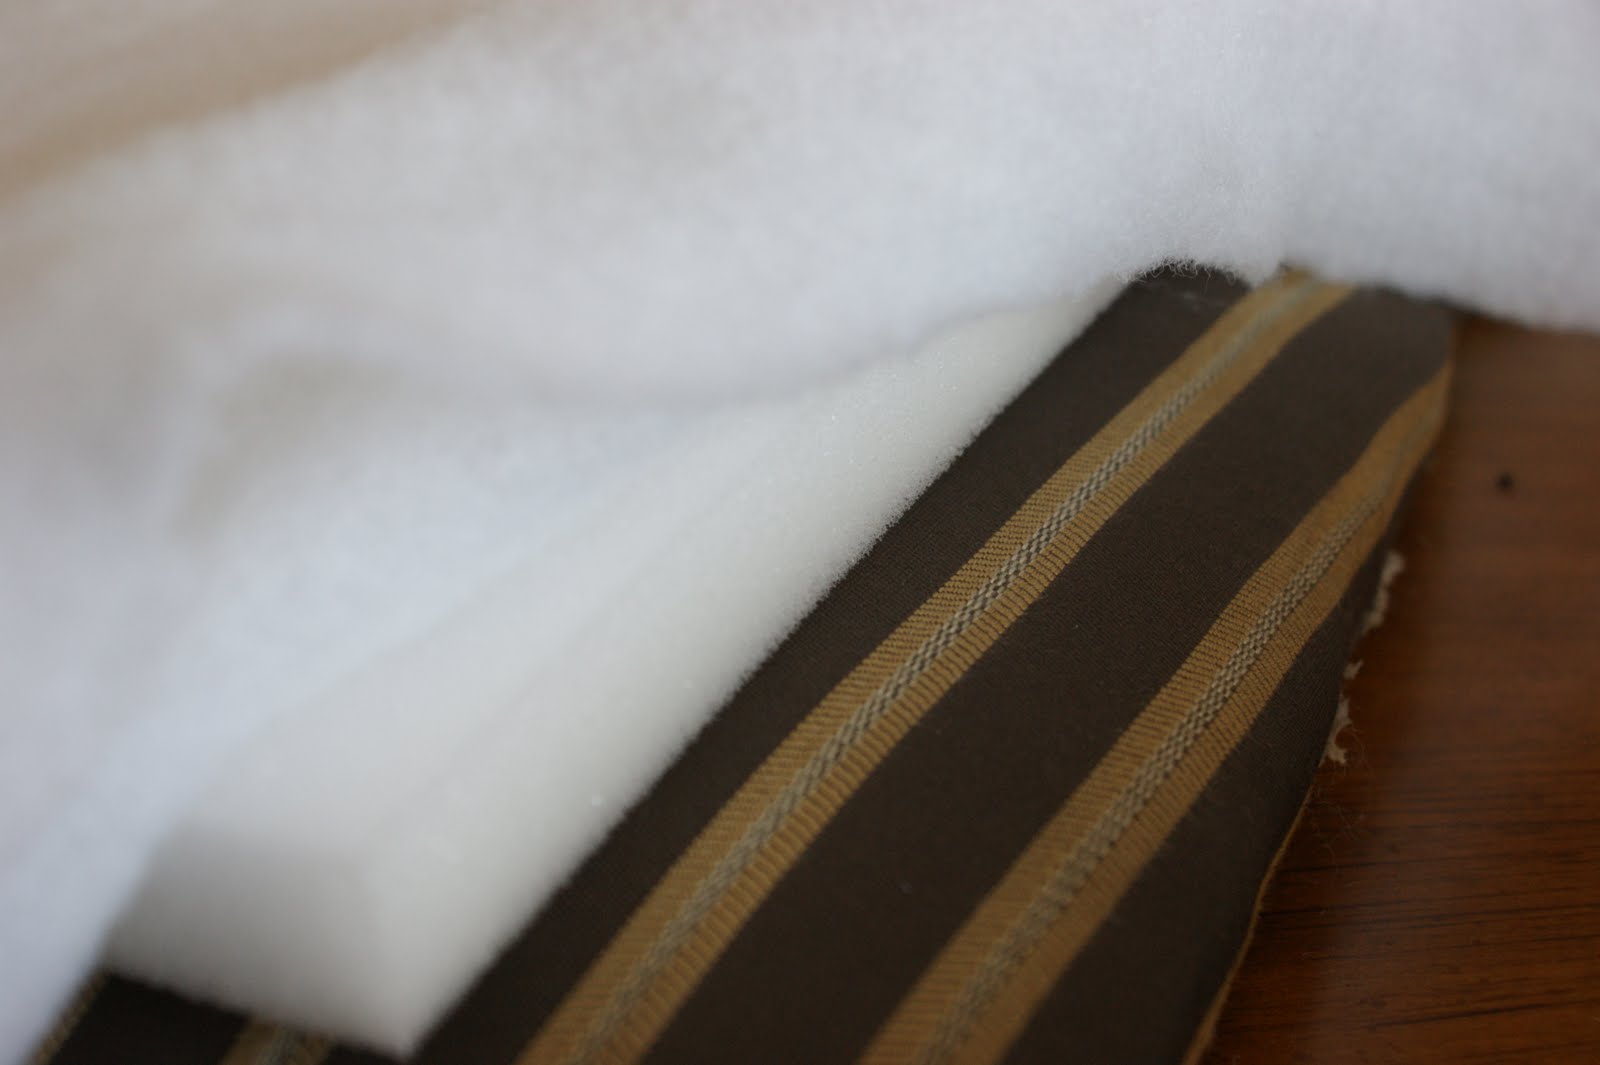
Next, move on to your seat cushion….again, pretty straightforward.


Choose your batting, and how much foam you want to add. I wanted the seat pretty comfy since this will be my desk chair, so I added 2 pre -cut foam cushions and filled in the rest (because of the angular shape of the seat) with pulled-apart batting.


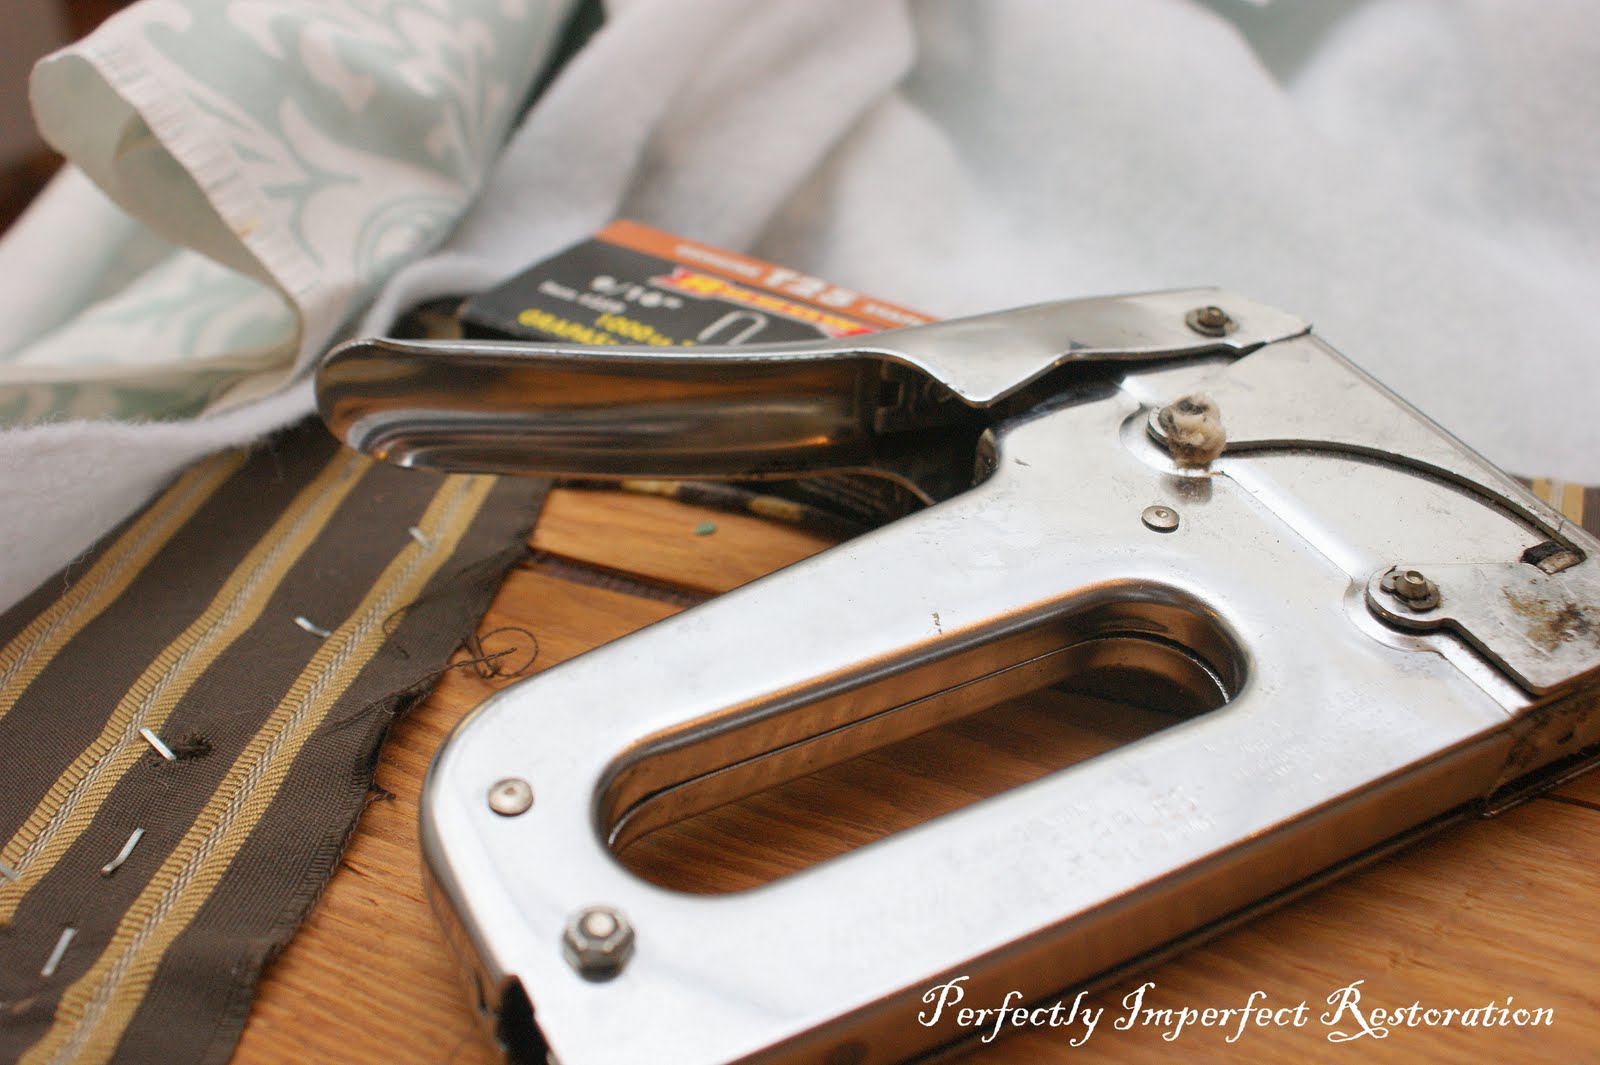
Time to break out that staple gun….and get ready to use it. A lot.


I found this fabric (that I love, by the way) at Fabric.com on clearance for $5 a yard!!! It was normally $25 a yard; thank you! I am sure most of you brilliant ladies know this, but when you are recovering seat cushions, it’s been helpful to me to start in the corners first. At least, begin pulling there so you can control where the seams will be….I definitely wanted those in the corners. Just keep working it around and when you feel good about it, staple away!

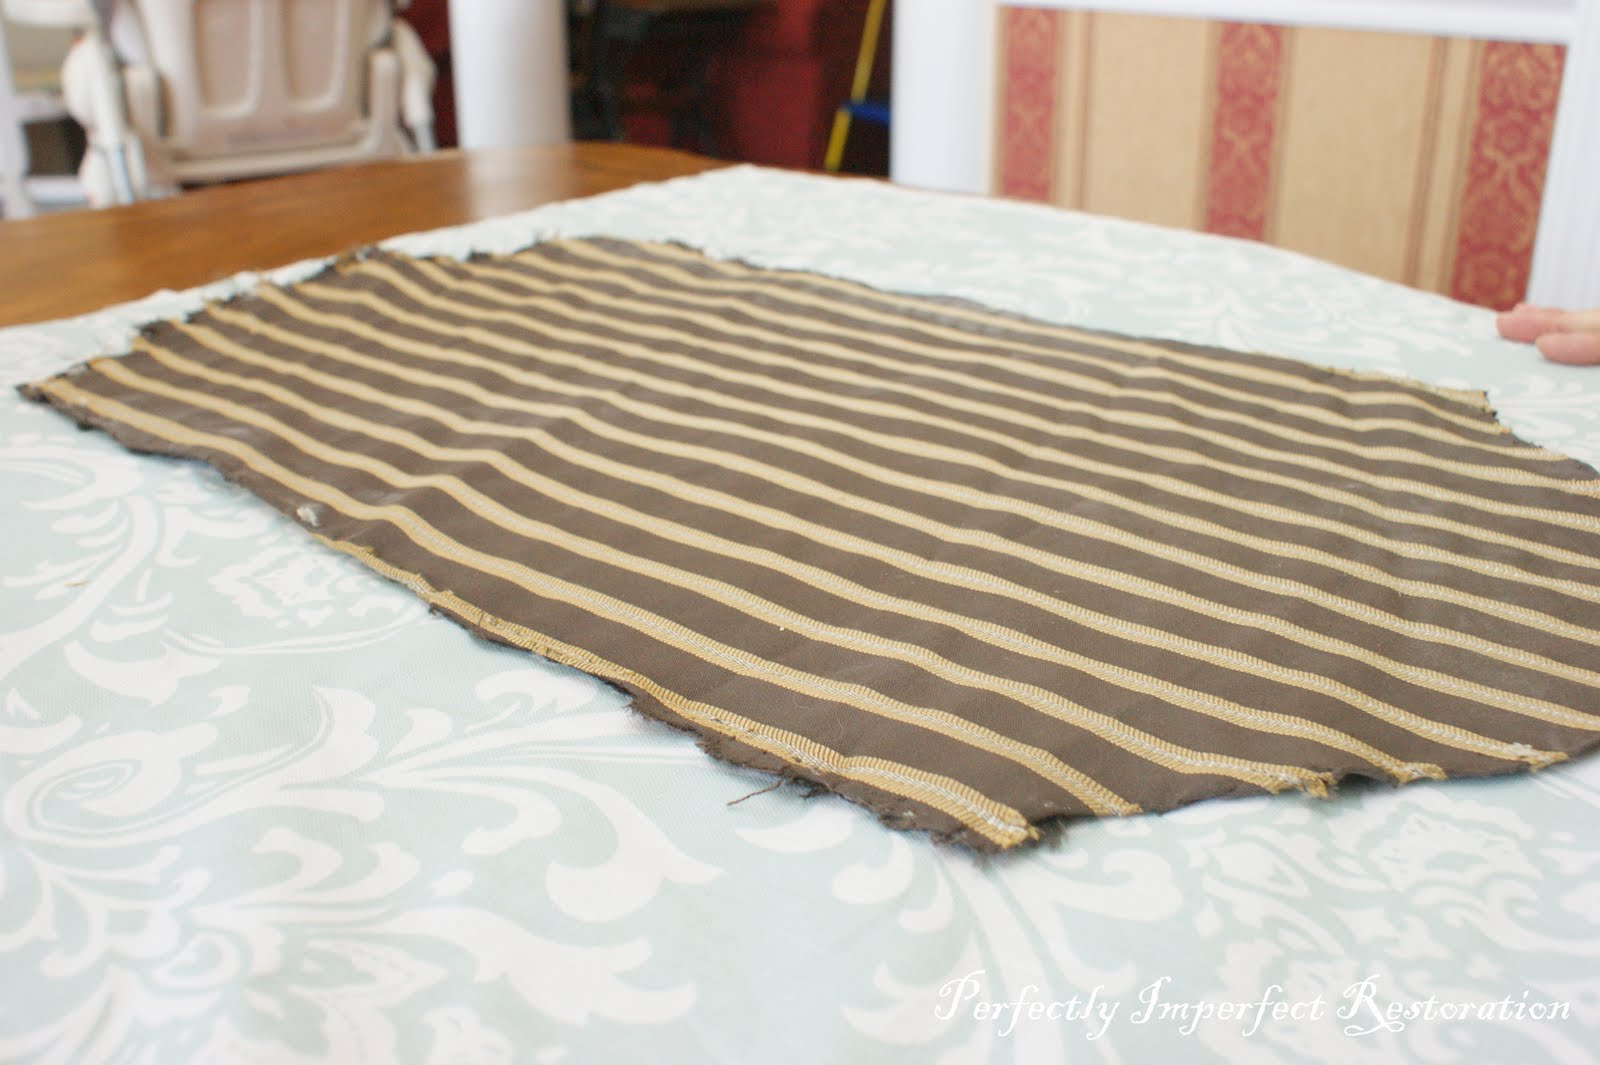
Next, I covered the back…..this was definitely the hardest part…on my nerves and my thumbs. 🙂


I save the old fabric and cut out a piece of the new fabric 1/2 inch larger so I could fold it under for a smooth edge.


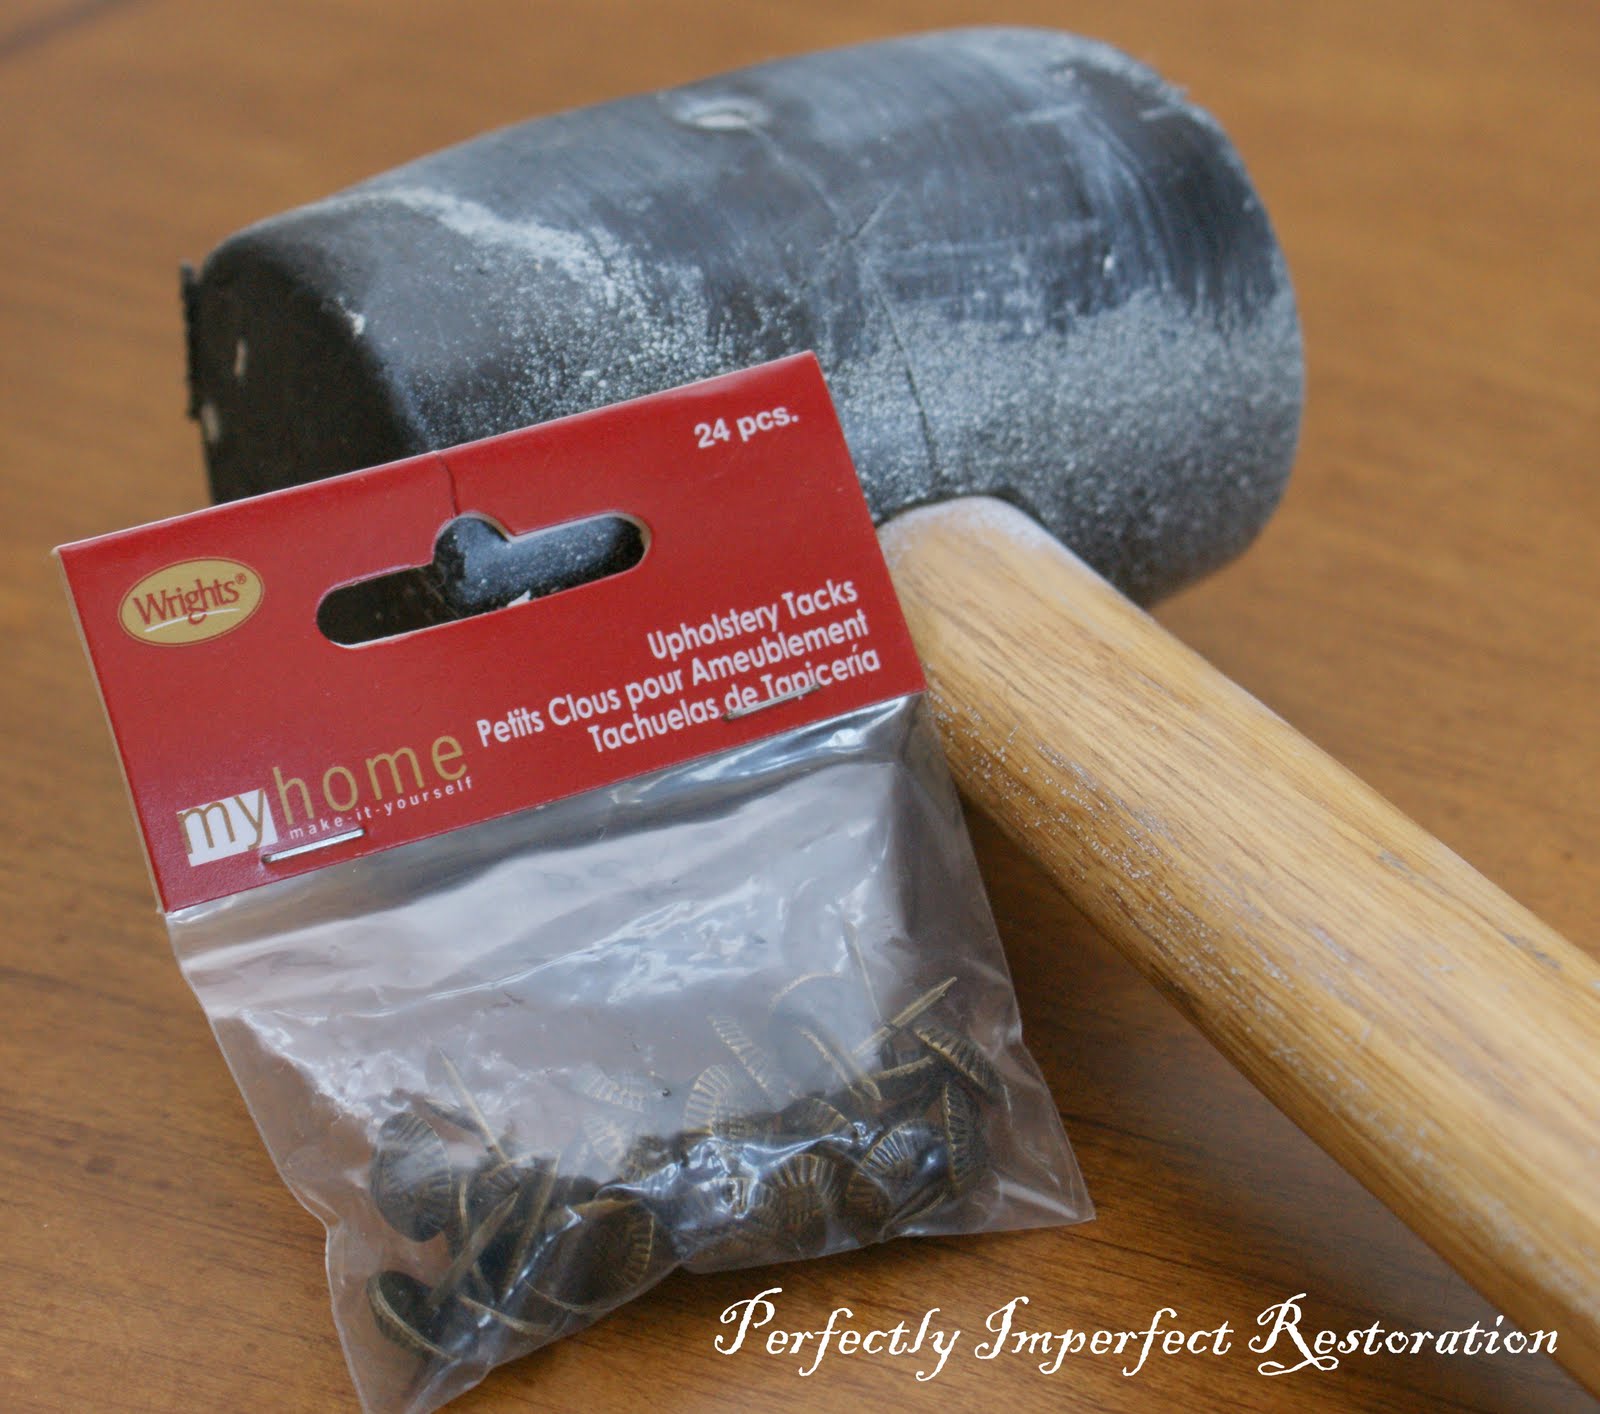
Those are my mom’s sweet hands…I asked if she would come over to watch me nail in the first upholstery tack….have I mentioned that I refinish furniture? More painting, less complicated upholstery (and I know as I say that, there’s someone out there reading who does the complicated upholstery in her sleep–go you, by the way! you can give me some good tips!)


I bought simple upholstery tacks in an antique bronze….I searched high and low for actual nailhead trim that comes in one long piece….with no luck. I was VERY nervous about the line being really crooked, but all in all, it turned out fine. Not perfect, but I love it still.


One little tip: it helped me tremedously to place each tack in partially with the rubber mallet, then use my pliers to rearrange any that “stuck out”, and then my Matt nailed them the rest of the way down with a small hammer. (I think he could see that my thumbs were literally swollen from placing each tack.)


Sweet Darla is not actually totally complete….I think I’ll add some tack trim around the arm upholstery, and possibly the very bottom of the linen. Not sure….I like the softness the linen brings.

I’ll reposition a few more tacks, and I’ve got to seal her with verathane…. I’ll post later on why that’s my favorite. And you know what else? I haven’t even screwed the seat and recovered arms back in…I was just TOO excited to show the reveal to all you guys!


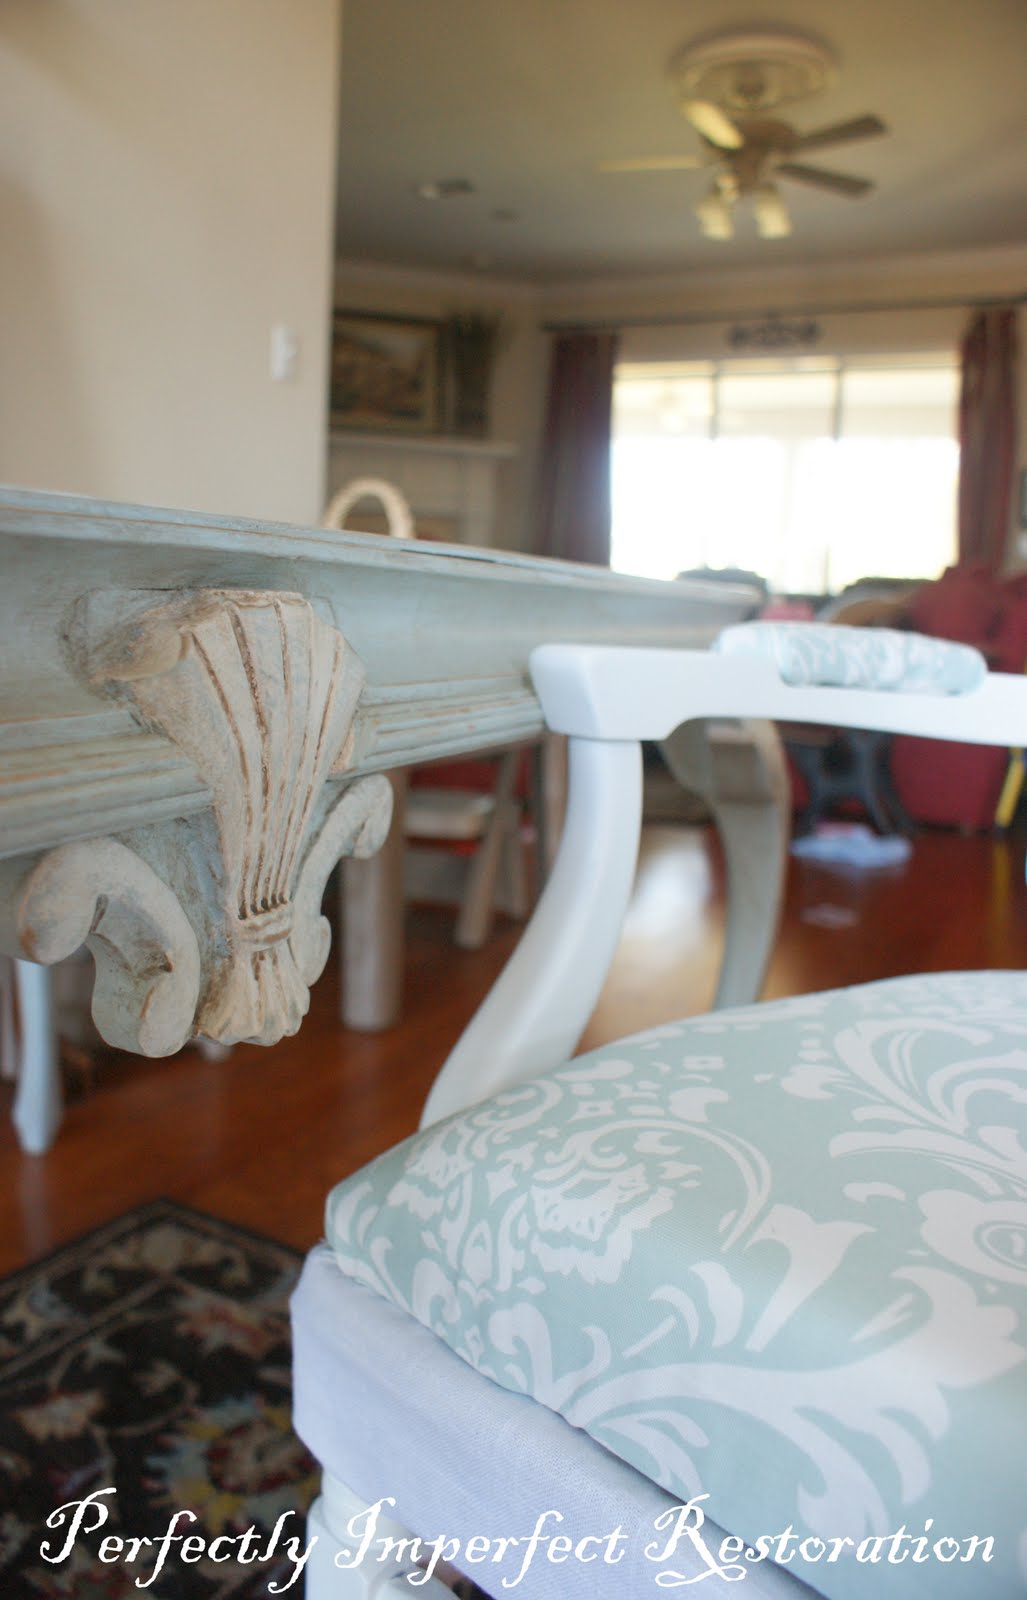
Here she is next to the desk she will accompany….this is a turn of the century table I found that I’m raising to turn into a desk for the writing room. I love the idea of all that surface space!


I love all the sweet details, like the spindles at the top and the curves all along the legs.

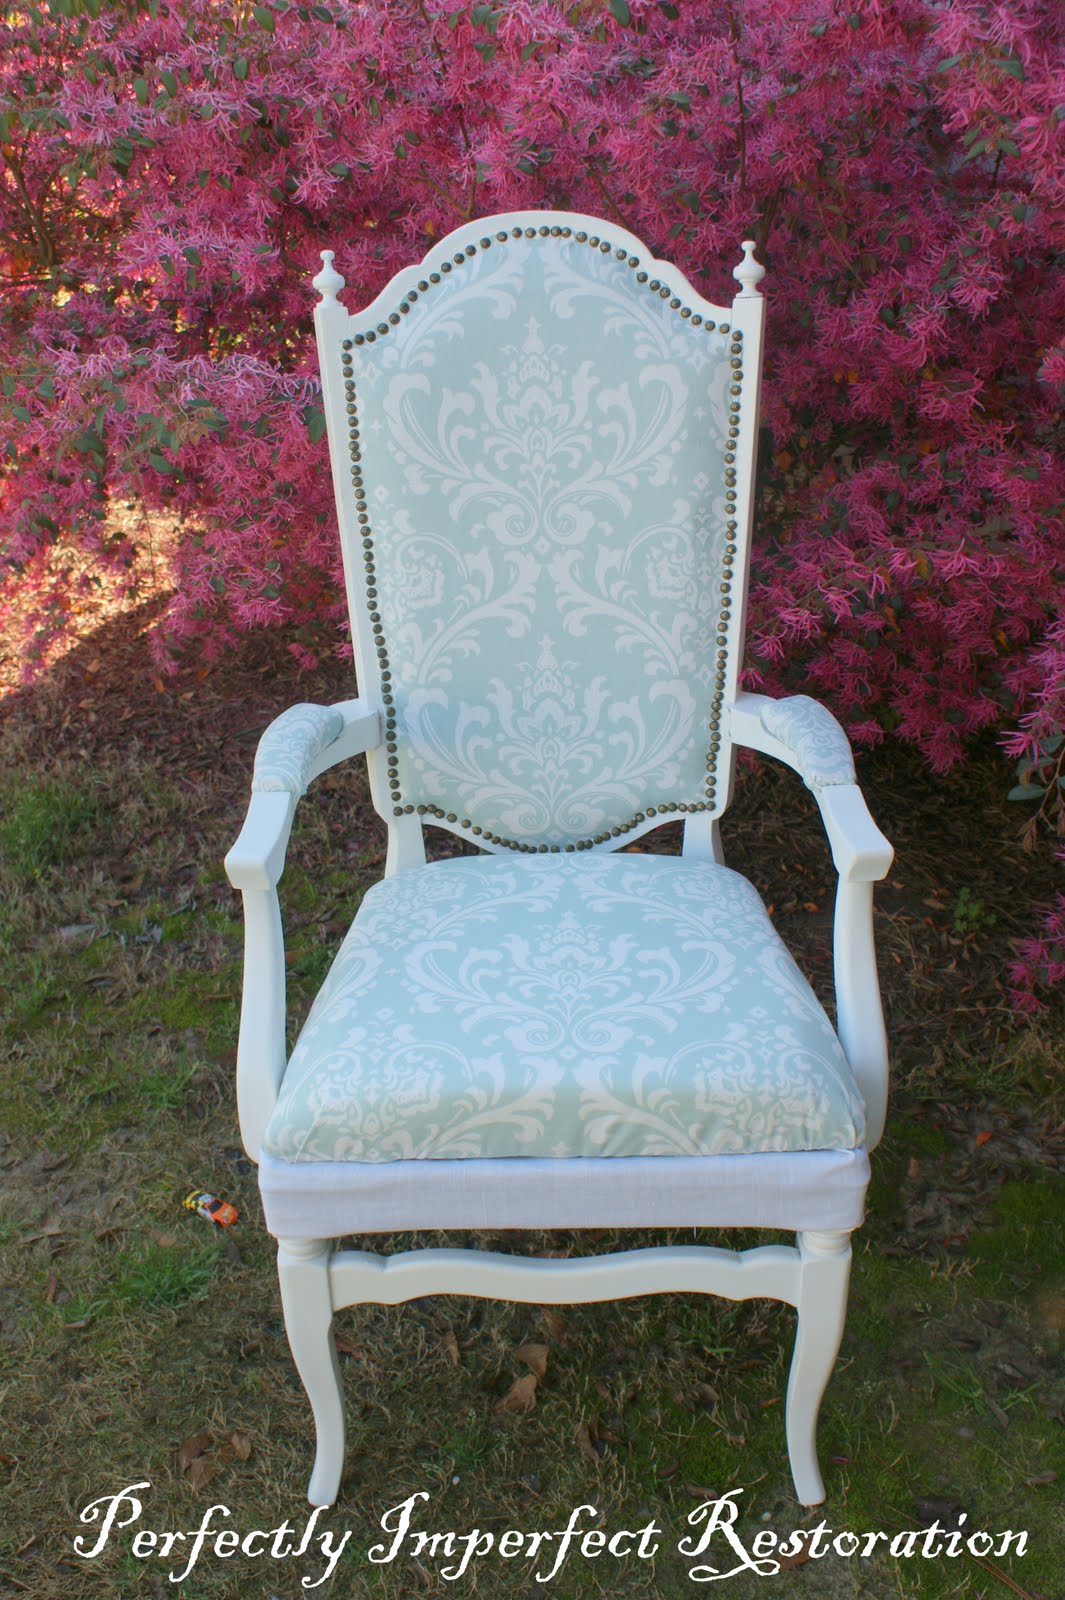
One more shot (because I’ve clearly not given you enough 🙂


Okay, you know I’ve got to know….tell me what you think?? I hope she didn’t disappoint!! It was so much fun to restore something for my own home…I’ve been sending those pieces out the door lately. 🙂

Thanks for sharing your creativity, Shaunna and for the great tutorial! “Darla” certainly is stunning and I love her new look! You crack me up! I enjoyed reading a tutorial – is that possible? lol Beautiful job!

Estate Sale Finds + DIY Plans

I love this time of year! I found some neat items this past weekend so my DIY brain is energized.
I found this cute bistro set. $15.

Perfect for the barn patio. I’m thinking blue/green and making some cushions. I like this Waverly outdoor fabric:
but that could change. What would you do?

My barn patio is mostly whites/beiges and that robin’s egg blue little wicker stool.

I got the rest of these items at a barn/estate sale. The homeowner purchased an old boyscout camp and turned the dining hall into his home. I wanted to peek in the windows so bad but I controlled myself. It felt like miles back a bendy/dirt road but the property was so park and trail like and beautiful.

I LOVE this vintage stool! It’s for our work bench in the basement since it’s only 1.

Restoration Hardware $295:
Ours. $20 (spider webs free):
A cute little step ladder:
My daughter liked this camp chair, so I’ll swap out the fabric. You can’t tell but it’s pretty dirty.
He had the locker type baskets but wouldn’t part with them but offered me this wire basket. I have an addiction. 😉

I got a quick tour of the outside on our way to the former cook’s cabin to grab windows that weren’t broken amongst empty mouse nests. lol. I even got to see a concrete snake pit! Thankfully from a distance and hopefully empty. Waiting for a nicer sunny warm day to clean them up. Old windows $1. I’ve seen so many cute ideas with these so I’m still deciding my DIY strategy.

I‘m also working on painting my daughter’s former bedroom and swapping the bedding from another guest room (which will then lead to re-doing that room). Here is a sneak peek. I only painted one wall so far because I wanted to test the color … and then I had make the bed, etc. to see if I liked it. What do you think so far? I also have my damask Cutting Edge stencil to try in this room too! More to come.

Before:
In progress (I rescued the brass chandelier last year and gave it a spray paint makeover). Yikes! The wall looks a little bright in this picture!And if that isn’t enough on my DIY plate, I’m still working on the dining room. We got the glass top for our reclaimed barn wood table (to protect the top). Now, what is your advice/magic for convincing husband that these are the chairs WE want:
when he thinks he likes these better?
??? What’s your secret? Mix them? He likes the spindly ones for the arm chairs. I prefer the wingback. I have my work cut out for me. 😉

What are you working on?
Okay – I know there are thrifty treasure parties but I apologize! For the life of me, I can’t find them. If you’re having one, I’d love to invite myself. Just let me know. 🙂

SouthernHospThriftyTreasures copy_thumb