Sometimes it takes making a temporary change until the permanent change is in the budget to keep me from going insane. It’s the reason that I’m painting the plywood floor in the bathroom I’m working on. Rather than leave it bare ugly stained plywood until it’s time for marble tile, a fresh new painted floor is an inexpensive temporary fix. I love the look of painted floors and I can’t wait to see it myself. I’m hoping I have the chance to work on it over the next  few days.
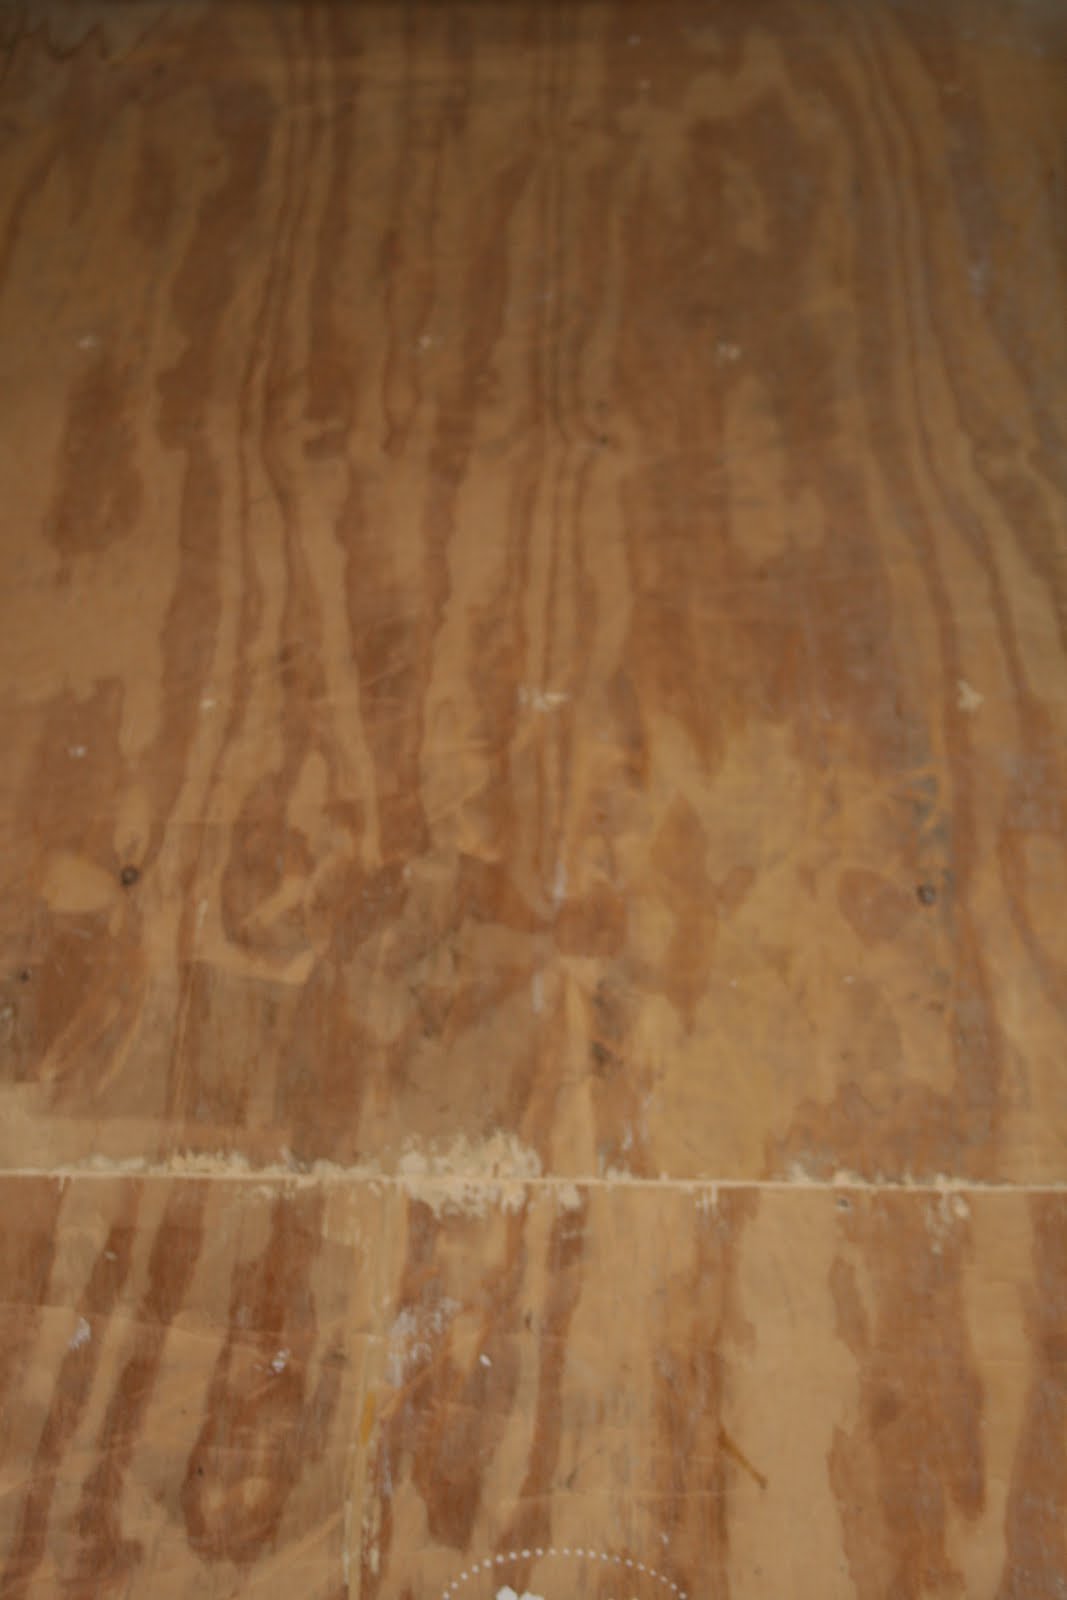
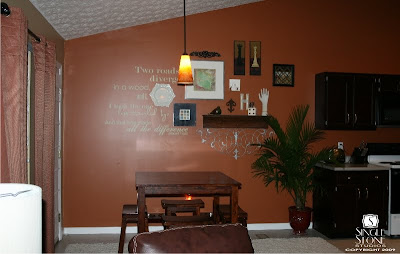
Here is the before (currently)…yikes!
 And here is just a little hint about part of what I have in mind, a little practice with primer. I’m hoping it works out the way I’m picturing it in my head.
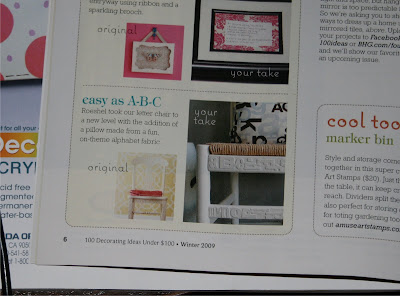
 So, when I saw Karli’s temporary countertop fix at RockyBella, it confirmed that temporary inexpensive fixes are worth it. Her countertops were ugly before (sorry Karli!) but now – they’re beautiful. Don’t you think?
Here is her post:
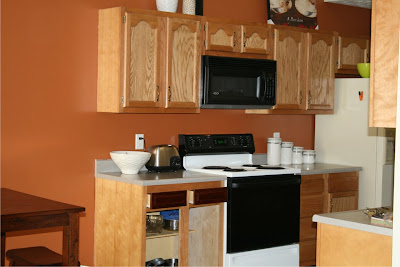
My kitchen counter tops are in a transitional stage. I plan to replace them one day soon with some tile or maybe even granite. I would like to tile the kitchen floor before we get to that project though. So to hold me over, I’ve taken on a little “ghetto fabulous” kitchen counter re-do. I shared with you how I did a test run with my little section of counter, in this post. I decided it was high time to get the rest of it finished. When I went back to the store where I originally bought the gray colored “stone” spray paint, I sadly found out the color had been discountinued. Whoops, what am I going to do now? One side of my kitchen is already done and “enviro teched” (clear shiney hard coat) over. I hunted around and around town for the same paint color, but I didn’t have any luck finding it. I picked out the closest thing to it. Once I got them next to reach other I realized it was definitely not close enough, I will have to re-do the first section I did. Oh Well.
Here is my step by step on how I painted my “stone” counter-tops.
BEFORE
*Note: If you saw my
first post on painting my counter tops you may be have noticed they are not as shiny as my first run at it. I have not completed the “glass shine” step yet. I will get to that explanation soon…
I taped off my sink and protected it with some plastic bags, as well as covering the cabinets in plastic. You will want to protect anything close because you are using spray paint inside….eeek. The cabinets above were not close enough to the spray so they were not covered, and they still stayed paint-less during the process.
I used Glidden’s Gripper primer in gray to coat the entire laminate counter top.
I popped the cap off the “stone” flecked spray paint, and gave it about three to four even coats. Since its spray paint I had to be very careful to keep the can at an equal distance from the counter the entire time. It is easy to get uneven circles that will make it obvious that you used a spray paint. Doing at least three coats will help to ensure that the application is even. I stayed about 8 inches away from the surface of the counter top.
I let it sit overnight to thoroughly dry. Then I got out a fine paint brush and some clear gloss polyurethane that I had left over from when I refinished our hardwood floors. This is the step where I COULD have used Envirotex to get a glassy look like I did on the other side of my kitchen. It would have been about $100 to do this step so I held off for another day. I will do that step very soon in the near future.
Envirotex was used on this section (above) to get a high gloss look. It is also much more protected and durable after using Envirotex.
This is how it looks with ONLY high gloss polyurethane, not Envirotex:
I did about 3 coats of the polyurethane, and let each coat dry for at least 4 hours before starting the next. I left the back-splash alone, just primed it. I plan to do a bead board back-splash soon.

So there you have it, my cheap little counter top re-do. Although its still not finished.
Thanks Karli! Your counter looks amazing! I wouldn’t be in a hurry to change it!
~~~~~~*~~~~~~~
The holidays are getting closer! I won’t even tell you how many days.
Have you seen the cute little skirt in the giveaway?
Guess what! Someone it going to win it!
Amanda & Katie from
Crafting in Laymon’s Terms
have generously donated this prize!
Adorable Lazy Day Skirt. It is made using the pattern by Oliver & S. The skirt is a 2T (11″ long) and made with Heather Bailey Pop Garden fabric. The skirt’s hem is made with bright green, satin ribbon and it has an elastic waist.

 T
They have an etsy shop too!!
http://sisterlylovecards.etsy.com
Check out the the link above for the CUTEST skirts, tutus, onesies – perfect gifts!
~~~~~~~~~

And a little reminder, please Click below to vote!
Once a day every day until 12/4.
THANK YOU x 100! I watch the # of votes every day!
Okay. I admit…maybe a few times every hour. I’m so thankful for your help!

See you Monday for the DIY Holiday Highlights!
~~~*~~~
Holy Cow! 100+ blogs!
Thanks to everyone for participating in the
DIY Show & Tell – your blog!
I‘ll leave it open for a few days…feel free to join the party if you haven’t already and mingle with the others! I‘ll be socializing this weekend. Hope to see you at your place!


 to beautiful…


 This one in my craft room:
 She also has a pretty exciting announcement. Pop over and tell her Congratulations!