


Hello DIY friends! We’ve been working on creating a recycled brick patio and path under the grape arbor/gazebo and I’ve been doing some crafty things before we initiate project Laundry Room Makeover.
Happy Crafters sells patterned iron-on vinyl. Isn’t that so cool?! Patterned! Houndstooth and polka dots…I see more personalized gift ideas in my future.
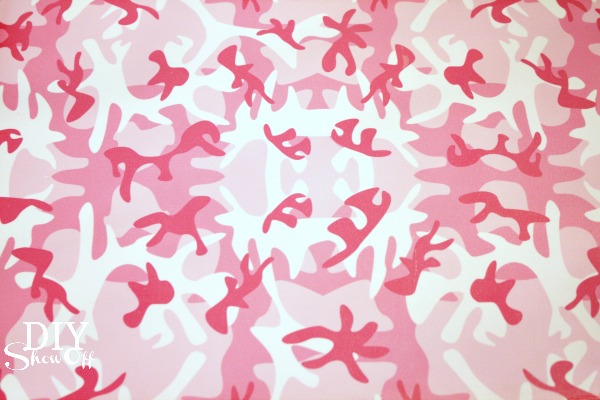
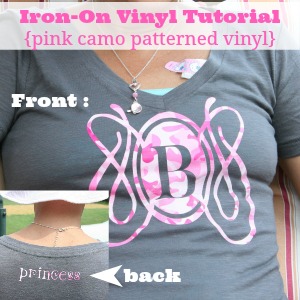
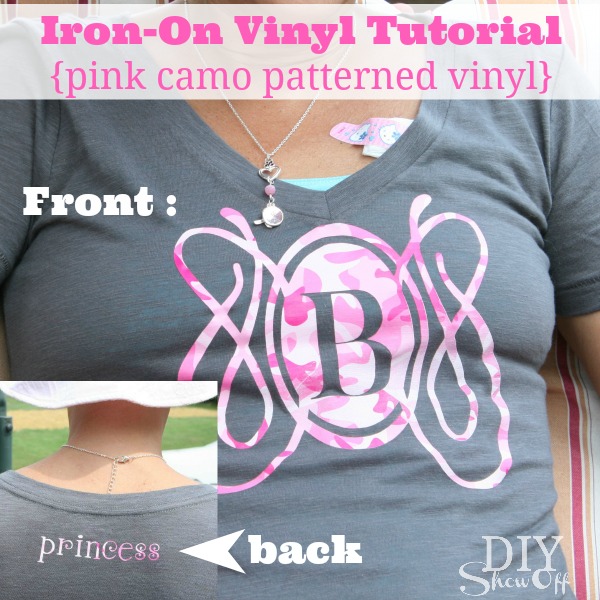
When I saw the pink camo iron-on vinyl at Happy Crafters, I knew I had to have it even before I knew what I’d do with it. You’re either a camo person or not. It’s not my style but several of my sister’s items of clothing have a camo design. And since she’s currently undergoing chemo for breast cancer, “pink camo” seemed perfect for creating her a special little gift. Her days are filled with not feeling so well, so comfort is key and I decided on personalizing/monogramming a t-shirt.
Materials:
- t-shirt
- pink camo patterned iron-on vinyl from Happy Crafters
Tools I used:
- Silhouette Cameo
- Iron
Tutorial:
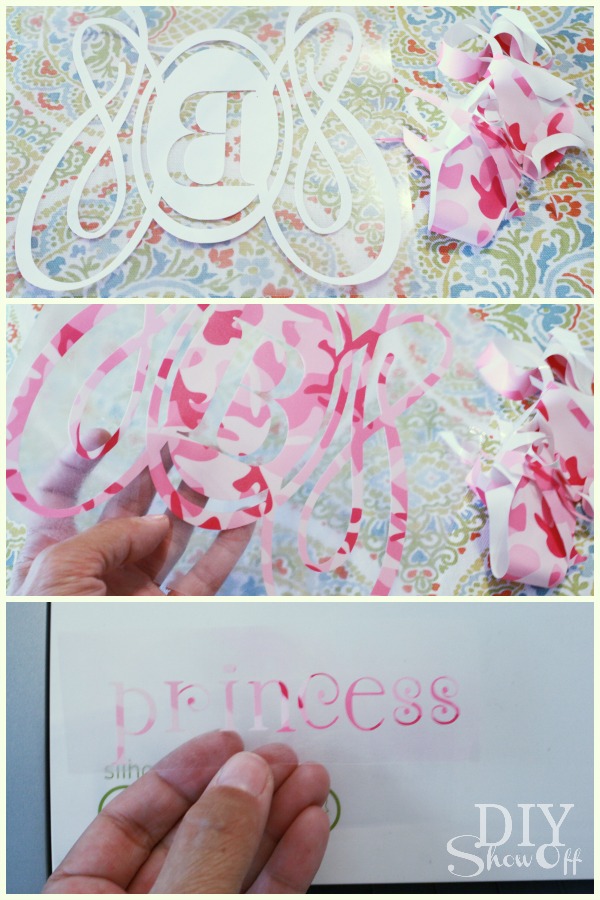
1. I started by creating and sizing my design using my Silhouette Design Studio software. I had purchased a fancy letter “B” for another project which worked well…all scroll-y. Perfect and reminiscent of cancer ribbons. I also spelled out “princess” for a little extra embellishment. REMEMBER TO MIRROR YOUR DESIGN (right click, “flip horizontally”)!

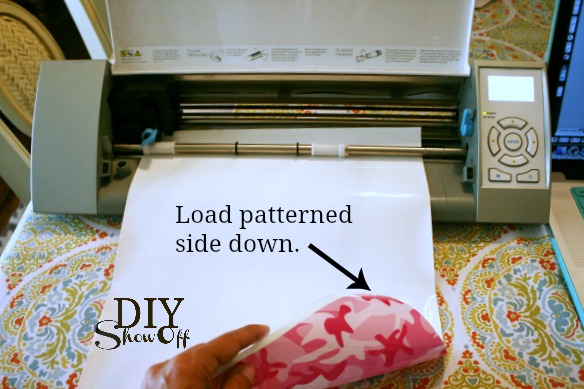
2. Load the vinyl patterned side down into the machine.
3. Settings for cutting the iron on vinyl are blade 2, speed 8, thickness 5. Then I simply sent the design to ‘cut’.
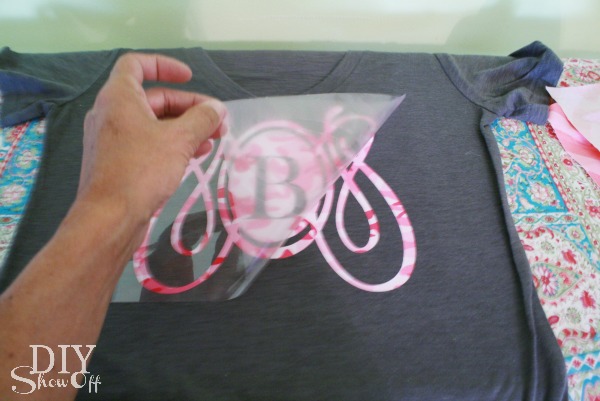
4. Once the cutting was done, I weeded (removed) the excess vinyl that’s not a part of the design.
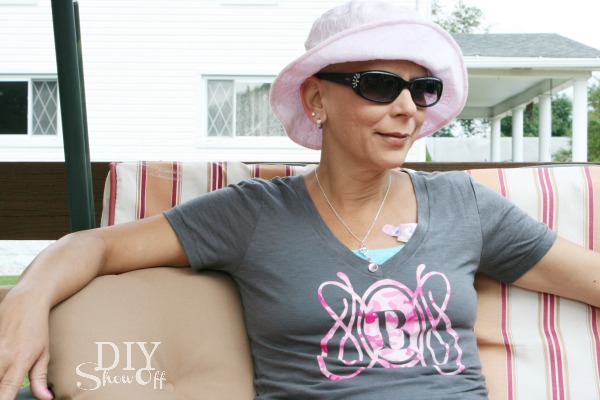
5. Place design onto t-shirt.
6. Cover design with a cotton dishcloth. I used a scrap piece of cotton fabric. Iron on high, pressing down 25-30 seconds on each part of the design (no steam).

7. Remove the transparency. (If the design lifts too, then place the transparency back into place and iron again.)
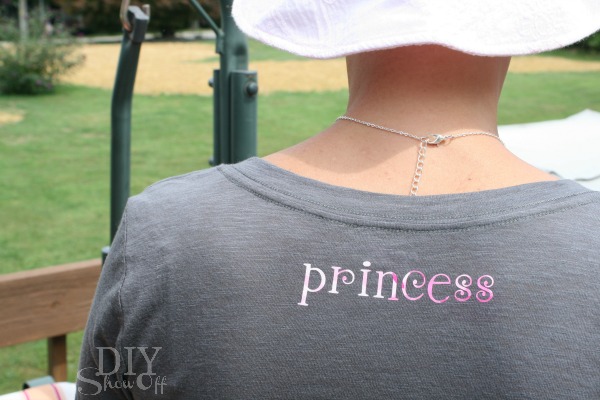
That’s it! Easy! I repeated the same steps to adhere “princess” near the neckline on the back of the t-shirt…since she doesn’t have hair covering that area right now. Here’s my sister rocking super model bald and wearing her new t-shirt…she’s such a good sport since this was right after her chemotherapy.
I really loved working with this vinyl. It has sort of a “rubbery” texture. Great for making personalized gifts. Check out the other patterns too!
*This post is sponsored by Happy Crafters. Tutorial, experience and opinion is my own.

Perfect! Your sister is blessed by you. Prayers for her healing.
Hugs
Cecilia
Your sister is gorgeous and rockin’ her new look. (I can’t believe how much you look alike.) My brother is also going bald these days and is handsome as ever. My heartfelt wishes that your sister will be well again soon and over her ordeal. I hope to have one of these wonderful machines one day. Your t-shirt design is very pretty! Have a great weekend!
That is adorable! I Love it 🙂 Sending healing thoughts to your sister, she certainly is rocking her new shirt!
It really is adorable. Looks great on her too.
I love your design choice thank you for sharing!!! Your sister is beautiful without hair 🙂 Just a stunning picture. God Bless her!!!
Thanks so much, Kathy! xo