


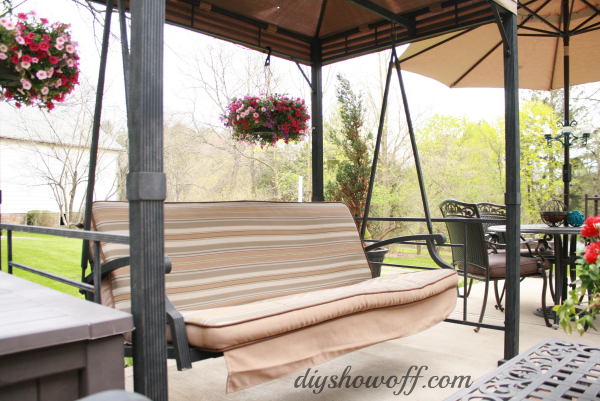
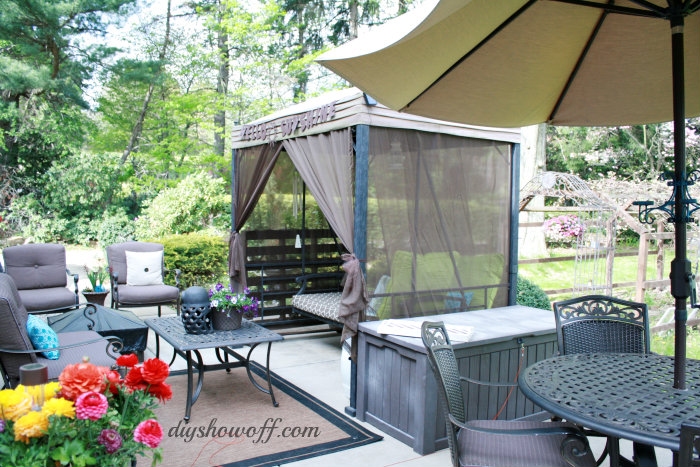
The patio makeover is looking so good but our canopied swing was looking a little tired…
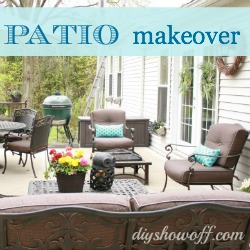
see patio makeover
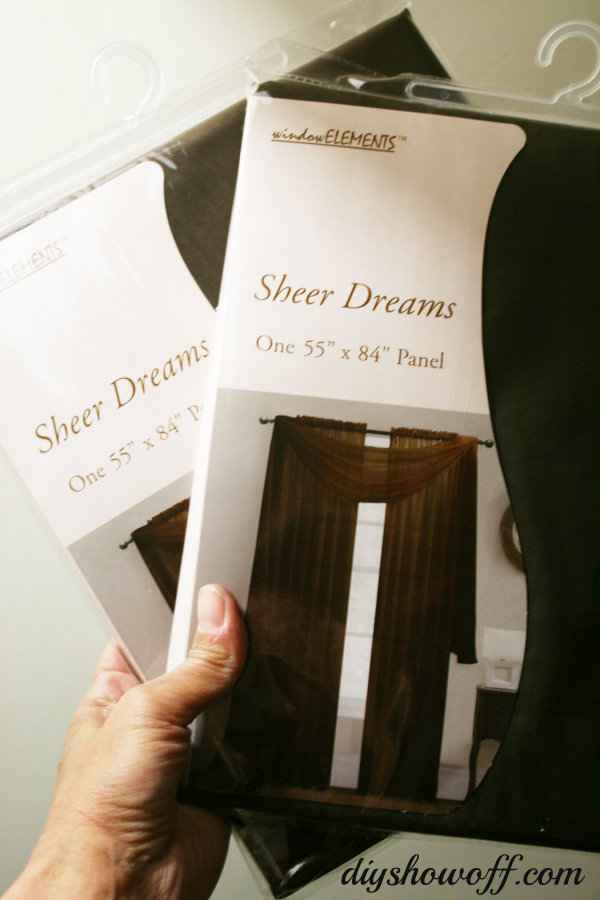
I love the drapes we use on our gazebo every year. I purchased them years ago from Moshells.com. The sheer drapes go up in May and come down in October. They hang outdoors for those 5 months in the rain, in the sun. These were the most affordable sheers I could find and I am so happy with the quality. No fraying, no fading. Still good as new…
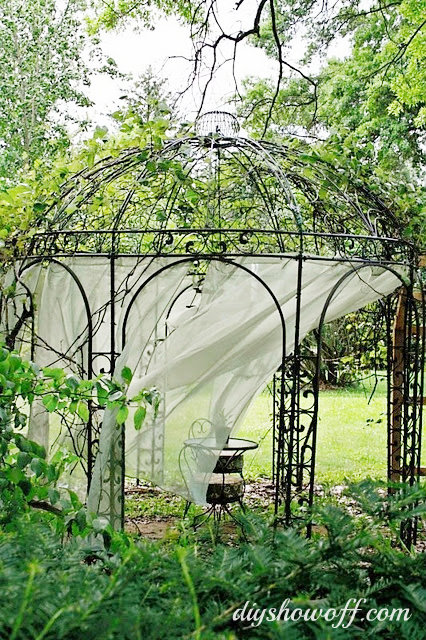
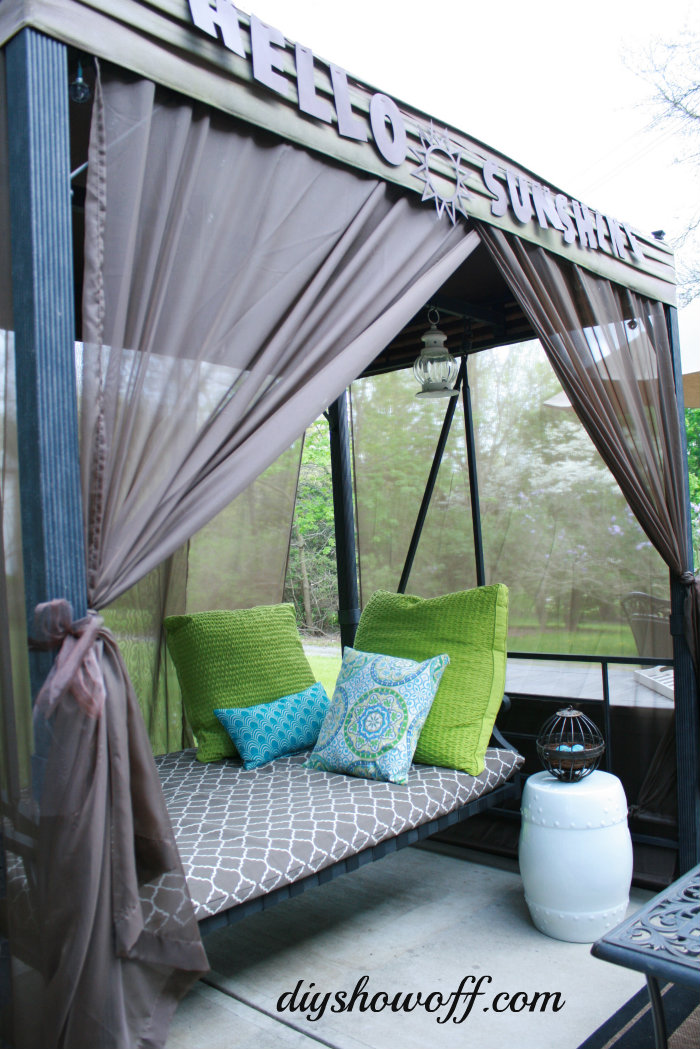
So when I decided to give our canopied swing a makeover, I knew I wanted to use sheer drapes again (perfect for a romantic summer vibe).
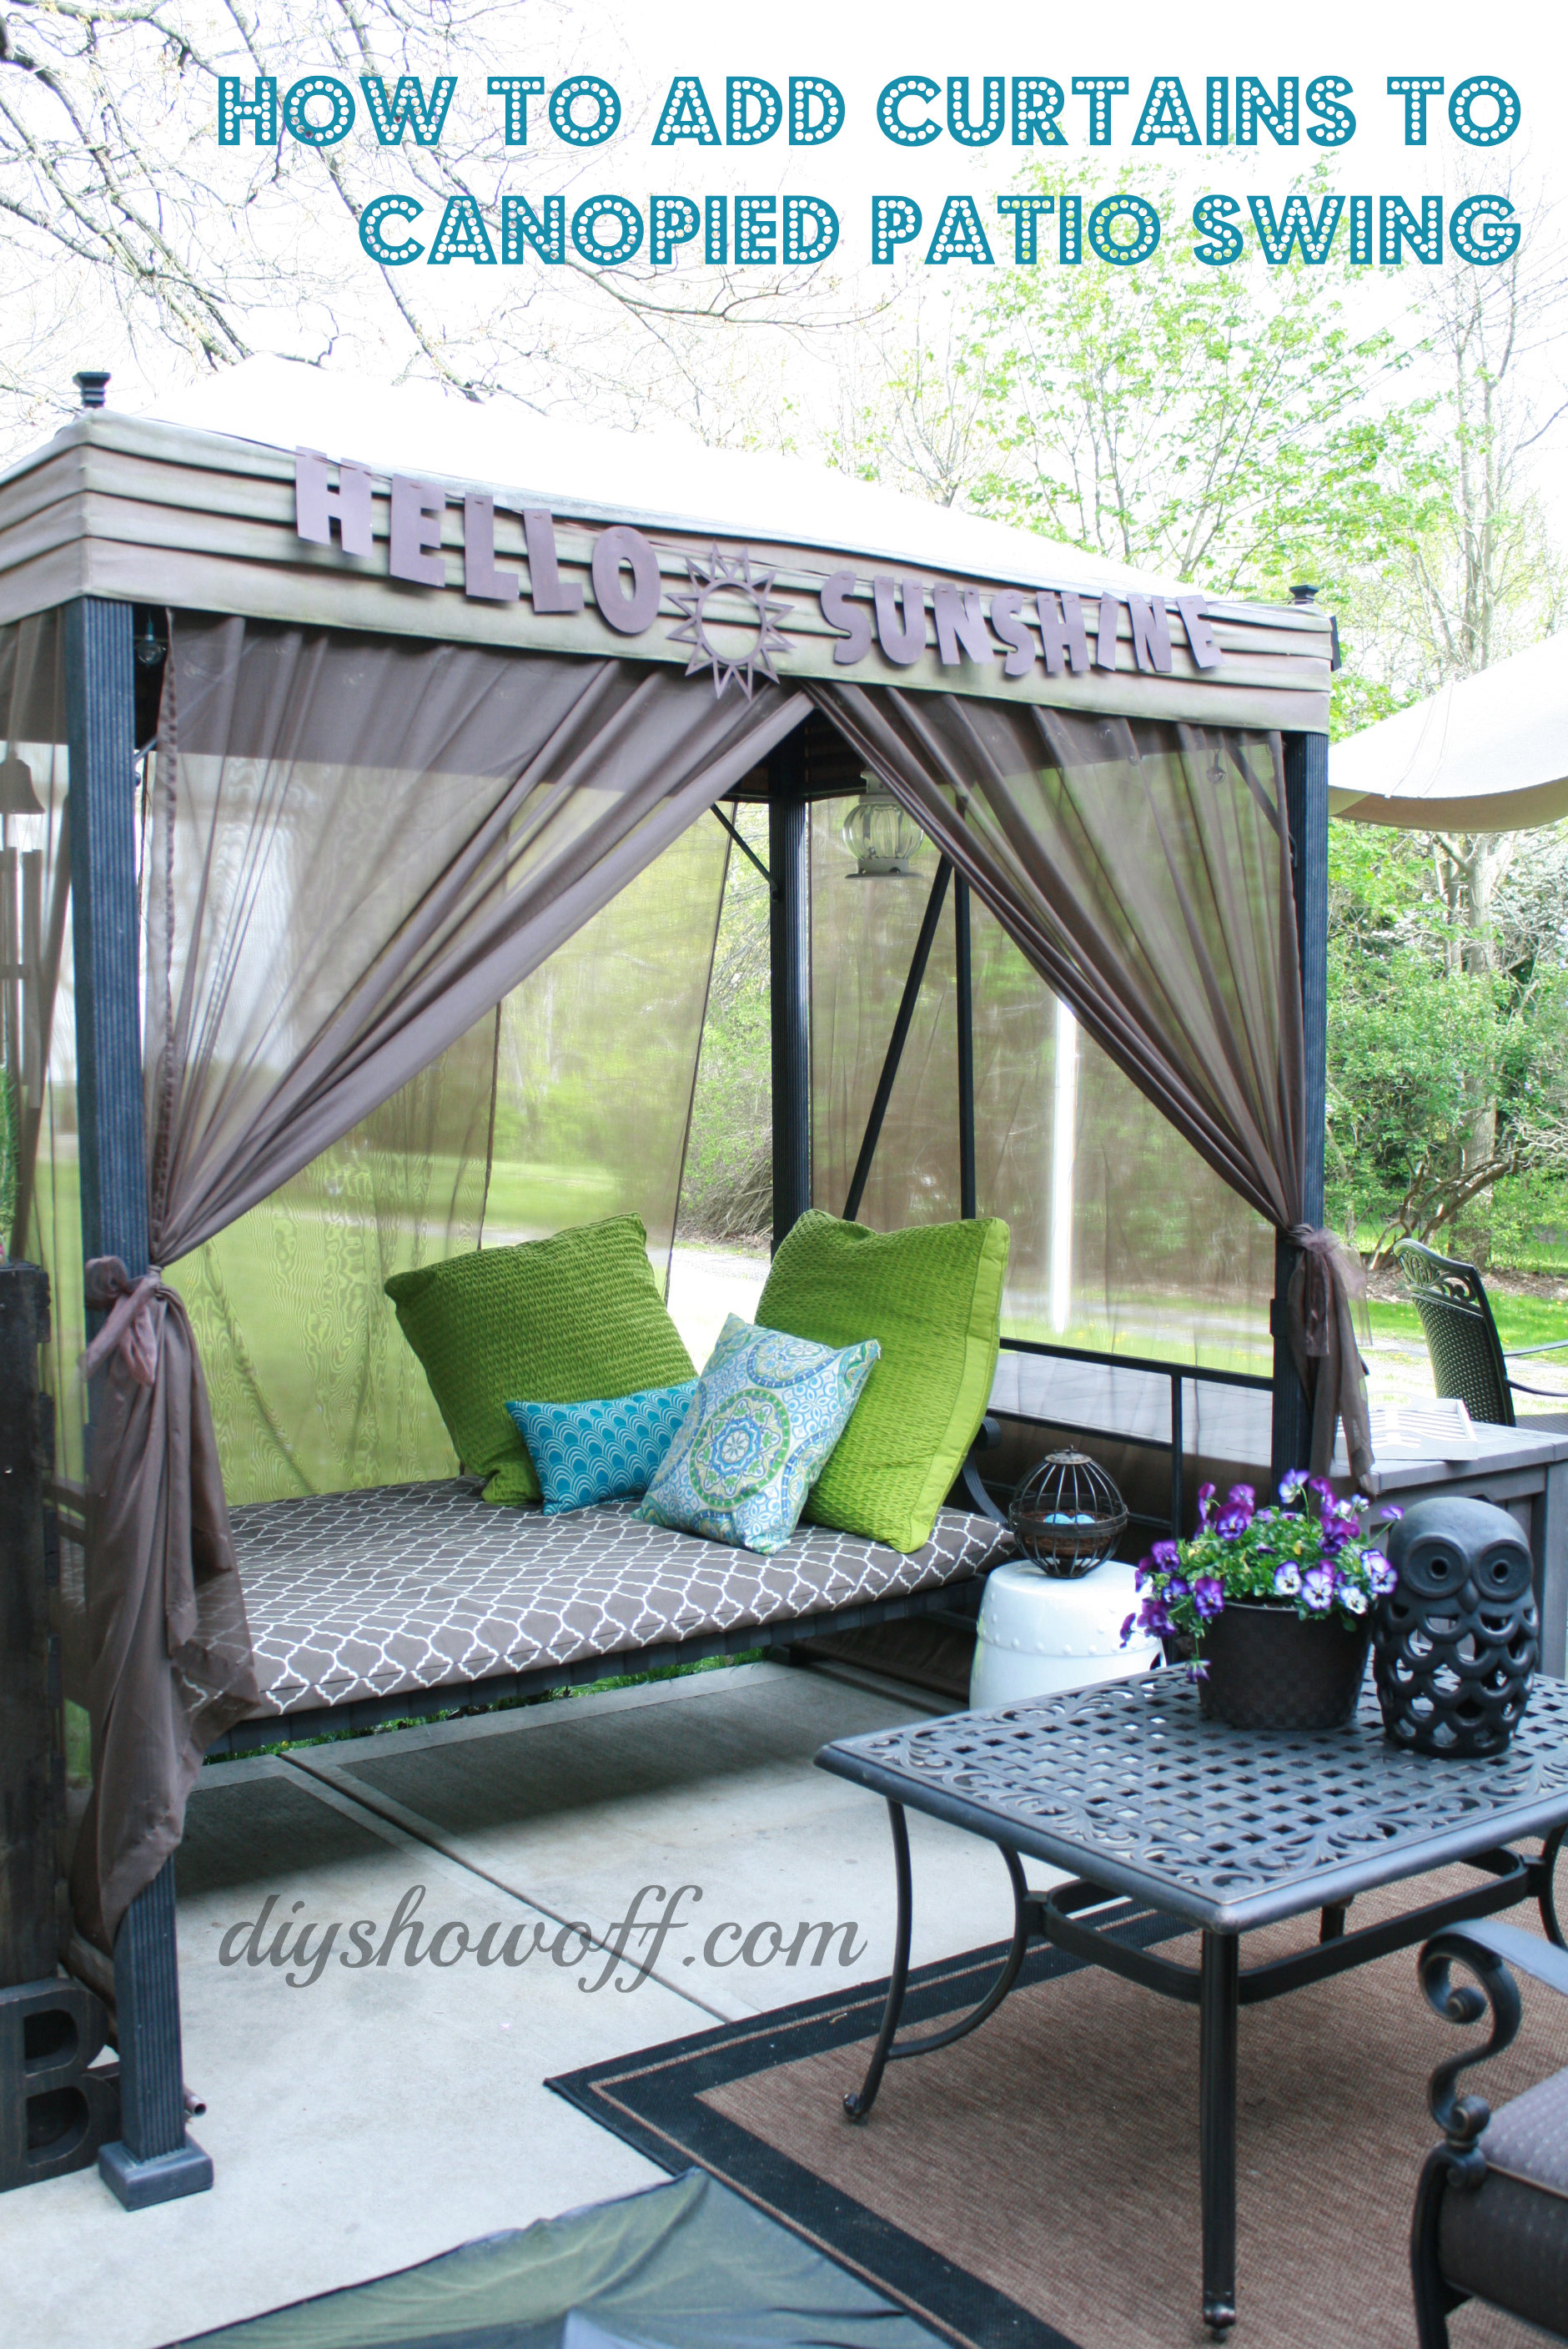
Did I mention that not only do I love the quality but the prices are budget friendly? Yup! The sheer panels I chose are $3.99 each.
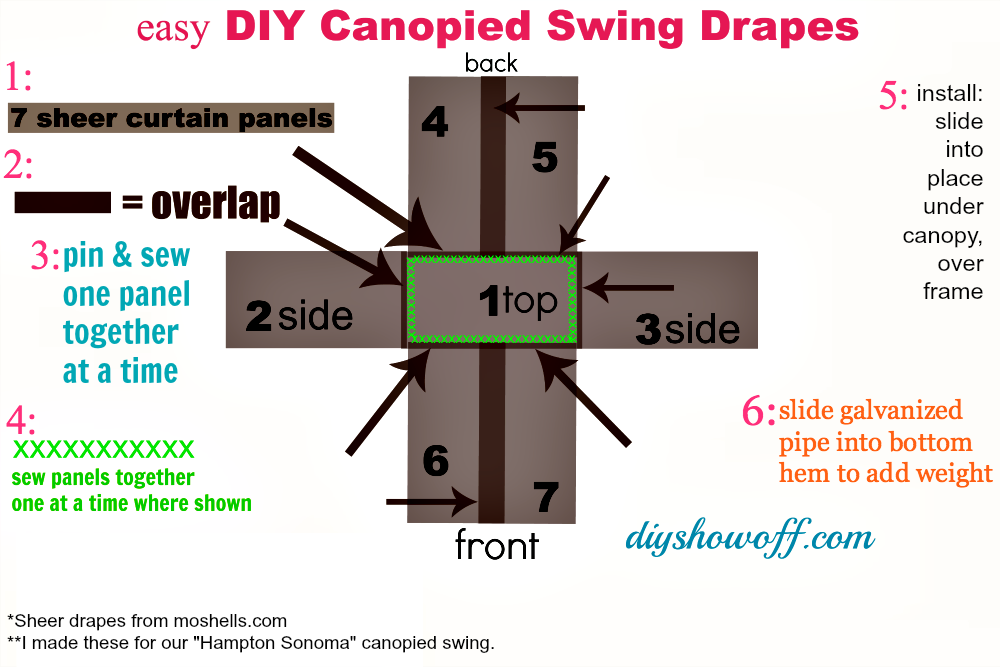
I used seven 84″ sheer curtain panels to enclose our canopied swing. Here’s how I did it (drawing it up seemed easier to explain)…
I started with the top (shown in center below), then pinned and sewed each of the other panels around the top curtain panel:
Wasn’t that easy?!
Then I slipped it into place (under the canvas canopy but over the frame).
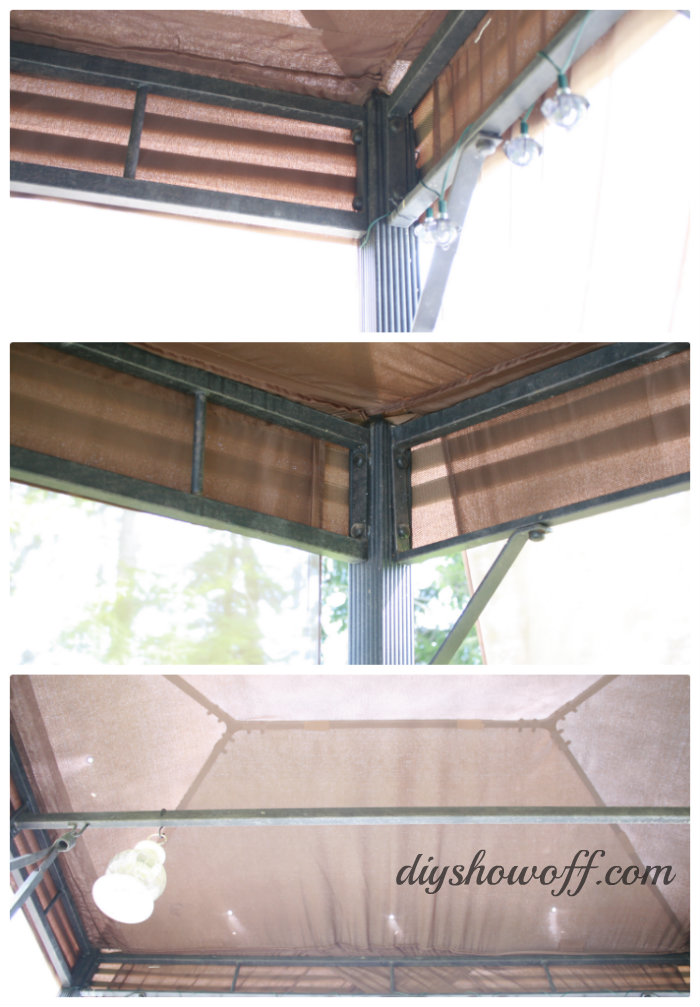
{I added some outdoor solar lights for night time too.}
And the curtain panels blew around in the breeze. That won’t do!
To keep the curtains from blowing around, I purchased galvanized pipe (two 60″, two 48″ and two 6″) and gave them a coat of brown spray paint. Once dry, I simply slid them into the bottom hem of the sheer curtains.
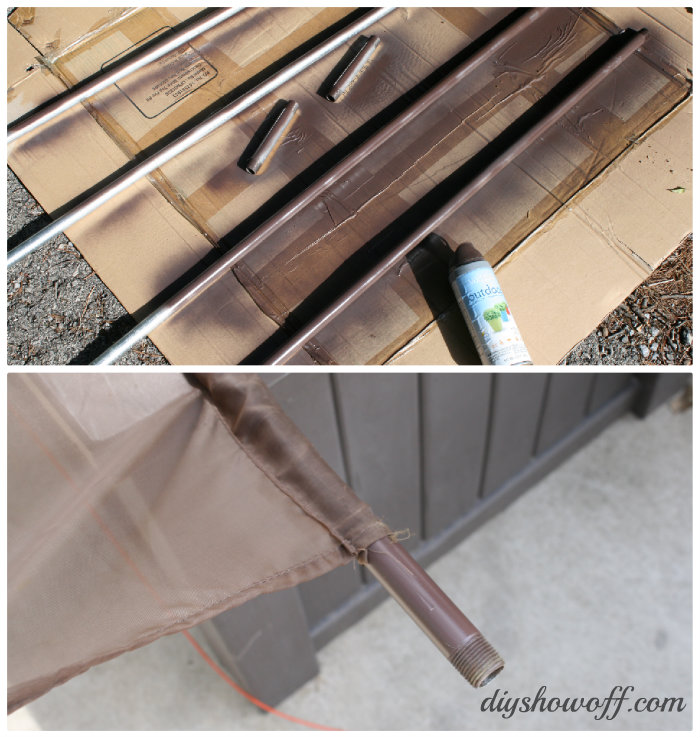
The 60″ pipes for the sides, which are long enough to tuck on the inside of the frame (longer than the curtain hem). I’ll probably even grab some pipe caps next time I’m out.

The 48″ pipes are for the back side (because the curtains overlap…one long continuous pipe won’t work)… When it’s functioning as a swing, the pipes will hang/weight the sheer drapes. When it’s in the daybed position, they’re tucked under the frame before frame pins are inserted.

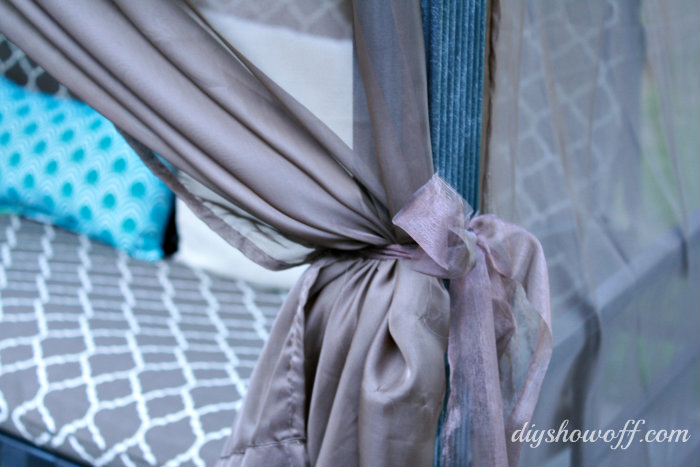
I used the 6″ galvanized pipes as weight for the front curtains which are tied back with organza ribbon.
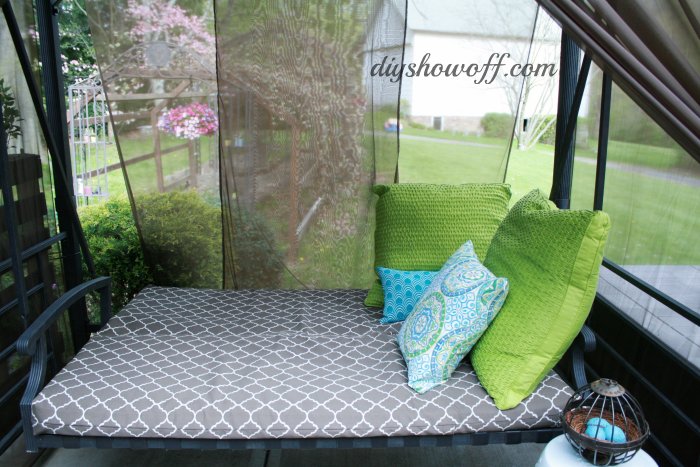
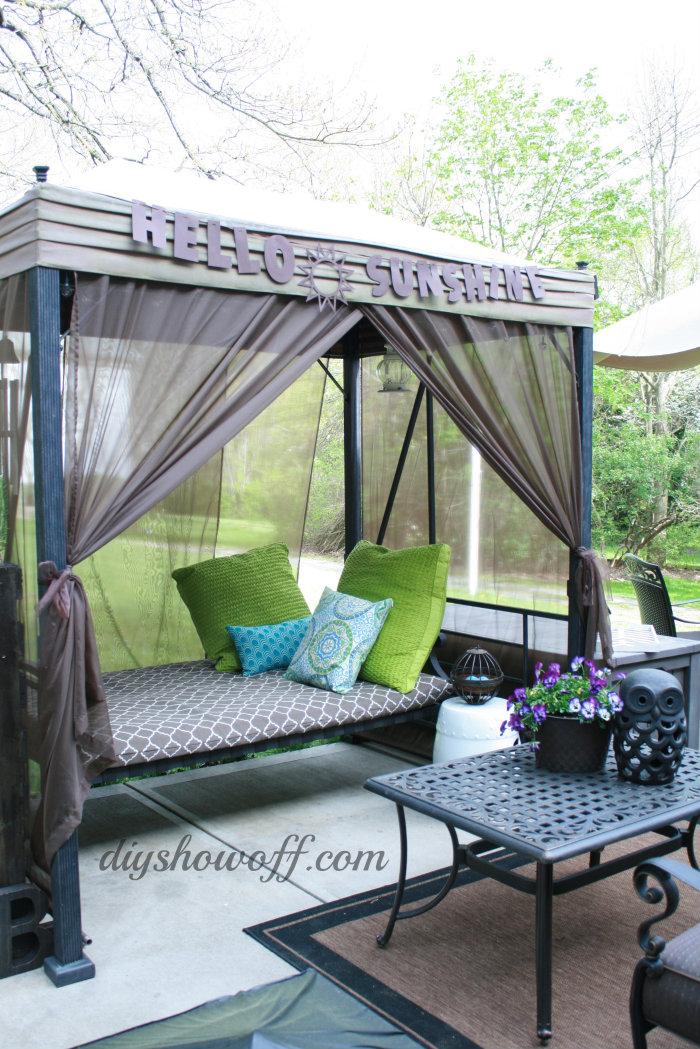
I also covered the cushion (super easy envelope-enclosure pillow cover style). Fabric is Maco Indoor/Outdoor Pisa Texture Cocoa. Just one huge pillow cover…the fabric design lining up just right was a happy accident! Love when that happens!

{swing}
{daybed
Before…
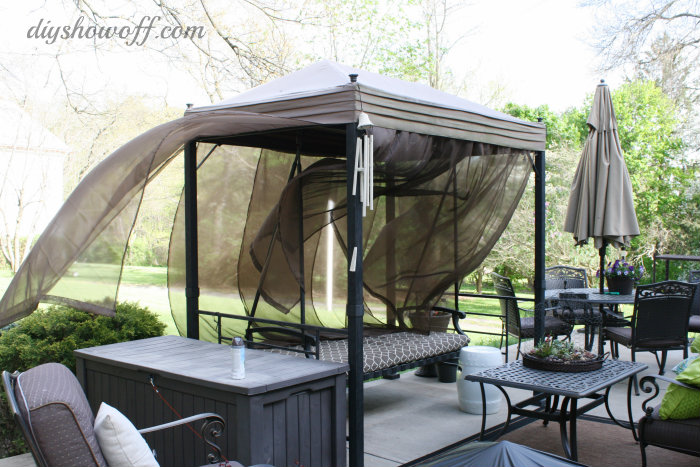
After…
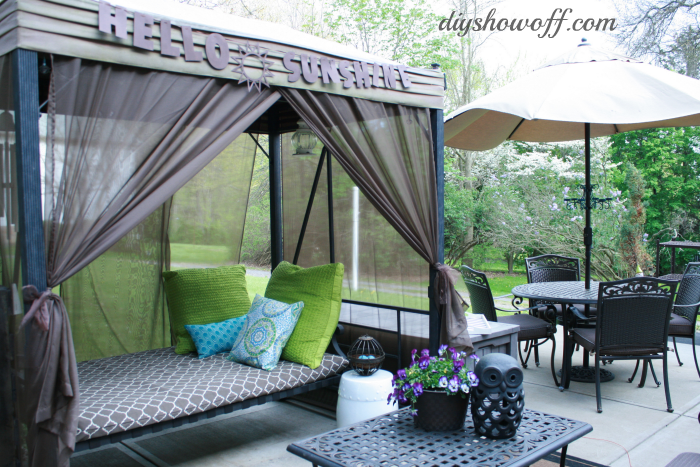
Much better, right?
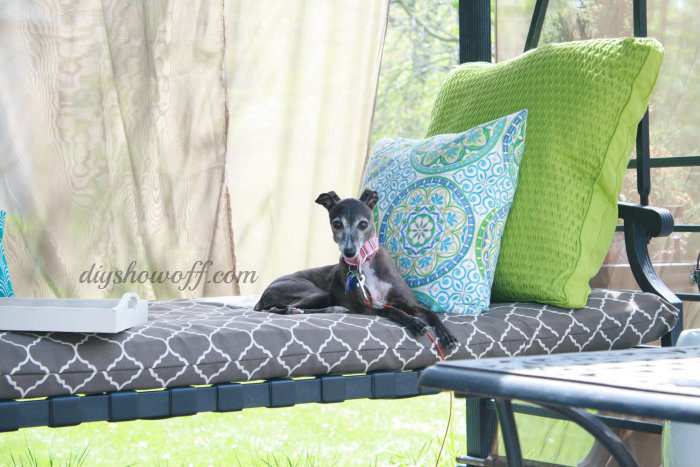
Our swing folds down into a daybed. When we’re entertaining, I simply remove the pins and fold it up into more of a ‘bench with back’/swing position for additional seating. But when it’s just us, this daybed set up is perfect for lazy naps on warm afternoons. Just ask CocoRosie…
For those who have inquired, this is the Hampton Bay Sonoma swing which we purchased in 2008. I can’t find it available anywhere now. Here is what I was able to find that is similar: Target Pergola Swing, Target Gazebo Swing.
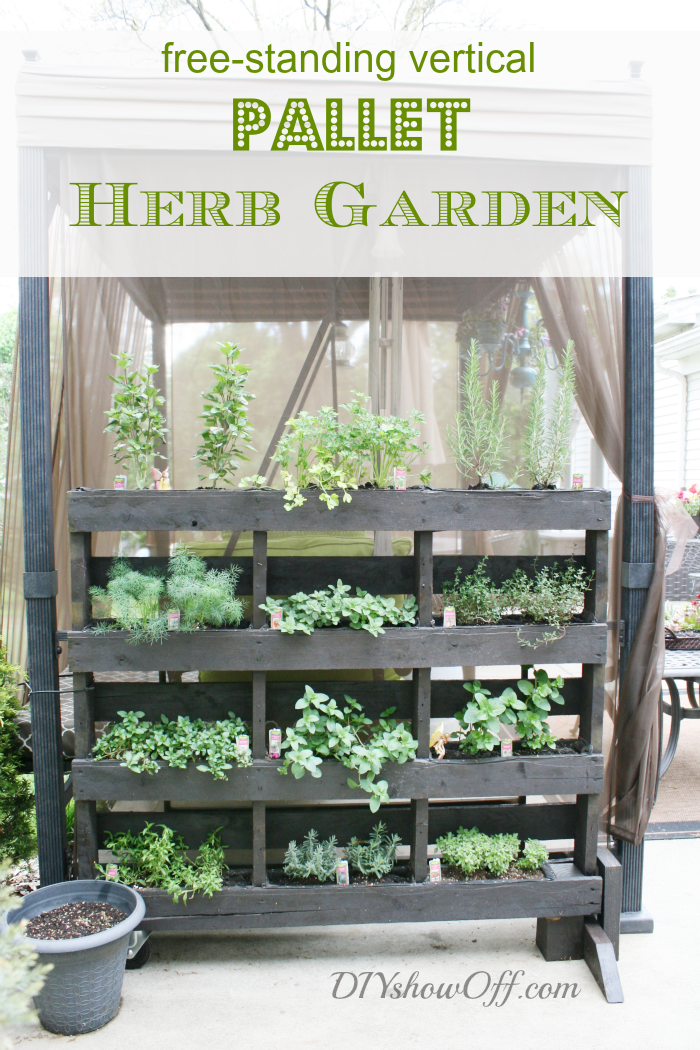
You may also be interested in our free standing pallet herb garden…
Sharing here:
*Big thanks to Moshells who generously provided me with the above sheer drapes in exchange for my review. Watch for the ‘free shipping’ promotions! I am a previous satisfied customer (present and probably future too) and as always, opinion, experience, tutorial and photos are my own.
I could totally take a nap out there Roeshel! I love all your updates!
That’s a remarkable restyling of your swing! It’s so romantic now. Pinning
It turned out fantastic! 🙂
That is so fabulous Roeshel!! I’ve never seen anything quite like it and I just love it. Genius! 🙂
Vanessa
That ook great! Such a huge improvement!
What a great idea! You’re so clever. I’d love it if you could link this up to our party, Give Me The Goods Monday! {1 party, 5 blogs}
http://www.somuchbetterwithage.com/2013/05/give-me-goods-party-7.html
Have a great week!
Jamie @ somuchbetterwithage.com
You have a beautiful backyard. As much as I love a porch swing – I can’t get myself to buy one as they are not very stylish looking and so big. The way you have restyled your swing looks fresh and relaxing. I would buy one like yours, for sure.
What a great spot for lounging and relaxing. And the curtains add that perfect romantic touch and give you a hint of privacy. Love your outdoor space!
This is so cool! Love it Roeshel!
Love it! Looks so inviting. 🙂
I Love it! By the way, where did you buy your porch swing/daybed?
Thanks, Melissa. We bought it in 2008 and it’s no longer available however, I’ve included links in my blog post about some similar options. 🙂
Wow, Roeshel, you are a genius- I would have never thought to use pipe to weight the curtain hems. And what a great deal on the sheers- I’m heading over there now to check them out. 🙂
Wowza! I love what you did here! Love the sheer curtains and fabric you used for the seat. My goodness you have a beautiful backyard! 😀
Oh, it was beautiful before, but wow with the added updates. I want one and I would definitely sleep out there at night too!
That looks incredible. I would be out there drinking ice tea, just a swinging, all day!
Wow this looks great! I pinned to the Better Homes and Gardens board. nicely done 🙂
Hi, I can’t get your images to show up on pinterest? I’m trying to pin (have tried 3 different ones) and they all show up side ways on pinterest. If you want to send me an image, I can upload it to the BHG board or let me know if there is a trick! 😉
Thanks, Jessica! I emailed you a picture. I’m still trying to figure out my Mac (my PC automatically rotated the pictures on upload) and even though I edited my photos and rotated them and they show correct in the post, they still pin sideways. Driving me insane. I’ll get the hang of it soon! Thank you so much!
Roeshel this is so very pretty! I wish I had a porch swing to makeover now. What a great little getaway. I’ve fallen in love with your outdoor space! So pretty!
I LOVE what you did with this swing. My mind is spinning, spinning, spinning with ideas now.
Oh my this is so very pretty and the pup is adorable!!!
Happy Mothers day!
XO
Kristin
What an amazing space! I would love to relax there. We definitely need to get a swing!
Oh my goodness, I love this so much! We have a covered west facing patio, which is awesome but I have been toying with the idea of using curtains…I LOVE THIS!
I love the curtains especially for the price! What a great idea to recover the seat using the envelope technique!
looks so restful…I need to get me one of those! I love the the swing converts, so necessary for summer nights.
Kim@reposhture
That is awesome!!
Thank you for sharing this. I also have this same swing/daybed that I also purchased in 2008 at Home Depot. I love mine, but would like to update it and to think I was going to buy a new cushion set and top which would set me back about as much as I paid for it in 2008, but now I can do this and it will be just like new, lol. I enjoy reading your blog and look forward to new ideas. Keep up the good work and keep sharing.
I have this swing/daybed and the canopy is shot! Do you know of somewhere that I can order another one? Or do you have any ideas or patterns to make another canopy? Love your ideas, by the way!
Hi Shanna! Actually, yes! I’ve seen them on Amazon here: http://amzn.to/1L5USiJ
We need one too!
🙂
Thanks so much for stopping by! Good luck!
Hi! I have the exact swing! I’m needing a new pad and am dreading buying it bc it’s so ugly. LOVE what you did…..where did you find the pillow covers? Are they waterproof?….or have a zipper? Any thoughts on how to diy the cushion + cover would be appreciated!…or should I just purchase the cushion then cover it with the pillowcase your talking about??
I apologize for the delay, Cathy! Hi! The decorative pillows? They’re not waterproof. I always bring my cushions indoors when rain is in the forecast. Most of the pillow covers I buy have zippers. If I make/sew my own, I just do an ‘envelope’ style like I did for the larger cushion cover I made. Did you ever see the tutorial of someone sewing three pillow cases together in a row (long sides) to create a large cushion? I wonder if something like that would work too? Otherwise, when I redid my mom’s, I purchased foam from JoAnn’s. It’s pricey though! Definitely try a Google search for replacement cushion for your make/model swing (I found a replacement canopy for mine that way on Amazon).
I love your swing redo. I have the same swing and horrible looking older cushions. Can you share with me where you found the pillow cover that you have on the large cushion? Are there other fabrics? Thanks for the great ideas!
Thanks, Mindy!
I made the cover. It’s a really easy sewing project! Just an envelope enclosure rectangle (Sunbrella fabric). No zippers, no velcro. And sewing straight lines. Hope that helps!
Oops. Just looked and…Fabric is Maco Indoor/Outdoor Pisa Texture Cocoa. I just measured the cushion and used a long fun of fabric to create a huge pillow cover. It’s been since 2013 and still holding up!