


It’s the time of year forshopping flea markets and estate sales this summer and you’ll likely see lots of costume jewelry, brooches, charms, earrings, etc. – CHEAP! Vintage brooches are so pretty but they’re not something I’d wear on a regular basis. Although if you do this project, you’ll be tempted. and develop a new appreciation for these beautiful pins. Inspired by the recent trend of brooch bouquets, I loved the look of clustered jewelry.
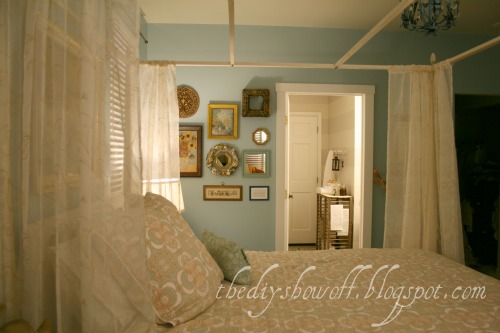
I have no need for a bridal bouquet, but a wreath – now that would add a pretty touch to home decor. I could see this in my future vintage inspired dressing room:

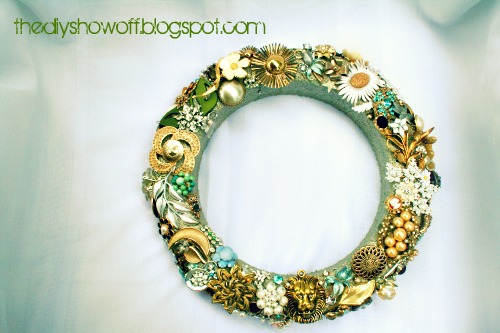
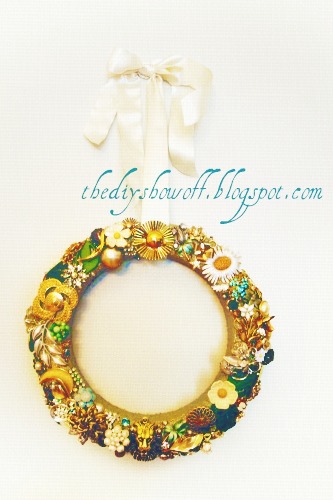
My wreath has a 10″ diameter and took over 100 pieces to get to the point pictured. Keep your eyes open at your thrift-hunting adventures and start collecting brooches, earrings, charms, costume jewelry, buttons, any small ornament. You might even have a few pieces lying around that you’d like to include for display rather than hiding away in a jewelry box. Brooches can get expensive. We set a limit of $1. Sometimes we’d go just a bit higher (no more than $3) if there was a pretty one we just had to have but for the most part, yard and estate sales proved to be .25 or 3 for $1. We also scoured the craft section in the thrift stores, scoring large baggies full of jewelry surprises. The local pawn shop/jewelry store gave us a good deal on costume jewelry too.

Styrofoam wreath
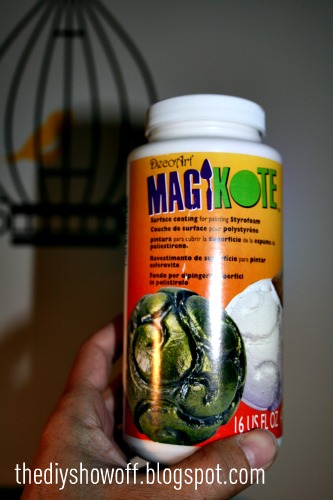
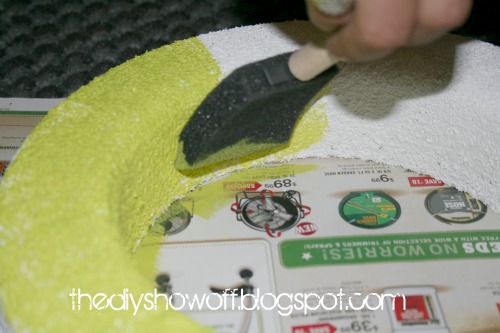
Apply Deco Art MagiKote to the Styrofoam wreath.
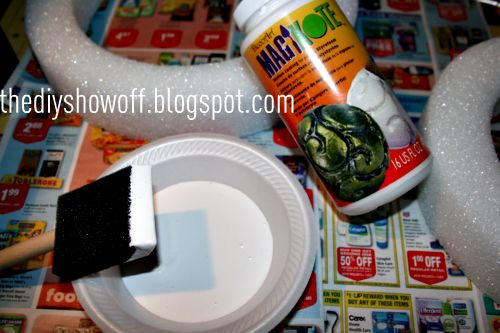

MagiKote aids in making Styrofoam a paintable surface by sealing the texture, otherwise paint hits the top edges but not the Styrofoam craters. MagiKote also makes for a better pin-able and glue-able surface. Brooches etc. get moved around a lot during placement. If it wasn’t for the MagiKote, there’d be a lot of Styrofoam crumbs and chunks falling out.


Let dry.
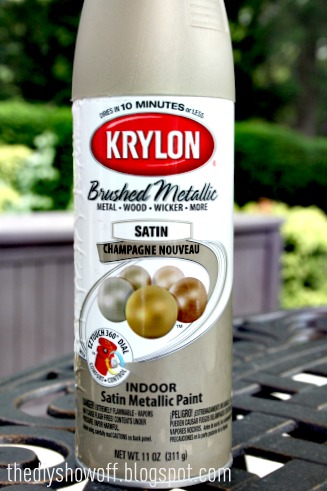
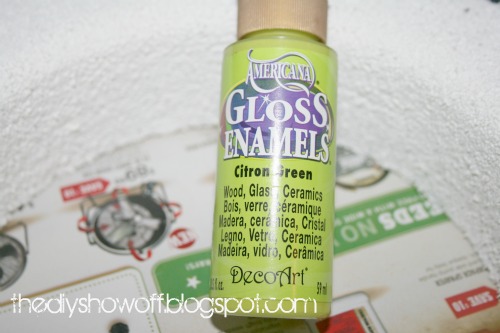
2. Paint the Styrofoam wreath form (a Styrofoam square would be cute too!). I used Krylon’s Brushed Metallic. Color: Champagne Nouveau. The MagiKote also creates a protective barrier so that my spray paint didn’t ‘melt’ the Styrofoam form.

I like that Krylon is quick, easy and fast drying. This sets a background for the pins. I painted my to blend…


5. Once you have the big pieces in place, fill in with smaller pieces. Open pins stick into the Styrofoam.
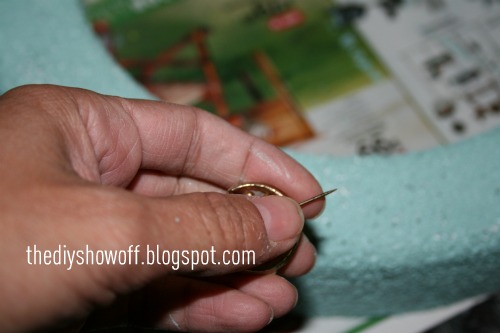
Earring posts make placement easy.Clip-ons are just as easy but use wire cutters if necessary to cut backings for easier “pinning”.

Use wire cutters to help when needed. Barrets, pins, earrings all have backing that can be used to secure to the styrofoam. Hot glue and straight pins will help too.
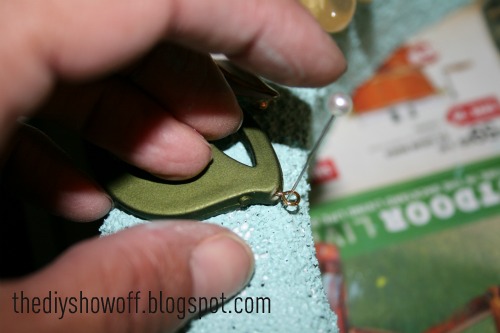
My wreath doesn’t use glue but occasionally I used colorful pins, so it can be disassembled if needed…a fun way to display jewelry that is worn or prevent keepsakes from being ruined.

Here is my finished (almost – a few more brooches needed for the inside of the wreath)…

Bri’s wreath:
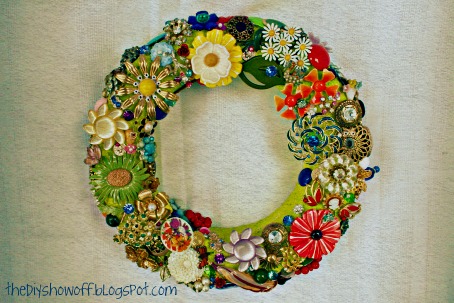
All finished! Well, almost. We still have some extra spaces to fill in as summer progresses and I’d like to fill in the inside as well…it’ll take some time. Fun for a game of “I Spy” too! What do you think?

These are gorgeous! I will be keeping an eye out for old jewelry
And I have to get some of that MagiKote ASAP!
I still think these brooch wreaths are so cute! Everytime I see vintage jewelry now I think of these! Thanks for hosting!
Wow that looks really amazing!
Thank you for sharing;)
Lovely greetings…
http://pudel-design.blogspot.com/
Stunning! Thanks for the tutorial.
I love it. Last week I actually tried to find some brooches while out thrifting. No luck, but I will find them. Beautifully done.
How brilliant is that?! So beautiful and creative!
really terrific! i have tons of stuff i could use to do this! thanks for hosting!! susan
Thank you for hostessing, enjoy the rest of your weekend!
Now that's what I should do with all my grandmother's brooches.What a great way to show them off!
myblissequalsthis.blogspot.com
That is gorgeous! Such a show stopping piece. Thank you for hosting a great party again.
These are gorgeous! I love color, so I will definitely be trying this with multicolored pieces. 🙂
day-and-age-design.com
Still love them. But still can't get them cheap in Sweden! Going to be using the ones that I have collected as part of a wall hanging above our bed as we remodel our bedroom. Photos coming soon.
I'm linked up this week at #34 with a fun little vintage souvenir scarf dress for my little Divine Miss M.
Michael
BlueVelvetChair
Love the brooch wreaths. You must show them where you've hung them. I know I have a wreath covered in vintage ornaments and it's amazing how many it takes.
thank you for posting the tutorial. these wreaths are gorgeous
Coley
http://www.whatyoumakeit-coley.blogspot.com
Oh my goodness! Those are so fabulous! I will be trying my hand at one of these. Thank you for sharing them with us and for hosting the party!
Heather
that is such a great idea for a wreath, love it! thanks for hosting.
OMG! Dying over those wreaths…gorgeous!
wow i love these wreaths! i need to make one asap!
xo
dana
thewonderforest.com
You know I love that wreath! Thanks so much for hosting!
-Amanda @ The Ivy Cottage Blog
Thanks for sharing! This tutorial would be a great one to share in my 100th post summer inspired competition, to get your blog featured for free! 🙂
Read more at
http://thecreativemuslimah.blogspot.com/2011/06/100-th-post-get-your-blog-featured.html
-the creative muslimah
I absolutely love the broach wreath! While I do wear broaches, I have several where a few stones have fallen out, etc. and this project would be perfect. Thank you for sharing.
Wow! I never would have thought to make a wreath out of brooches in a million years. They look gorgeous. And so perfect for a game of I Spy, definitely!
I do want to come and steal that wreath…I guess I am inviting myself over! GORGEOUS!
I love your beautiful wreaths! I can't decide which I like better. They are both great! Thanks for the tips on painting styrofoam too. I had no idea!
Beautiful! Very chic.
And thanks for the tips for painting on styrofoam.
x
Oh. My. Word! These are fabulous – if only I'd started collecting bits and bobs earlier in the year. I'm definitely putting it on my list of Christmas to-do projects for next year! Thanks for sharing 🙂
Pingback: DIY 2011 Recap Party | DIY Show Off
Pingback: Happy Birthday, Bri! | DIY Show Off
These are incredibly gorgeous. I’ve been collecting pins to “create” a chandelier. I think perhaps my mind has been changed to this. Thanks!
Pingback: 6 Ways to Use Brooches In Home Decor
Pingback: Vintage Costume Jewelry Wreath
Hi Roeshel!
Your post here is making it’s round again via Home Talk. I’ve seen the beautiful bridal bouquets, too but these work to have an everyday keepsake. I love them!
Pingback: Brooch Wreath Tutorial
I have been saving jewelry from my grandmother for a project like this. Thanks for the inspiration to get started.
Ashley
I think this is soooo beautiful!
Wow. Wreath looks great. I love the colorful decorations 🙂
Are there any substitutions for magicote? It isn’t avail. In my local craft stores. Sigh…
Hi Kristine! Not that I know of. But maybe try wrapping a straw wreath with fabric scraps and going that route for attaching brooches? Good luck! I’d love to see it when you’re finished!
This is such a good idea! I did make a brooch bouquet for my wedding, but it just sits there… I might take this as inspiration to take the bouquet apart and make a wreath… Maybe cover the wreath form with either lace or satin, and only cover part of it with brooches… Oh, the possibilities!
Great job!