It’s a Spring Thing Link Party (and a Spring Terrarium)

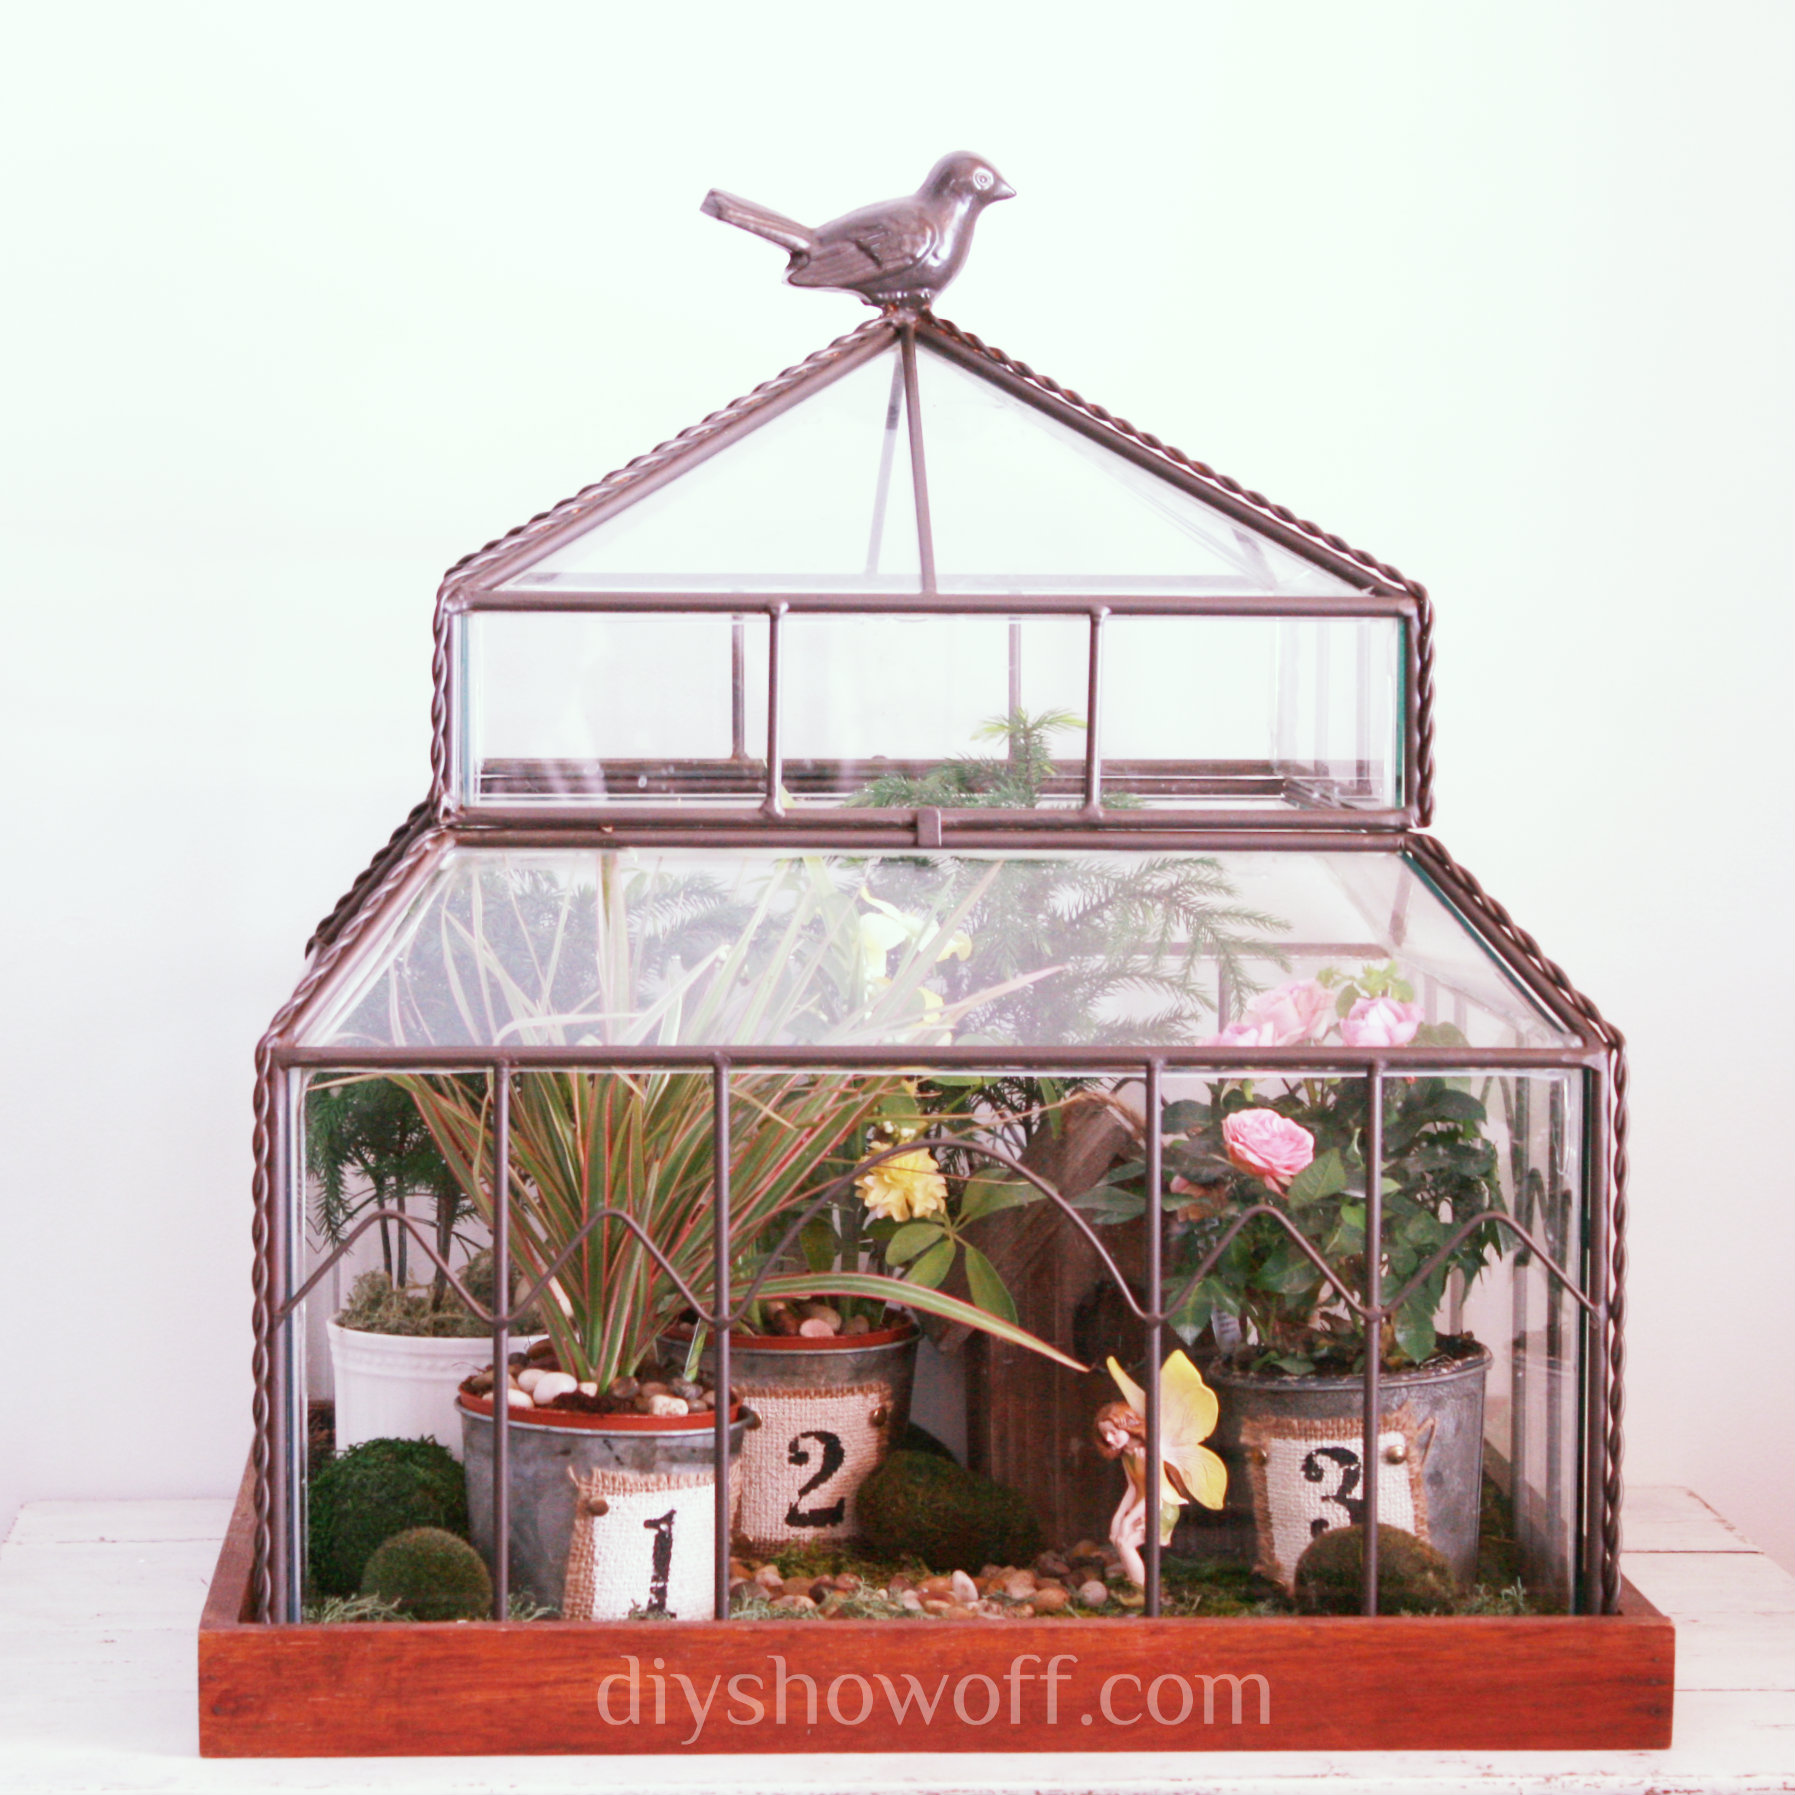
While Mother Nature is taking care of bringing green back outdoors, I’m adding a little green to our indoor space. Now, I don’t have much of a green thumb but ever since I scored this beautiful Victorian-style terrarium/miniature greenhouse at an antique shop, I’ve been wanting to create a small fairy garden.

Materials: (with some affiliate links)

spring-terrarium-tutorial

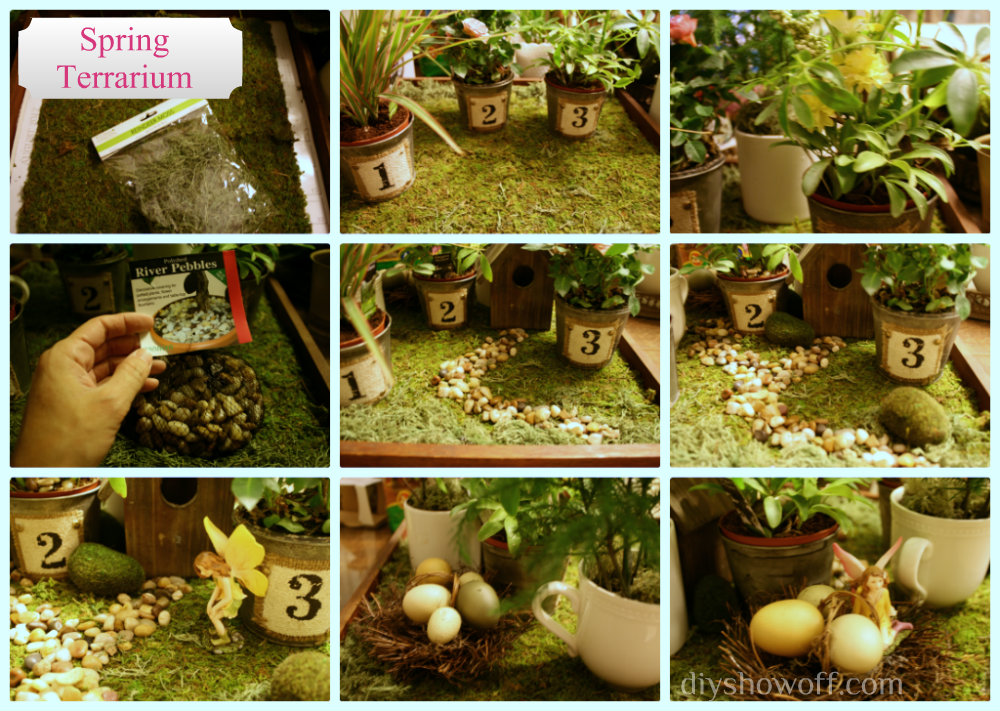
Putting it together: Because my terrarium base is a wooden tray, I kept my plants in individual containers. I started by lining the bottom of my terrarium with foil topped with moss. I potted the small house plants in pretty planters and placed them throughout my terrarium. Since my plants aren’t of the flowering variety, I added spring color with a floral pick from Jo-Ann Fabrics. Pebbles create a winding path. Then ‘decorated’ with my accessories. More terrarium tips here.

spring-fairy-garden-terrarium

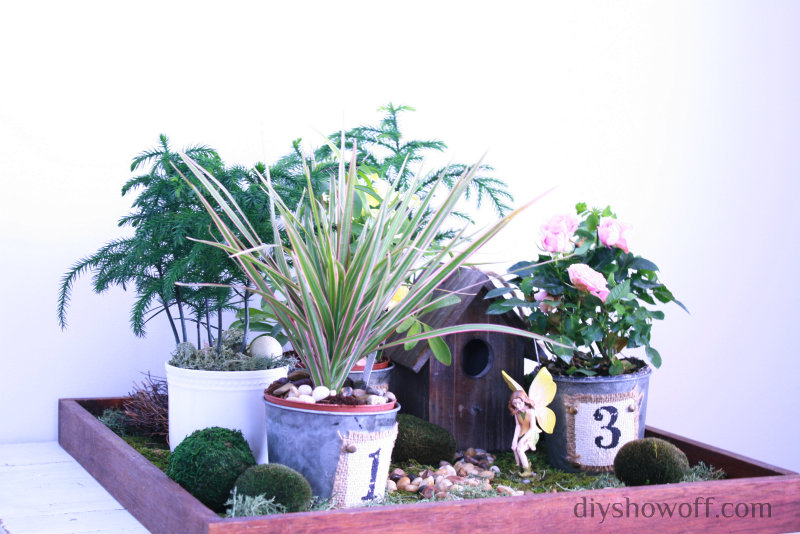
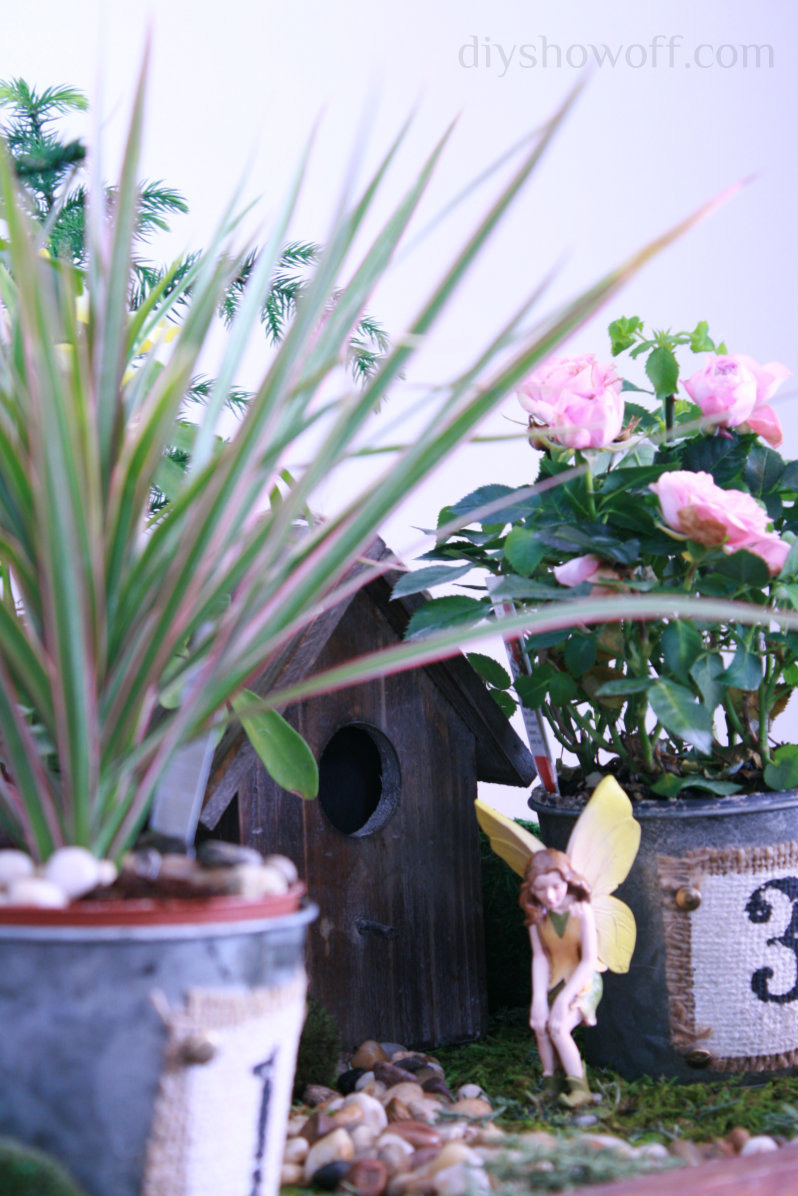
Aren’t the fairies sweet?

fairy-garden

It’s not easy photographing glass. 🙁

glass-terrarium

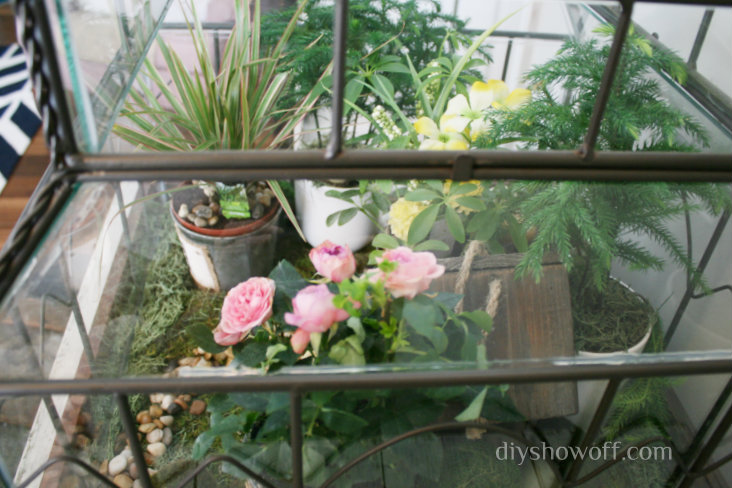
Finally, I got to add the beautiful terrarium top…

Fairy Garden Terrarium

I keep the terrarium in our sitting room where it gets plenty of sun and do remember to water the plants about once a week and a month later – they’re still alive! Maybe I’ll be a gardener yet!

See more of my spring projects on the DIY Project Tutorial page

spring-DIY-projects

It’s no secret around here that I’m suffering from spring fever.

Joining the Easter Crafts & Spring Link Party at HoneyBearLane.

Thanks to Lana from Making a House a Home invited me to join the It’s a Spring Thing series. It’s a Spring Thing!

Join these blog friends for It’s a Spring Thing party! Here’s the schedule:

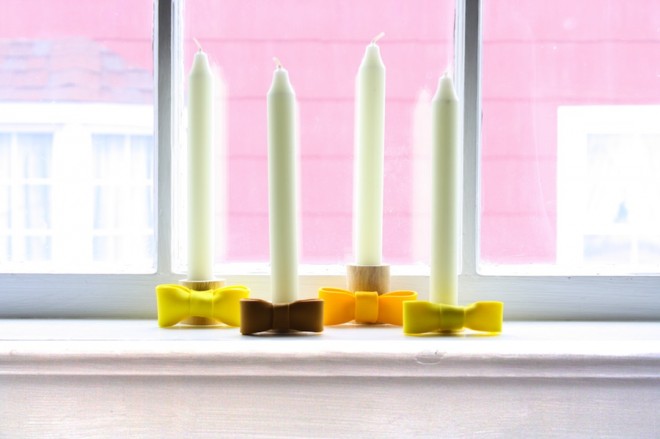
clay_driftwood_candlesticks by Merry Pad

  • This week: Share your spring projects HERE (below)!
  • March 19th: Lana at Making a House A Home – wonder what it will be?
  • March 26th: Kim at Design Thoughts – can’t wait to see!
  • April 2nd: We’ll each be sharing Spring Favorites/Highlights from our parties.

SpringThing_Final

What are you working on? Share your spring projects (from now until the end of March) in the party below.

Spring-Thing-Party


DIY Spring Sign

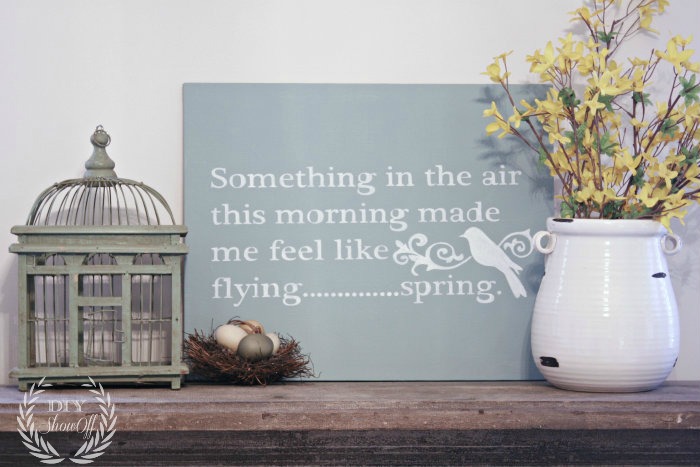
It’s March! And that means spring is right around the corner I hope. Even though I’m looking at snow flurries, a little spring decorating is in order. I’m impatiently waiting and well, why not prepare to welcome spring when it arrives? A new DIY spring sign always gets motivated to decorate and a catchy spring phrase reminds me it’s almost time to celebrate warmer weather and longer days!

“Something in the air this morning made me feel like flying. . . “

Spring Flight

-Eileen Granfors

spring-diy-sign

For this project, I gathered

  • an old canvas
  • acrylic craft paint
  • my Silhouette Studio Designer Edition software
  • my Silhouette Cameo.

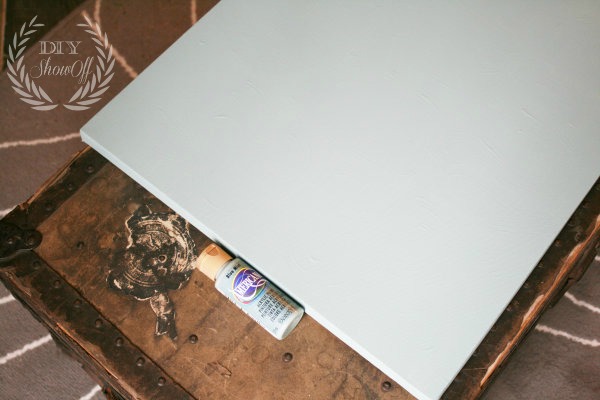
Since I had messed up the canvas with a previous DIY fail (yes, it happens!), I gave it a coat of soft blue acrylic paint to cover up my error to create a blank slate. The texture of the failed project shows through a bit, but imperfection is charm and a little texture isn’t such a bad thing. 🙂

diy-canvas-sign

I created my spring stencil using the Silhouette Studio Designer Edition software which allows me to select fonts, sizes and shapes to create a stencil template. Then simply ‘send’ to cut…

silhouette-studio-designer-edition

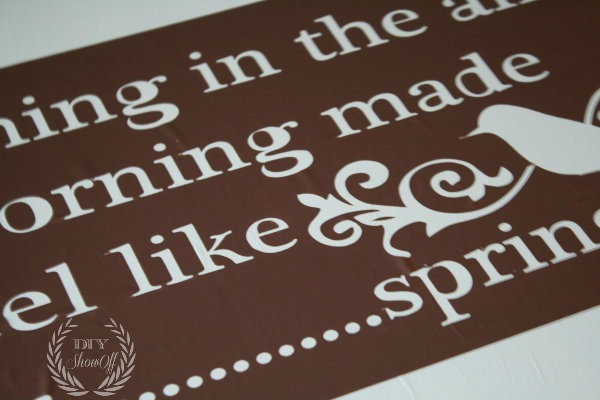
Since I’m using my vinyl as a stencil, I removed all of the letters (these can also be saved to use in the same was as stickers or transferred directly to wood or glass as a vinyl transfer).

weeding-vinyl

Use transfer paper over top of the stencil to transfer the vinyl stencil to the canvas. Rub into place and peel away the transfer paper.

DIY-transferring-vinyl

It’s not quite that simple. Vinyl doesn’t stick so well to canvas, so it takes a lot of patience. Go slow.

diy-vinyl

The stencil is all ready to go.

diy-vinyl-on-canvas

I filled in my lettering with white acrylic craft paint. Since the vinyl does not have a great seal, I’m using my stencil as a guide and filling in the letters with a little bit of paint on the brush, pressing down the vinyl as I work on each individual letter. Slopping it on, will get under the vinyl.

diy-painting-sign

Next, I carefully removed the vinyl stencil as soon as I finished painting and let my canvas dry.

removing-vinyl-stencil

Then just collected some of my favorite spring-y decor and created a vignette around my DIY spring sign as a focal point. Good bye winter blues!

spring-Silhouette-DIY-sign

Hello spring!

Silhouette America is running a crazy spring special you won’t want to miss! Just use the code “SHOWOFF” at checkout {affiliate link} now through March 8th to take advantage of the discount prices.

silhouette-promotion

I’m ready for spring, all ready! How about you? Open up those drapes, let the light in and decorate!

spring-mantel

Looking for more spring ideas?

Joining the Easter Crafts & Spring Link Party at HoneyBearLane.

The Countdown to Spring party is underway.

countdown to spring

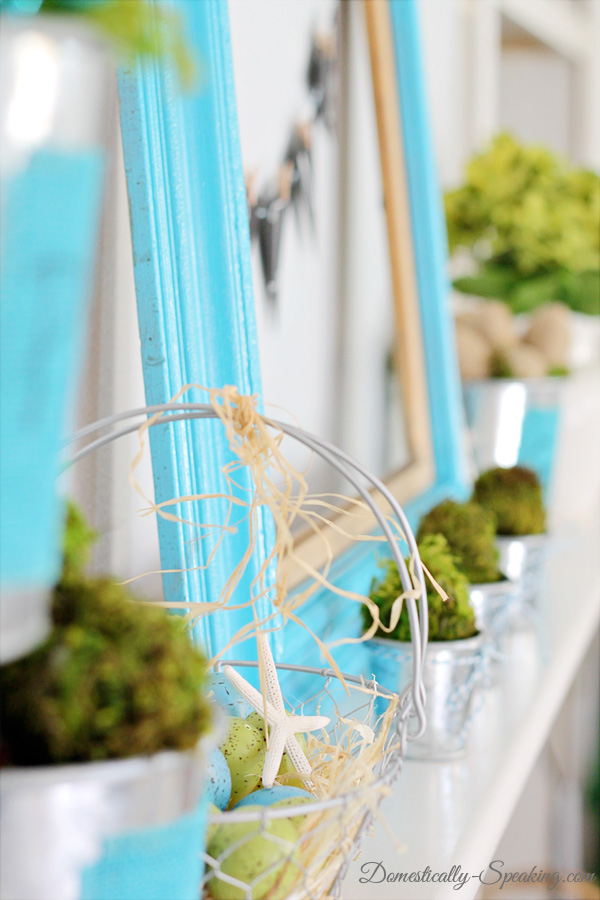
and being hosted by MaryAnn from Domestically Speaking this week with her gorgeous spring-inspiring mantel. Here’s a sneak peek…

spring mantel at Domestically Speaking

Check it out!

DIY Spring by Real Southern Living

Hello, DIY friends! As I embark on traveling VERY far south today, I’m excited to introduce you to Stacey from Real Southern Living.

real southern living blog

Today Stacey is sharing her previous spring DIY to spread a little spring fever your way:

Spring Bunting Flags – No Sew

Spring DIY Decor RealSouthernLiving.com

Moss Topiaries

Spring Decor RealSouthernLiving.com

Hydrangea Hanging Bucket

Hydreangea Bucket RealSouthernLiving.com

Fabric Scrap Garland

Spring Fabric Scrap Garland RealSouthernLiving.com

Easter Egg Wreath

Easter Egg Wreath RealSouthernLiving.com

So many pretty ideas and Spring things! You can find more from Stacey at Real Southern Living, her online home. Thanks for sharing your creativity, beautiful DIY and lovely home with us, Stacey!

Speaking of spring

countdown to spring

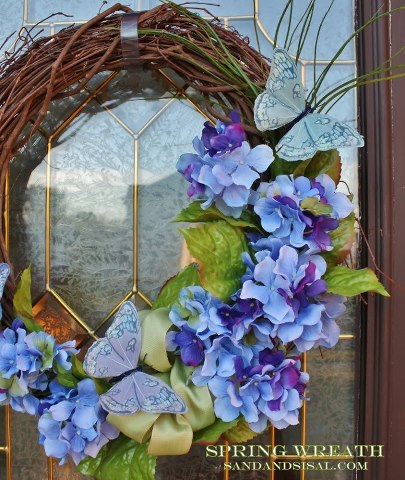
Kim at Sand & Sisal is kicking off the next week in the Countdown to Spring series with her DIY {20 minutes or less} Spring Wreath.

Sand and Sisal Spring Wreath