Hellooooo, DIY friends! So it’s almost midnight here and even up until about a half hour ago, I had high hopes of editing photos and writing up a painting kitchen cabinets tutorial and Rusteoleum Cabinet Transformations review but my long work days have caught up with me and I can barely keep my eyes open so um, yea…not happening. I sometimes tend to get a little ambitious with trying to squeeze so much into one day. When I say DIY is my passion, I’m not joking. And I love blogging but I discovered some times there isn’t enough time for both. You’ve noticed that too, right? This past week and the next few days will reflect all work, no play, no blogging, no socializing but lots of rewards!
I plan to be up at the crack of dawn (or maybe a few minutes after that) to head back to the rental to work on some more DIY. You all know I love me some DIY projects and it’s a three day DIY weekend, friends! At least in this household it’ll be 3 fun days of DIY (although we may be persuaded to spend an afternoon with family, food and swimming one day because that does sound like a lot more fun than our summer: DIY apartment part 452, doesn’t it?).
So anyway, as I head off to bed for a few hours of sleep before heading back to DIY, DIY and more DIY, in place of sharing a full tutorial and review today, I leave you with this…
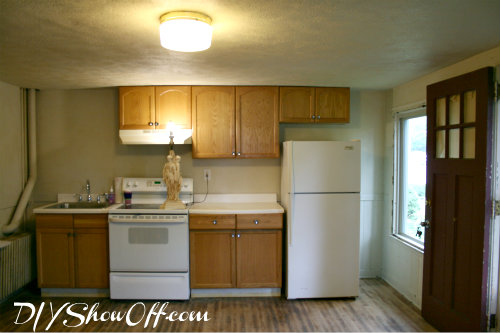
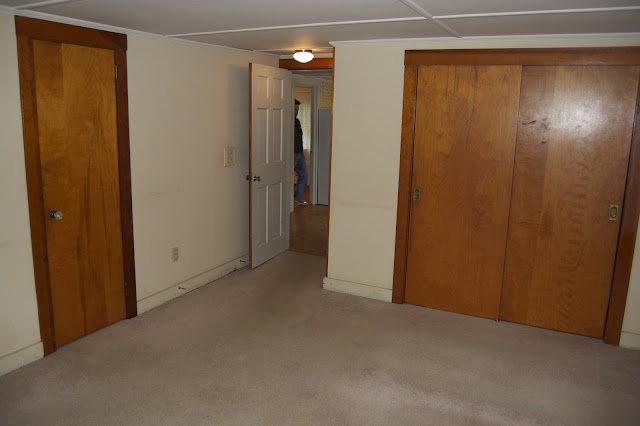
This is one area of the apartment that we started with…
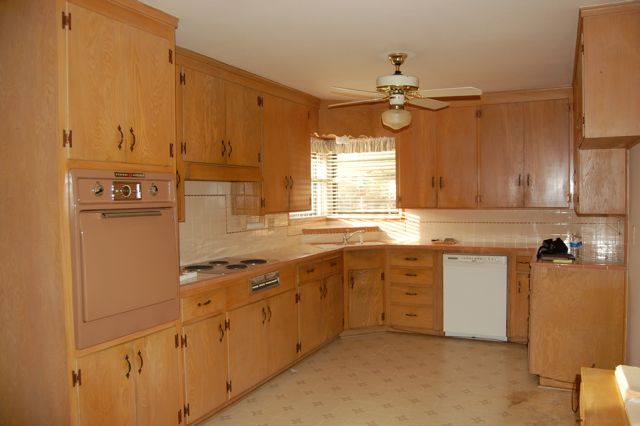
{and that’s the cleaned up version…see the scary before here}
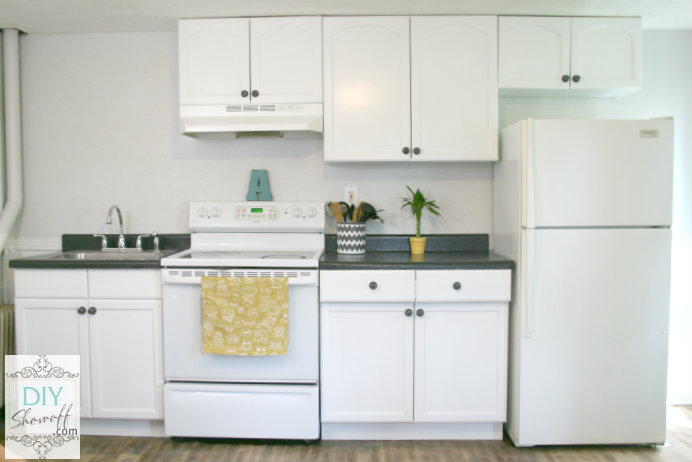
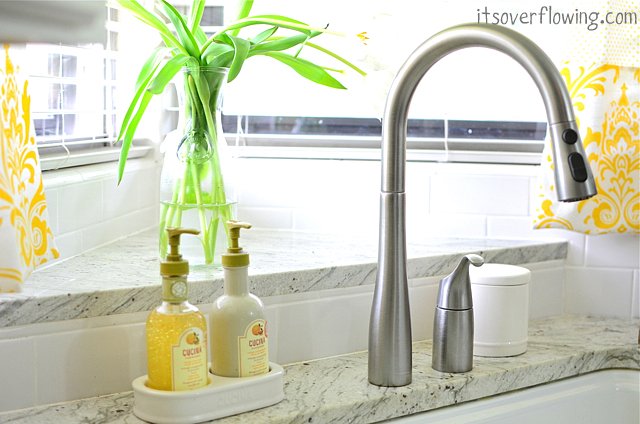
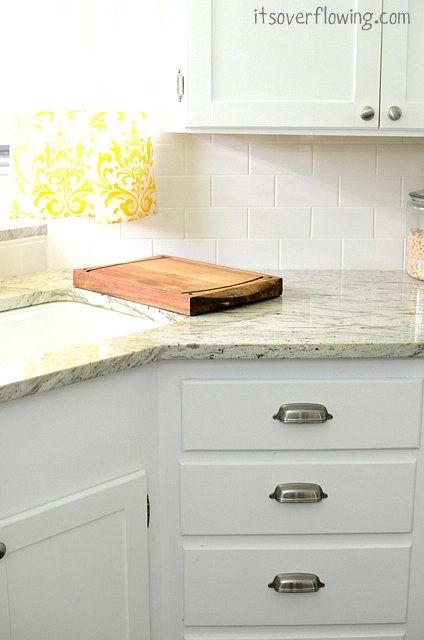
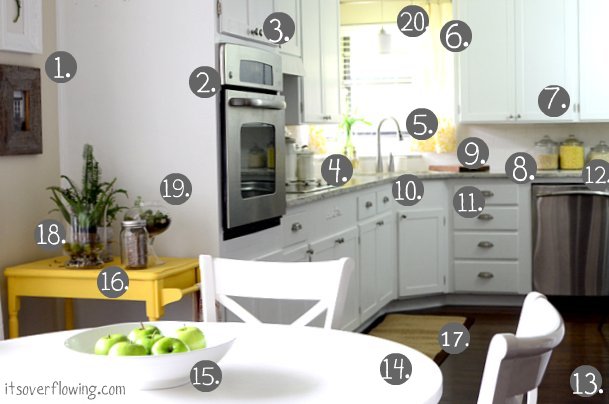
and this is what it looks like now (still some more to reveal yet/coming soon to a DIY blog near you. There will be much more to this kitchen than this current state!)…
{Rustoleum Countertop Transformations review & tutorial}
Well, that is what it looks like now minus the clutter of additional tools and materials and MINUS that smooth ceiling to the left because there was a leak in the bathroom upstairs (uh oh!) and after a major freak out minor breakdown where I had to walk away to cry before gathering my strength, wiping my nose and wishing desperately that I could just run away to somewhere tropical and never DIY ever again – to return to clean up wet crumbling drywall and water. I may have ran out the door an wailed. Ask the neighbors. It wasn’t pretty. ::sigh:: The joys of DIY. Not always smooth sailing and according to plan. But, nothing to do but persevere and just clean it up and mentally make up a drywall patch check list because it won’t fix itself and a huge 5 x 2 foot hole in the ceiling to expose floor joints and the wood floor above isn’t going to make for a pretty reveal.
Sooooo…if you don’t see me around for a few days, I will be working on this list:
- painting faux tileboard, ceiling, trim
- grouting a bathroom floor
- patching a ceiling
- installing baseboards
- fixing a painted accent wall
- working on a few other *fun* DIY projects (YAY! Finally!)
- installing a bathroom vanity, sink and faucets
- installing a bathroom light
- installing a toilet
- staining/poly’ing hardwood floors
Again, with the ambition! I’m optimistic. I’ll be working my butt off to get as much done as I can. I’m not kidding myself. I know I’m not going to make my deadline of it being ALL done this weekend but we’re getting closer! What are YOU doing THIS weekend? If you’re enjoying one of those Pinterest inspired recipes…I’m so envious! Anyone else notice that busy DIY days = unhealthy eating?
HAVE AN AMAZING LABOR DAY HOLIDAY WEEKEND if you’re celebrating!
If you’d like to see snippets of progress before it’s posted, I share updates on Facebook, Twitter and instagram.
Thanks so much for stopping by! I love company! If you’re not available to patch a ceiling or grout tile this weekend, I invite you to catch up on past posts, links from the DIY party or our home tour, visit links on our project page or to start thinking about inspiration for fall!
Did you know that if you subscribe by email (left side bar)…you can view the full post delivered right to your email? A great alternative to the truncated feed!


