Spring Floral Centerpiece

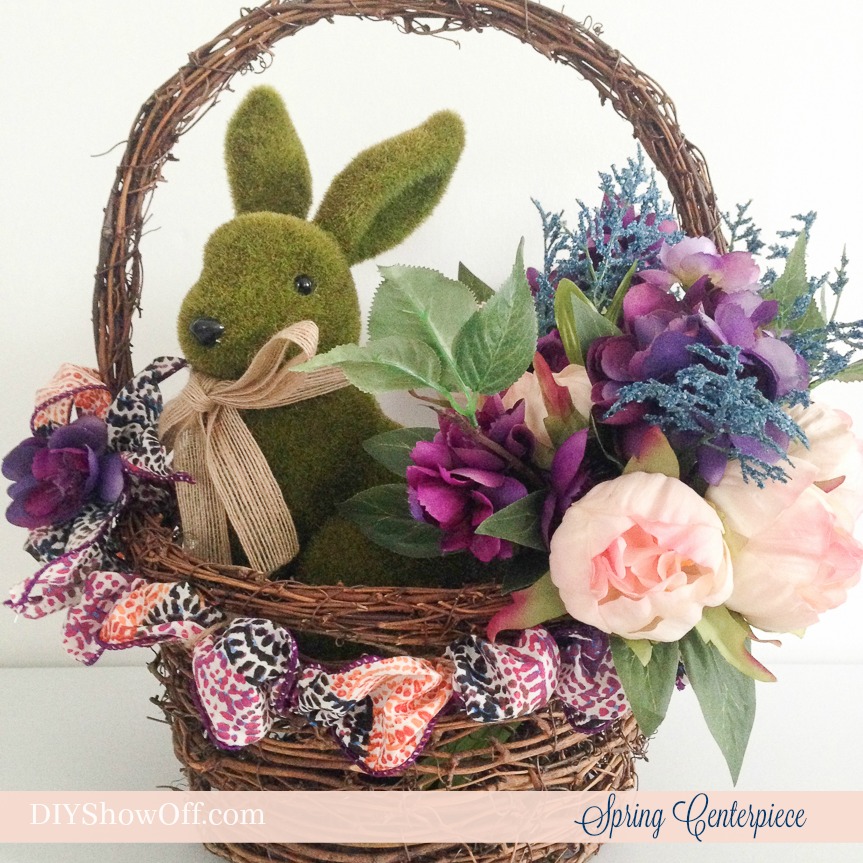
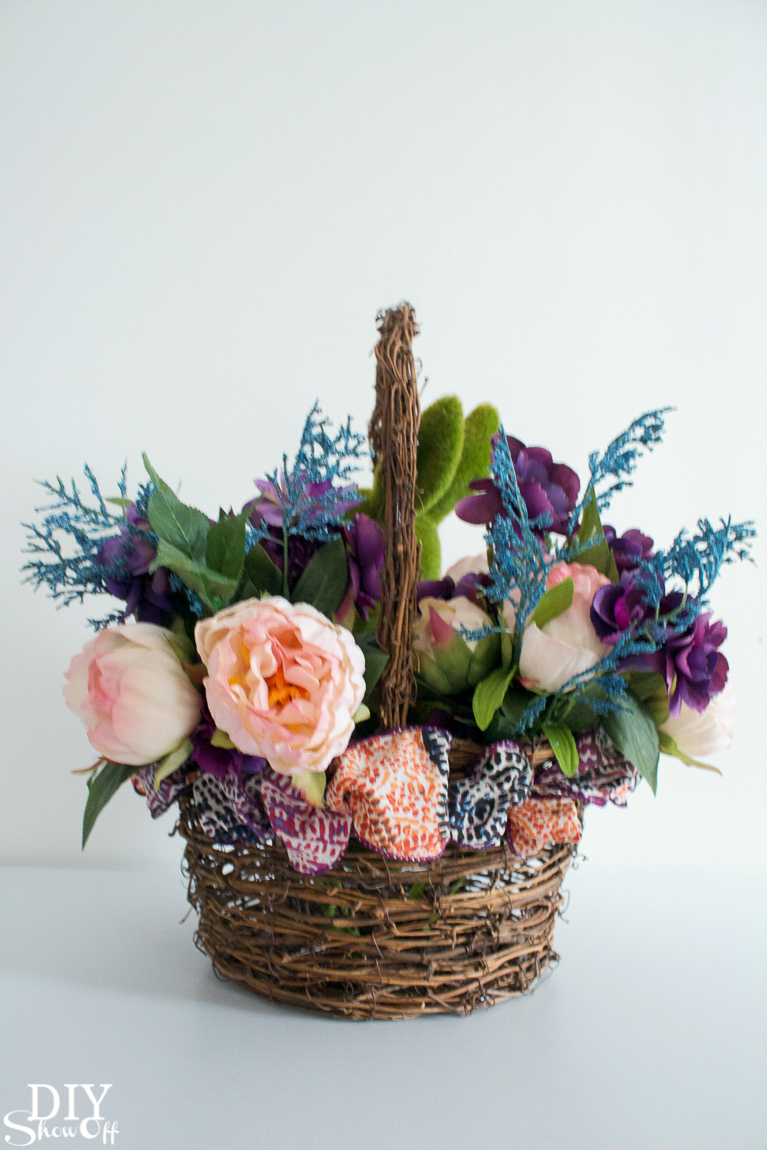
SPRING floral centerpiece? “What the heck, DIYShowOff?! It’s still winter!” I know. I know! But I’m not a fan ::whine:: so let me indulge in thinking ahead to warmer days, fresh air and specifically, a spring with no snow. Okay? Okay! haha! For real, my Michaels Maker Challenge for February is “spring florals” so let’s embrace that pretty theme by collecting inspiration for the next upcoming season, starting with this gorgeous spring centerpiece! My inspiration was a spring theme around this beautiful Indigo Luxe/Aria (Celebrate It) wired ribbon: blues/indigo and navy, purples/eggplant and plum, oranges with white. Not colors I’d normally coordinate but oh my – how pretty, you guys! Right? Hey, Mr. Moss bunny thinks so! Look at his content expression… 
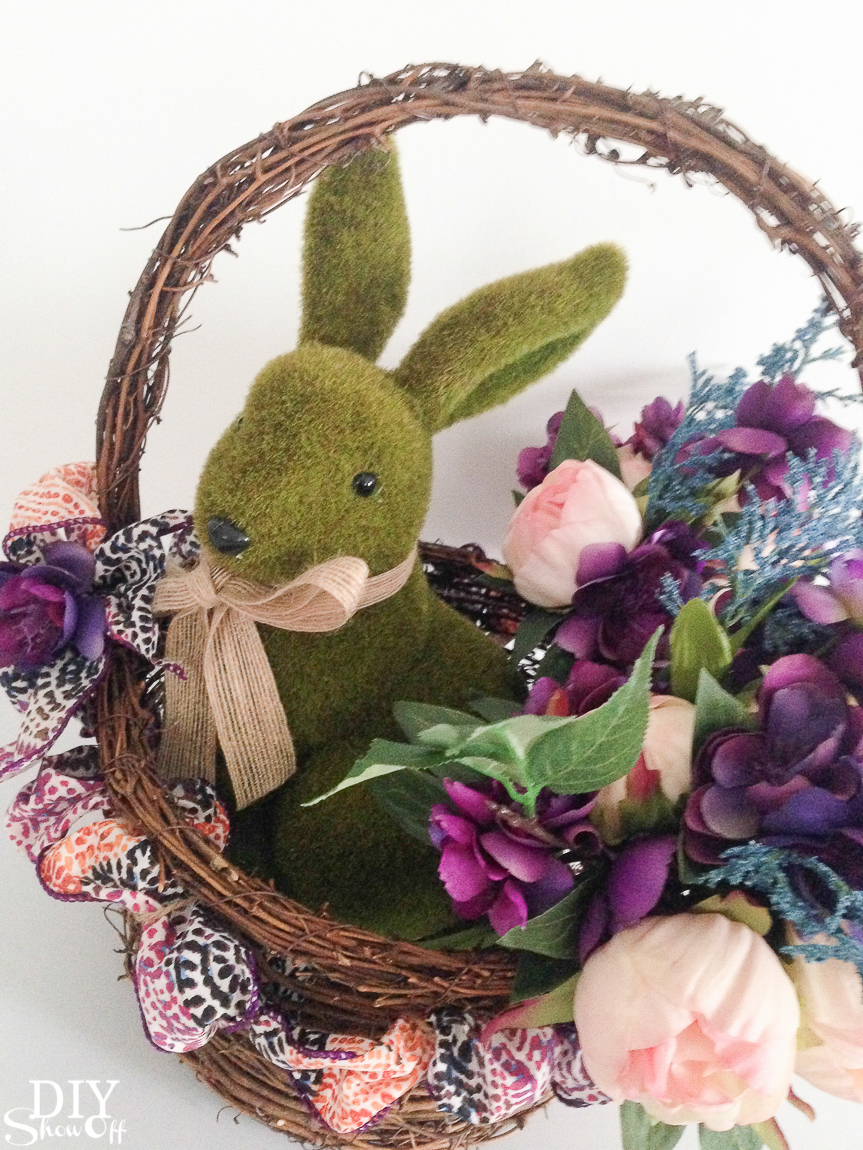
So pretty! DIY spring floral centerpiece tutorial. Perfect for Easter too! #madewithmichaels @diyshowoff

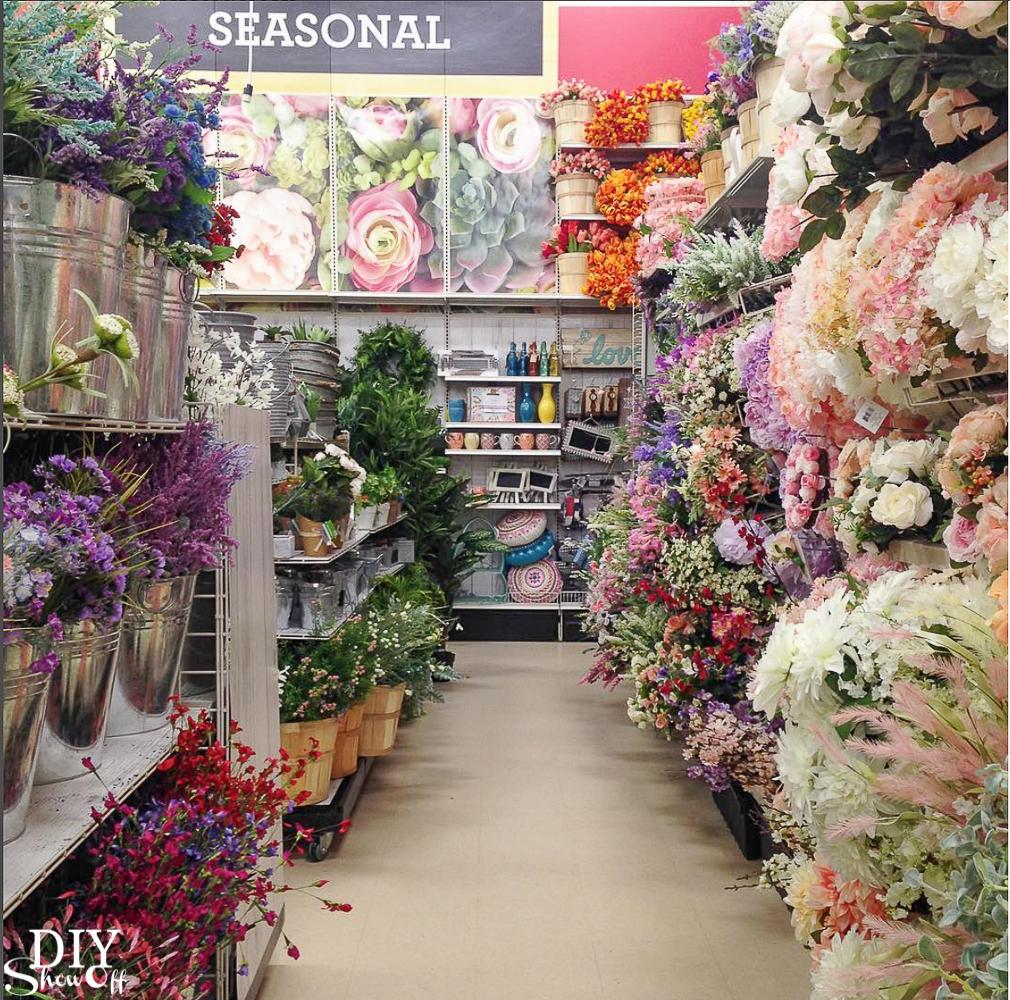
Okay, so it might be February, but there is a breath of fresh air, happy florals and spring in the aisles of Michaels Stores! Michaels has over 1,800 blooms & greenery in their new Flower Market, including trendy succulents and real-touch flowers. 
diy-spring-floral-centerpiece-tutorial-34 

spring floral centerpiece tutorial

So pretty! DIY spring floral centerpiece tutorial. Perfect for Easter too! #madewithmichaels @diyshowoff 

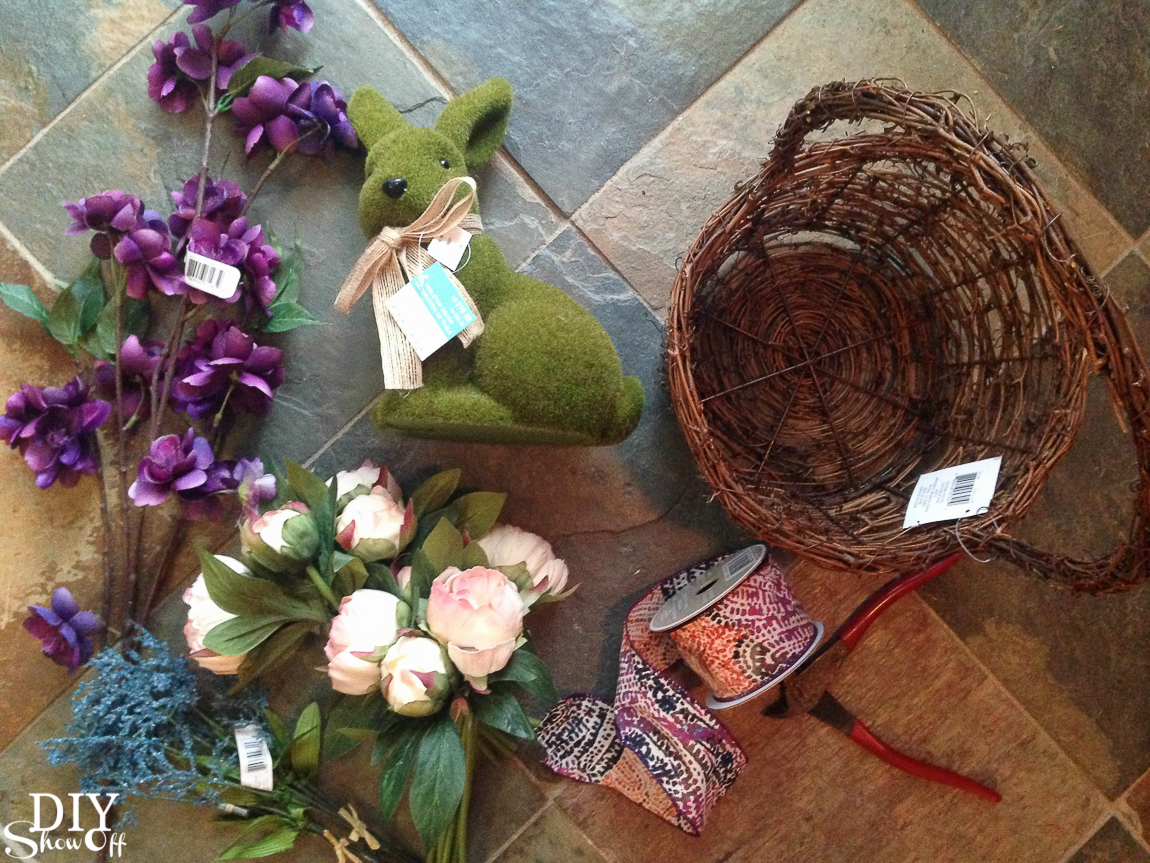
Materials I used: 

  • grapevine basket
  • moss bunny
  • wired ribbon (2 1/2 in. x 3 yards)
  • florals 
  • floral tape
  • optional: hot glue or twine

So pretty! DIY spring floral centerpiece tutorial. Perfect for Easter too! #madewithmichaels @diyshowoff

Tools: wire cutters

What I did: (Yes, in the event that you spy micro-fleece in the images below…I create in my pajamas. Doesn’t everyone?)

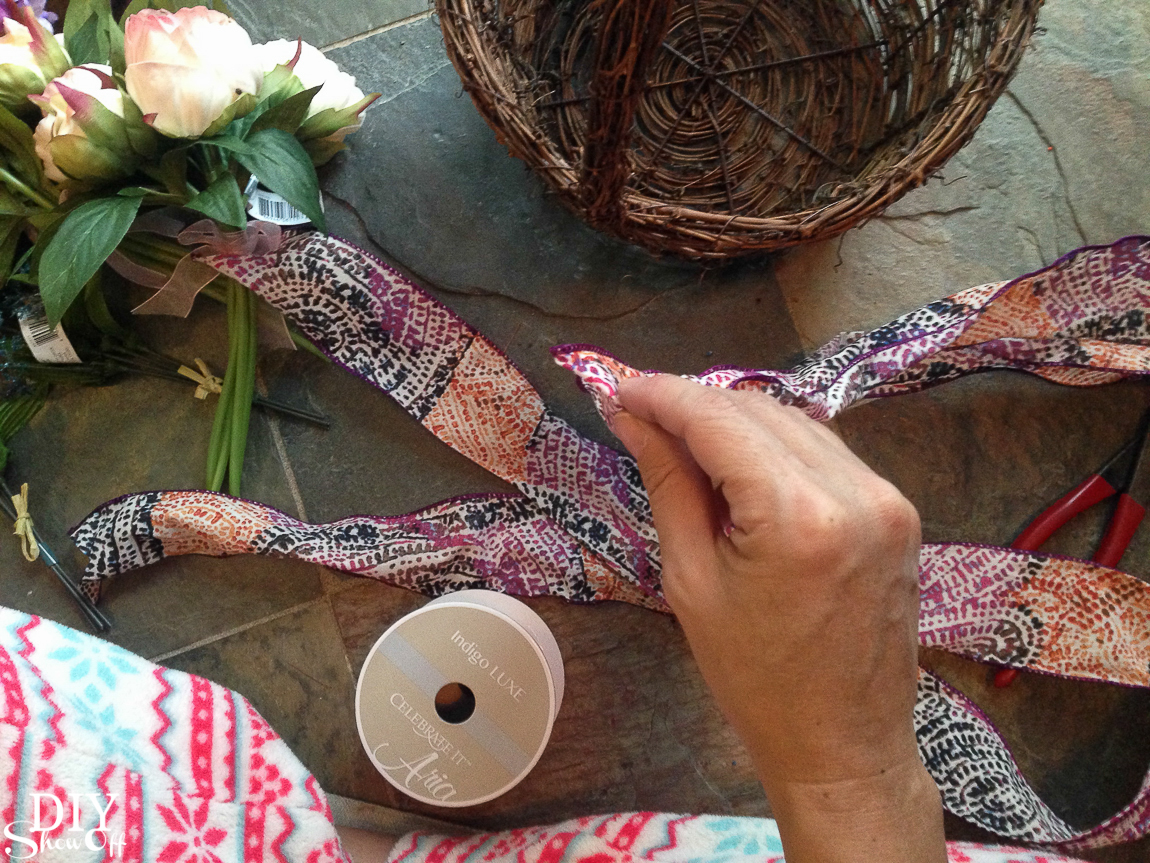
Unravel the ribbon, snip the ends to make them pretty. Get approval from the cat, then proceed to the next step.

So pretty! DIY spring floral centerpiece tutorial. Perfect for Easter too! #madewithmichaels @diyshowoff

(I cut out a “v” in the ends of mine) and find the center of the ribbon. 
So pretty! DIY spring floral centerpiece tutorial. Perfect for Easter too! #madewithmichaels @diyshowoff

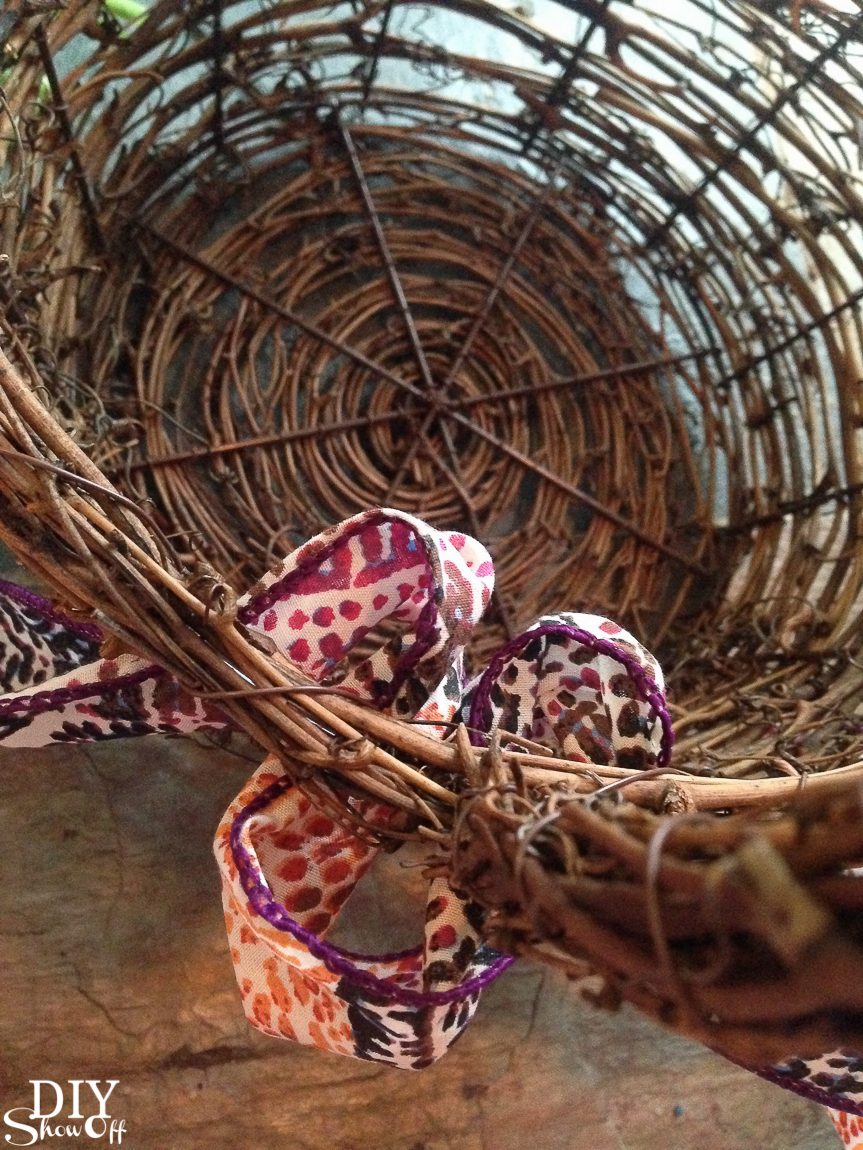
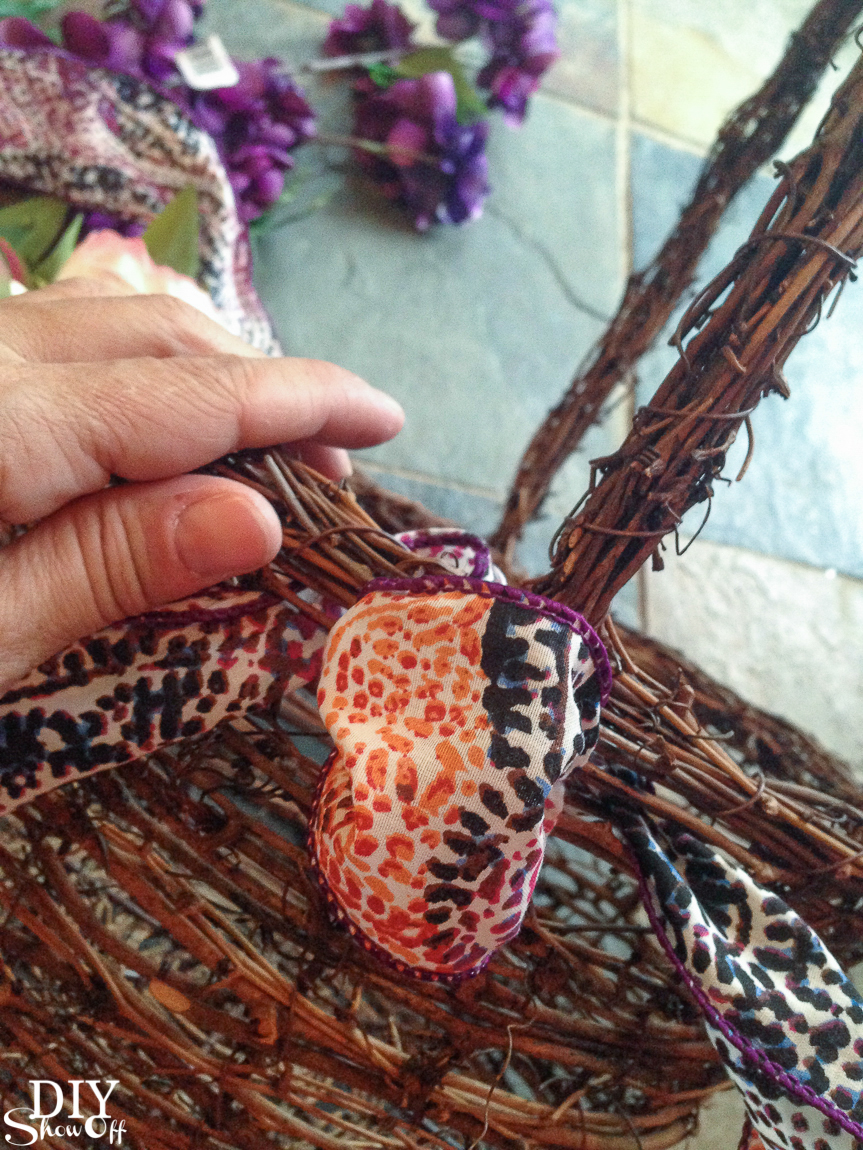
Starting at the spot where one side of the handle meets the basket, tuck the ribbon into the grapevine. 
So pretty! DIY spring floral centerpiece tutorial. Perfect for Easter too! #madewithmichaels @diyshowoffSo pretty! DIY spring floral centerpiece tutorial. Perfect for Easter too! #madewithmichaels @diyshowoff

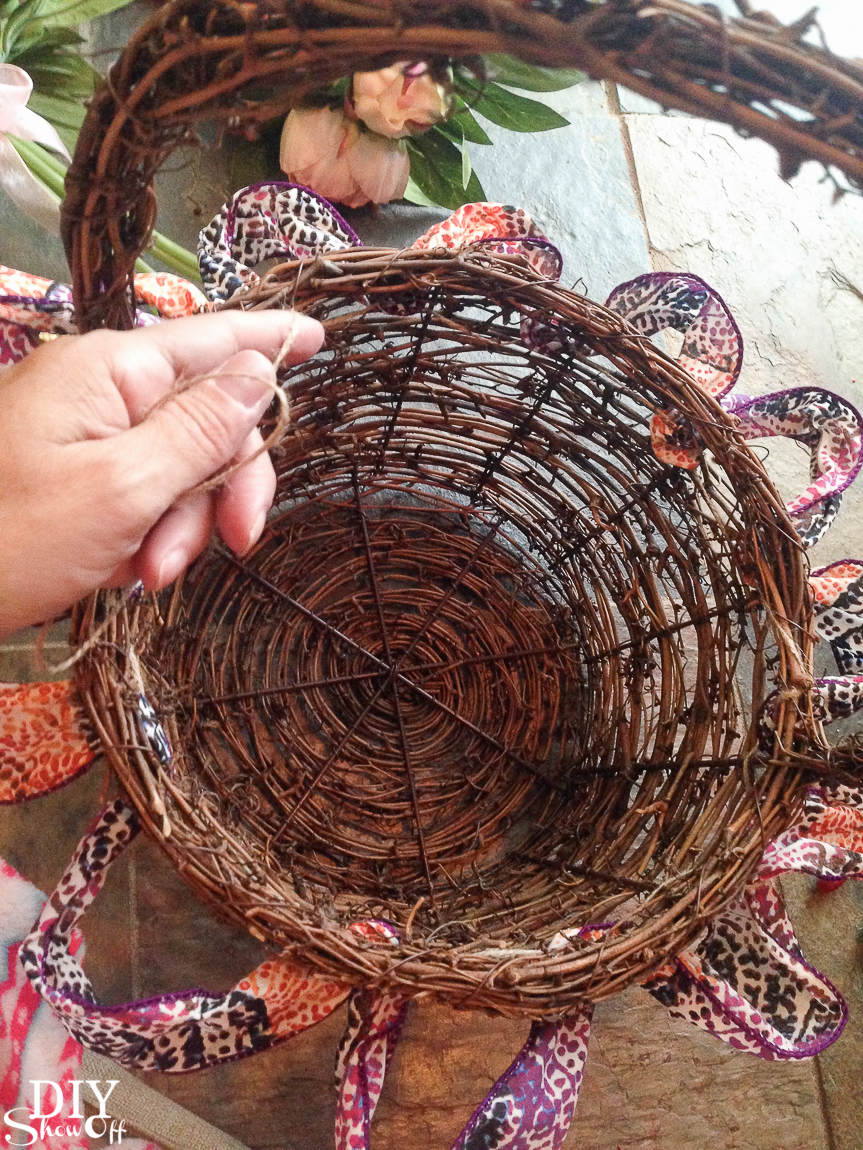
Repeat along each side, meeting at the other side where the handle meets the basket. 
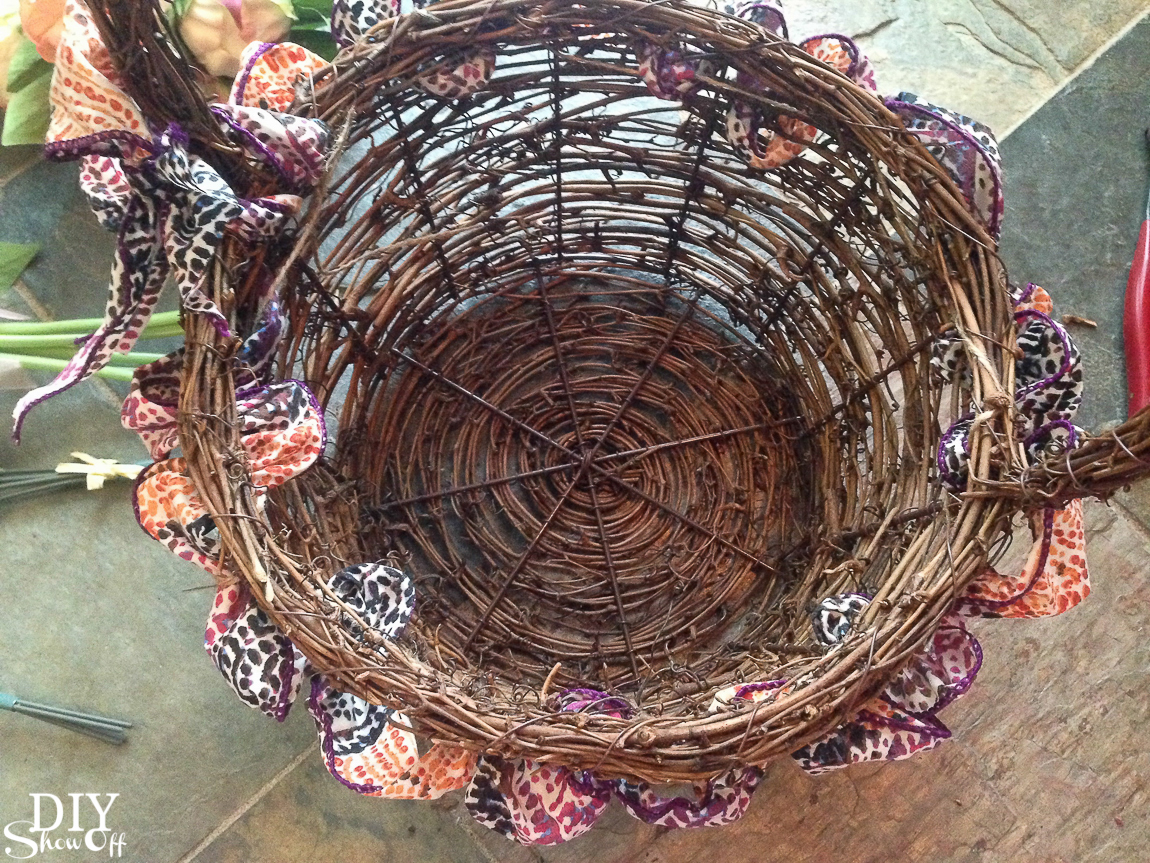
So pretty! DIY spring floral centerpiece tutorial. Perfect for Easter too! #madewithmichaels @diyshowoff

Secure ribbon to basket with hot glue or like me, simply weave twine in the ribbon loops inside the basket and tie. 
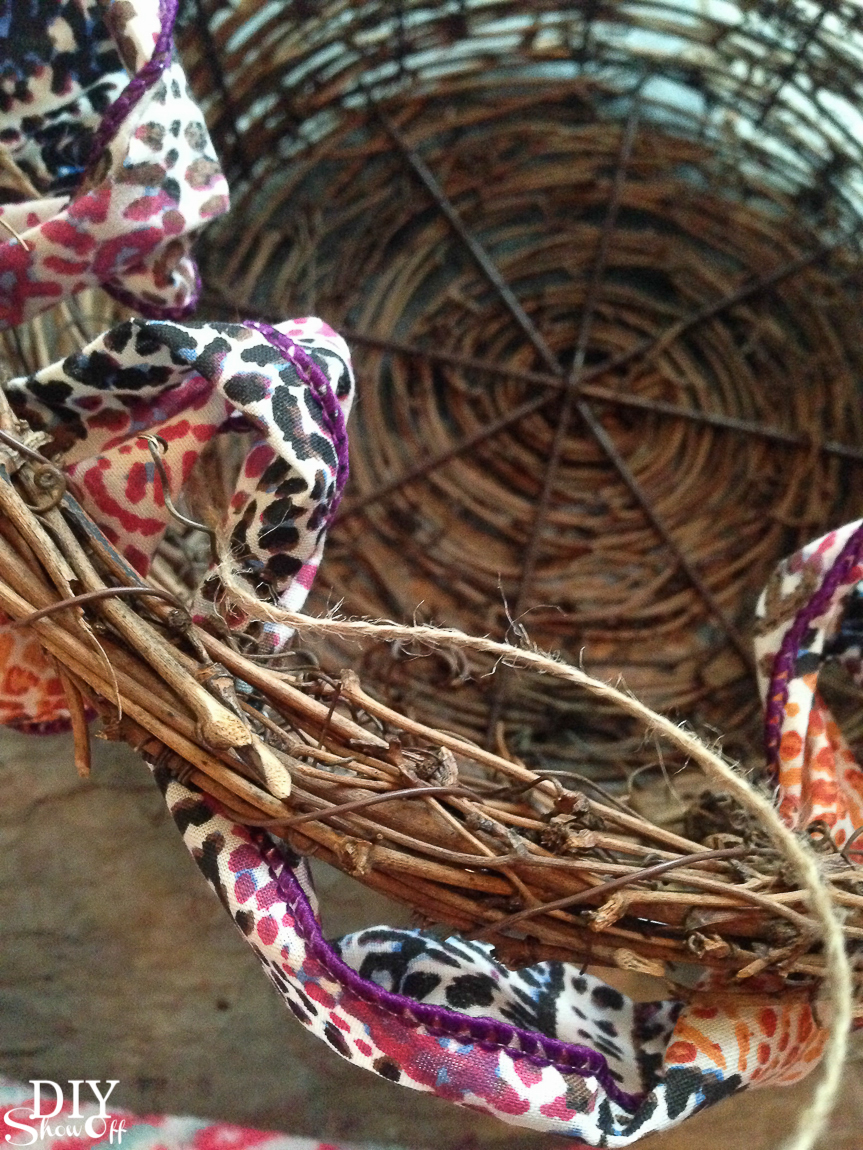
So pretty! DIY spring floral centerpiece tutorial. Perfect for Easter too! #madewithmichaels @diyshowoff So pretty! DIY spring floral centerpiece tutorial. Perfect for Easter too! #madewithmichaels @diyshowoff

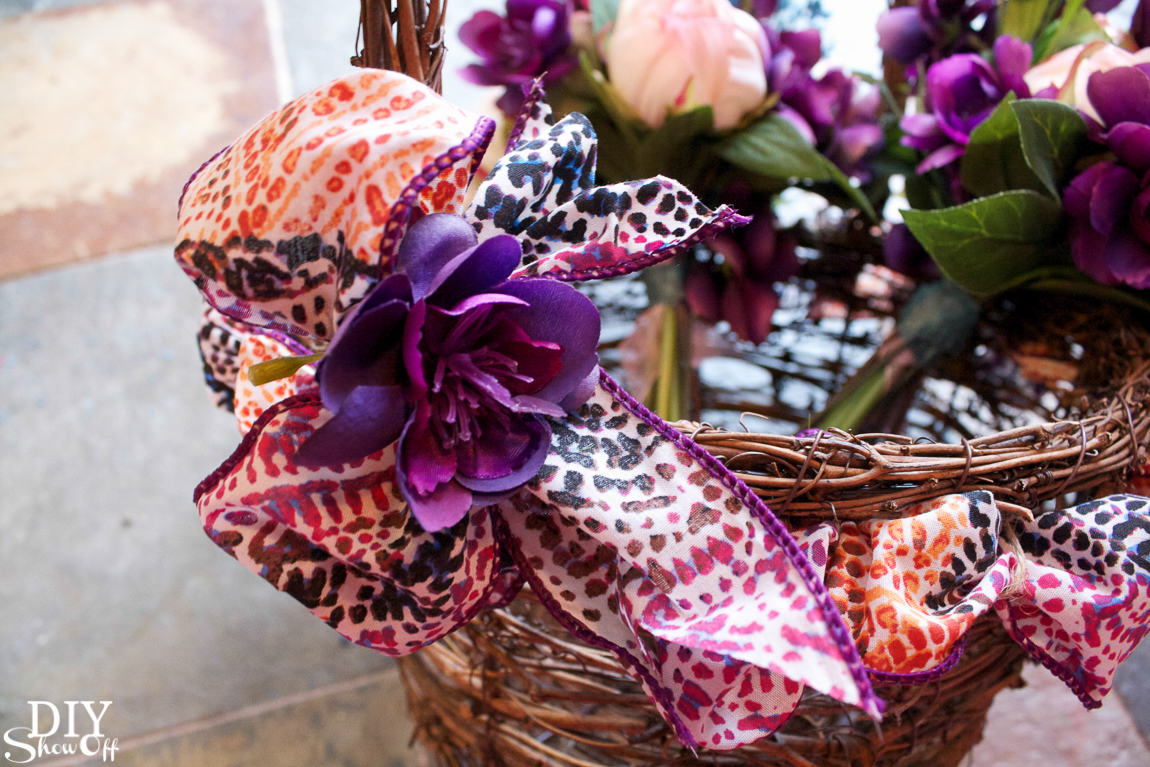
Tie a bow where the ends of the ribbon meet at the handle and embellish with a flower if desired. 
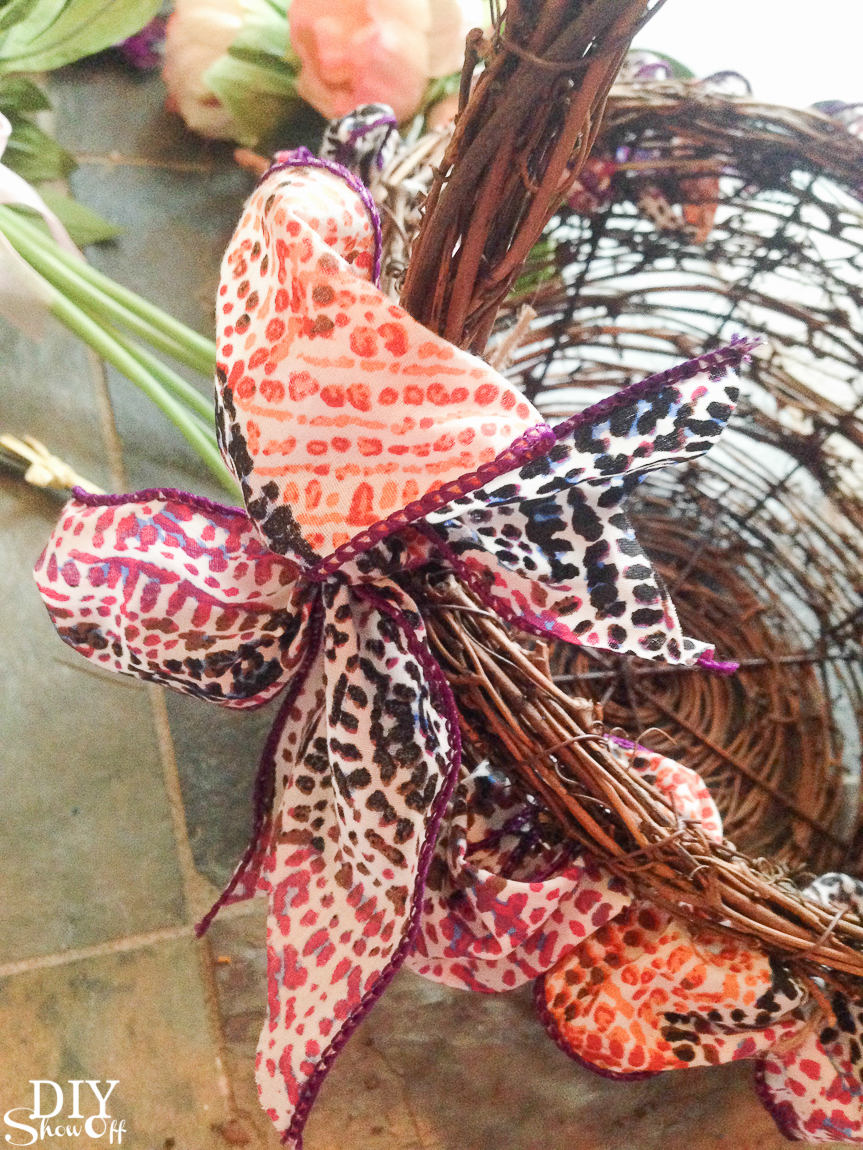
So pretty! DIY spring floral centerpiece tutorial. Perfect for Easter too! #madewithmichaels @diyshowoffSo pretty! DIY spring floral centerpiece tutorial. Perfect for Easter too! #madewithmichaels @diyshowoff

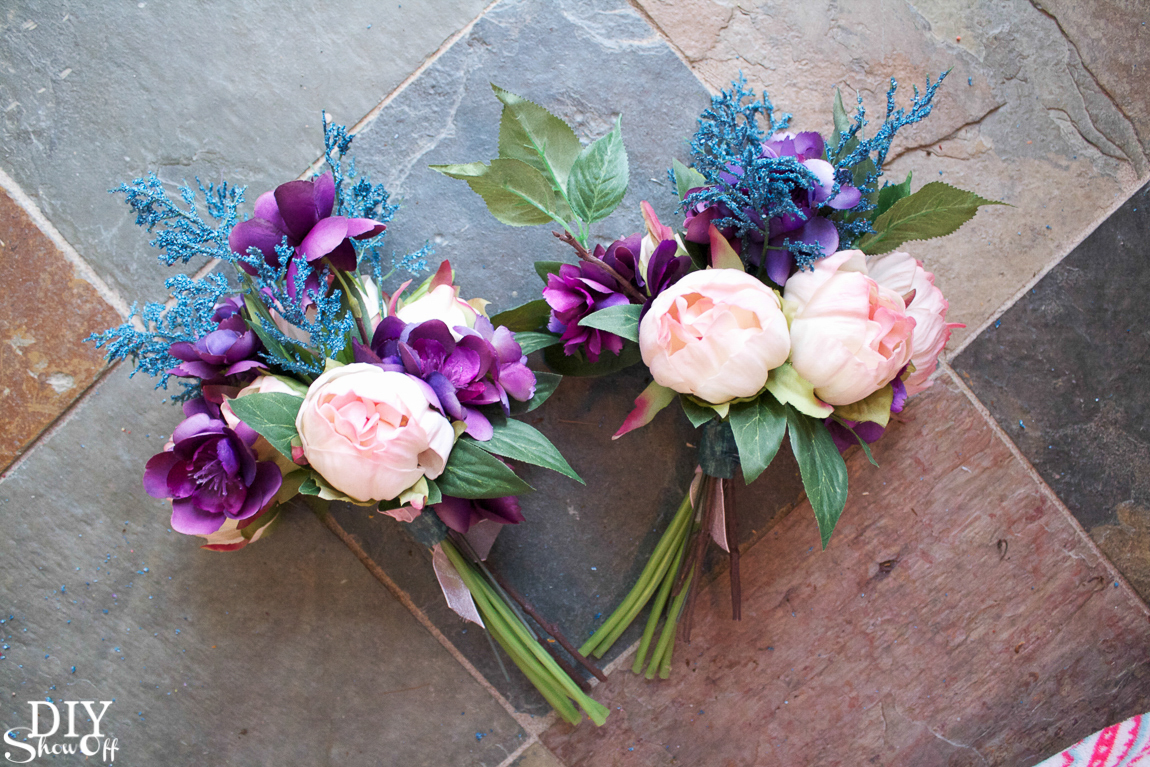
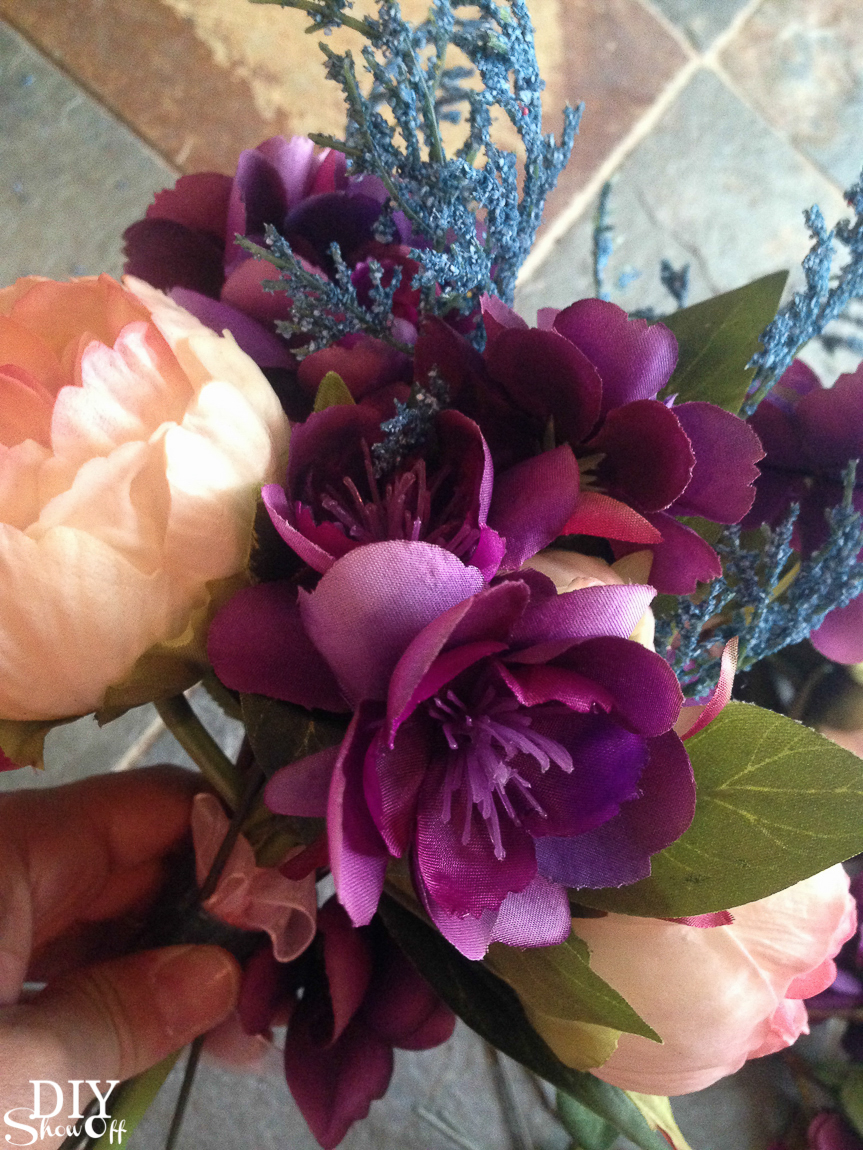
Using wire cutters, separate floral bundles. I have 2 pretty pre-assembled store-bought bouquets. I keep those intact and add more flowers to them for more color. Not shown: secure bouquets by winding floral tape (grab your decorative washi tape in a pinch) to bind stems. 
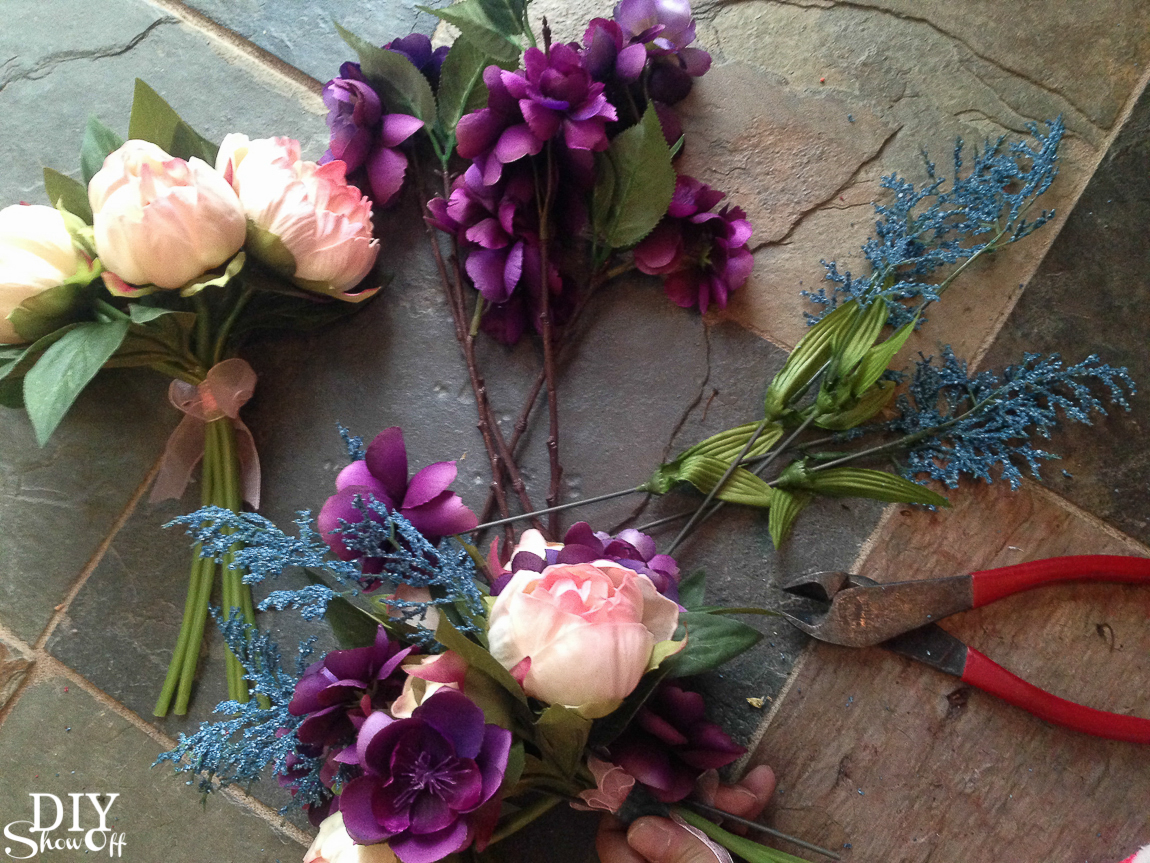
So pretty! DIY spring floral centerpiece tutorial. Perfect for Easter too! #madewithmichaels @diyshowoff So pretty! DIY spring floral centerpiece tutorial. Perfect for Easter too! #madewithmichaels @diyshowoff So pretty! DIY spring floral centerpiece tutorial. Perfect for Easter too! #madewithmichaels @diyshowoff

Then tuck bouquets inside of the basket. 
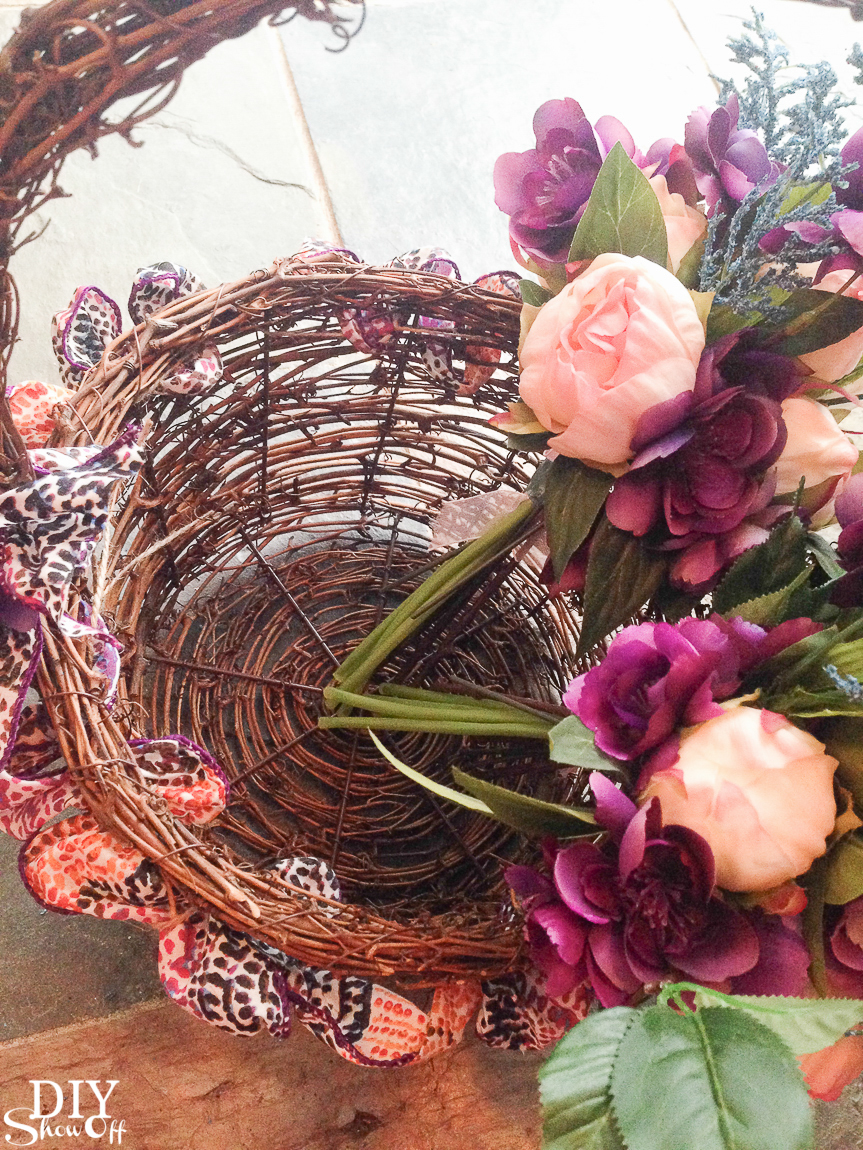
So pretty! DIY spring floral centerpiece tutorial. Perfect for Easter too! #madewithmichaels @diyshowoff

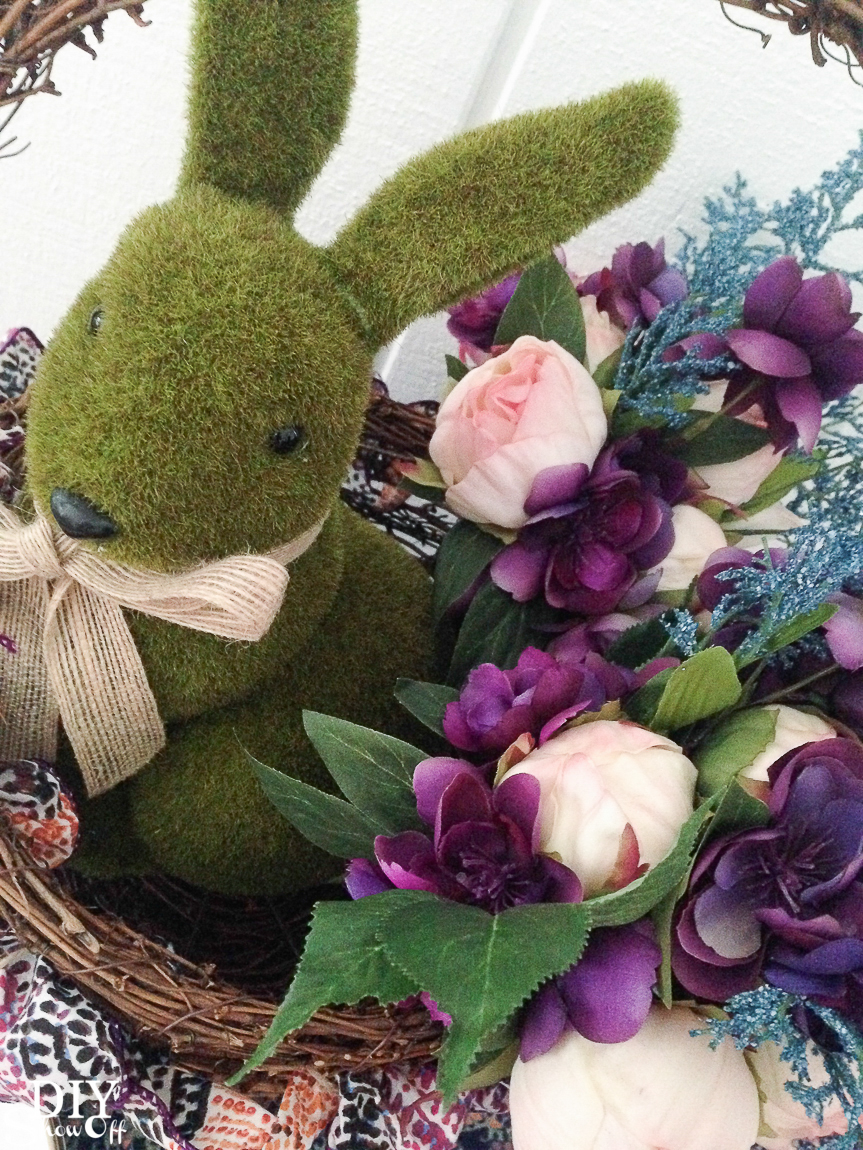
Nestle in a moss bunny…

So pretty! DIY spring floral centerpiece tutorial. Perfect for Easter too! #madewithmichaels @diyshowoff

Display on dining room or side table. Now it’s beginning to look like spring!
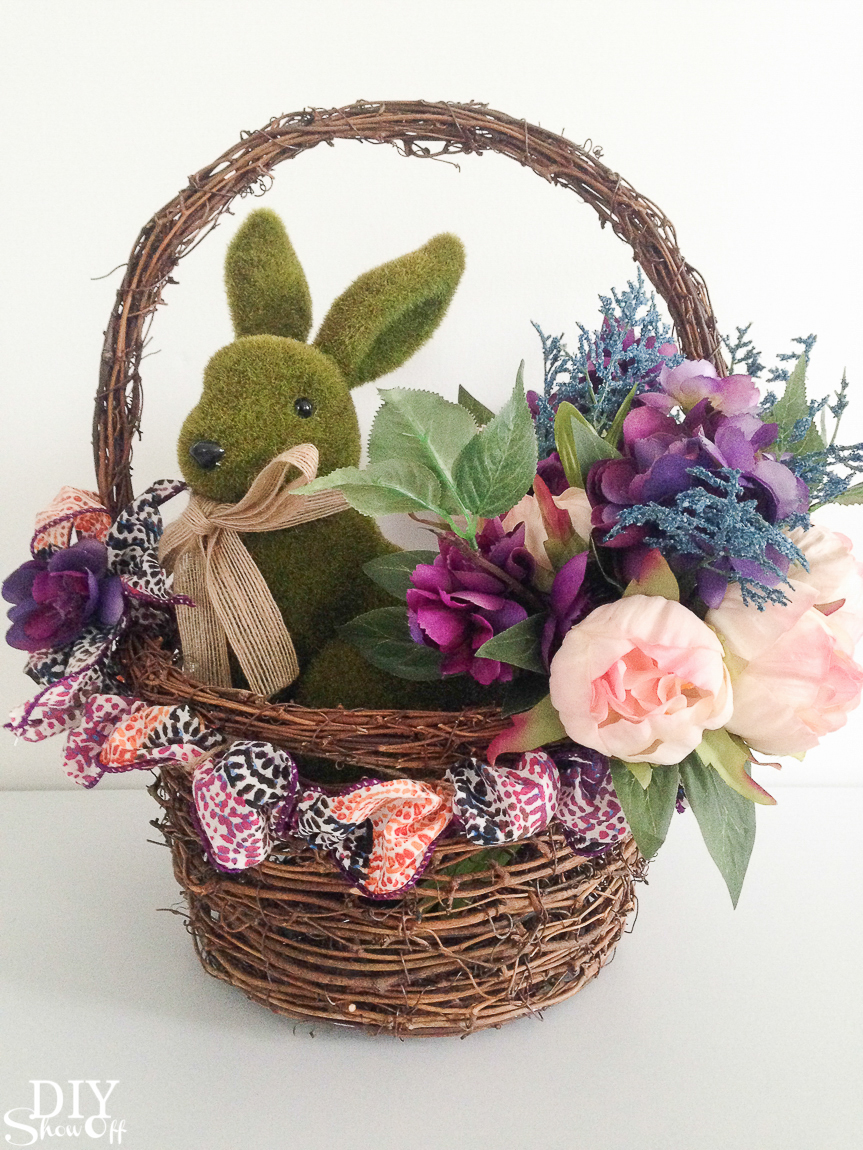
So pretty! DIY spring floral centerpiece tutorial. Perfect for Easter too! #madewithmichaels @diyshowoff

I think it’s the perfect decorative accent and spring centerpiece to display starting right after Valentine’s Day up until Memorial Day.

So pretty! DIY spring floral centerpiece tutorial. Perfect for Easter too! #madewithmichaels @diyshowoff

This smug moss bunny agrees. How about you?
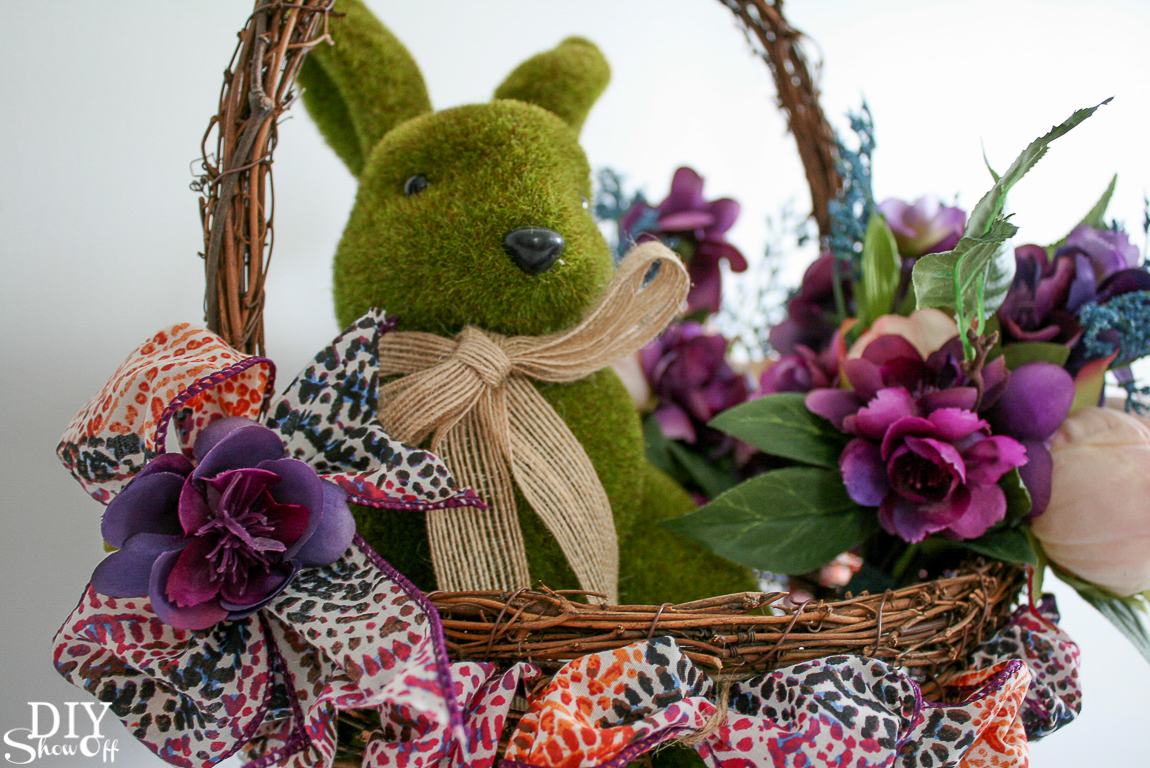
So pretty! DIY spring floral centerpiece tutorial. Perfect for Easter too! #madewithmichaels @diyshowoff

Even the back side is looking good…

diy-spring-floral-centerpiece-tutorial-30

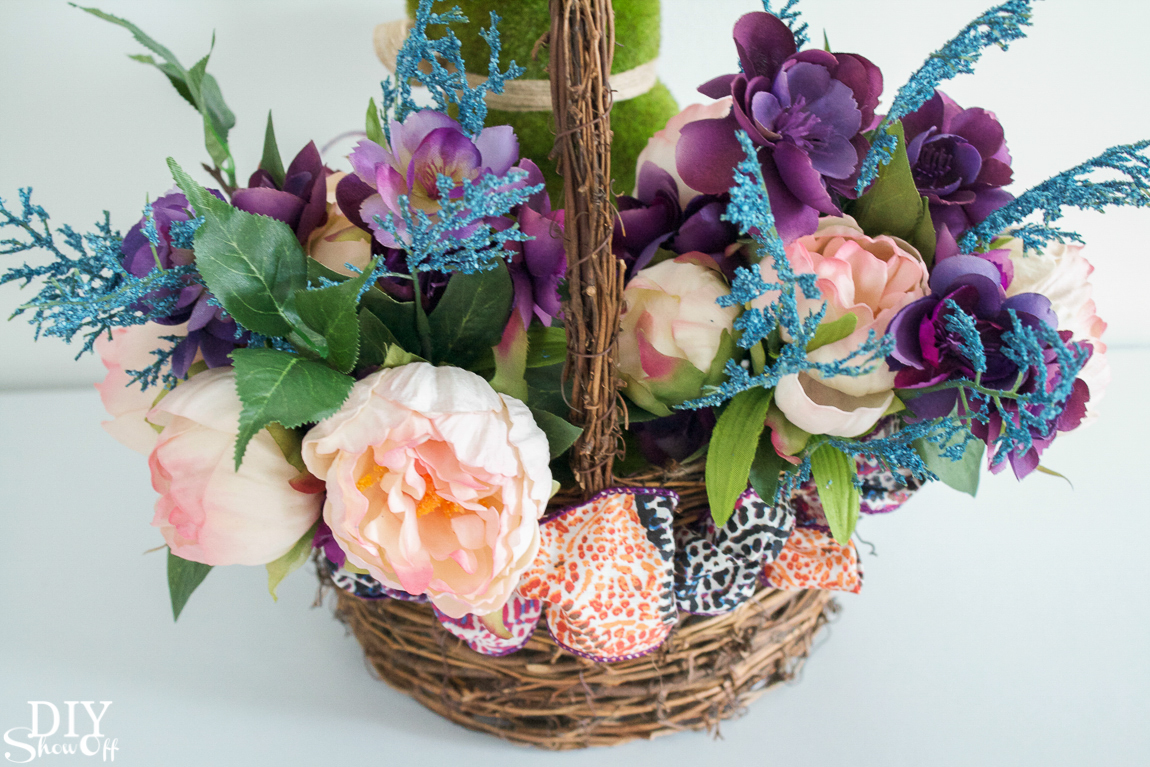
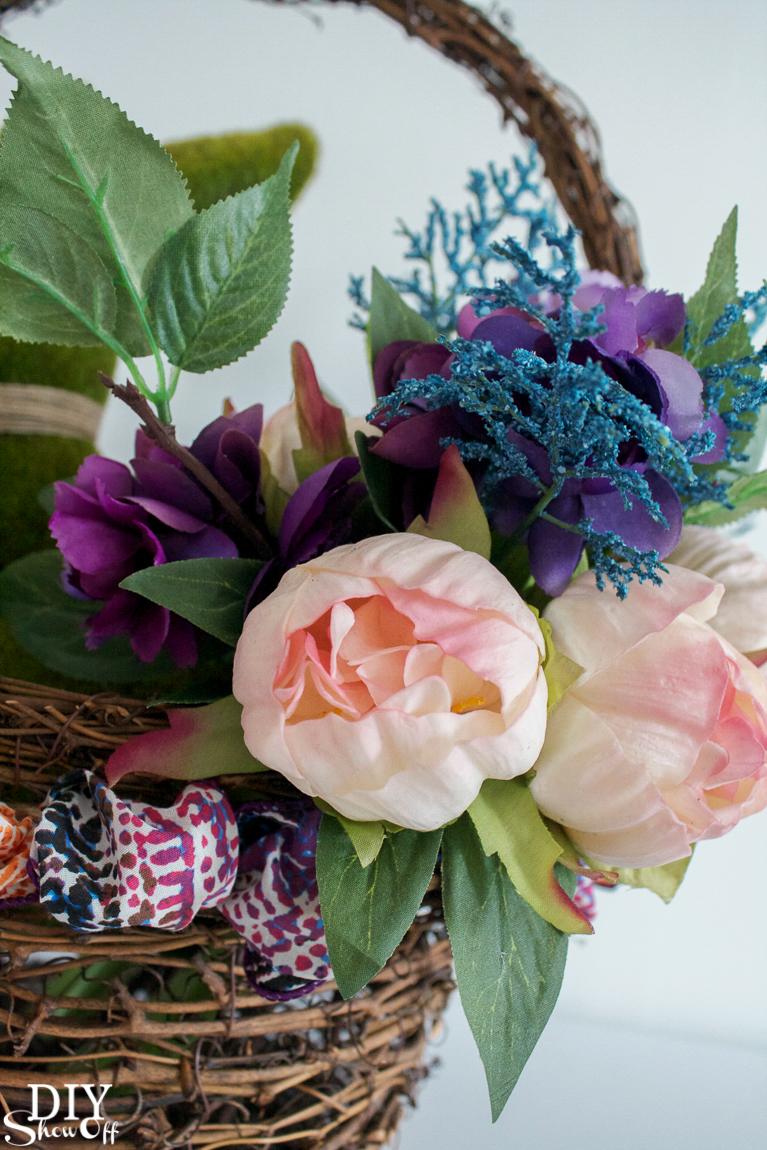
I’m loving the unexpected color assortment…
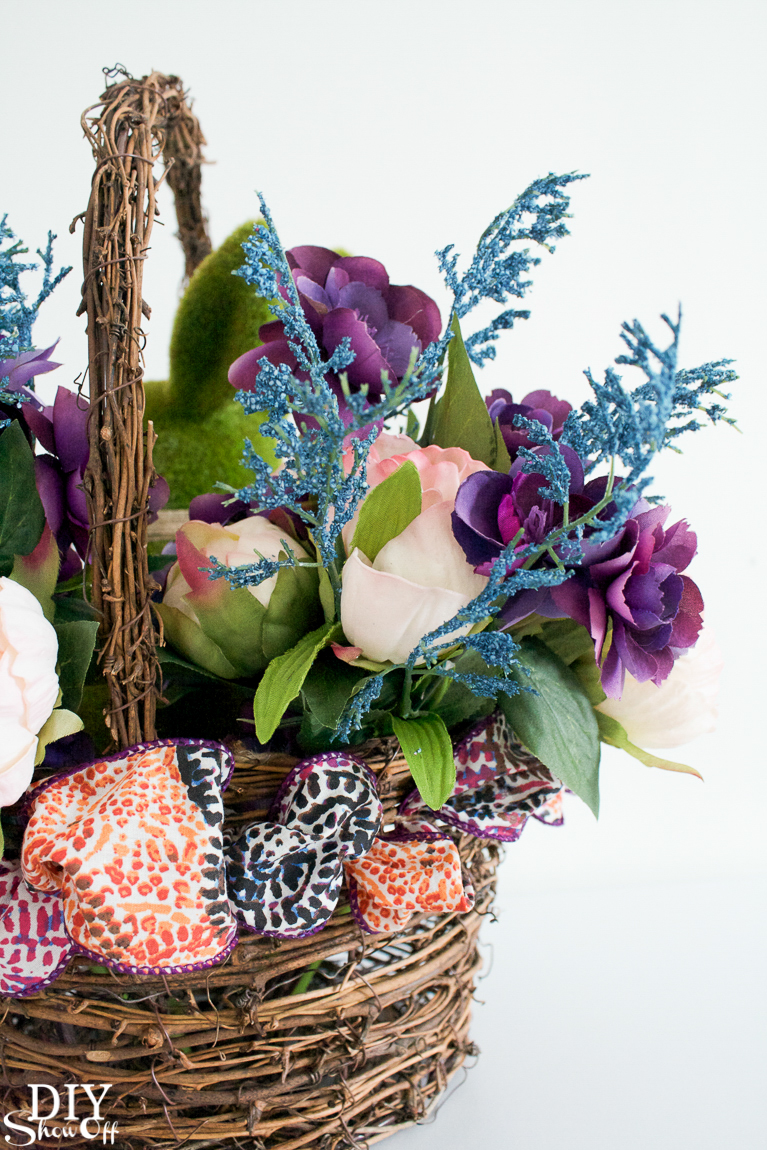
diy-spring-floral-centerpiece-tutorial-32 diy-spring-floral-centerpiece-tutorial-31 diy-spring-floral-centerpiece-tutorial-29

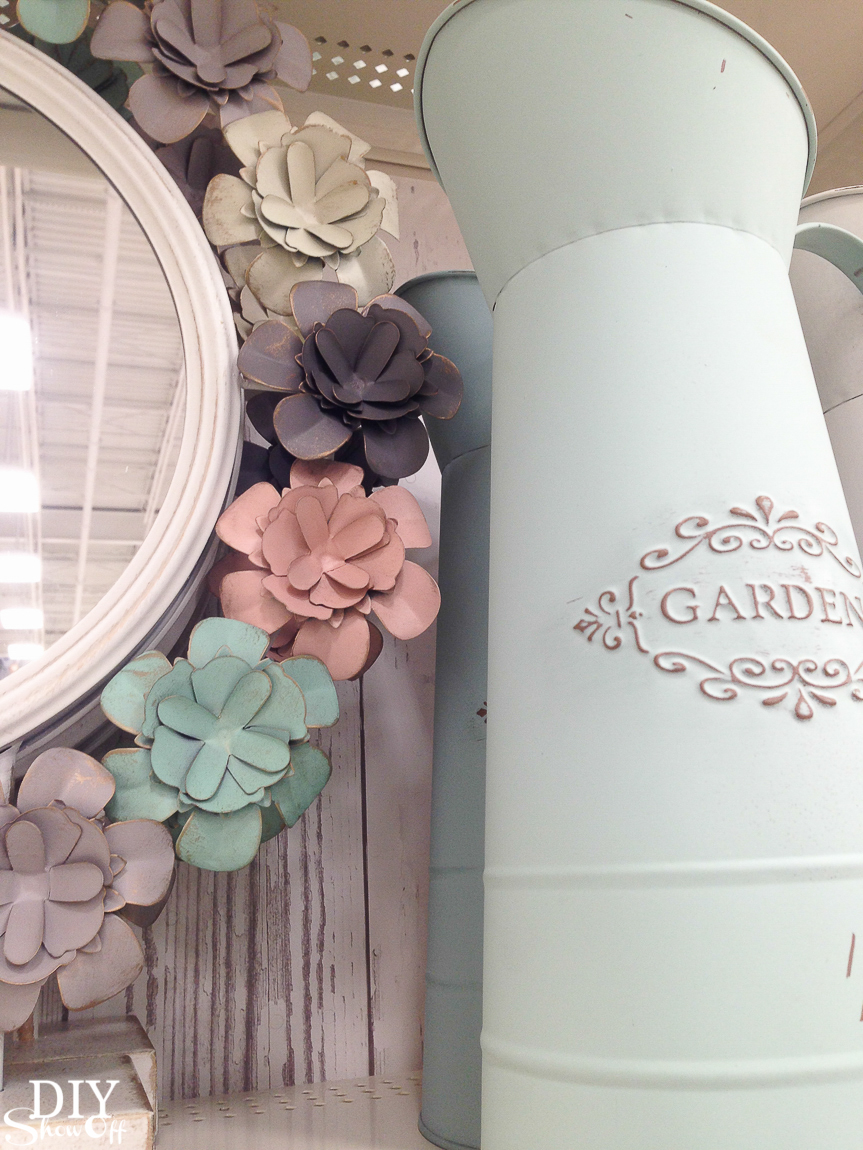
And know what else? I’m really tempted to head back to Michaels for all of this romantic spring decor to finishing the look. ::drool::
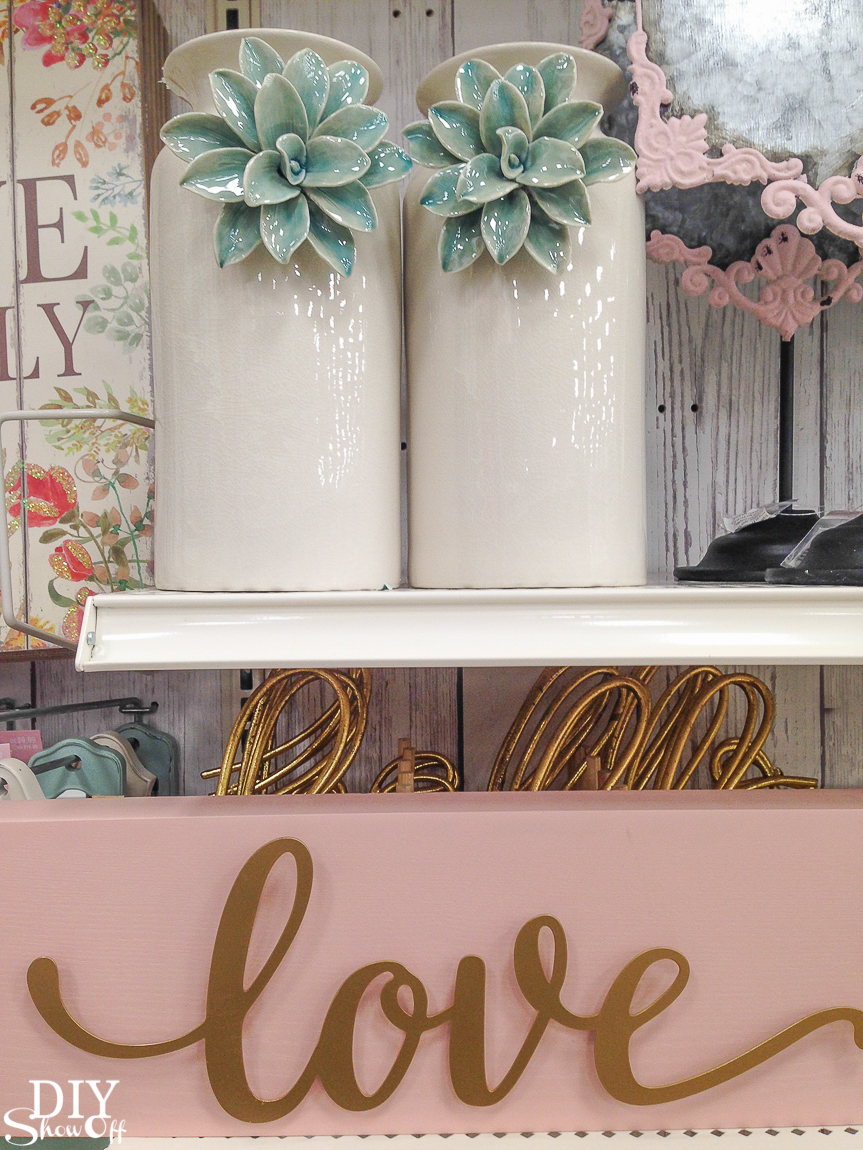
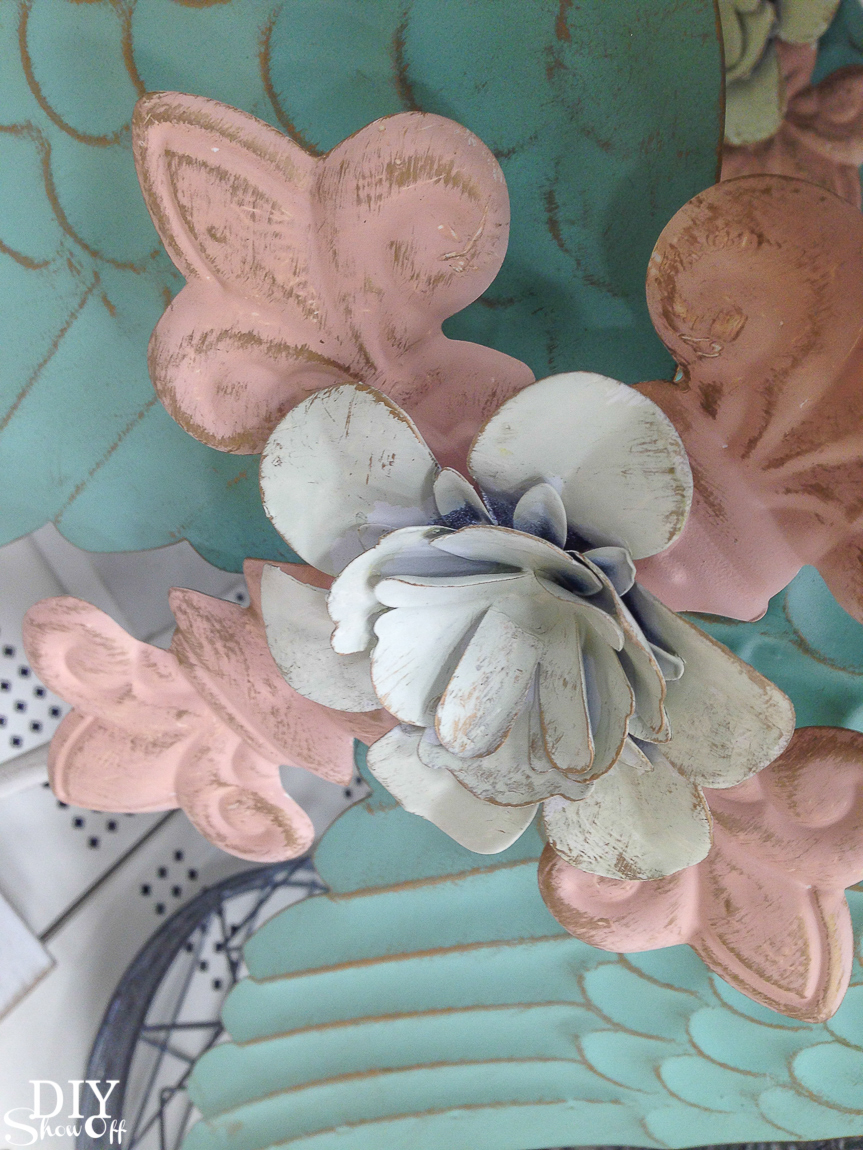
So pretty! DIY spring floral centerpiece tutorial. Perfect for Easter too! #madewithmichaels @diyshowoff So pretty! DIY spring floral centerpiece tutorial. Perfect for Easter too! #madewithmichaels @diyshowoff So pretty! DIY spring floral centerpiece tutorial. Perfect for Easter too! #madewithmichaels @diyshowoff So pretty! DIY spring floral centerpiece tutorial. Perfect for Easter too! #madewithmichaels @diyshowoff

Looking for more inspiration? Make sure you visit Michaels’ blog, The Glue String beginning today at 10 a.m. CST, to see the rest of the Michaels Makers’ spring floral project ideas.

 Loading InLinkz ...

Like this? Please pin it to your favorite Spring Pinterest board for future reference and then give it a shout out on social media if you’re so inclined. Sending you a BIG virtual thank you hug!

Happy almost-spring, friends!
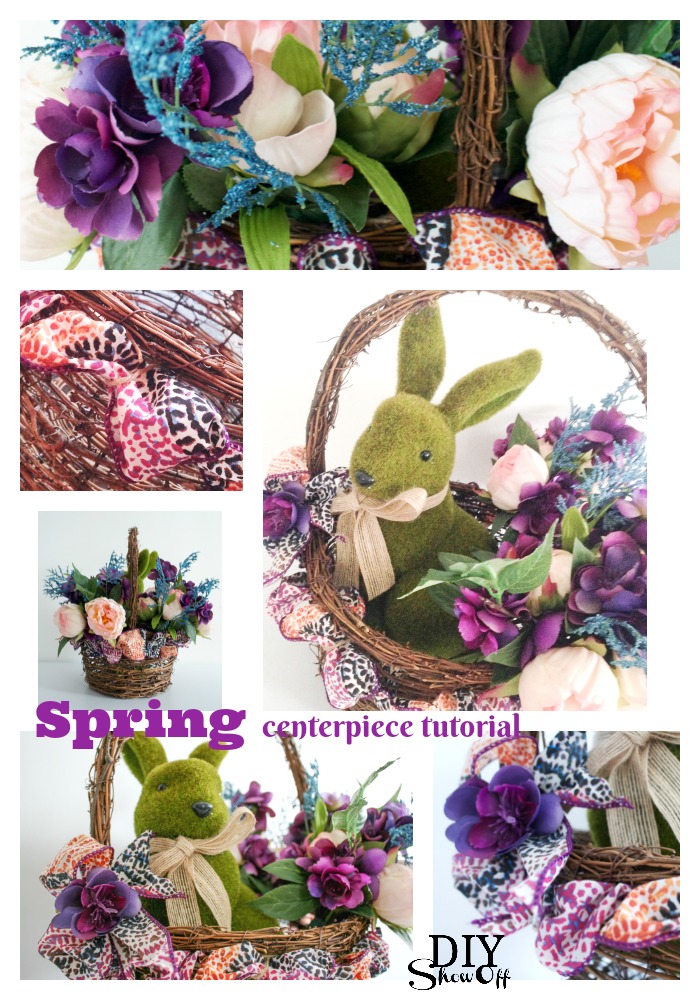
spring floral centerpiece inspiration


Easy DIY Image Transfer Stickers

It’s the beginning of another fun crafting year as a Michaels Maker! Hurray! As a member of the team, I have the opportunity to participate in fun craft challenges and share lots of crafty goodness!  I’m super bummed that I wasn’t available to attend the Michaels Makers Summit last week (although I do show up in some of the photos!). It looks like everyone had an amazing trip! See recaps of all the fun in the links below. 
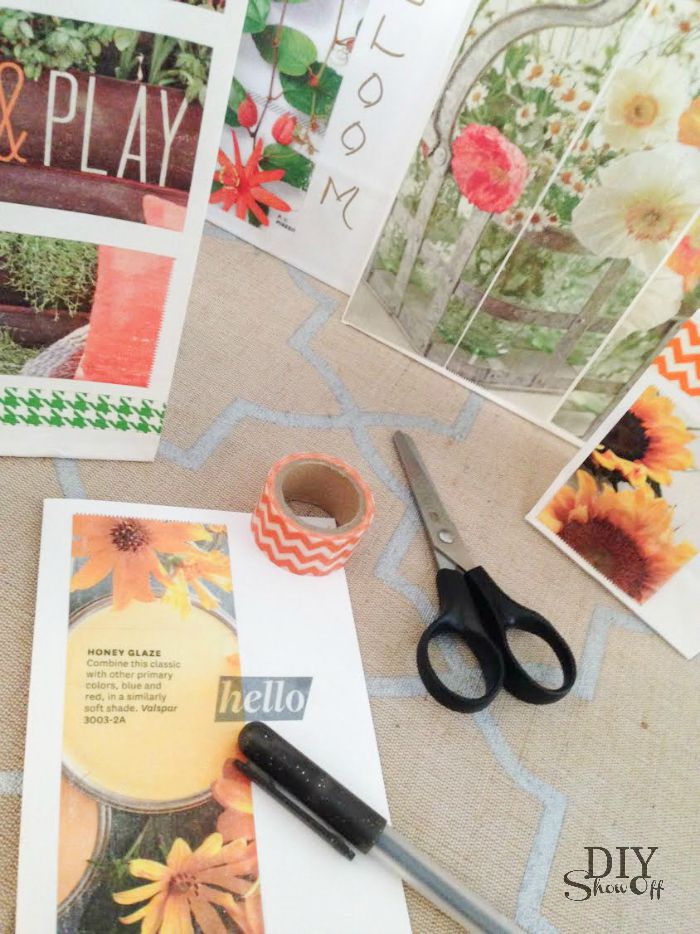
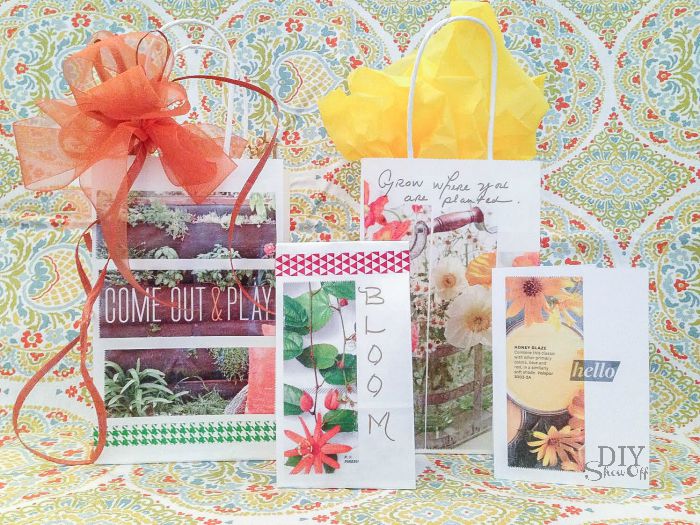
Michaels Maker Summit This month’s challenge options are awesome! Since I’m a frequent gift-giver, I chose image transfers to decorate note cards and gift bags using the tutorial from Courtney at CreativeBug. Hey, we may not have attended the summit, but we can create the same fun projects! Take a look at the full image transfer tutorials/videos and more, found online at Michaels until 8/22/15. Which would you choose?

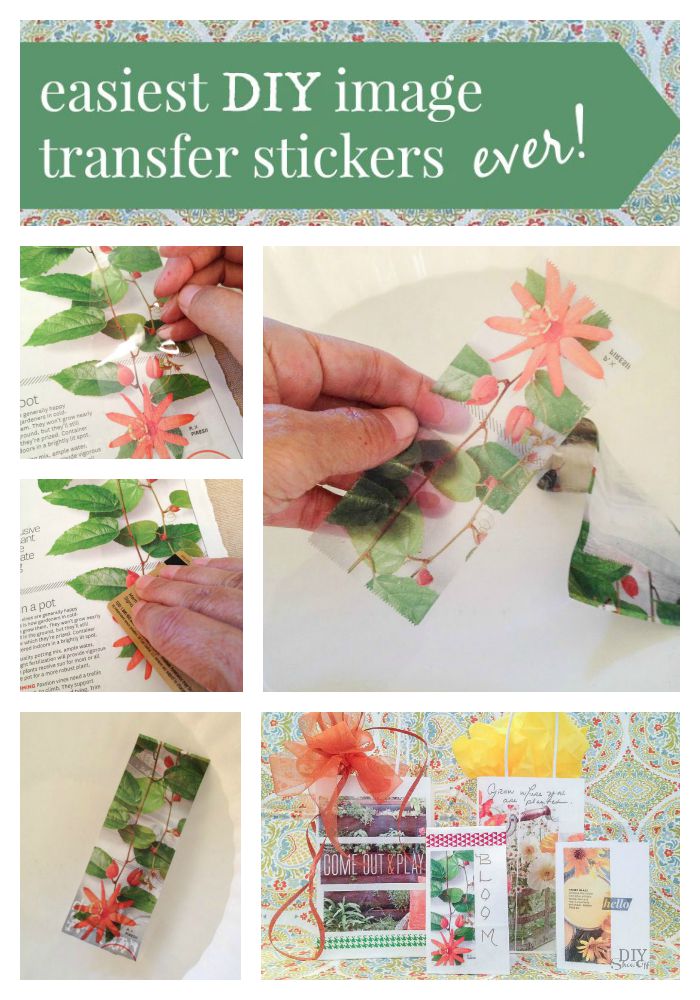
Here’s a quick tutorial of my choice, the image transfers using packing tape. Seriously so cool, you’re going to want to grab a roll of packing tape and a few magazines! Today!

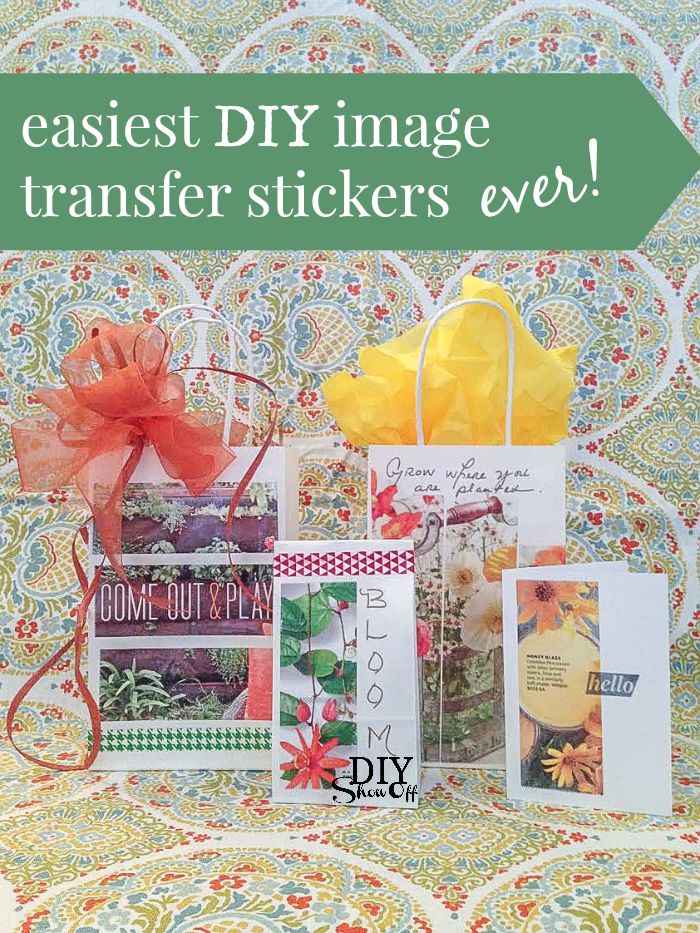
easiest DIY image transfer stickers ever! @diyshowoff #MadeWithMichaels

Easy DIY Image Transfer Stickers  

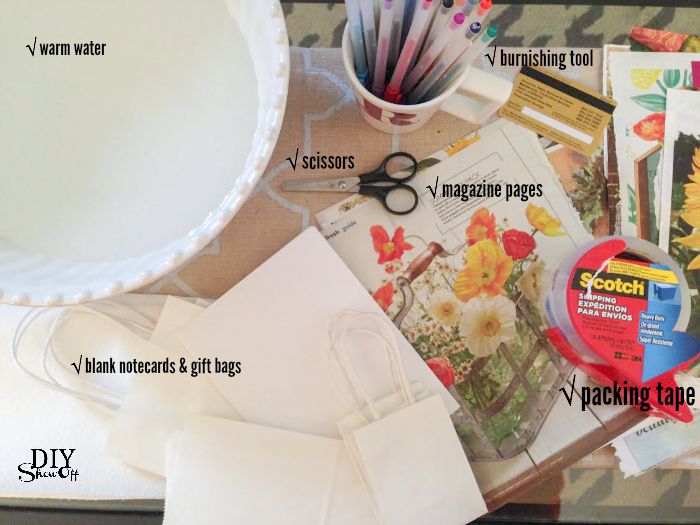
Materials I used:

how to make DIY image transfer stickers @diyshowoff #MadeWithMichaels

CLICK.BUY. CREATE. Shop Michaels.com today!

Also needed: scissors, warm water, credit card (burnishing tool), paper towels, optional: embellishments

What I did: 

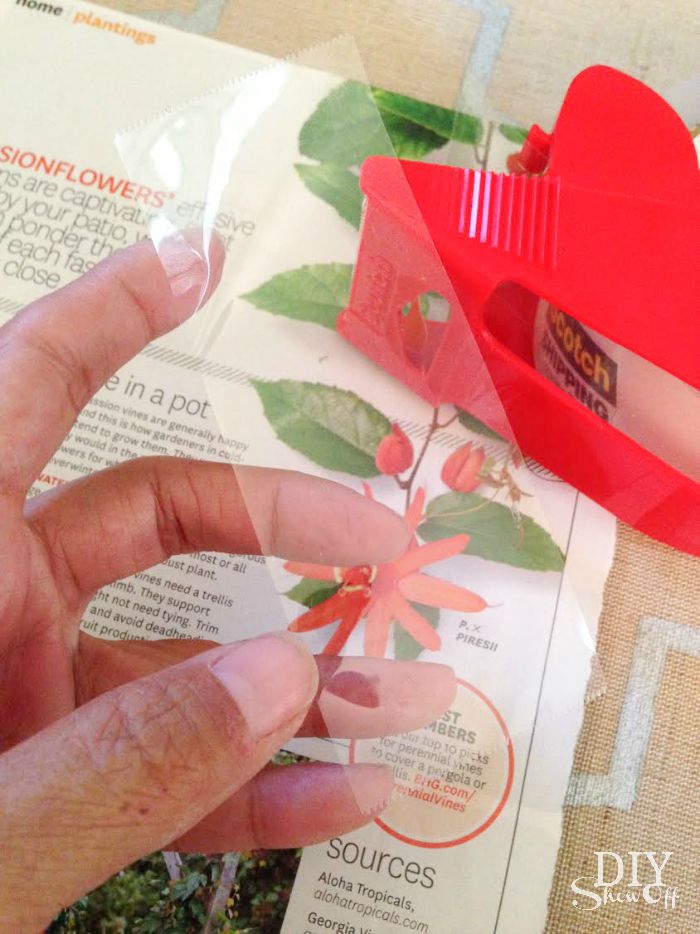
Cut a piece of packing tape. 

easy image transfer stickers tutorial @diyshowoff

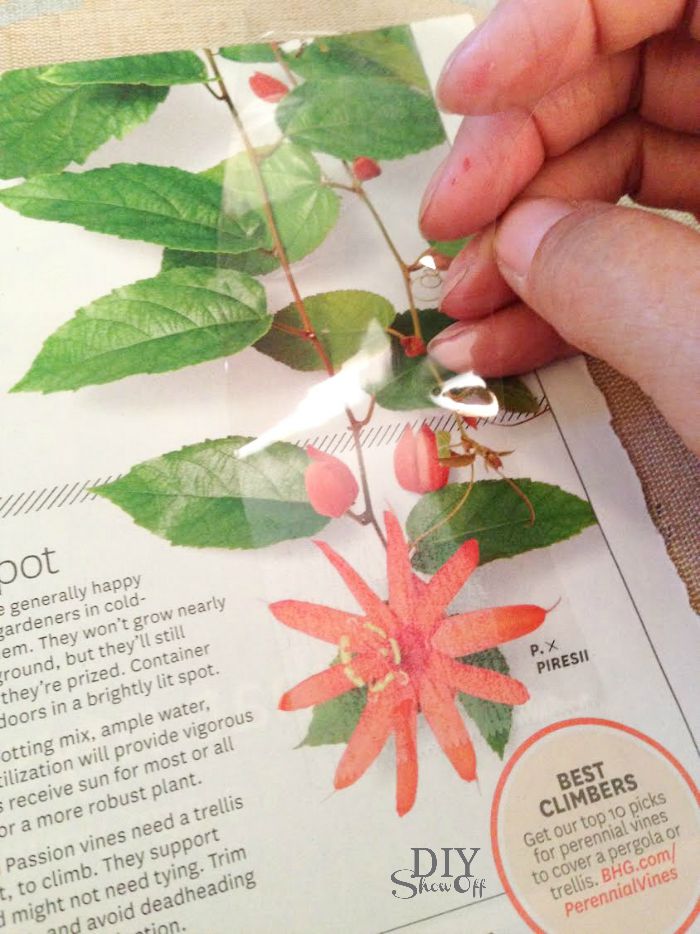
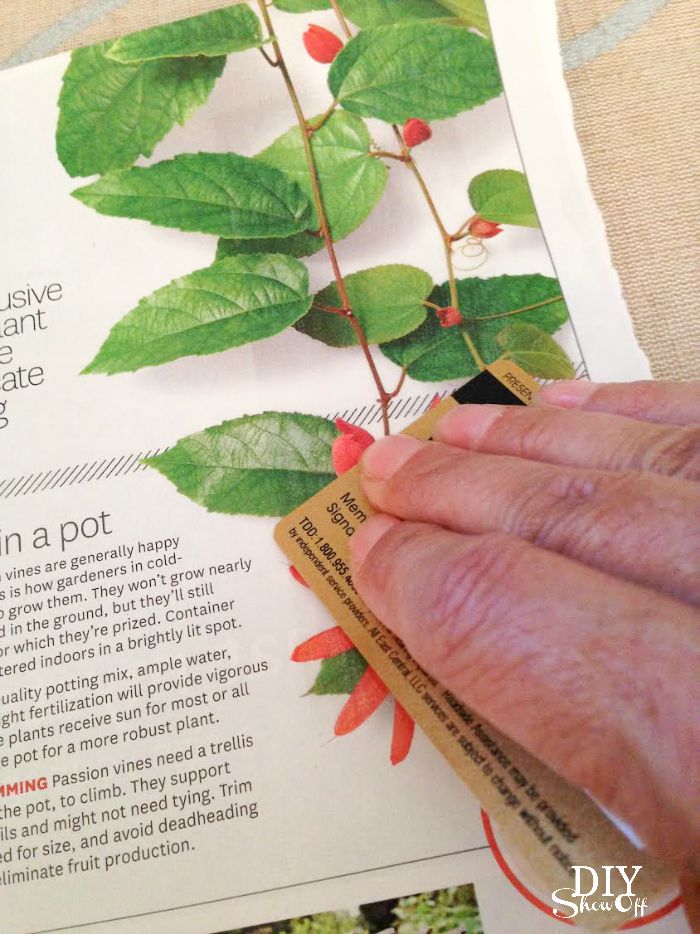
Carefully place it onto magazine image, smoothing with fingers to avoid air bubbles. 

easy image transfer stickers tutorial @diyshowoff

Burnish the packing tape. 

easy image transfer stickers tutorial @diyshowoff

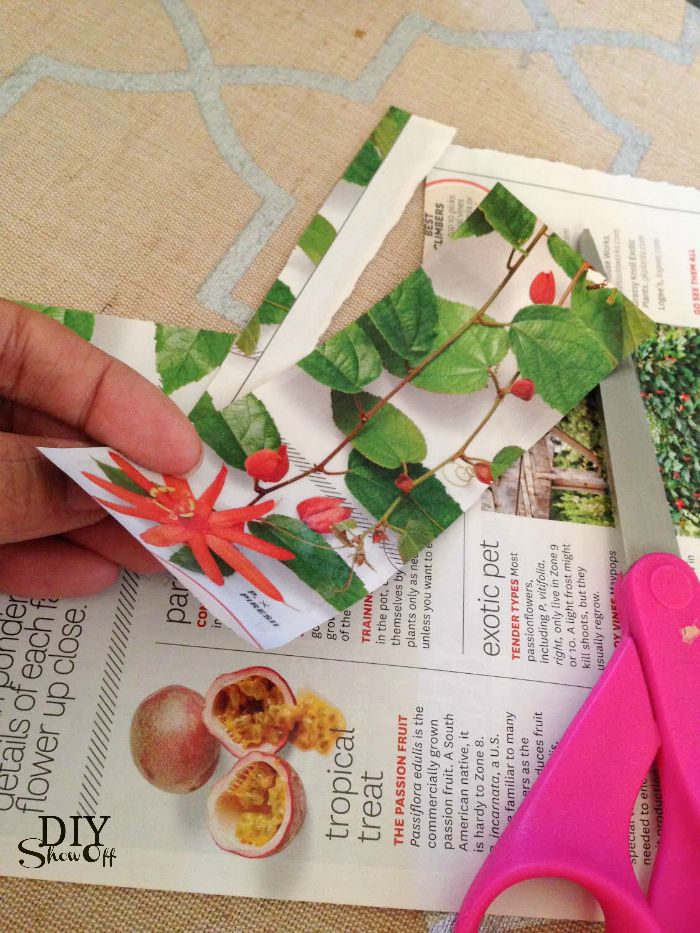
Trim rip away excess magazine page. 

easy image transfer stickers tutorial @diyshowoff

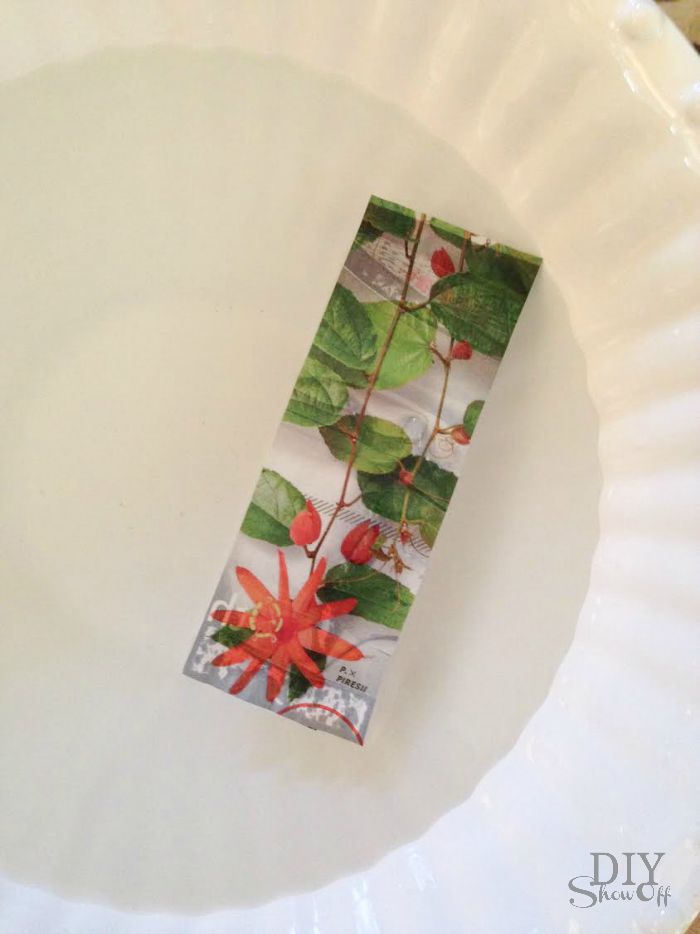
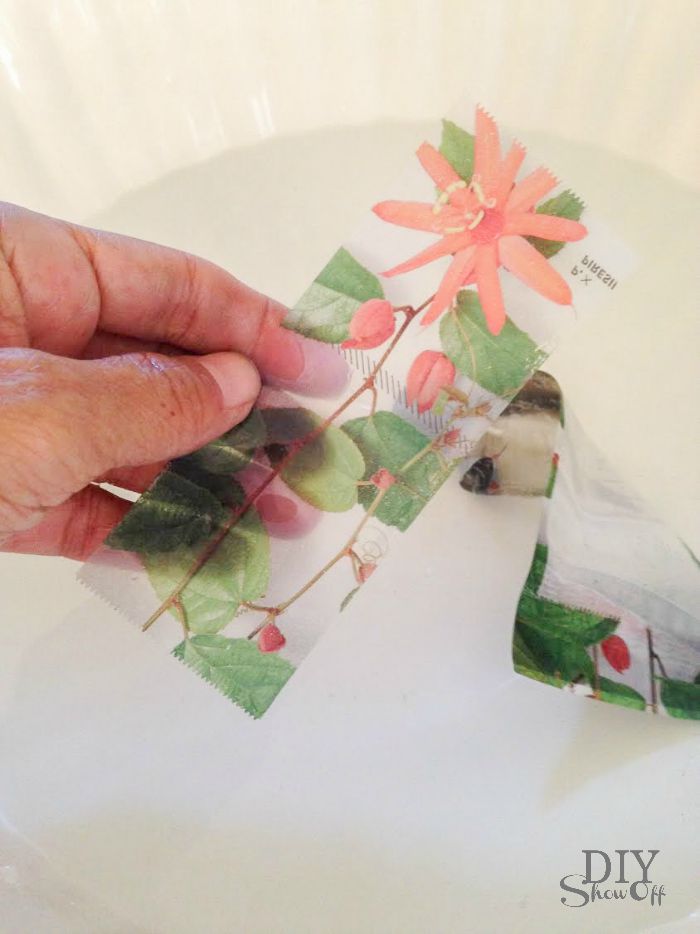
Place into warm water. I let mine sit for maybe a minute or two but you could do longer if you’re working on creating more or give it less time if you’re impatient. 

easy image transfer stickers tutorial @diyshowoff

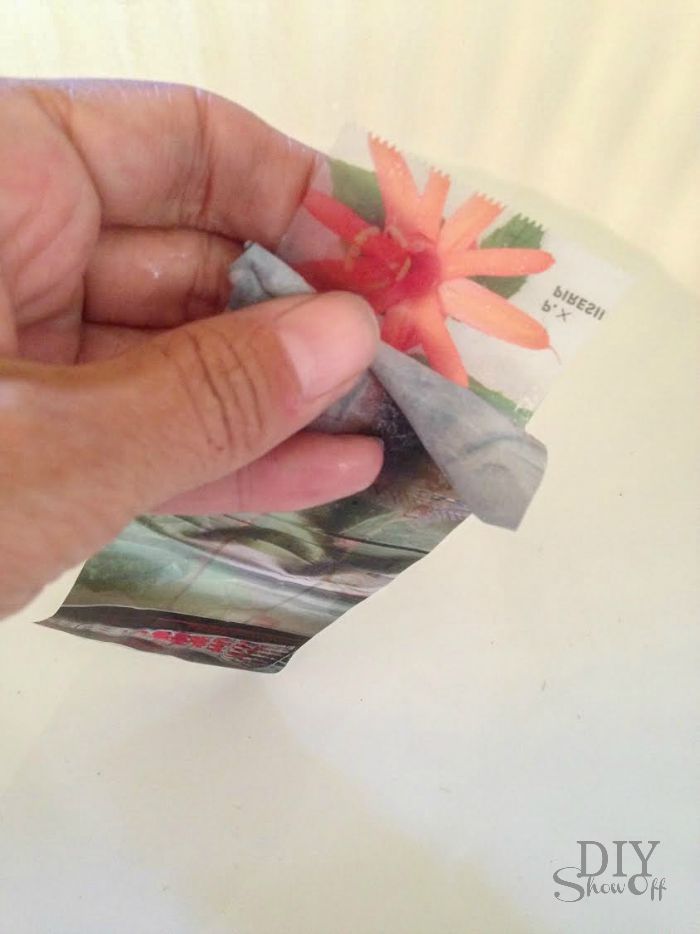
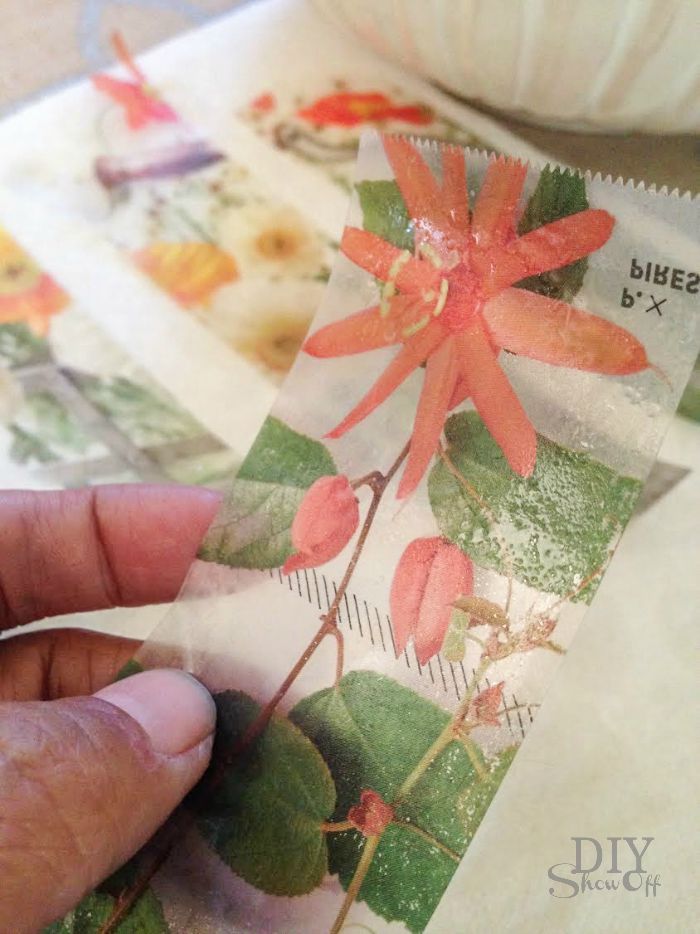
Remove from water and using thumb, rub away paper. Dunk back in water during the process to “clean” away the paper. Thicker magazine pages (like the weight of a magazine cover) will take more work than thinner pages. 

easy image transfer stickers tutorial @diyshowoff

Ta-da! A transparent image transfer! How is it that I’ve never known about this fun project? Love!

easy image transfer stickers tutorial @diyshowoff

easy image transfer stickers tutorial @diyshowoff

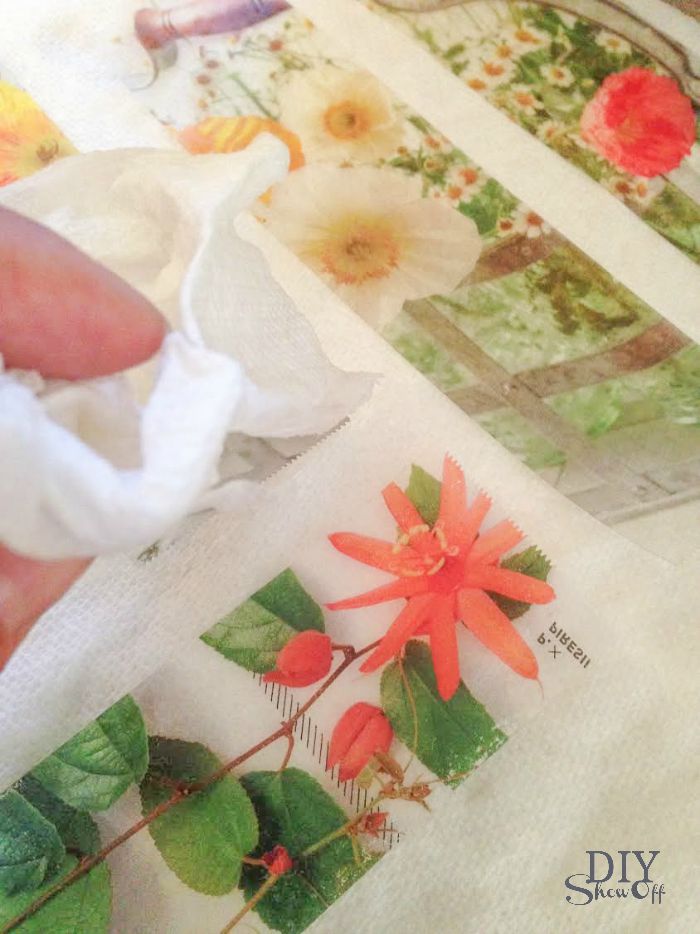
Pat with a paper towel and let dry a few minutes. As packing tape dries, it becomes sticky again! So cool, right? If it dries out, I found that dipping back into warm (not cool) water reactivated the glue. If not using right away, store your image transfer stickers on wax paper. 

easy image transfer stickers tutorial @diyshowoff

Apply to gift bags, blank note cards, wrapping paper, packages, scrap books, collages, even glass. Embellish if desired with ribbon, decorative tape, quotes, etc.

easy image transfer stickers tutorial @diyshowoff

So many ideas and finally a real use for those pretty magazine pictures! Go grab your packing tape and old magazines. Make up your own and share using #MadeWithMichaels

easy image transfers tutorial @diyshowoff #MadeWithMichaels

So fun & easy!

More fun craft ideas from the Michaels Makers Summit: 

·         Some of the Michaels Makers attended the Michaels Makers Summit last week where they learned four amazing classes (weaving, watercolor, paper flowers and image transfer) – all taught by Michaels education partner, Creativebug and great news –  each of the classes are available online for FREE on Michaels.com until 8/22 (you can re-create one or all of the summit projects)!

·         In case you haven’t met all 50 of this year’s Makers, check out each of our blogs and bios here! Follow along throughout the year and feel free to create projects with us by sharing on Instagram using #MadeWithMichaels for a chance to be featured!

See more about the Michaels Makers Summit from these awesome blog friends at 10 a.m. CST: 

 Loading InLinkz ...

how to make DIY image transfer stickers @diyshowoff #MadeWithMichaels

Disclaimer: As a member of the Michael’s Makers blog team, I received a Michael’s gift card to complete this craft challenge. 

Roeshel #MichaelsMakers