Cottage Bedroom Before and After

Seaside Shelter blog

Dani from Seaside Shelter loves DIY and bargains. Our kind of girl! At Seaside Shelter (her blog), her objective is to share small ideas that will make a big impact on your living space. And she’s so good at it too! She recently finished a cottage bedroom makeover with an amazing reveal for only $335! Take a look:

bedroom before – boring, outdated.

bedroom before

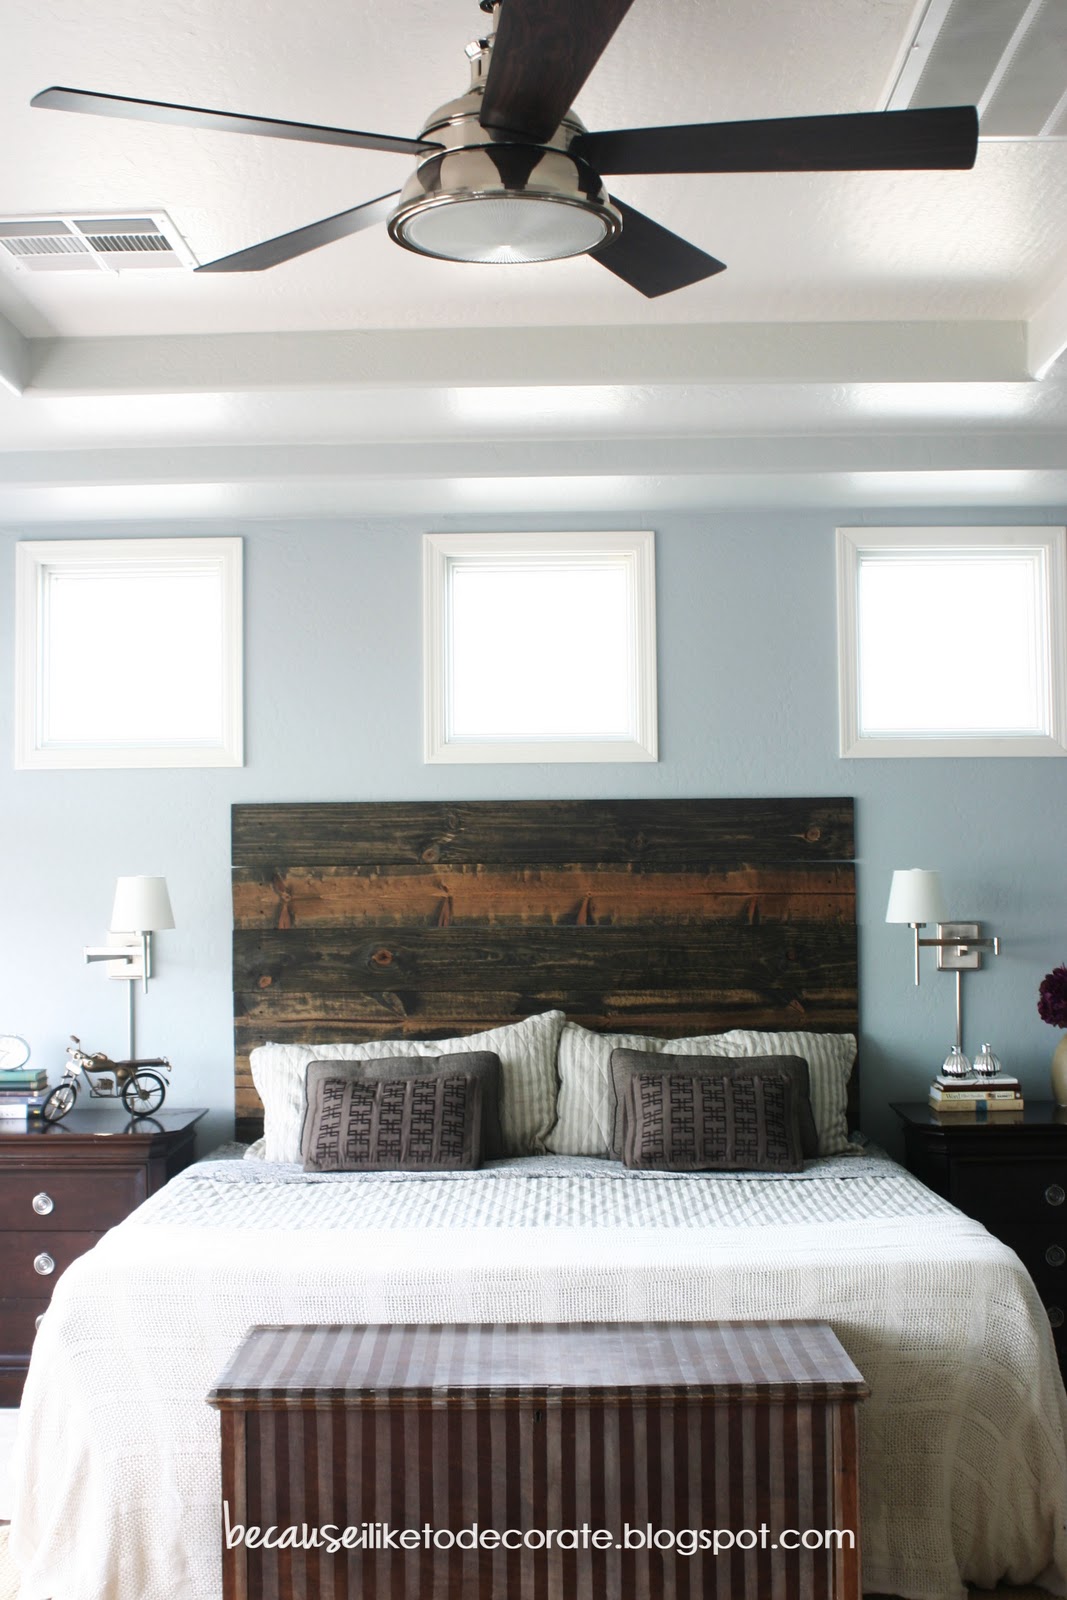
Carpet was removed to reveal birch flooring which was refinished. Wow! Painted walls and trim really freshen up the space…

bedroom after

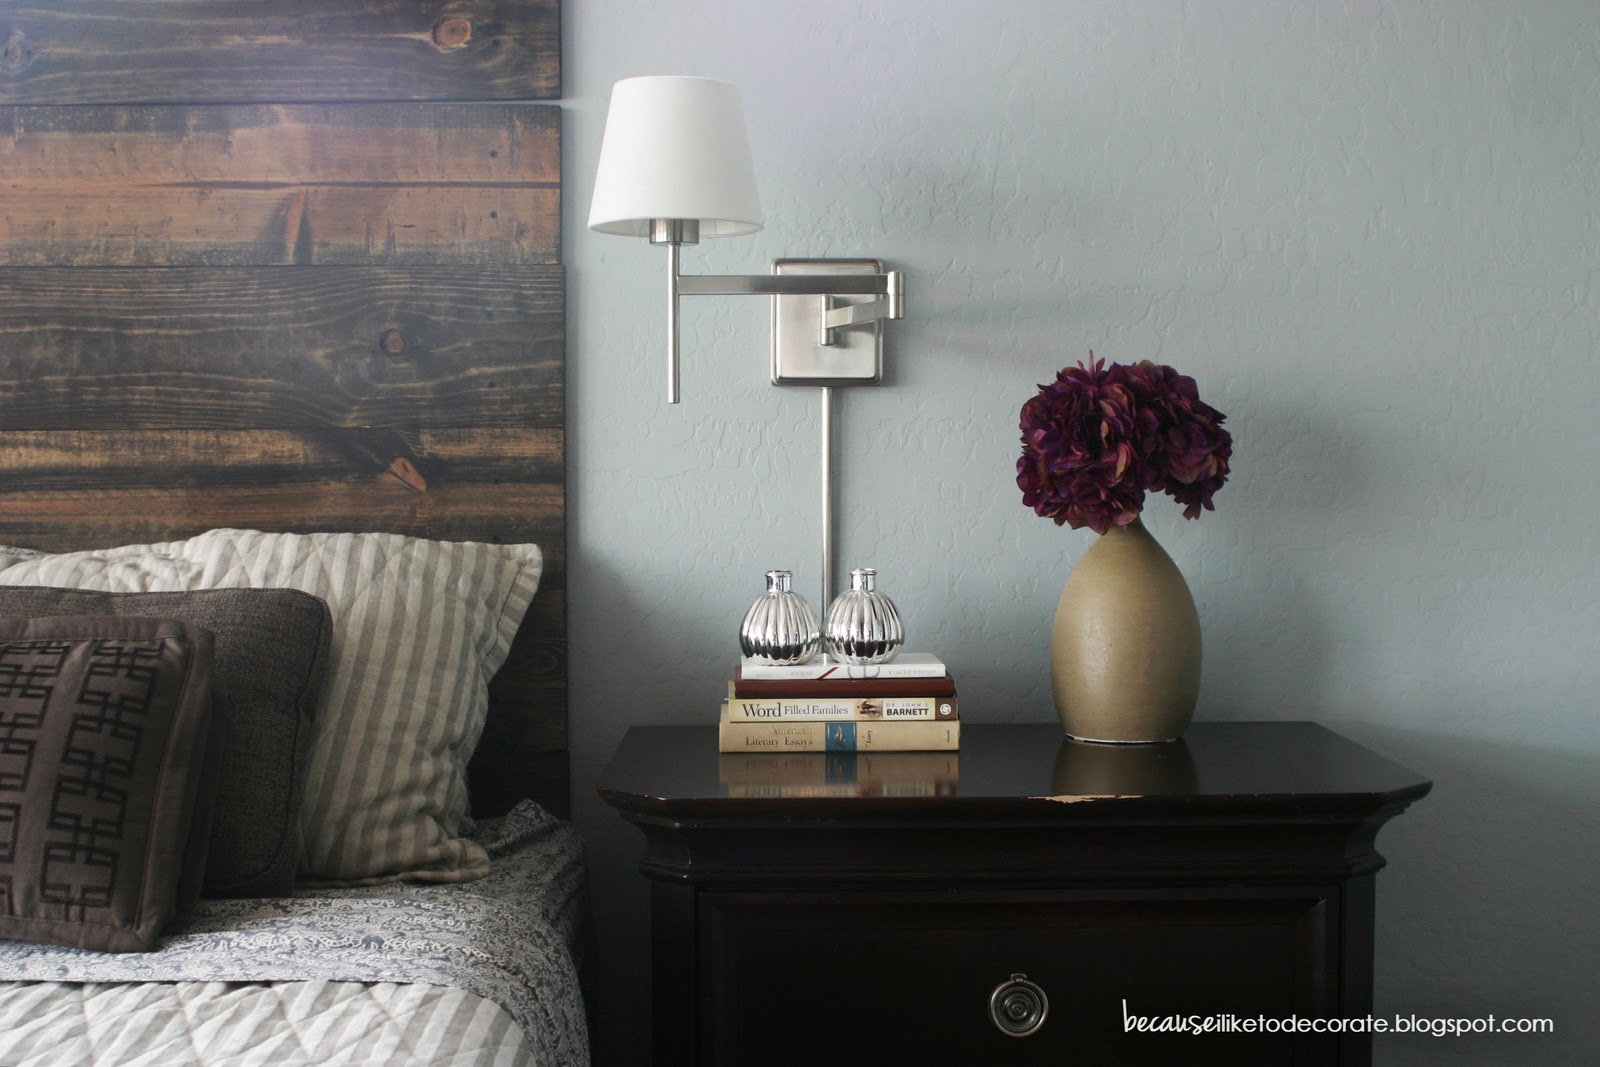
I love the green and navy accented with gold. Dani calls it “preppy cottage”. Perfect! There are a lot of DIY accents in this room. Pendant lights hang above painted nightstands to save on table space (great idea!) and the beautiful DIY upholstered headboard sports some gold nailhead trim…

DIY upholstered headboard with nailhead trim

Old nightstands get a new look with a coat of paint in a fun accent color…

green painted nightstand

And the stenciled wall adds interest and texture with a pretty pattern…

stenciled bedroom accent wall

Amazing budget with gorgeous results! See the cost breakdown, links to DIY details and more pictures at Seaside Shelter Preppy Cottage Bedroom Reveal.

Mini Bedroom Makeover ~ Because I Like to Decorate

Meet:  Mary from

because i like to decorate...

Like me, Mary has a neglected master bedroom.  She decided that while her husband was away, she’d sneak in a surprise mini makeover. It might be a mini-makeover but the result is HUGE.

This is what her master bedroom looked like before.

Mary says that when they moved in, they placed the furniture and walked away. Does this look at all familiar? Inspired by DIY headboards all over the internet, Mary set out to DIY her own. She used Home Depot stocks 6′ long pre-cut boards for about $5.50 a piece. It took six boards that she stained then screwed them to the wall using a course drywall screw.
They also needed some lighting changes, so she picked up these nightstand lights as well as the ceiling fan and called a very generous friend to come install them last-minute.
She brought in Hayden – the antique cedar chest to frame the foot of the bed, and also picked up a few nightstand accessories…
…including this super-cool motorcycle statue that she couldn’t resist for my husband’s side of the bed. Super cute!
To keep things practical, she used books that her husband actually reads topped with a couple vintage, old-looking books. (great tip, Mary!)

And finally, she purchased this rug to frame out the space and add a little texture and dimension.

Isn’t it beautiful? Just some quick DIY and accessories and a completely new look!  Awesome, Mary!  See more from Mary at Because I Like to Decorate.

Pin It