One room that we haven’t gotten to yet is our kitchen so I’m super excited to see this makeover from Darlene at Our Creative Life – so inspirational. She’s done a beautiful job on a great budget. Here is her post and before & pretty after photos:
We did this kitchen remodel all ourselves with exception of having the granite counters made & installed. If you would like to know how we refinished the cabinets step by step click HERE.
What we spent:
Primer-$15
Paint-$25
Polyurethane-$13
Glaze-$15
Cabinet Feet-$90
Silgranite Sink-$284
Price Pfister Marielle Stainless Steel Faucet,Sprayer, and Soap Dispenser -$135
New Venetian Gold Granite-$2237.50
2 Rattan Chairs -$200
Recessed light-$10
Crown Molding-$48
Beadboard-$15
wood appliques-$7
tumbled marble backsplash, grout,adhesive, & sealer -$300
chalkboard- frame was $2, chalkboard paint -$10
Oil Rubbed Bronze drawer pulls- $4 each/$32
OIL Rubbed Bronze door knobs- .90 cents each/$11.70
Whirlpool Side by Side Refridgerator -$1150
Hidden Hinges – $140
Under Cabinet Lighting -$60
Bottom Edge of Cabinet Trim – $20
6 Baskets -$75
TOTAL $4895.20
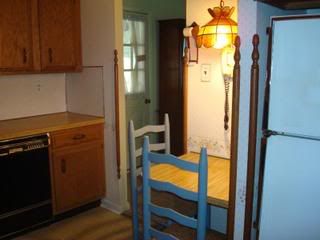
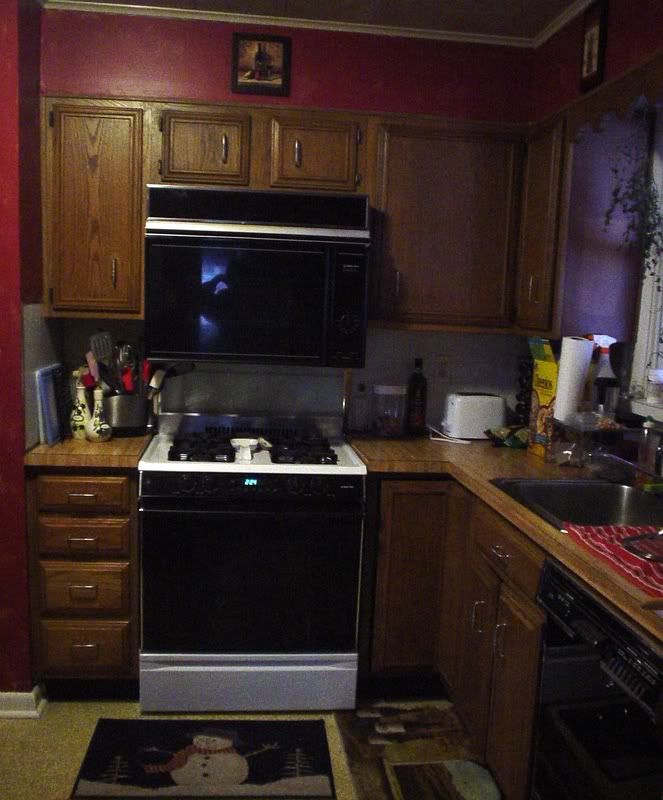
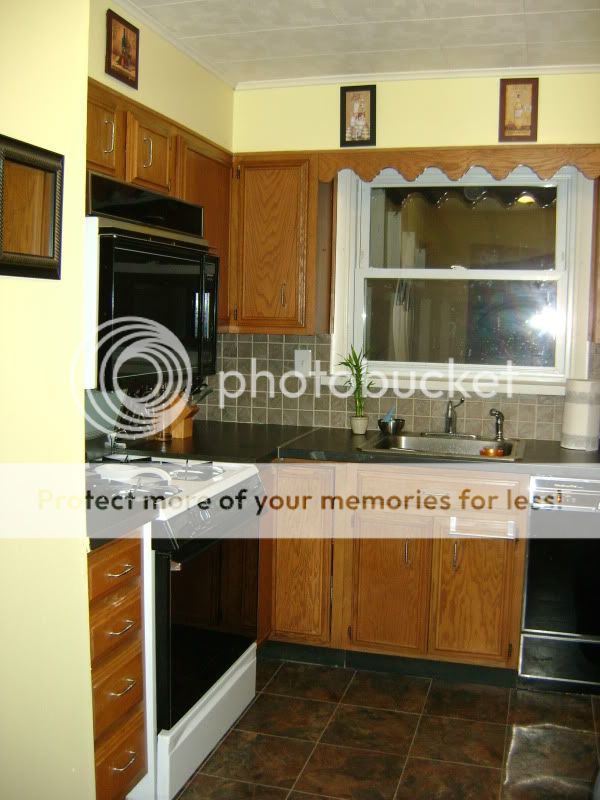
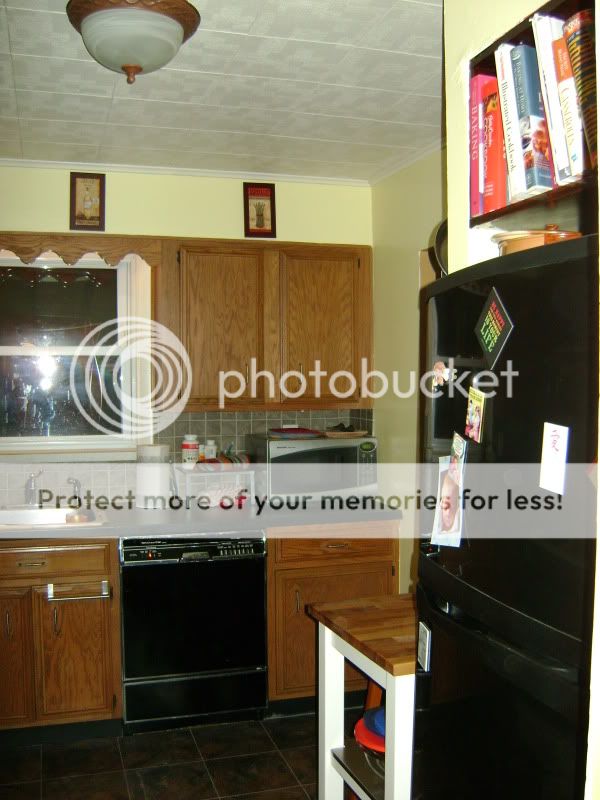
So that you can appreciate the AFTERS, I have to show you what the kitchen looked like before. This is the kitchen we installed ourselves when we bought the unfinished home back in 1993. Golden Oak was popular back then and tile was top of the line. We finished our home ourselves on a cash basis…and we didn’t have any cash, so it was done on whatever we managed to save each month. Every month we would tackle another project to complete our home. All the while we lived in our unfinished home. It took us 10 yrs to complete the home! We have lived in our home now 17 yrs and last year decided to update the kitchen. Actually our 2 daughters said, “Hey, our home looks great, but when are you going to redo the kitchen?” We thought, “WHAT, our kitchen is fine!” That is what we thought until we saw photos of it and realized we needed to work on updating our kitchen..UGH! The work on a home never ends!!!

OK, don’t laugh…our breakfast nook did look better in person.


Goodbye Golden (orangy) Oak!!!
Now without further ado………..
Our New Kitchen

 Cream cabinets with subtle glazing
oil rubbed bronze knobs
tumbled marble backsplash
New Venetian Gold Granite
 Took cab. doors off above microwave & added baskets
 Did the same over the fridge (it’s so much easier now) Totally recommend doing this!!

 Hubby built this (it is the pedestal at the breakfast nook)
 Added wood appliques for some interest on the false drawer fronts
 Hey check out my legs…I painted the kickboard black to make it disappear and added bun feet to make the cabinets look like freestanding furniture…the custom look!
 Crown molding was added by my talented hubby
 I made the chalk board from a frame I got at a garage sale for $2
 Showing the beadboard added to breakfast nook pedestal hubby built
 My pretty feet! One of my favorite things we did in our kitchen! $90 well spent!
 Our 13 yr old dog…Shelby enjoying the new kitchen!
 closeup of the backsplash, switch plate cover
 This is my other favorite…my Cafe Brown Silgranit Sink!! LOVE the size & depth!!
Faucet, Sprayer, & Soap dispenser is by Price Pfister Marielle in Stainless Steel

 I made the Farmer’s Market sign just for that area…oh and our last name is Farmer so it is PERFECT for us!


 This is looking into the kitchen from the dining room
 Closeup of beadboard and bottom of cabinet trim

 Oh, the color of the walls is SW Clary Sage
 My KitchenAid mixer looks great in the new kitchen!
 Isn’t this breakfast nook so much better than our old one?!!
 The seagrass chairs are from World Market
I choose those so they would tie in with the baskets above the microwave, fridge
Large cream/wrought iron vase is from Pier One
(did you know that I LOVE vases..I do)
 Hope you enjoyed the photo tour of our new kitchen!
Darlene! It’s fabulous and so motivational! I have orangy gold cabinetry. I LOVE your new look. They’re gorgeous! The countertop and your new sink are awesome. I love the little extra touches and that backsplash! And those feet! I definitely have to copy this idea. I’m so inspired. Your transformation looks SO much more expensive than what you spent. It’s gorgeous. Thank you so much for sharing! I can’t wait to show my husband so we can move our kitchen project up on the DIY to-do list! 🙂
—–
This post is brought to you by Cranville ,
suppliers of wood wine racks and much more!

Please stop by and check out the details, to see more of her beautiful home and to say “hello”.


